Design a 3D mould, machine it, and cast parts from it.
Learning outcomes:
1)Design appropriate objects within the limitations of 3 axis machining
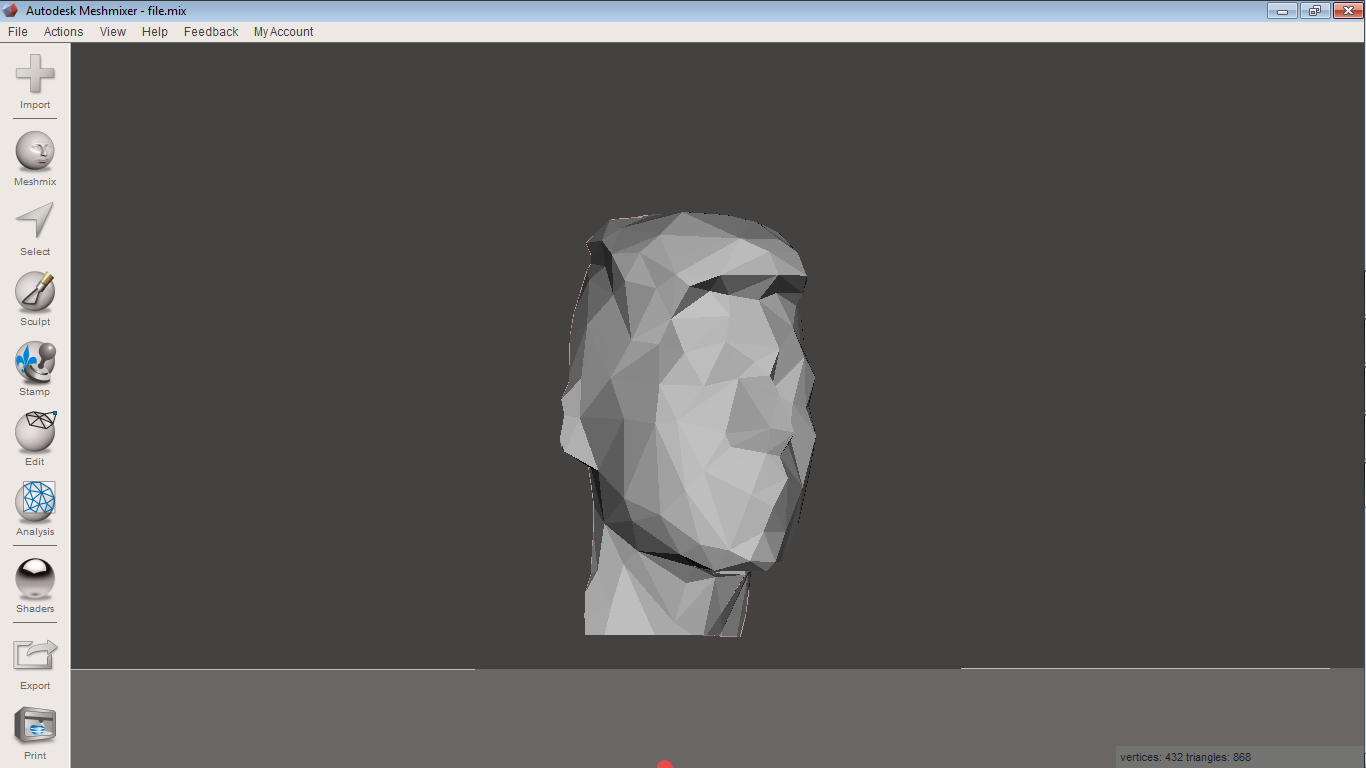
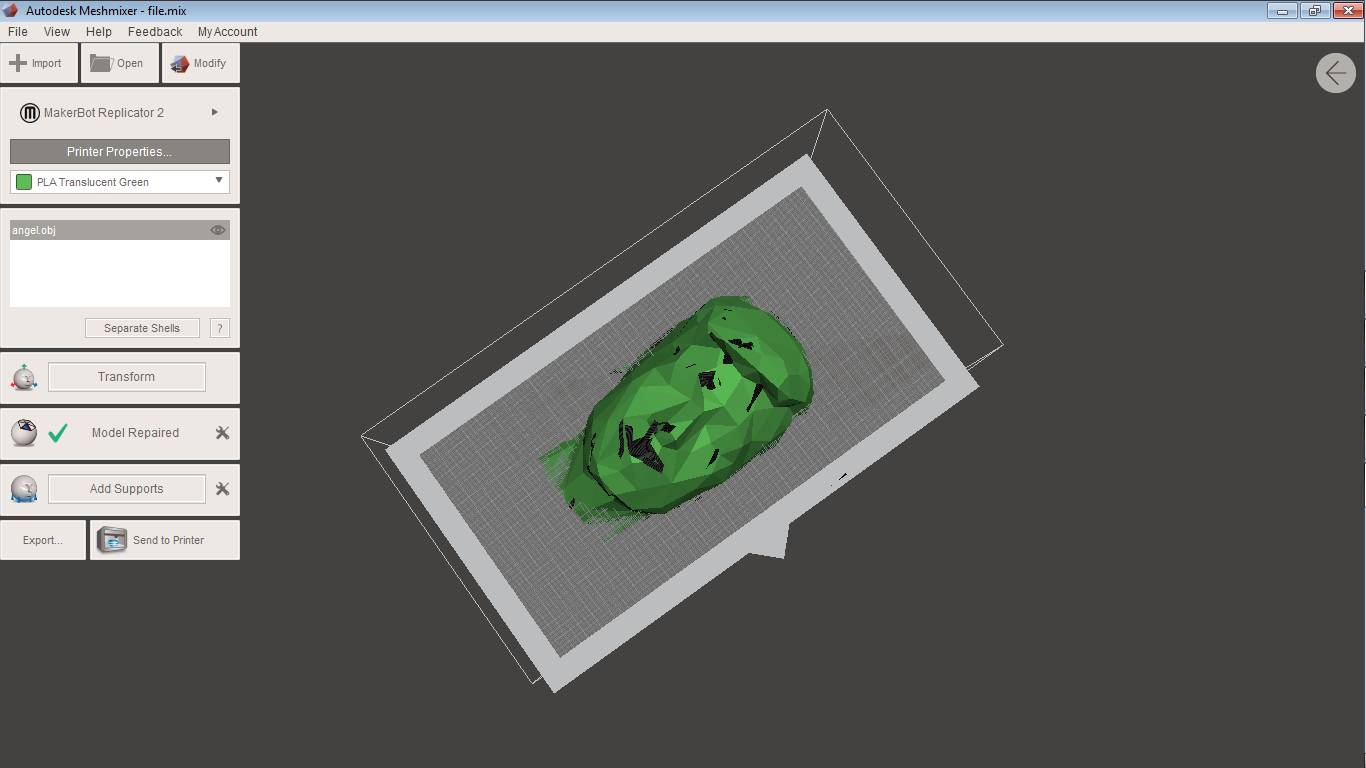
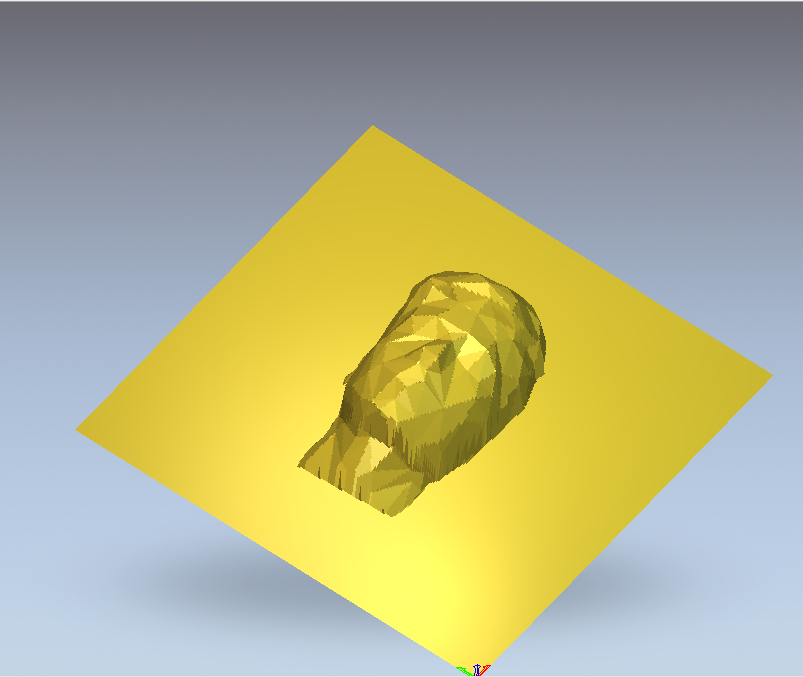
I used my 3d scanning, then I modify this file.
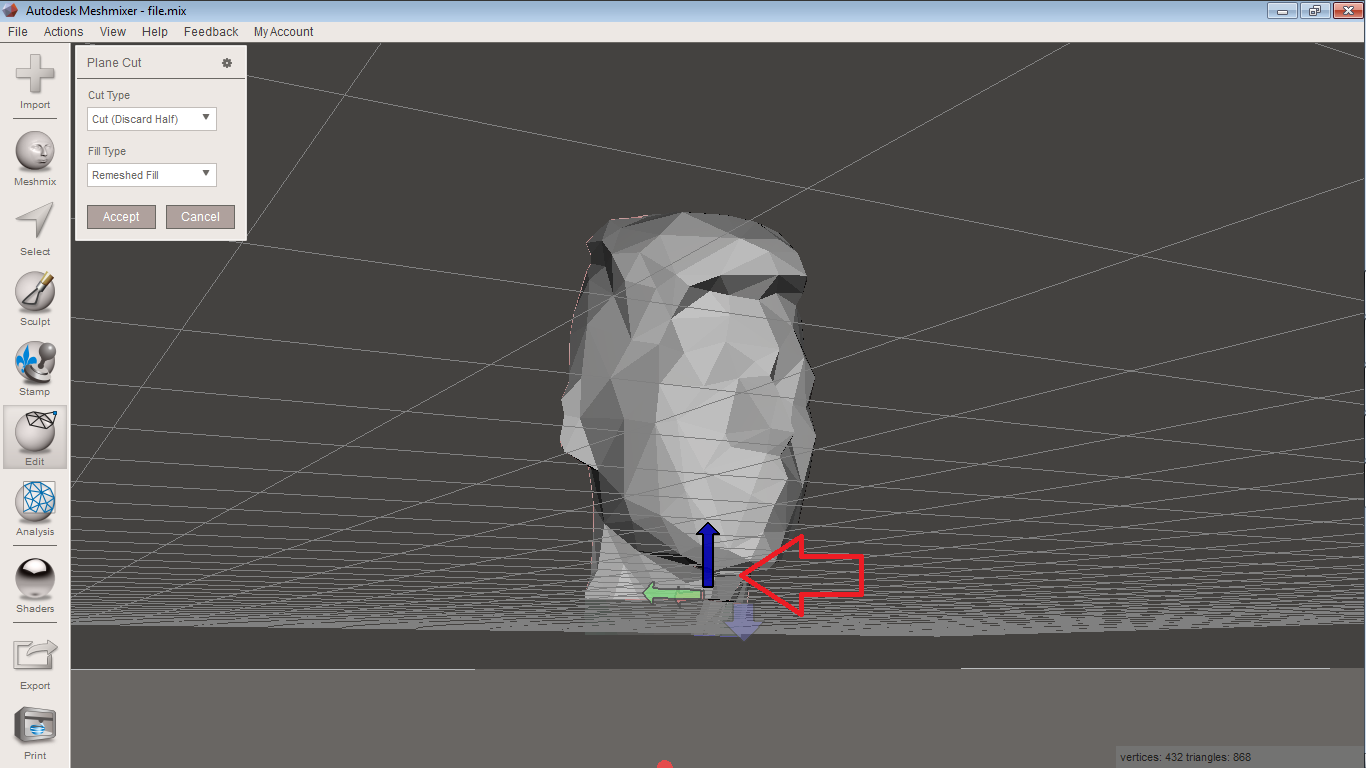
I cut the body and the half of my head, you can make it with the "Plane cut" tool.
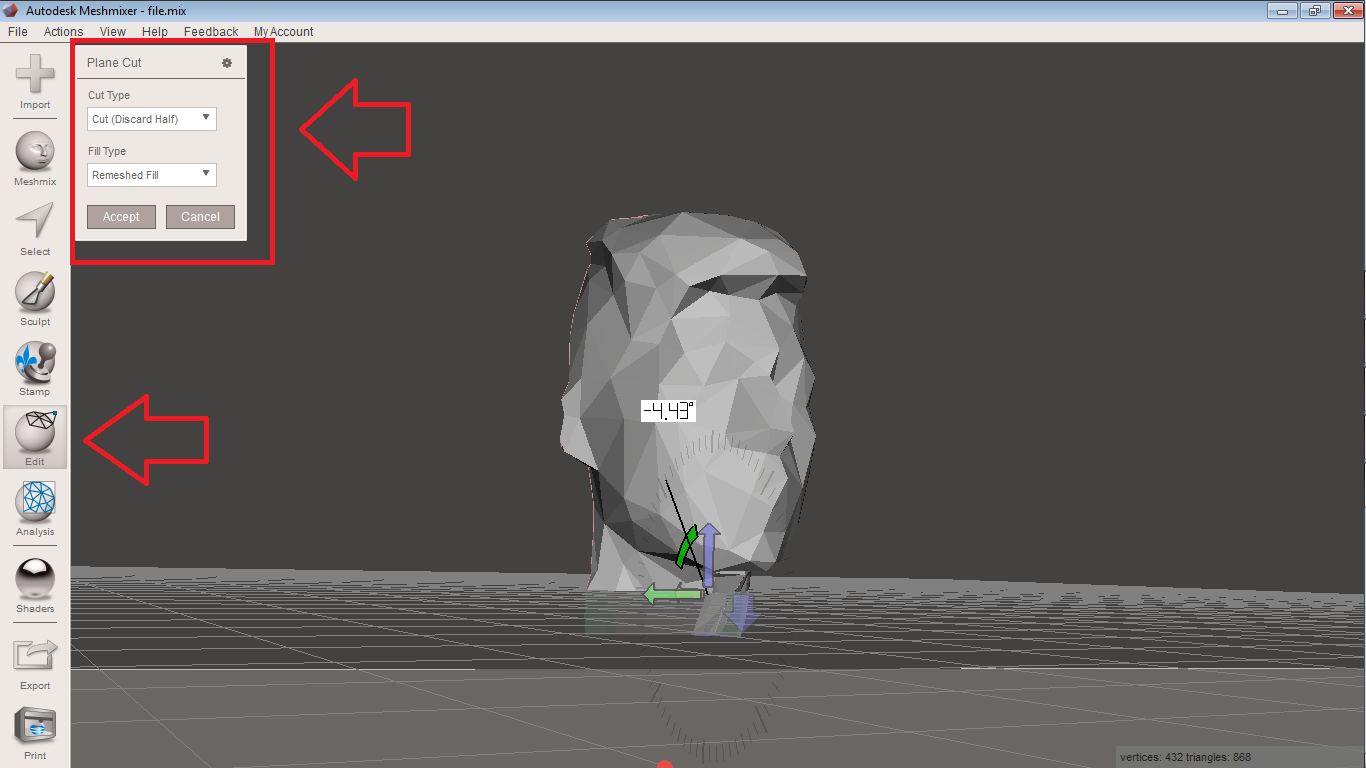
You just have to move the arrows, it is really easy.
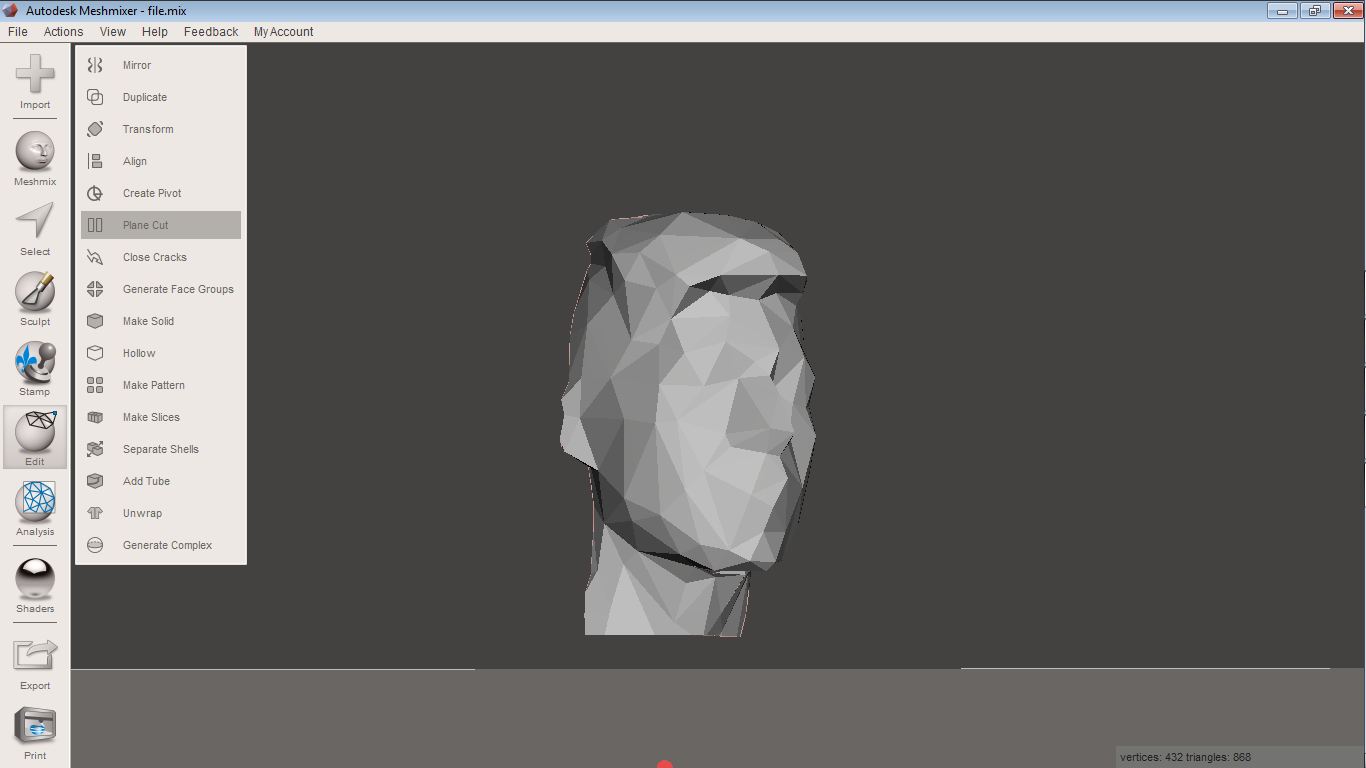
Then I exported a stl file. You can dowload this stl file in the final of thsi page.
2)Demonstrate workflows used in mould design, construction and casting
In this assignment we used plaster, we made a cube of plaster.
to create the plaster, we calculate the quantity of cast and water to make the mix.
we use 60% of plaster and 40% of water.
When we have the plaster and water we have to mix so fast, and put on the recipient, we made a recipient with wood, measurements: 25cm x 25cm x 10cm.

When the plaster is dry, we have to remove the wood and it is ready to use. I used it to mechanize mi 3d scan, I mechanized my face in the plaster.
I use the file than I created on my assignment of 3D Scanning and Printing.
I edited the file to create the g-code, I am using ArtCam because I like the all the possibilities to export a file.
Steps to create a G-code.
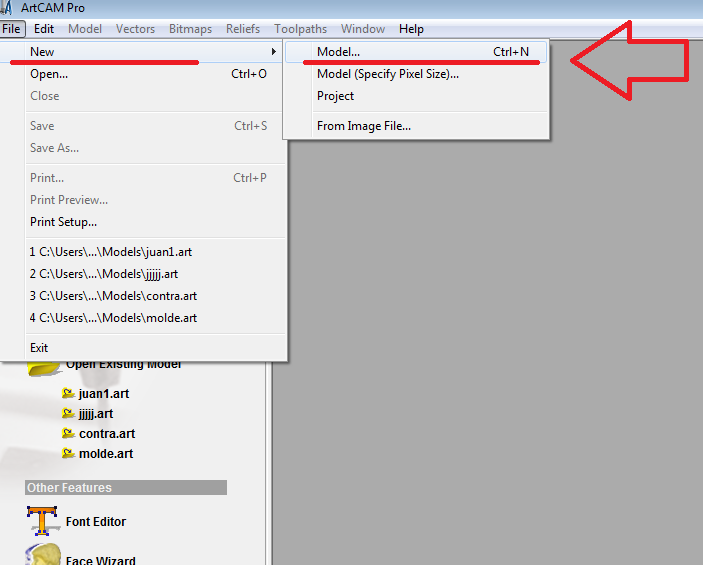
1) open the software and create a new model.
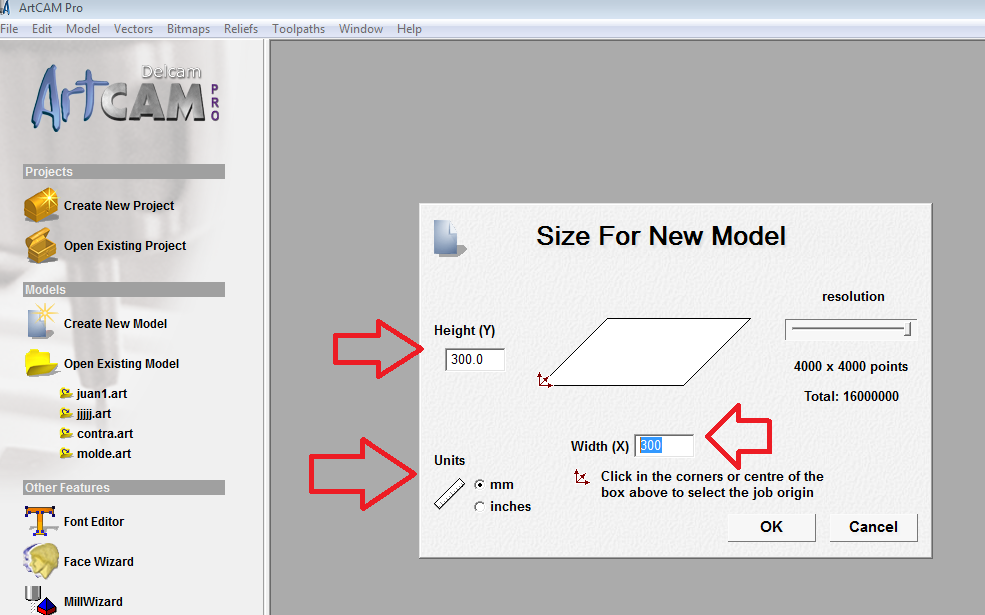
2)Set the size for the new model. It is the size of work area. and press "OK".
In this step is really important set the units on mm.
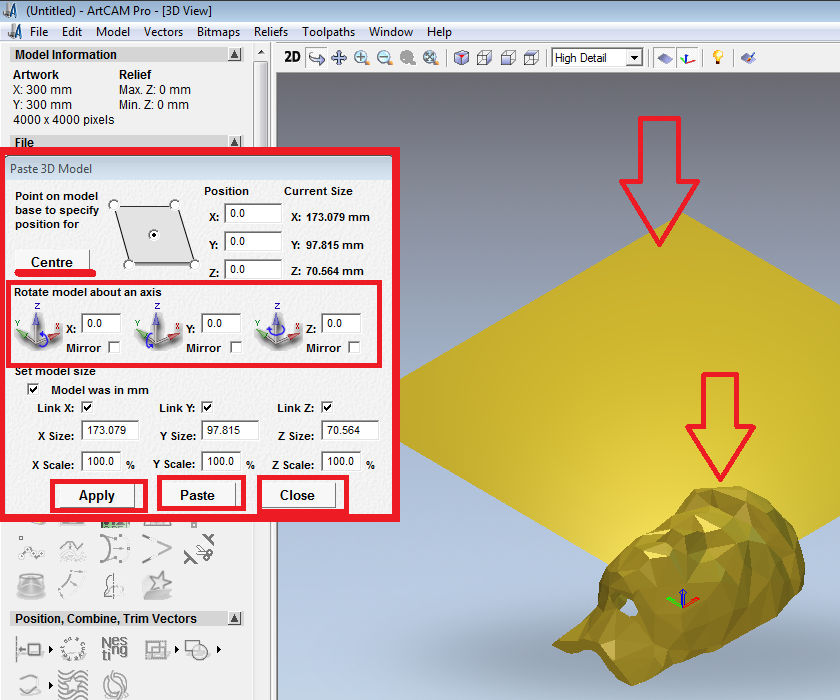
 3) Then you have to import a 3D model, I used the stl file that is described before.
In this step when the file is on the 3D Window, We can see a window to centre the file and rotate, also we to have paste the object on the work area.
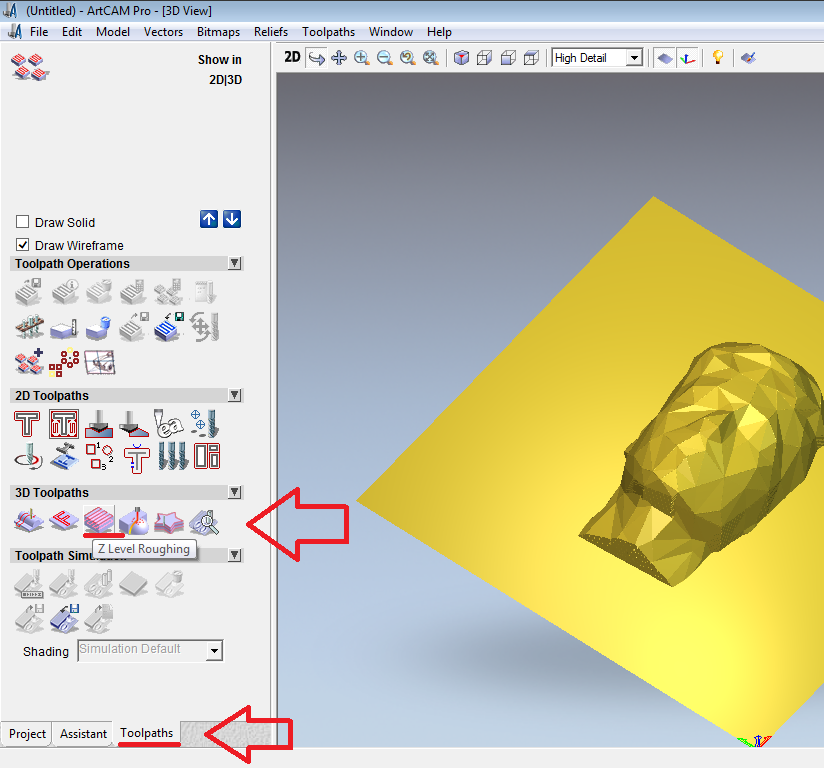
4) This step is the setting to milling, I decide to select "Toolpath" and "Z level roughing"
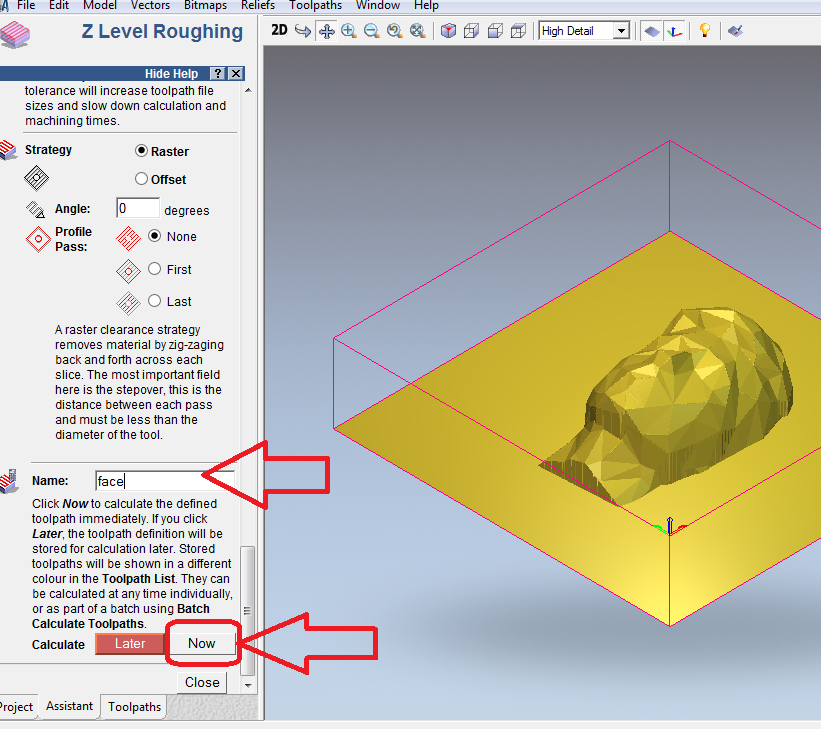
In this configuration you have to select the roughing tool, Z material origin. finaly write a neme to generate the archive and Calculate "NOW"

5) Finally wait a moment and close the "Tool Path" and you can see the setting and press Save Toolpaths on the left, it opens a window to select the format to save the archive and save the file.
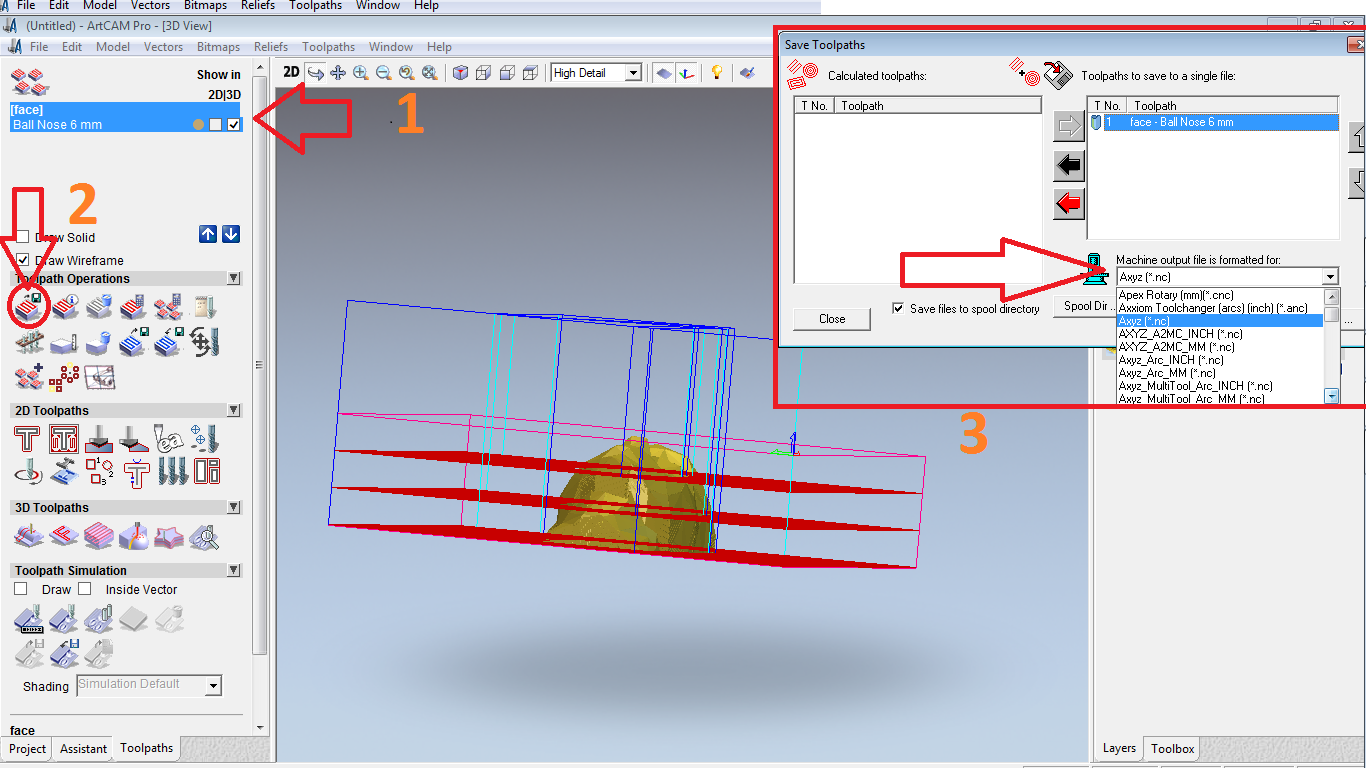
This file is in the final of this page to download.
3)Described problems and how you fixed them
Then I used silicone rubber to put on the plaster mold. you have to use protection to make the mix of the silicone rubber. also is really important make the mix so fast because if you make it slowly, it makes more dificult to mix.
When you are doing the mix, you have to try do not make bubbles.
In the next image you can see I was using a wood to put the silicone in a recipient, it is to prevent the bubbles.

Then I added the catalyst, the measure is proportional with the silicone. you have a catalyst bottle to use with a silicone bottle.
Then you have to put the mix of silicone rubber on the mold, a good technique to eliminate bubbles is give soft blows, I make it with my hand, you can give blows around the mold, but you have to take care, do not break the mold.
Then we wait the silicone rubber gets dry.
4)Included your design files and hero shot photos of the mould and the final object
This file is in the final of this page to download.
In the next image you can see I was using a wood to put the silicone in a recipient, it is to prevent the bubbles.
Then I added the catalyst, the measure is proportional with the silicone. you have a catalyst bottle to use with a silicone bottle.
Then you have to put the mix of silicone rubber on the mold, a good technique to eliminate bubbles is give soft blows, I make it with my hand, you can give blows around the mold, but you have to take care, do not break the mold.
Then we wait the silicone rubber gets dry.