Week 1, Assignment 1
Principles and Practices, Project management
My Day One of First Week of Fab Academy 2017 began with a short Trip from Mumbai to Pune and from there a Bike Ride from Pune to Vigyan Ashram, Pabal with my Friend and another Fab Academy student Pratik Gadkar. The trip was so much filled with Enthusiasm and Exploration as the Road were surrounded with Greenery, Farms, Mountains, etc. While reaching Pabal we meet some Kids on the way and played a Typical Indian Small Game of “Kancha” or “Goli” (Marble Balls). So after that Fun journey of 6 hours we reached Vigyan Ashram the First Fab Lab ever Started that to in a Remote Area. After Reaching we came to know that as it was 26th January, Republic Day of India, on the very next day so they have “Shram Daan (Voluntary Work)” going on. For that everyone was Cleaning and Painting a Public Bus Stand and a Public Toilet. So we also contributed and began Painting both, though that was a unexpected and a very new Experience for me, that to after Finishing not so good looking bus stand to a good looking Bus Stand was very satisfactory. Then Finally we began with the Fab Academy 2017, First Video Lecture By Prof. Neil Gershenfeld.
Principles and Practices
The Purpose of this Assignment is to built a Website describing me and my Final Project. In Fab Academy documenting our work on our WebSite is the Key, so will have to document all the progess in every week and Push it to the Web Page. To Began with, as per our Conversation with our Remote Instructor Mr. Suhas Labade, I First Signed-Up at fablab.io, Git Hub, and Autodesk123, and Installed Ubuntu 16.04 OS parallelly with Windows 7. As I am from Mechanical Engineering Background this Coding things were out of the Planet for me, so slowly I started with some Tutorials and Videos avilable online and Managed somehow to make my Web Site.
Making a Web-Page
HTML (HyperText Markup Language) is the language used for creating Web-Pages. As being Very new to this, I prefered downloading a CSS (cascading Style Sheets)
template and Edit it as per my requirement.
W3Schools have a very good and helpful tutorial for developing a Web Page Designing.
Went through with some of the pages on the site and learned a bit about HTML.
Surfing to various Sites suggested by Google like Bootstrap, HTML5UP, etc .
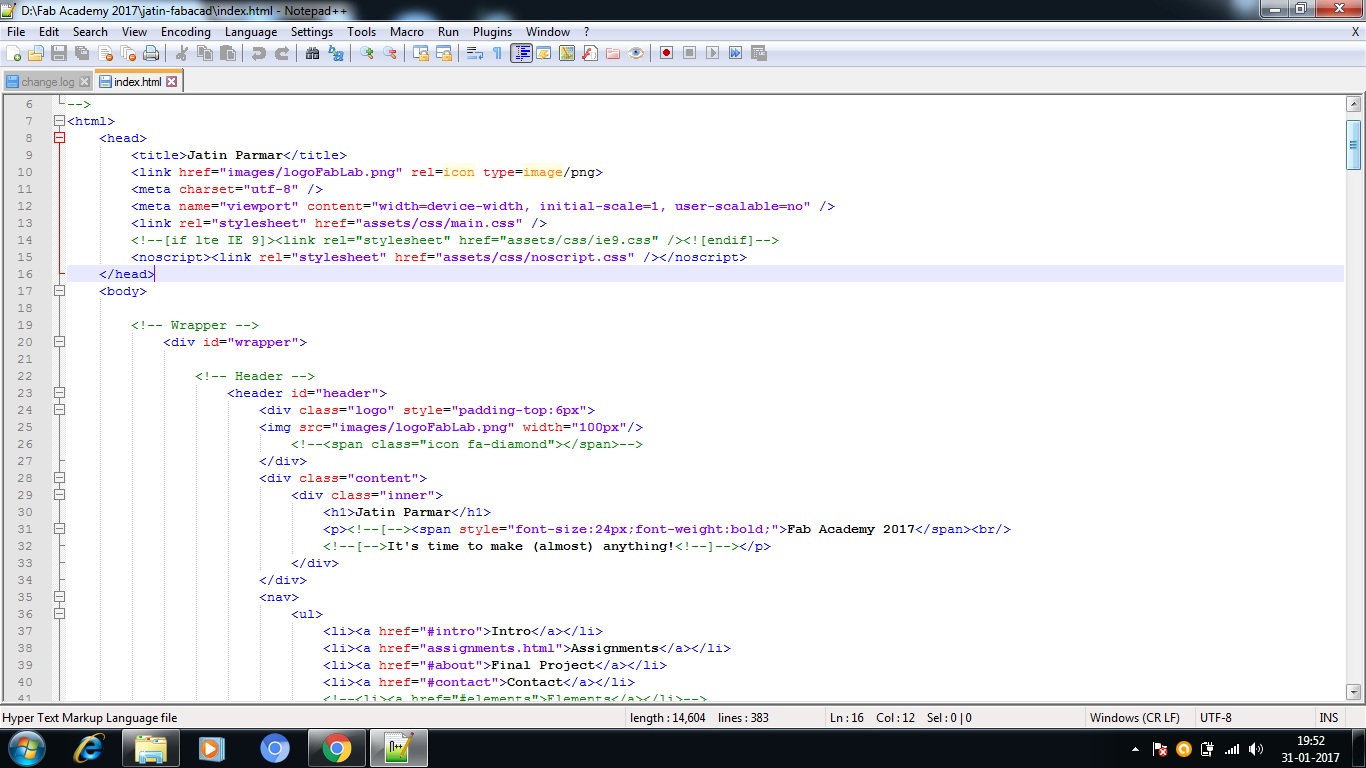
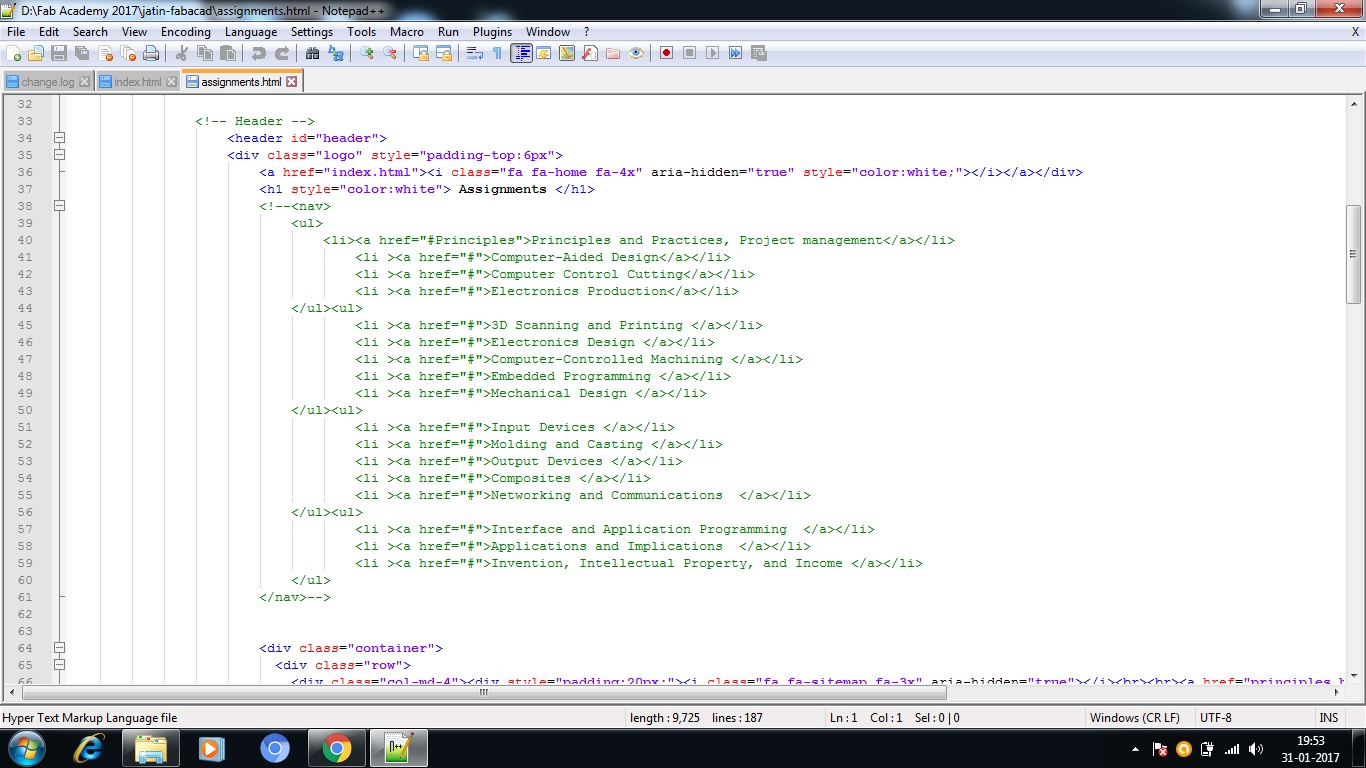
Then I went to HTML5UP and Downloaded a Template called Dimension and Started the part of Editing in Notepad.
As I began editing I was able to see the Changes Live on the Site and that made it much easier for me to understand the Language of HTML.
Then “FontAwesome” did the remaining part of making the site look more good by providing some free icons available in it.
Finally then after a long Work and a Sleepless Night the “Web-Page” was ready. Though I was very new to the Web Site making part still I enjoyed making my own web site and learning HTML for that.
GIT
“Git is a Widely-used source code management system for software development. It is a distributed revision control system with an Emphasis on speed, data integrity, and support for distributed, non linear workflows.” ~ This was the first defination what I got from Google about GIT. Then after few sessions and some learnings from FabLab I understood that GIT is a repository where we have a common folder where we store our files. The First thing which I have to do was to get GIT installed. To start with I first learned some Linux coding as it was very much important while using Ubuntu, so to install GIT, I went to the Terminal Window in Ubuntu by hitting “CRTL+ALT+T” and then the Terminal Window pops-up, then Enter the command
sudo apt-get install git -y
Now after the process took place, try to check whether GIT is installed or not in the Terminal window itself. Enter the command in the Terminal Window and hit Enter
dpkg -s git
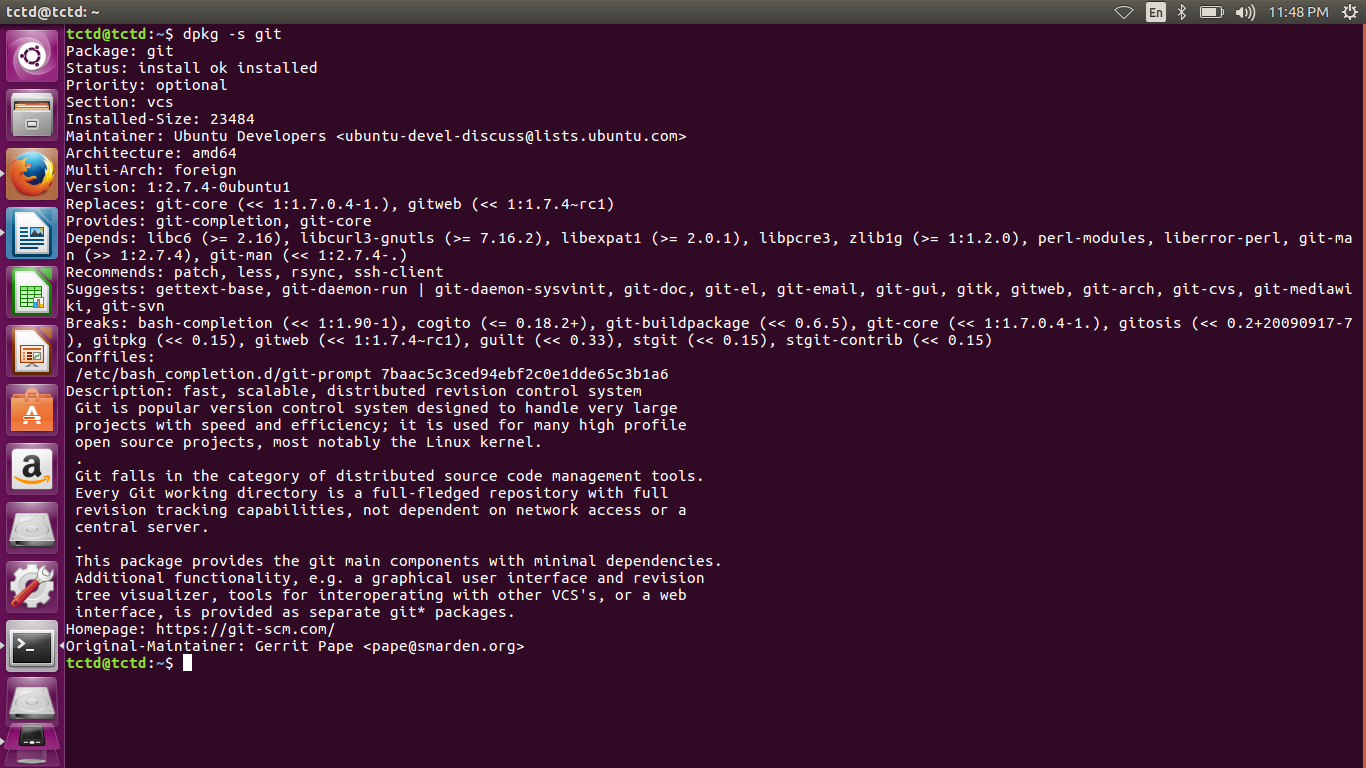
The third Line shows that the GIT is Installed properly in my system.
Generation of SSH key
After installing GIT its time to generate the SSH key. Starting with it first I flused out all ssh keys from ssh folder by using the Command
cd ~.ssh # navigate to .ssh folder
rm * # delete everything present
After Deleting list out all the keys installed currently
ssh-add -1
Now Genetaring the new ssh key by command,
ssh-keygen -t rsa -C “emailid@domain.com" #replace with your email id, when prompted press enter to accept the defaults.
ssh-add ~/.ssh/id_rsa #this will add the key into ssh-agent
xclip -sel clip < ~/.ssh/id_rsa.pub #by-default it creates id_rsa file. if you have changed the defaults then replace that with this
After generating the go to git.fabacademy.org and Sign-In with the FABLAB.IO user credentials.
Once logged in go to the profile preferences, and look out for ssh keys section, open that section
Then click on green colored 'Add Key' button and paste the key into the text-box provided. and enter the title for your key, it can be anything but by-default it takes as you email id.
Now run this to ensure client is working or not
eval "$(ssh-agent -s)"
Then tried getting Data from FabLab resository. Using my home folder to clone the repository
cd ~/ #this will take terminal to your Home directory
git clone
git@git.fabacademy.org:fabacademy2017/fablabvigyanashram.git
Here i found ‘fablabvigyanashram’ folder inside home directory
Now Configuring the GIT, use the Username and Email id that I user in the Previous Step to Sign-Up into the Account.
cd ~/fablabvigyanashram #replace this with your repository folder
git config --global user.name "yourname"
git config --global user.email "youremail"
git config --global push.default simple
Now made all the necessary changes that I wanted to see inside ‘fablab vigyan ashram’ folder.
Now, open the Terminal and execute the following commands
cd ~/fablabvigyanashram
git pull
git add --all
# add your changes
git commit -m "message"
# message which will identify user & purpose of commit
git push
# uploading process will start now!
At Last by following all the above steps I was able to upload my Assignments to the Repositories.
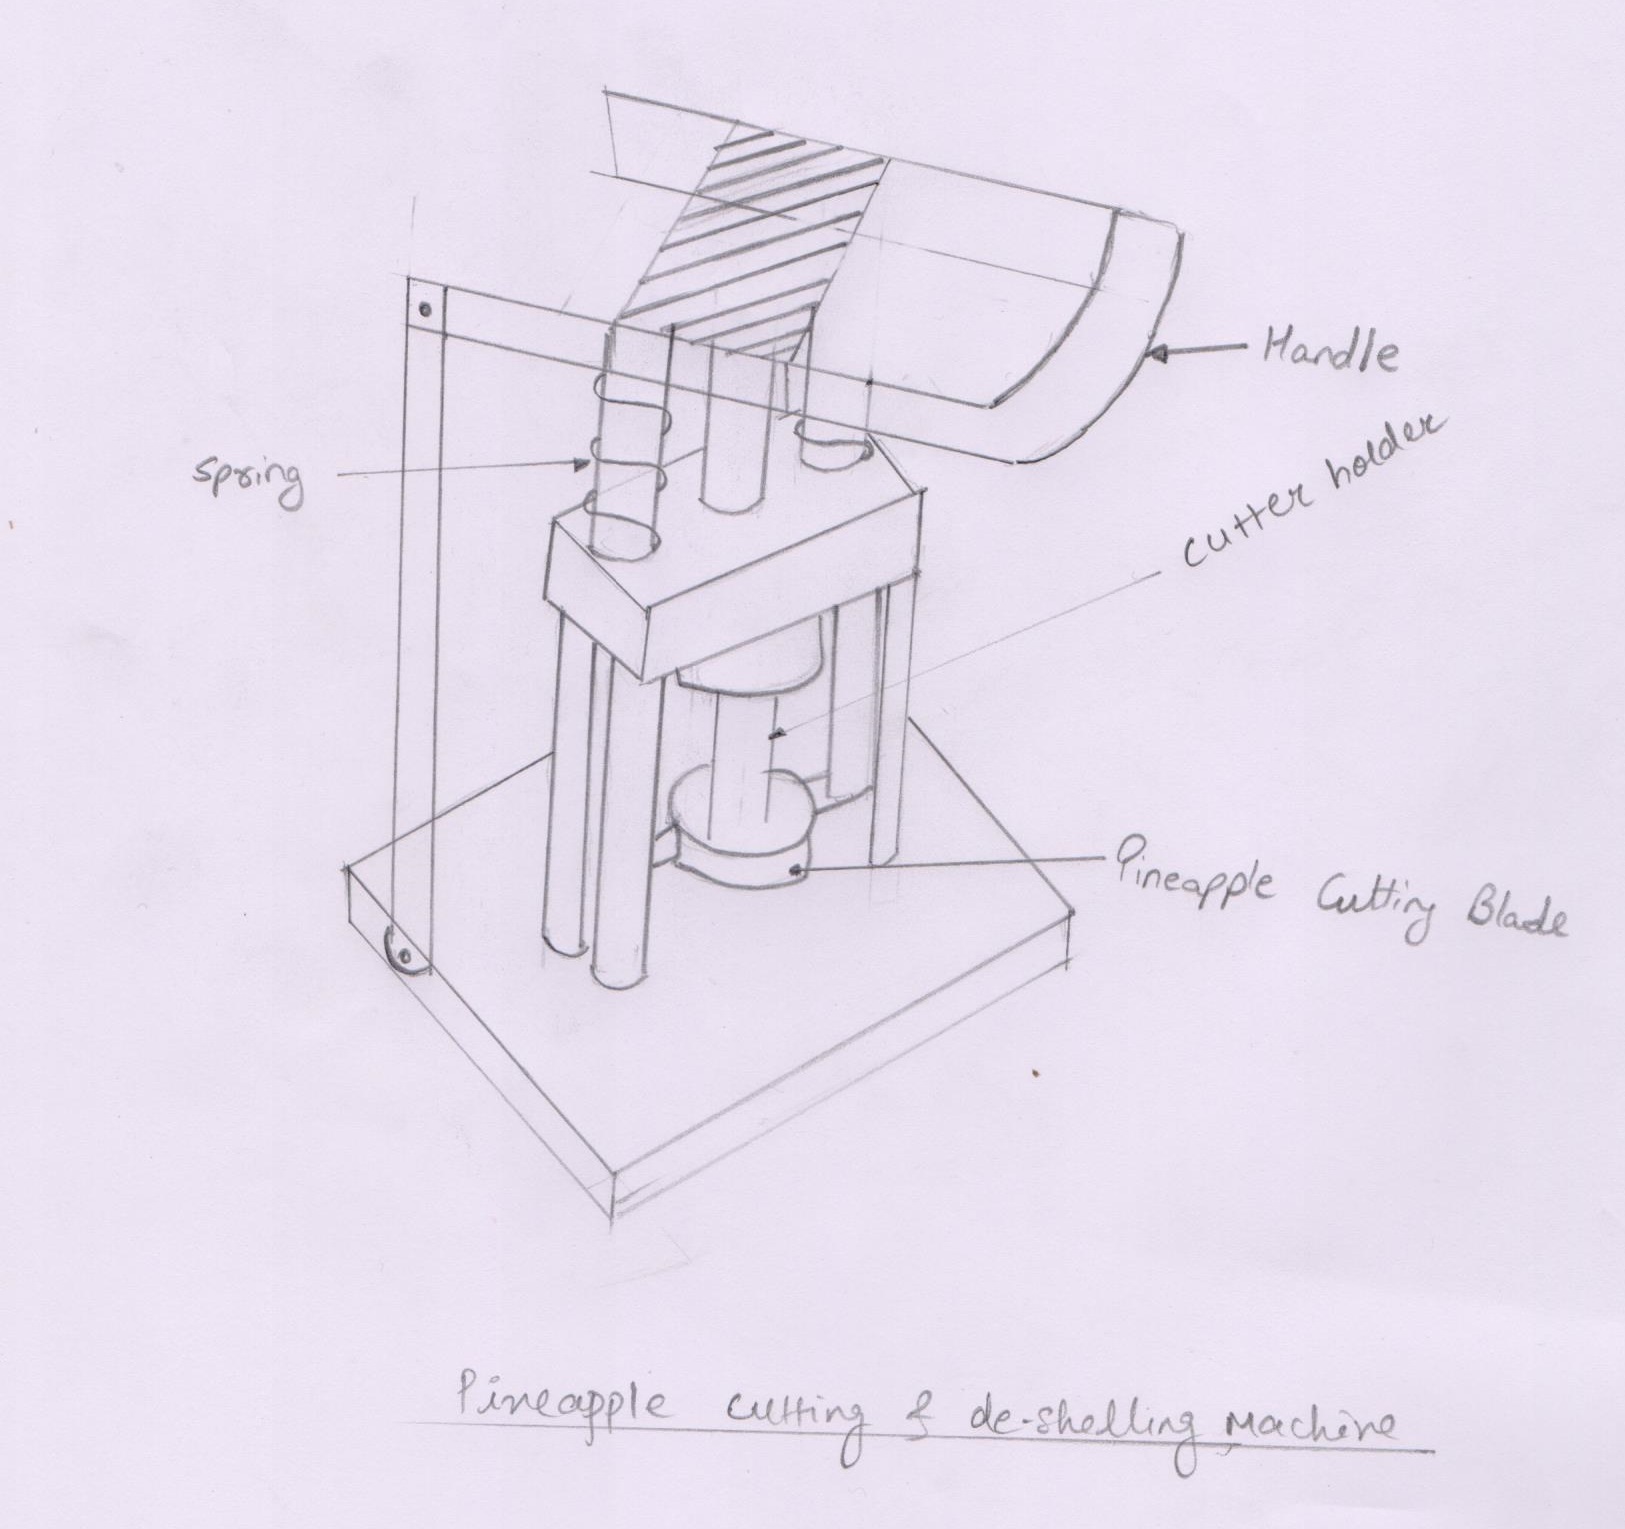
Project:
Pineapple peeler
The pineapple (Ananas comosus) is a tropical plant with an edible multiple fruit consisting of coalesced berries, also called pineapples, and the most economically significant plant in the Bromeliaceae family. Pineapples may be cultivated from a crown cutting of the fruit, possibly flowering in 5-10 months and fruiting in the following six months. Pineapples do not ripen significantly after harvest. Pineapples can be consumed fresh, cooked, juiced, or preserved. They are found in a wide array of cuisines. In addition to consumption, the pineapple leaves are used to produce the textile fiber piña in the Philippines, commonly used as the material for the men's barong Tagalog and women's baro't saya formal wear in the country. The fiber is also used as a component for wallpaper and other furnishings.
Problem Identified :
Pineapples are huge in demand in market in the form of raw fruit and its by-products. While making its by-products cutting or removing its outer thick core is the major challenge. Currently there are no such products or machines in the market to cut pineapples outer skin. These industries are small and medium scale so they cant afford heavy machines for removing its outer cover.
Solution:
I am planing to make a automised pineapple de-shelling machine which is low cost and very simple to use by understanding its ergonomics and application .
The machine I am planning to design and manufacture will be semi automatic but efficient.
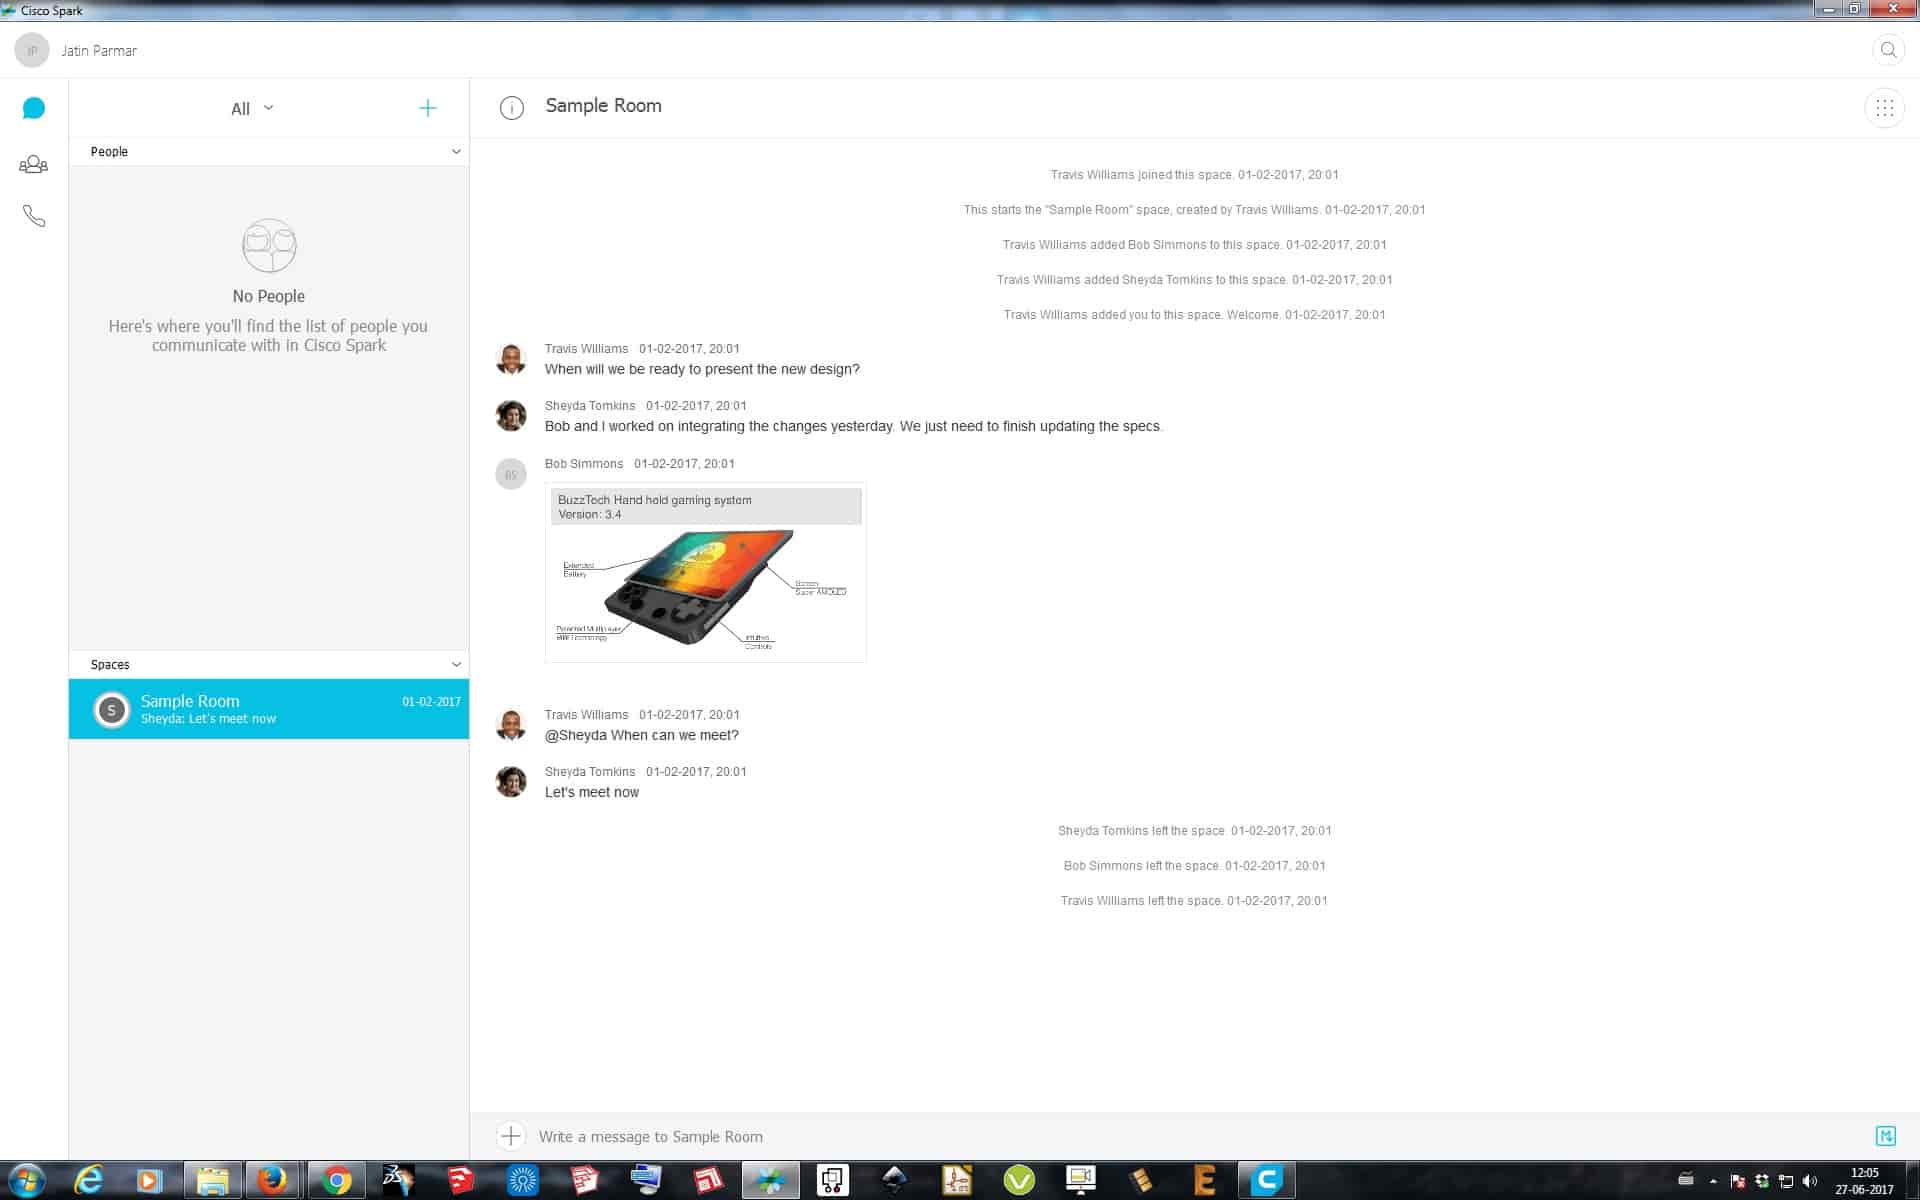
Video Conferencing
For attending the class we need to have a video conferencing tool. There are Polygon, Cisco Spark, etc. So I used Cisco Spark for that, it easy to use easy to install. Just googled it and installed the software for Windows and registered as a new user and I was ready to go with it.