#week 7
computer controlled machining
This weeks assignment
Make something big (on a CNC machine).
Fusion360
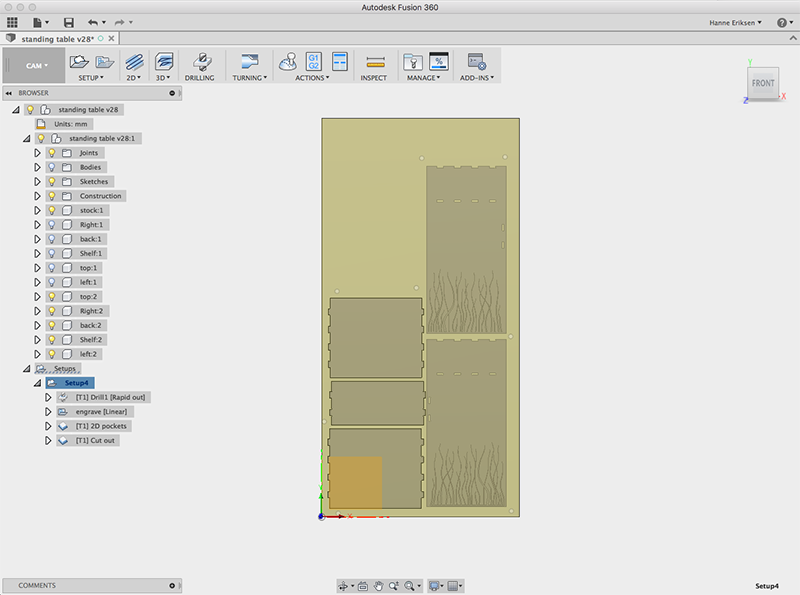
On this weeks assignment I challenged myeself to use Fusion360 to 3D modell the project. Since I am totally new to this program, this project ended up taking forever! BUT - it came out great in the end. I am glad that I did not go over to Rhino when I was stuck, because Fusion is finally starting to become more understandable.
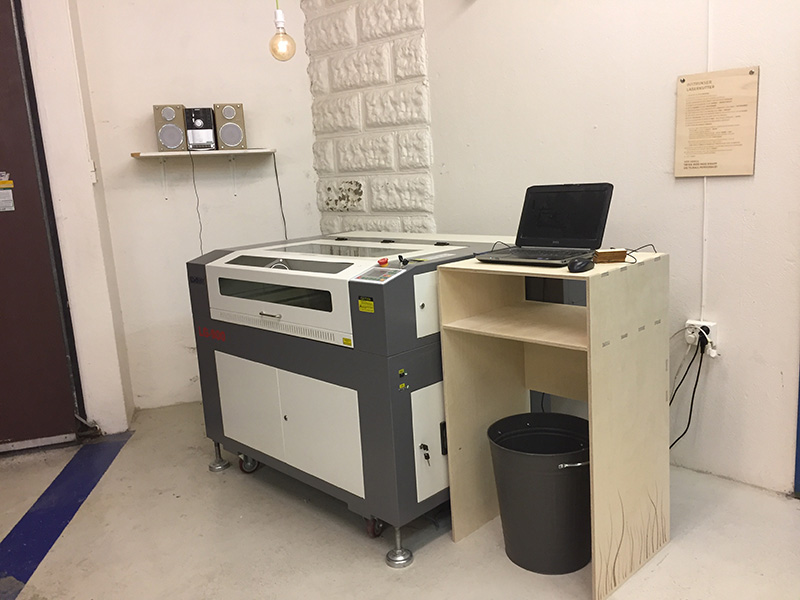
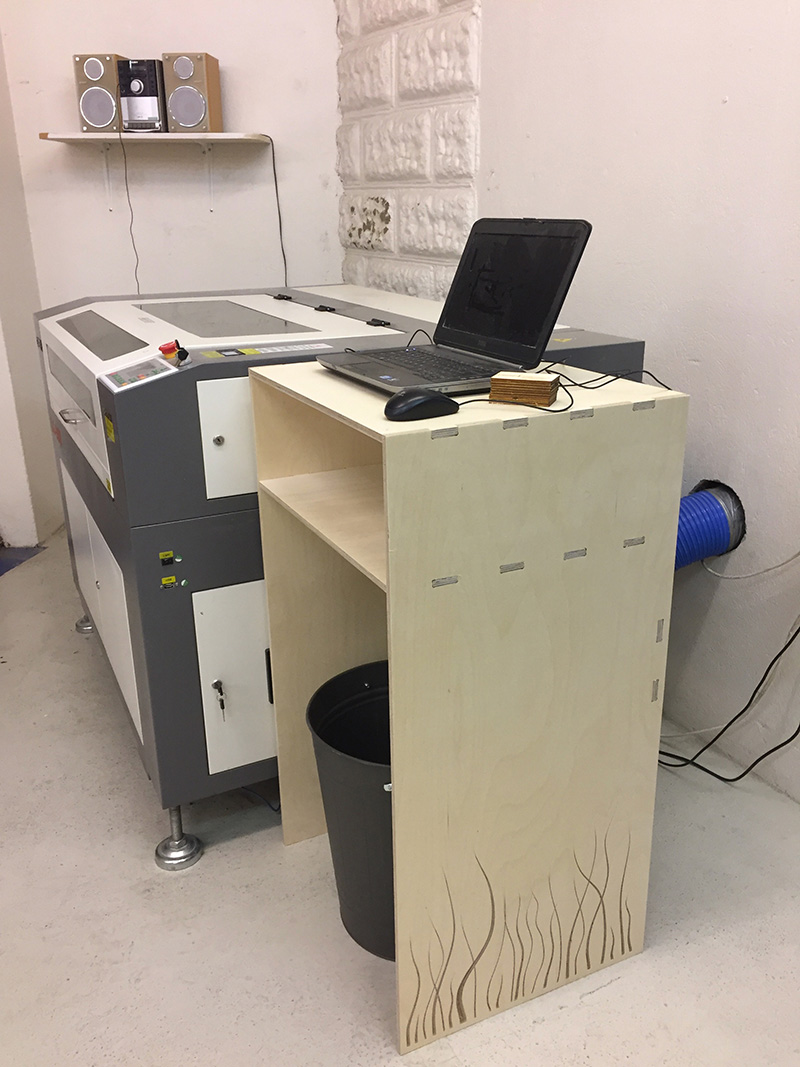
I have been wanting to make a new standing workingstation for the lasercutter, and found this to be the right projcet for it. The shape ended up as a simple/clean shape - and instead adding texture to it to make it a bit more visually interesting and not just " a box".
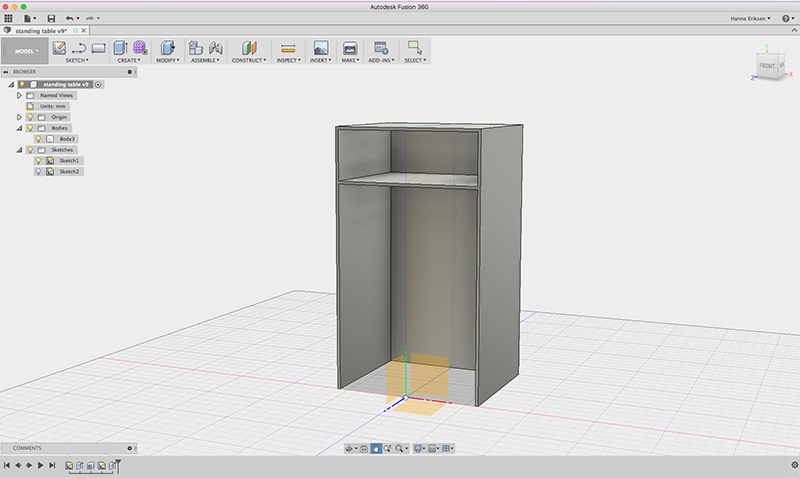
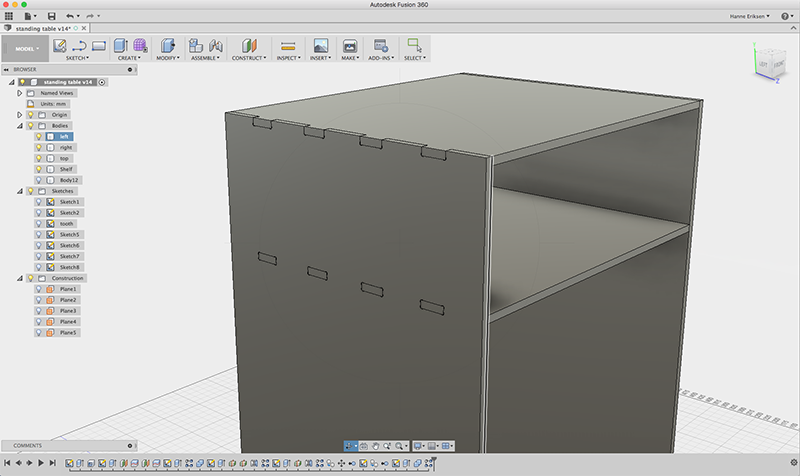
I started off with adding all the surfaces with the correct measurements, to make sure the height, witdht and depth of the table fitted together with the lasercutter. The dogbones were designed and added manually to the slots where the material would fit in. Later, I have found a Dogbone "Add in" for Fusion360 - that automates this process a lot faster.
You can find this Add in here: https://github.com/caseycrogers/Dogbone
I then added all the joints and holes, on one side - before I split the top and shelf in the middle and mirrored left side over to the right side and joining it into new bodies.
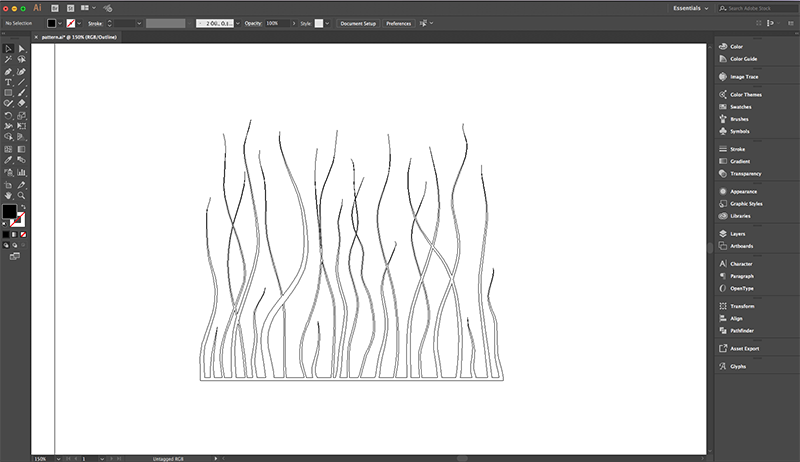
The vector illustration for the side panel is taken from shutterstock image bank where I have a subscription, which I opend in Illustrator, cleaned up and joined all the paths toghether so it would be easier for the milling job.
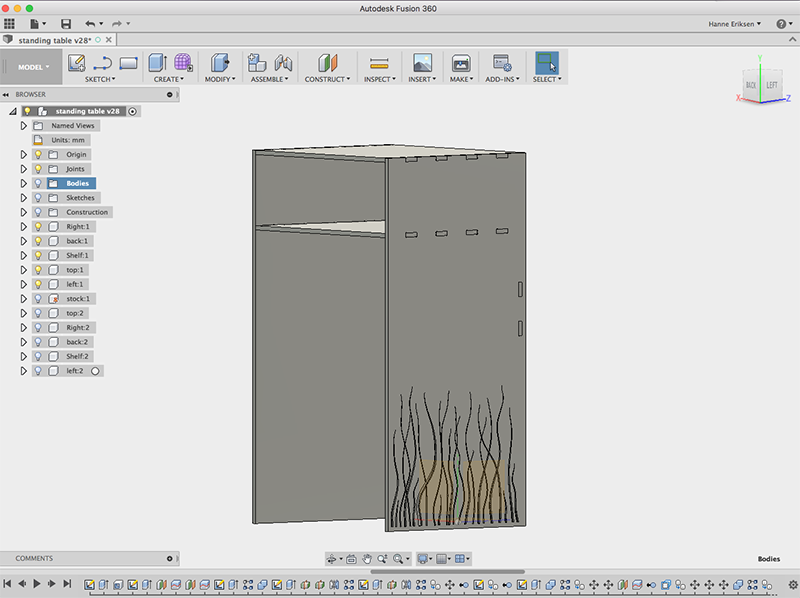
I then imported the dxf file from Illustrator, and placed straight onto the surfaces.
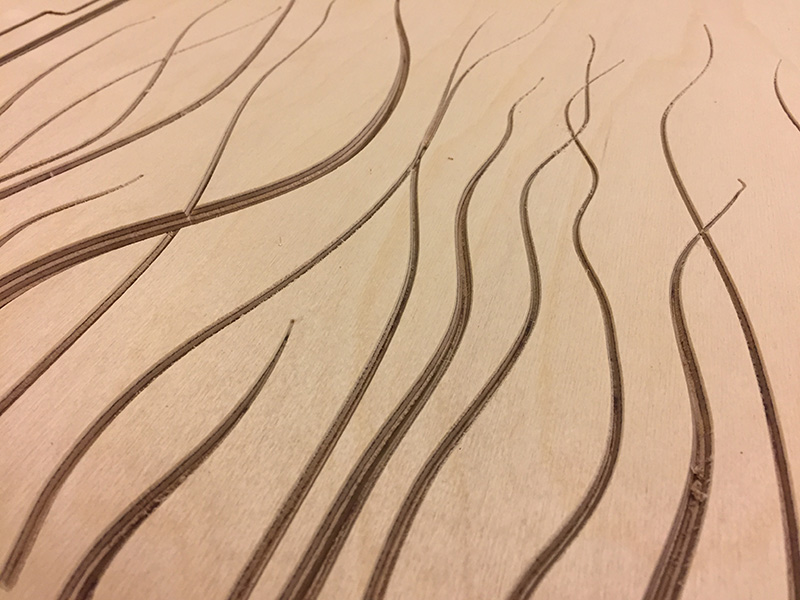
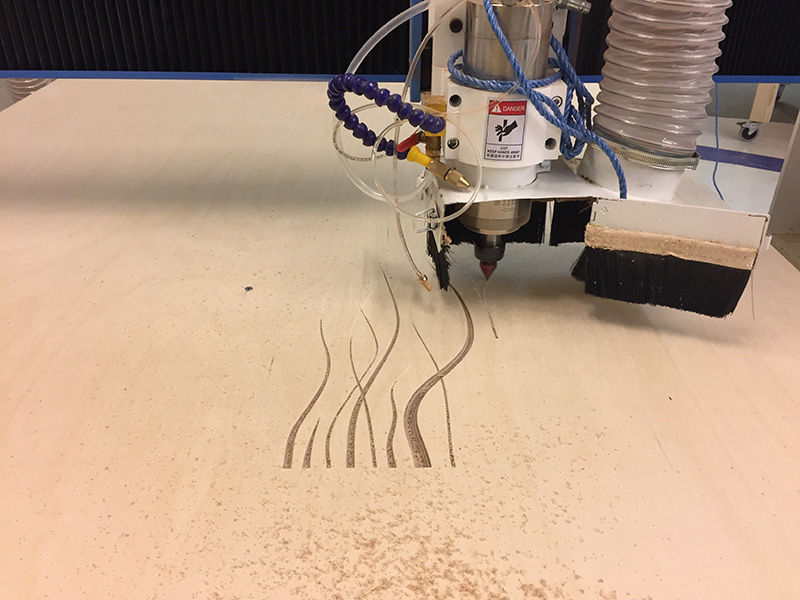
Getting the right tool and settings for the illustration was maybe the biggest challenge with this project. But in the end it turned out perfect.
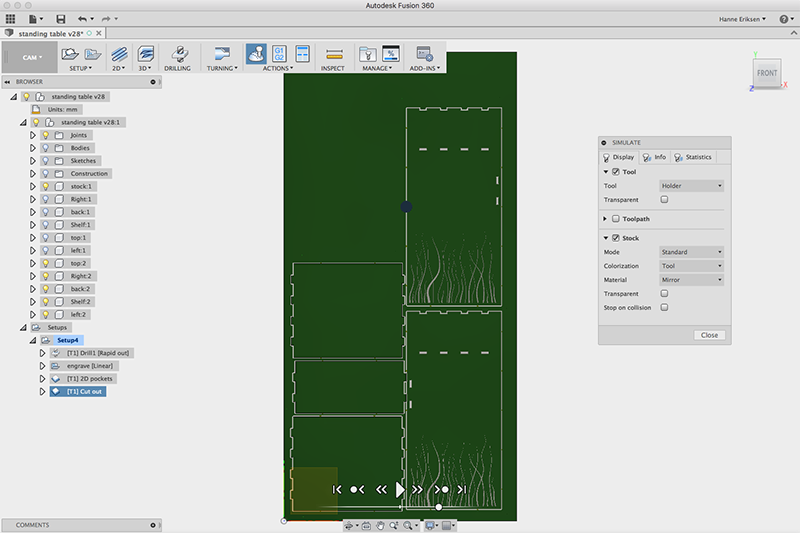
The milling
The milling job was done by using MACH3, and was processed into 4 jobs:
1. Scew holes
2. Engraving the illustration
3. Pocketing the holes
4. Cut out of the shapes
3 tools were used for the milling:
1. Regular 4mm drillbit (drilling the holes)
2. v-carving 30 (engraving the illustration)
3. Dia 6 mm flat endmill upcut (cutting out the holes and shapes)
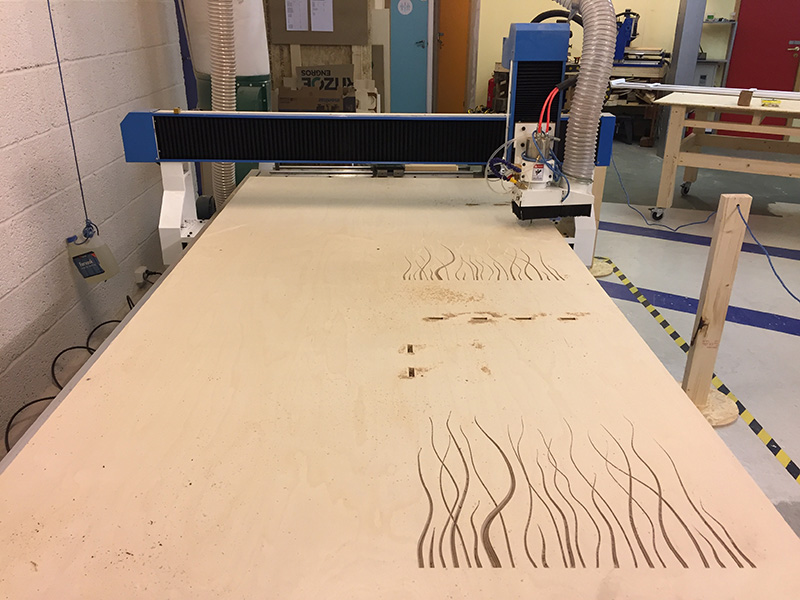
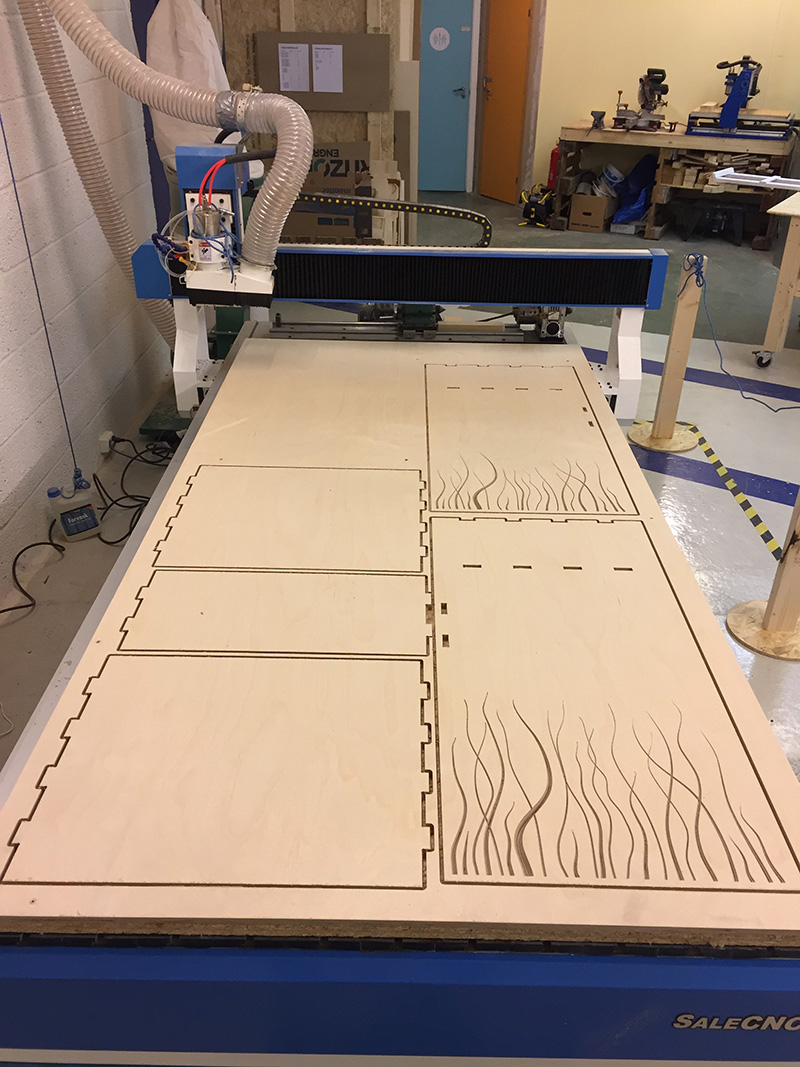
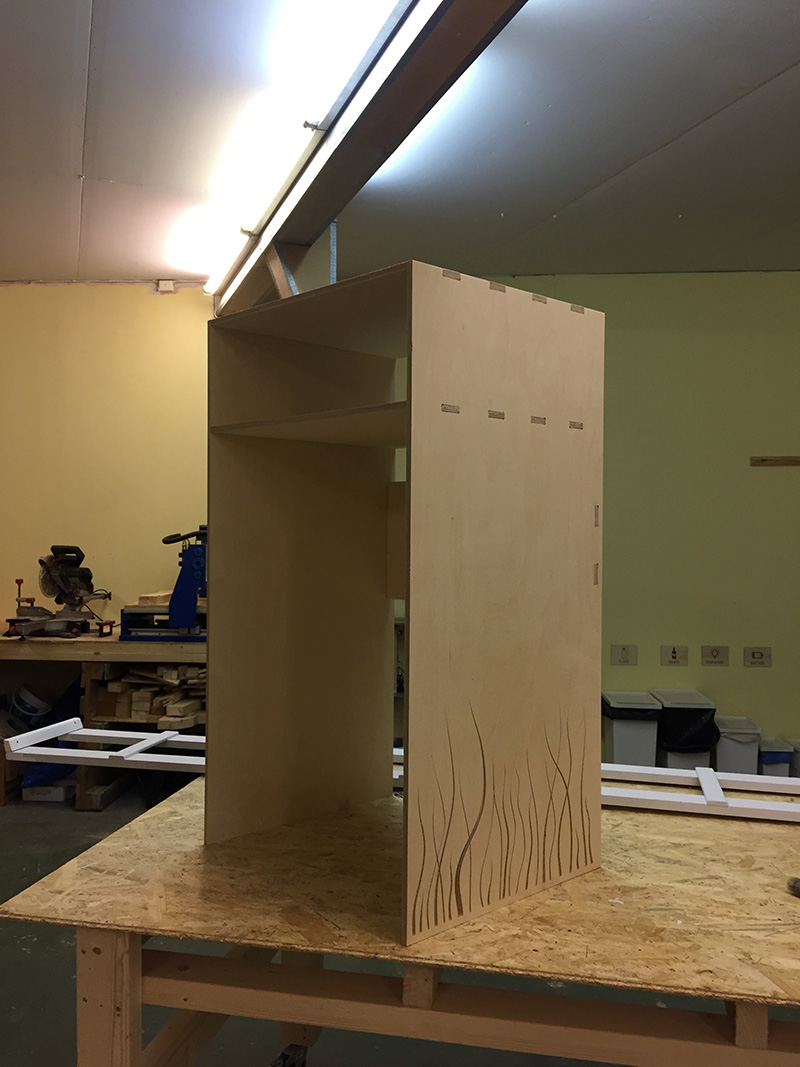
The material used was 12 mm plywood, and the engraving was made 8mm deep. The fitting ended up being a bit too tight - resulting in quite a bit of sanding and forcing the peaces together. Teaching me to make time to do a test run first to make sure the holes fit...But at least I didn't need glue!
Later, I found out that it was the CNC machine that was the cause of the tight fitting. It turnes out that the machines was not working properly - it "gave after" when milling - which resultet in the milling bit not removing as much material as it should. This was first noticable when we were making assembling projects like this, where the material had to be assembled with a perfect fit.