#week 14
COMPOSITS
This weeks assignment
Read the material safety data sheet (MSDS) and technical data sheet (TDS) for the resins that you're using
Design and make a 3D mould (~ft2 /30x30cm), and produce a fibre composite part in it
For this weeks assignment, I started out with an way too high ambition for what the final result would look like.
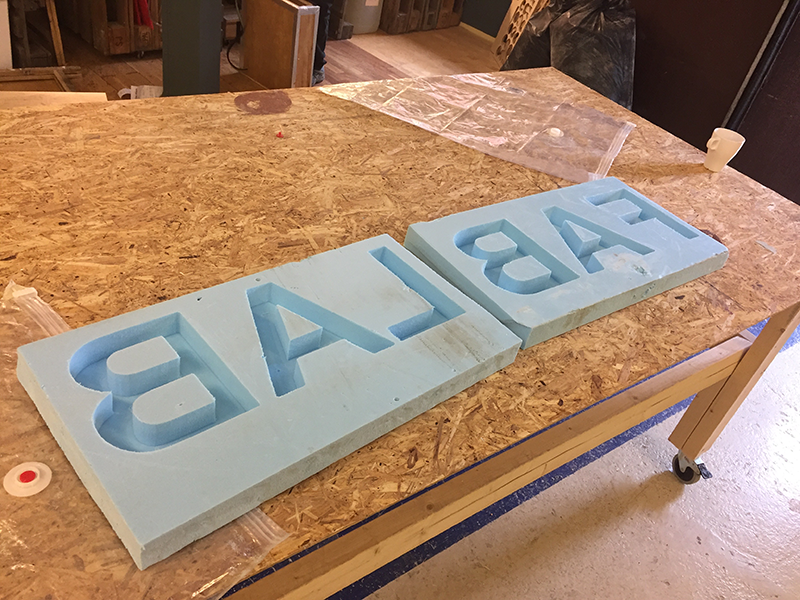
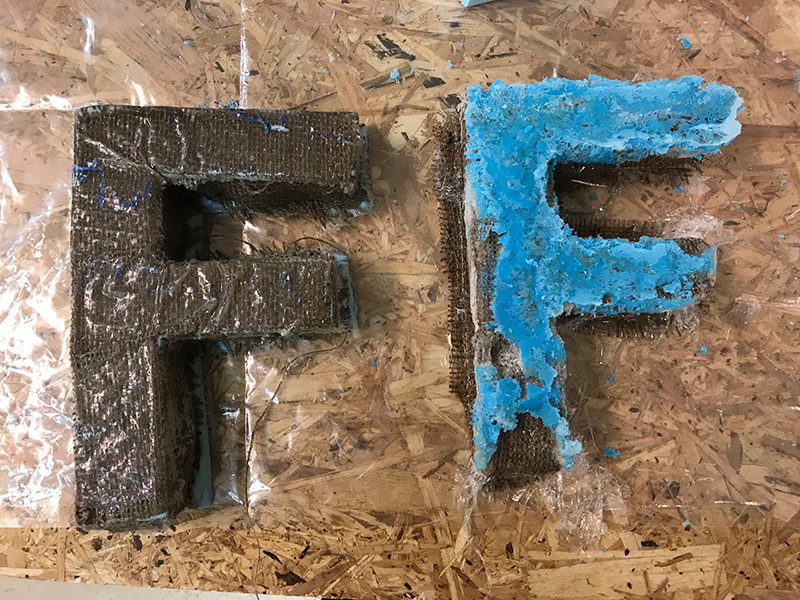
I had an idea that I wanted to make a 3D signage, with the words "FabLab". The sign would be made with epoxy and burlap, where the burlap would only be a thin layer, the reason being that I would put light inn behind it and hopefully it would shine through.
I started off with the 3D modell in Fusion, and then continued to mill it in styrofoam. The letters being 30cm high.
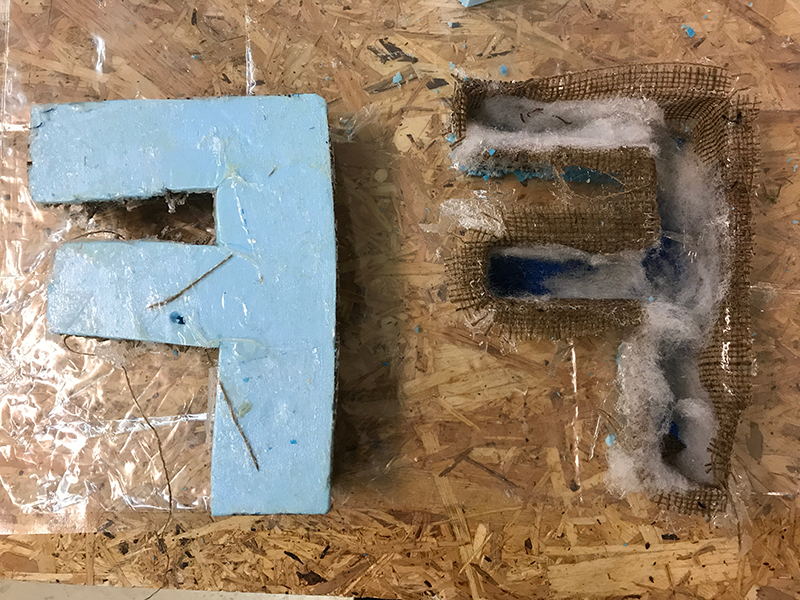
I soon realized that the shapes was way too dificult to be able to make a nice and wanted result. But I tried both a negative and positive shape before I gave up on the idea.
I then went back to the drawing table and made a simple shape, so I could go through the process and get the result that I wanted.
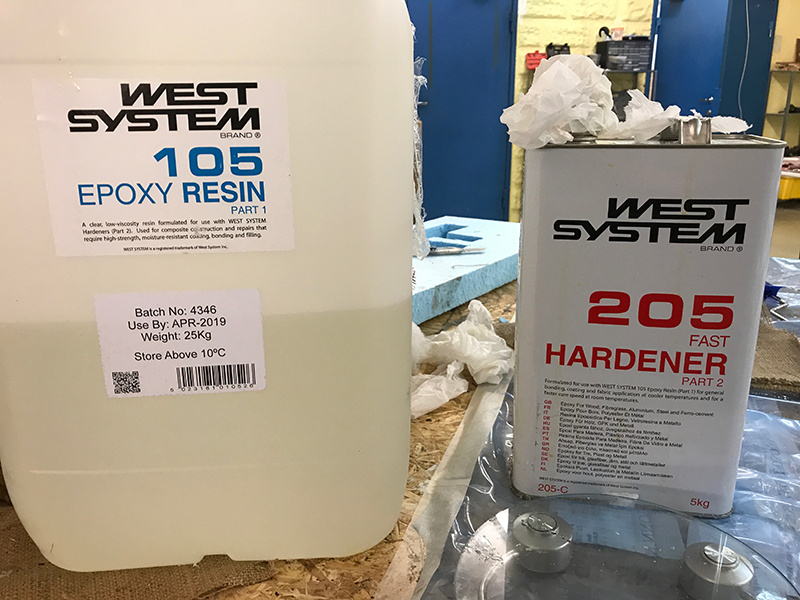
The Epoxy I used was West Systems Epoxy resin and Hardener. The mixing ratio being 1 to 5, and I let it sit overnight - about 9 hours.
You can find the datasheets here:
Epoxy Resin
Hardener
The first failed attempts
The first attemps failed from what I could see was too little resin on the side on the first one, and way too much resin on the second one - making the styrofoam melt. The test where I put the fabrik in to "soak up" the resin was total failure - since it was not possible to remove the fabrik nor the preforated plastic in the bottom.
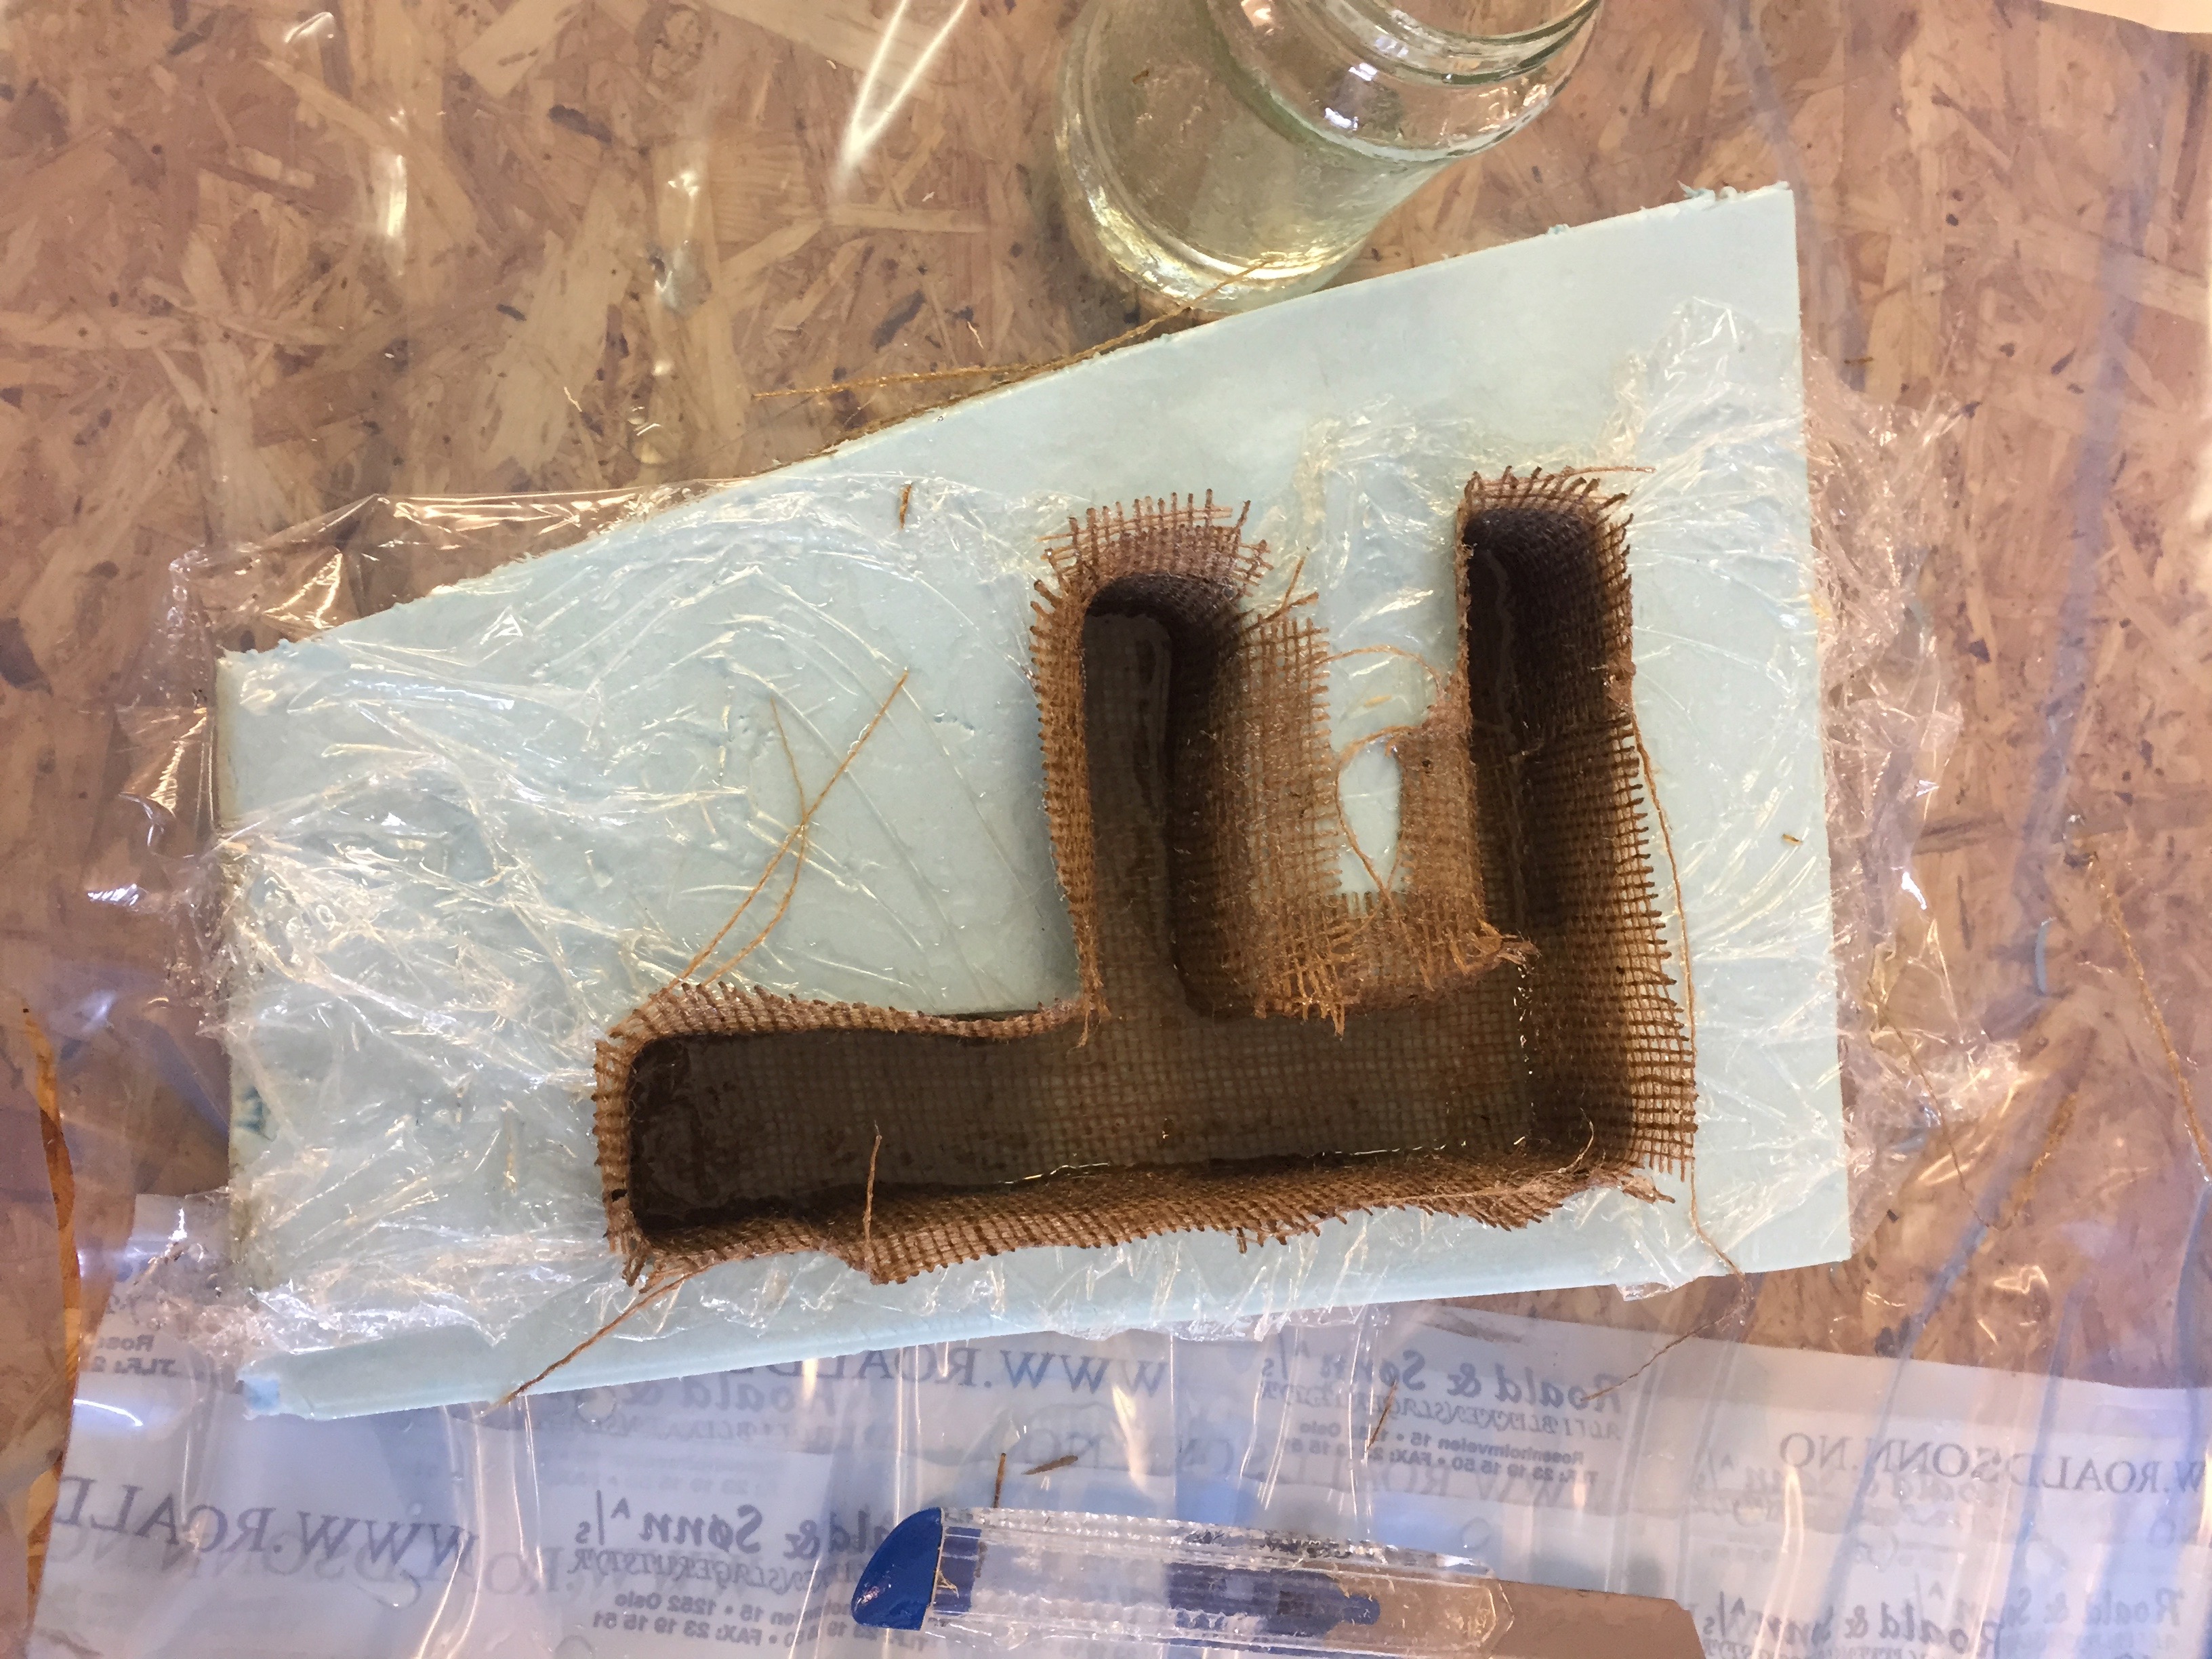
The seond attempt
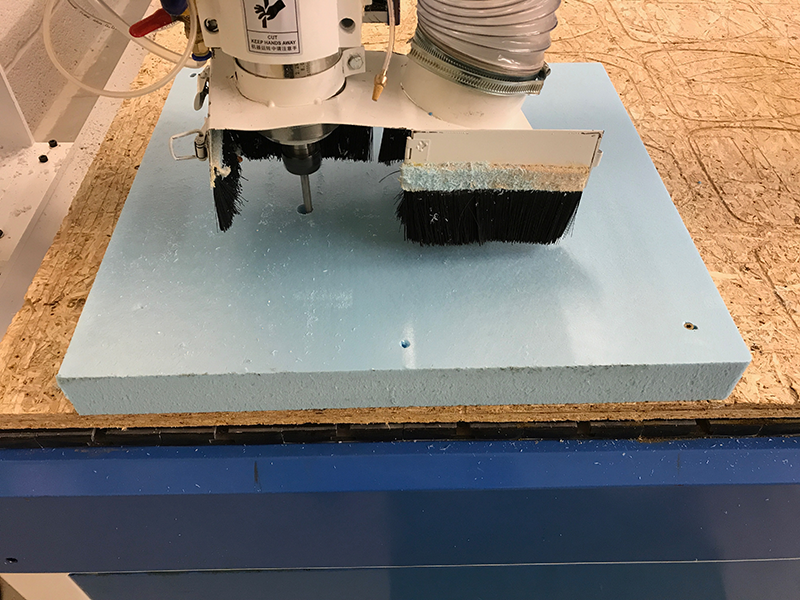
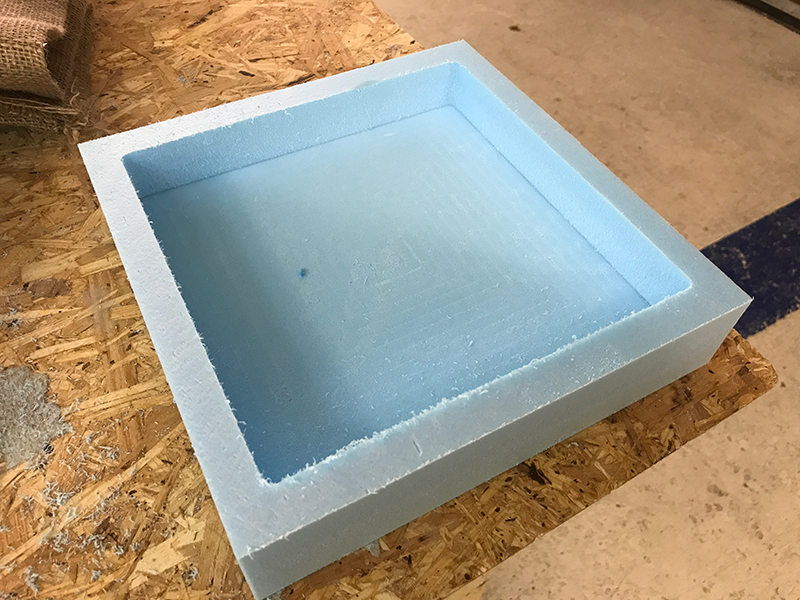
I milled out the mould in 50mm styrofoam, using an 8mm endmill.
I first made 40mm pocket, and then run a cutout.
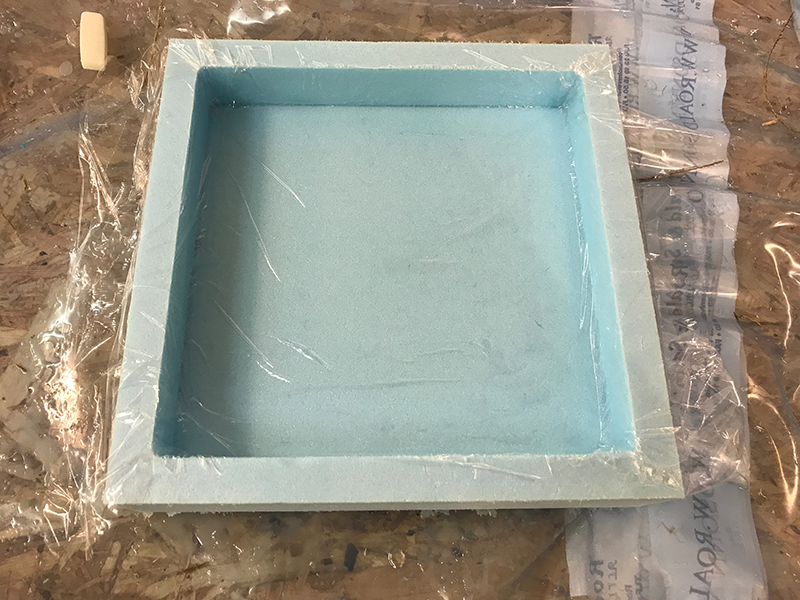
I then covered the mould in oil before I put gladpack over it as releasefilm. The oil is a trick Jakob used and was very helpfull!
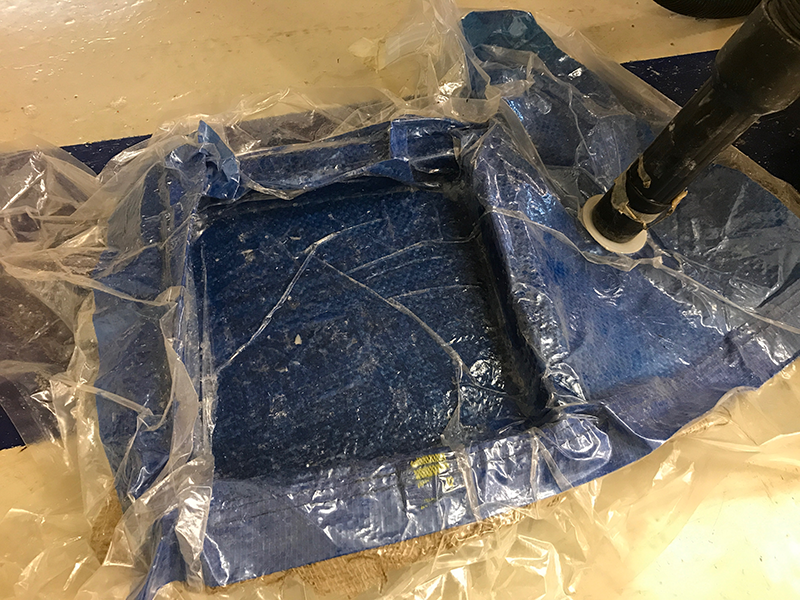
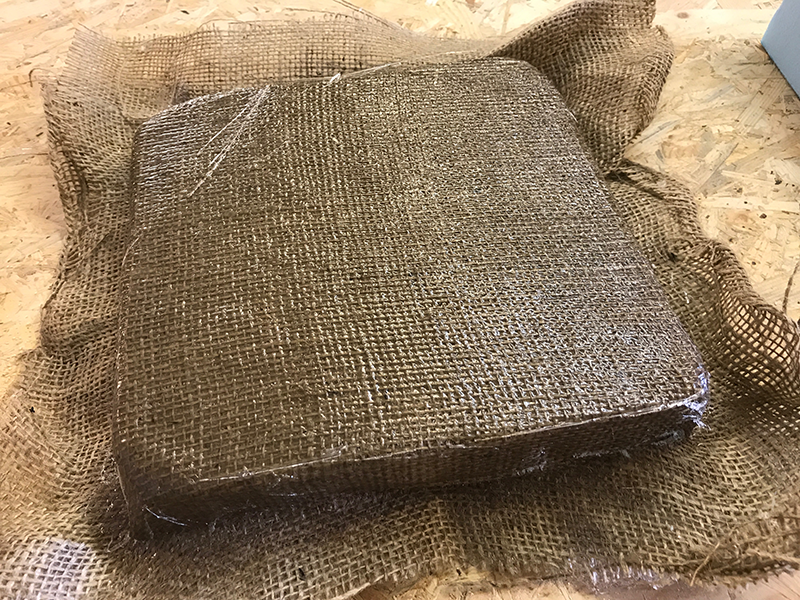
I then covered the mould with 2 sheets of burlap and put a perforated IKEA bag over it for the excess epoxy to come out. Then put the mould in a vacum bag and put on the vacuum cleaner to suck all the air out.
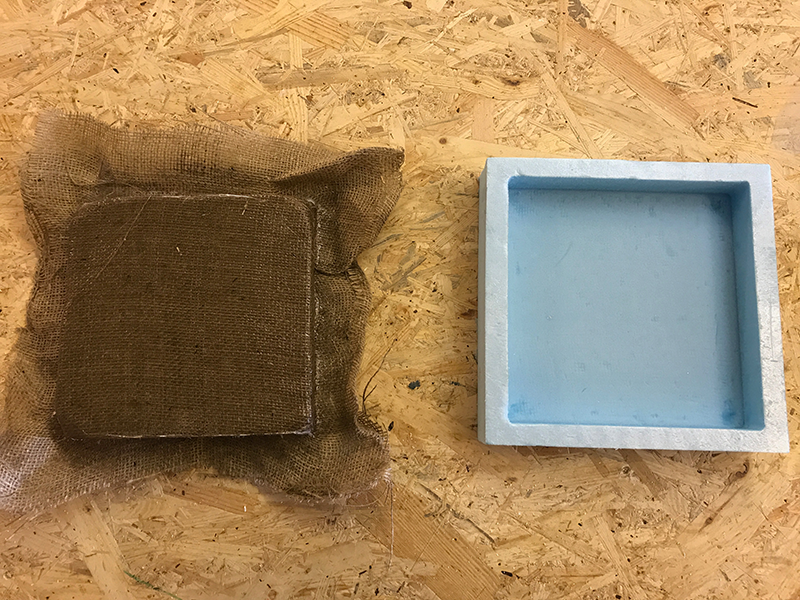
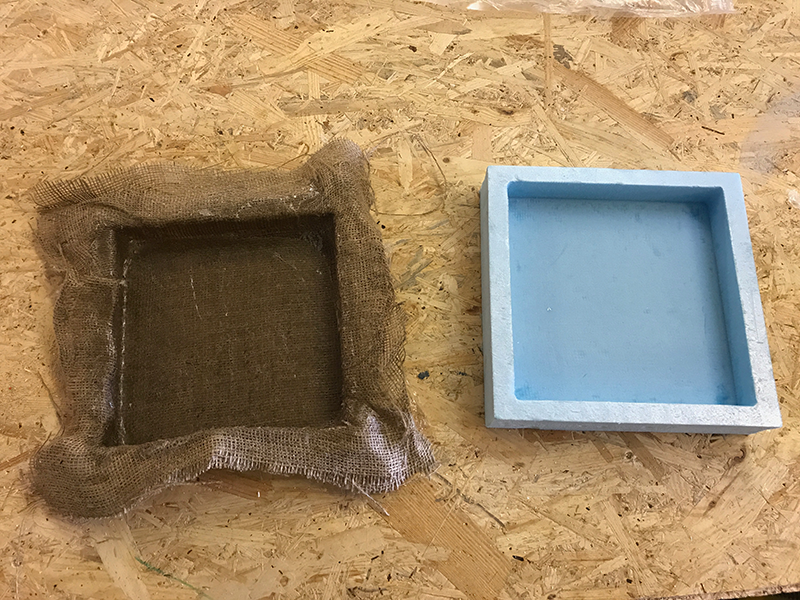
The last round came out a lot better. The mould is intact, the composit came out easily - and the epoxy seems to be evened out in the mould. It might seem odd but I actually wanted the fluffy edge around it, so this will be left as is!
Evaluation
For the sake of having an evalution after the composits projects, I think that for the first model (FABLAB) - I should have worked differently with the fabrik and maybe pre-shape it before I started fitting into the mould and adding the resins. That way, the fabrik would have stayed in place and it would not get that much tangled up in the resins. Another thing would be to maybe give the model a draft angle so it would be easier to get into the corners of the model and the fabrik would have something to "lean" against and not fall outward from the mould (the negative mould). It would also make it easier to get it out from the would. Adding draft angles after having finished the 3D modelling and not wanting to change the model, could have been added by using a Vcarve millbit - depending on how deep the mould is.
I think using composits process is perfect if you need to cover an object with a hard and smooth surface, or needing to make a thin and light shell/shape of some sort. Thermal vacuum could be another option, but then you are in need of a lot of equipment - and the size for how big you can work is very limited to the equipment. With composits you can pretty much work in any size - and you don't need much equipment to reconstruct the shape you need.
Bonus
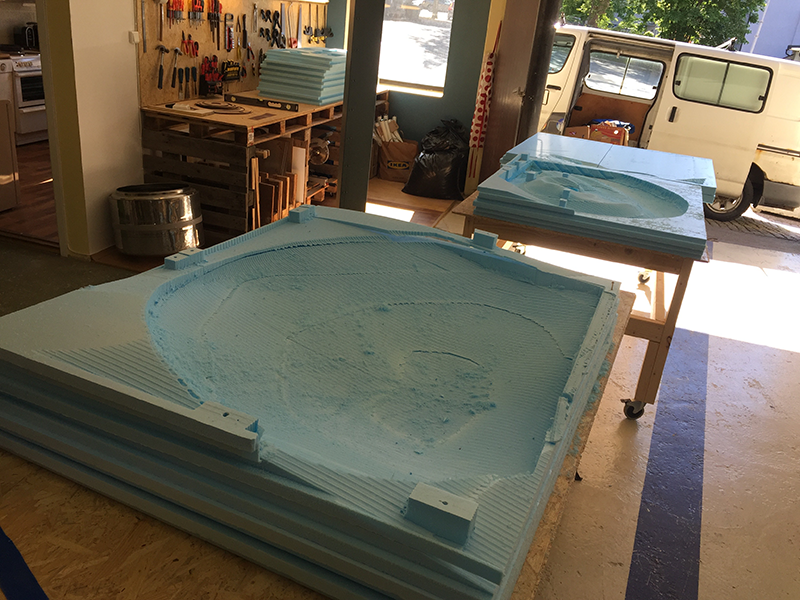

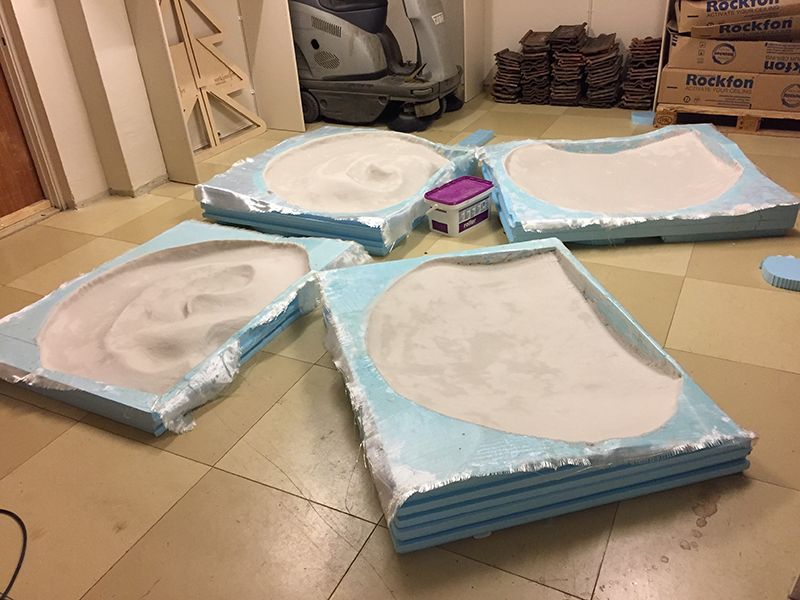

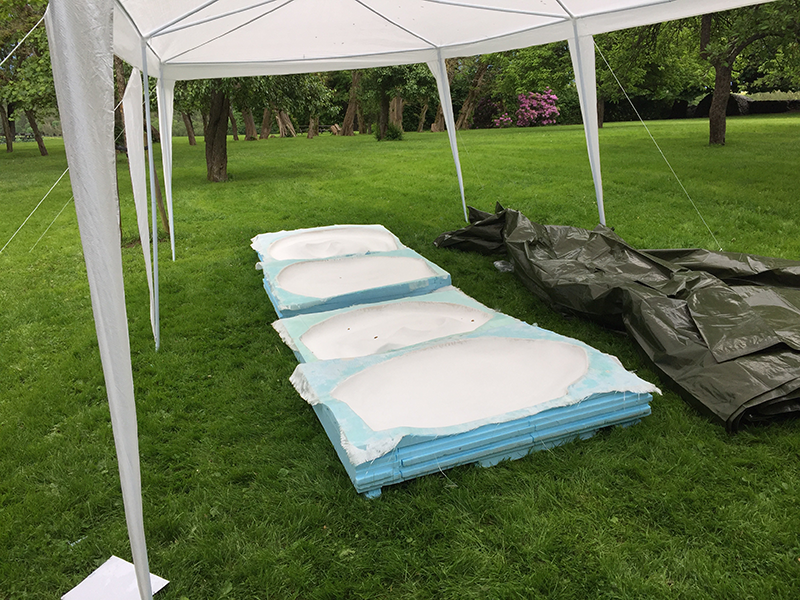
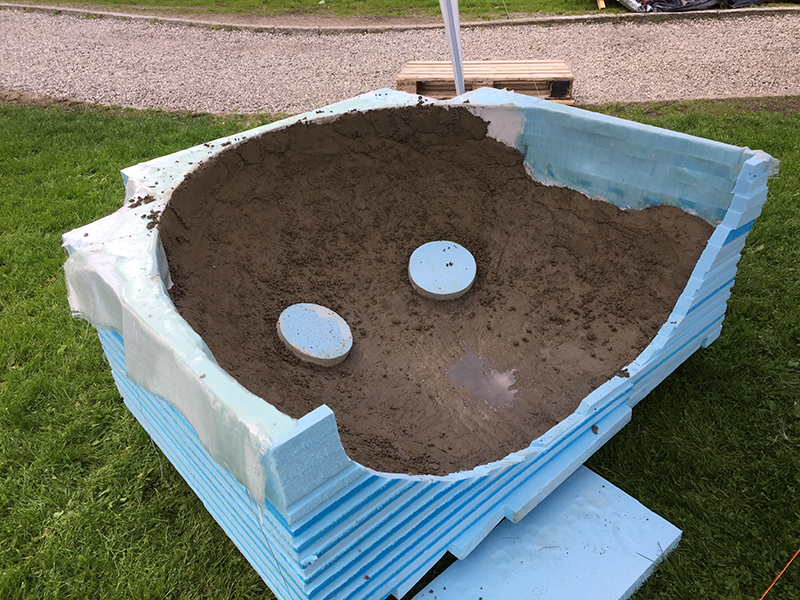
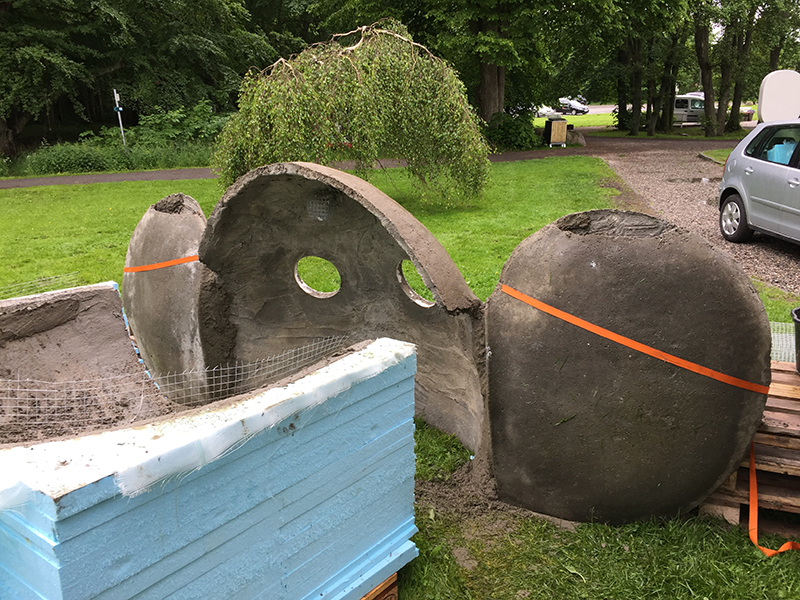
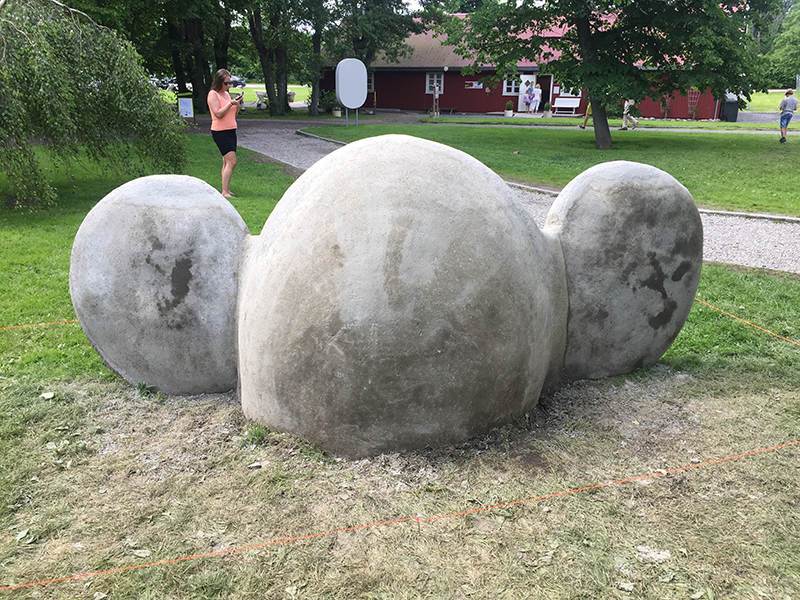
For the same week as composits, we were also making a giant sculpture for the contemporary art exhibition Momentum Biennale, for the artists Olga Soffía Bergmann and Anna Hallins.
The processes we used were:
• Slicing up the 3D modell we recieved from the artist and making a 3D mould.
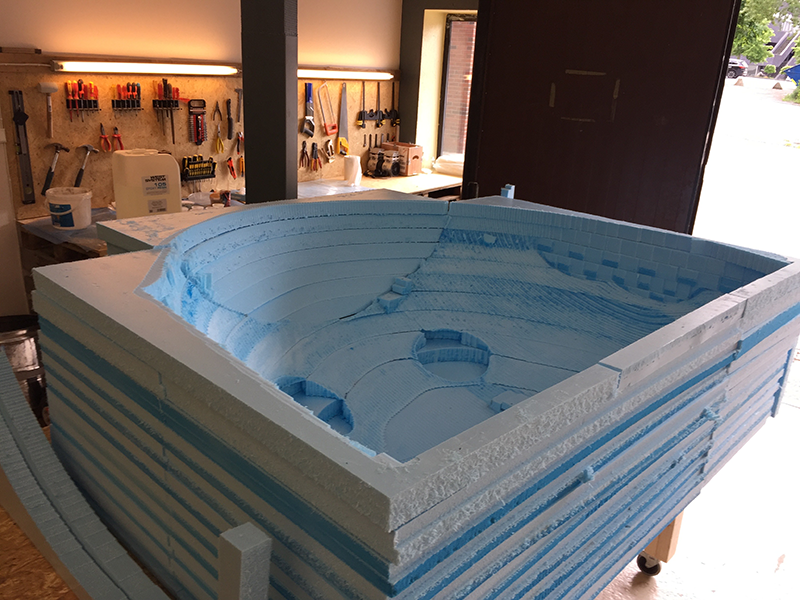
• Milling the mould in Styrofoam
• Assembling all the peaces into 6 different moulds
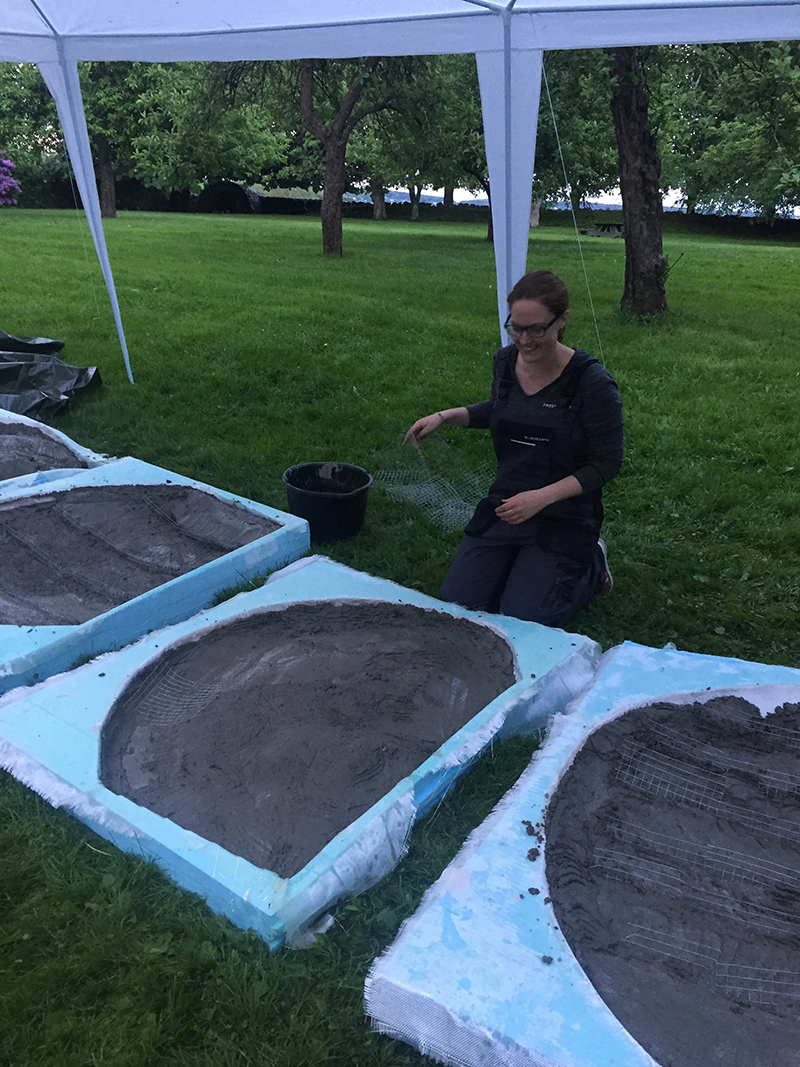
• Covering them with epoxy and glassfiber
• Smoothing it out with a layer of plaster
• Using motoroil for release film
• Casting the moulds in a thick layer of concrete, using re-enforcements.
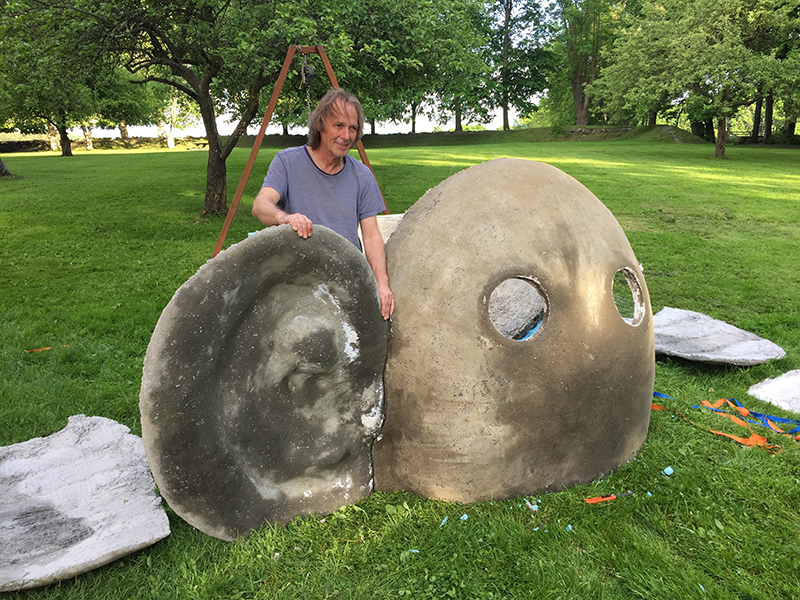
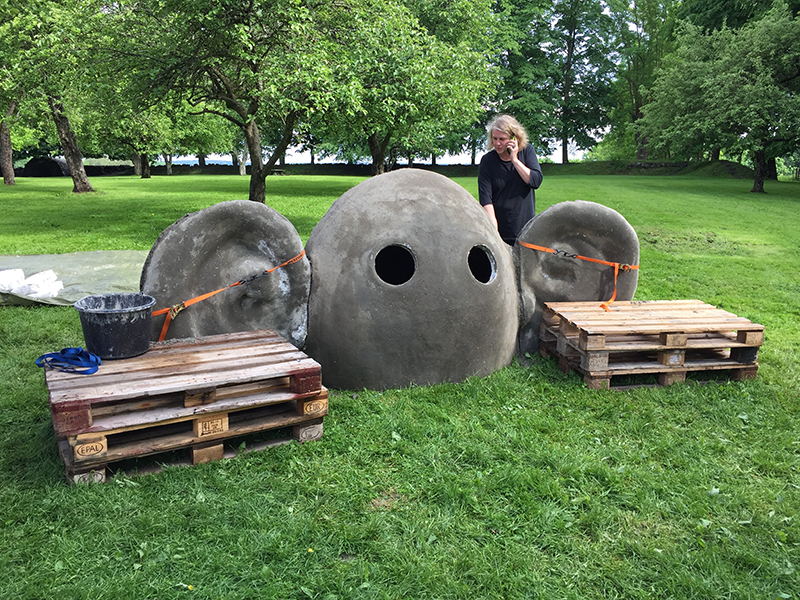
- and in the end we put all the pieces together with more concrete and more re-enforcements.
I took part in all the fabrication processes except slicing up the modell in Rhino and designing the mould, which was too advanced for my level and too important to get correct!