
DESCRIPTION: Read a microcontroller data sheet program your board to do something, with as many different programming languages and programming environments as possible, extra credit: experiment With other architectures.
1. Technological option is based on the understanding and application of the Arduino open electronics platform for the prototyping, software-based and flexible, easy-to-use hardware based on Atmel family microcontrollers. In This course we will explore with the environment through their input and output pins, we will also know the different arduinos that we can find in the market, however for its great ease of bookstores and tutorials we will focus specifically on the use of Arduino one .
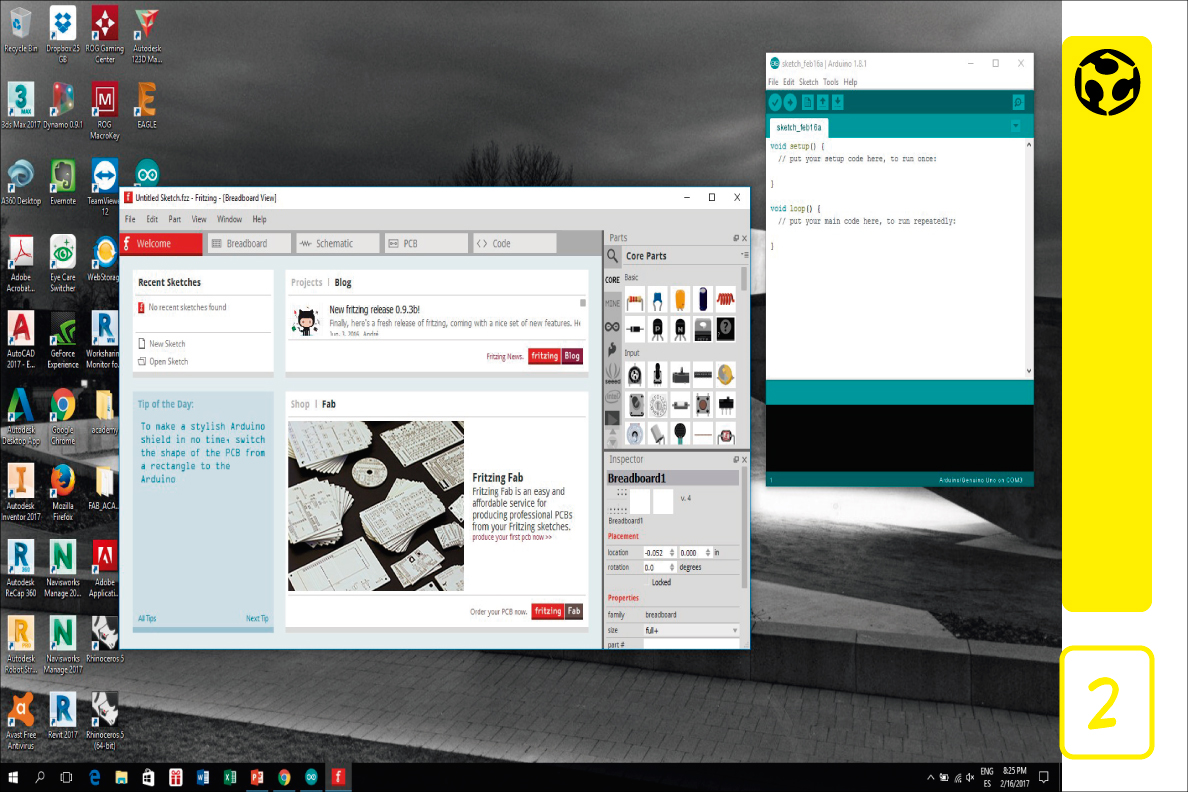
2. We also use the Fritzing platform to perform the component diagram for the programming exercises.
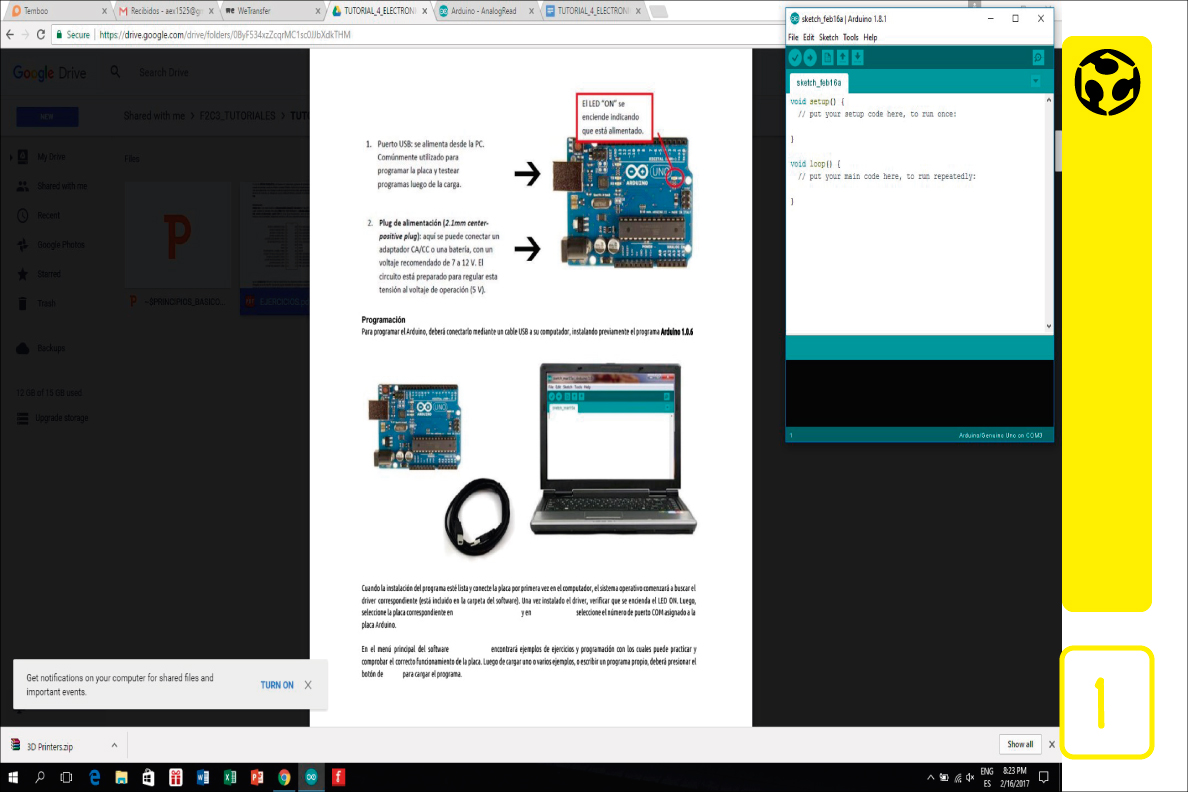
3. To program the Arduino, you must connect it with a USB cable to your computer, installing the program Arduino 1.8.1.
4. As a practice we did 6 basic exercises with arduino to nderstand the basic structures of the programming.
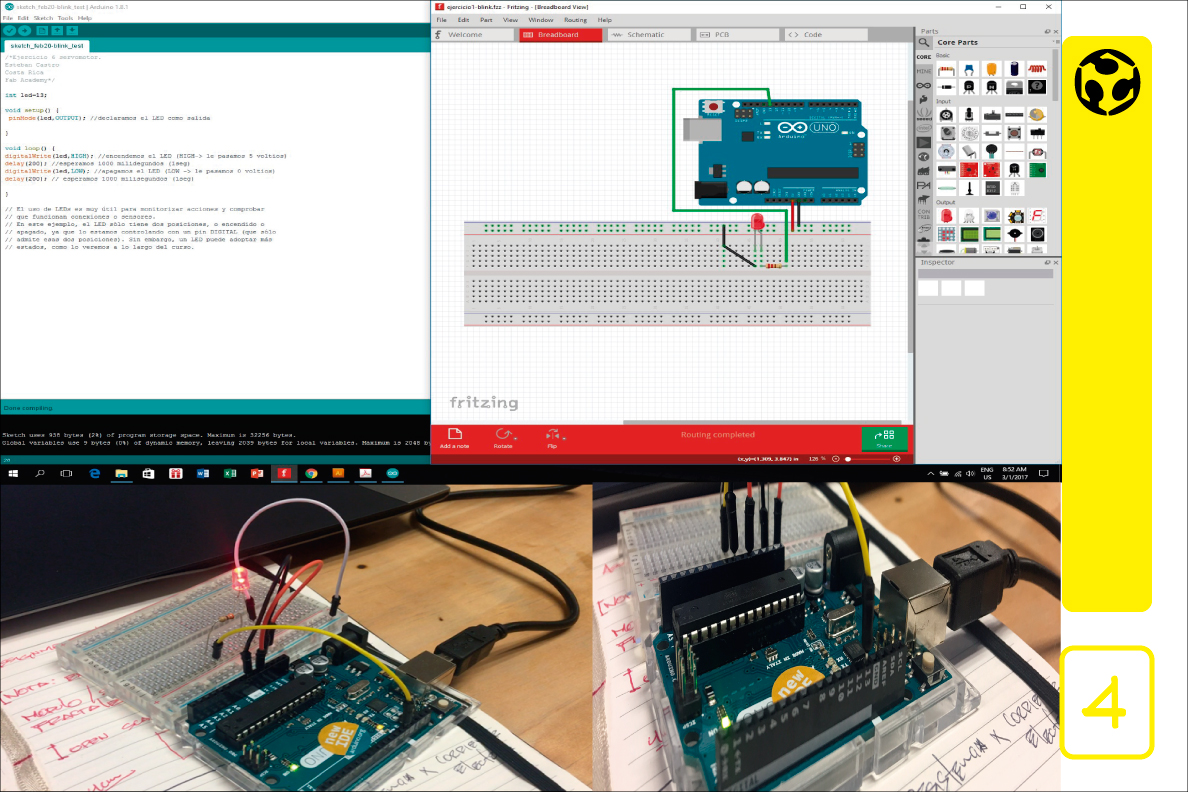
BLINK TEST. The use of leds is very useful for monitoring actions and checking that connections or sensors work. In this example, the led has only two positions, or on or off, since we are controlling it with a digital pin (which only supports these two positions). However, an LED can take more states, as we will see throughout the course.
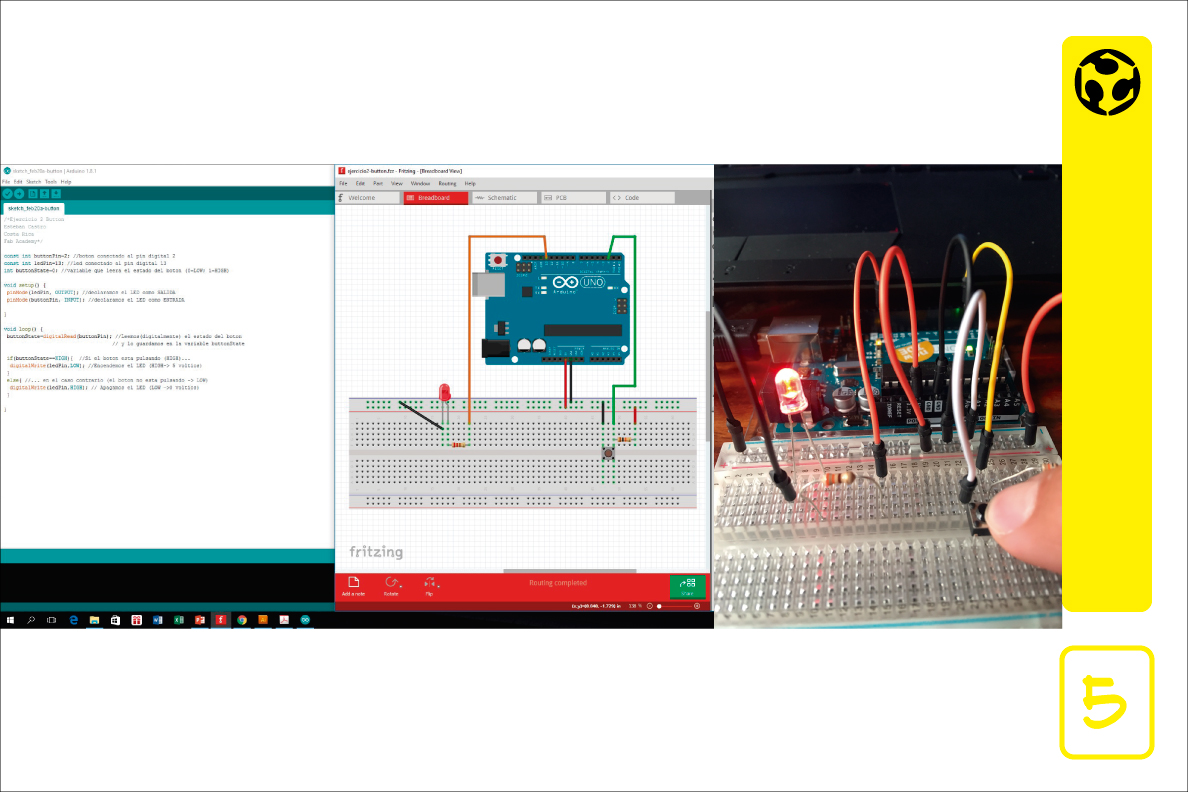
5. BUTTON. As we see, in this sketch, nothing happens, except that we press the button and change the state of the button, and in turn, the buttonState variable.
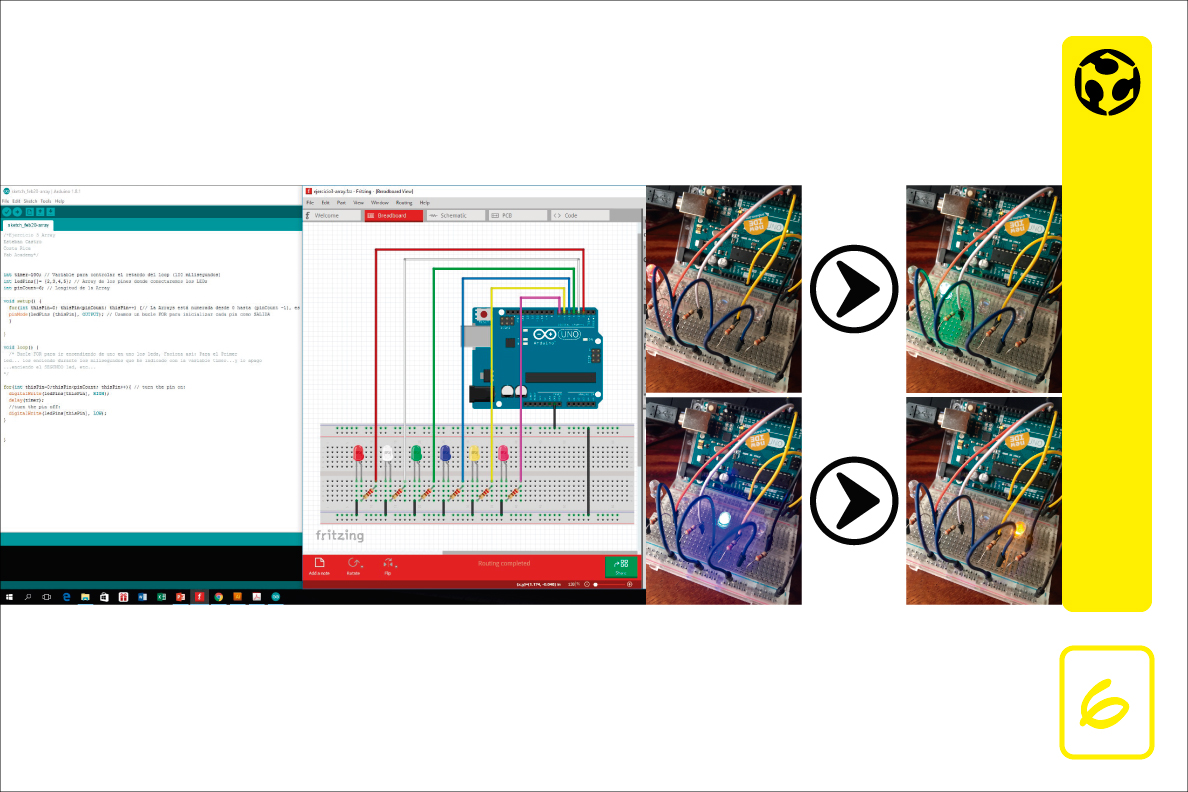
6. ARRAYS. This is the first sketch where we can be inspired to make an installation (or part of it). Afterwards, we will see how to introduce an interaction with this sketch and that is not "all" programmed, but that it reacts to certain light, sound, vibration, temperature, presence of obstacles.
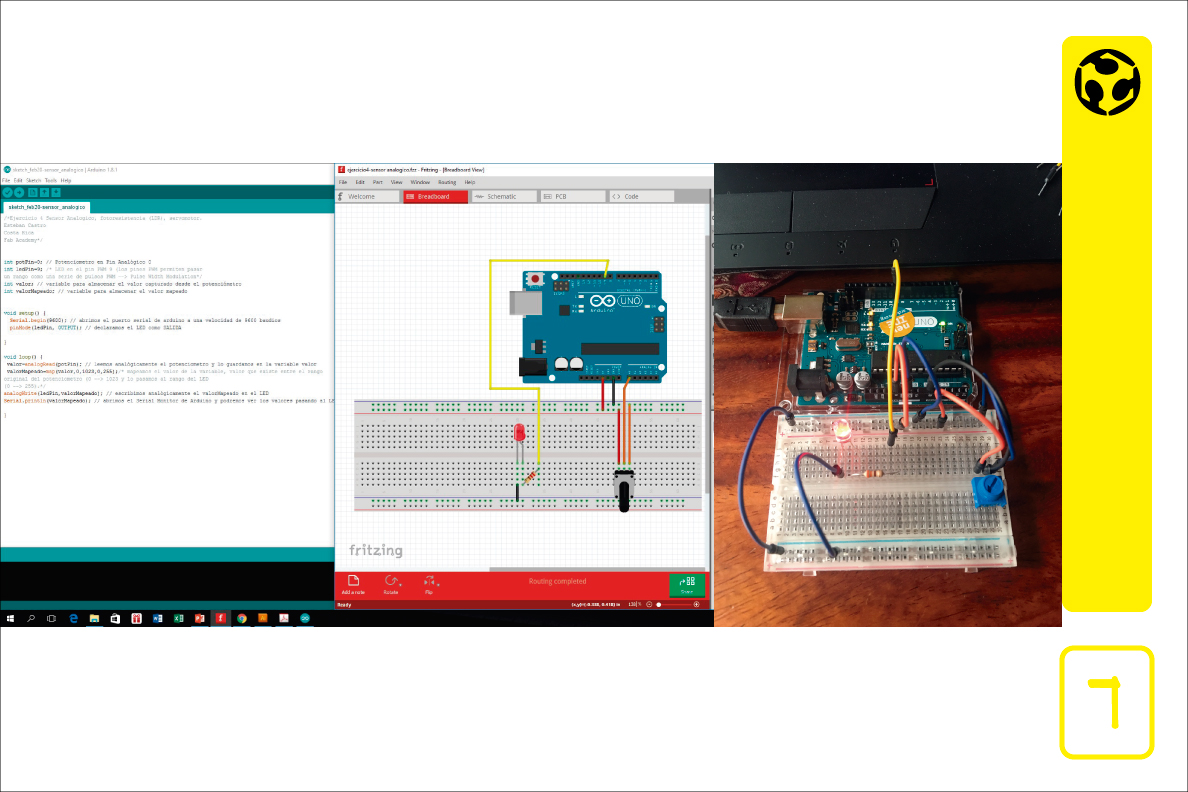
7. ANALOG SENSOR. In this exercise, we will be able to observe how to monitor operations or events in Arduinos through the Serial Port. This allows us to send data or actions to other programs such as Processing, Grasshopper, Pure Data, Flash, or even to an Iphone / Ipad or similar ... providing a more interactive installation.
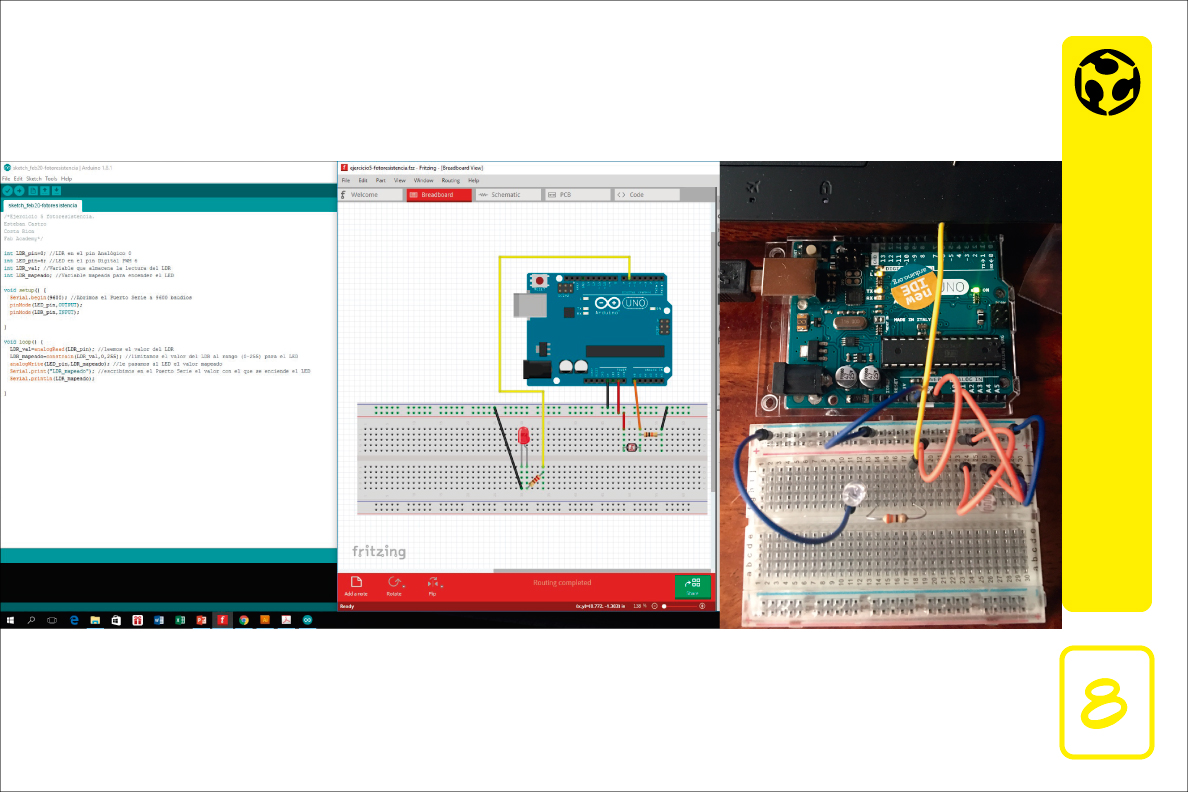
8. PHOTORESISTANCE. In this exercise you can analyze and clearly observe the arrangement of a resistive divider. A voltage divider is a configuration of an electric circle which distributes the voltage of a source between one or more impedances connected in series. A resistive divider is a special case of a voltage divider, in which both impedances are purely resistive. Since Arduino can only read voltages, and many sensors are resistive (vary resistance) we use these resistive dividers to read the sensors. This exercise works exactly the same if we change the LDR by a Thermistor (NTC) (a heat resistance).LDRs are very useful for building light-sensitive (or dark) installations and can also be used to make light barriers (if We place a laser pointer constantly focusing on the LDR and when "something" interrupts the laser light, the LDR triggers an event to detect the action.
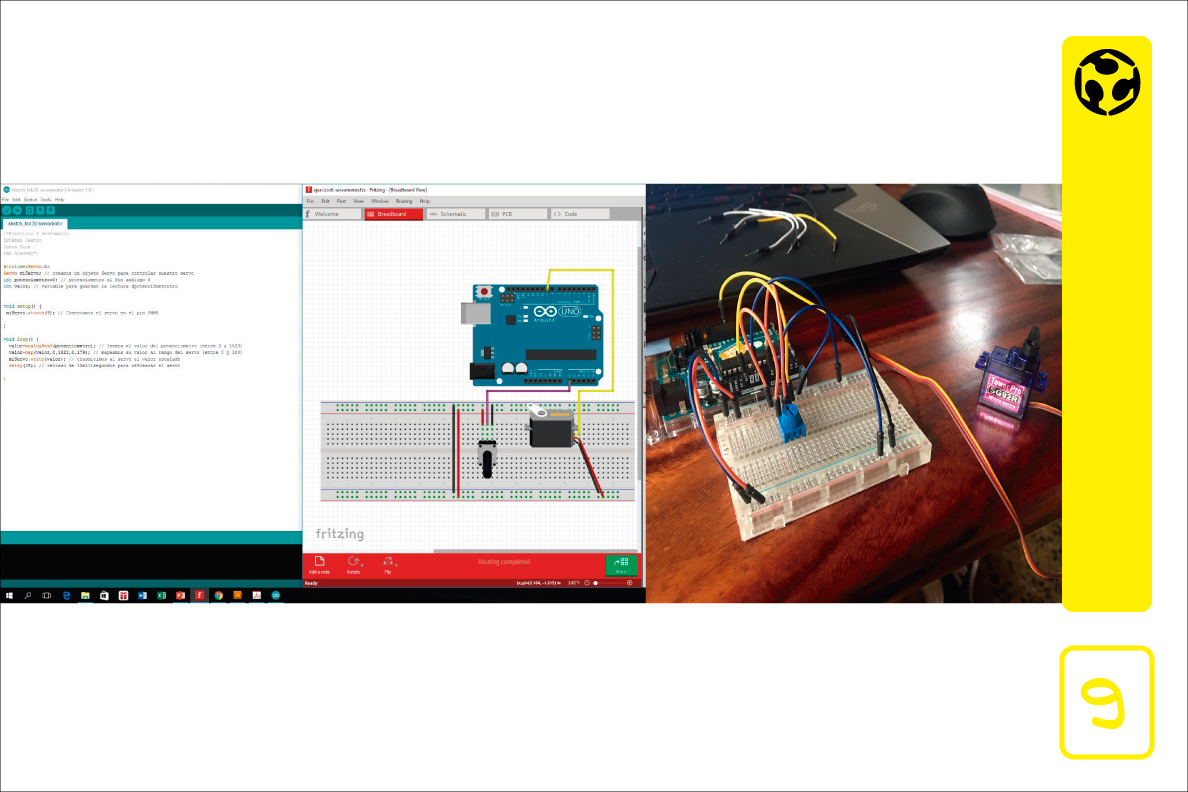
9. SERVO MOTOR. We can control our Servo, using the Servo library that already has predetermined functions.
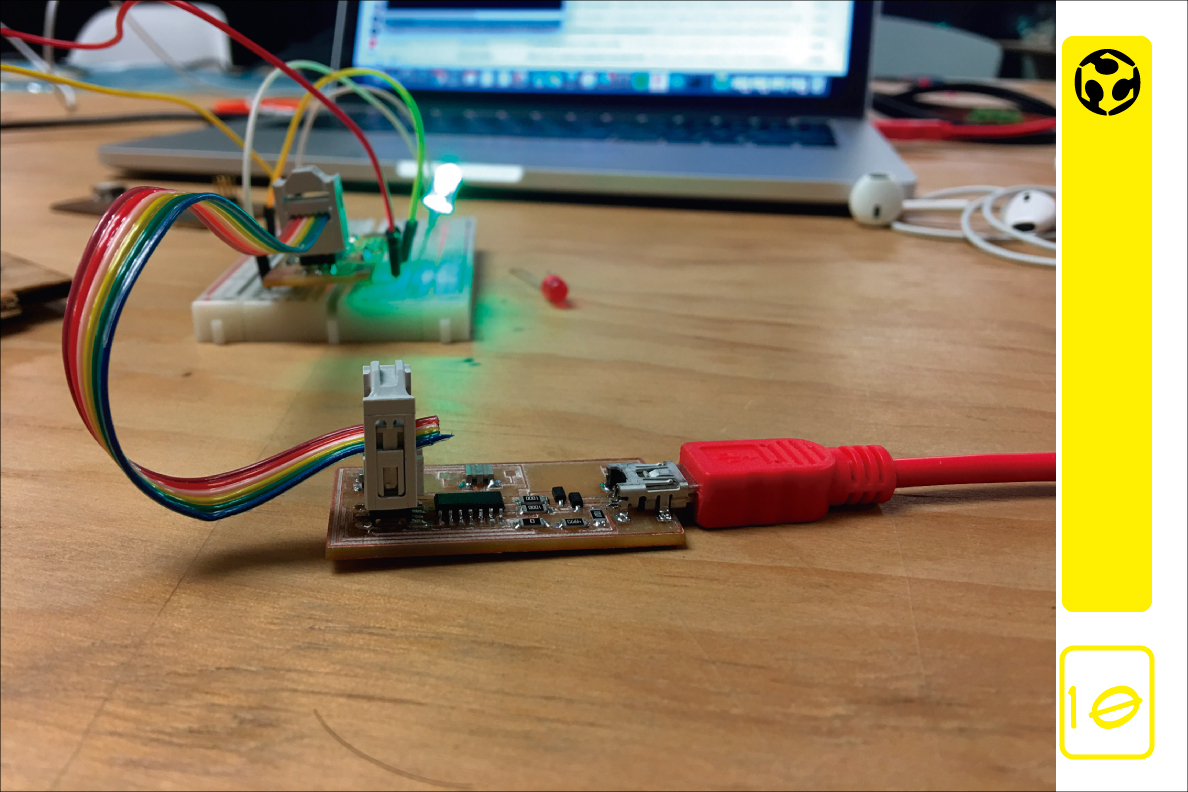
10. For this assignment i use the FABISP.
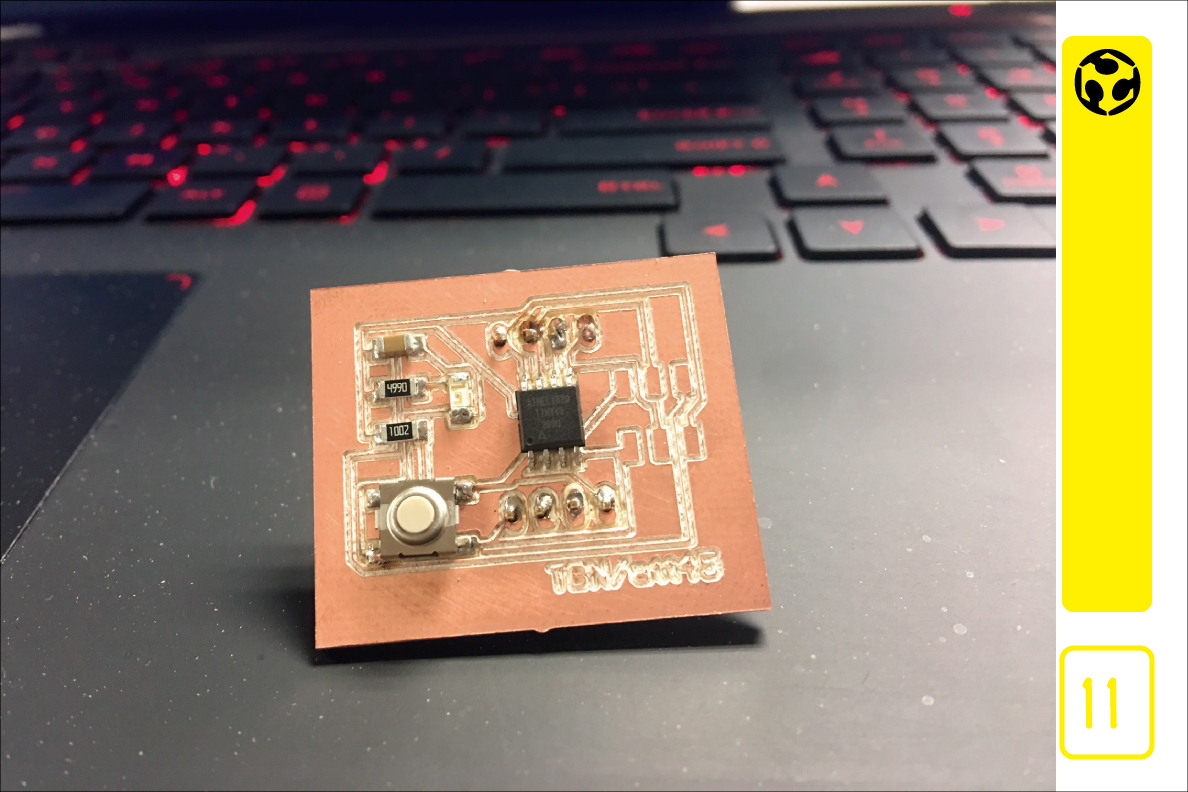
11. And the attiny 45.
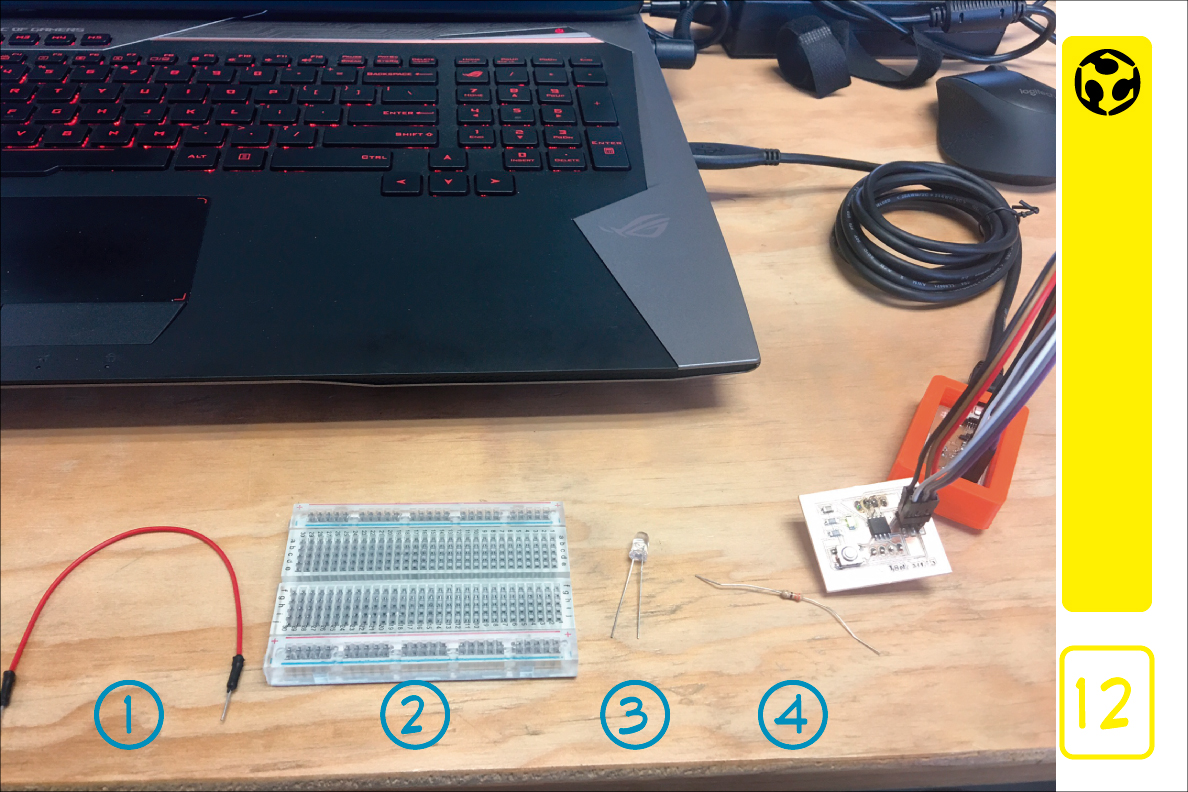
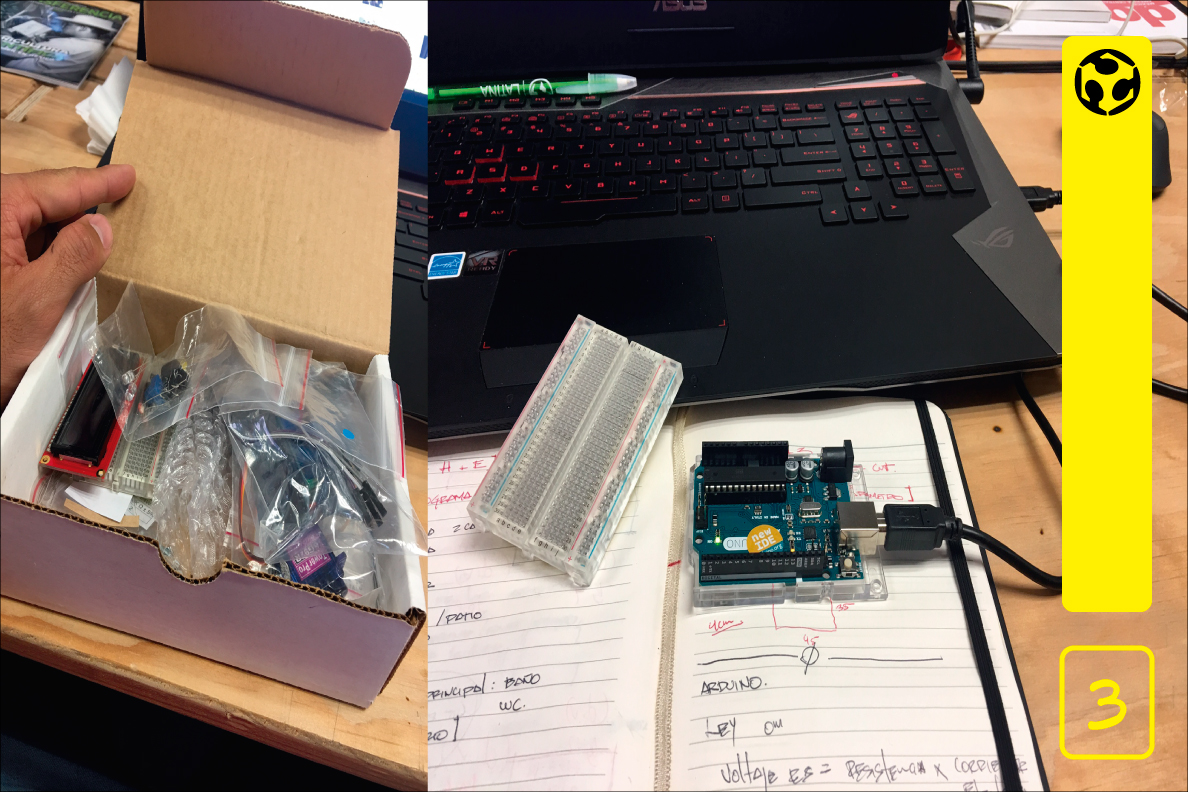
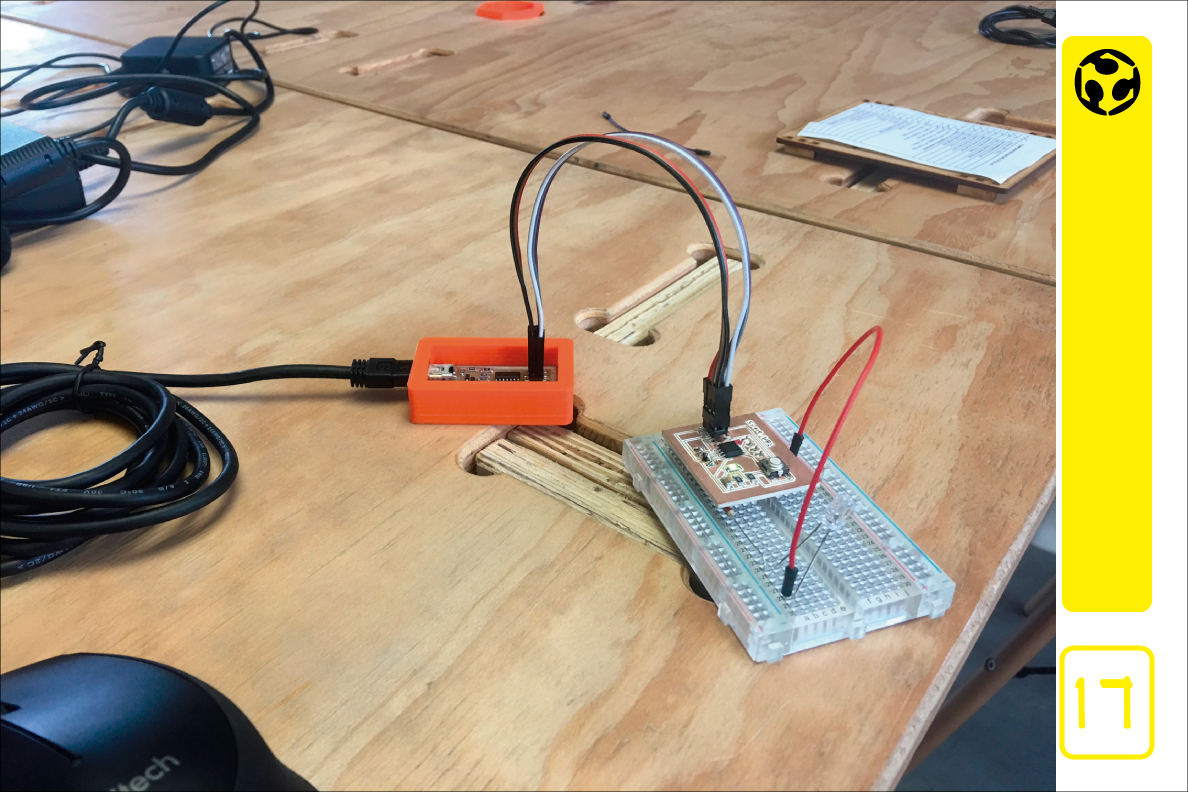
12. These are the components that I used to program and turn on a led:
1) Cable
2) Breadboard
3) Led
4) Resistance.
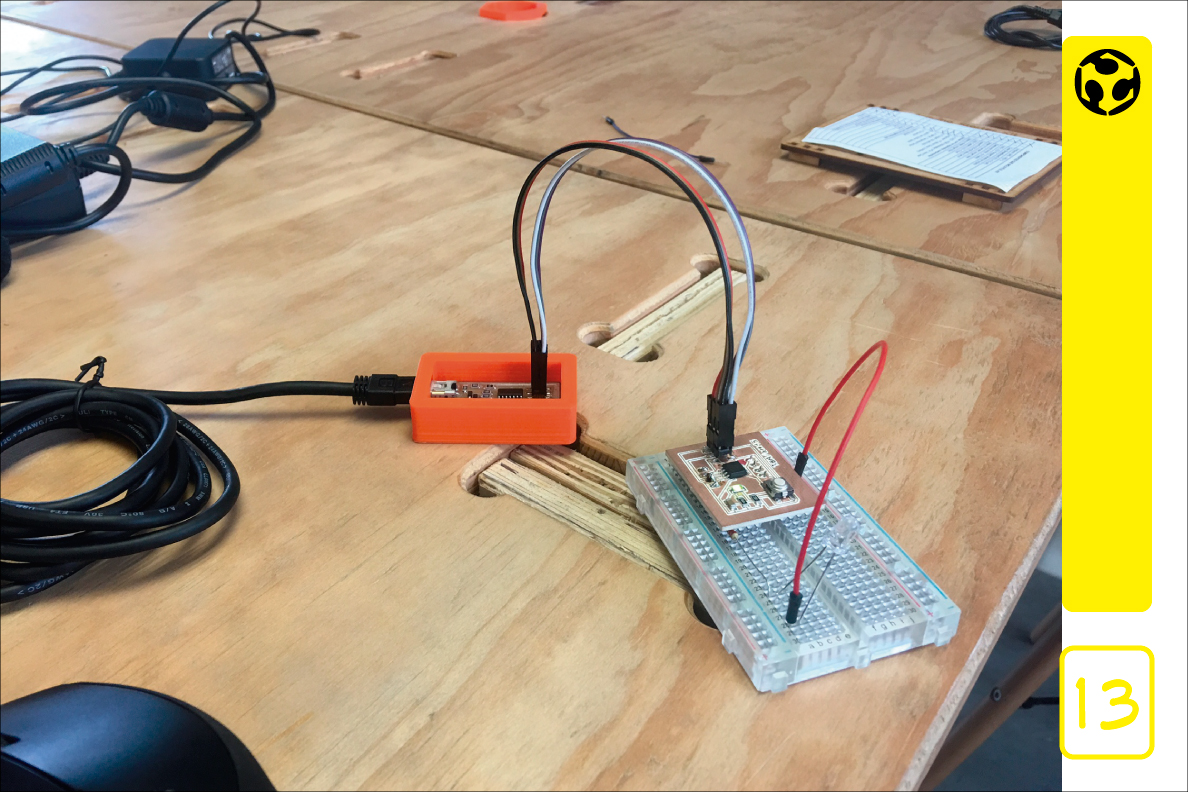
13. I connect everything to the computer.
NOTE: here I use the breadboard only to be able to place a bigger led and to be able to see the light with greater intensity.
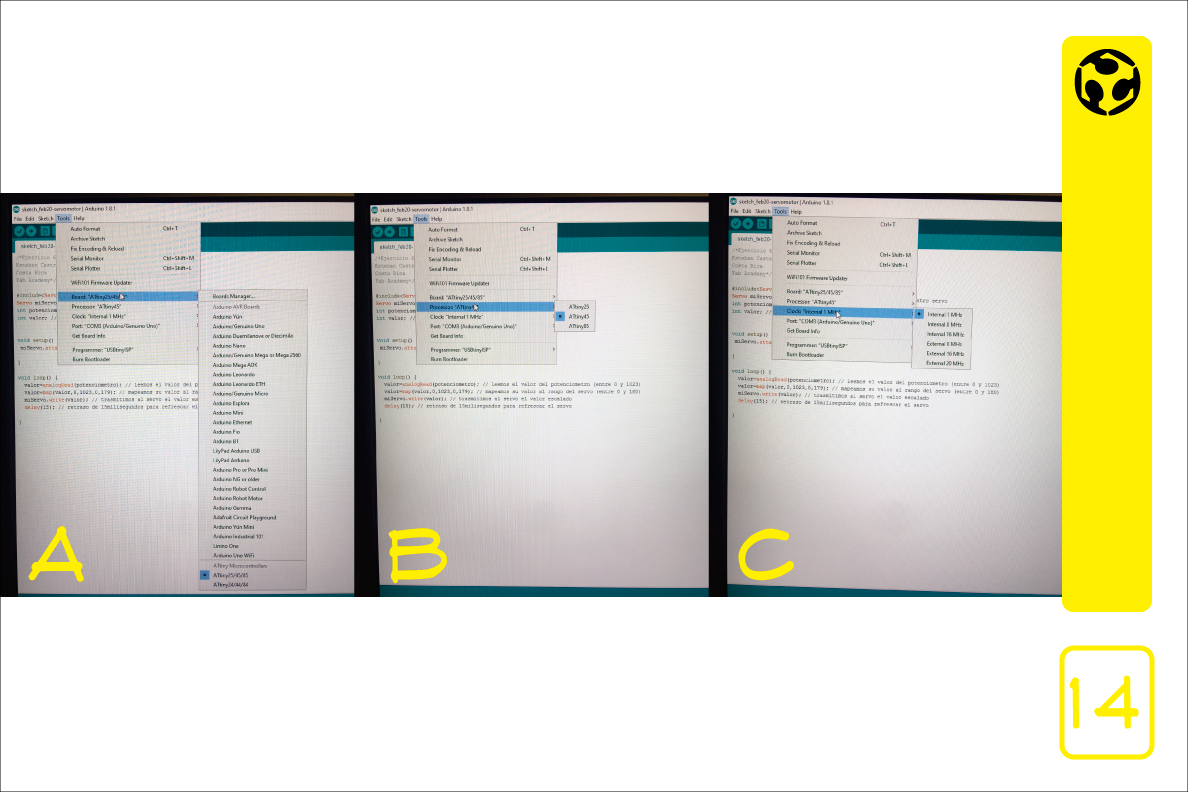
14. Process
A) Open the arduino software, configurate the board to attiny 25/45/85.
B) Select the processor: attiny 45.
C) Select the clock internal 1 mhz.
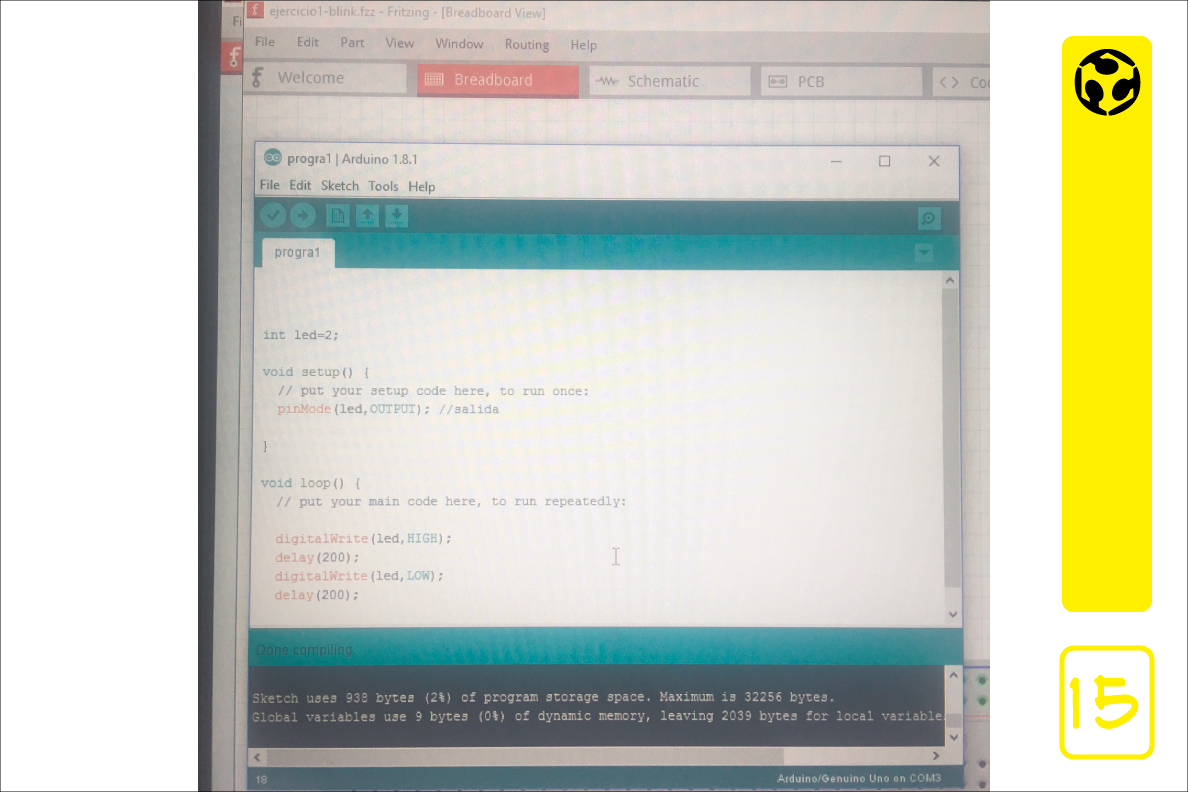
15. I do the led blink code to check the programming.
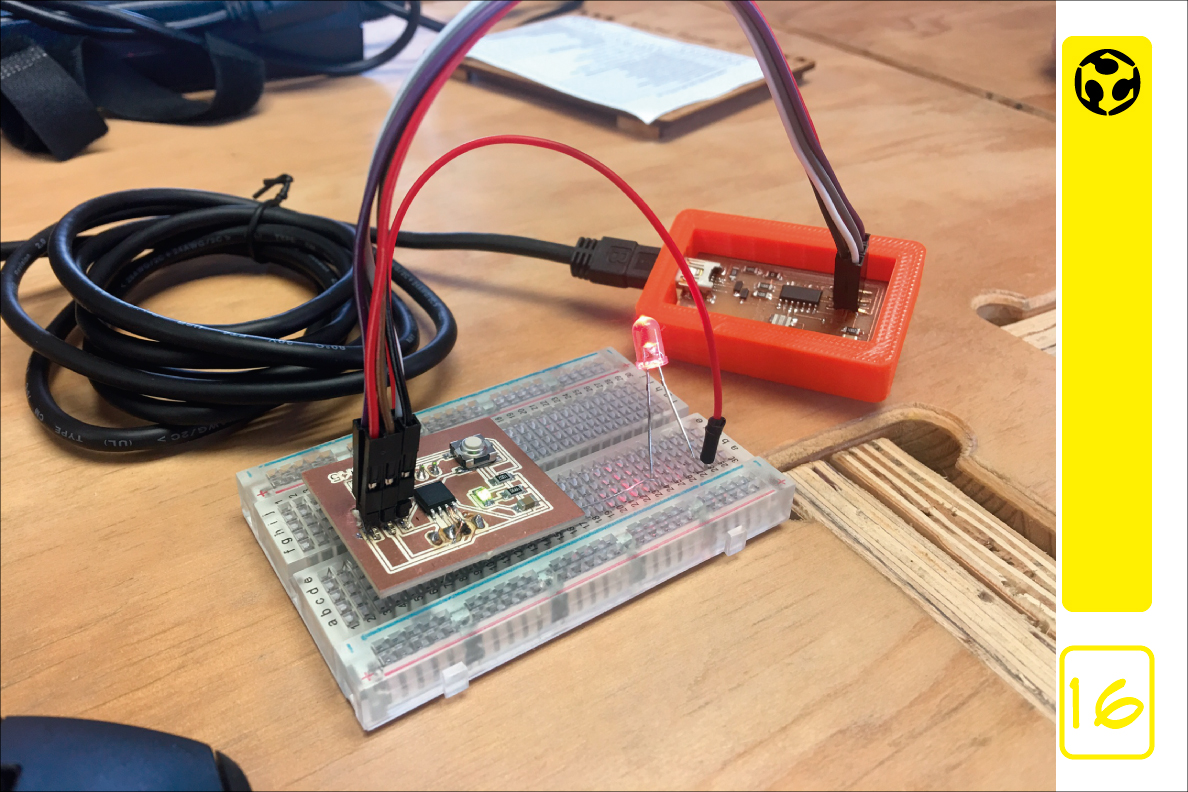
16. Led on (delay 200)
17. Led off