
For this assignment we should experience the different scanners and 3d printers, their configurations. As a group we can see through the experience the great range that has the scanner of great precision and the 3d printing in all the industries and its multiple applications.
Group project: test the design rules for your printer(s) design and 3D print an object (small, few cm) that could not be made subtractively 3D scan an object (and optionally print it) (extra credit: make your own scanner)
Artec studio (3d scanning software)
Sense (Sense 3d scanner software)
Cura (3d slicing software)
Rhinoceros 5 (3D Modeling)
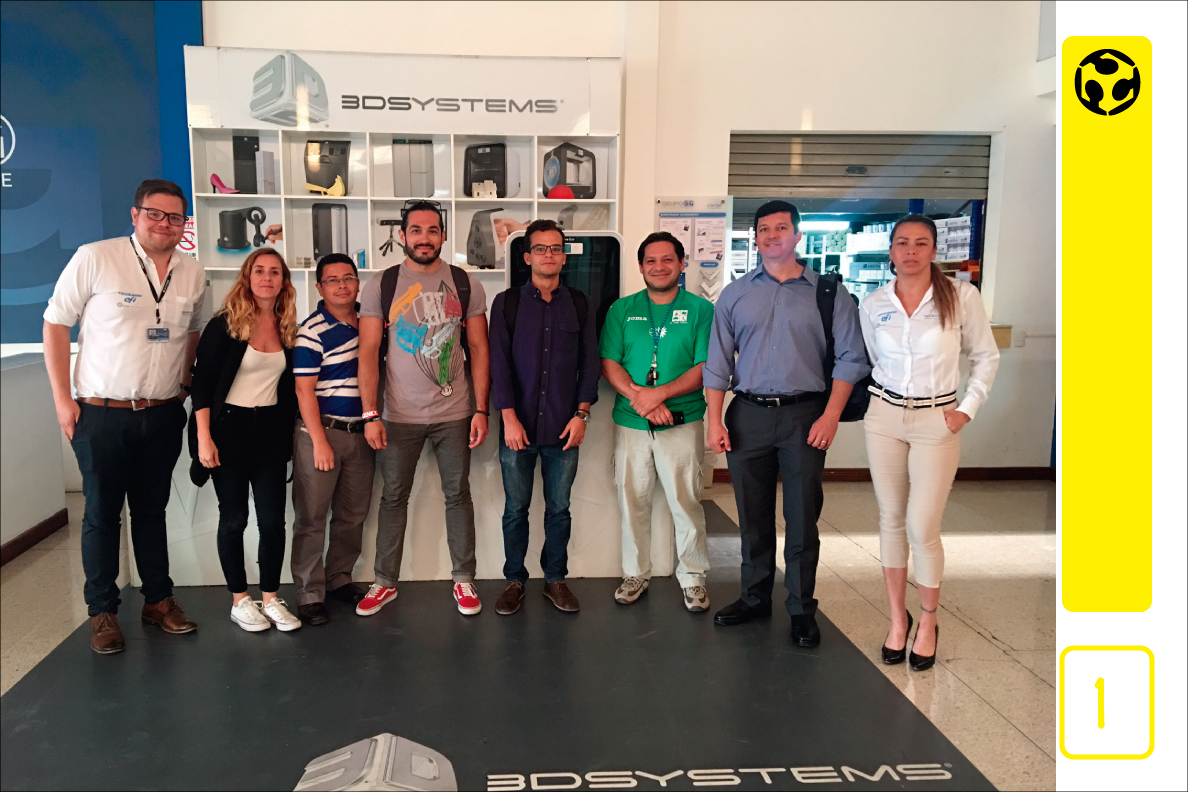
1. For the realization of this assignment we went to 3d systems, where we used multiple systems of scanning and modification of the meshes of the scanned objects.
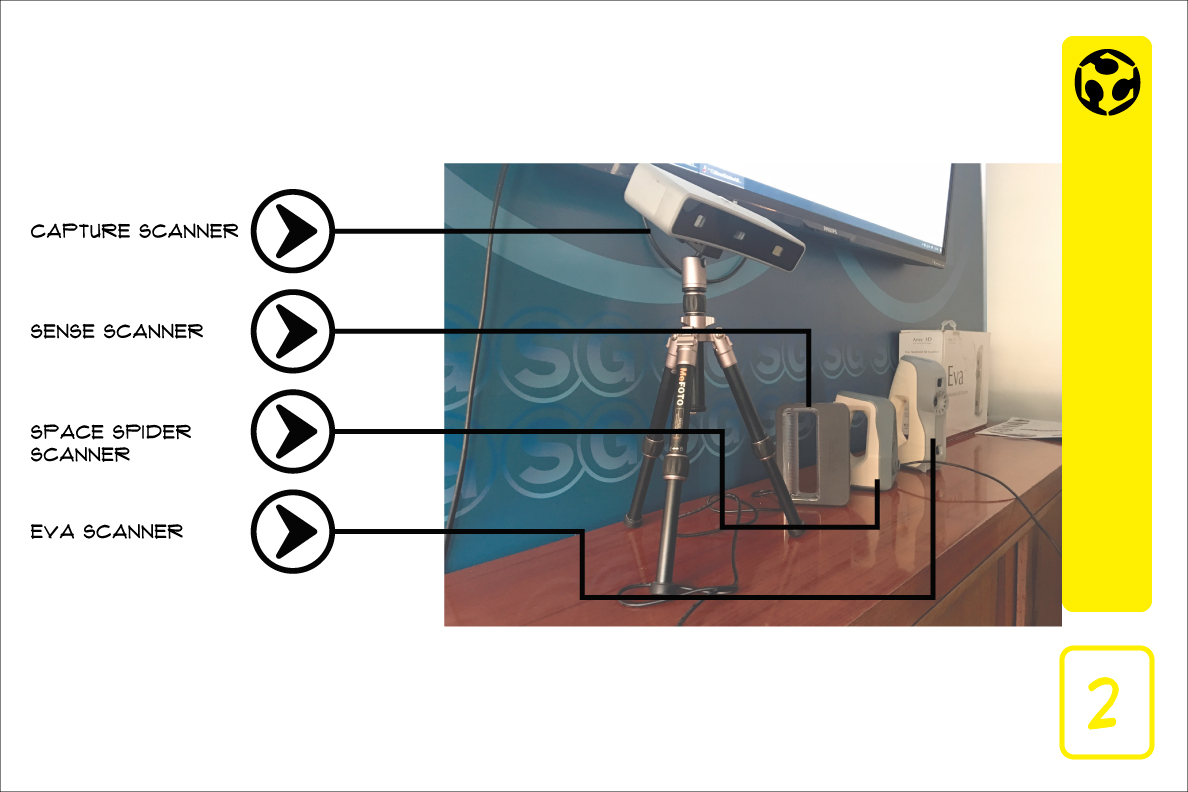
2. These are the scanners used for the project, they are 3d systems scanners and artec 3d.
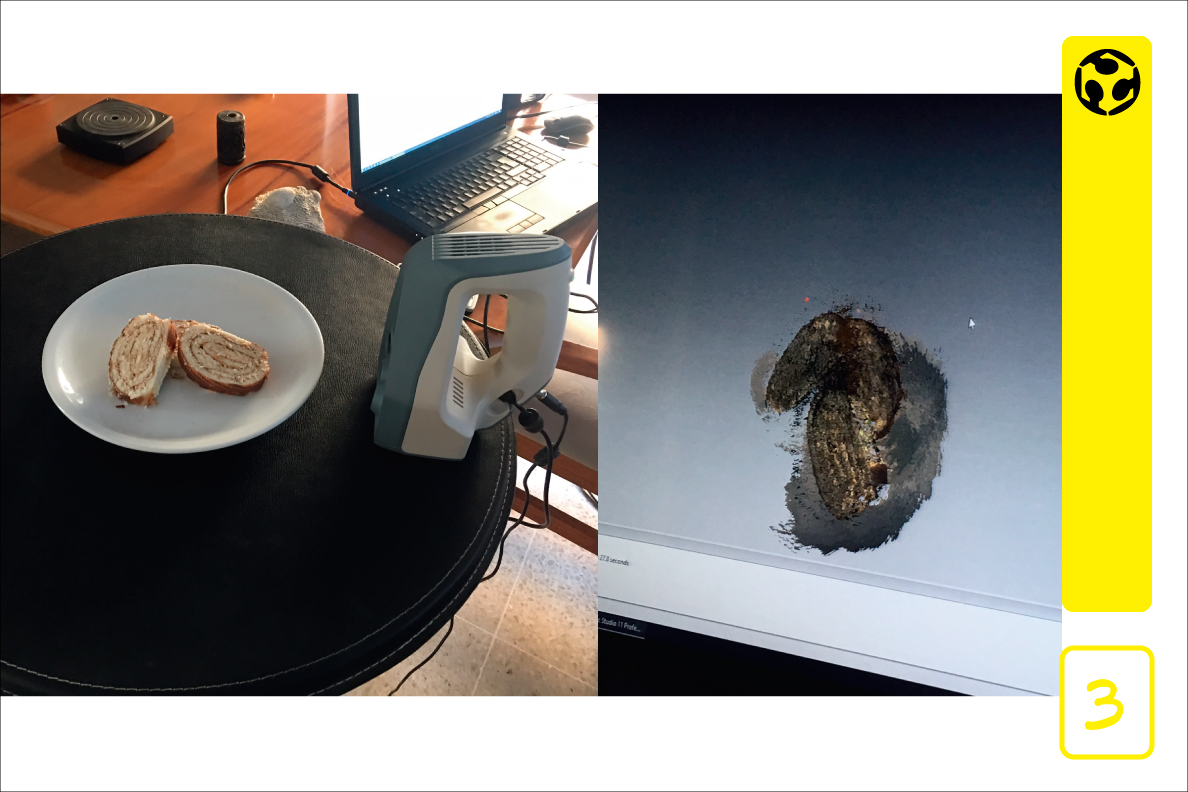
3. As a group scan we decided to have some fun and to scan something that was not a common object, we scanned 3 pieces of sweet roll to see what the textures and shapes of the sweet roll were, it was quite interesting and fun. To modify the meshes we use the program called Design X.

4. For the individual assignment use the kinect sensor, with the help of my partner I was scanned to perform a bust of my head and shoulders.
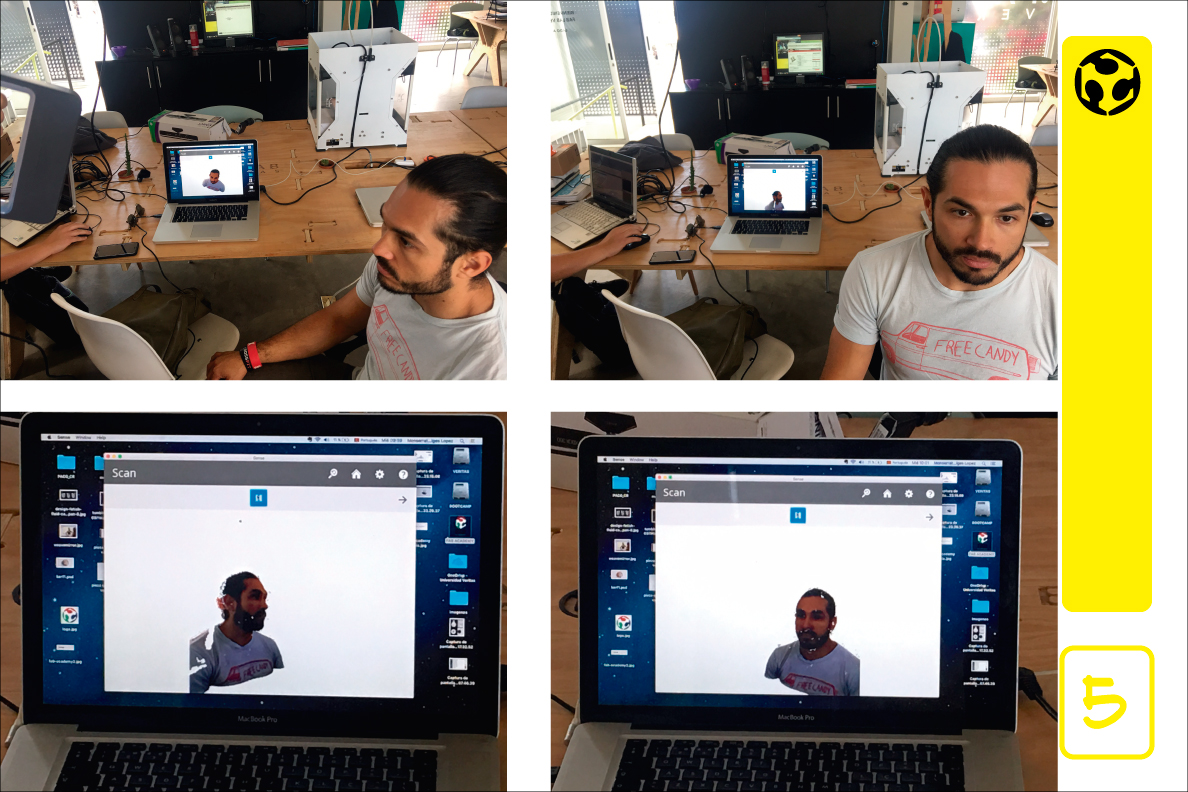
5. These are some of the images of the scanning process.

6. Use the rhino program to make some modifications, scale and prepare the file and then make the impression in 3d.
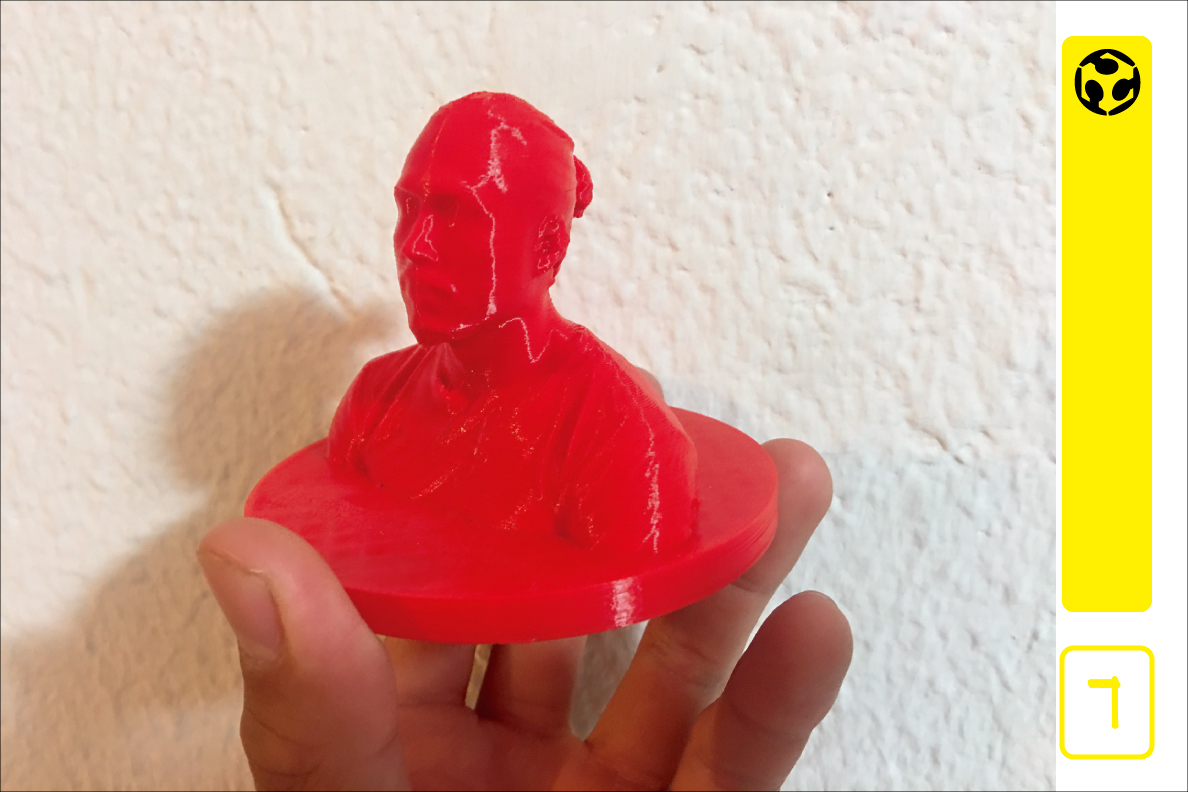
7. 3d print
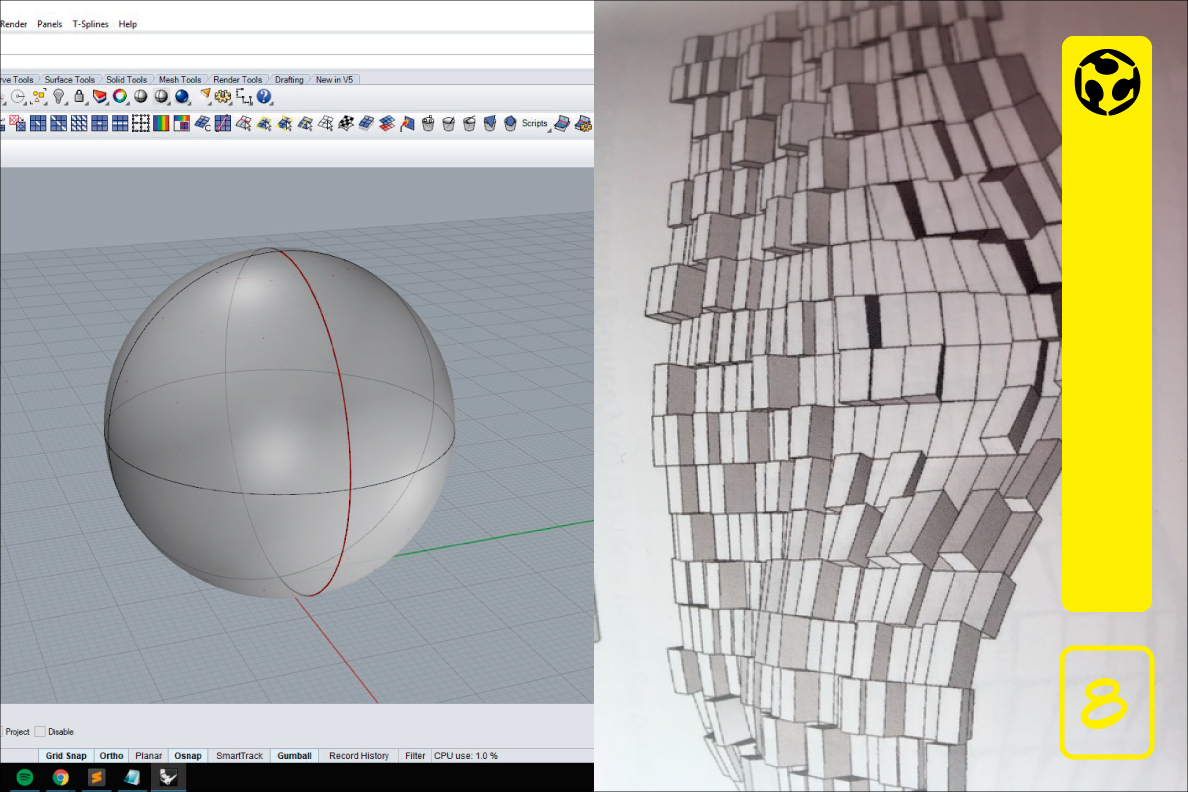
8. For the impression of the object in 3d, make modeling a sphere with a box morph definition in Rhino and Grasshopper.
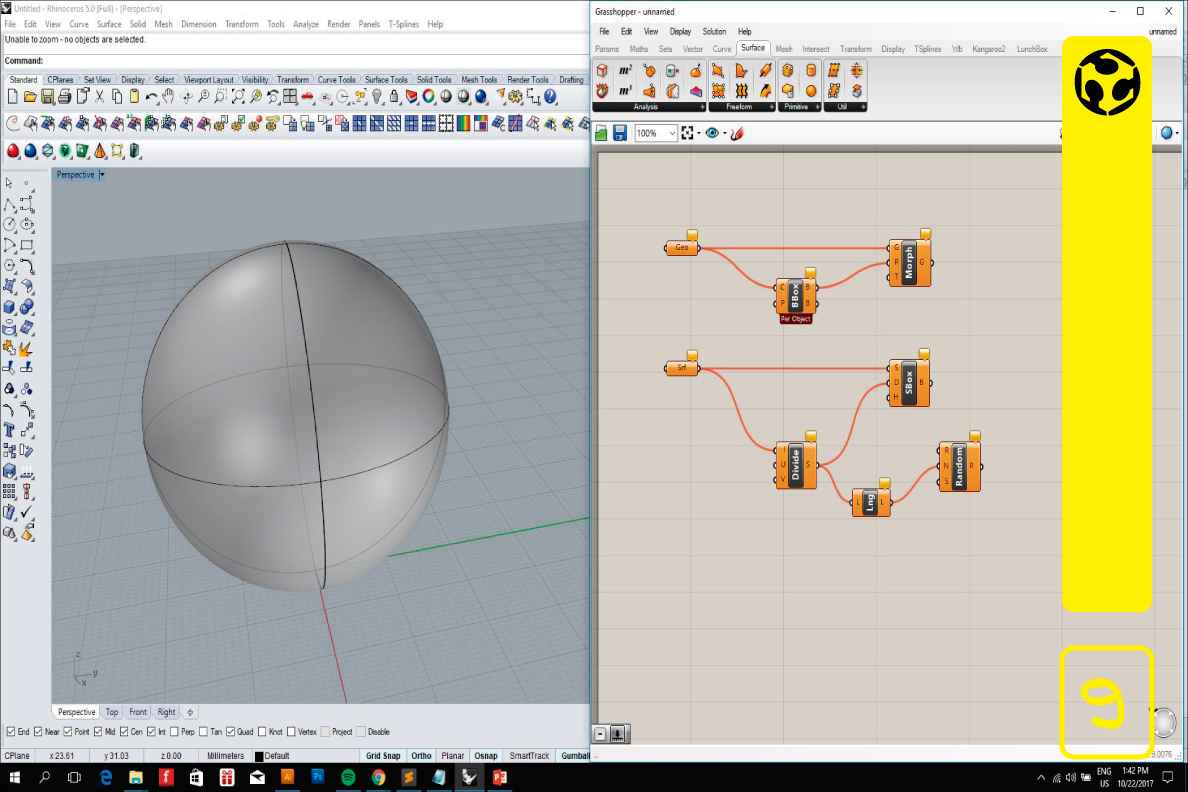
9. I start with the sphere modeling and using Grasshopper start with box morph definition.
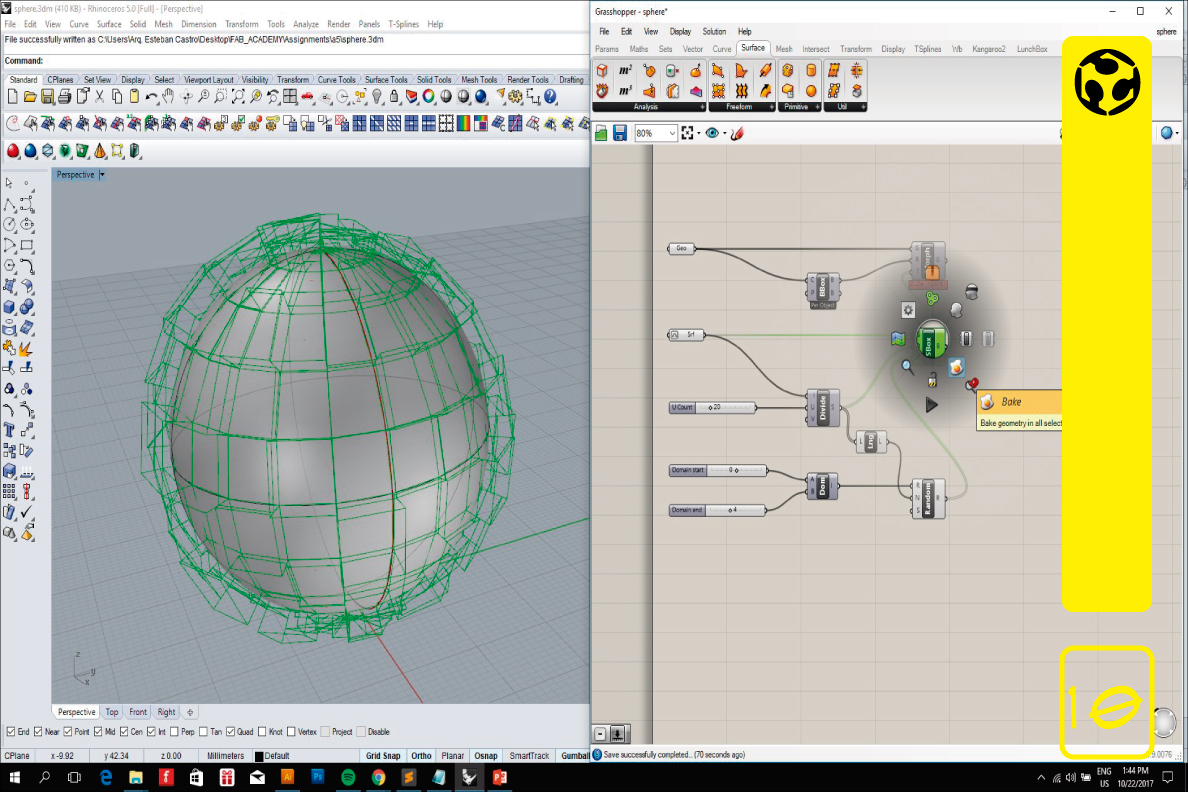
10. I put the definition points to generate the solid using the tool "bake".
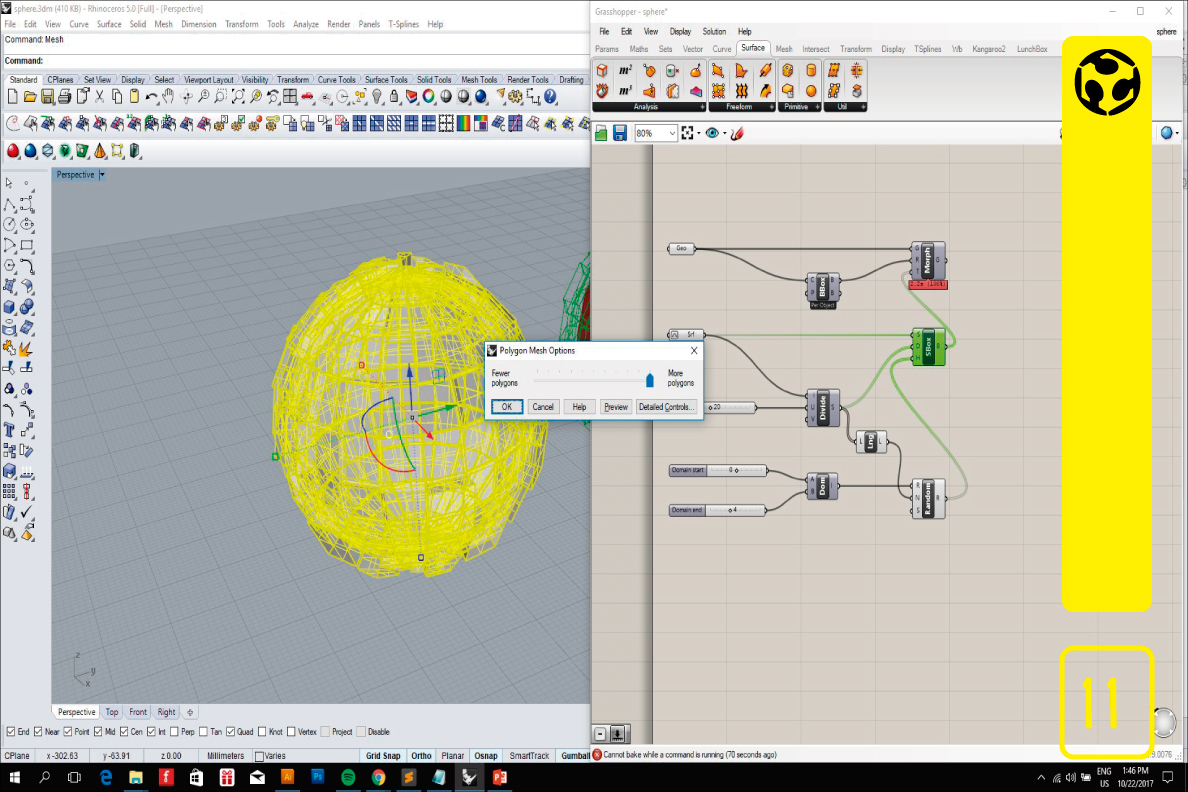
11. Once I have the solid done, I convert the polygons into a mesh
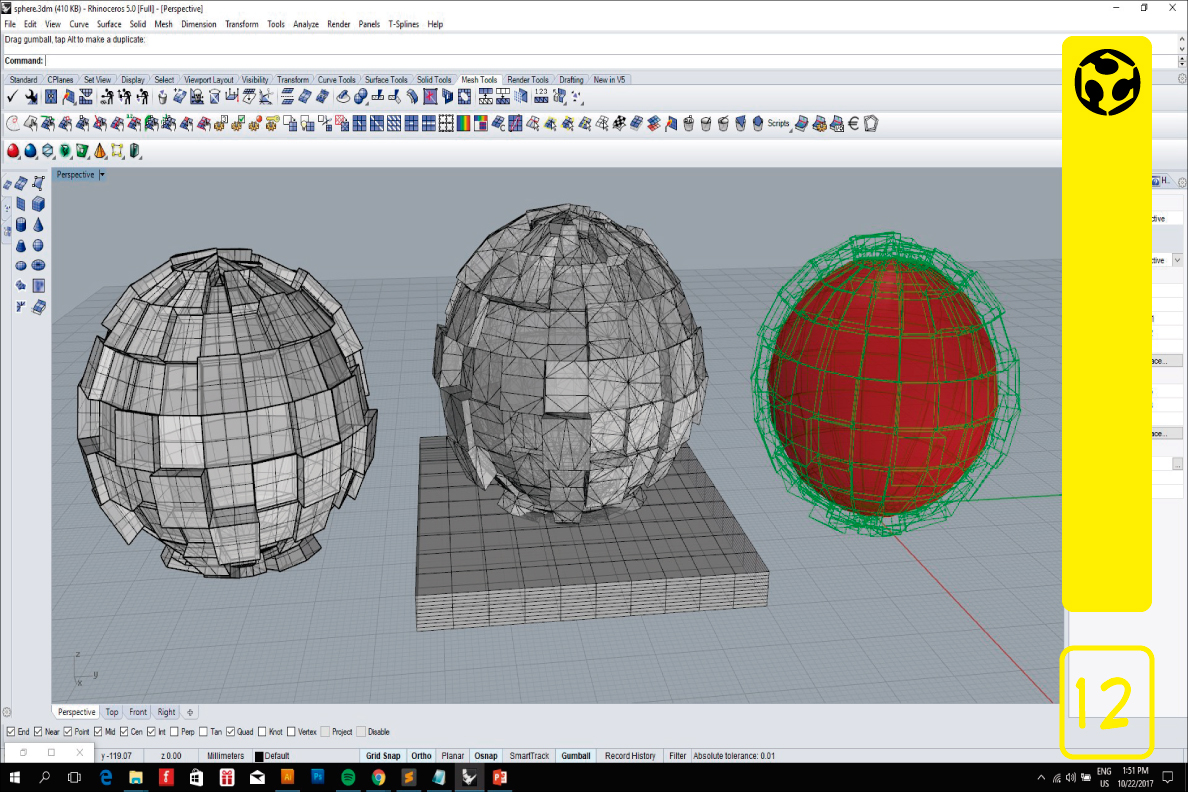
12. I generate a solid base.
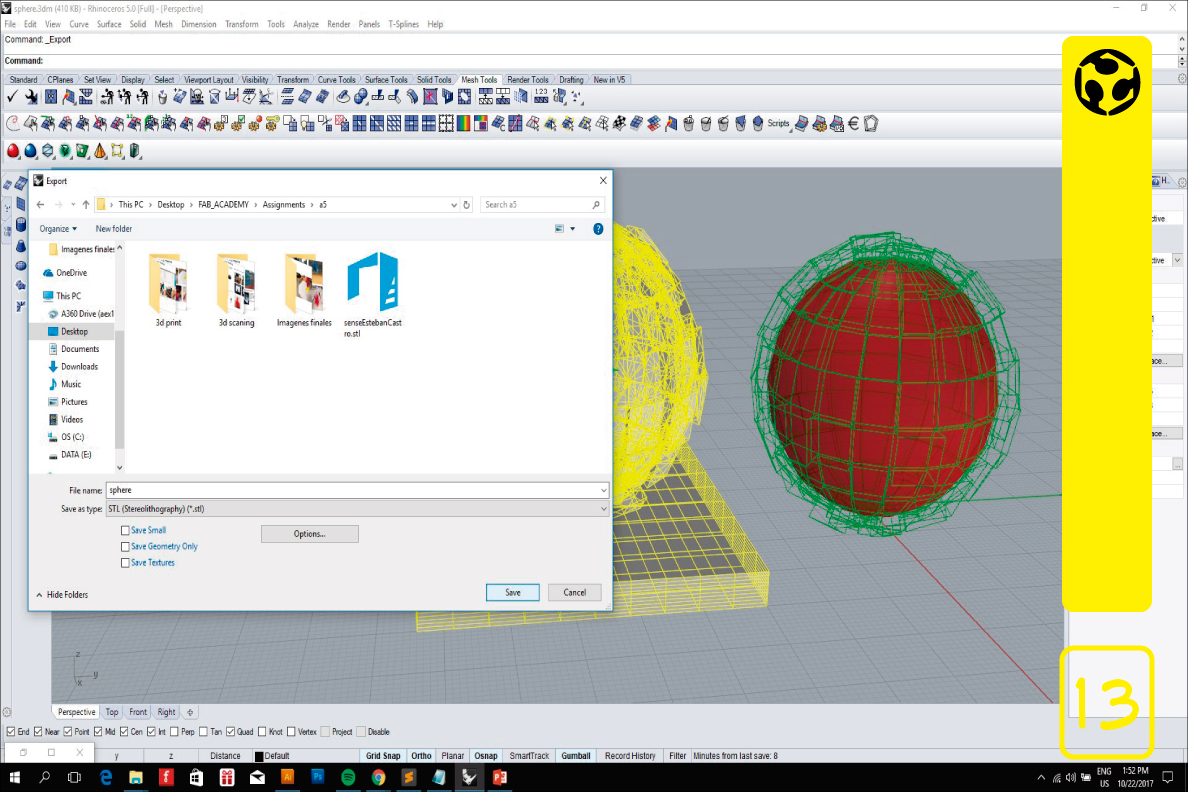
13. Select the object and export to .stl archive.
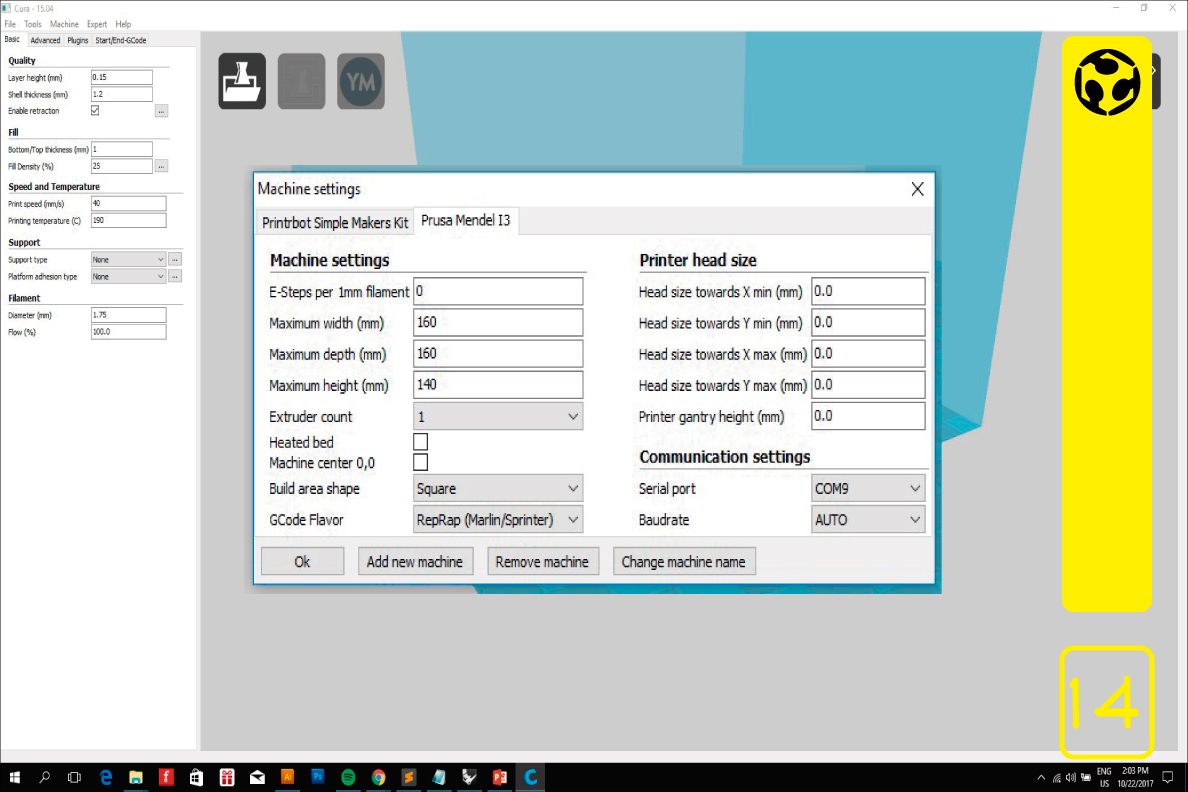
14. Cura 15.04 configuration.
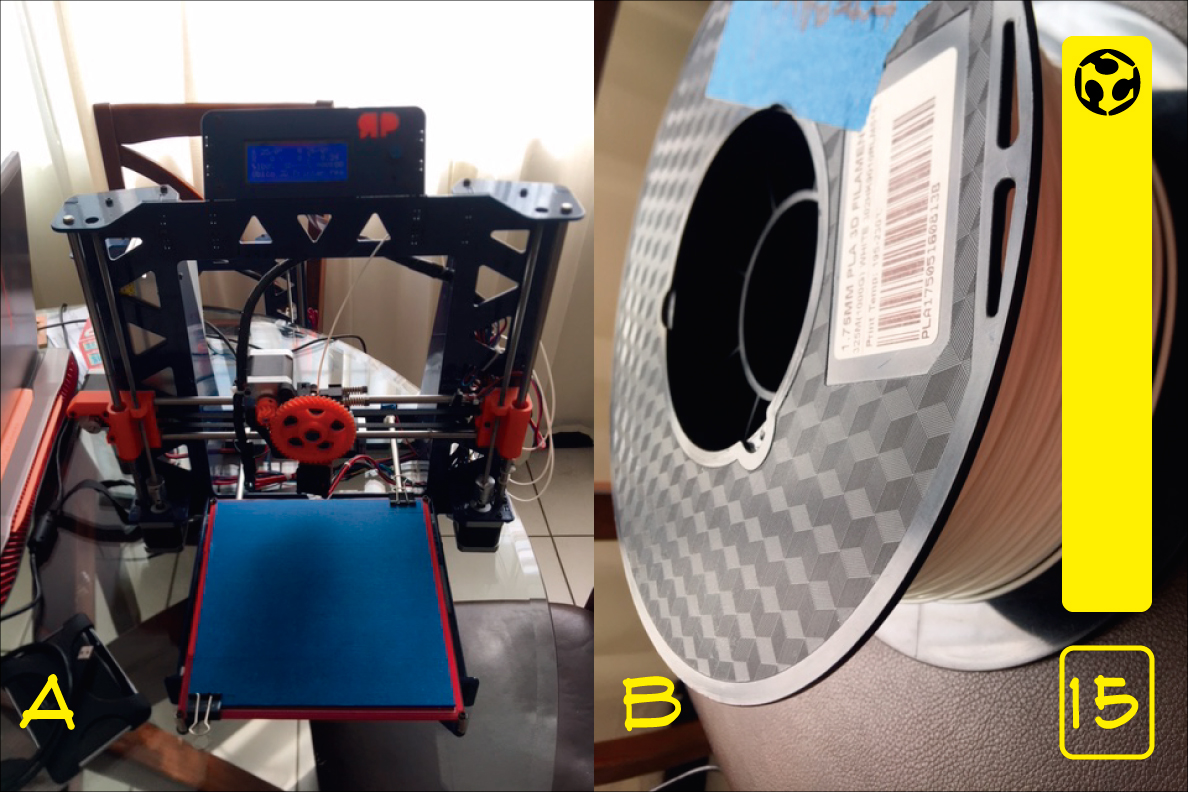
15. A. Prusa i3 printer.
B. PLA filament.
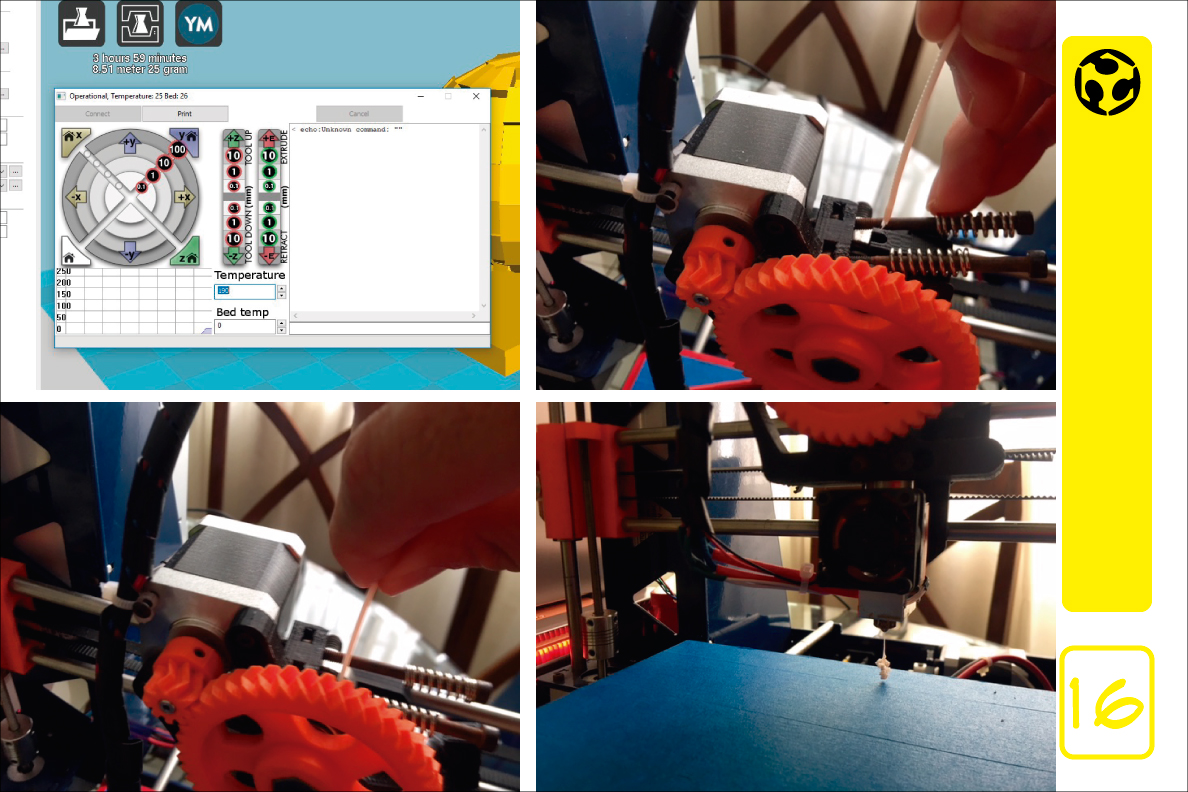
16. Heat the extruder to 208 degrees Celsius to change the filament and place the new.
These are the settings for the print:
Layer height to 0.15mm.
Shell thickness to 1.2mm.
Fill density to 25%.
Print speed 40 mm/s.
Printing temperature 190 C.
Support type: Everywhere.

17. Printing process.
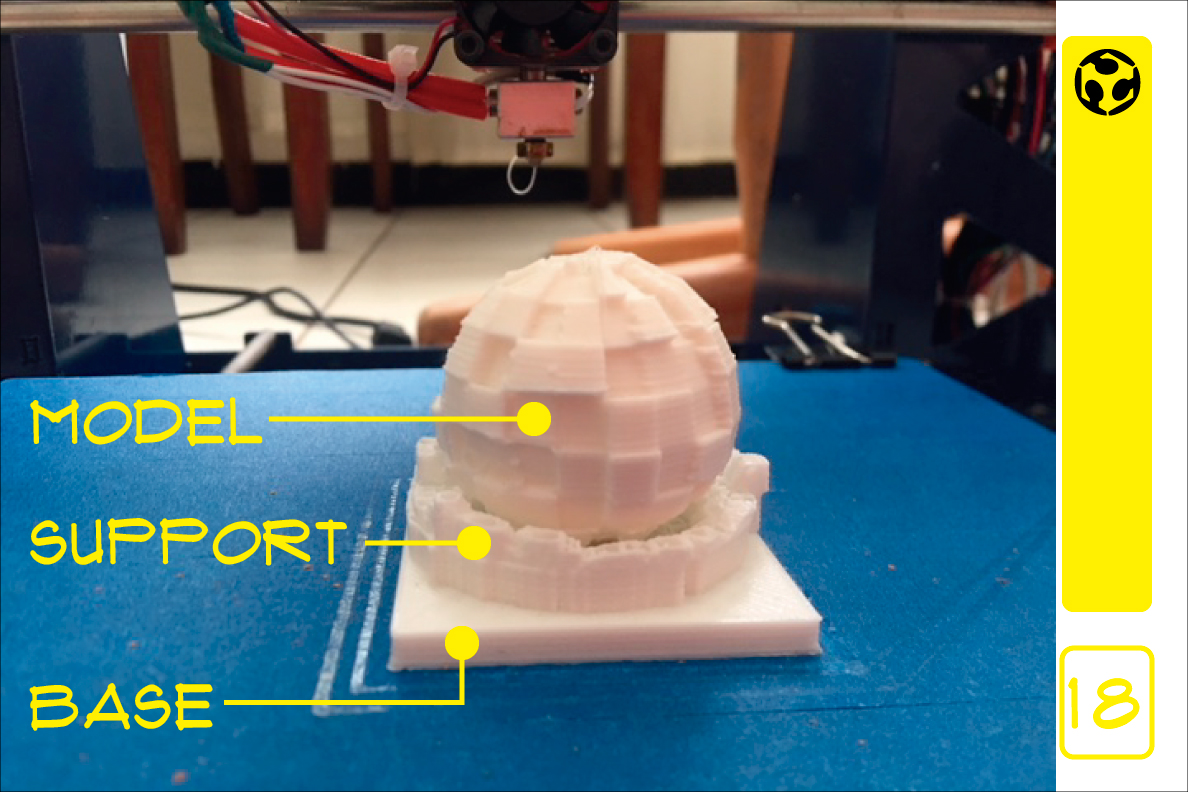
18. three and a half hours later the model is ready.
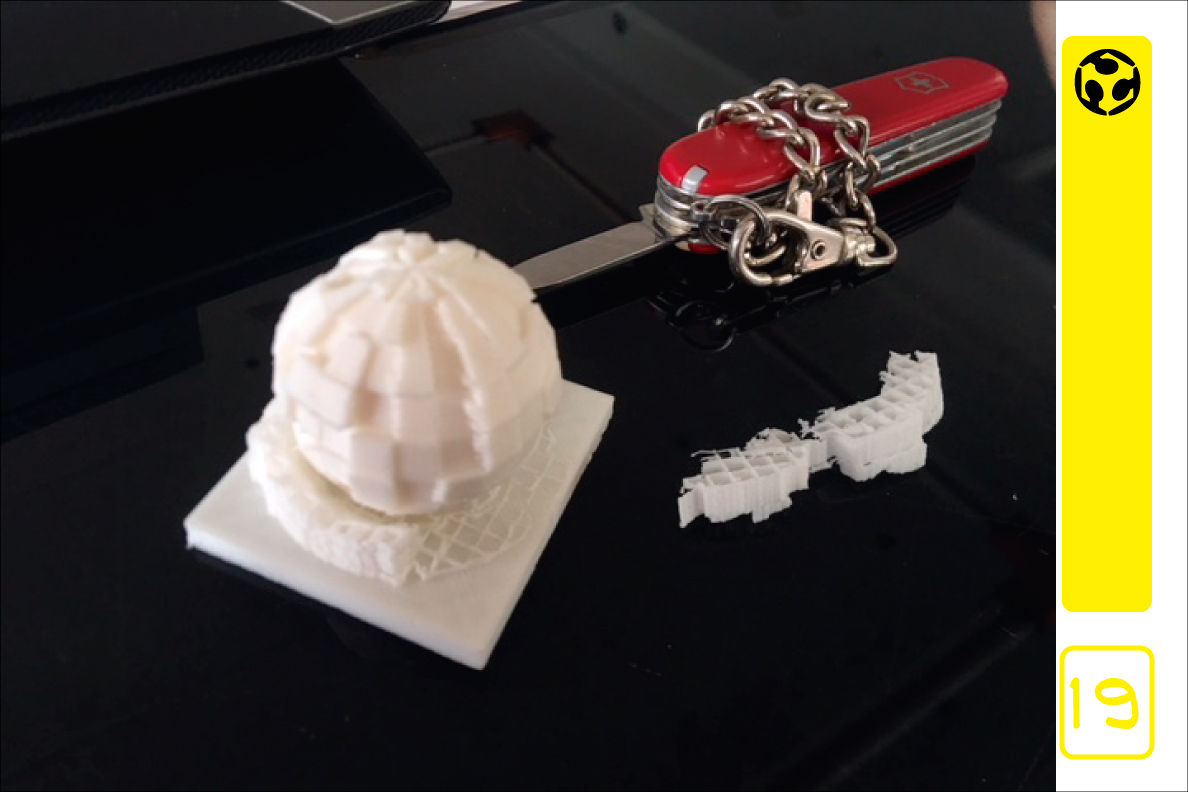
19. Remove the support.
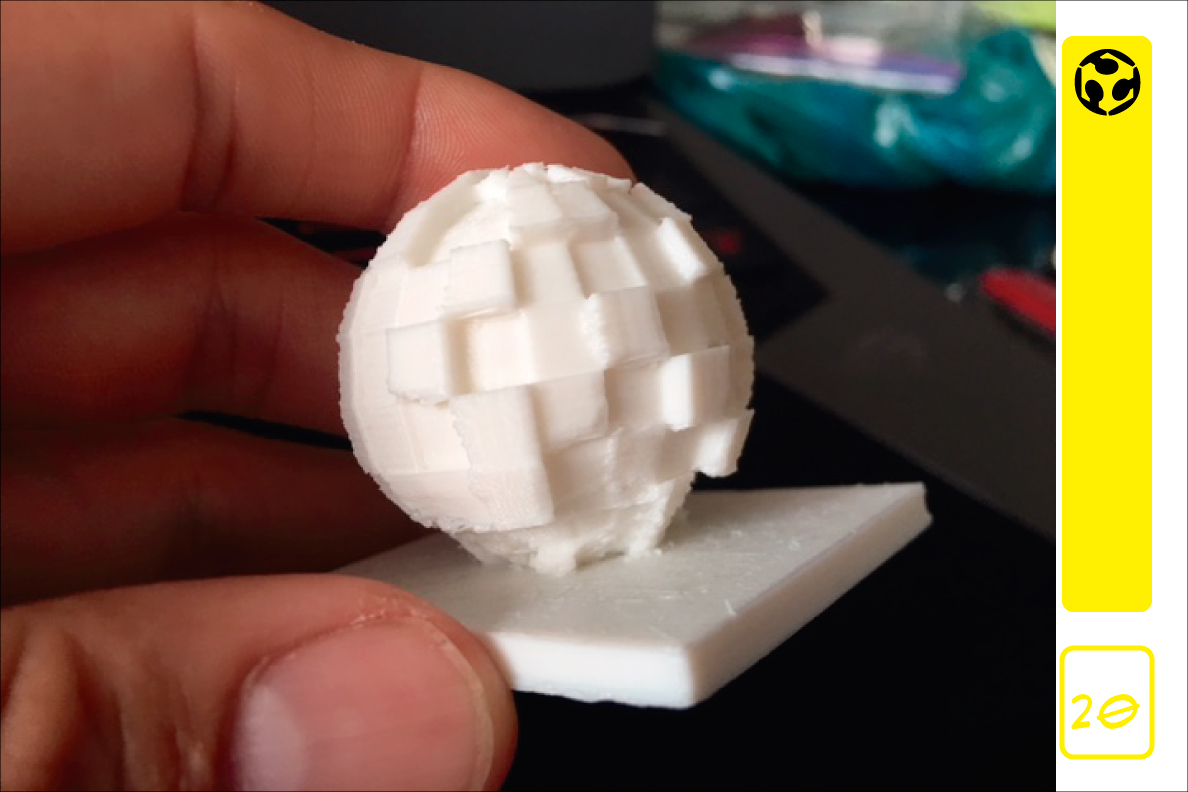
20. Enjoy the model.