
For this assignment I design two fabduinos to use and communicate with each other, using as an example a communication code, for this use a master code and a slave code, the master code transmits the signal and the slave code receives that signal and reflects it in The led of colors. MasterWriter example
drill bits
Cooper board
Pin headers (1x8)
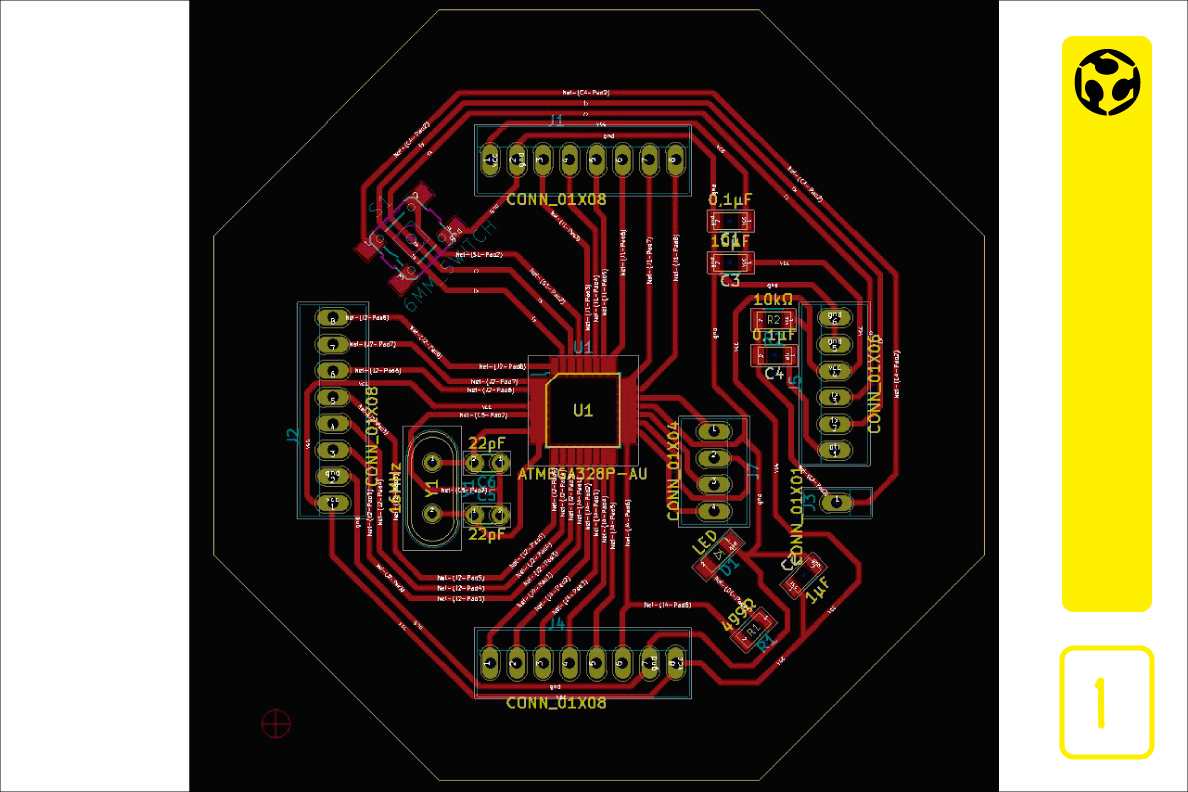
1. 2d view of the fabduino, paths and componets.
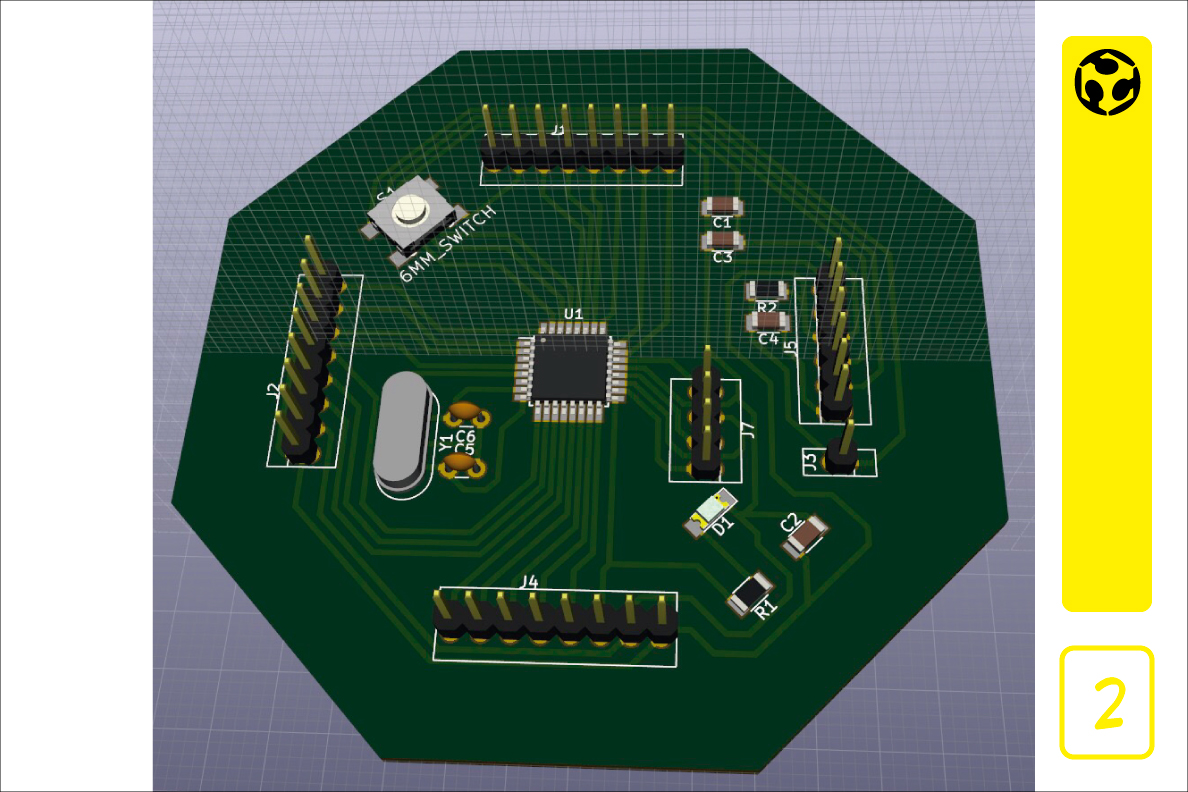
2. 3d view of the board with the componets.

3. Program the fabduino with the attiny44.
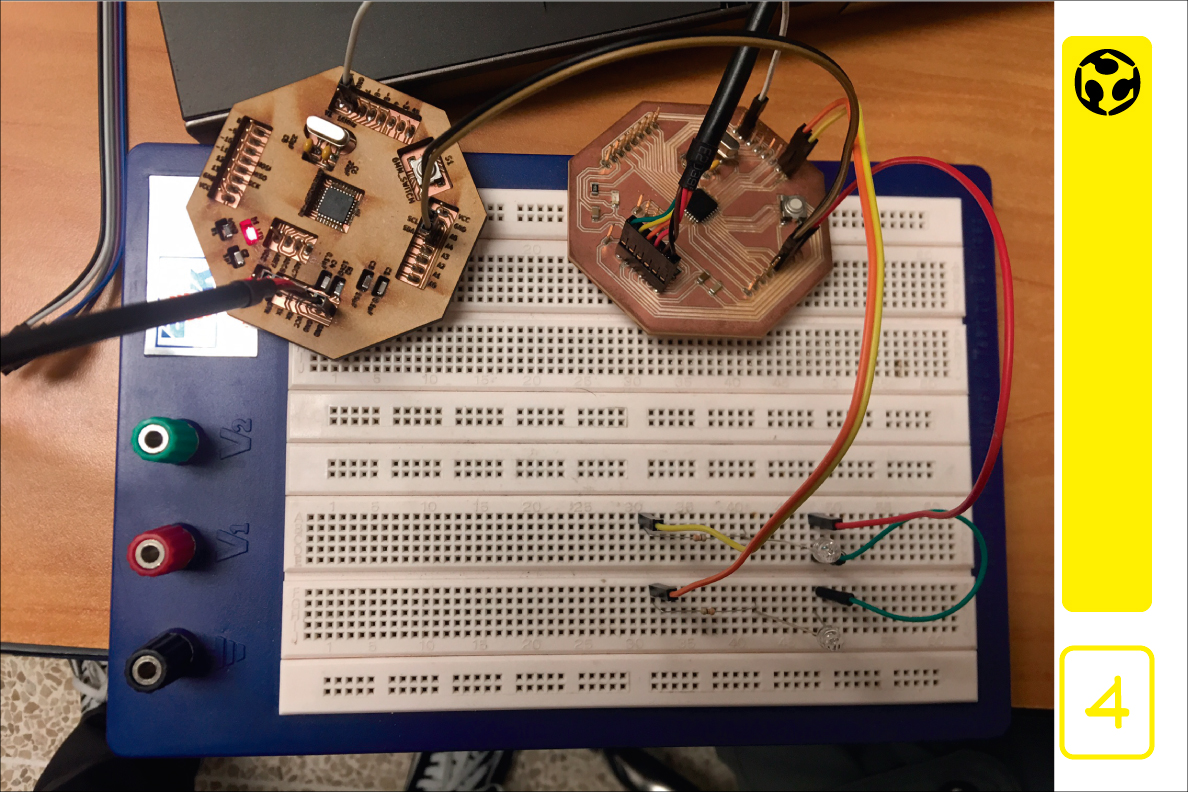
4. We connect everything to configure the fabduinos codes.
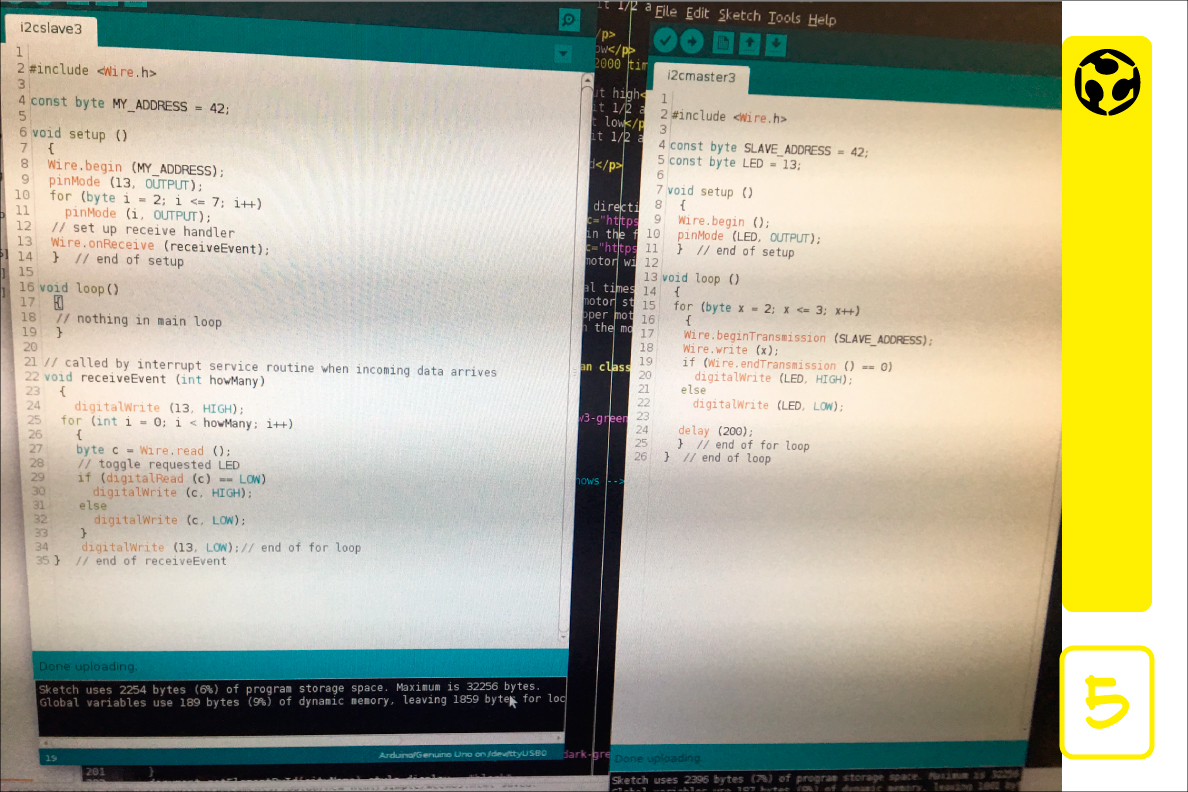
5. Set de master and slave code and upload in Arduino software.
The Master code: The code uses byte x as the variable to hold the value that will be transmitted. The line Wire.beginTransmission(8); starts the communication in address 8, this address must be the same on both boards. Then, the code takes the data from the ultrasonic sensor, and assigns the distance value to byte x, wich is transmitted with the command Wire.write(x).
The Slave code: The code on the slave board also includes the command Wire.begin(8); to star the communication (using the same address as the master), and then, the line Wire.onReceive(receiveEvent); registers an event whenever the master sends data to the salve.
In the setup, the address 8 is assigned for the communication (the same address as the master). Then, the code assigns the read value to int x, and evaluates it. In case x is less than 10, the led on pin 5 lights up, otherwise, the led on pin 4 lights up.
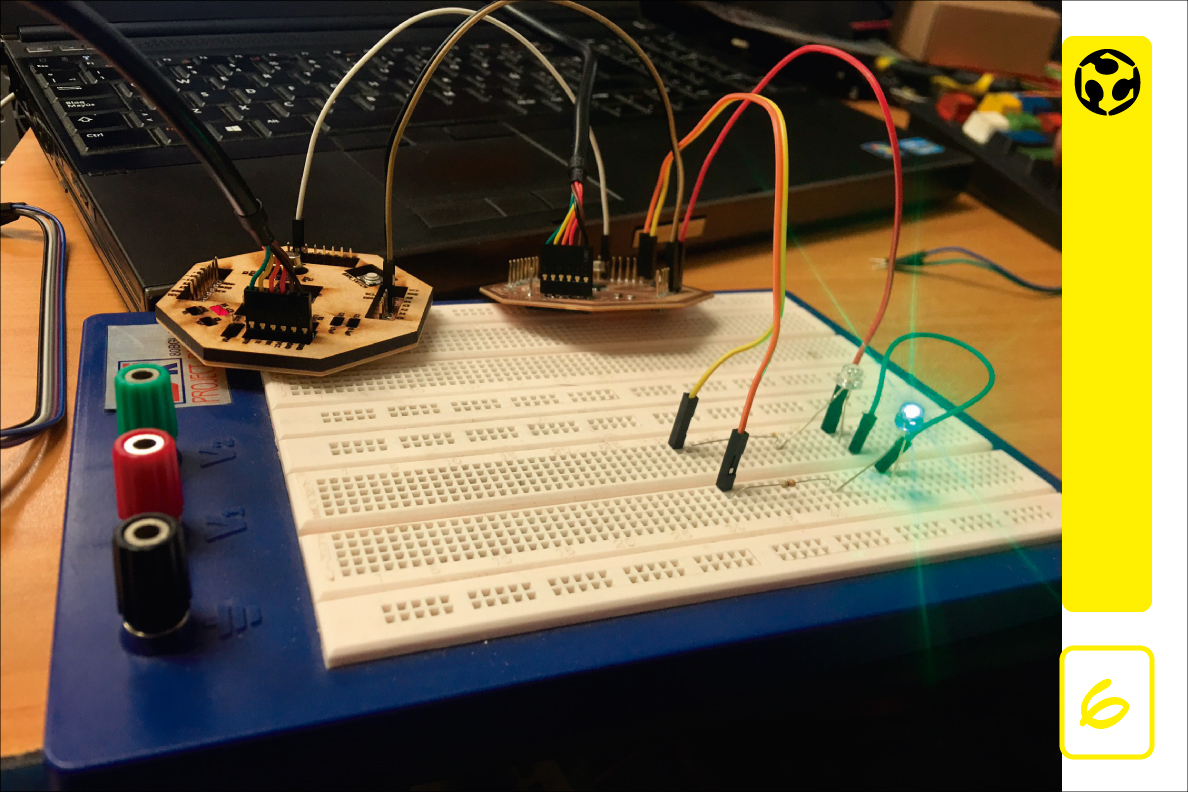
6. Master send signal, slave receives, and leds turns on and off.