This week was very busy for me as i had to travel to Kuwait for the Maker Faire Kuwait, and we have participated in the competition they had with a CNC machine that is made in Fablab UAE, and also conduct workshops for kids. So i had to be at the maker faire from 9AM till 10PM. It was a nice and intereseting experience and i have met amazingly talented people and saw many interesting projects. So i came back 2 days ago, and tried my best to learn as much as i can in two days only! So basically we didn't have the time to work on the group project however, we will work on it next week.
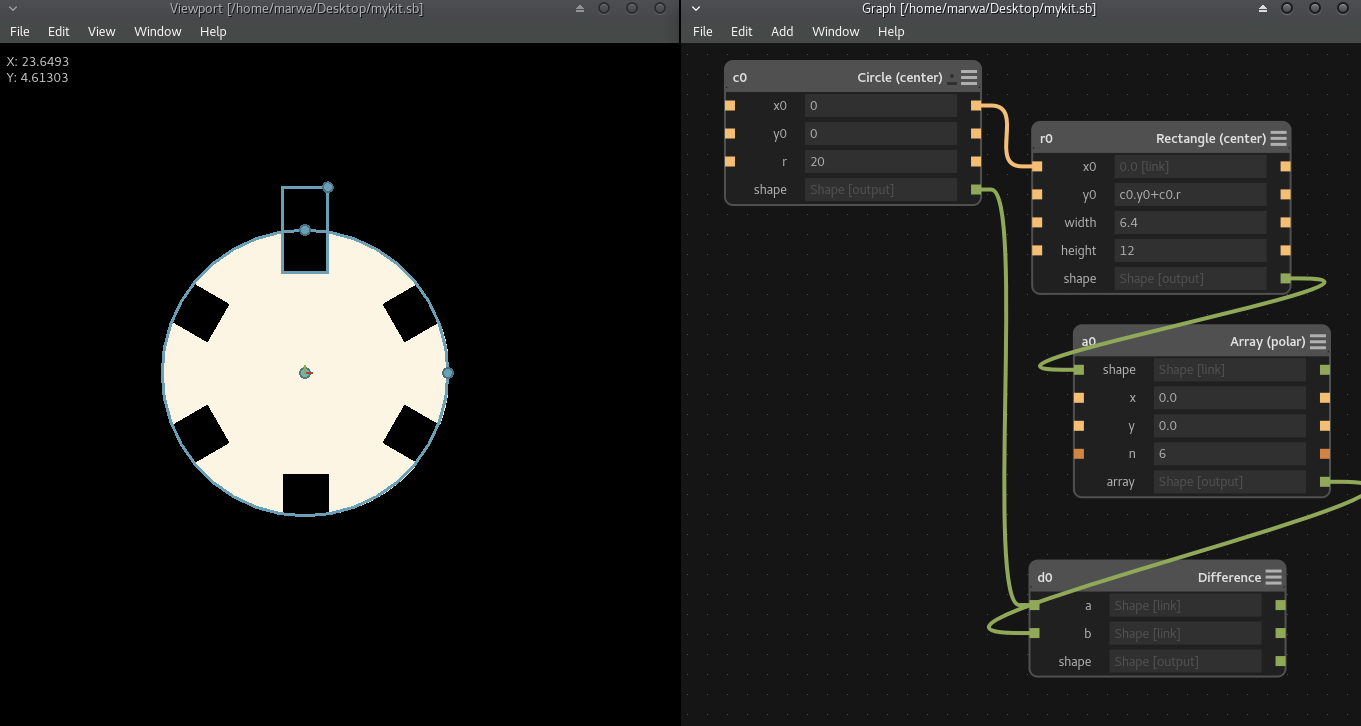
Finally, i used Antimony to design my parametric press-fit construction kit. I loved using Antimony it makes me feel that designing parametrically is so easy, and the software is user-friendly. I started adding a 2D circle, then a window appears which includes the values of the coordinates X,Y, and the radius. Then, i added a triangle and set the width to 6.4 and the height to 12. Here ia the amazing part which is linking between the values of different shapes. So, i wrote in the rectangle coordinate y0 the following formula c0.y0+c0.r , then i added Array(Polar) which creates duplicates of certain shape. The goal is to make more than one rectangle with the same values, so i linked between the rectangle and the Array and wrote 6 in the array which means duplicate 6 rectangles with the same values. After that, i added the Difference which will cut out and merge the shapes. So the formula for difference is A-B , A is the circle and B is the rectangle,and i linked between the circle and the array because it includes all the retangles.
Then, i saved my file as .sb and then Exported it to PNG by linking to the difference. After getting the png file i opened corel draw and imported my shape and converted it to Vector, the i ungrouped the objects and seperate the background and the shape which i will cut, and finally fill the border with the color red so that the laser cut knows what to cut exactly. Then i had to make sure that the laser will cut with 3 passes as i will be using cardboard, and the issue with cardboard is that you must change the power and speed, so i adjusted the power to be 85 and speed 25 because we don't want to start a fire in the lab >.<". At the end, i sent the file to the laser cutter to start cutting. The good advise is that never leave the laser cutter while its cutting, as you will never know when a fire can be started, always observe while cutting.
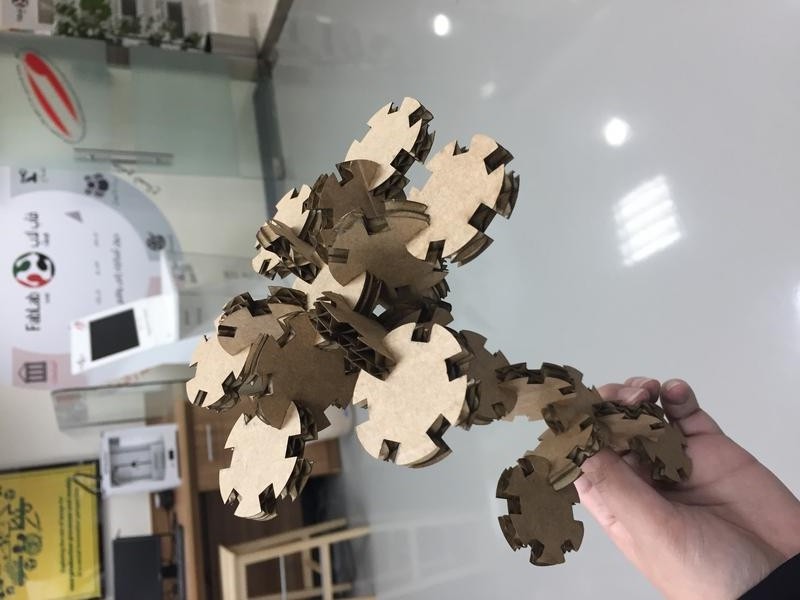
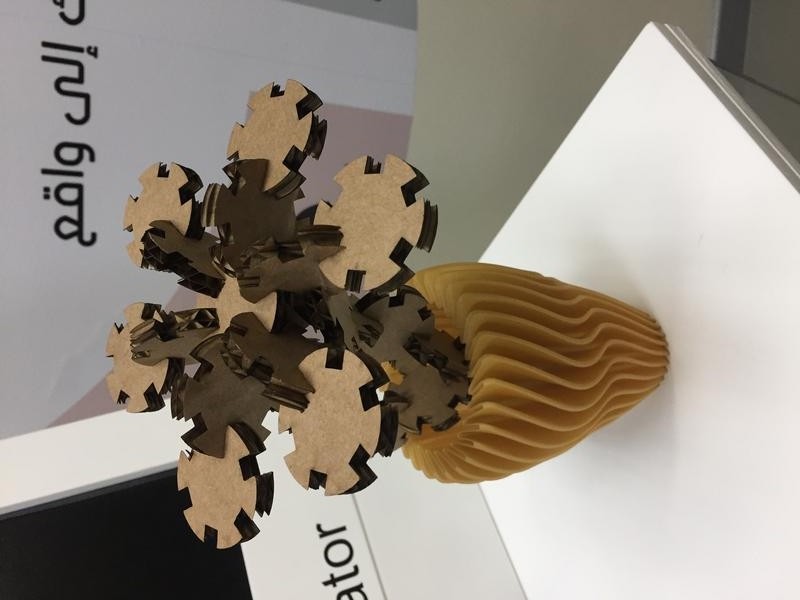
After the laser cutter finished the cutting, i have to wait at least for 1 minute in order to get rid of the bad air which is produced while cutting. Then, i took my construction kit and started building a flower. Its like lego but my own and special version of lego. I loved the idea of this assignment it helps in imagination of what you can build, and you can build anything and reassemble it the way you want. 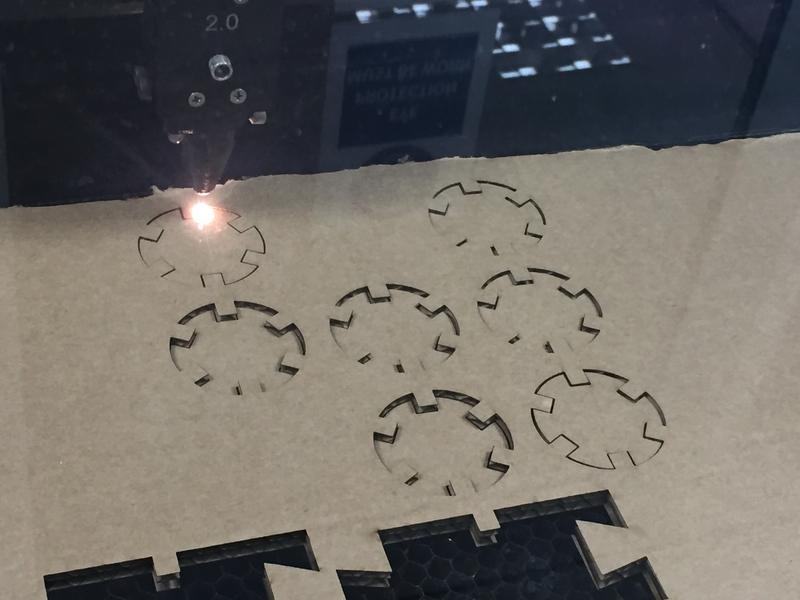
Here is my original file for my parametric press-fit construction kit
This is my first time observing the Vinyle Cutter while its working! So interseting how fast and precise it is in cutting. I used my logo which i have designed last week and it was challenging as it contains some details. I had two colors in my logo, and honeslty i didnt have enough time to try the multi layering, however, i understood the concept and i think its easy to implement. So, i had to make it all one color and i chose black. Then i made sure that there is enough space around the logo then selected the logo only and exported it to PNG. First, i had to know how to make the Vinyl cutter ready to cut, so i placed my vinyle peice and adjusted the handles. I saw the cutter and its super tiny that makes me wonder how this small cutter can cut so accurately! Afert that, I opened Fab Module which i think is amazing and super easy and its my first time using it. 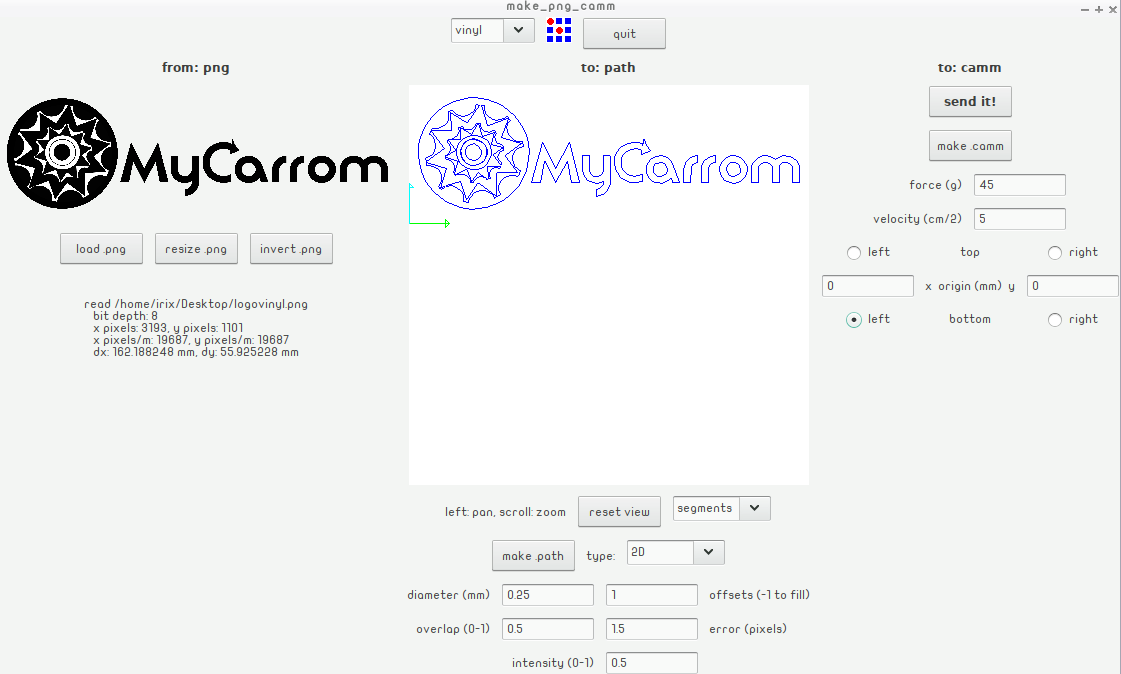
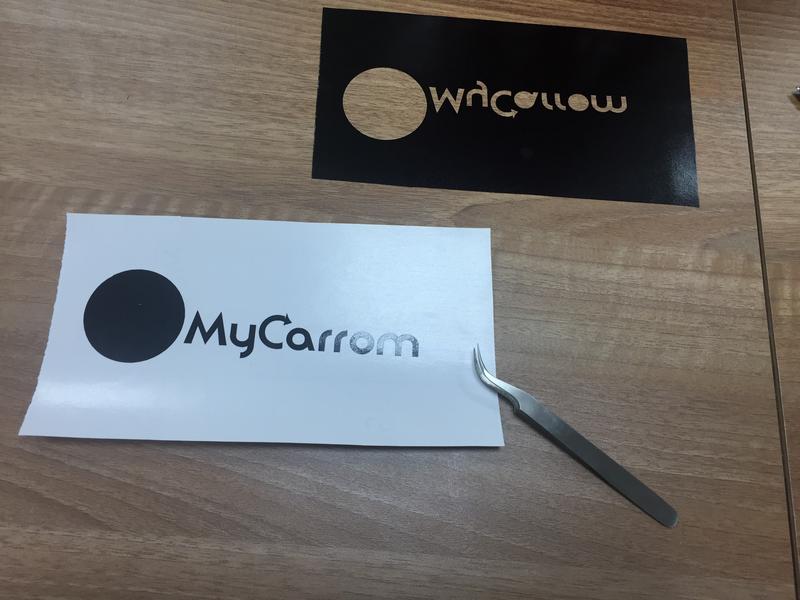
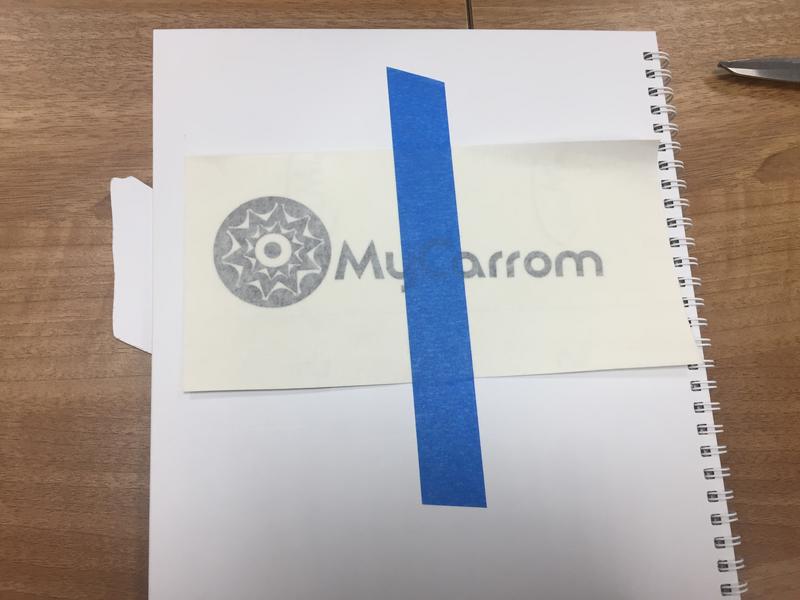
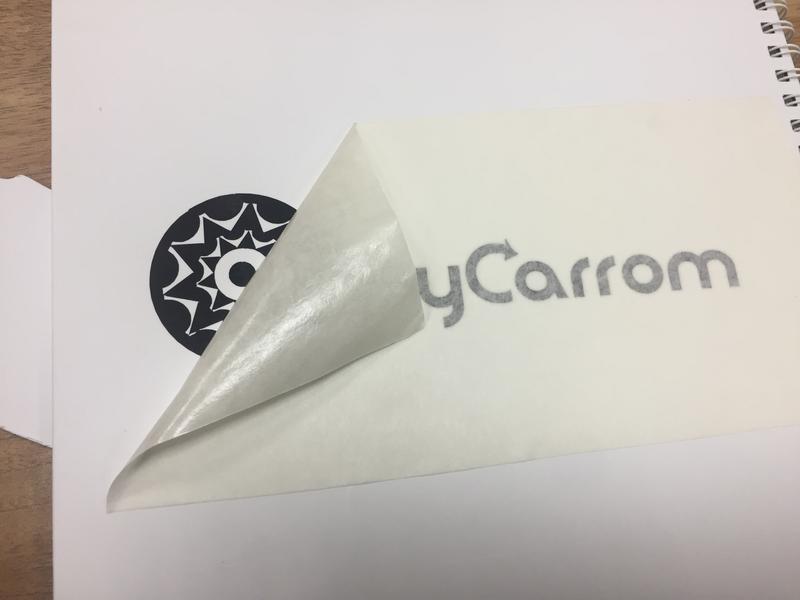
After getting my logo cutted in vinyl, here comes the fun part. I have to remove the peices should be white or lets say not included in the logo using tweezer. It took me some time as i have to remove them very carefully and there are some tiny peices. I felt like am executing an operation XD. After finishing that, now i have to place the transfer paper on the vinyl. So i used the blue tape to secure the logo and center it, then i place the transfer paper carefully. after that, i sticked my logo on my nootbook. I was so happy of the way it looks in real!
