This week assignment is to make a design of something big and using CNC machine to cut it. For making this week assignment I will make the design using Fusion-360.
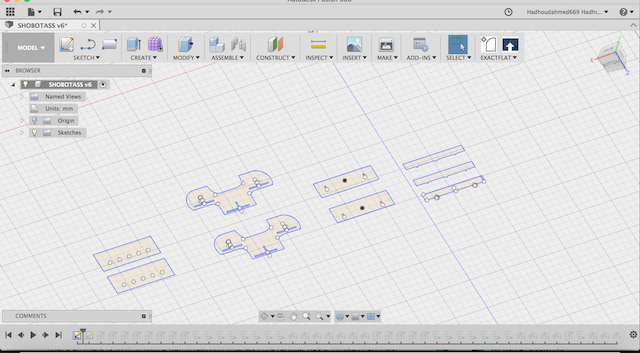
I make a design for chair and table that the kids can use it easily. When I make the design I try to make it paramtreically so I can use any type of material easily, just changing the thickness of material. This image show the 2D design I had make.
This image show the 3D model of my design
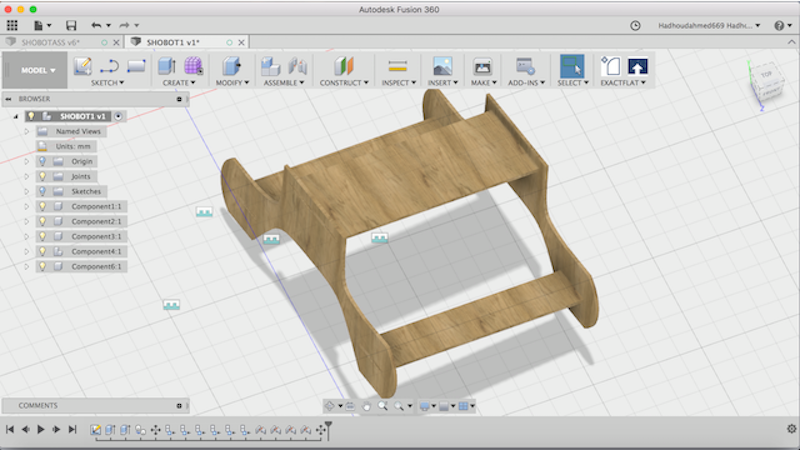
I make this 3D assembled shape to see if the parts are fit to each other or not. The steps for making the assembled shapes in fusion-360 - Extrude the 2D shapes into 3D shapes. - Converting all bodies I have to component from assemble then I choose new component. - Then I choose joint to start make the joints between components to have the assembled shape. Now after I have finished the design and sure that all parts were fit to each other now I should export the design in Dxf so I can use it.
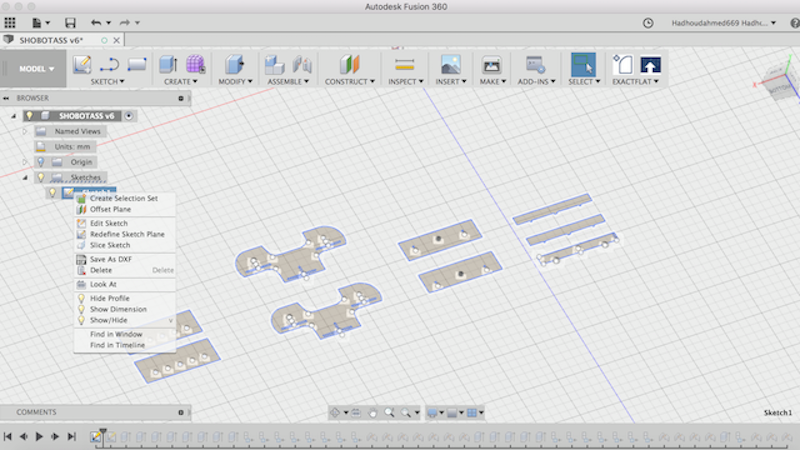 This image show how to export
 Dxf from fusion-360
For using the design files I should modify it using the software called Vcarve pro which is the software of Cnc-Shopbot.
First step is to open vcarve and put the dimensions as a dimensions of playwood sheet we have in our lab 2440*1220 This image show the settings I put regarding to wood I have. 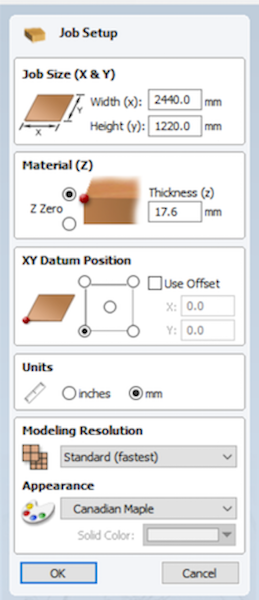 So after making the setting of the page and exporting the Dxf file of the design, I will make fillet for the parts in the design the will be milled from inside. The type of this fillet is called
 dog bone. This image show how to make dog bone fillet  The next step is to add layers to make it easy to choose the parts I need when I making the tool-path I will make 4 layer
  - First layer outside layer which contain the parts that will be milled from outside.
- Second layer inside layer which contain the parts that will be milled from inside.
- Third layer pocket layer which contain the pockets I will make in the design.
The following image show the layer in different colors. 
Now every thing thing is ready to make the tool-paths. First tool-paths I will do is the pocket tool-path, choose the pocket tool path and then I put the setting as in the below image 
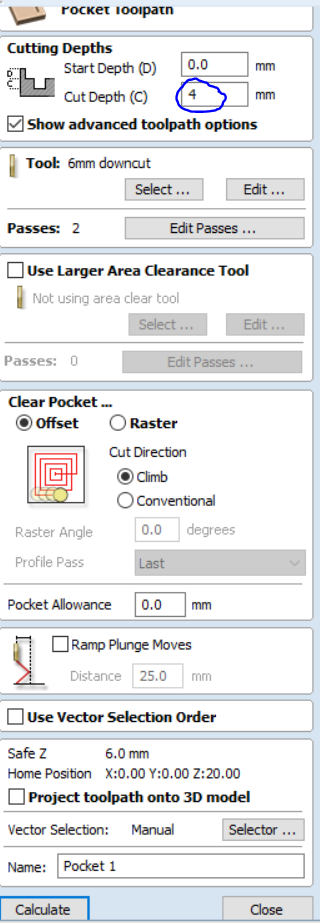 after I put the values I press calculate.
Second tool-path is the inside tool-path , with the same way like pocket I will choose the profile tool-path 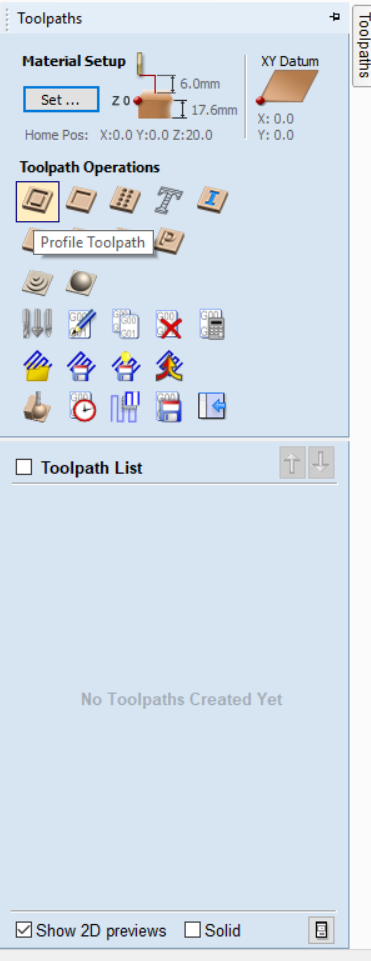 In the below image I show the tool I will use and the another setting for inside cut
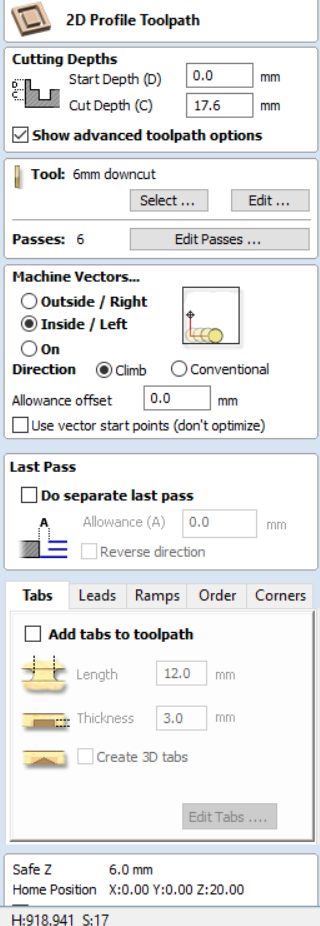
Third tool-path is the outside tool-path, with the same way I do in the inside tool-path I will make the outside tool-path but what I will add is to choose add tabs, the benefit of this tabs is to hold the parts during the cutting so it still fixed till the machine finish then I can remove it easily.

Now I have the all tool-paths I need. This image show all tool-path I need in this design. 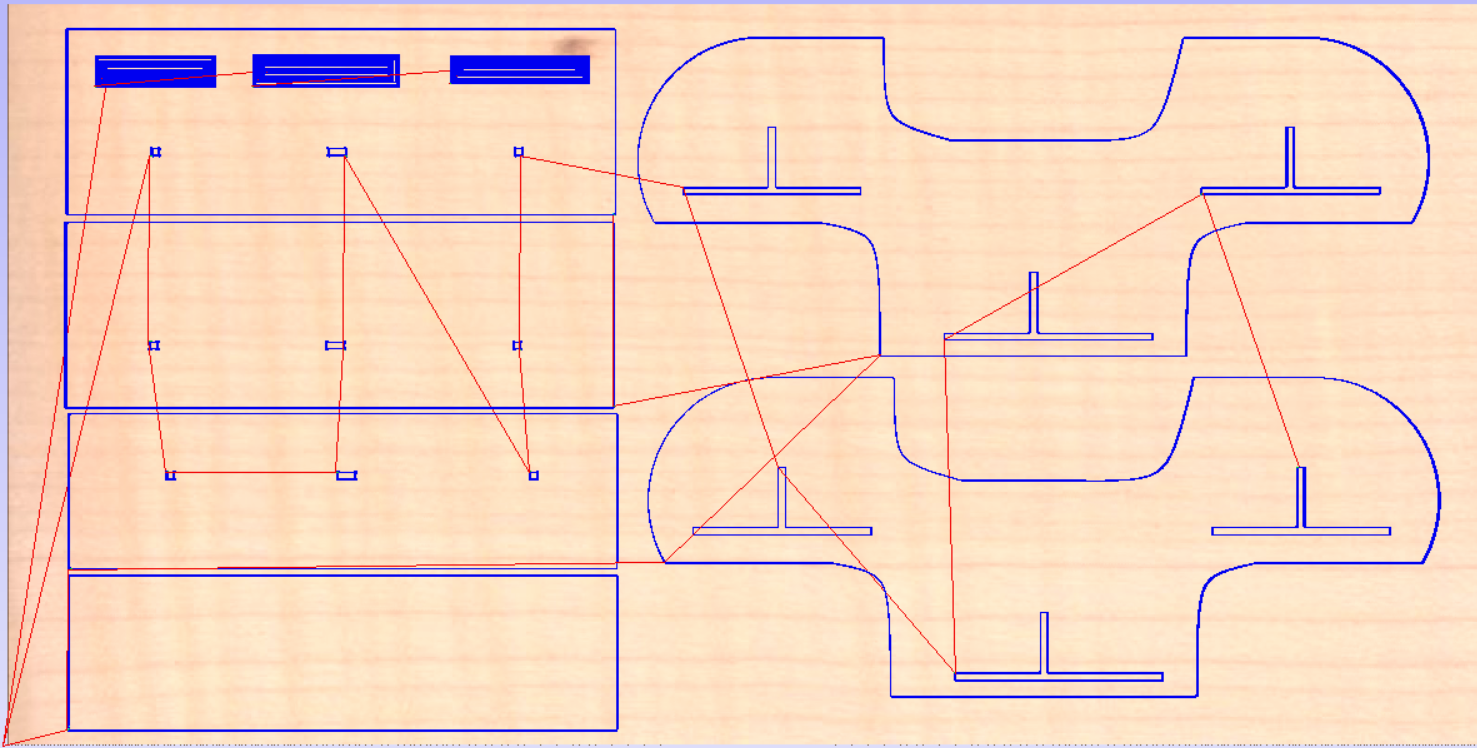
This the setting of the bit I will use like fixing , testing joints , speed and cut depth. The following image show all of this parameters I used with 6mm down cut bit 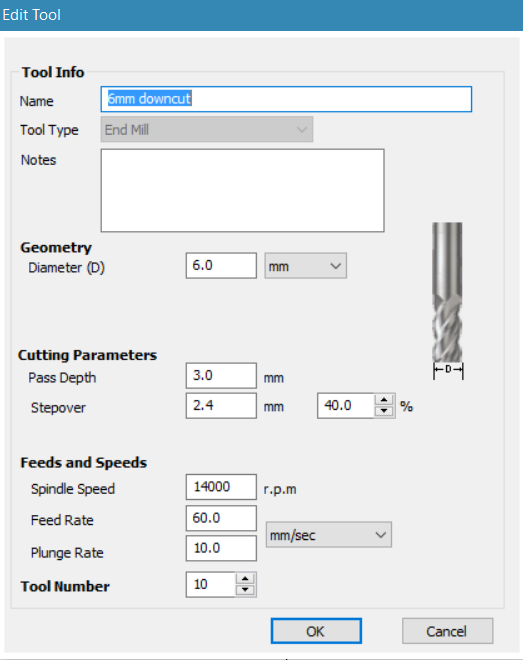 After that I will put this bit in the machine and when I finish installing it, I will go to the software and start zeroing
 x , y, z
After having all tool-path I need. This is the steps I do
 - Second step is that I change the tool as the proper tool not in the machine.
Third step we do is that we turn the electricity of the spindle and control box on.
x ,y ,zBefore all of this I wear the safety clothes and glasses.
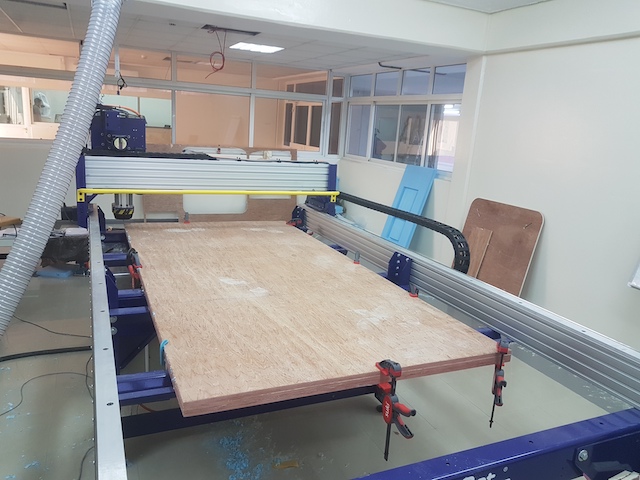
This image when the machine is working 
This video show when the machine is working
After while the machine finished and this is the image after the machine finish cutting 
After the machine stop I take all the parts and assemble them to each other according to the design. and this is the Final images 
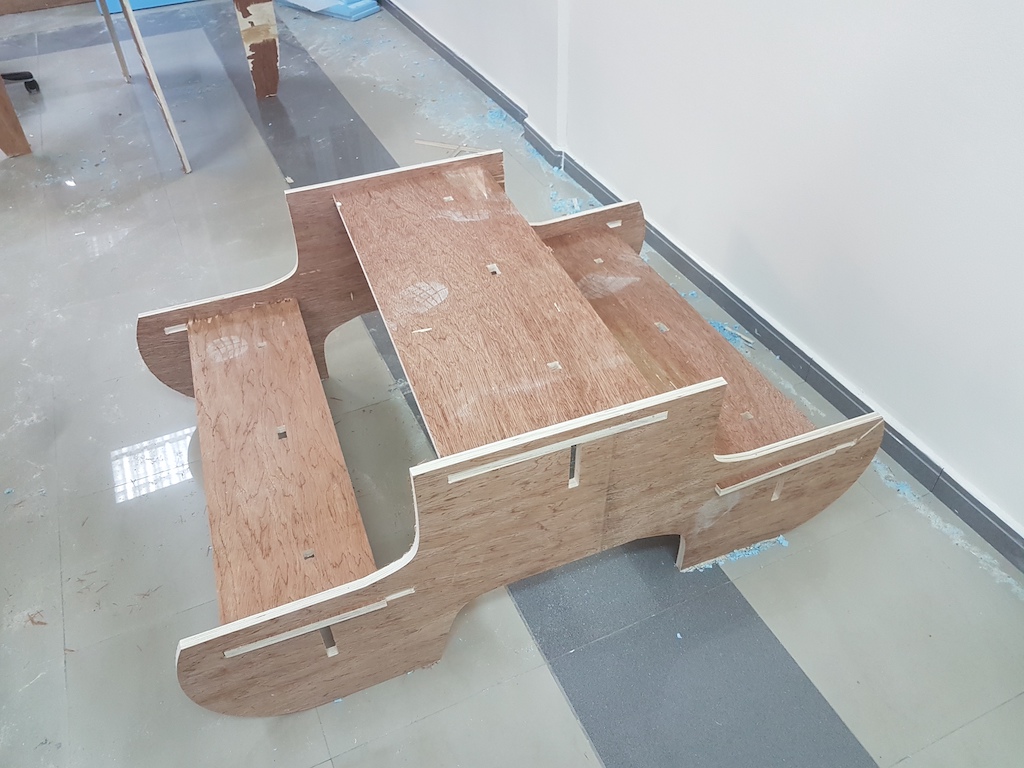
I didn't make finishing to the final project as the wood look like good and didn't need any sanding.
For the fitting of the parts I make material thickness 17.6 mm and it fit easily.
I calculate the thickness of materials with talking the measurements of the thickness of the playwood sheet from different places and then take the average.
I take the average because I notice that the material thickness not equal in the all parts.
During cutting I put the thickness of the material correctly but the machine during cutting the machine did not cut till the end.
The solution is that I make the z- axis deeper than the zero point with 1mm and it cut perfectly.