Fusion-360By using Fusion-360 tools I can make a small design and take care of the limitations of the 3D printer I can make a design that can print it with 3D printer.
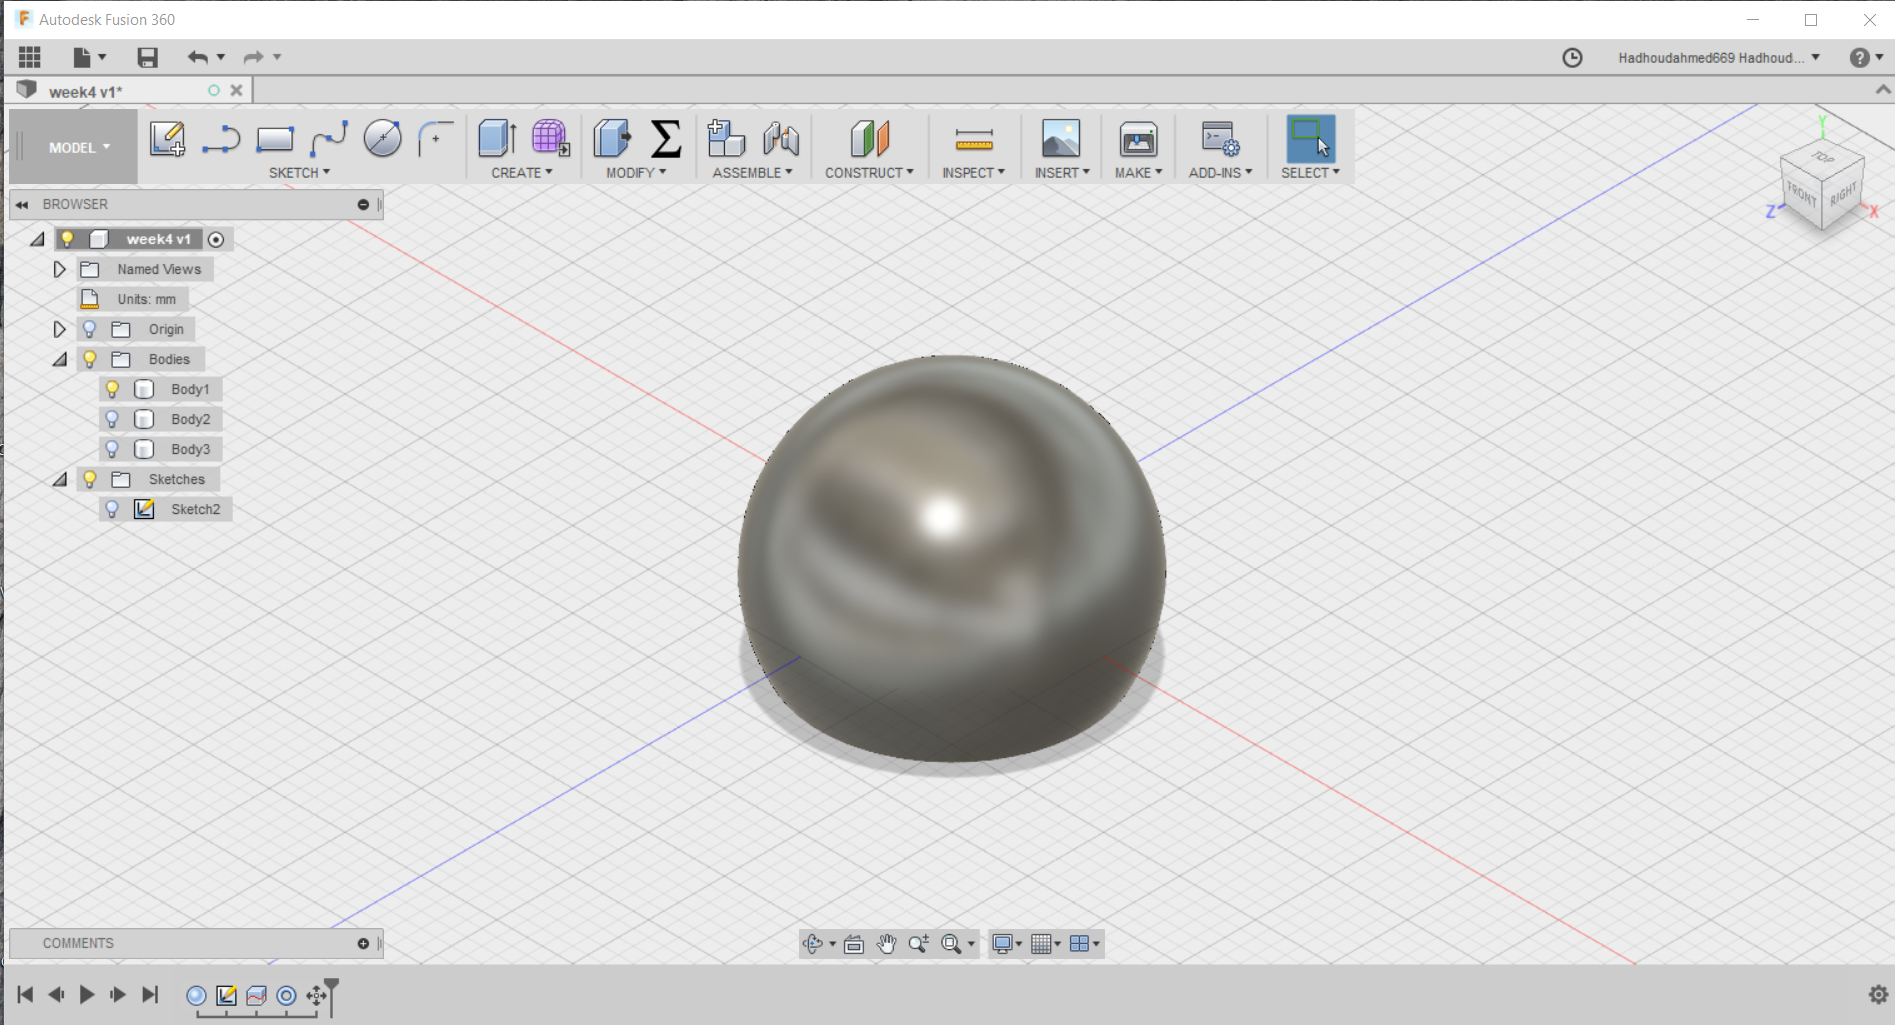
For making this design first I make sphere
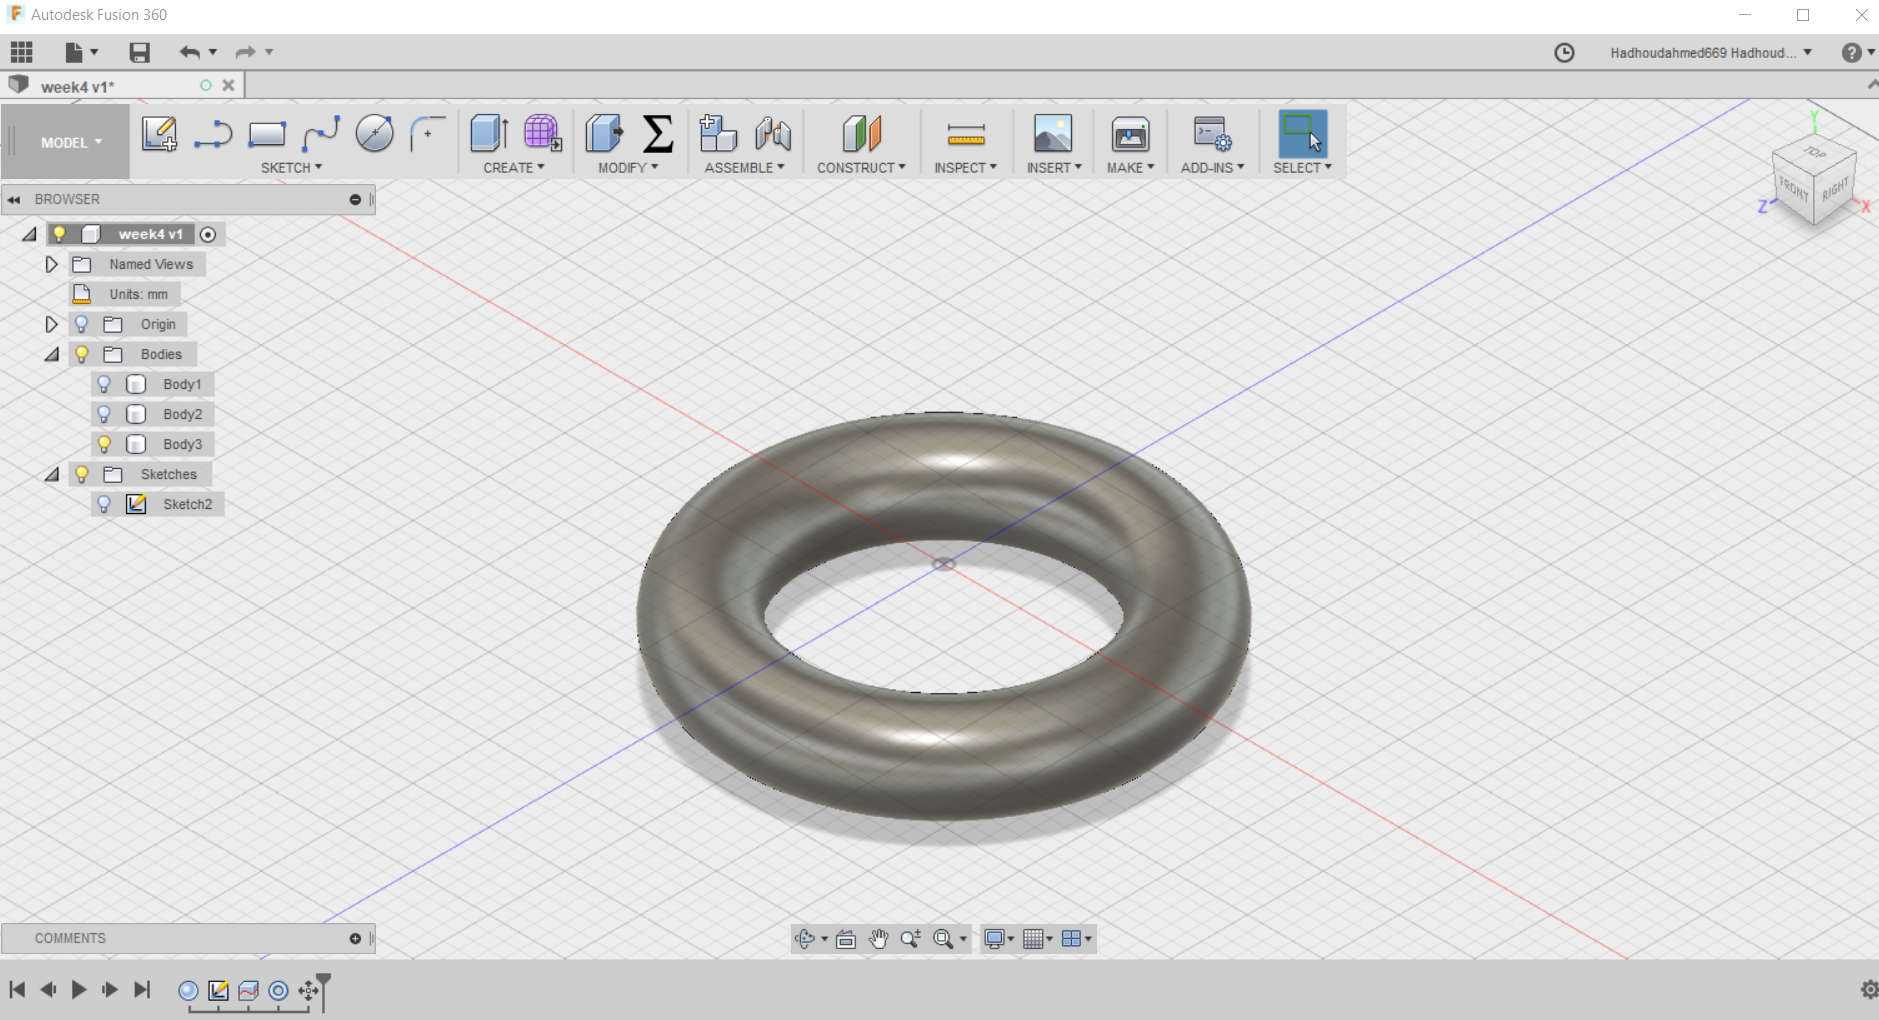
Then I make trous
The aim of this week assignments is
- Test the design rule of the printer.
- Design and 3D print an object that I can not make subtractively.
- 3D scan an object and more credit print it.
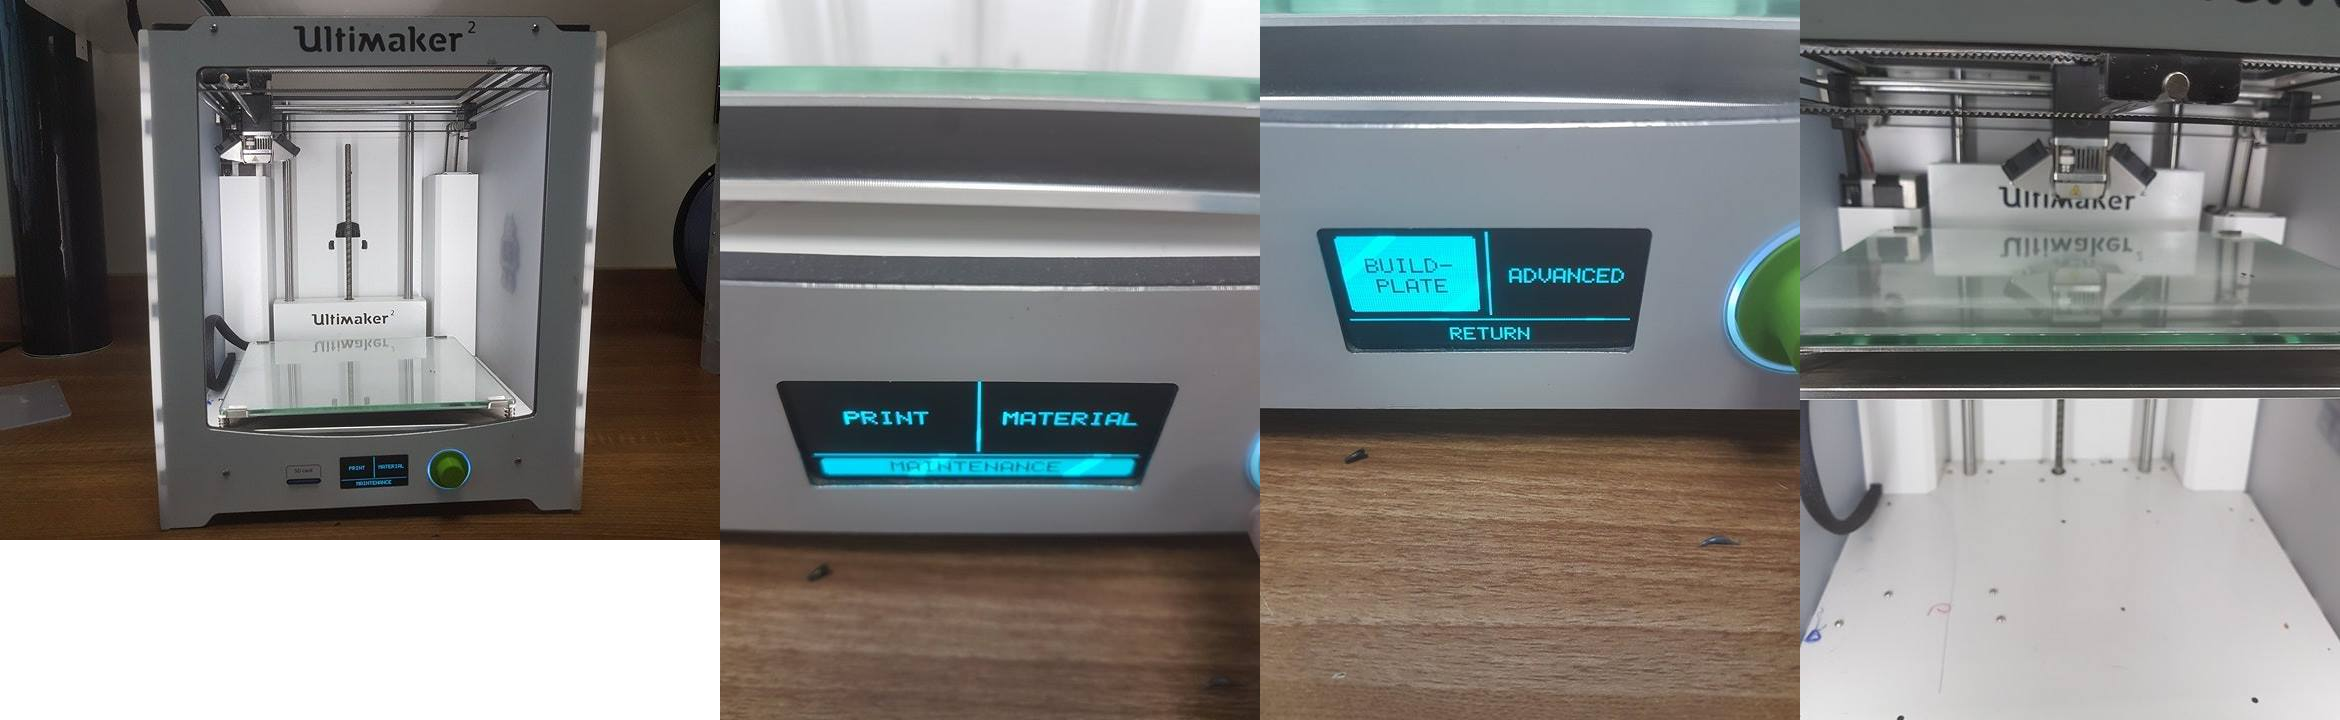
First in our lab we use Ultimaker2 3D printer which have the limits of design (223 x 223 x 205 mm). So this is the maximum design size I can make with 3D printer.
The second limit all angles in the design should not exceed 45 degree so I can print it without support.
For making my design I will use one of Auto-desk 3D software called Fusion-360
By using Fusion-360 tools I can make a small design and take care of the limitations of the 3D printer I can make a design that can print it with 3D printer.
For making this design first I make sphere
Then I make trous
Then I use line to split the sphere into two parts
Finally subtract the two bodies from each other
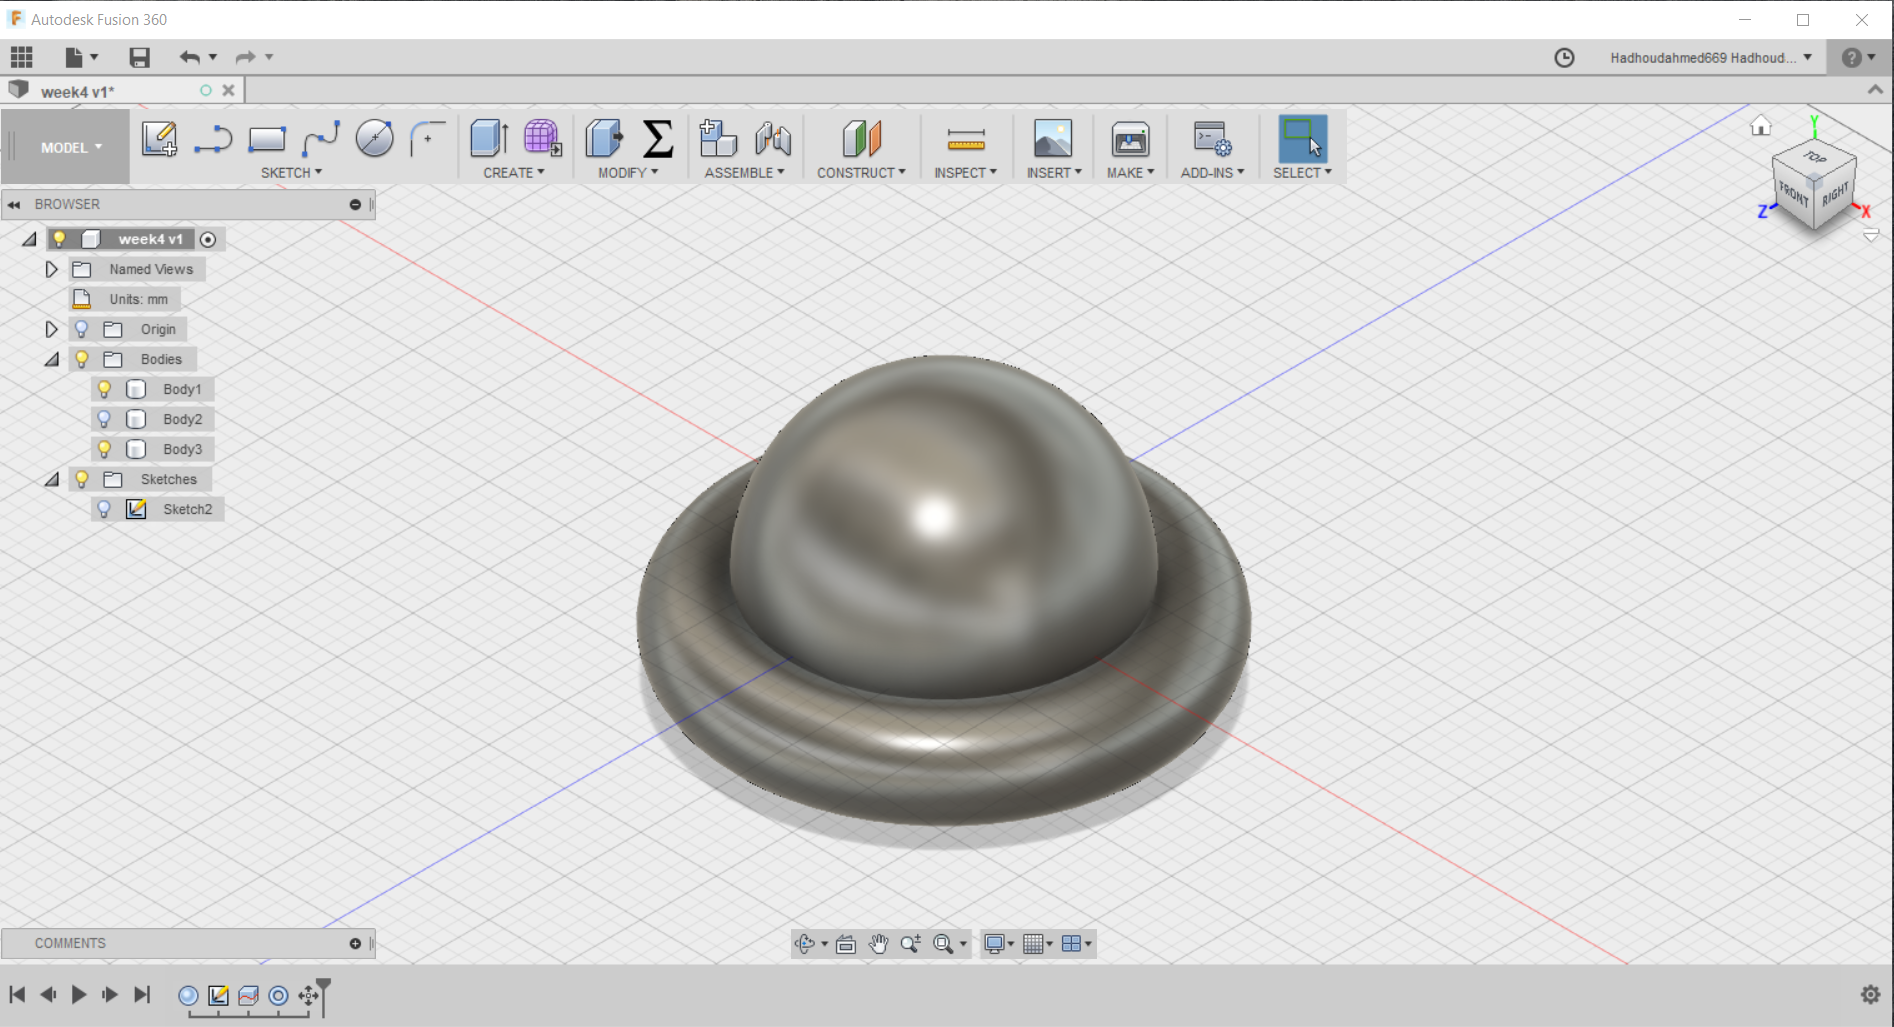
this design can not be milled by cnc machine as it have hole in the bottom that can not be milled by the cnc and also it have some curves that can not be reached with the milling bit of the cnc machine
Now after finishing the design it is the time to send the file to the printer so at first I should export the file with stl extension.
This is images of how to export the STL file from fusion-360
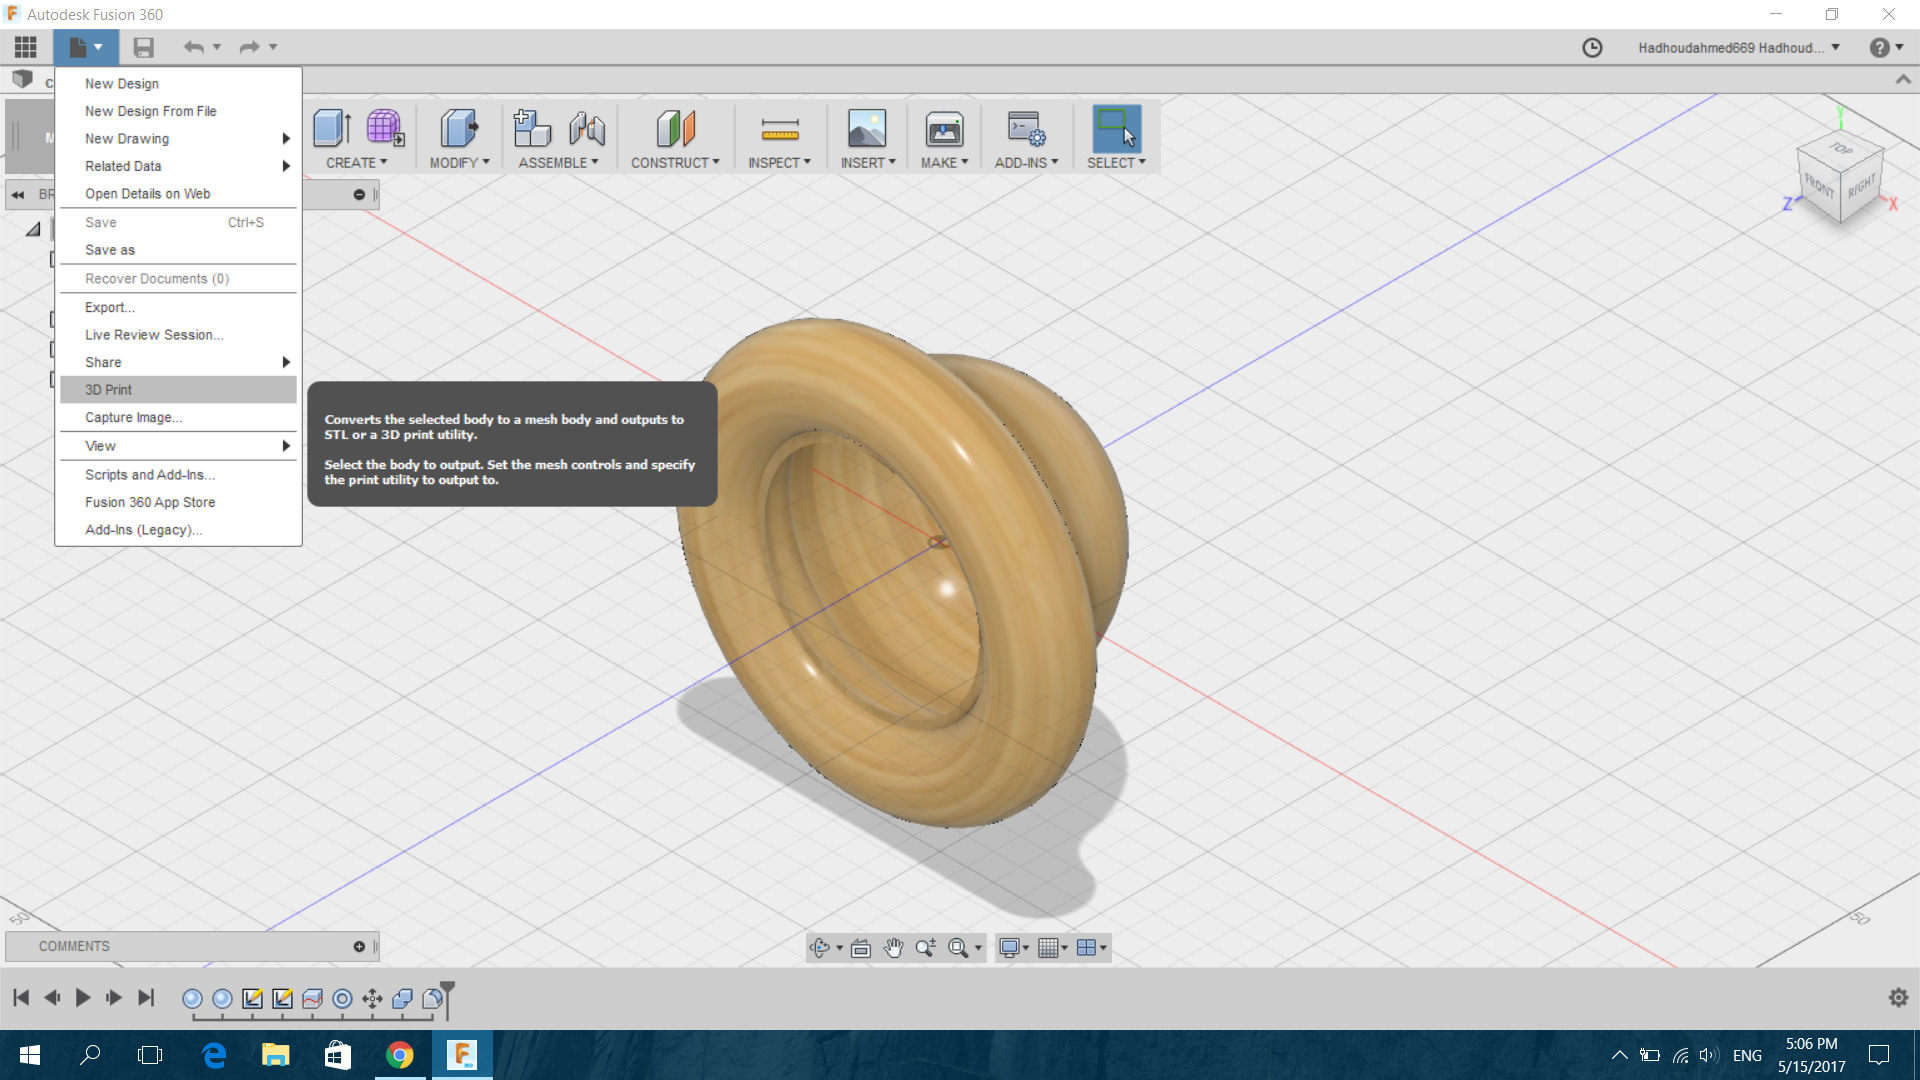
The STL file
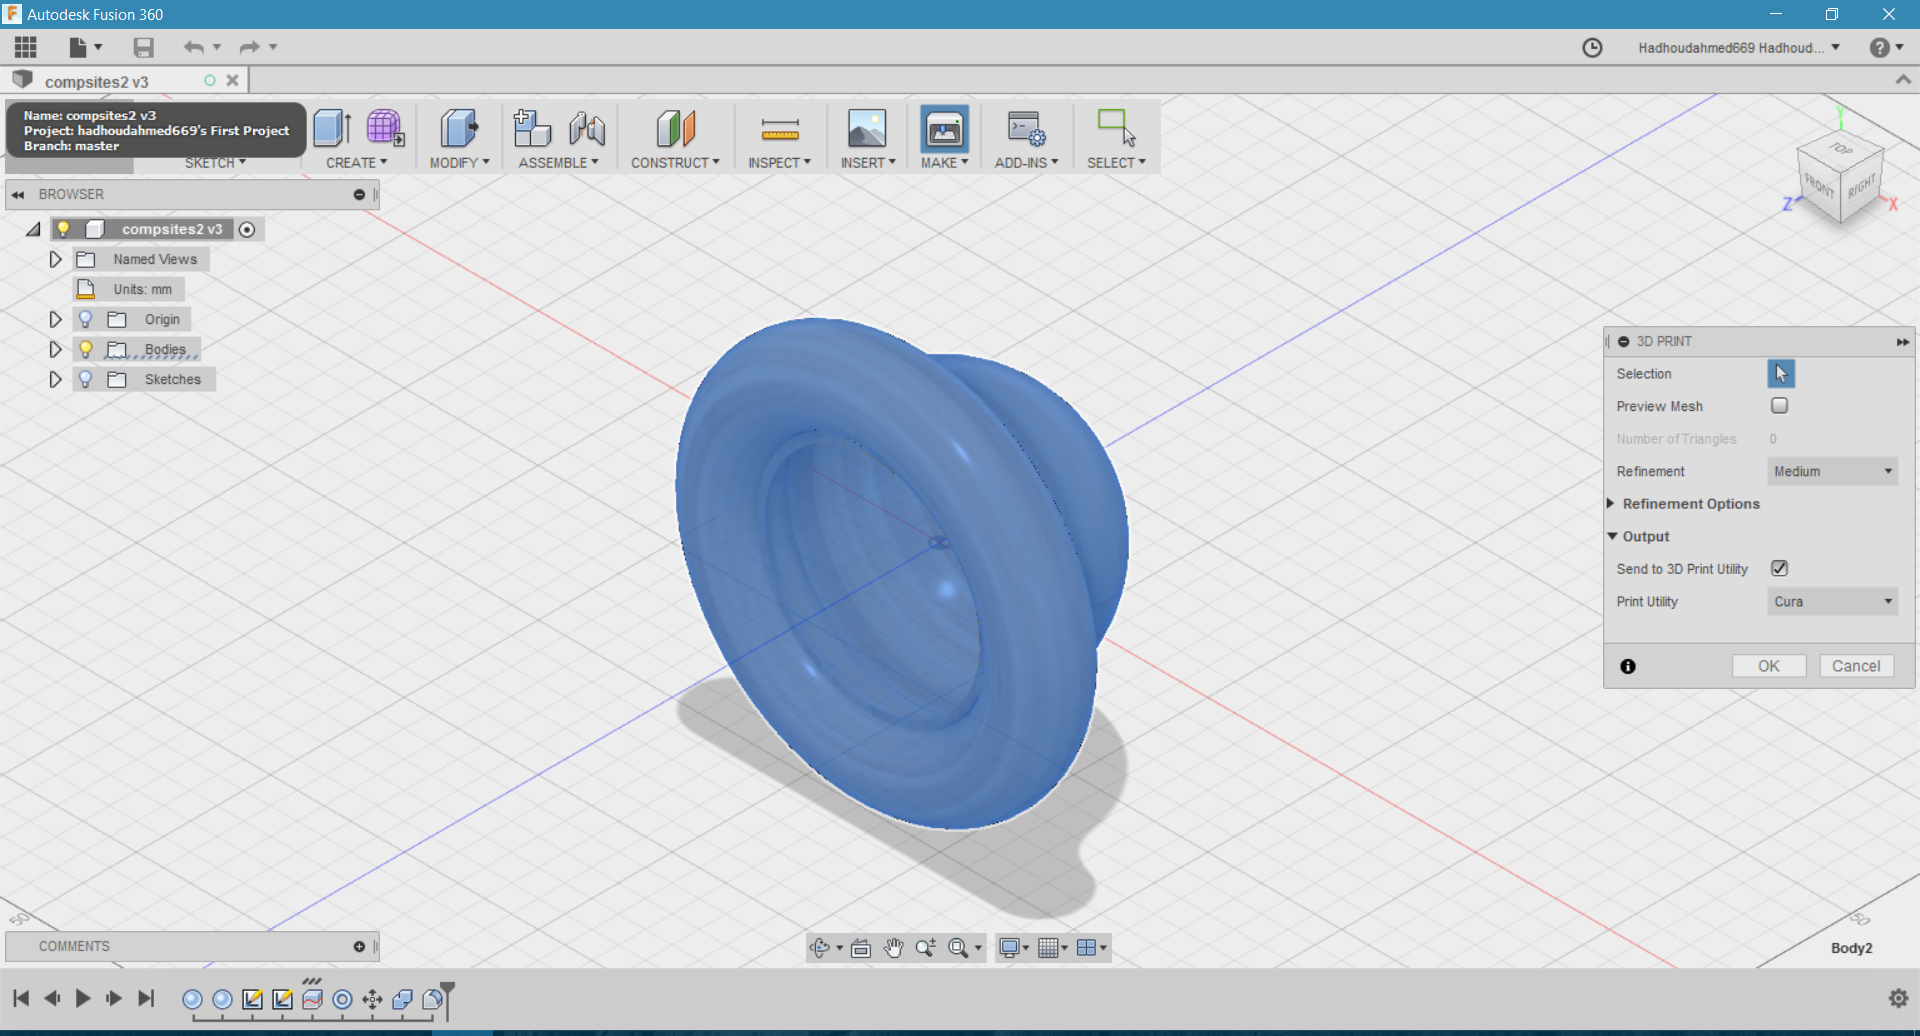
As cura-software is is maintained by 3D printer manufacturer Ultimaker and this is the type of printer we have in the lab so it is the suitable software I can use to use and also suitable to know if the design exceed the limitation of the printer or not.
After I have the STL file I export it into Cura software 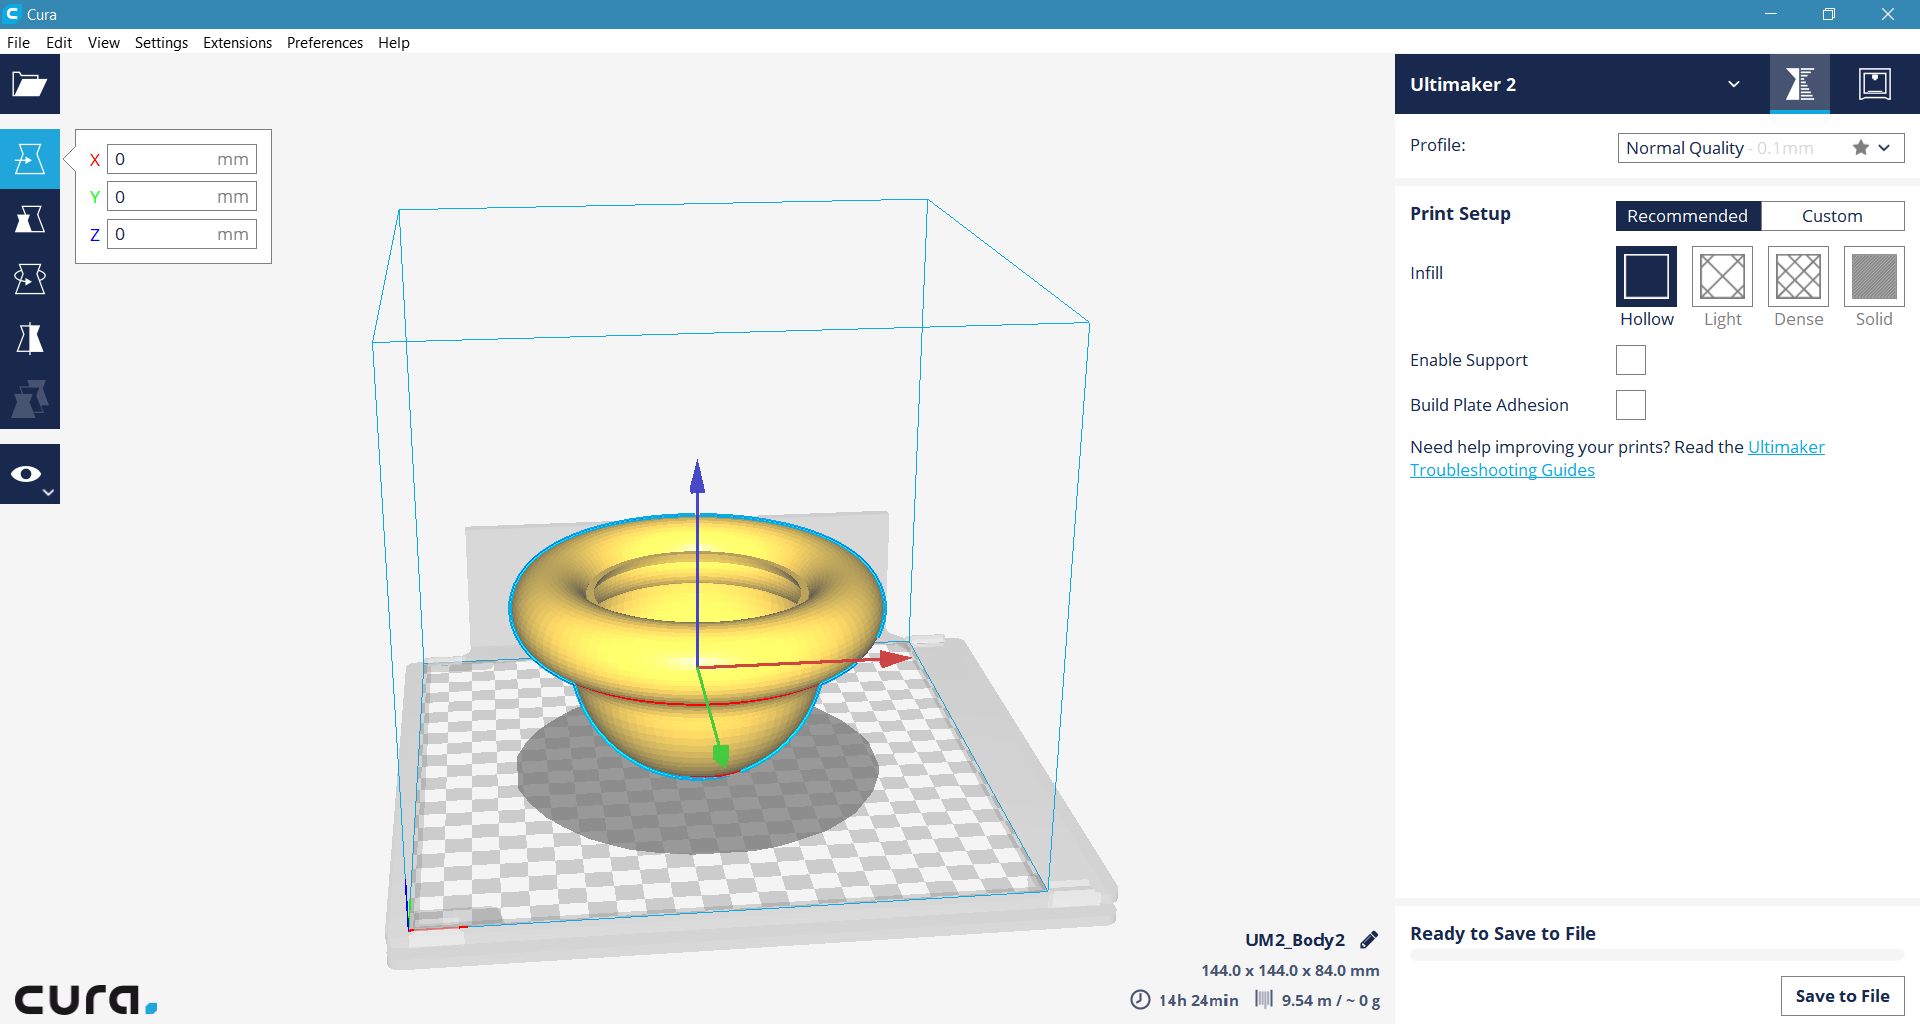
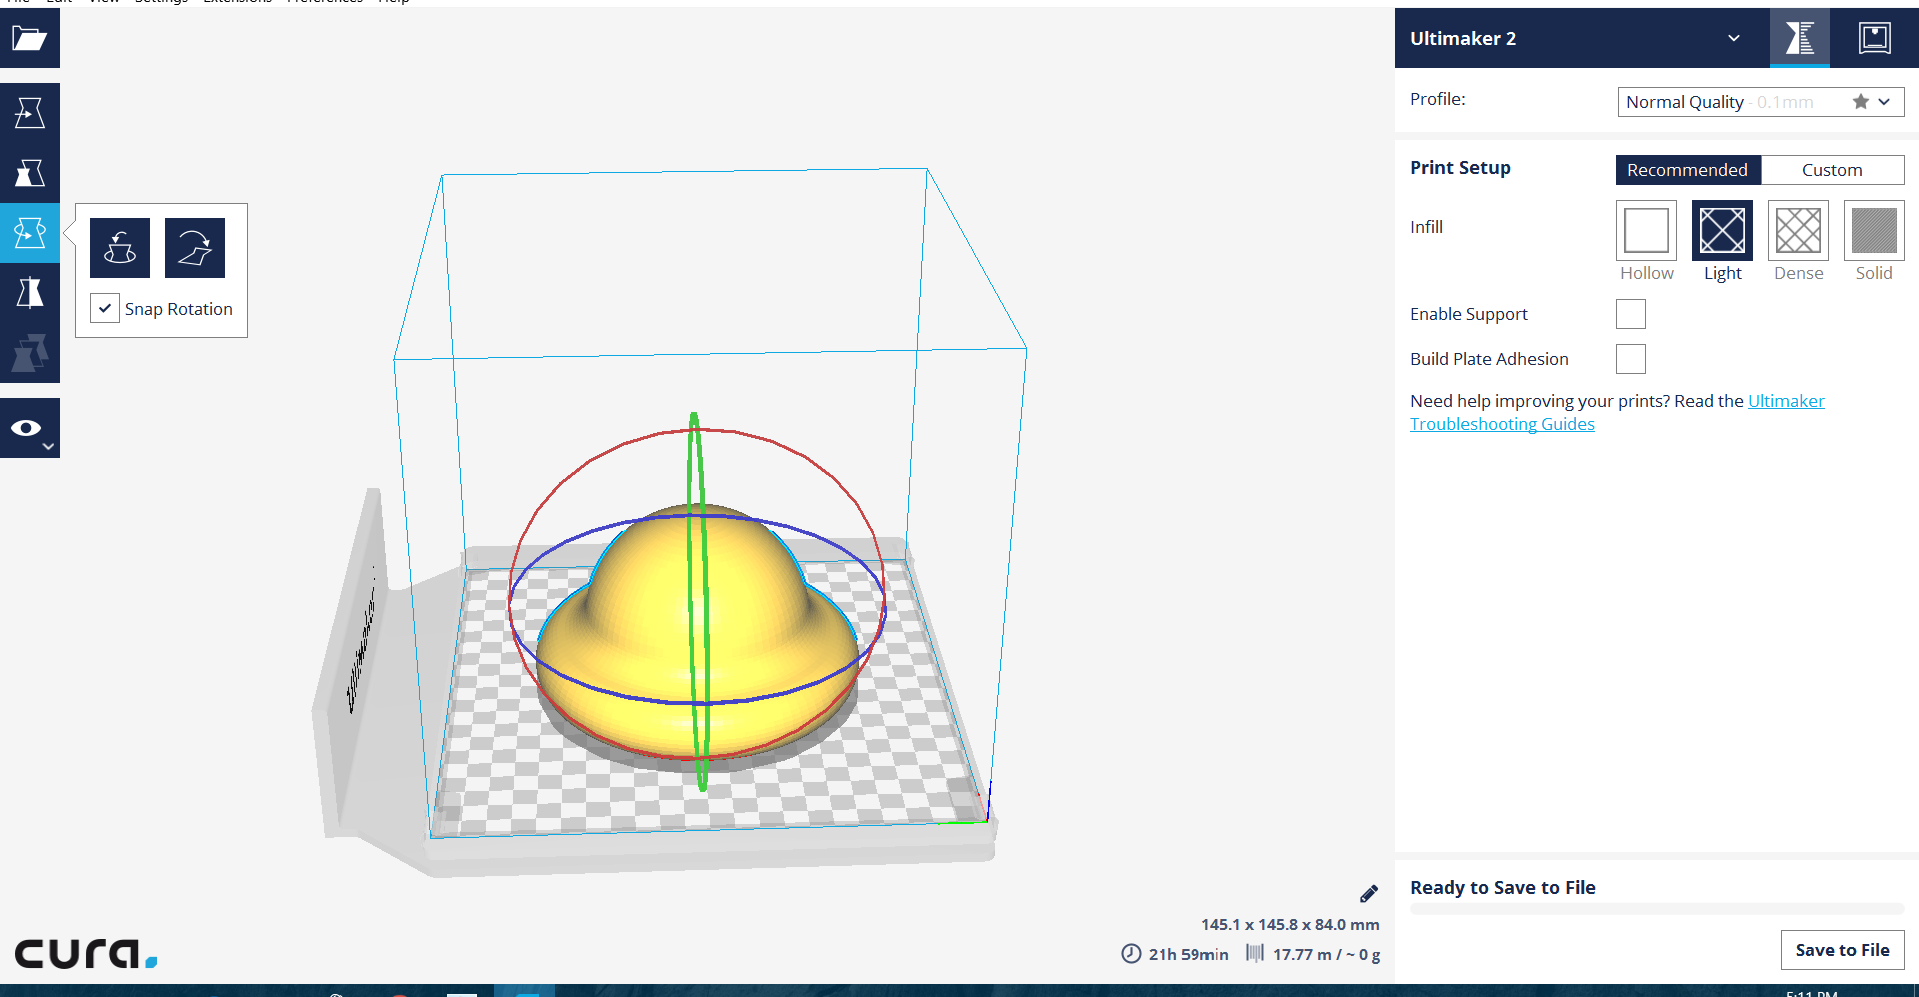
Then I rotate the body and make lay-flat for it in the plate

Settings for printing
- Profile normal quality so it will not take along time as I don't have a lot of details in the file. - Print setup recommended - Infill light
- Dose not enable any support as I want to test the printer how it print without support. - No any build plate adhesion
After I choose all settings I save the G-code file to the SD card, so the file is ready for printing.
The size of the body is 145.1x 145.8 x 84 mm
Printing this body with normal quality will take 22 hours.
I will print this project using PLA filament with the recommended setting for ultimaker2 3D printer with normal quality and infill light without support and without build plate adhesion.
Before start printing I should make choose material I want in my case I will use PLA material. The second step is to make calibration of the bulid plate pf the printer so that I will be sure that the plate is flat and to be sure that during printing that the plate is far with distance equal to thickness of A4 paper from the nozzle so the printer can print well .
This images show the steps of making calibration of the plate.
 After finish calibration the printer is ready for printing.
So what I will do now is choose the file of my design and wait for the printer to finish . This image of the printer when it start working 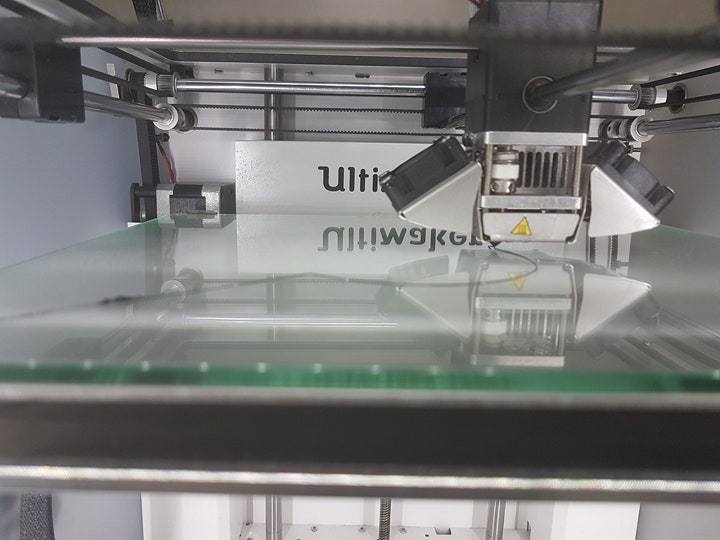
This is the images of the design after printing finished.
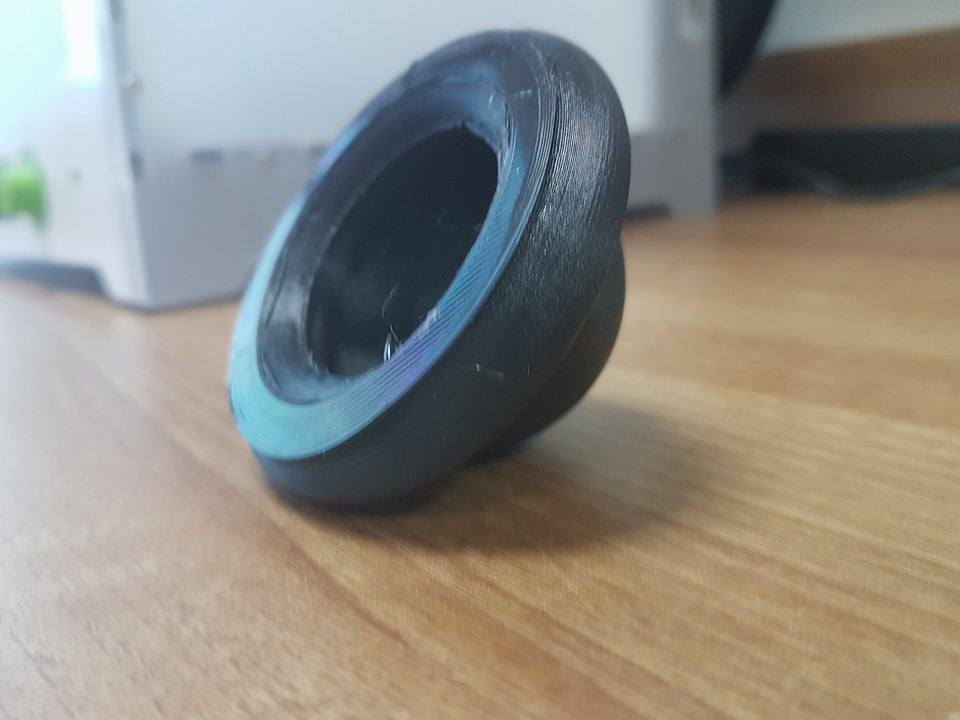
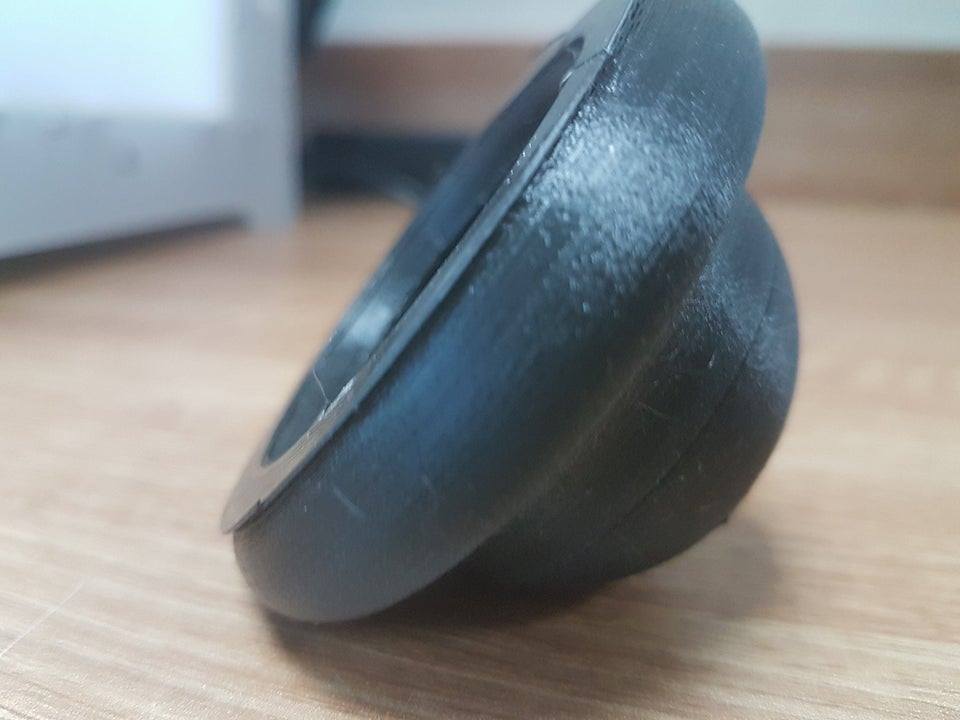
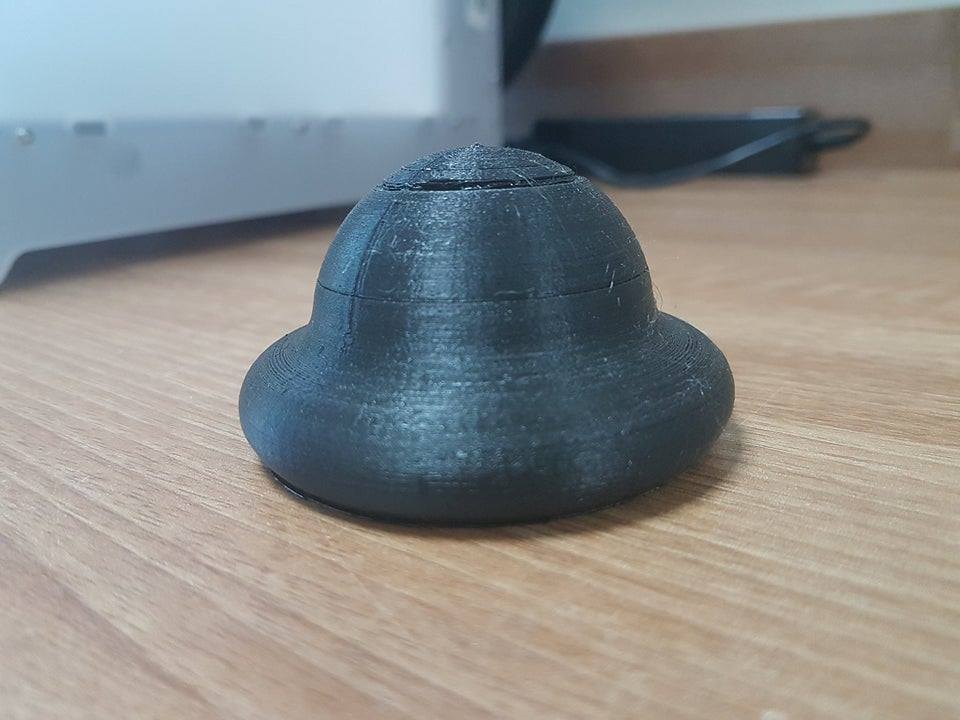
The problem with the model is that during the printing the filament of the printer have finished so the machine forget some steps till I pause it to change the filament, and when the machine continue working it lose this steps.
The aim of the group project is to test our 3D printer ultimaker2 using 3D printer test model we go to website thingverse and in the search we write 3D printer test model The link of the model
This the image of the design with dimensions 45050mm
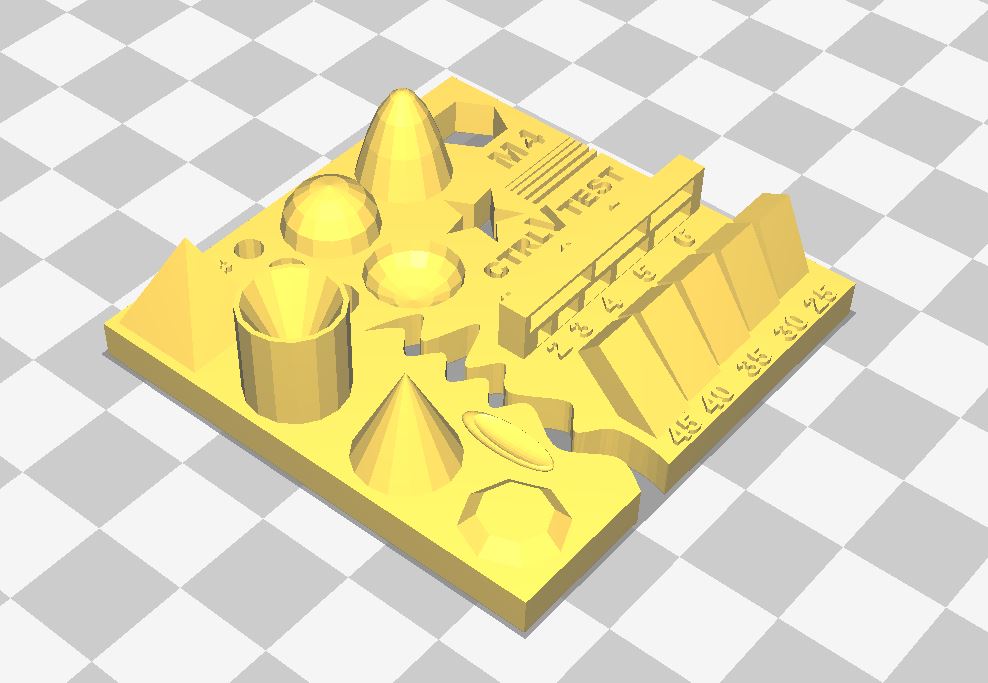
This test model include:
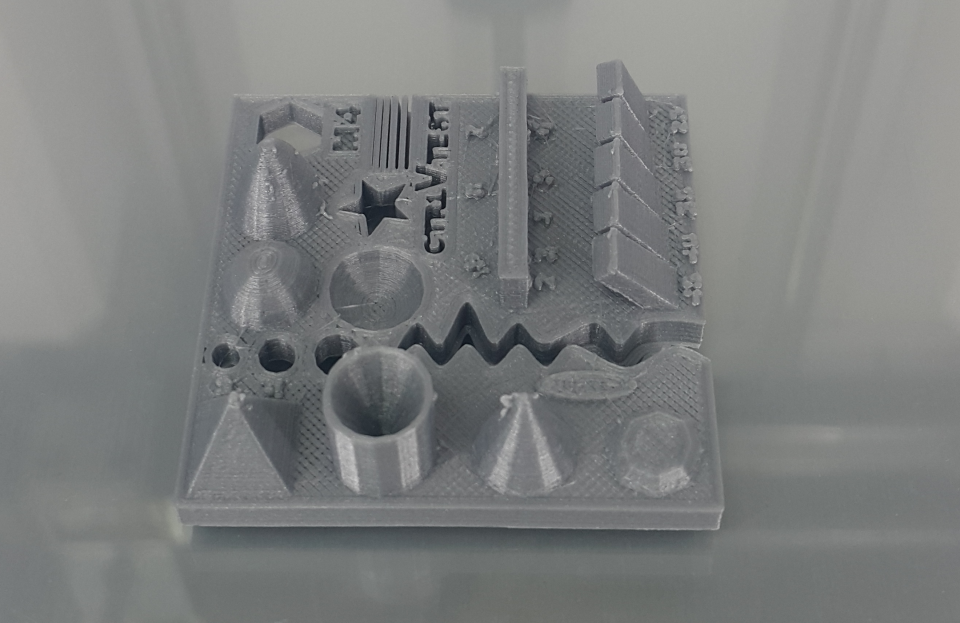
We print the file with PLA plastic filament with these settings
- Layer height =0.1mm
- Infill density = 20%
- Print speed 50 mm/s
- Travel speed 120 mm/s
When the printer finish we got that
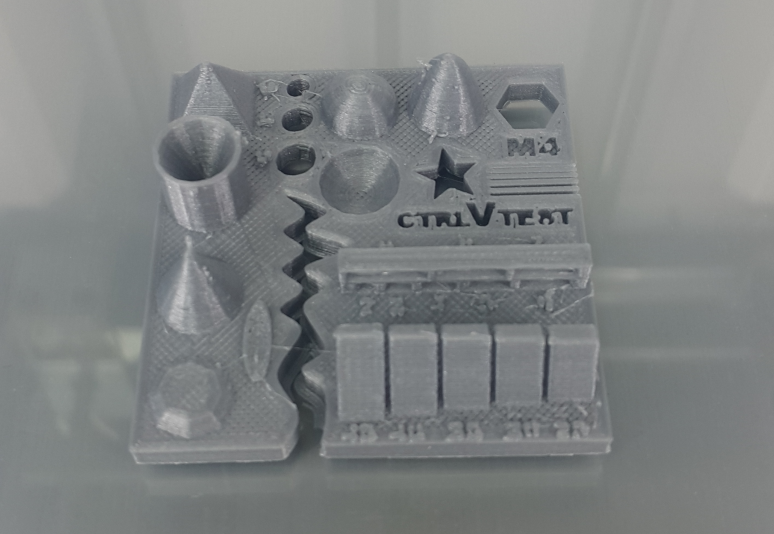
Regarding the result I think the printer can print the rounded parts but they had a very small tiny issues but with a little bit of work they can look good, the pyramid looked good ,regarding fine details of the outward text(numbers) they all didnt print well and text were much better.
For making 3D scanning I will use sense scanner
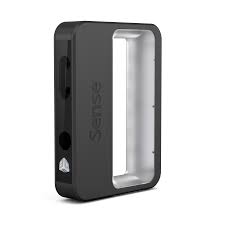
This is the link of the website of the company
sense scan
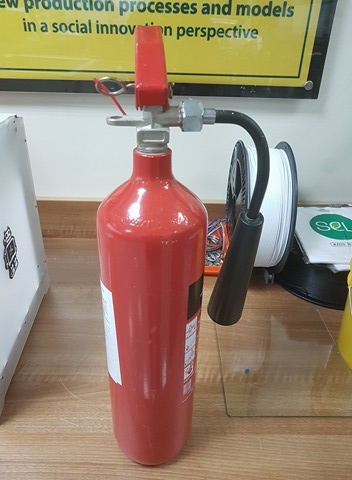
What I will scan is fire distinguish-er that we have in the lab.
This the image of it
After I finish scanning there are some placed that no scanned well so I make refinement to the model as much as I can.
After I used the 3D scanner I find that it is so difficult to use it as my hand should be steady all the time and this is very difficult when I scan big things also I think I can not have high quality with full detail of 3D scanning.
I think the useful use of 3D scanner is to scan small things if I dont have time for making design.
For downloading the STl file from the button in the left corner which refer to view on sketchfab website I will find download link for downloading the stl file but I should also have account on sketchfab to download the files.
As the stl file size is not very big I put it also in the archive