I exported to PNG with 25 pixels/mm resolution.
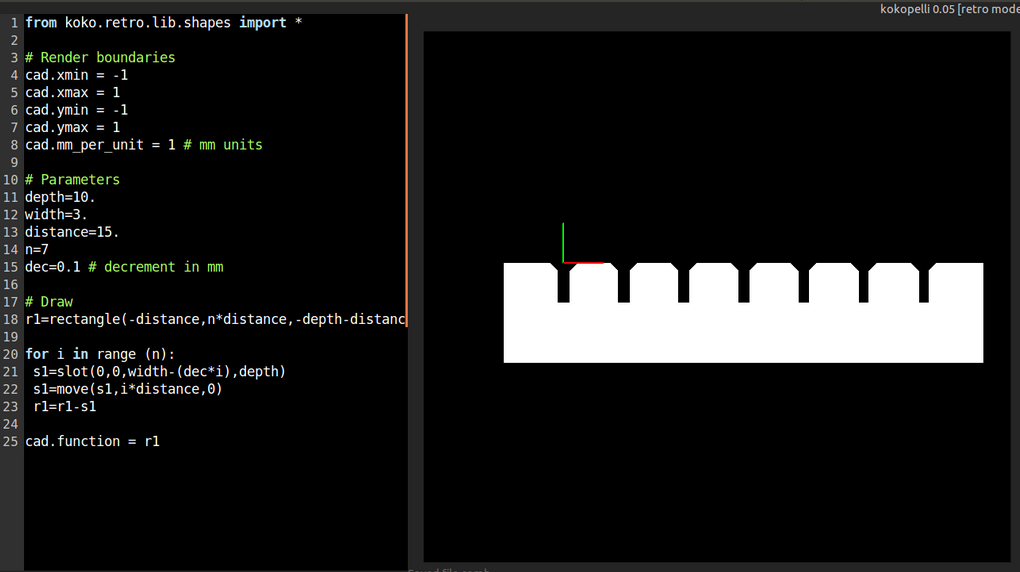
We need to make lasercutter test parts using parametric function I used a parametric kit in this link that have the width of the slot 10 mm and then goes down by 1mm
I exported to PNG with 25 pixels/mm resolution.
After that I import this image into corledraw so I can use the laser cutter to cut.
I will cut 6mm cardboard.
when I use high power with cardboard, the high power burn the cardboard so I decrease the power and make the laser cutter to cut 3 time so I avoid this problem.
This is the specifications I use with universal laser cutter VLS 6.60 84% power, 25% speed, 500 PPI, and 7 mm Z-axis.
After testing with the kit, I found that the best slot width to use is 6 mm.
For the first part of this week assignment I want to make a parametric and press fit design.
In the previous week I learn how to make design using different design software. so in this week I decide to use fusion-360 to make my design.
First I make a parametric design that I can control all parts of the design through two parameter the first parameter is width that can control the whole shape and the second parameter depend on the type of material by changing this parameter I can choose any material I want.
this image show parameters i use in my design in fusion-360. 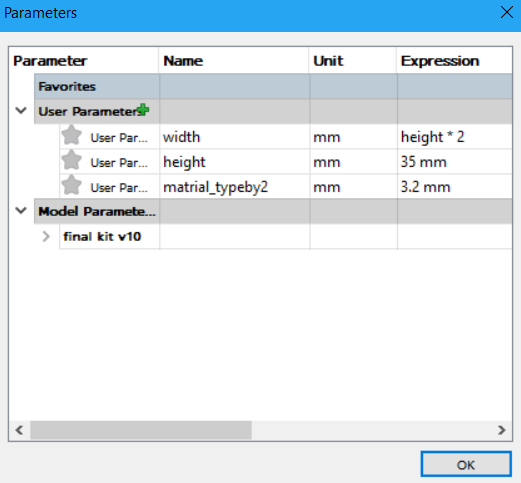
In the following image is the steps of making the design
 The following image show the final design
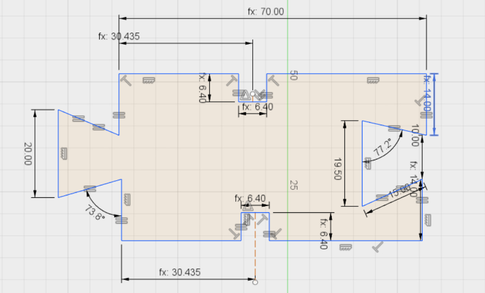
In our lab we have universal laser cutting machine which I will use it to cut my design.
For using the machine I will save the design in DXF format so I can cut it.
After exporting in DXF I import the design in corledraw. After I have the design on corledraw I choose the color of the design red.
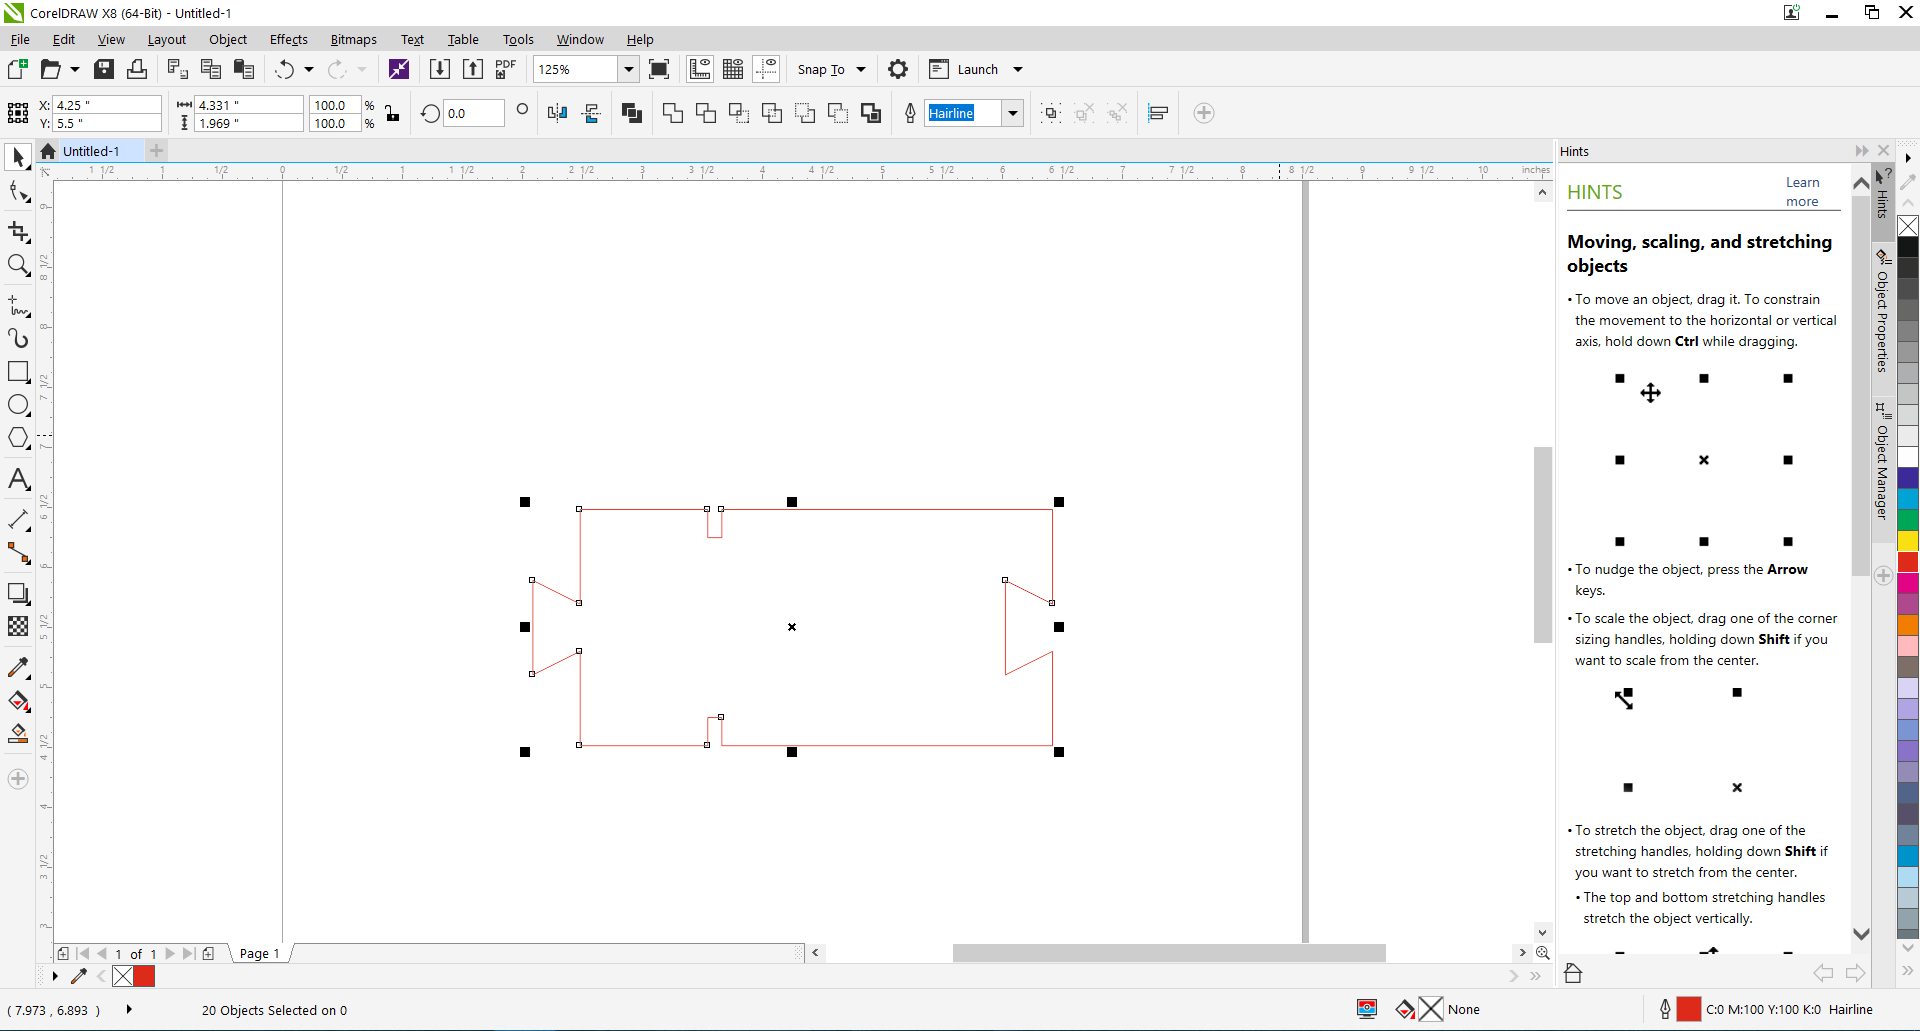
The reason of choosing the red is that in our machine we configure the red line for cutting and black color for engraving.
Next step is that I have only one piece of my design and I need 10 piece so I will use tool called step and repeat
Following image how to use step and repeat.
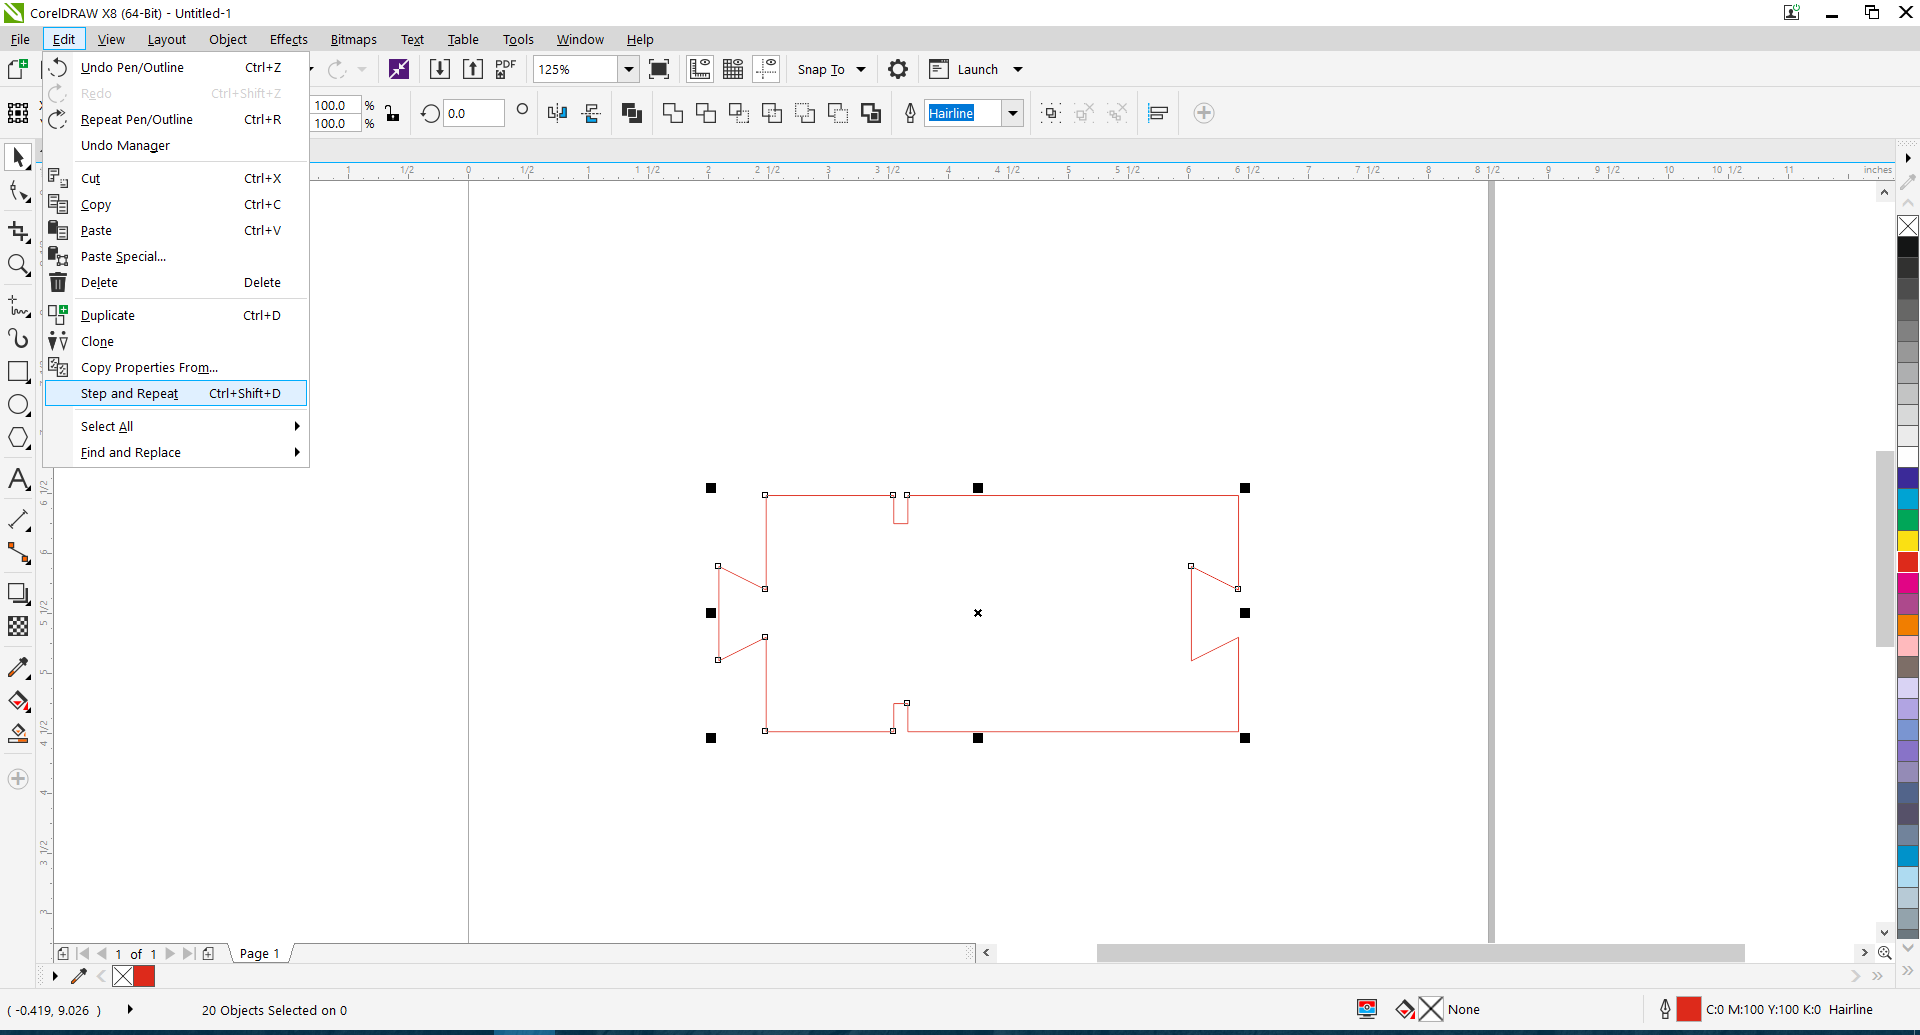
After I have it I make one repeat for design in vertical direction and 5 repeats in horizontal direction so I optain all pieces I need as in the following image

After I have the design I need in red line and hairline it is the time for printing so I select the whole design and press ctrl + p for print.
After this I choose preferences to choose the material in my case is cardboard and select the power and speed as in the following image.
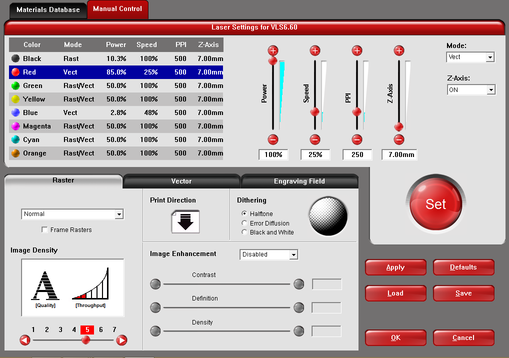
I will use cardboard so after testing this is the power and the speed of the machine I will use like the following image.
So now every thing is ready for machine to work so I press Ok and the I go to the software of the machine called UCP and turn the filter of the machine on and start the machine.
The machine take a while to work so I wait until it to work and then I select the place of the starting of the machine and then I press start.
I wait until the machine finish and I wait a while and then open the machine.
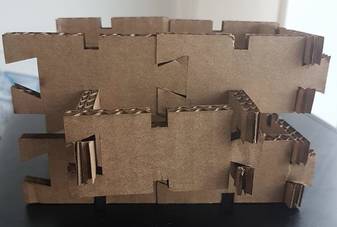
This part of the design I optain after the machine finish
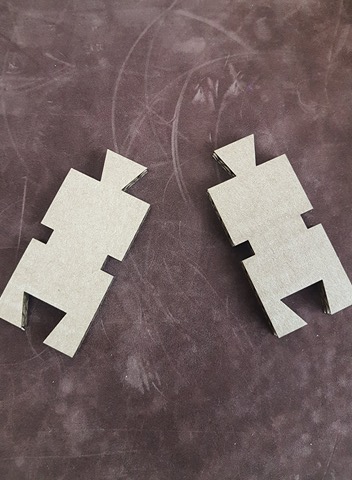
After cutting I found the first problem is that the holes dose not fit to the material type.
The reason that happen is that when the laser cutter cutting it have some tolerance on the dimension of cutting so when I cut I should reduce the dimension with 2mm.
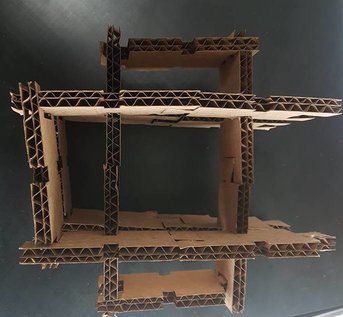
After that I modify the parameter related to the type of material and change it from 2.98 mm to 6.4 mm which is the thickness of the cardboard material. After cutting and combining the parts to each other I have the final project.
To create my logo I can use any software for design but I choose to make it using photoshop I use photoshop to make my design and then create another layer and write on it then combine them to each other to have the logo.
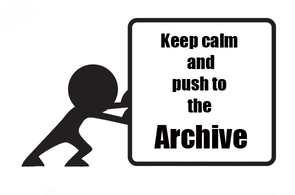
For making the logo first I download an image from the internet.
This is the link of the image
Here is the original image

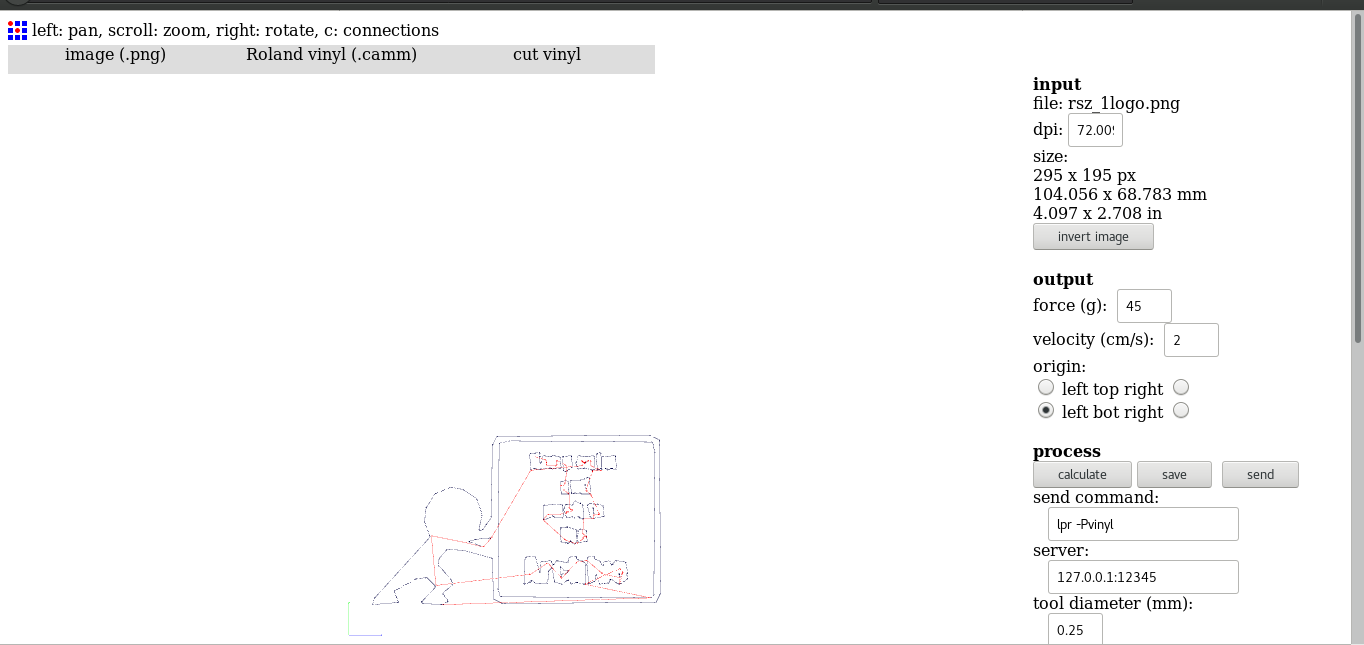
After I make the logo I export it as PNG file then I open fabmodules and import the PNG file and then choose output format Roland vinyl (.CAMM) 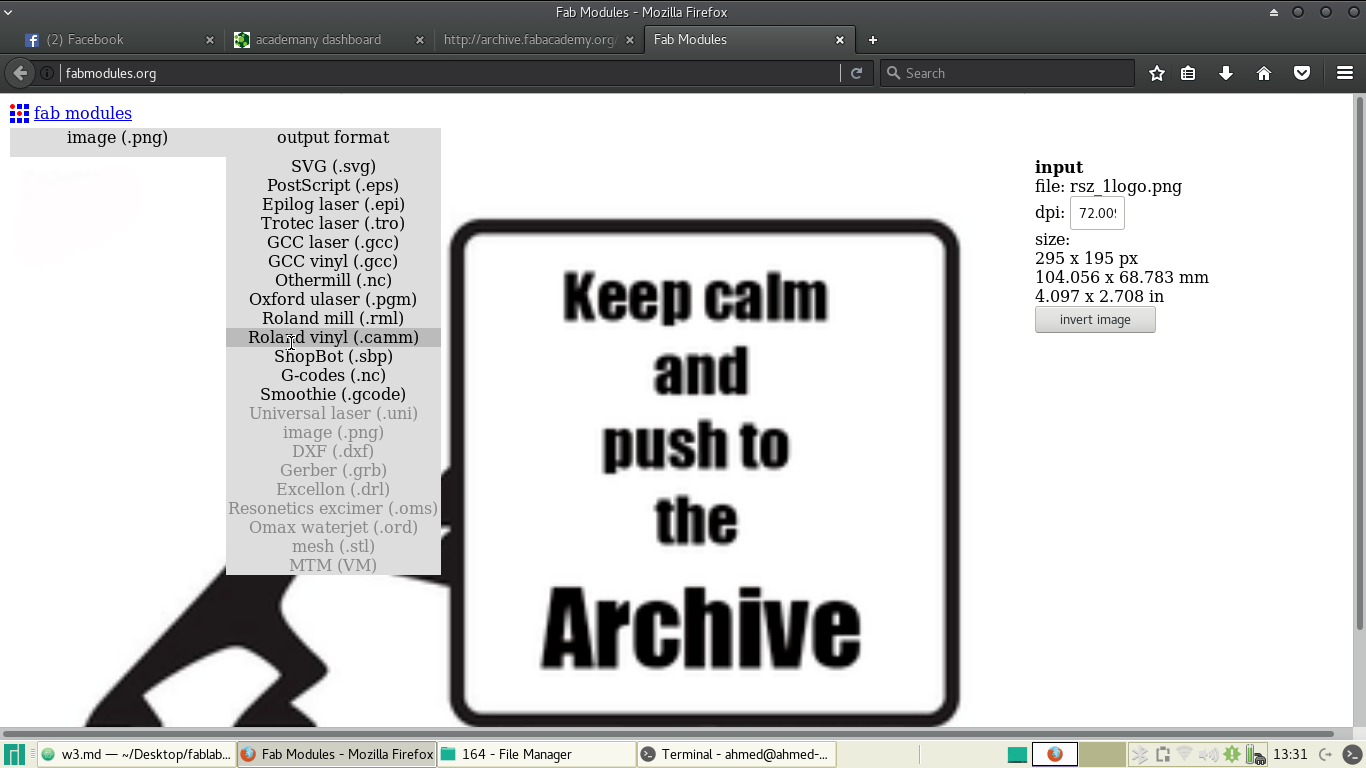
Then I choose the process I want which is in my case cut vinyl
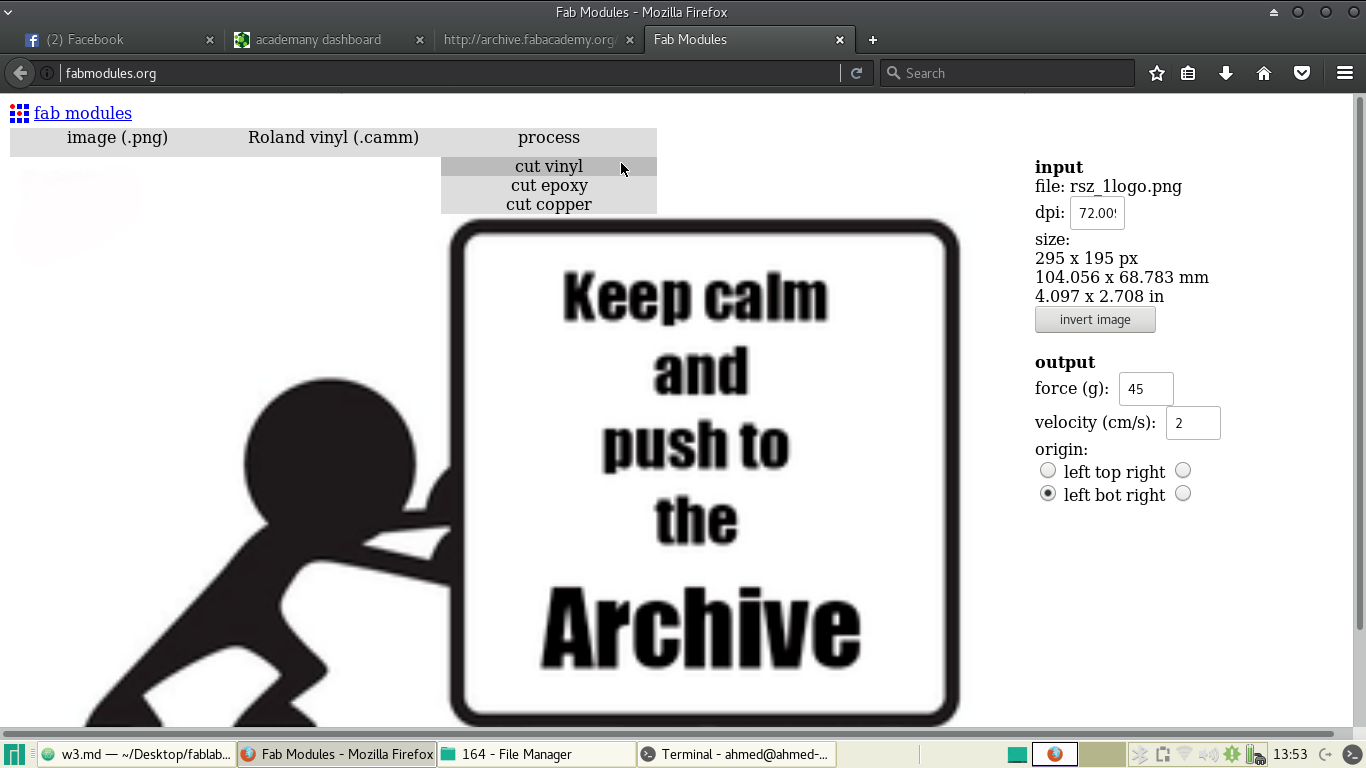
I put the force to 80 and press calculate
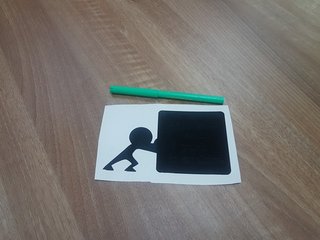
After machine finishing I will obtain image like this
I will try to remove the parts I dose not need.
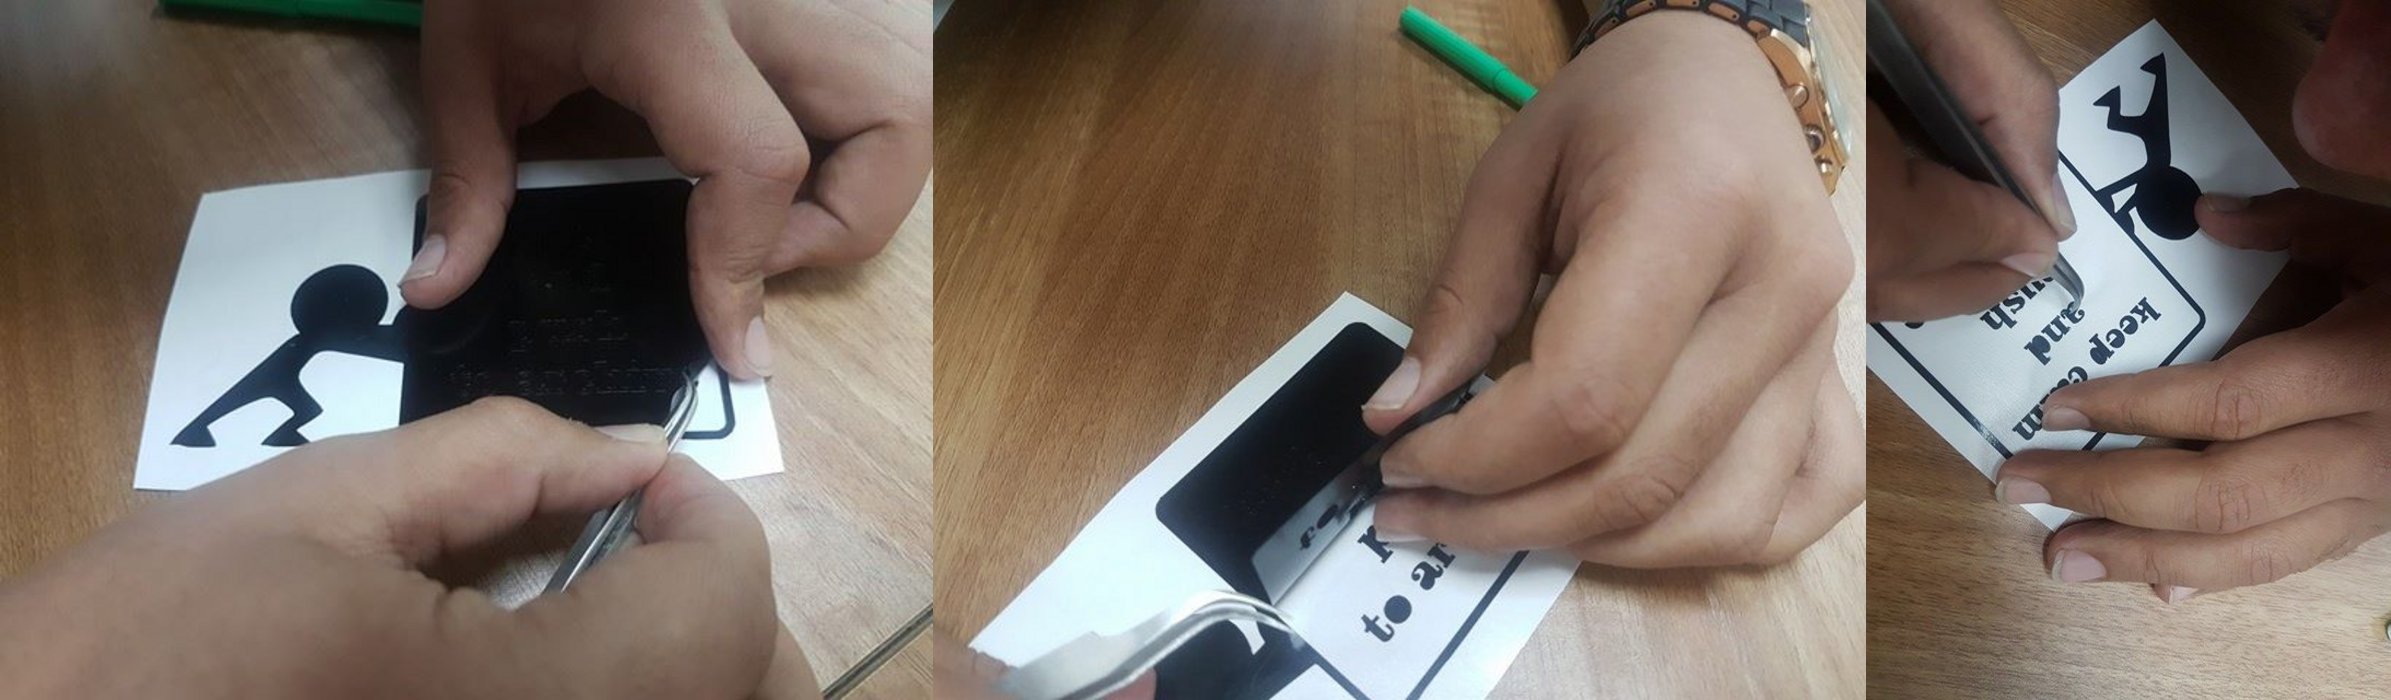
I will stick the logo to to sticky transparent paper.

Start removing the sticky transparent paper to obtain the final logo, the transparent paper should be removed carefully.

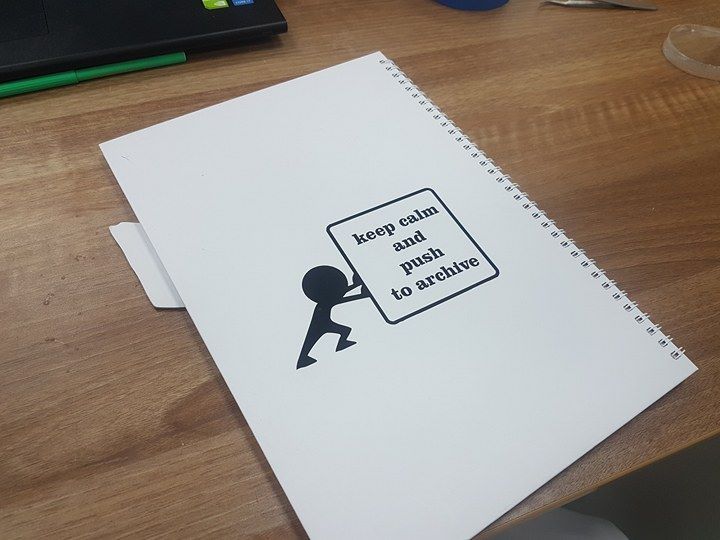
The image of the final logo.
The problem I have is in the part of making logo which is the letters are very small and I can not git it out from the vinyl
so what I do is I make the letters more bigger and itis ok.
From this I know that the vinyl sticker have limitation we can not make the sticker small than it.