This week assignment is about Molding and casting
for making this week assignment I need to make four steps to complete the assignment.
designing
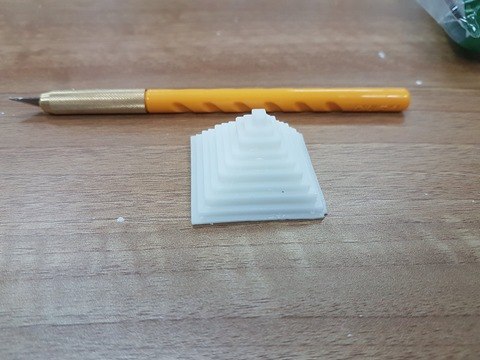
In this step I made a model that milled in one part,I made the design using Fusion_360. The design is pyramid with dimension of 40x40x30mm.
This is the design of the pyramid After I made the design of the pyramid I made the design of the final shield of the wax which have the dimensions 176mm*76mm*39mm.
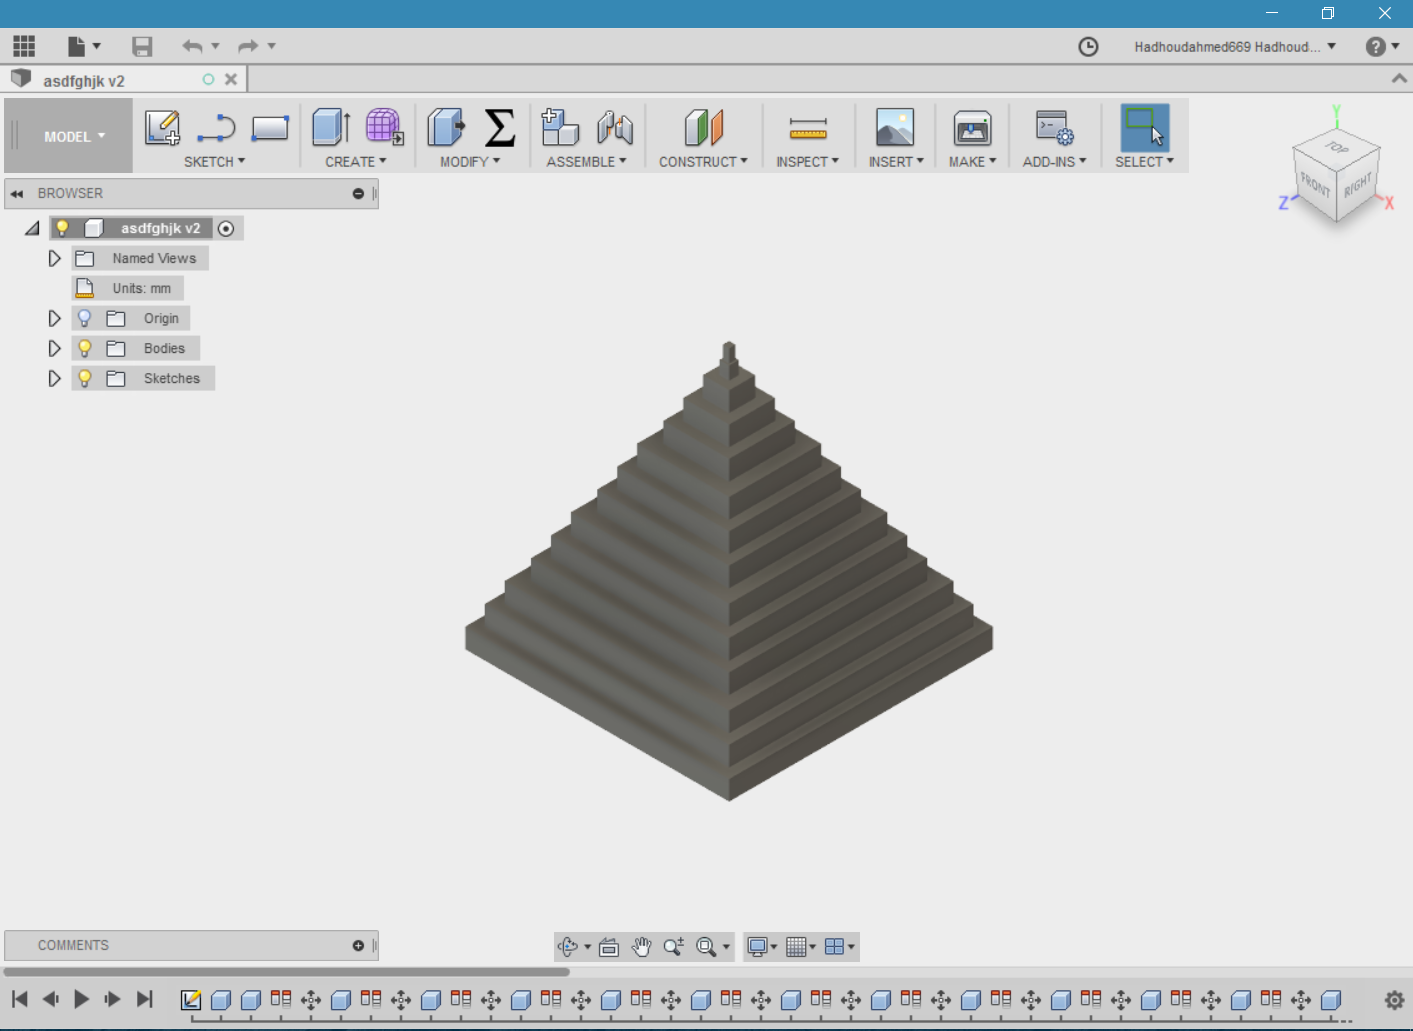
The next step was to merge between the pyramid design and the shield box but there were some limitations like I should leave space between the design of the pyramid and edges of shield box more than 3mm in each side.
This final design.
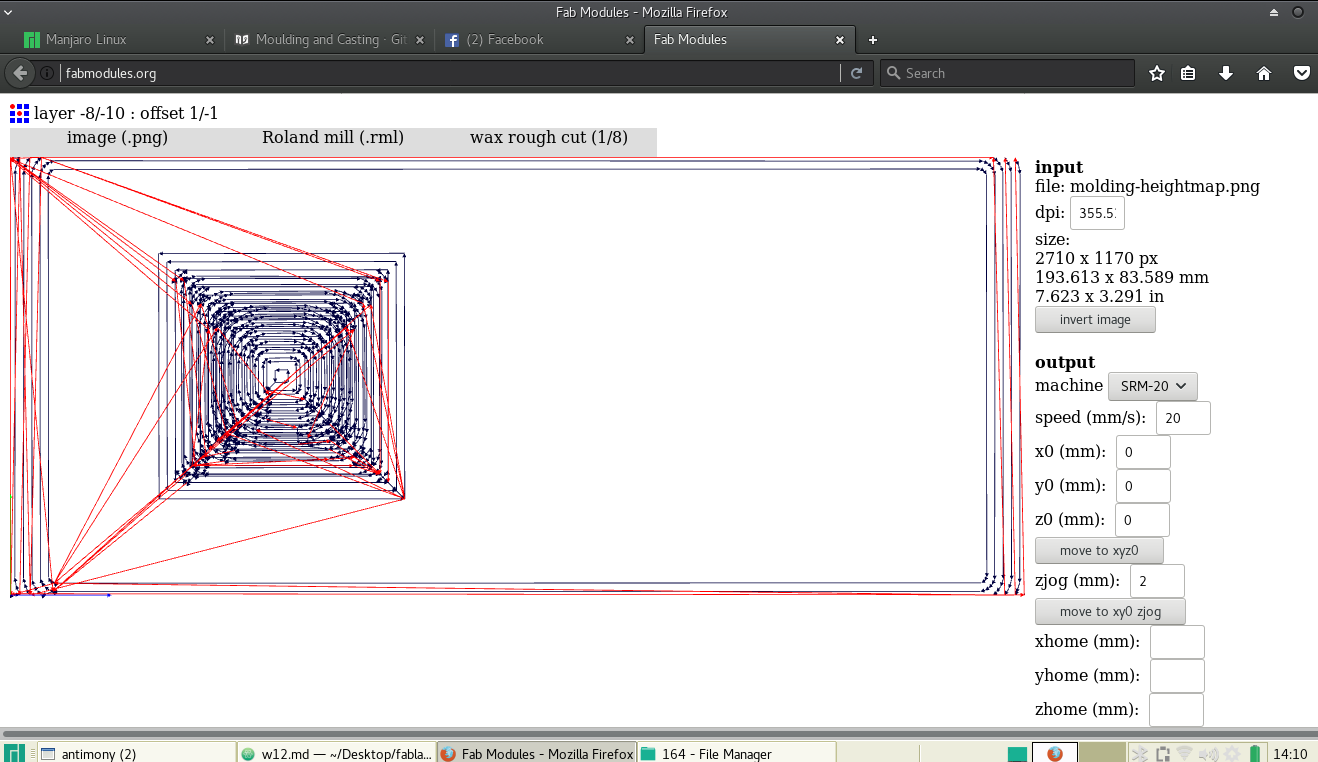
The second step after finish designing is to convert STL file to rml file.I made this conversion trhrough this website fabmodules.
I had the problem that there were problem with the website so I could not complete the assignment.
Converting from STl to RML is very complicated and took a long time and after this long time it might failed.
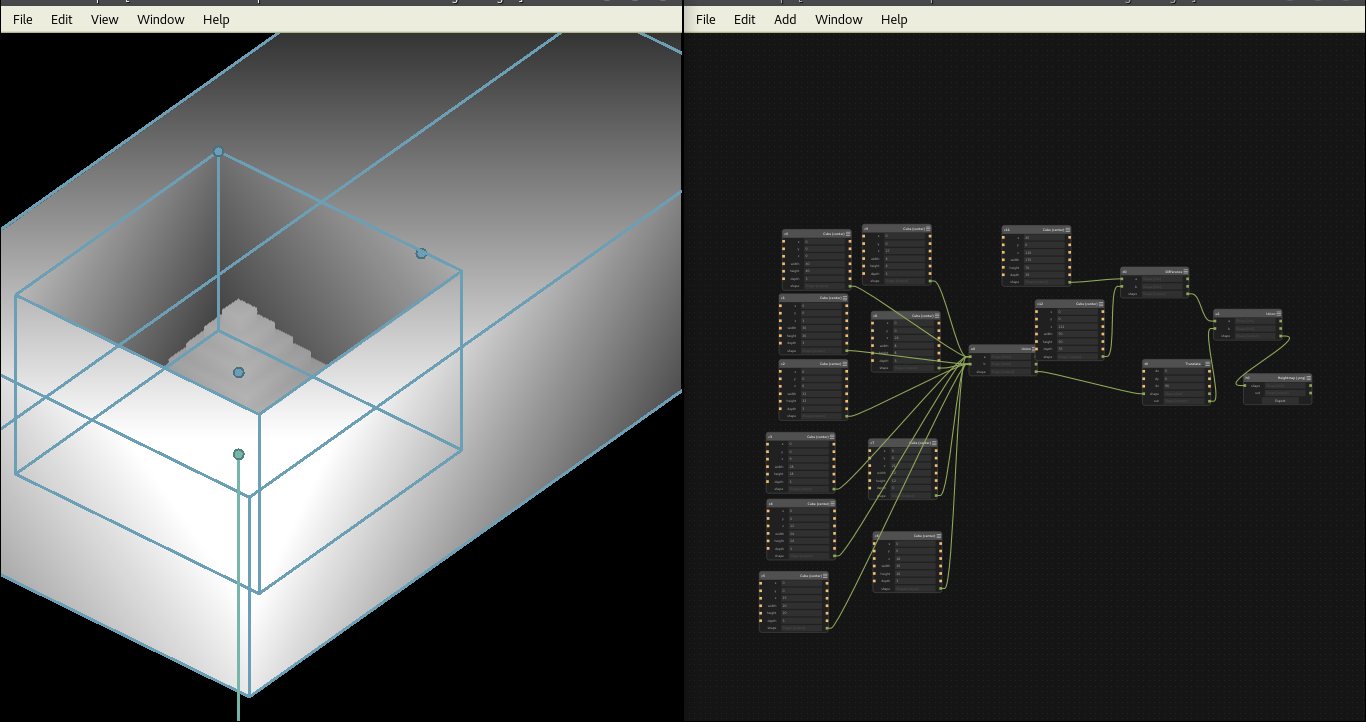
Now the solution is to make the design using Antimony and export the file in heightmap PNG so I can convert it to rml.
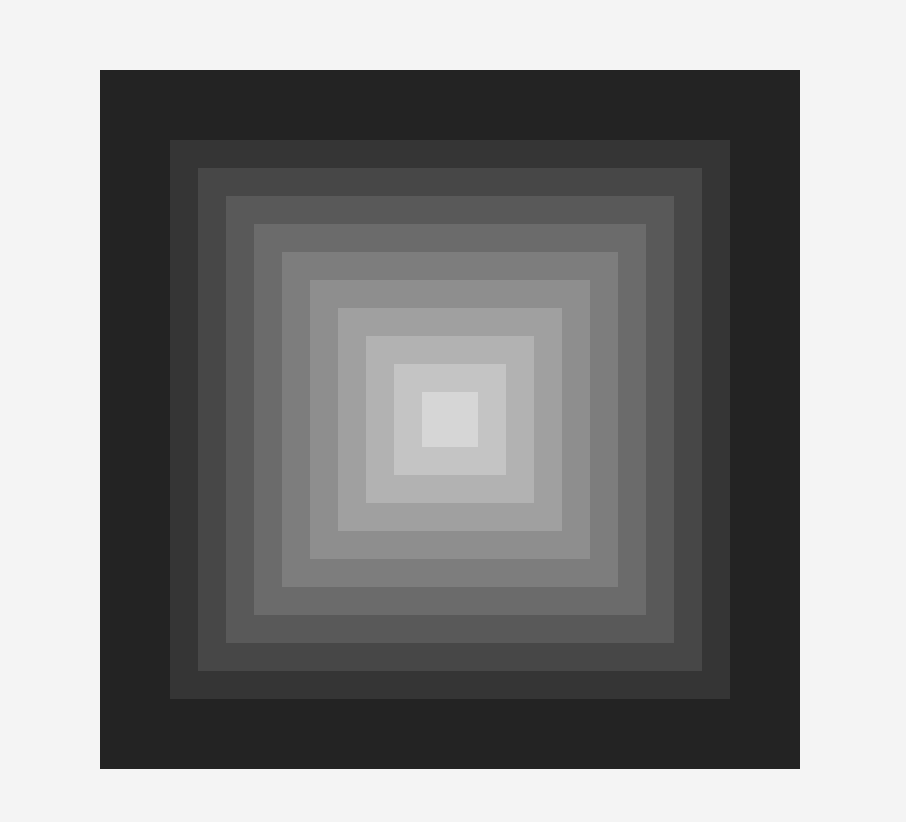
After finish the design I export it on heightmap.
This was the image I obtained .
The design was ready to be sent to fabmodules.org
The problem with this image was that it took a long time for mad roughing the edwillges of the box of the wax and no need for mad this roughing.
So I cut the image using GIMP software to cut the image and keep the same resolution.
This was the final image I used So I sent the file again to fabmodules.org.
Now this video will show how to convert the PNG file to rml file to obtian the rml file for wax rough cut and rml file for wax finish cut.
Milling time:
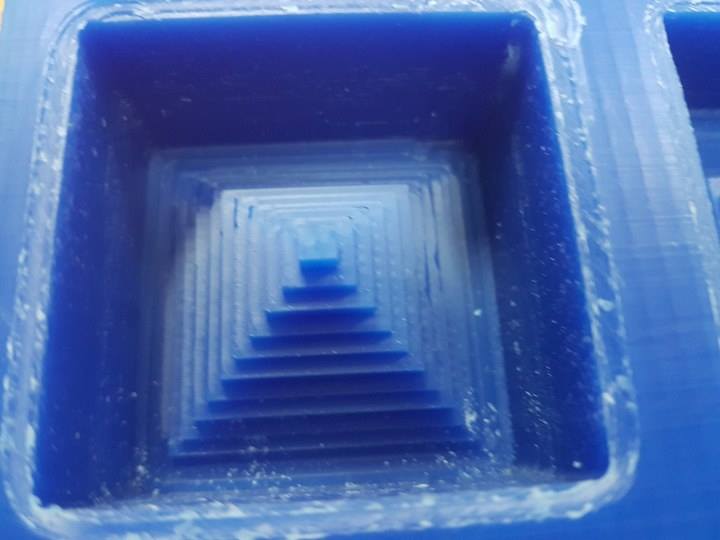
After I obtained the rml files, I sent the wax rough cut file to the machine Roland SRM-20 and after it finish I will send the wax finish cut file. This image of design after finish rough cutting
The next step is to change the milling bit with another bit for finishing 1\8 ball nose.
This image after finish milling
Time for molding :
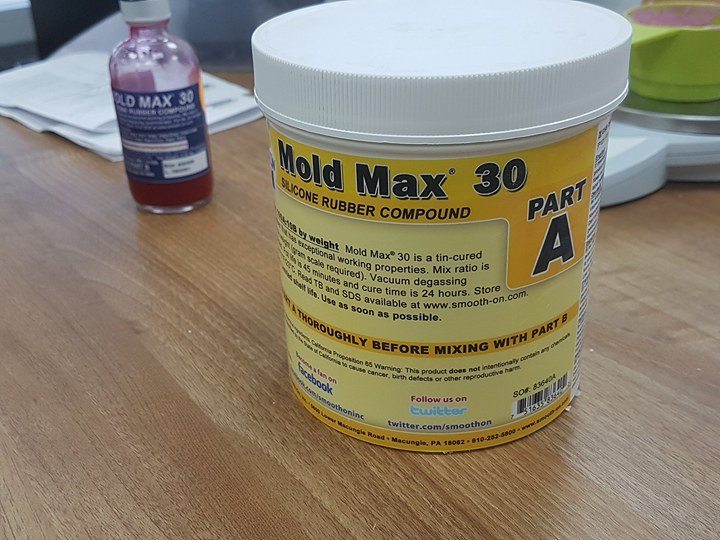
For making molding at first I should read the safety instructions of the mold I will use. After reading the instruction I should wear gloves because this material might cause skin irritation and should wear mask as it have strong smell.
Introductions of using Mold Max 30
- Pouring for the pest pour mixture in single spot at the lowest point of the containment filed.
- I will leave the mold to cure overnight over 16 hours. - As I will use mold max 30 and I choose A:B mix ratio by weight so it will be 100A: 10B
Calculation of the mold material
At first I will fill the molding place with water to know the volume of it. from this image I found that the volume of the mold should be 50ml and I should put 25% more.
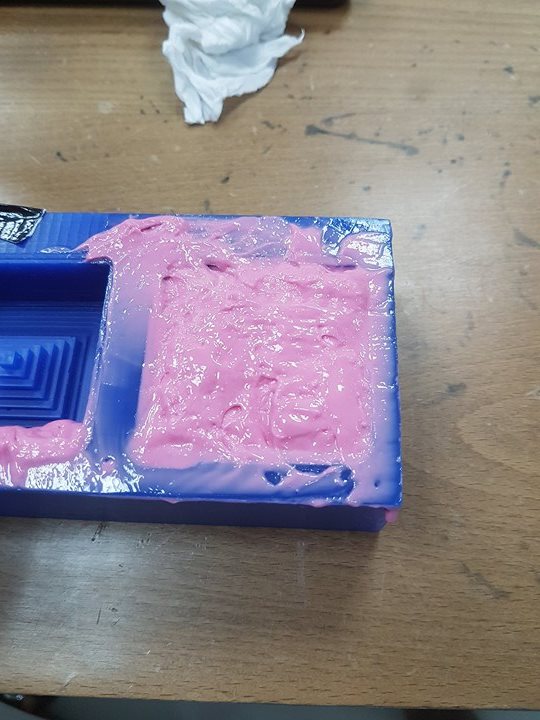
So by using the Calculation I find that mold A should be 125g and from mold b should be 15g. The below image show how to make the mold At first I weight the cup to know the weight of it then I make the weight to zero and start putting the material A till I reach to the wanted weight then I start material B then I start mixing the two materials till they are completely mixed and put it in the box till I reach the top.
Now the next step is to put the model in ventilation case and close it well so all the bubbles inside the mold will come out.
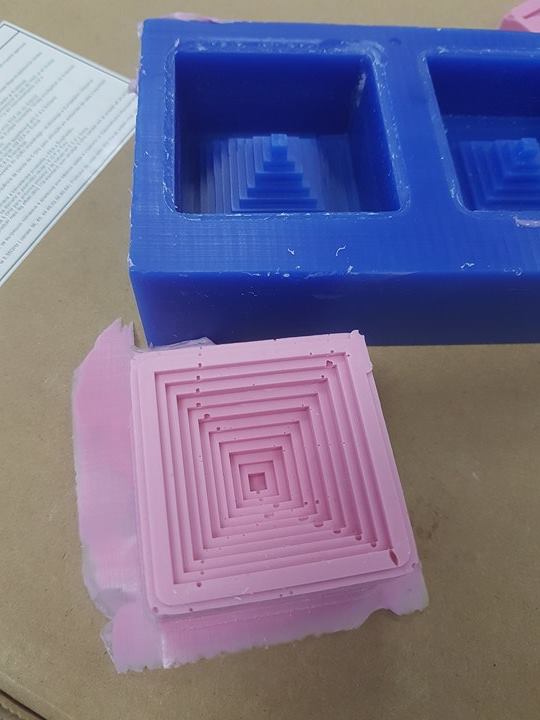
when all air inside the case came out I leave it for 16 hour. After 16 hours I come again and open it and obtain the mold like in the below image
Final step casting
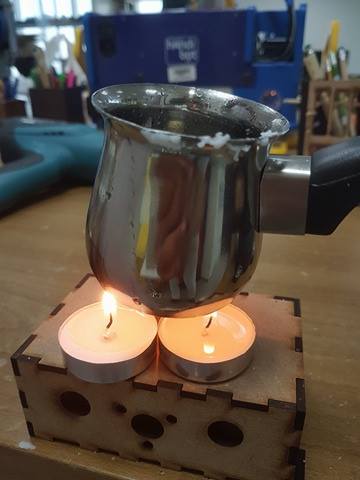
I will make casting using Paraffin wax, I bring the wax and start heating it, the wonderful thing is that dose not talk along time for solving.
After the wax become liquid I start put it in the mold design.
This image show how we melt the wax
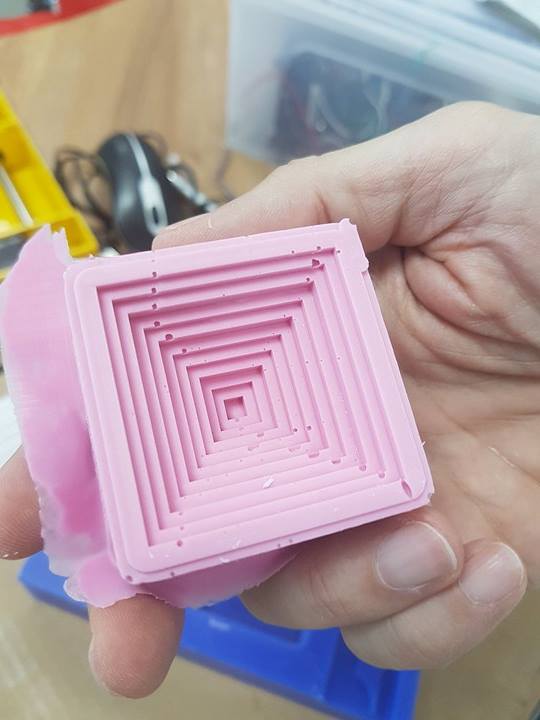
After putting the melted wax in the mold I wait for a short time till the wax become sold and I remove it from the mold
 After I made the design of the pyramid I made the design of the final shield of the wax which have the dimensions
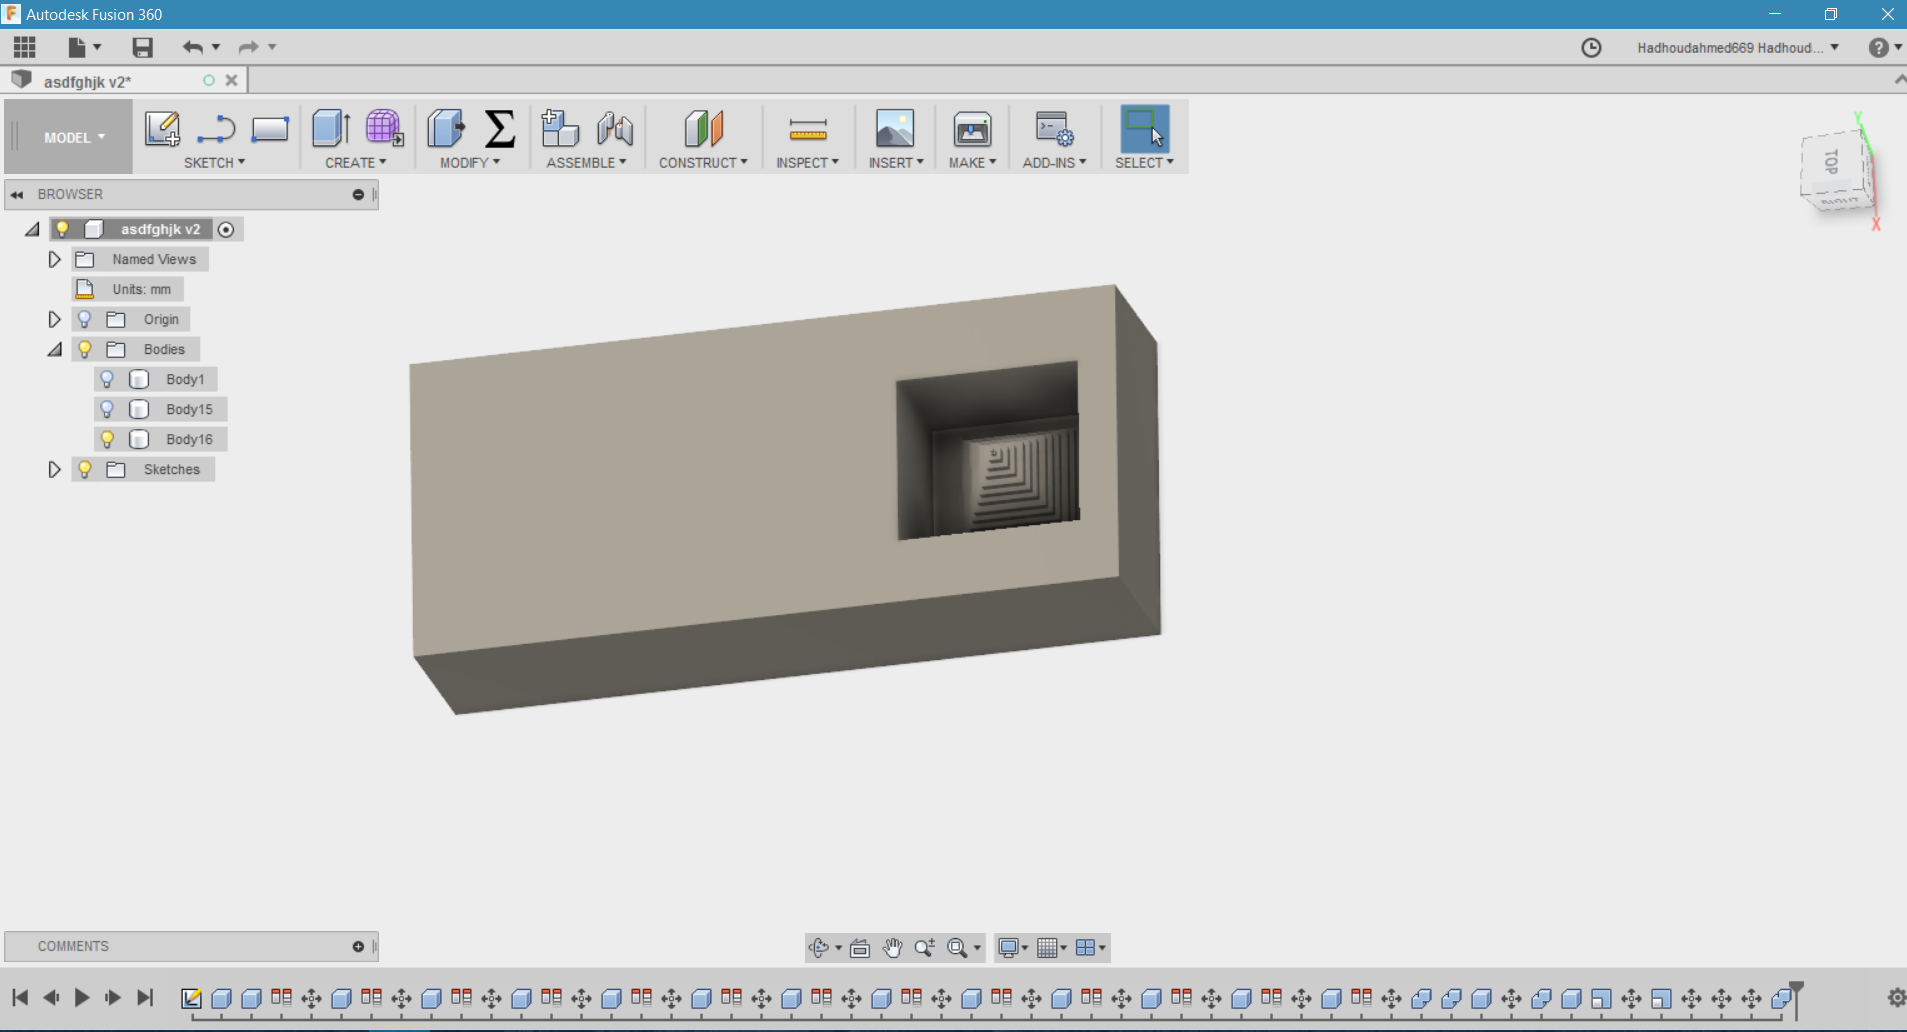
 .
.
 So I sent the file again to
 After reading the instruction I should wear gloves because this material might cause skin irritation and should wear mask as it have strong smell.
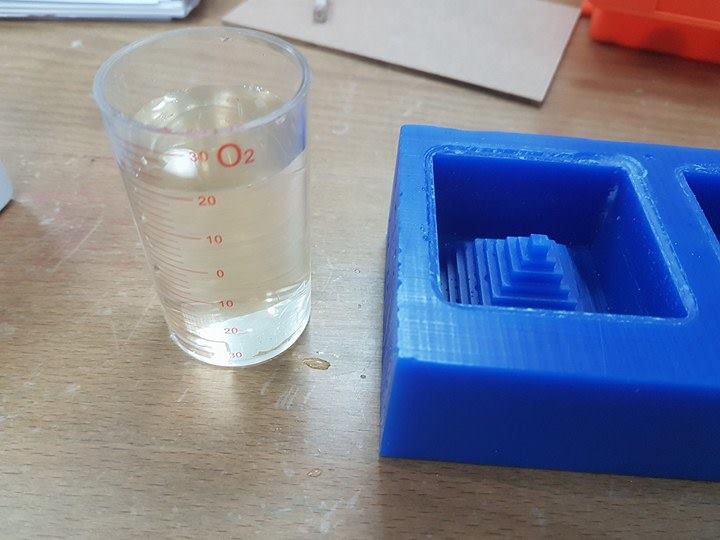 from this image I found that the volume of the mold should be 50ml and I should put 25% more.
 At first I weight the cup to know the weight of it then I make the weight to zero and start putting the material A till I reach to the wanted weight then I start material B then I start mixing the two materials till they are completely mixed and put it in the box till I reach the top.