

We thought of creating machine that we don't have in the FabLab and it should be cool in the same time! so we decided to build a machine that can 3D print food paste, specially chocolate! hence we called it Food-in-Layers. It is basically a 3 axis CNC machine with paste extrudor which is a syringe connected to a stepper motor.
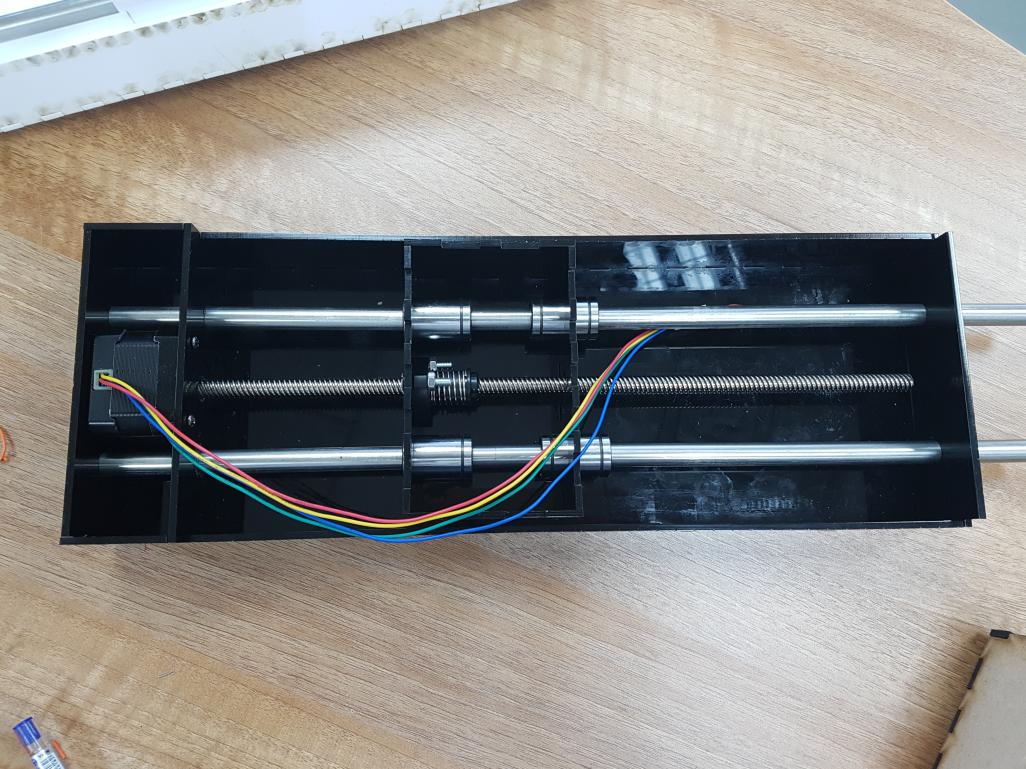
Our machine is based on configureable stages of Nadia Peek, we designed 3 stages (x,y,z) on 3 mm Acrylic as shown below:
Before using acrylic we designed one stage with MDF 3 mm to test the mechanical movement as shown below:
Then we designed 3 stages for x,y and z axis. It was based on press-fit but we needed to put some Chloroform to stick parts of the acrylic together. All the design files of the three stages can be found here.
We used FabNET gestalt nodes to control the stages at the begining, first we used the example of single_node.py of Nadia Peek pygestalt to control single motor as shown below:
Then we connected the motor to the first stage and tested it as shown below:
After that we tried controlling three motors but it did not work out as we found the documentation of pygestalt not very easy to learn from, so we ended up using the controller board of our AnyMaker machine that we did before fabacademy which is based on GRPL CNC firmware, to control the x,y and z axis of the machine while we used pygestalt to control the extruder. This is for now, but we are planning to run the whole mahine on FabNET gestalt after we get to know how to control multiple nodes that do different things together.
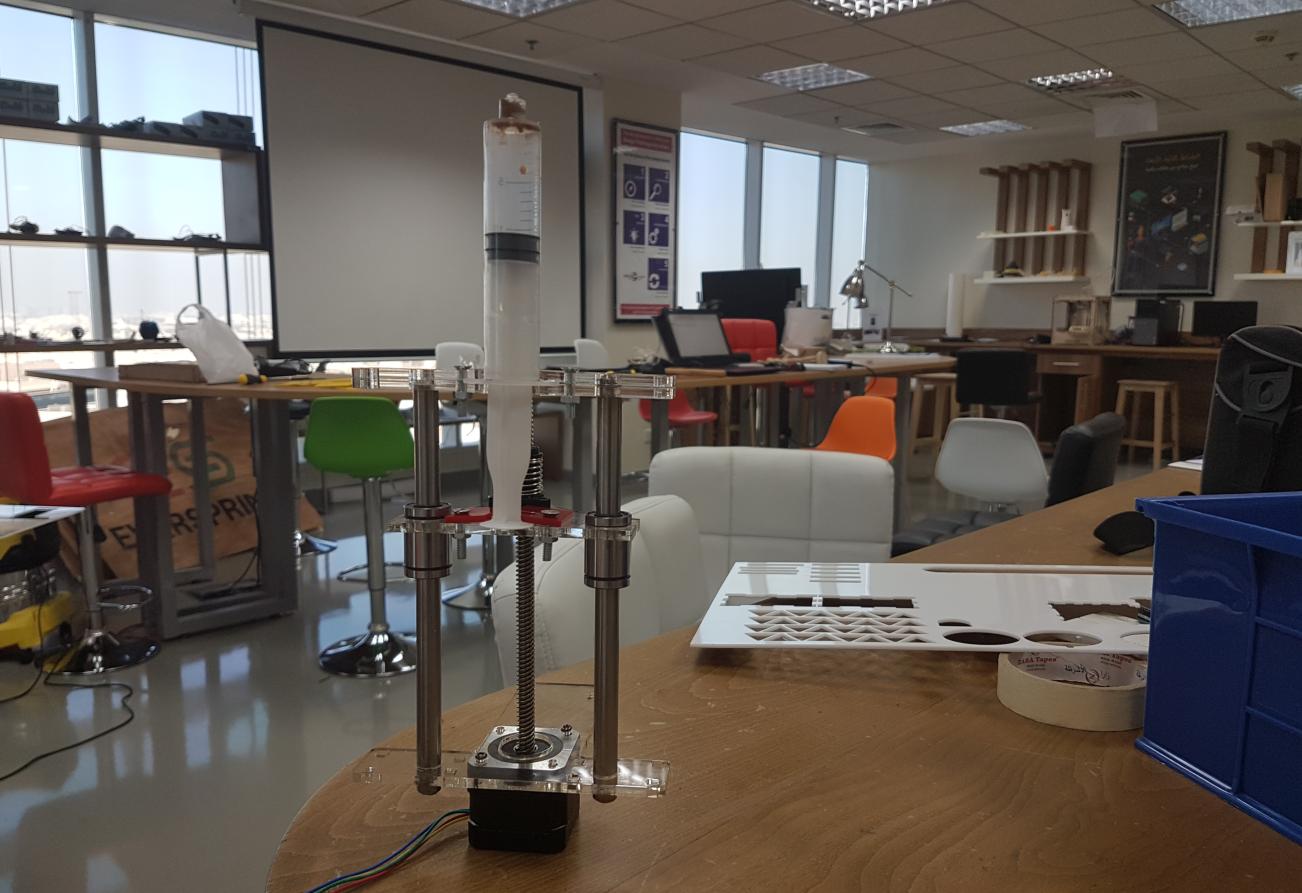
We used a 20 mL sryinge attached to a stepper motor for the extruder as this will work just fine for extruding nutella, yes! we love chocolate. It consists of 3 pieces 2 of them were laser cut 4 mm acrylic and one the middle part was 3D Printed.
We tried different designs of the extruder as the video below shows the first version of the extruder where it was only acrylic:
Then we minimized the lenght of the extruder and redeign it to decrease its weight as well. The picture below shows the final design of the extruder:
We assembeled the machine to look as shown below:

The build plate will move in XY axes as it attached to the XY stages while the extruder is attached to the Z stage and it has its own motor for extrusion. The machine building area is restricted to 150 mm x 150 mm x 70 mm.
The video below shows the machine working:
First we need to control the whole machine using gestalt as it looks interesting way of controling machines, Second we need to re-design the extruder hanger that mount the extruder to the Z-axis.