2. Computer Aided Design
Index
- Assignment
- Everything starts with an idea (Intro into 2d drawing tools)
- Photoshop
- Gimp
- MyPaint
- Inkscape
- Libre Office Draw
- 3D
- ThinkerCAD
- Flood
- Antimony
- Blender
- OpenSCAD
- Fussion360
- My Toolset
- Summary
A. Assignment
- Model (draw, render, animate, simulate, ...) a possible final project, and post it on your class page with original 2D and 3D files.
B. Everything starts with an idea!
Everything starts with an idea!. Once you have an idea the foremost thing you got to do is to take it from from your mental realm to the material realm. I think a paper and a pen is the most advance and sophisticated tool which can let you do that. Now you have your idea mapped into a paper. Thats the first stage of manifestation; from a mental idea to a representation in the physical world. Now you have something you can iterate on, and something which can trigger that previous state of mind while you initially had that idea.
A drawing is good to have, but when you need to show it to someone else you need a better representation of it (Atlease if you are not a great drawer). Software drawing tools can very well help you with that. That include create neat sketches, representations etc and maybe far beyond that. Software tools can be classified into to two main categories based on how they work. They are
- Raster based
- Vector based
B1. Raster based.
You will find tons of info about raster based images all around the web. This is the wiki page and the best place to start from. The way i understand raster is that they have limited resolution. Ie if i zoom in and in there will be a point where the image will get pixelated. Pixelated means you will find dots all around, as you see in the image below.
Image source wikipedia
If your image is grayscale- means you will only have dots with colors from black to white. Usually it will have 256 different colors from white to black with black represented as 0 and white- 255. The dots are called as PIXELS if they are on screen. From here i will use the term pixels to refer to these dots.
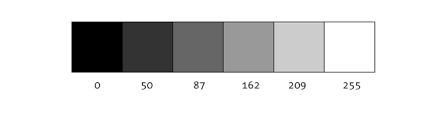
Image source py.processing.org
In a color image( RGB image) you will find pixels with almost all colors; ~16 million colours, obtained by mixing shades of Red, Green and Blue. There is yet another kind of images which can encode transparency- The RGBA image where 'A' representing Alpha or Transparency. These images come handy when we need to blend images.
You have different formats to store images, the popular ones are .jpg, .png, .tiff, .gif etc. JPG images give you the most compression ratio but you loose the transparency (the alpha channel) when you save in jpg format. For images without transparency jpg is the favorite format. For images with transparency png is my favorite. The compression techniques employed in jpg and png are different. You can get more info here
I have tried some of the popular 2d softwares. And the following are my personal take on some of them
1. Photoshop
From my experience i would say this is the best tool you will find for photo editing and
maybe little bit of drawing also. It is has got
intelligent object selections, lot of filters and a well organized UI.

Screenshots of my experiments with photoshop.
This is a good place to start learning
photoshop.
2. Gimp
Gimp is an open source alternative of photoshop. The problem i face with gimp is that, while
you resize or rotate a layer it takes a small time to
update, where as in photoshop its more real time. Gimp
beginners tutorial will get you started
with gimp.
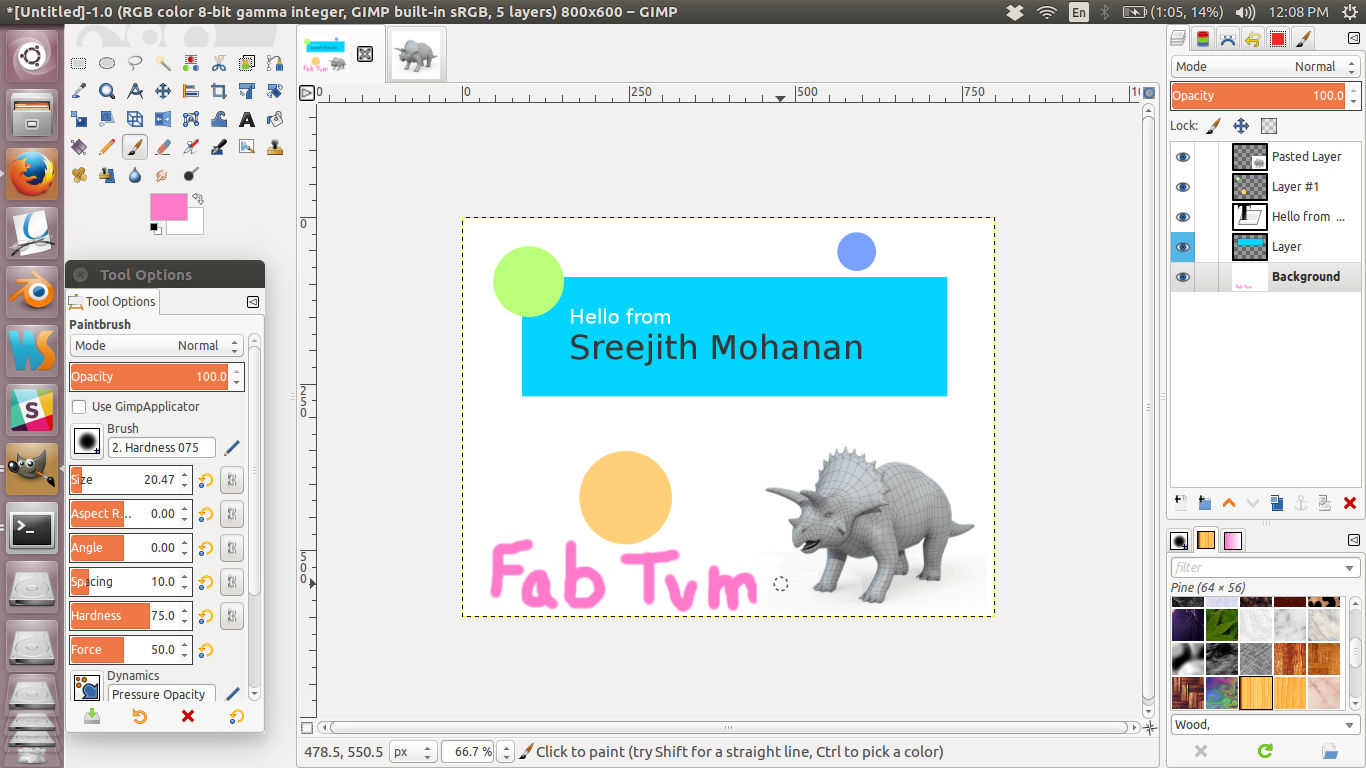
Screenshots of my experiments with Gimp.
3. MyPaint
MyPaint is awesome for freehand drawing. It has lots brushes which makes drawing with it a
fun experiance.
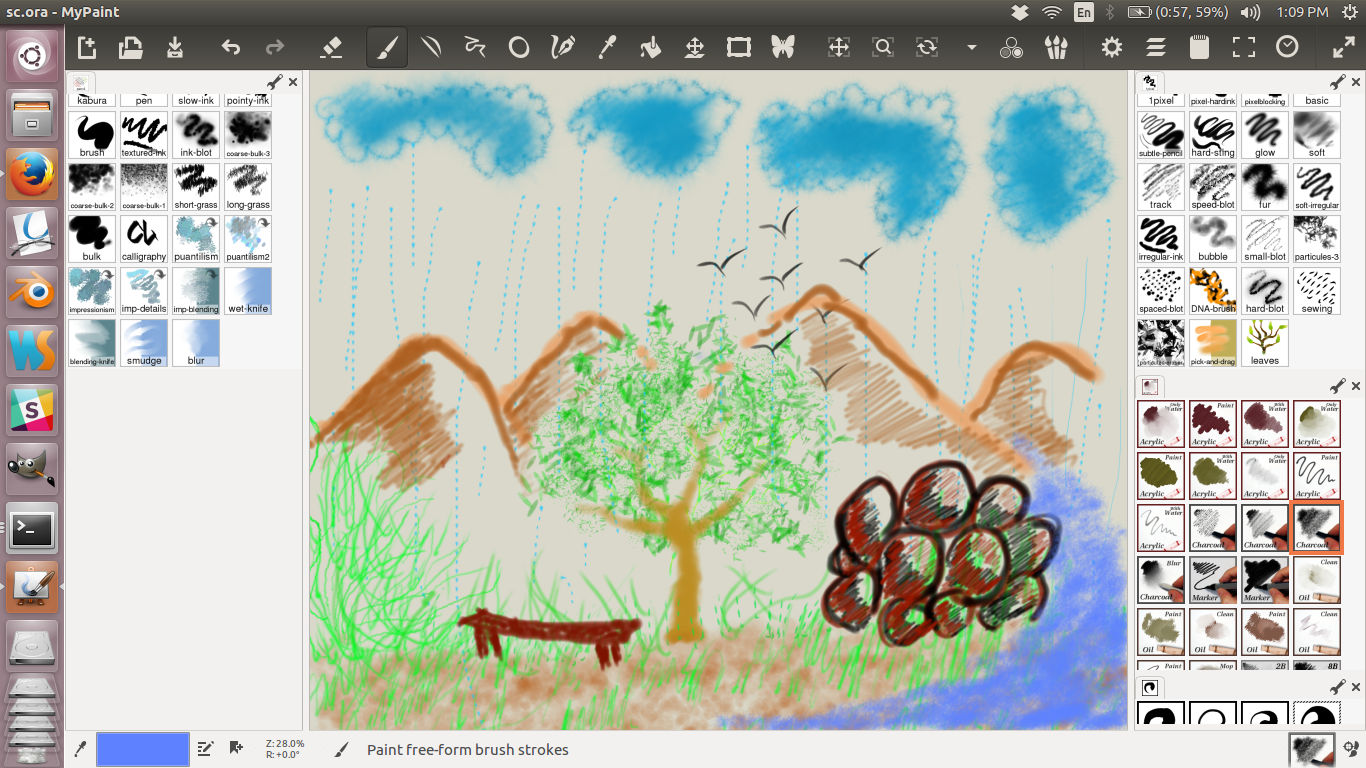
Screenshots of my experiments with MyPaint.
Dawing i made with MyPaint.
4. ImageMagick
This is more useful as a command line tool which lets you resize or rotate or do any such
transformation in a single command. Other filters are also
available.
This comes handy when you have lot of images to scale or apply some filters. eg:
convert '*.jpg' -resize 120x120 thumbnail%03d.png
This resizes and saves all jpg images in the current directory in the specified size and in png
format.
Here you get most of these
commands.
B2. Vector based
Vector based images are basically mathematical representation. They are not restricted to any
resolution. You can going on zooming the image without it getting pixelated.
They are basically for drawing and painting rather than an image manipulation tool. You cant do much
with
photos(as they are raster based) with these kinds of tools.
The following are my experiance with some of the popular tools for vector graphics
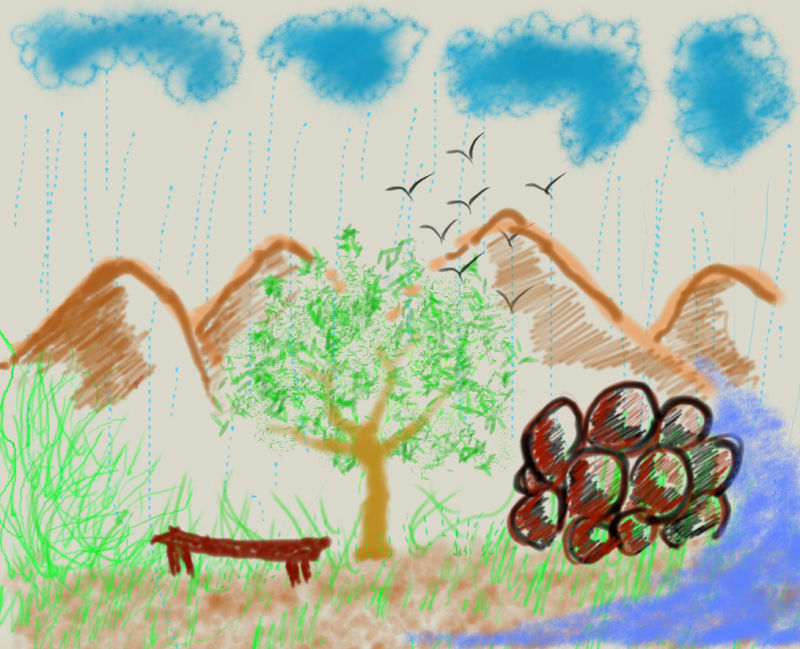
1. Inkscape
Its an amazing tool for quick drawing.I find the UI similar to that of photoshop and is more
intuitive to use. I was trying to create a drawing
of a spray paint.
tutorial link
Final drawing
original file
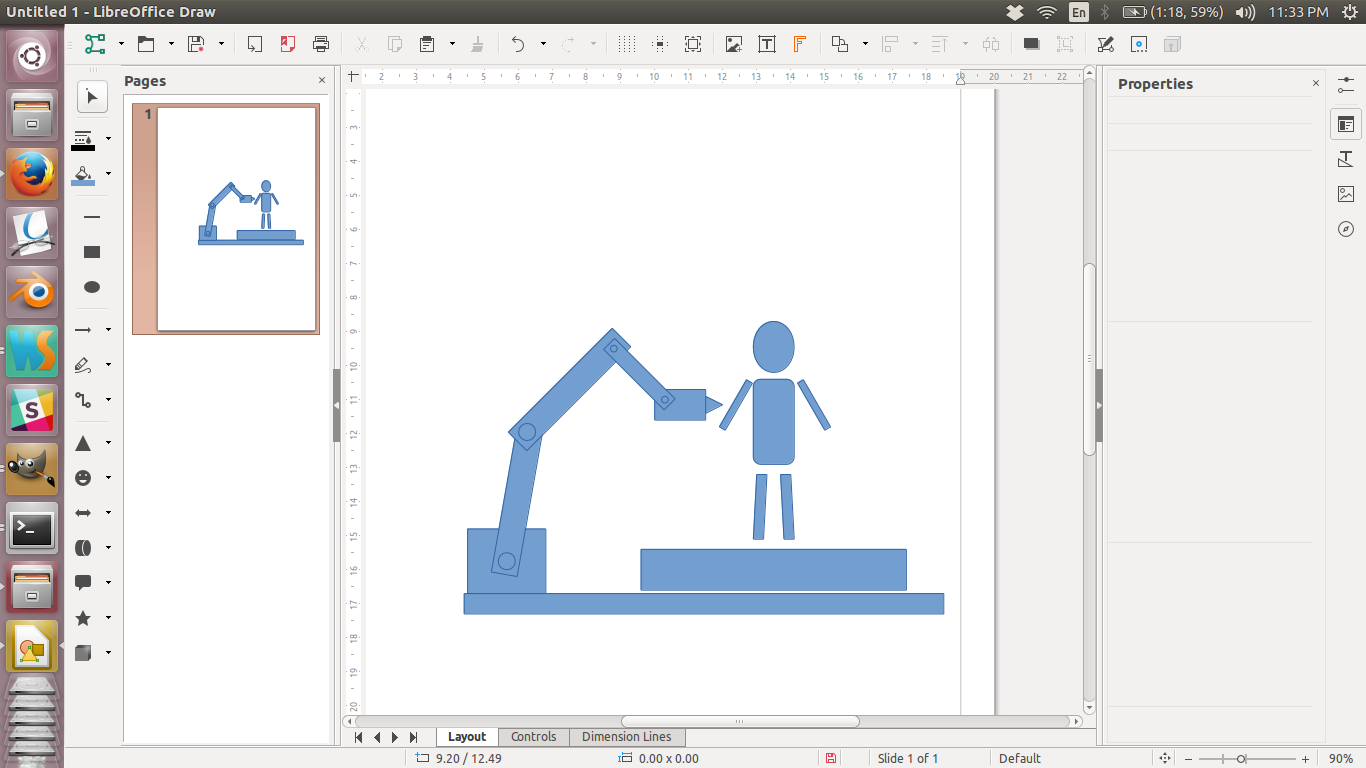
2. Libre Office Draw
This is a simple vector based drawing tool. It helped me refine my final project image( The final project was later
updated to 'Shapey - hotwire CNC machine').
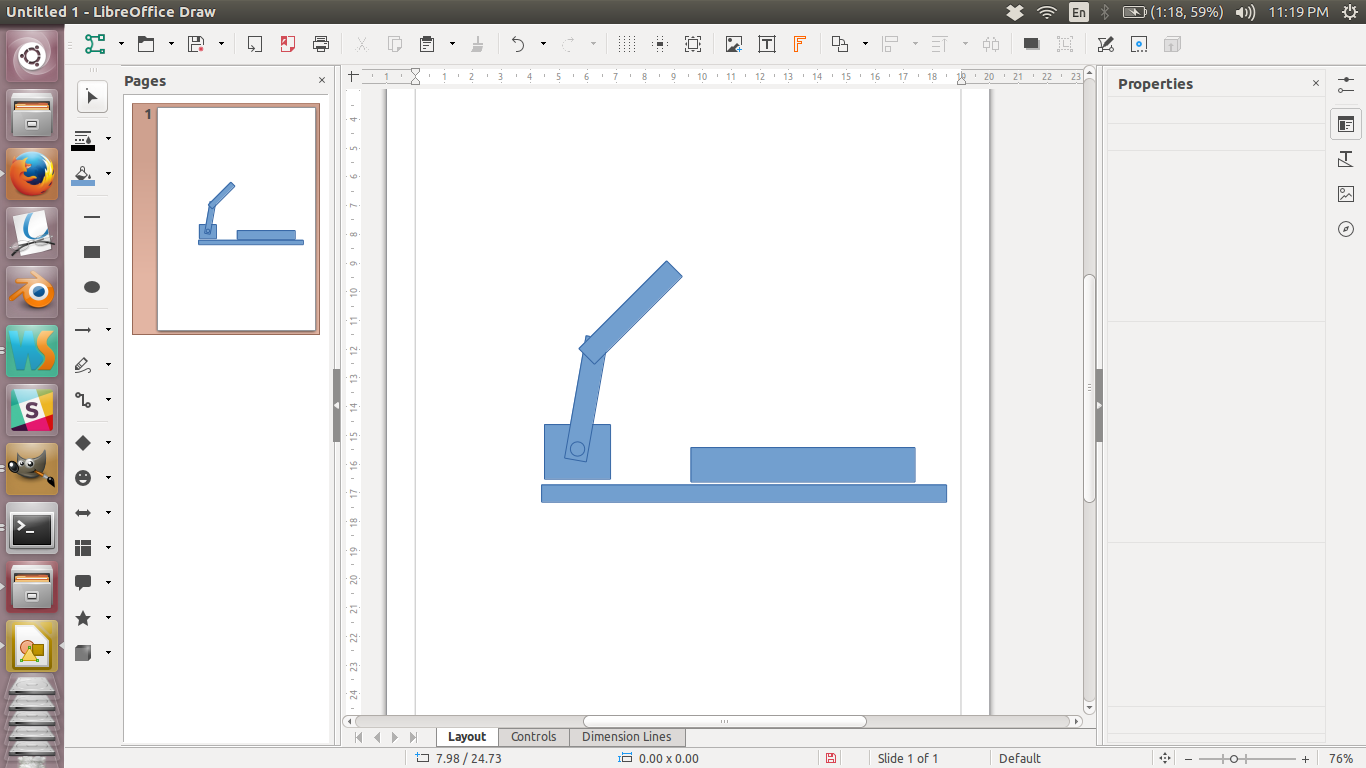
Stage 1
Stage 2
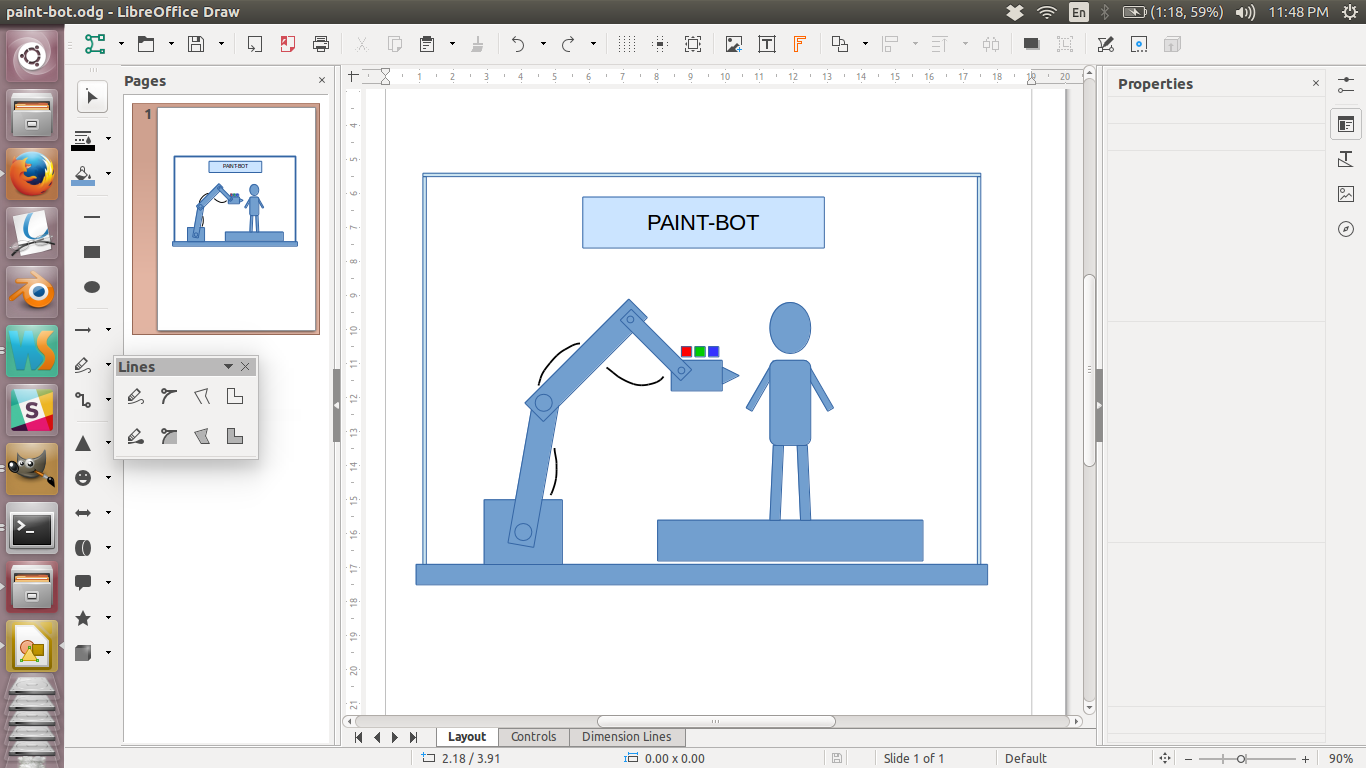
Final drawing
Initially my final project was planed to be a robotic painting arm named PaintBot. The above documentation describe making images for that purticular project. Later the project was updated to Shapey - a hotwire cnc machine.
original fileC. 3D
Once you have the idea in a piece of paper and with a refined drawing with 2d drawing tools its time to create a full three dimensional representation of your idea. In a 3d designing software we will have a origin point defined usually as the intersection point of two mutually perpendicular planes and you will have three axiz: X, Y and Z axis. Any object in this space is defined relative to the origin point. Suppose i need to place a point in this 3d space, it will be refered as to be say a units in X axis, b units in Y asix and c units in Z axis.
There are mainly two types of 3d representations namely, volume representation and boundary representation. Volume representation considers the inside also whereas boundary representation is moreover a bubble like representation which is hollow inside. CAD softwares usually use the volume approach whereas vfx and similar modeling tools use the boundary approach. In volume approach the object is represented as mathematical functions whereas in boundary representations they consists of smaller components. Those components are 1. vertices which are the positions of the points in the 3d space. When you connect two vertices you get and edge and 3 or more such edges form a pologon. Usually triangles or quads are used as standard polygons in these programs.
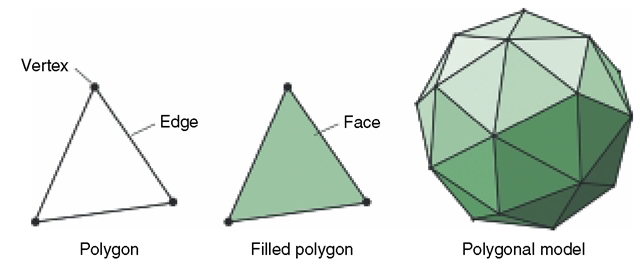
Image source mitchellnextgengames.wordpress.com Lets play around with some of the popular 3d tools
1. ThinkerCAD
Simplified tool for 3d modeling which runs in your web browser. Easy to get started and
use.
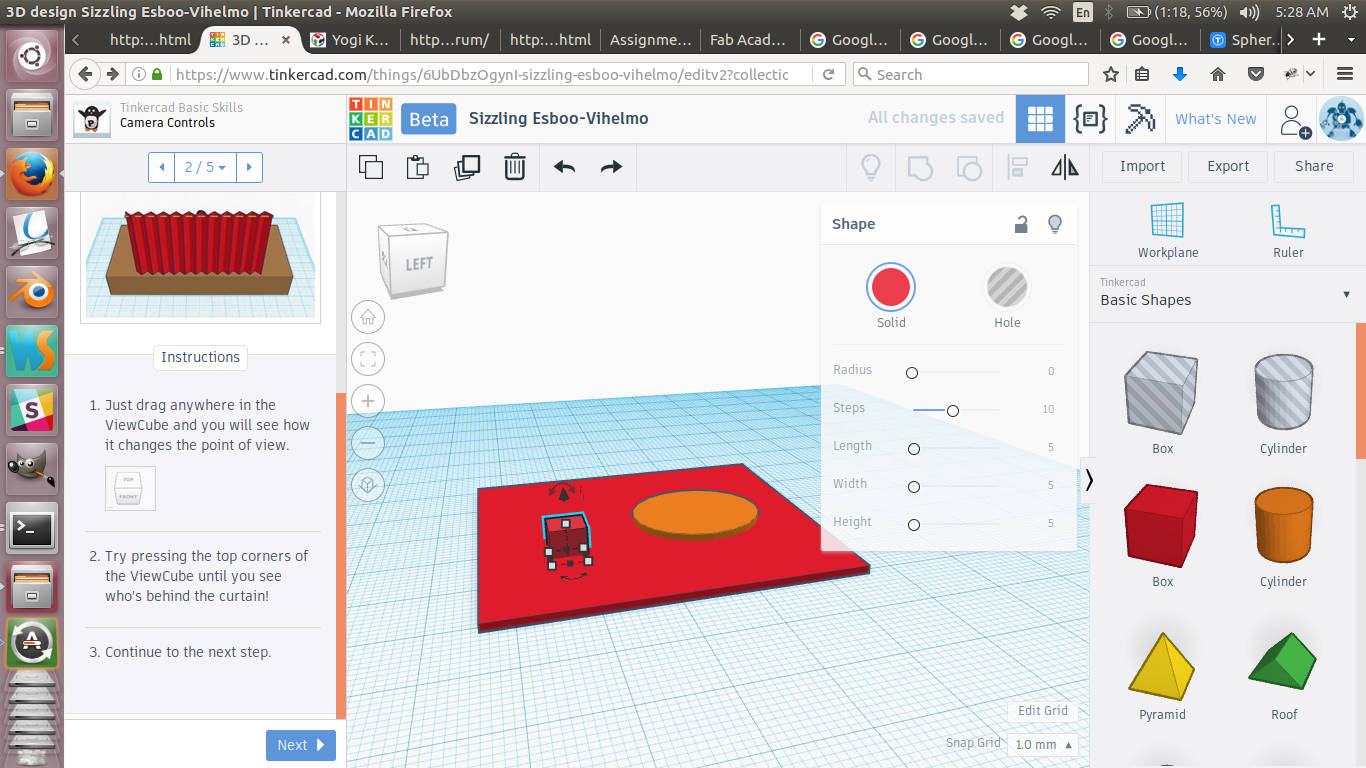
Final model
original file
2. FLOOD
This is another in browser parametric 3d modeling tool for 3d printing. The node based
editor looks simple and easy to use when you get started
but starts to get confusing when you want to do specific things. Poor ui!.
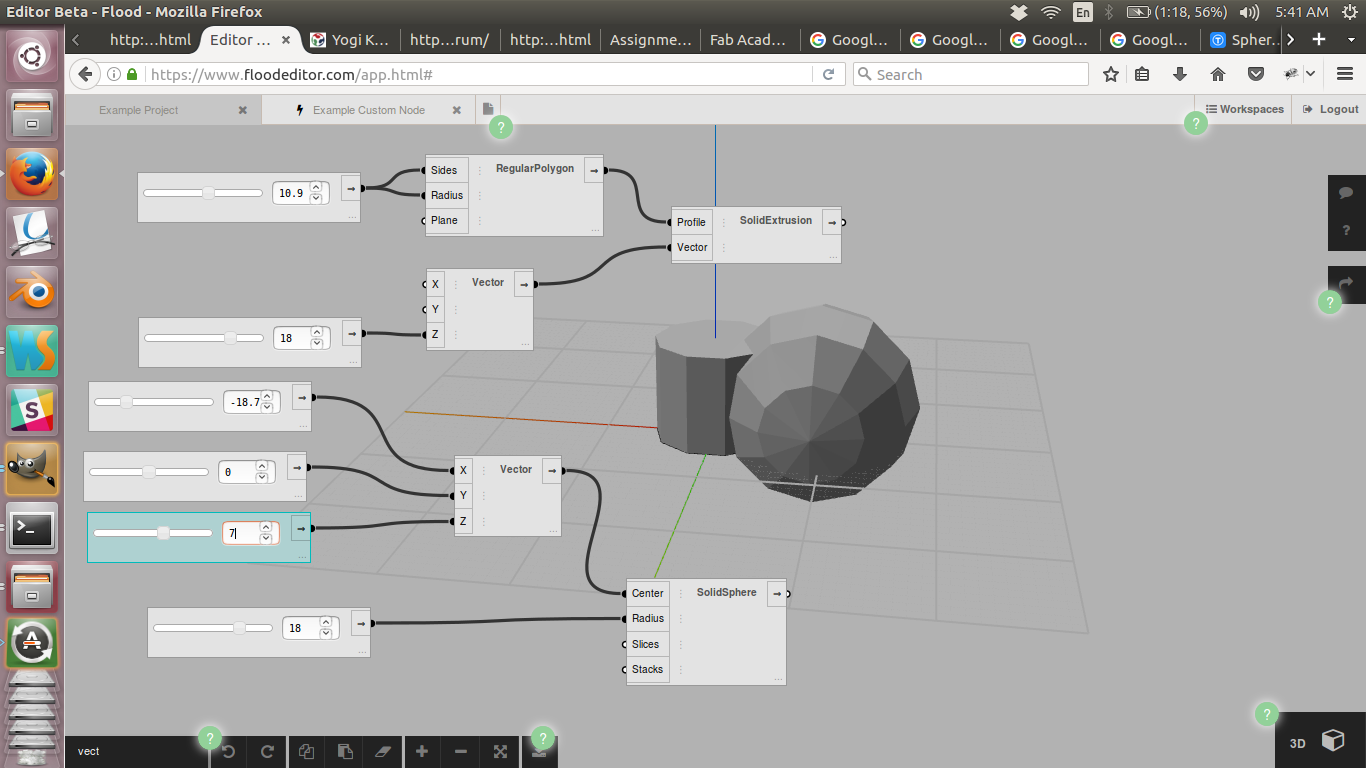
Final model
original file
3. Antimony
This is hard to build and to get started. It took me an hour to get it build and istalled
and running. But once i had it running i could find that
the graphics is not working well in by laptop. While i rotate the model i am getting weird looking
figures.
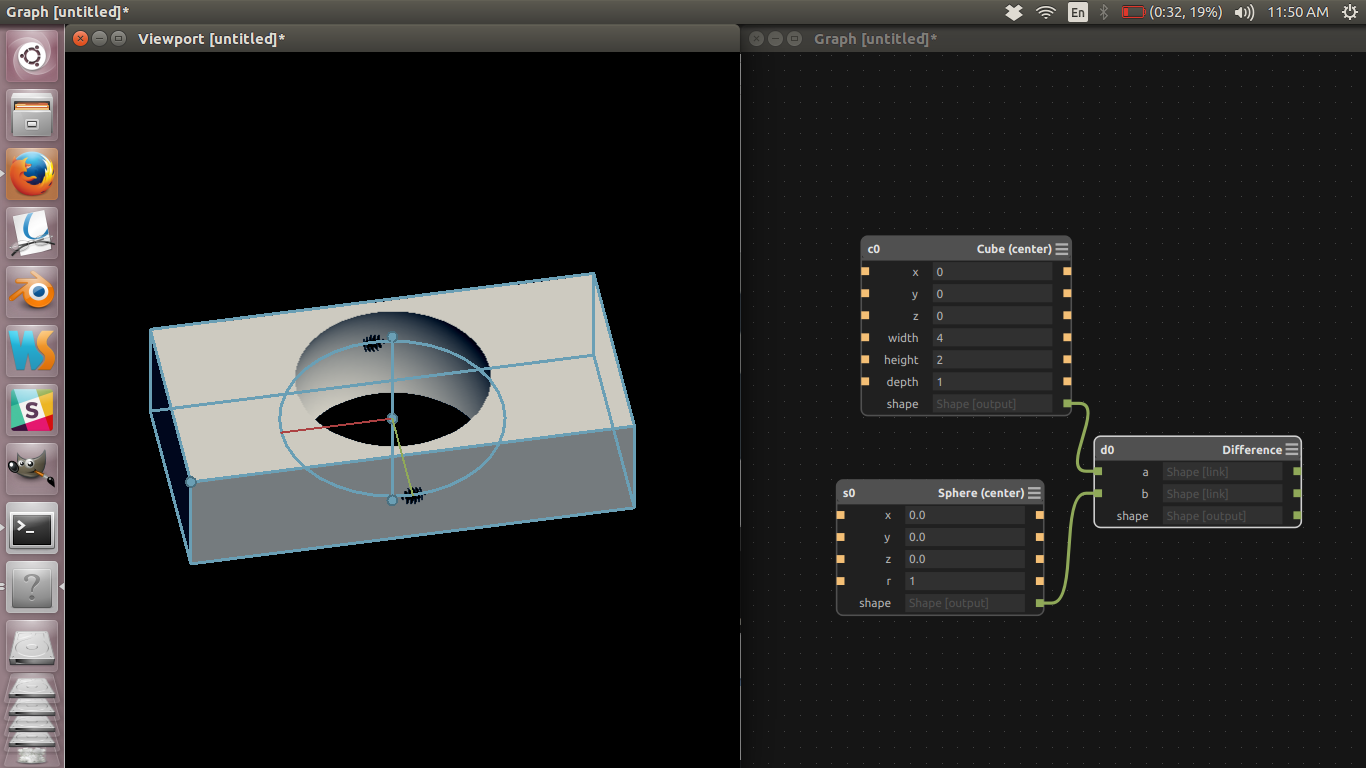
Final model
4. Blender
I found blender very easy and used it to make most of my projects. It
can import many file formats and is well documented
which enhances usability. There are lots of good tutorial here.
blendtuts.com
Initially the project i choose to be my final project was a robotic painting arm. The following is the documentation of how i made the 3d models for that project in blender. I later updated my final project to a cnc foam cutting machine. Cad modeling of that can be found in the final project page.
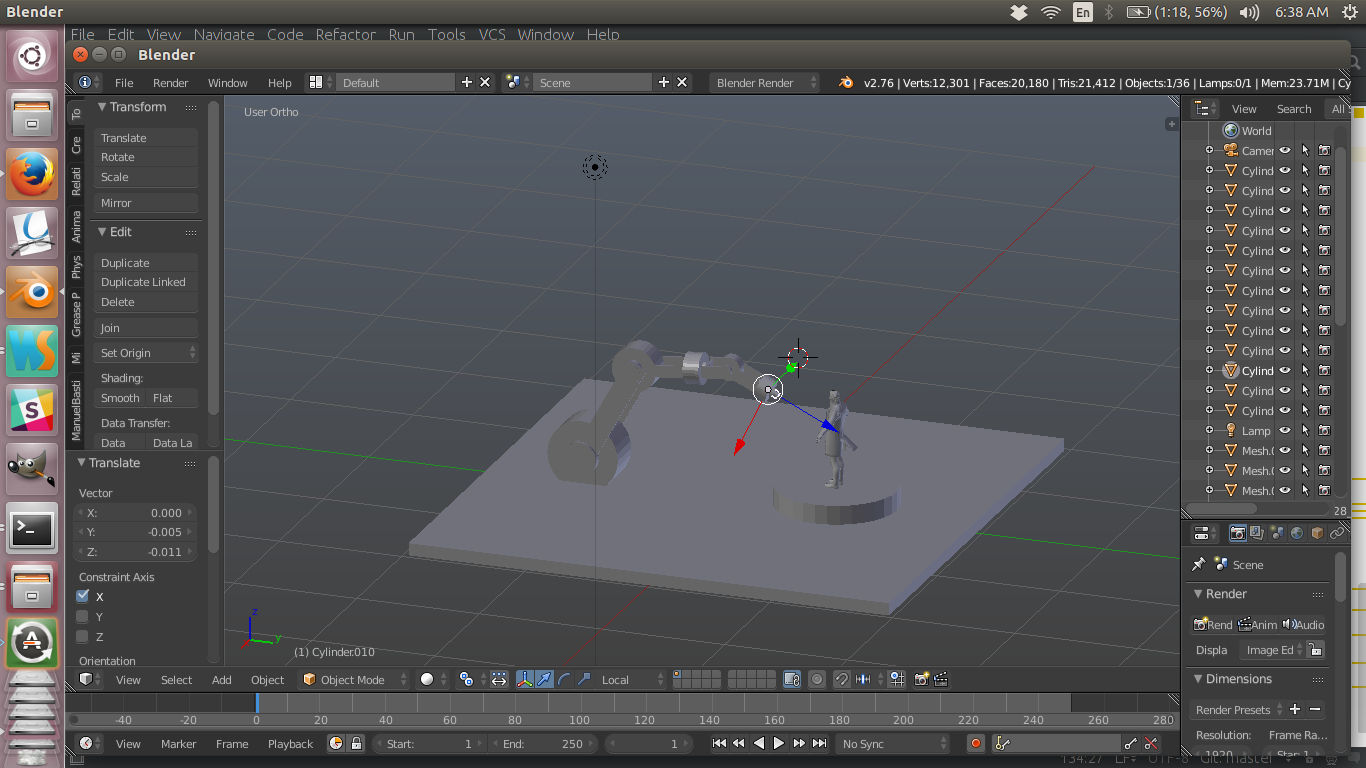
Stage 1
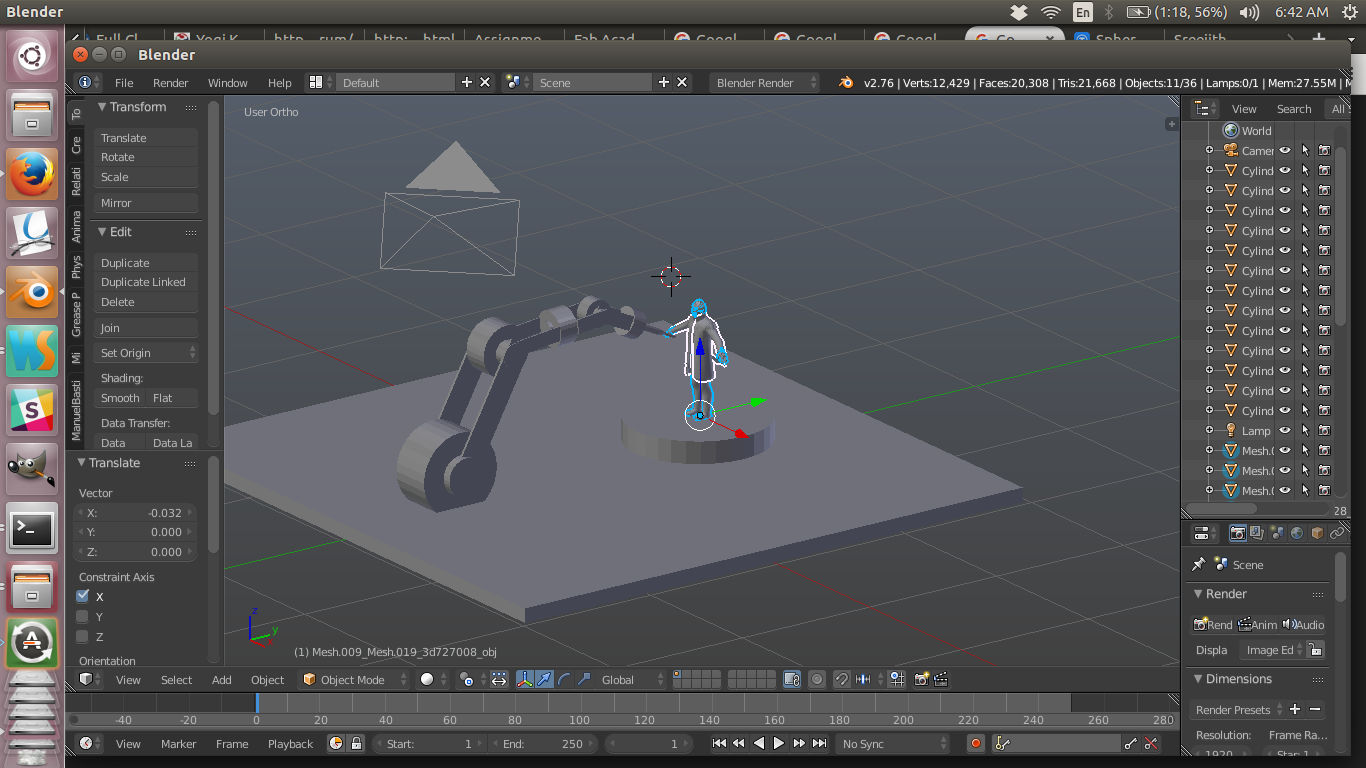
Stage 2
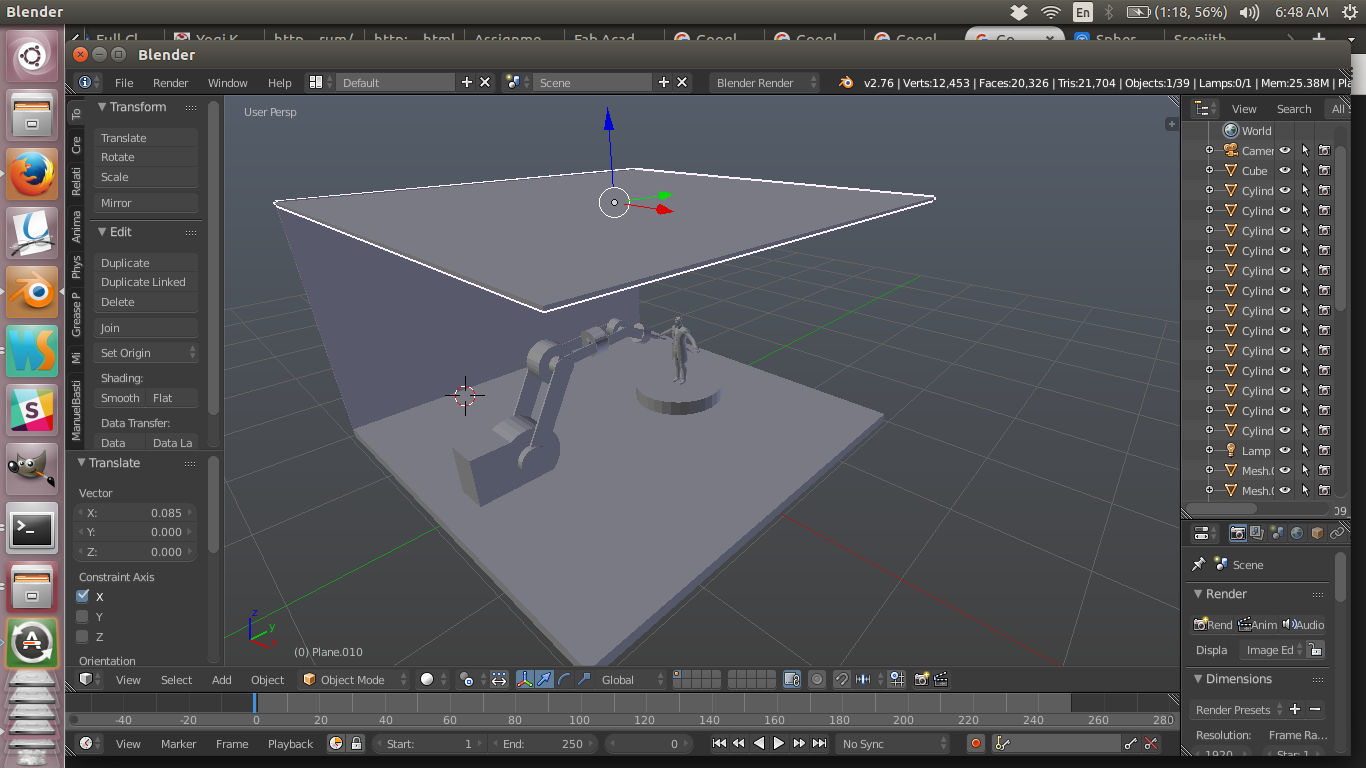
Stage 3
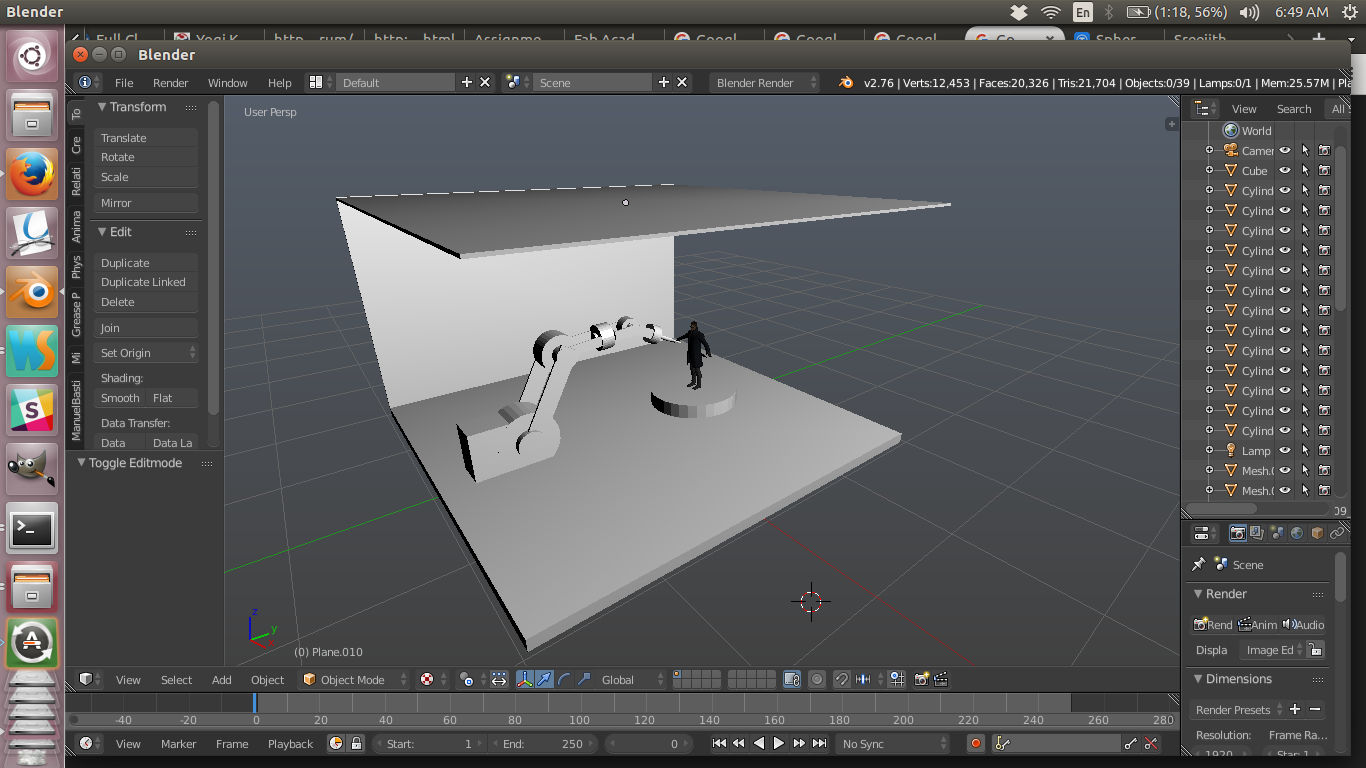
Final model
original blender file
human model imported from link
5. OpenSCAD
Its a simple parametric cad program. I liked the way we can write down programs which get
rendered to the 3d models. Once you have many objects on screen it gets difficult to keep track of them.
It would have been much more intresting if object picking and more interactive designing was also
enabled.
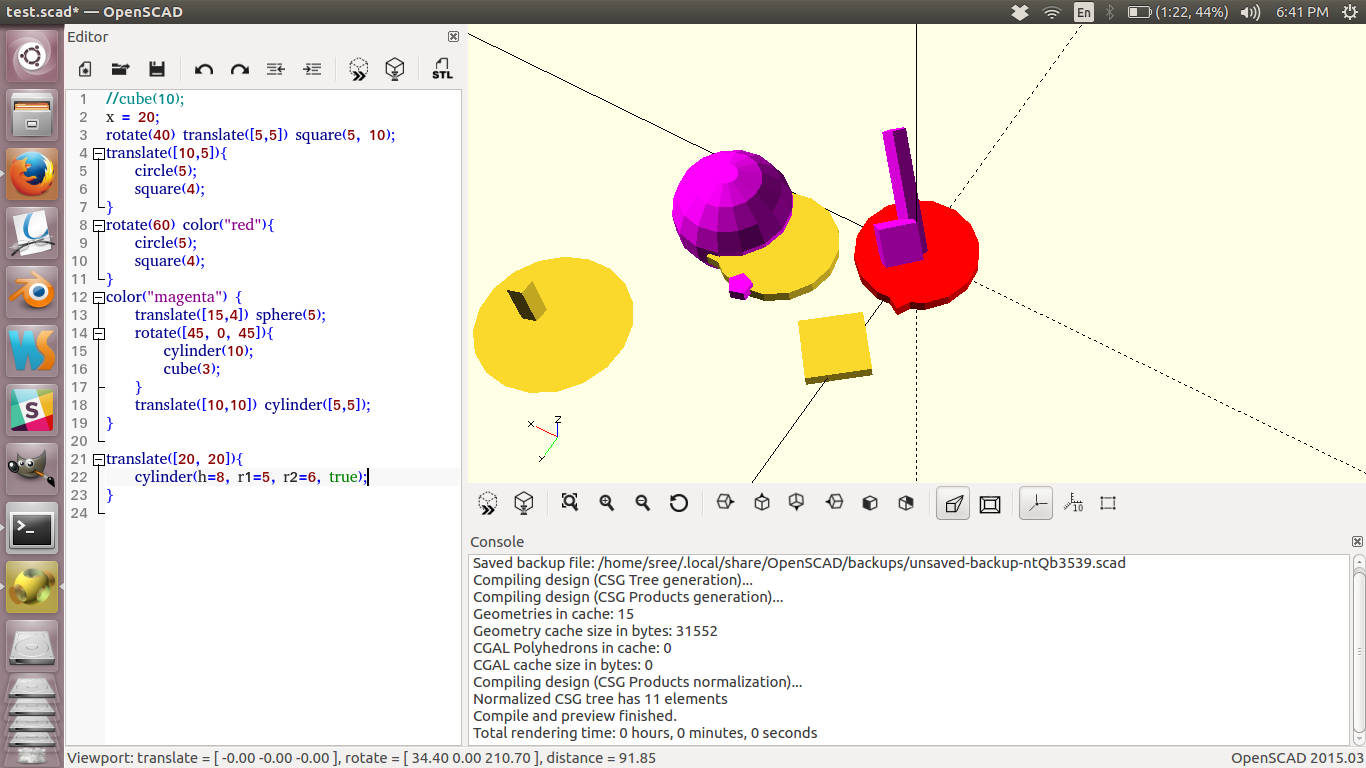
Final model
original file
6. Fussion 360
Though i have used many tools last week i was bit confused the 3d tool which i should
use from here for the purpose of cad and fabrication. Earlier i was planning to carry on with blender,
but
the instructors told me that blender is not the best when it comes to digital fabrication. I was
convinced after a
long googling. Now i had to look forward to that importent tool which can take me forward with digital
fabrication.
It was then i found Fussion 360. I quickly signed up and they provided me a 3 year free student licence.
The following are some
of the video links which helped me get started.
Intro to fusion for laser cutting
Designing a Lasercut Laptop Stand with Fusion
360
Basic Fusion 360 Tutorial for Beginners
From a blender background it was pretty hard to get started with fussion 360, but after spending some
time
with these tutorials i could get started. Finally i managed to make a chair using it.
This chair is inspired from Stroke Chair. I
tried making it myself with fussion 360 doing everything from scratch. These are some of
the screenshots.
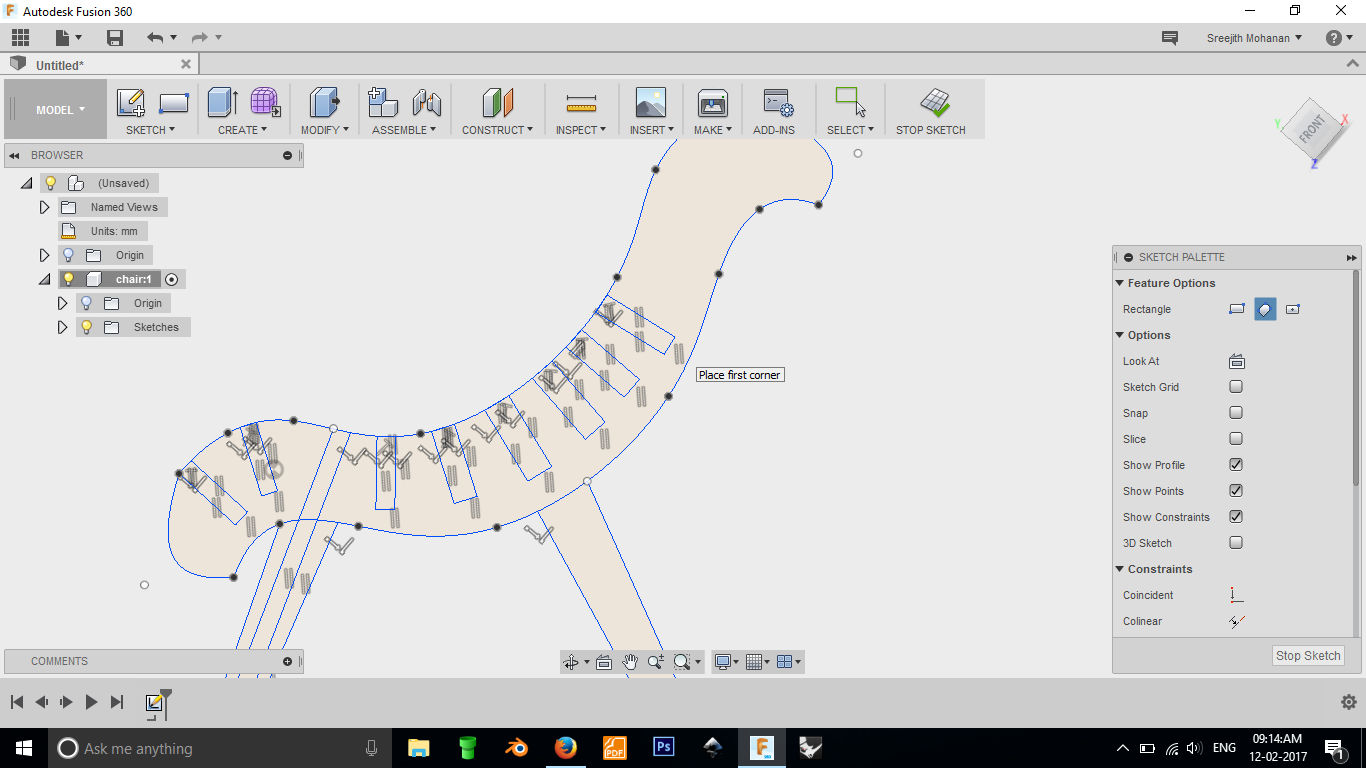
Making the sketches
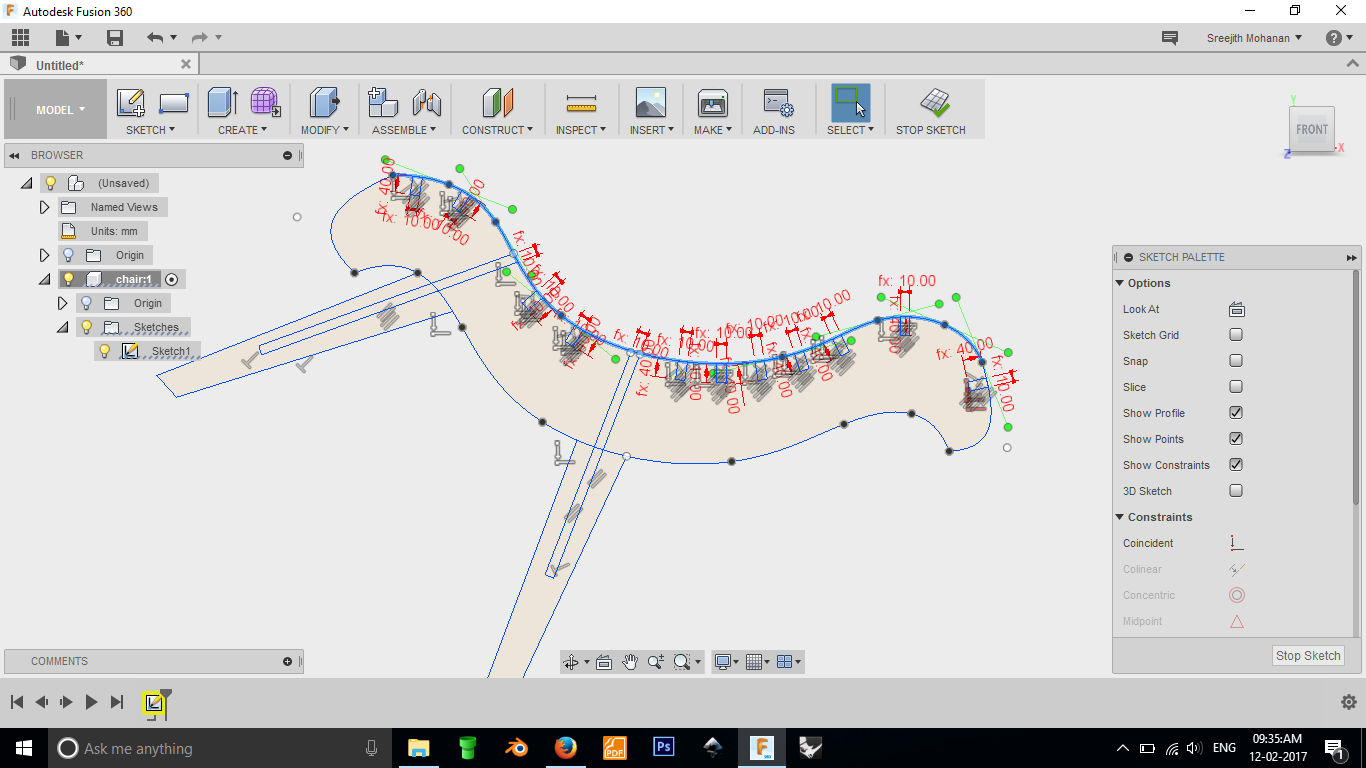
Creating constrains. ( I was trying to make it parametric but messed up some where so had to redo it
again).
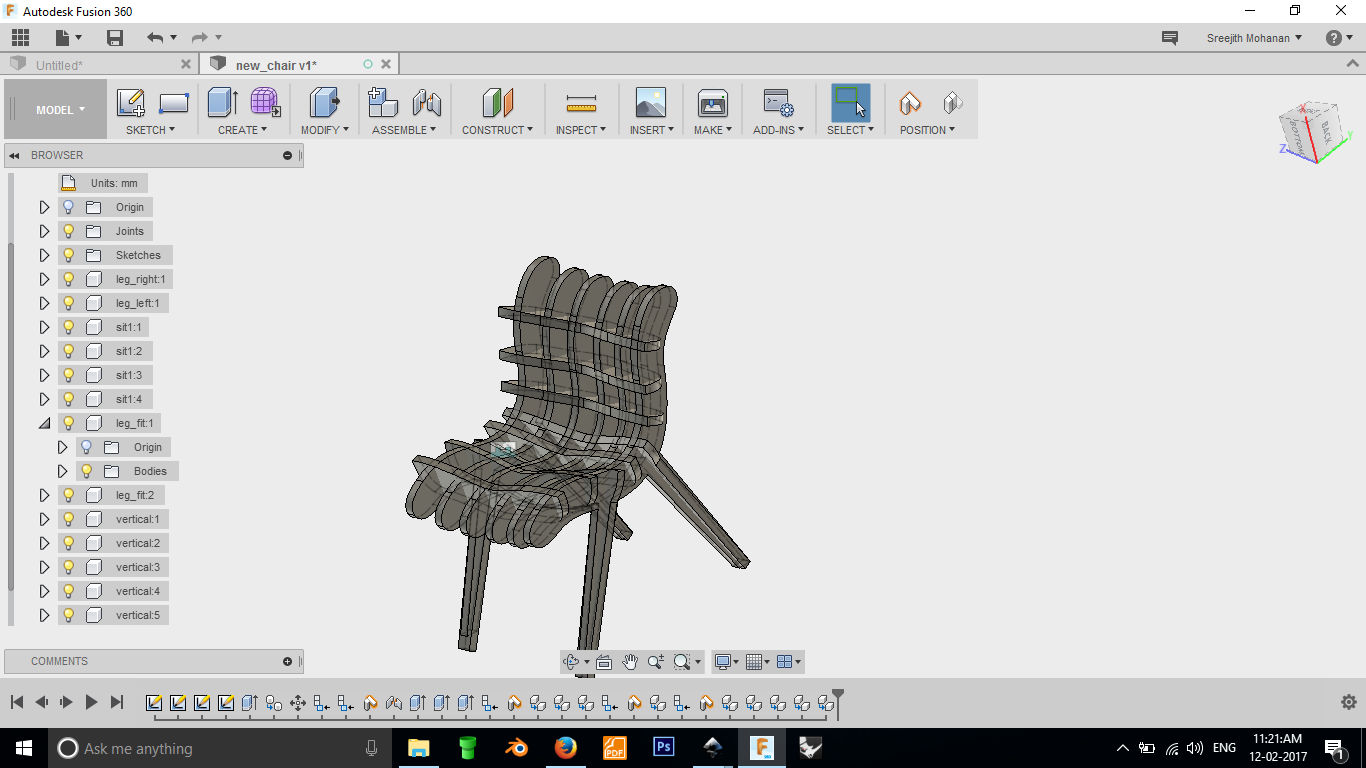
Final model
original file
The workflow is quite different for fussion 360 compared to blender. Here the main things to understand are components, objects and sketches. In Every part is called a component. First we create a component and then create a sketch inside that. Later we can extrude the sketch to get a 3d shape called the object. Understanding this helps your journey with fussion 360 much easier. There is a feature in fussion called timeline; where we can go back to a point in history either to see how the model was made or to edit it. This comes handy when you are learning. There are a few good examples within fussion whose timeline can be inspected to see how they were made.
What i liked about fussion is that it is a complete tool. It can used for 2d sketches, cad modeling, sculpting, rendering , organic modeling, simulation etc. You get everything at one place. There are good tutorials out there which can get you started. And of course you get it free. The bad part is that the software always saves in the cloud, though it maight be useful for collaborative projects it is hard if you dont have e very good internet connection. The arrangement of functionalities are pretty alien for a person with maya, 3ds max or blender environment and it takes a bit time to get used to it.
D. My Tool set
- Photoshop- for image editing
- Gimp- for image editing if you are on ubundu
- Inkscape- for vector graphics
- Fussion 360- for 3d cad modelling
E. Summary
- Learned to use Photoshop, gimp, blender, fussion360 etc.
- Found a set of tools which fits my style
- Make the 3d models for my proposed final project( The final project was later changed).

This work is licensed under a Creative Commons Attribution-NonCommercial-ShareAlike 4.0 International License.