Introduction
As I said on my final project page, I decided to create a wearable device to help autistic childreen to have an human interaction. I've tried to use as much processes as I can:- Electronic Design and Production
- Molding and Casting
- 3D Design and Printing
- Vynil Cutting
- Programming
ELECTRONIC DESIGN AND PRODUCTION
First of all I'm focused on electronics part because it is the most important process to develop. This board must be wearable, small and it must be controll a coin vibration motor and a pressure sensor. It was a huge challenge because I have a lot of components to put in.
To use coin vibration motor I need:
- Diodo SCH
- Mosfet N 30V
- Capacitor 0.1µF
- 1KΩ Resistor
- 4.9Ω Resistor
- Capacitor 1µF
- ISP connector to programm it
- LED with a resistor to debug my board
- PULL-UP resistor
- connector to use Bluetooth module
- ATTIny44 as microcontroller.
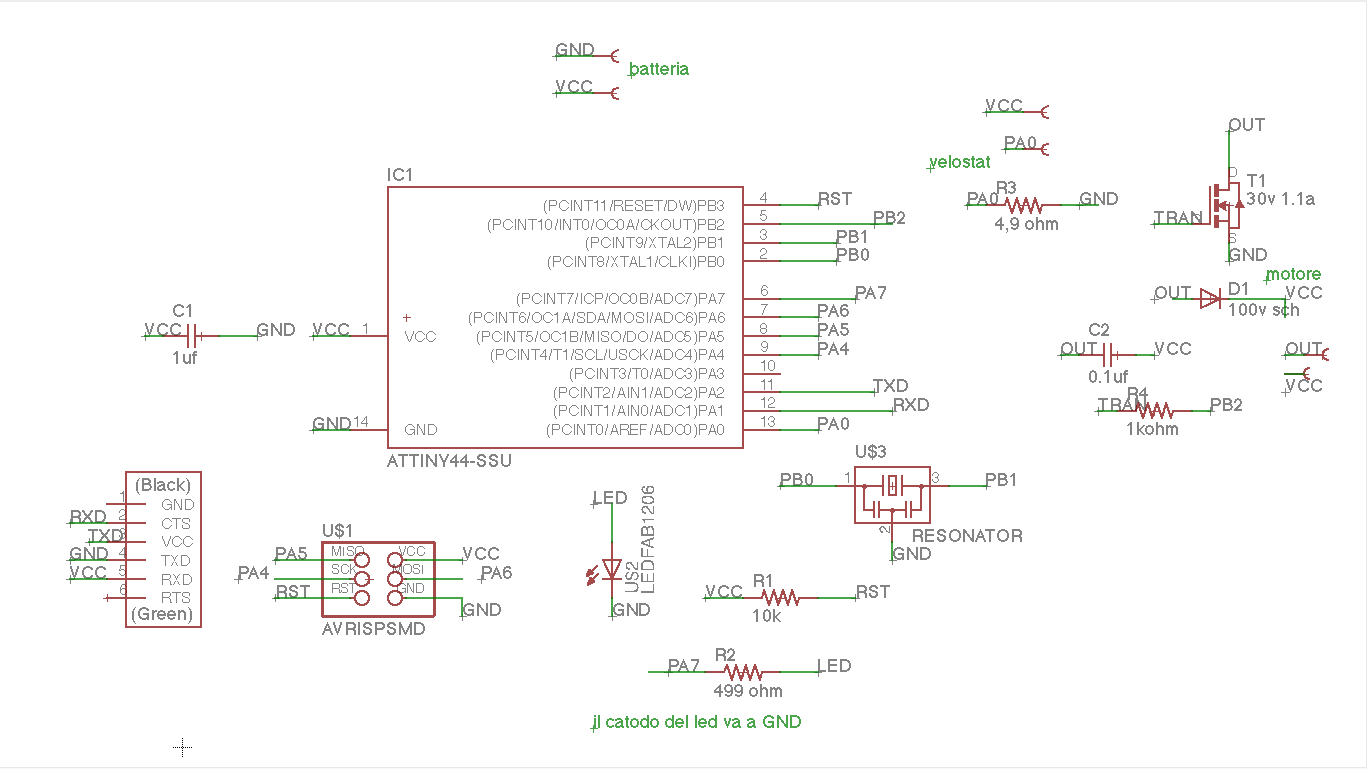
I have used holes taken from Lilypad Library as pad for the sensors and the battery. I have create all connection and then I'm moving on board project.
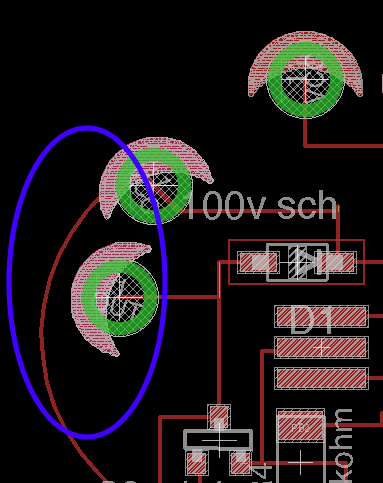
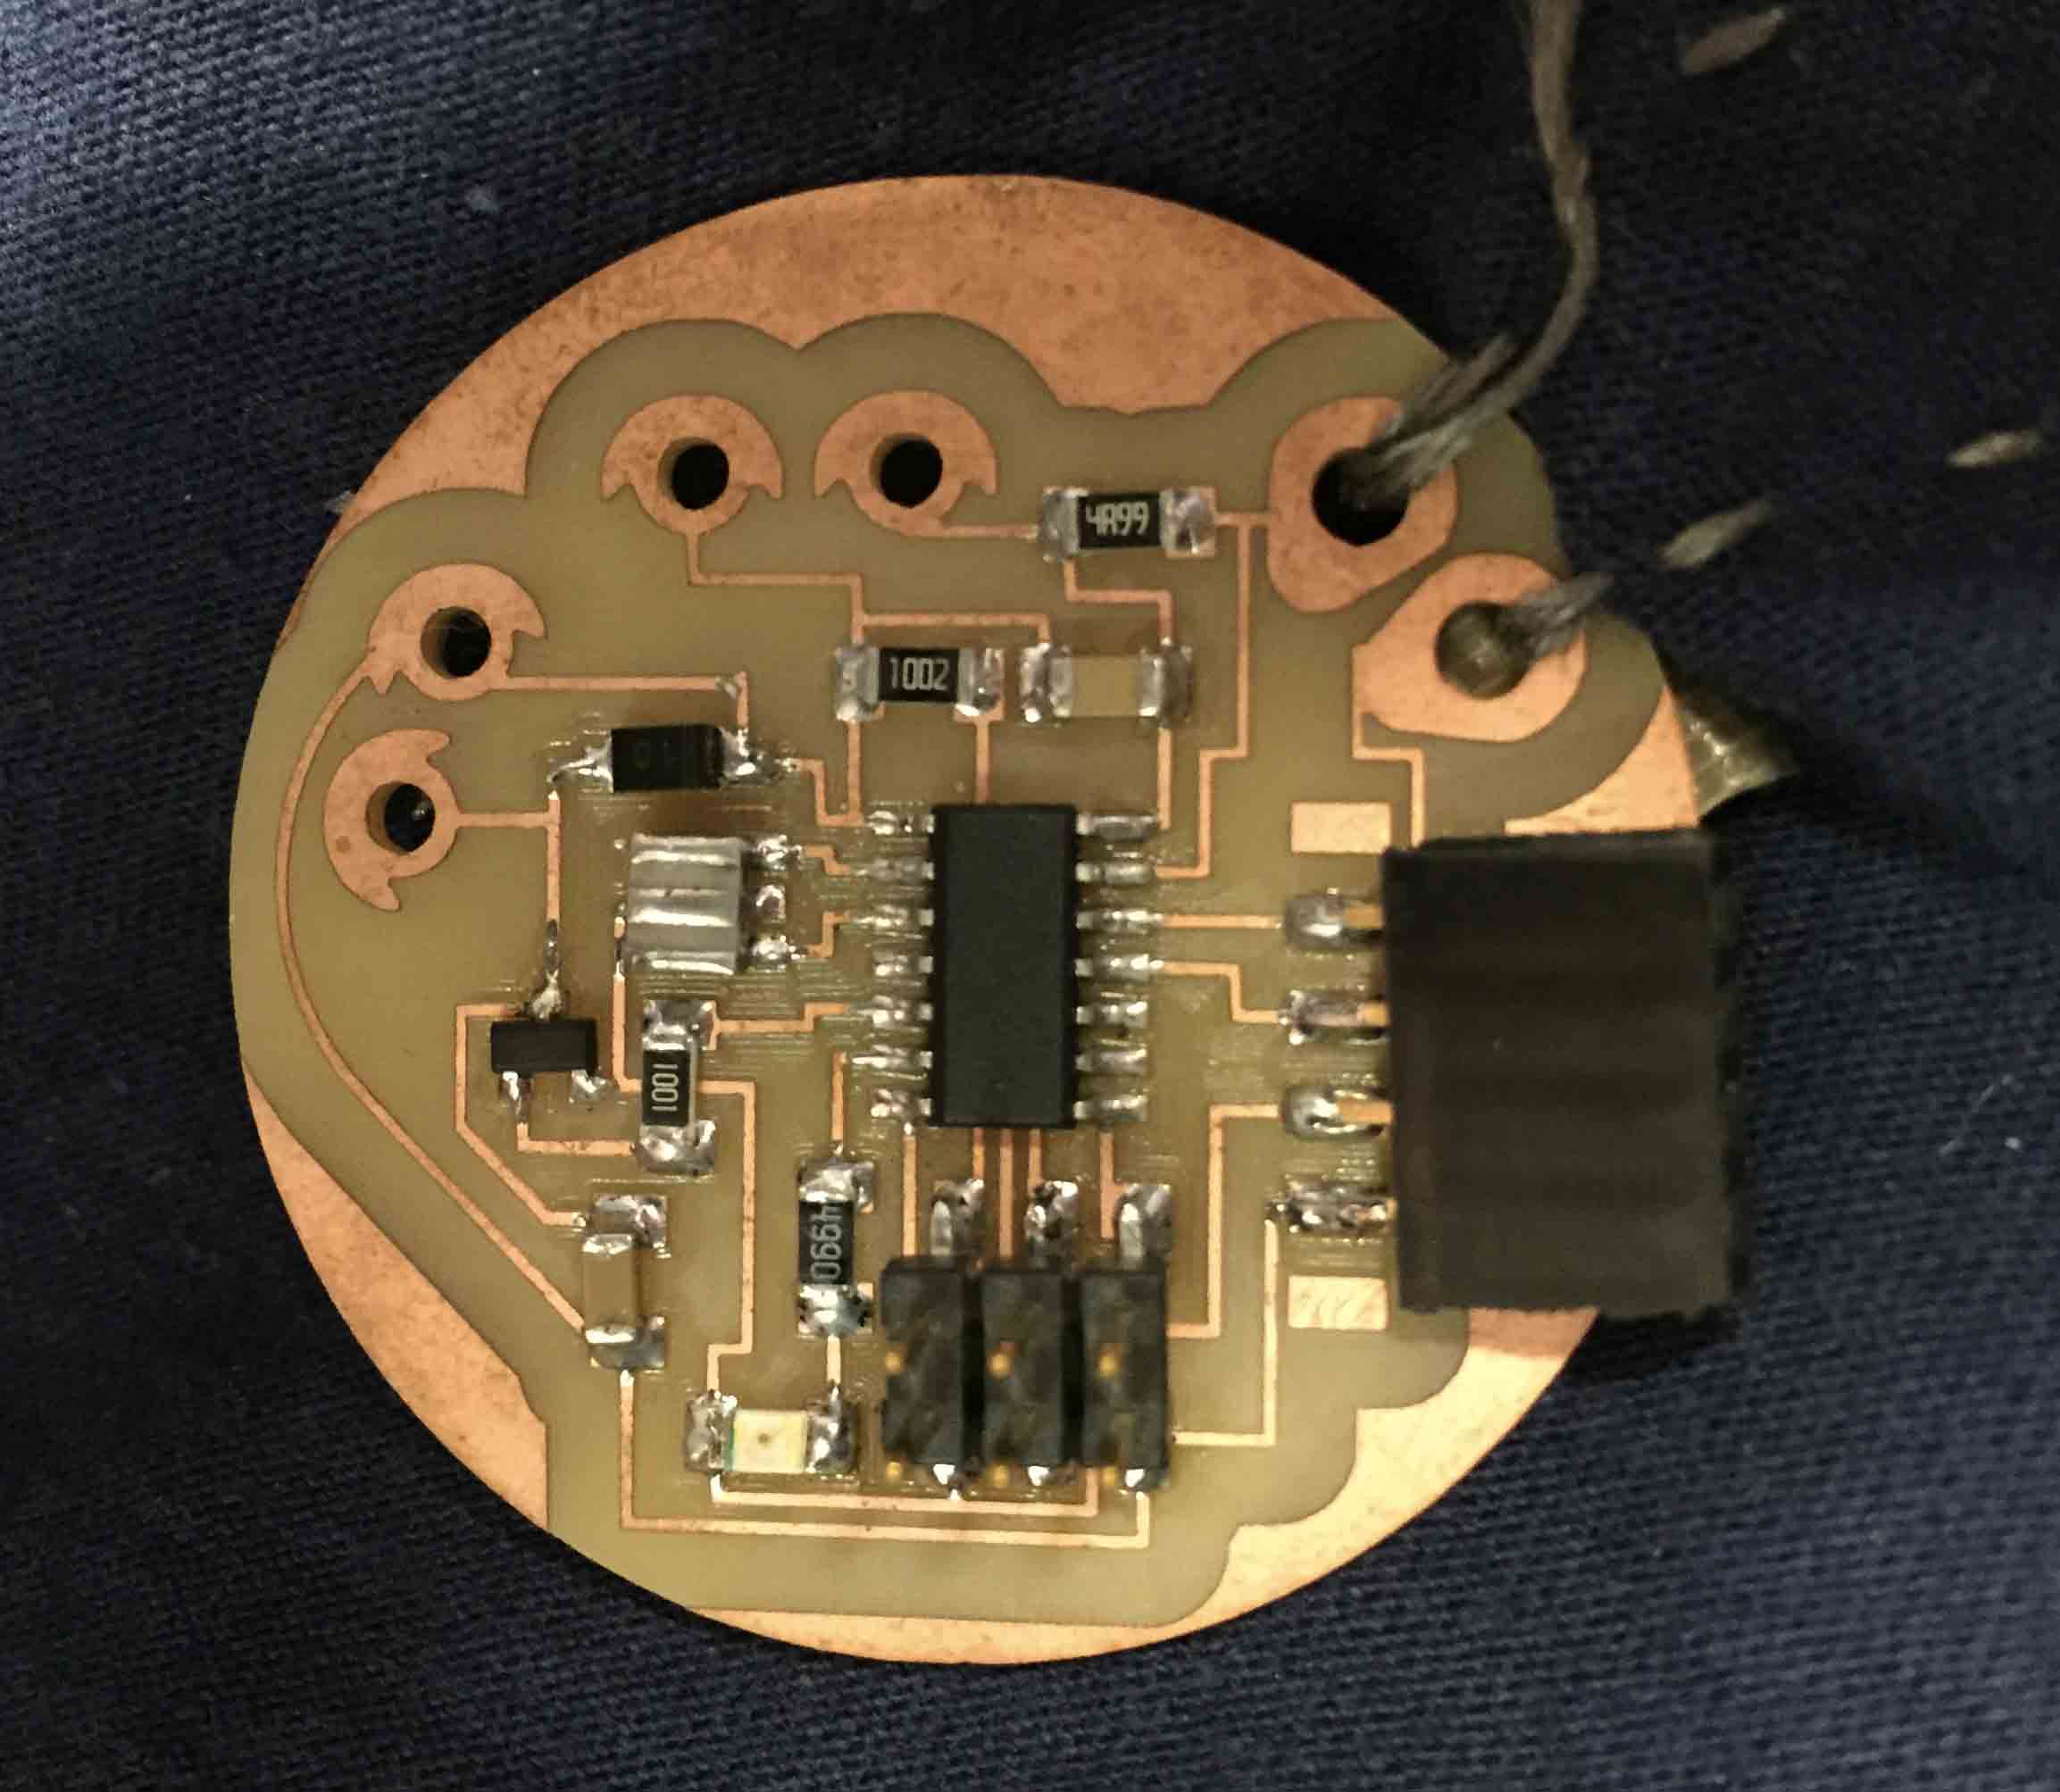
I had some problem to create the traces because I had to pay attention to leave space between hole and outline. After a lot of work this is the result:
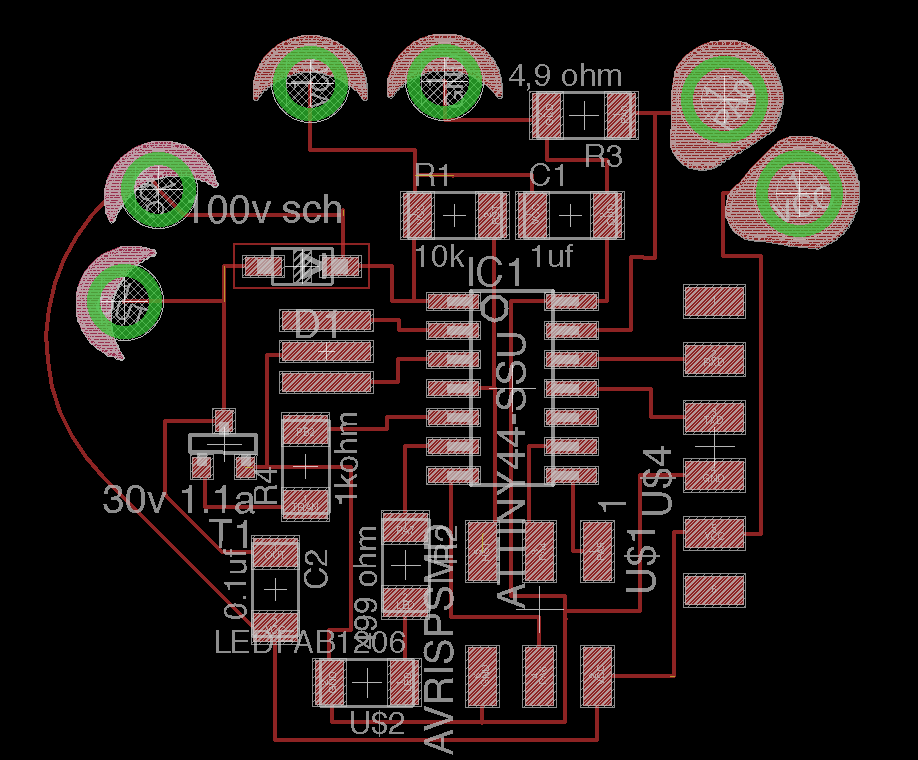
As you can see I hadn't respected a constraint that I have wrote above, but I hadn't choise. I have decided to do that because it is a coin vibration motor pin and I can solder it.
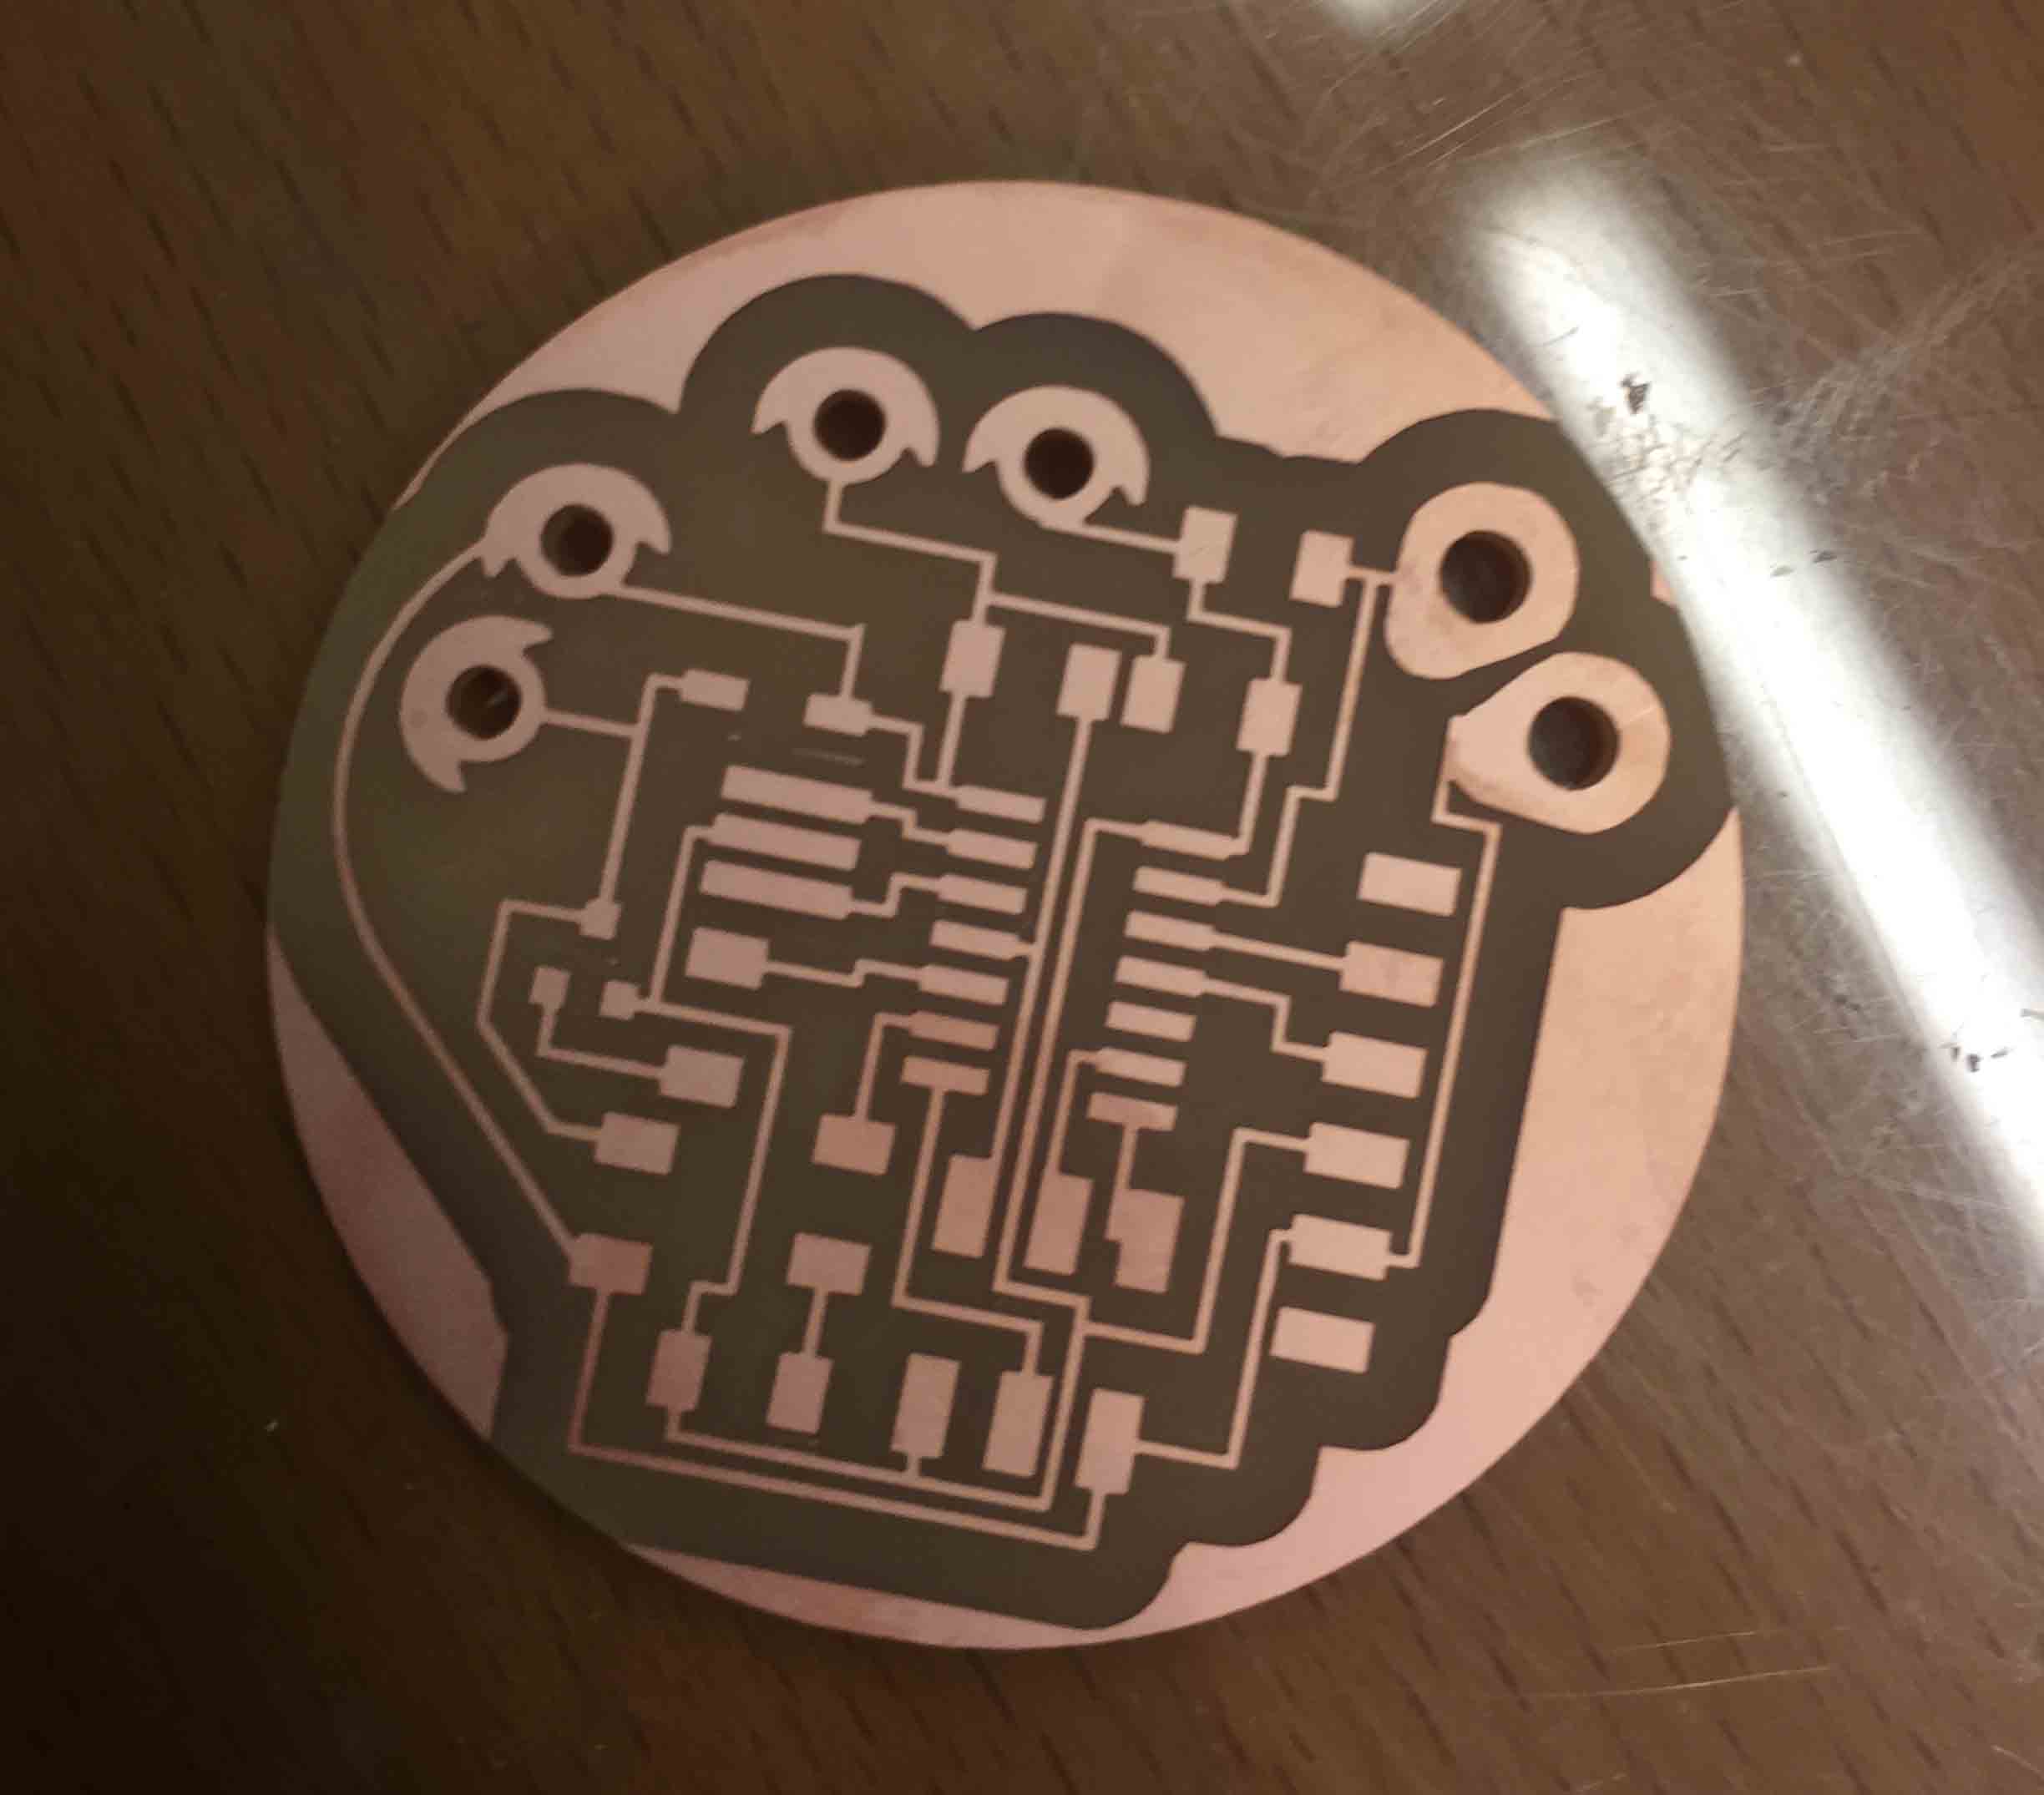
Then I have milled and solder it:
The electronic part it isn't finish yet. I had to build the pressure sensor. To do that I have looking for some tutorial to understand which is the best solution. I have found this tutorial very clear, so I have decided to follow it. I have used this material to do it:
- 2x Conductive Fabric
- 2x Cotton
- 2x Velostat
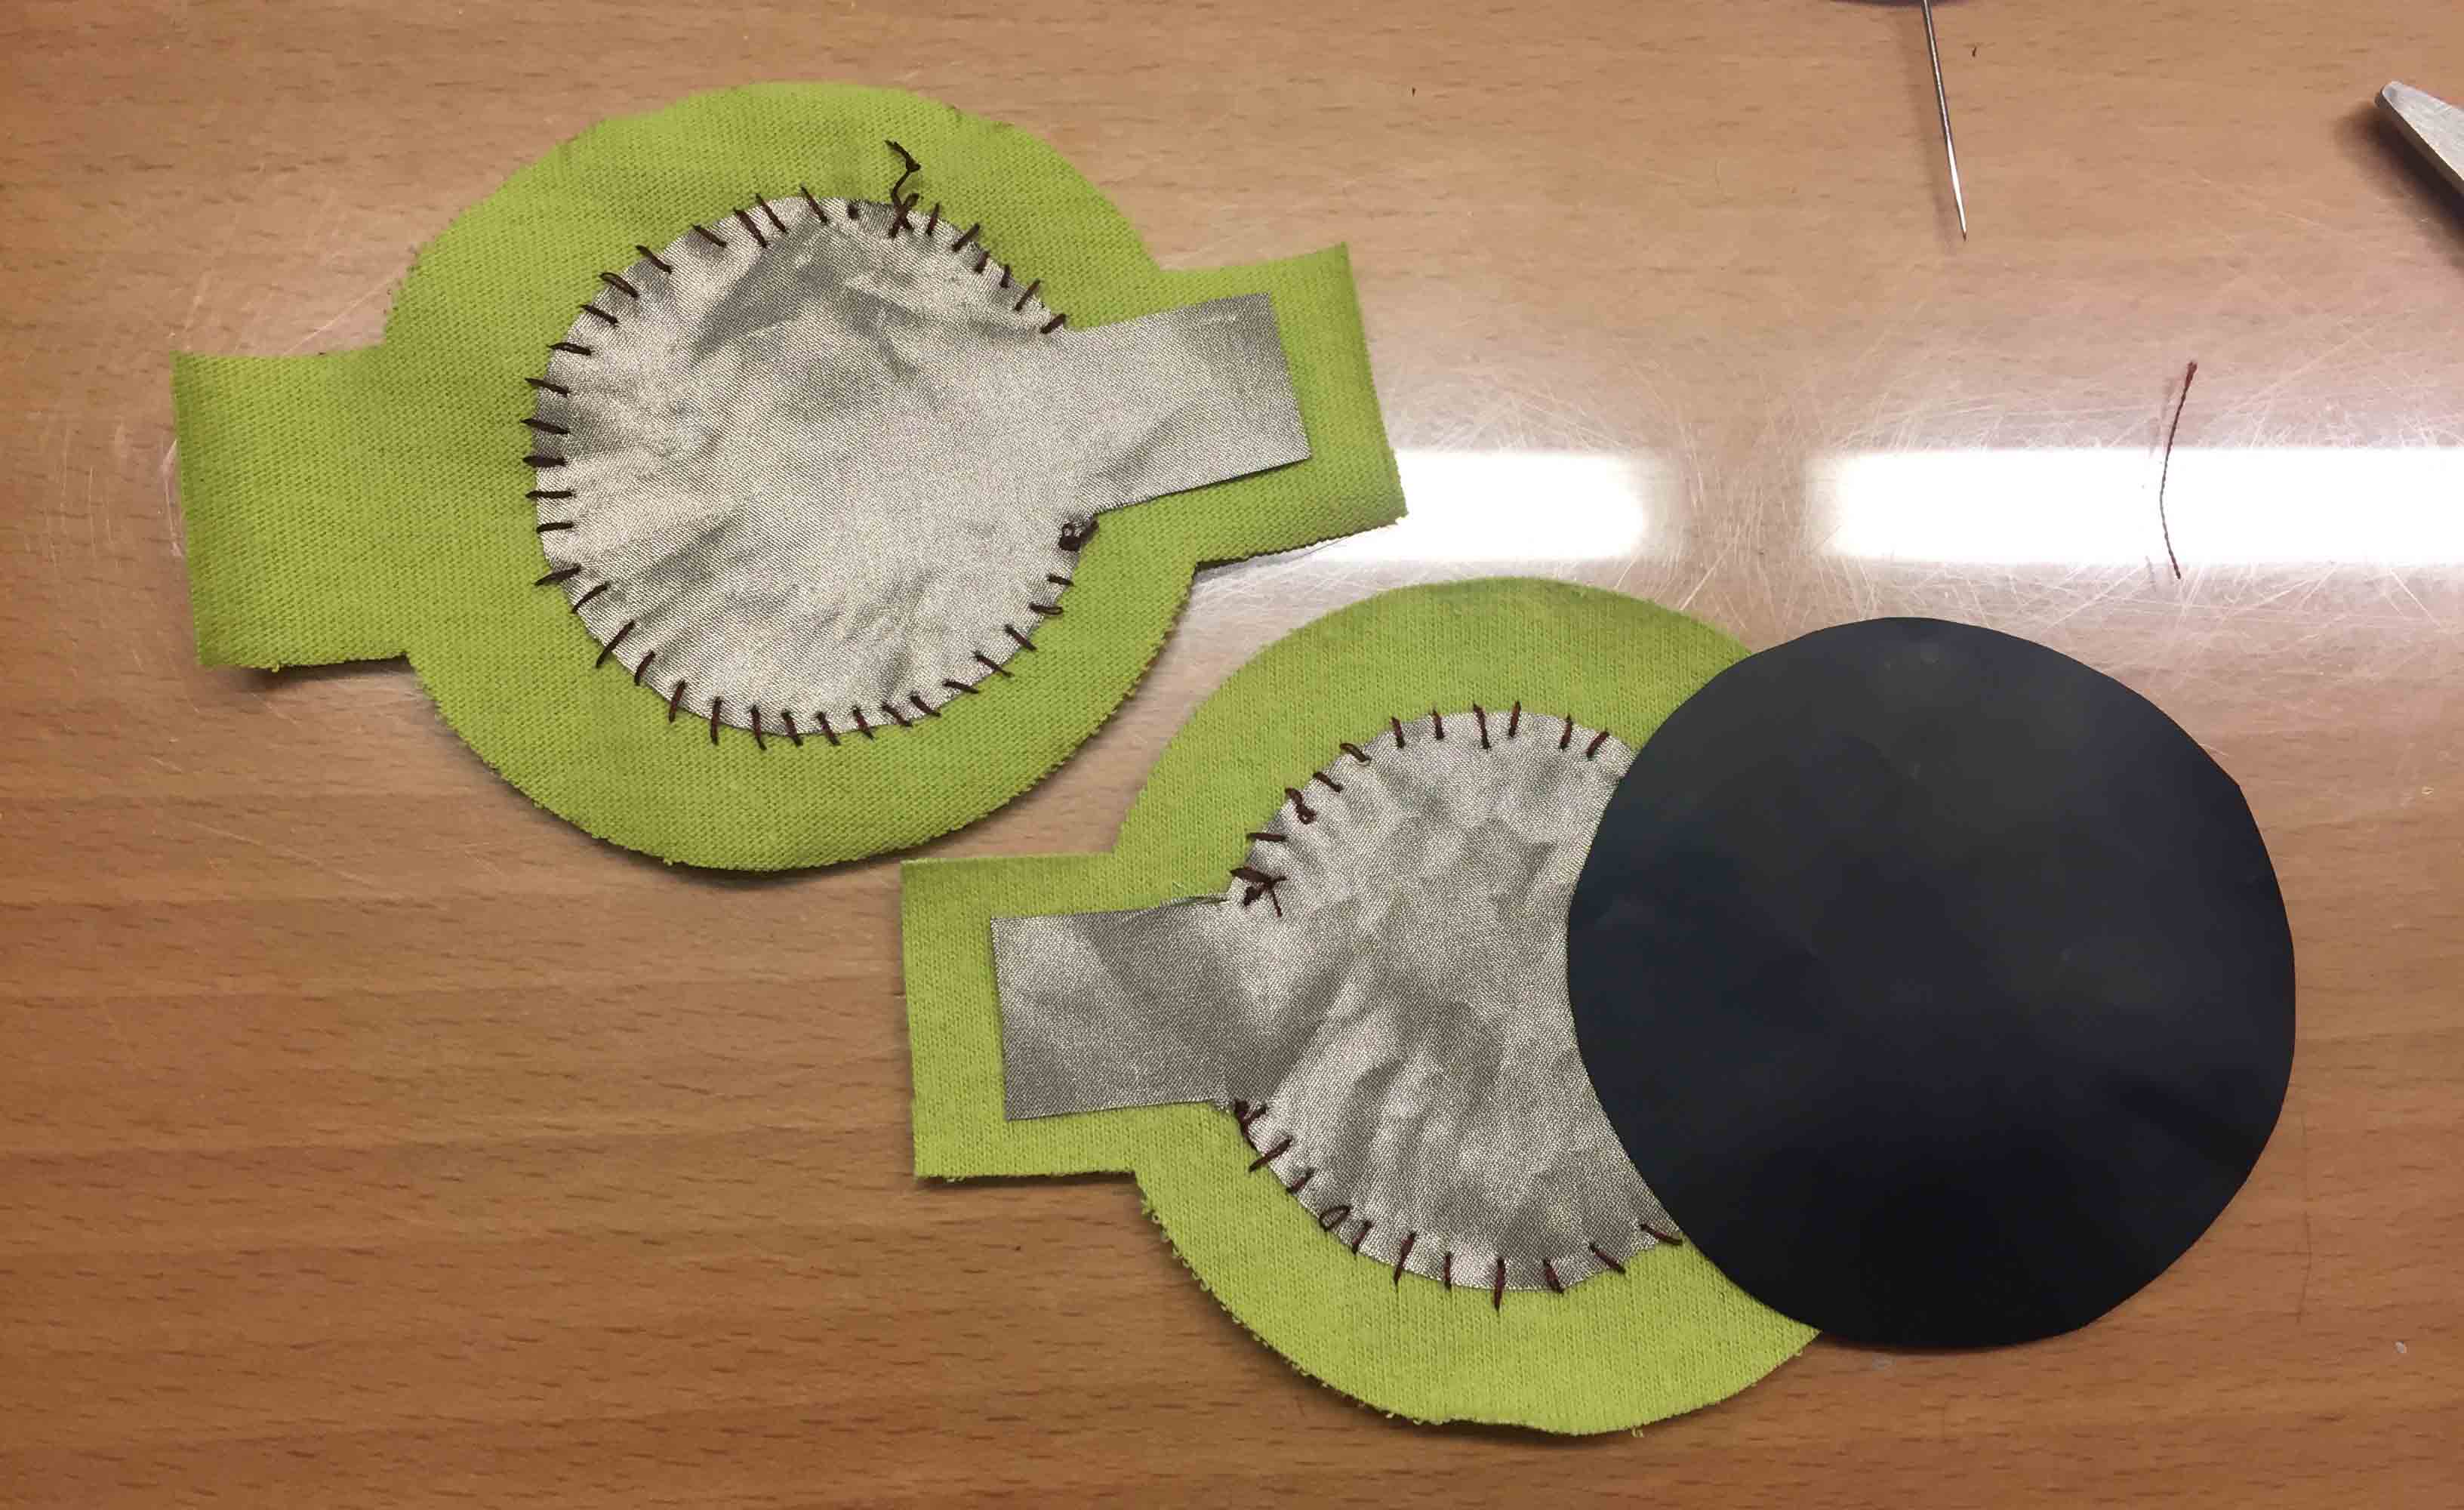
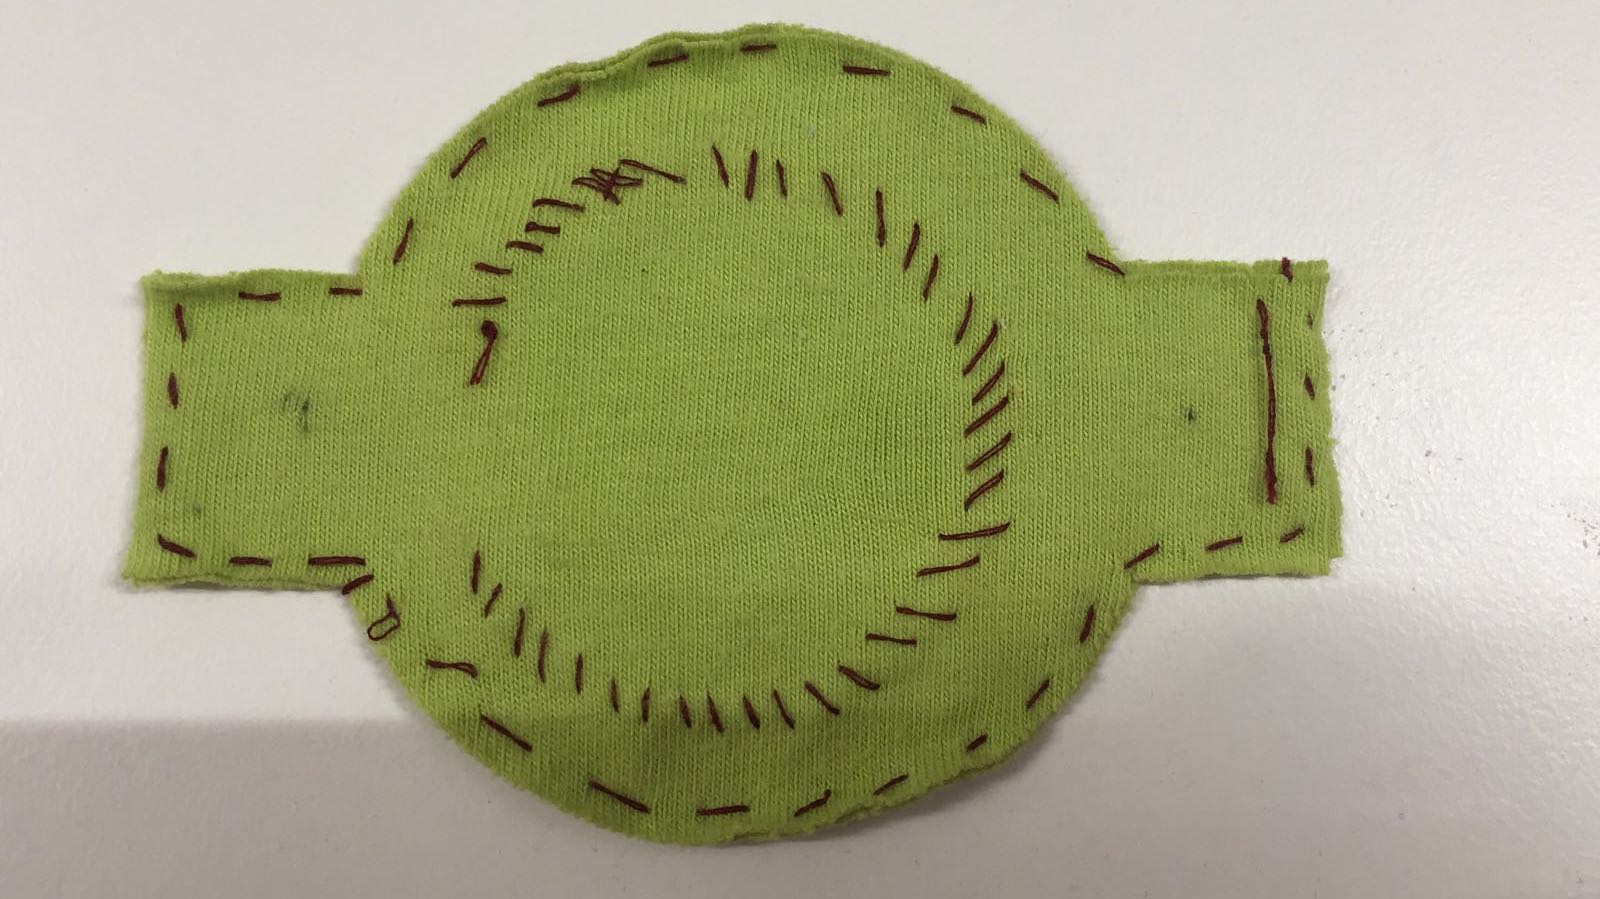
As you can see in the picture above, I have sewed the conductive fabric on each cotton piece with cotton thread, and I have leaved an extra part for each side, but in opposite direction. They are the sensor connector. Another important thing are that the conductive Fabric must be smaller then Velostat because the two pieces must not to be touched. I have put the two pieces of Velostat between cotton and conductive fabric, and then I have sewed it.
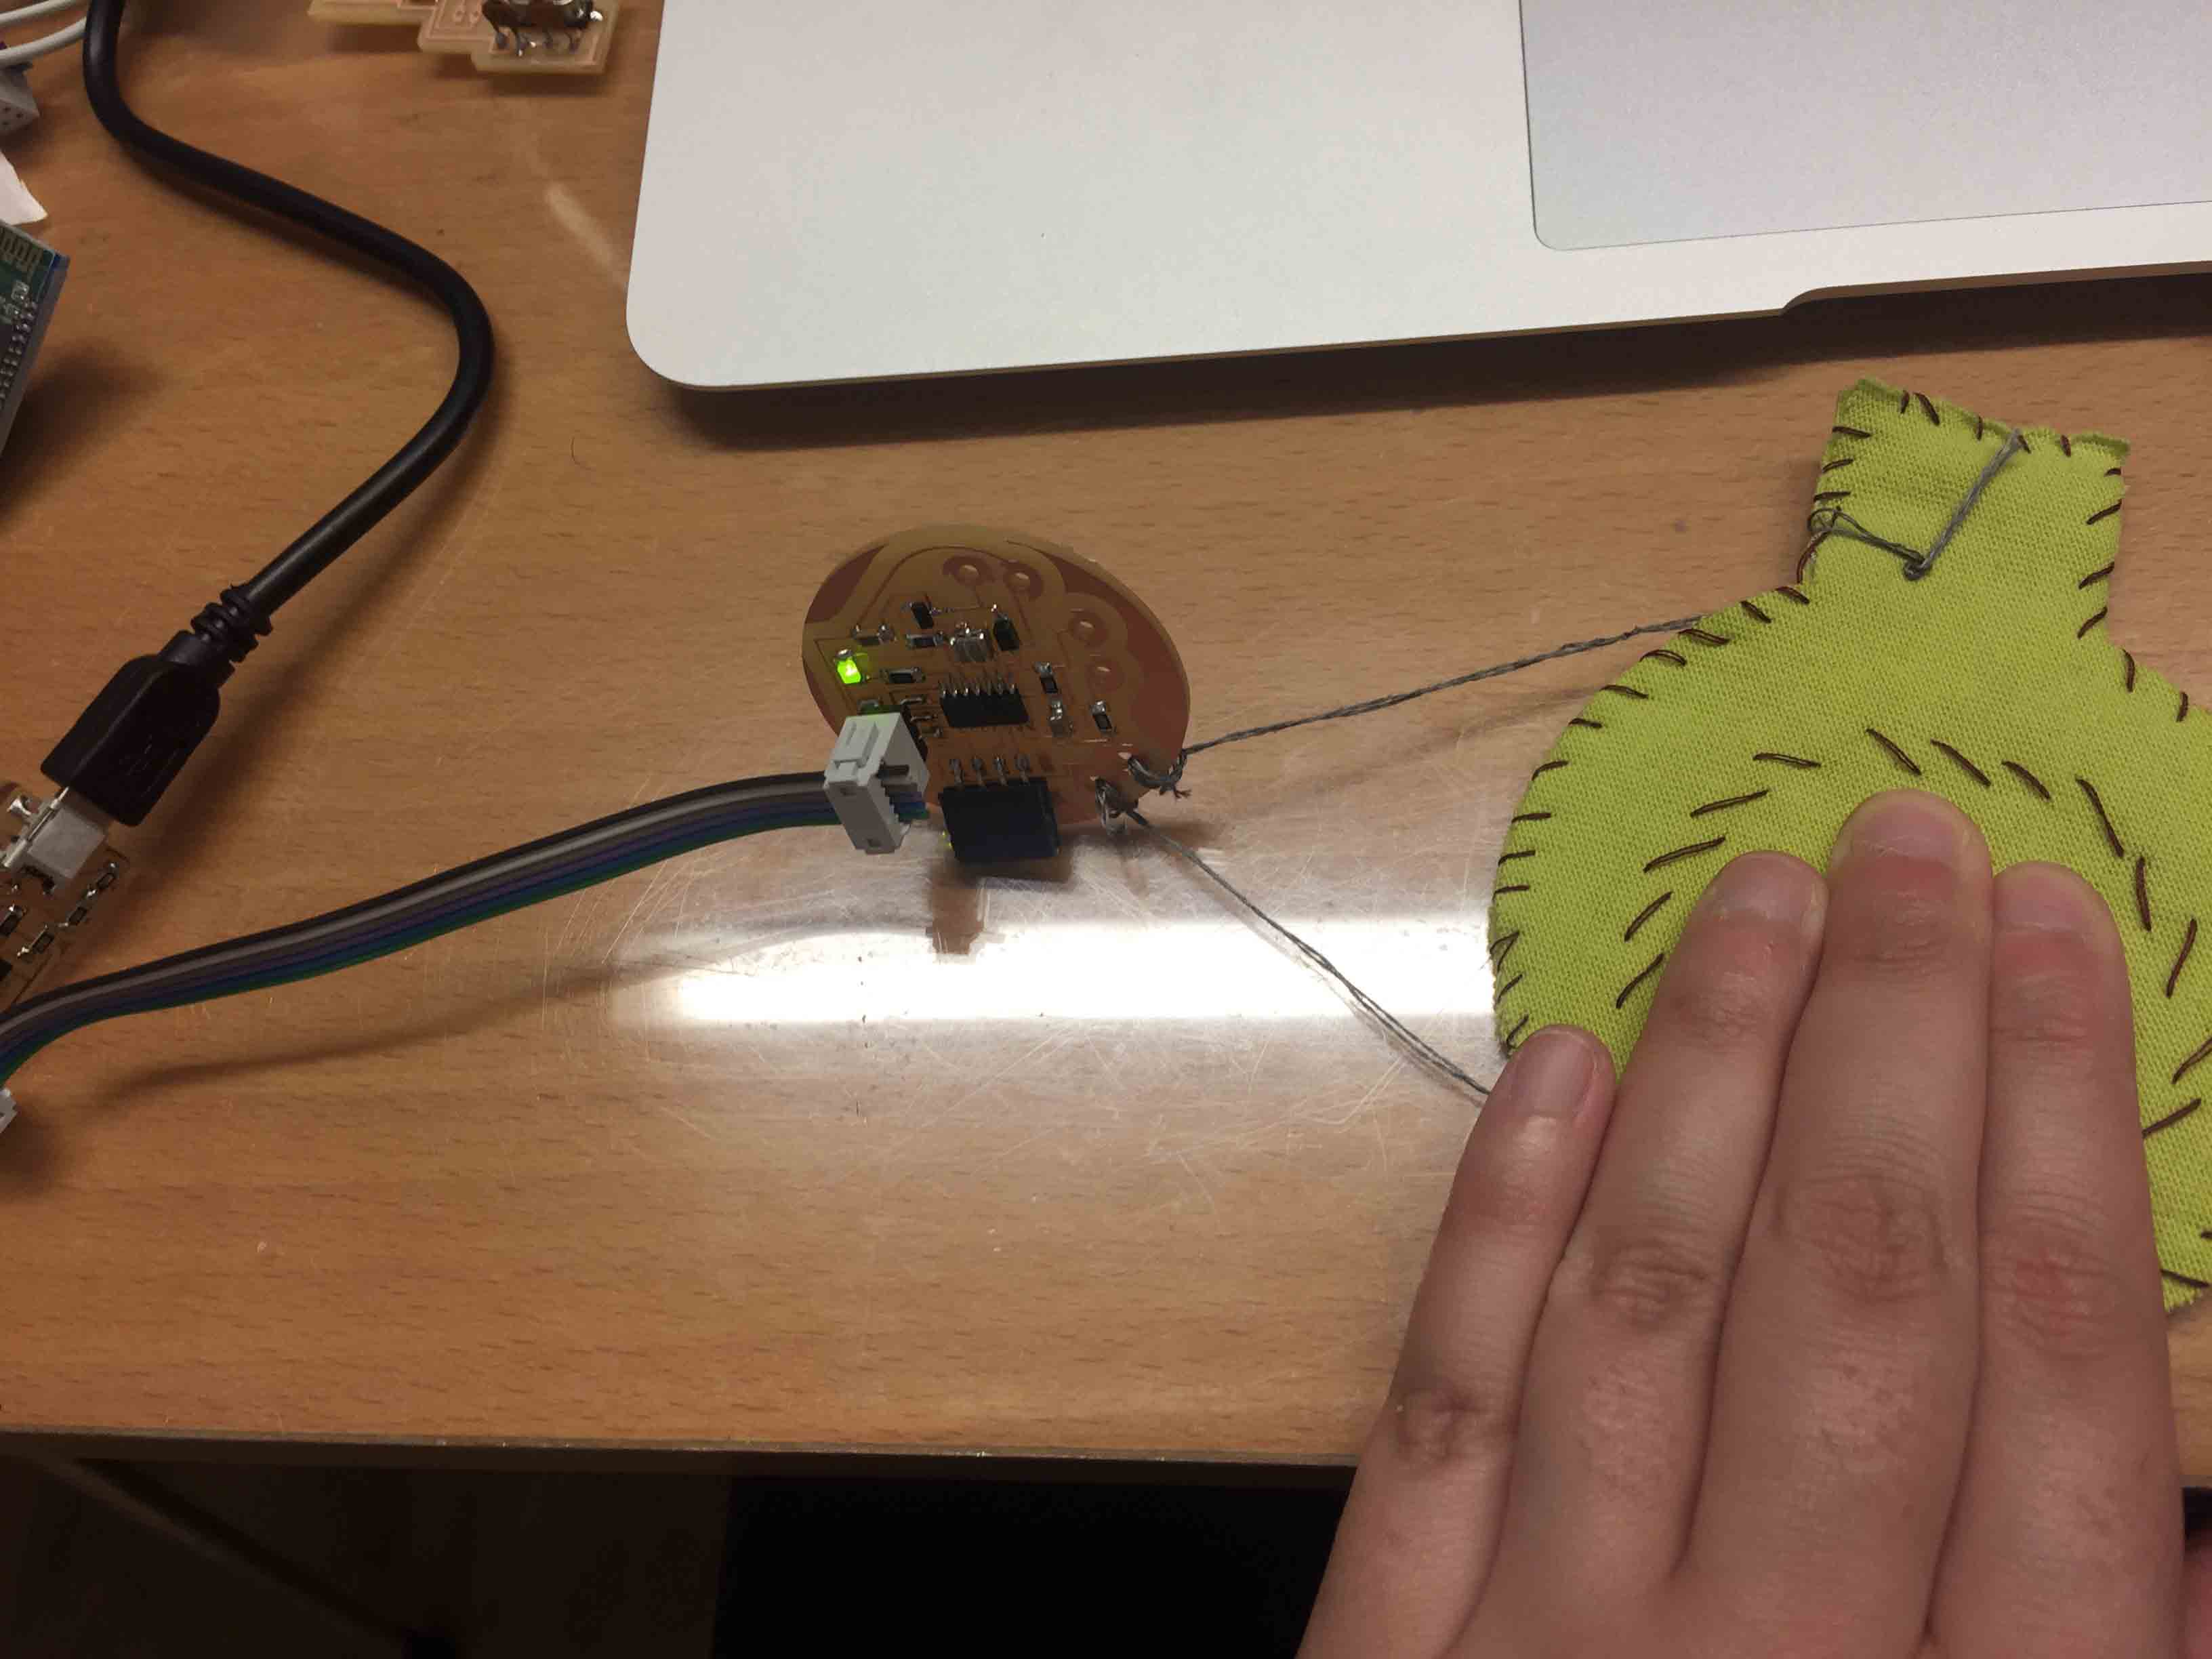
It's time to test it! Honestly when I made it I still hadn't milled my board, so I have used Lilypad to test it. Was helpful do that to understand the right resistor value. So I have connected my pressure sensor, using conductive thread, at Lilypad and using serial monitor, I have checked if with a pressure value changing.

Then I have tested it with my board. I have uploaded a blink sketch for a rapid test.
MOLDING AND CASTING
For my final project, I will use coin vibration motors, but the vibration is strong and it could be uncomfortable. So I have try to put it in a silicone mold.
First of all I have design it with Fusion360. I have extruded it in a cube because I needed a female mold.

I thought to add two holes in it to sew it on the T-Shirt easily.
I have saved it as .STL file and I have created my toolpath on CUT3D. I decided to use a 1/16 endmill to do that, because it is more accurate for the smallest shape.
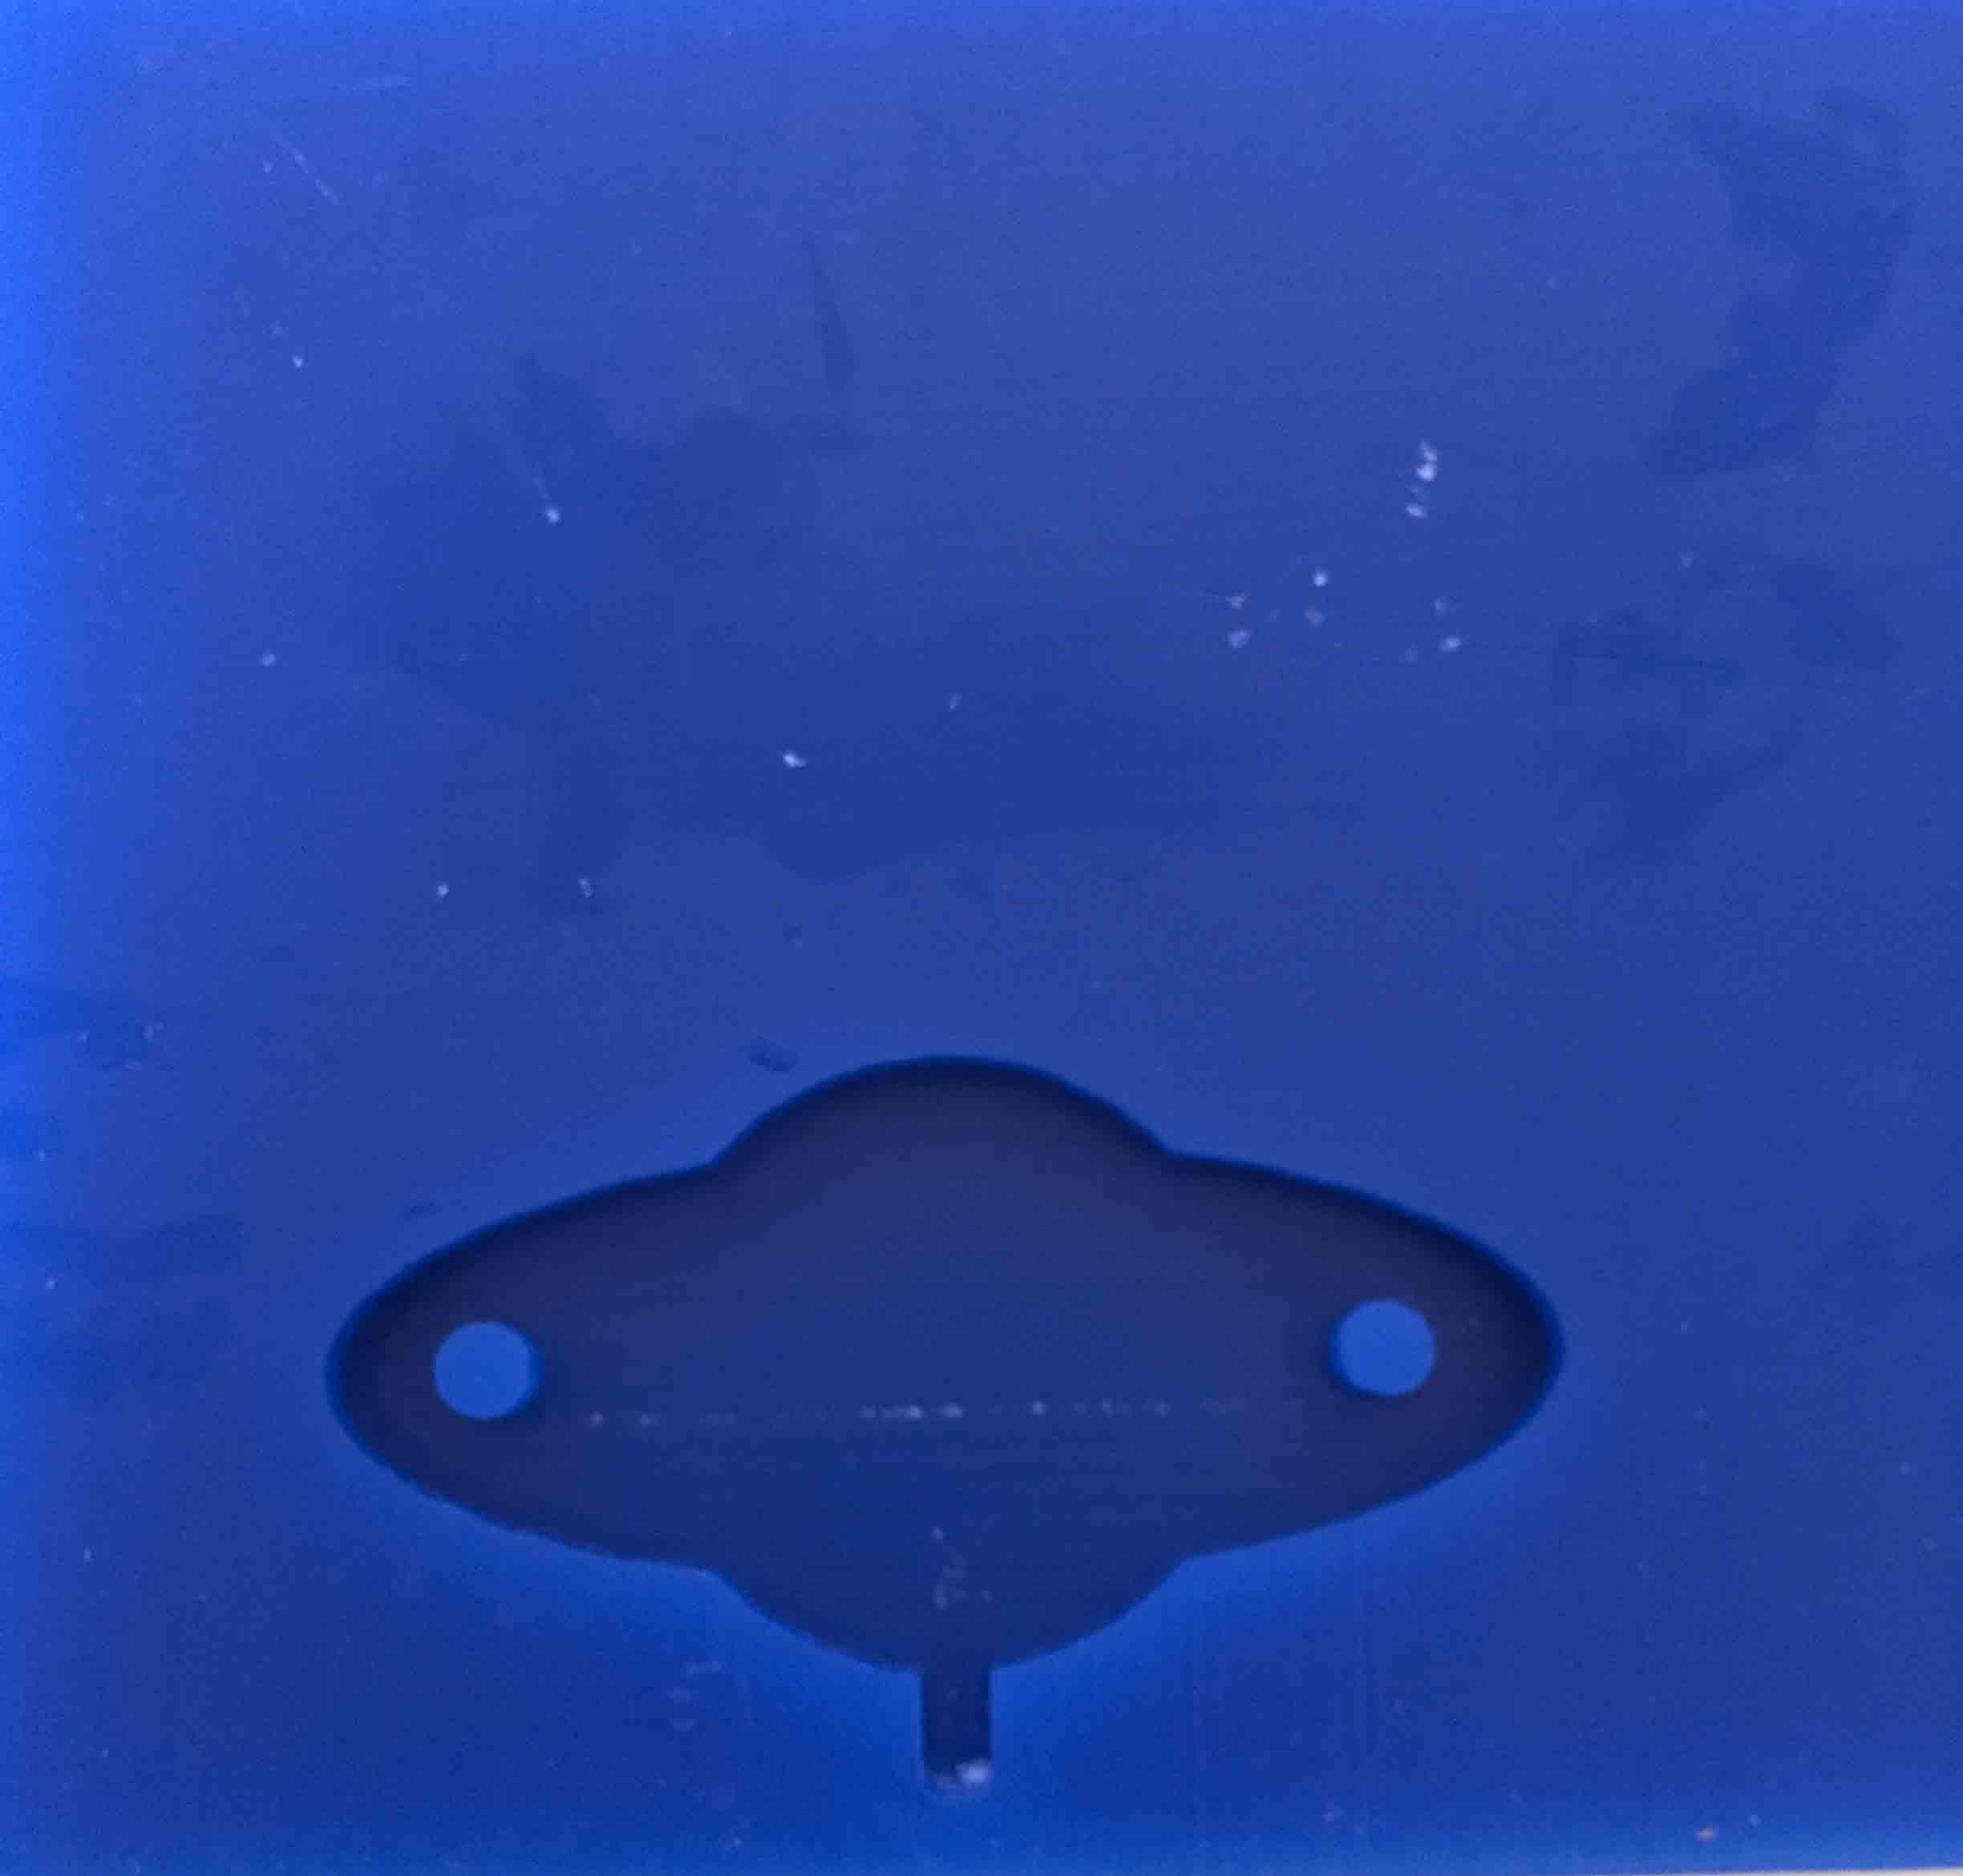
This is my mold. Now it's time to mix silicon. As I have done before, I have mixed Part A and Part B with the same ratio and then I have put it in my wax mold. To put coin vibration motor inside it, first of all I have cast a little part of it then I have putted motor on it and at end I have cast the rest of it.
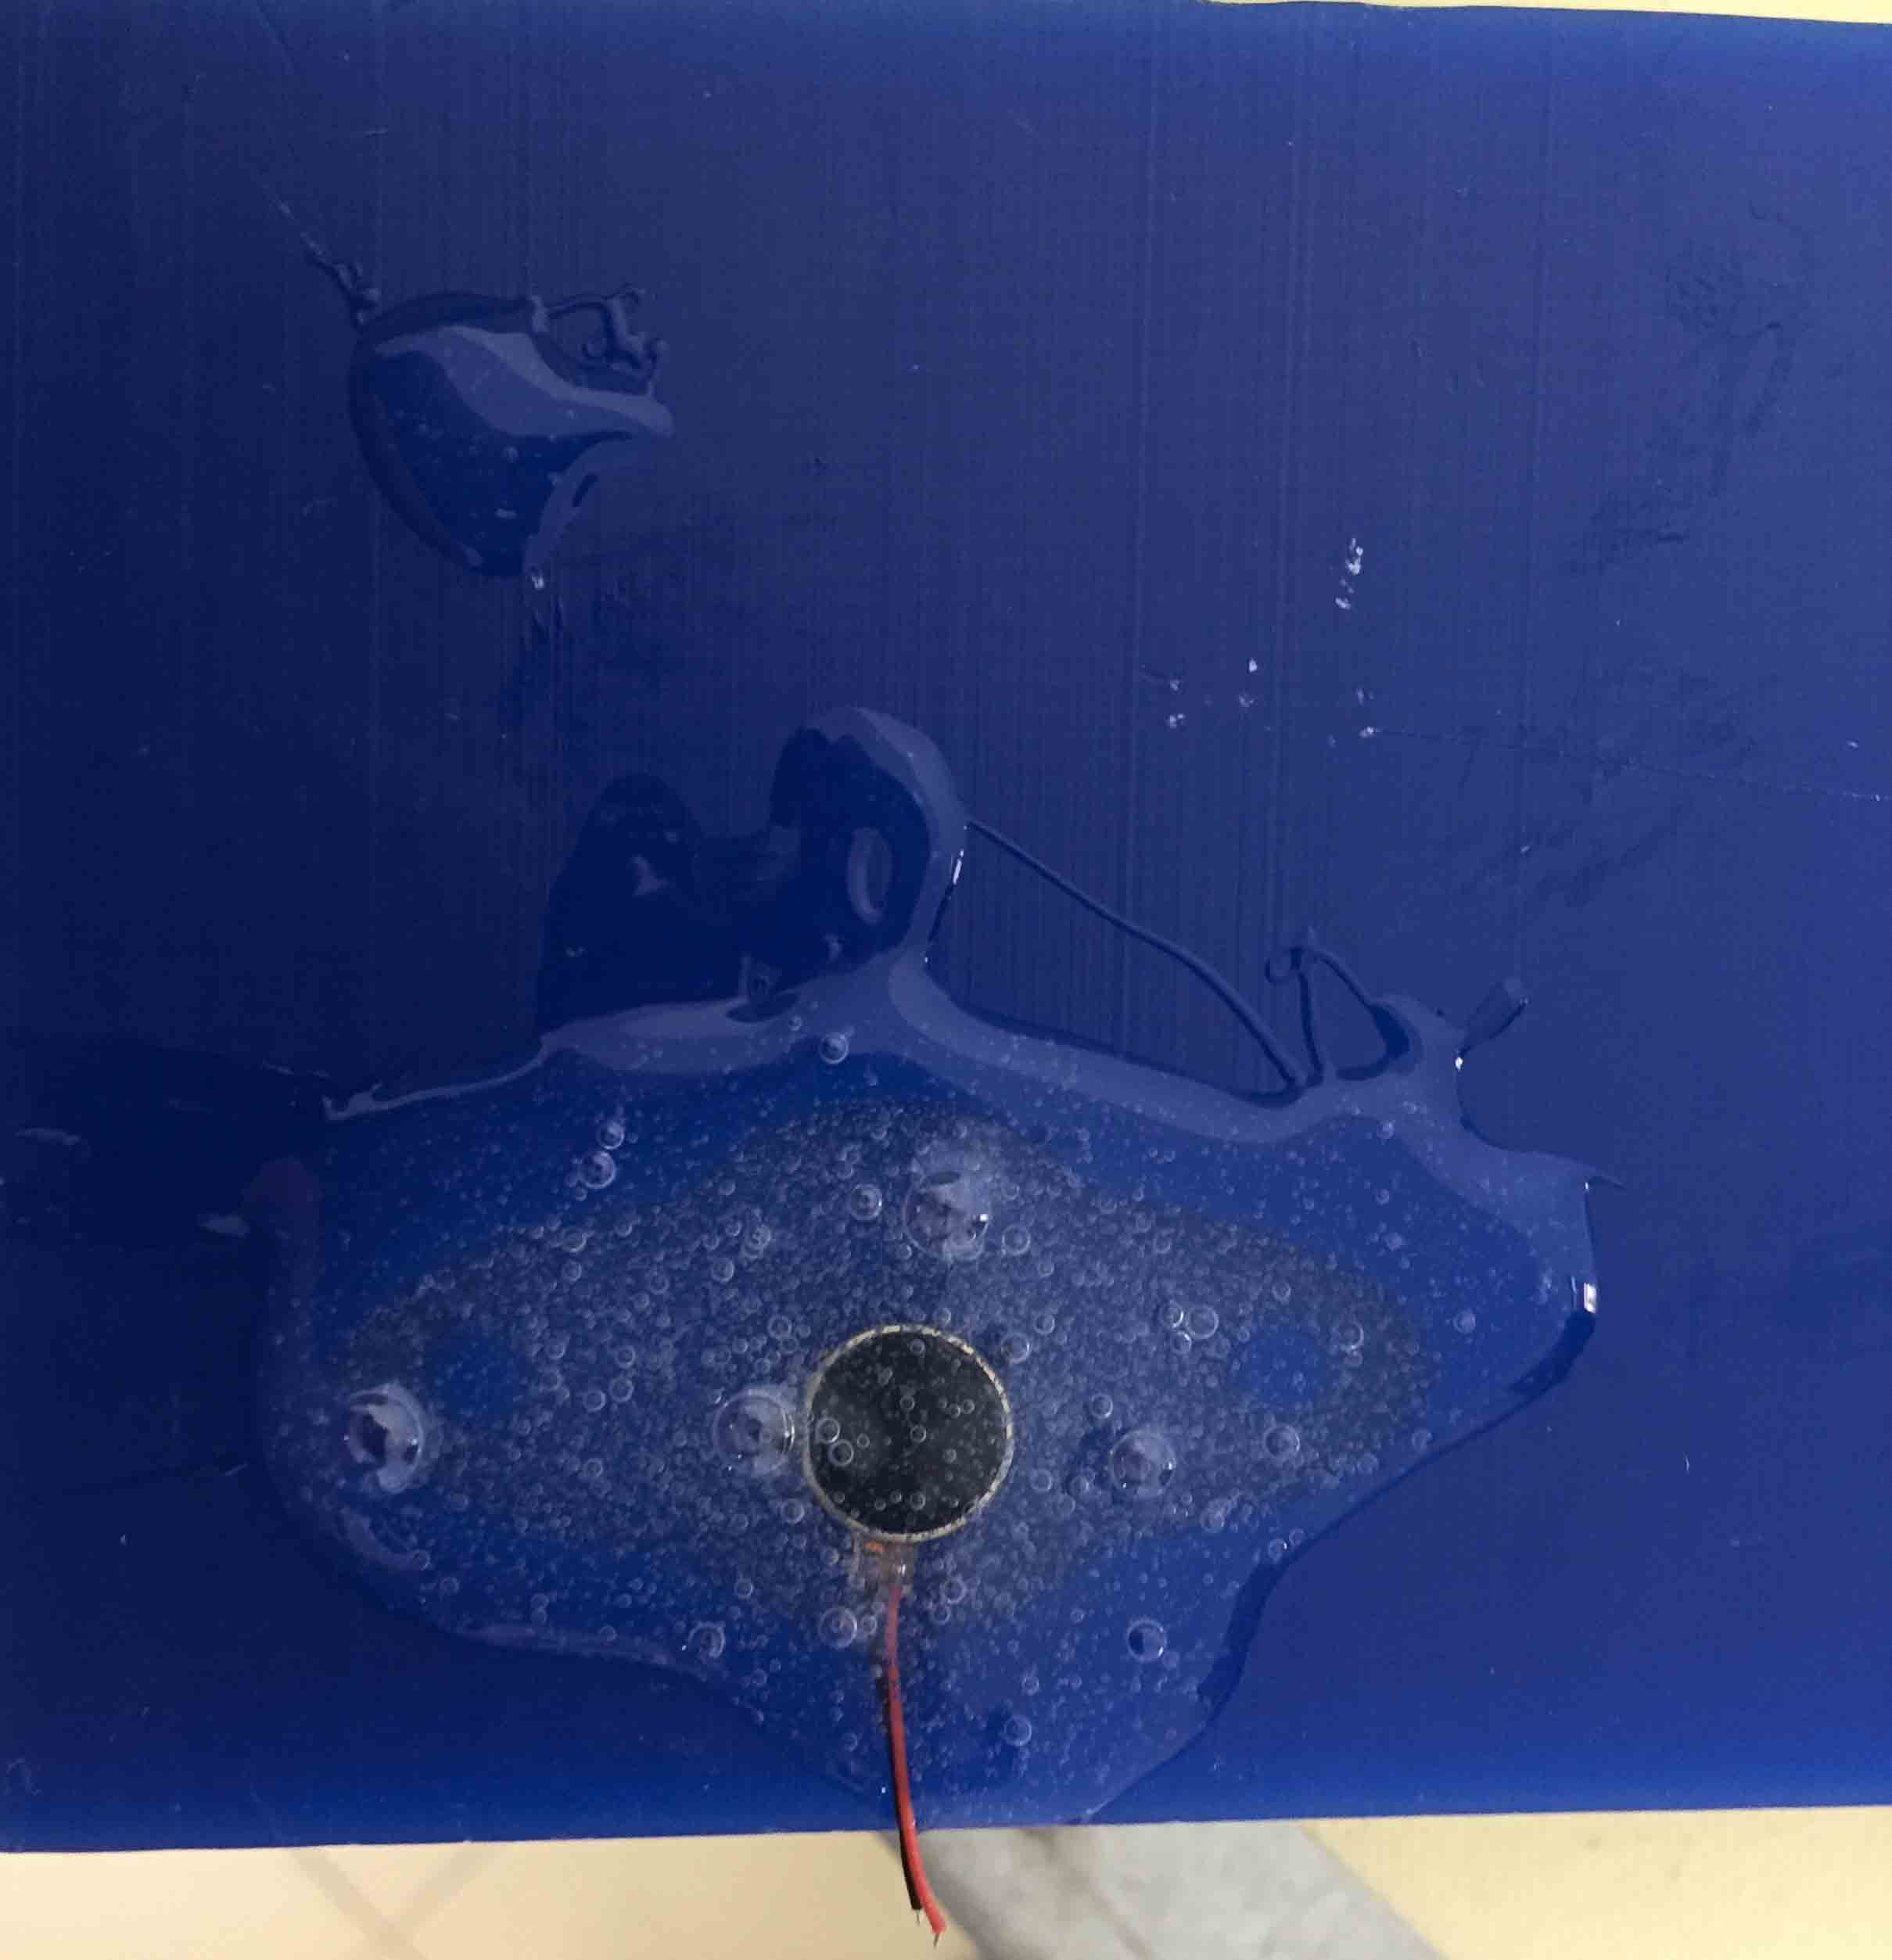
After 5 hours this is the result:
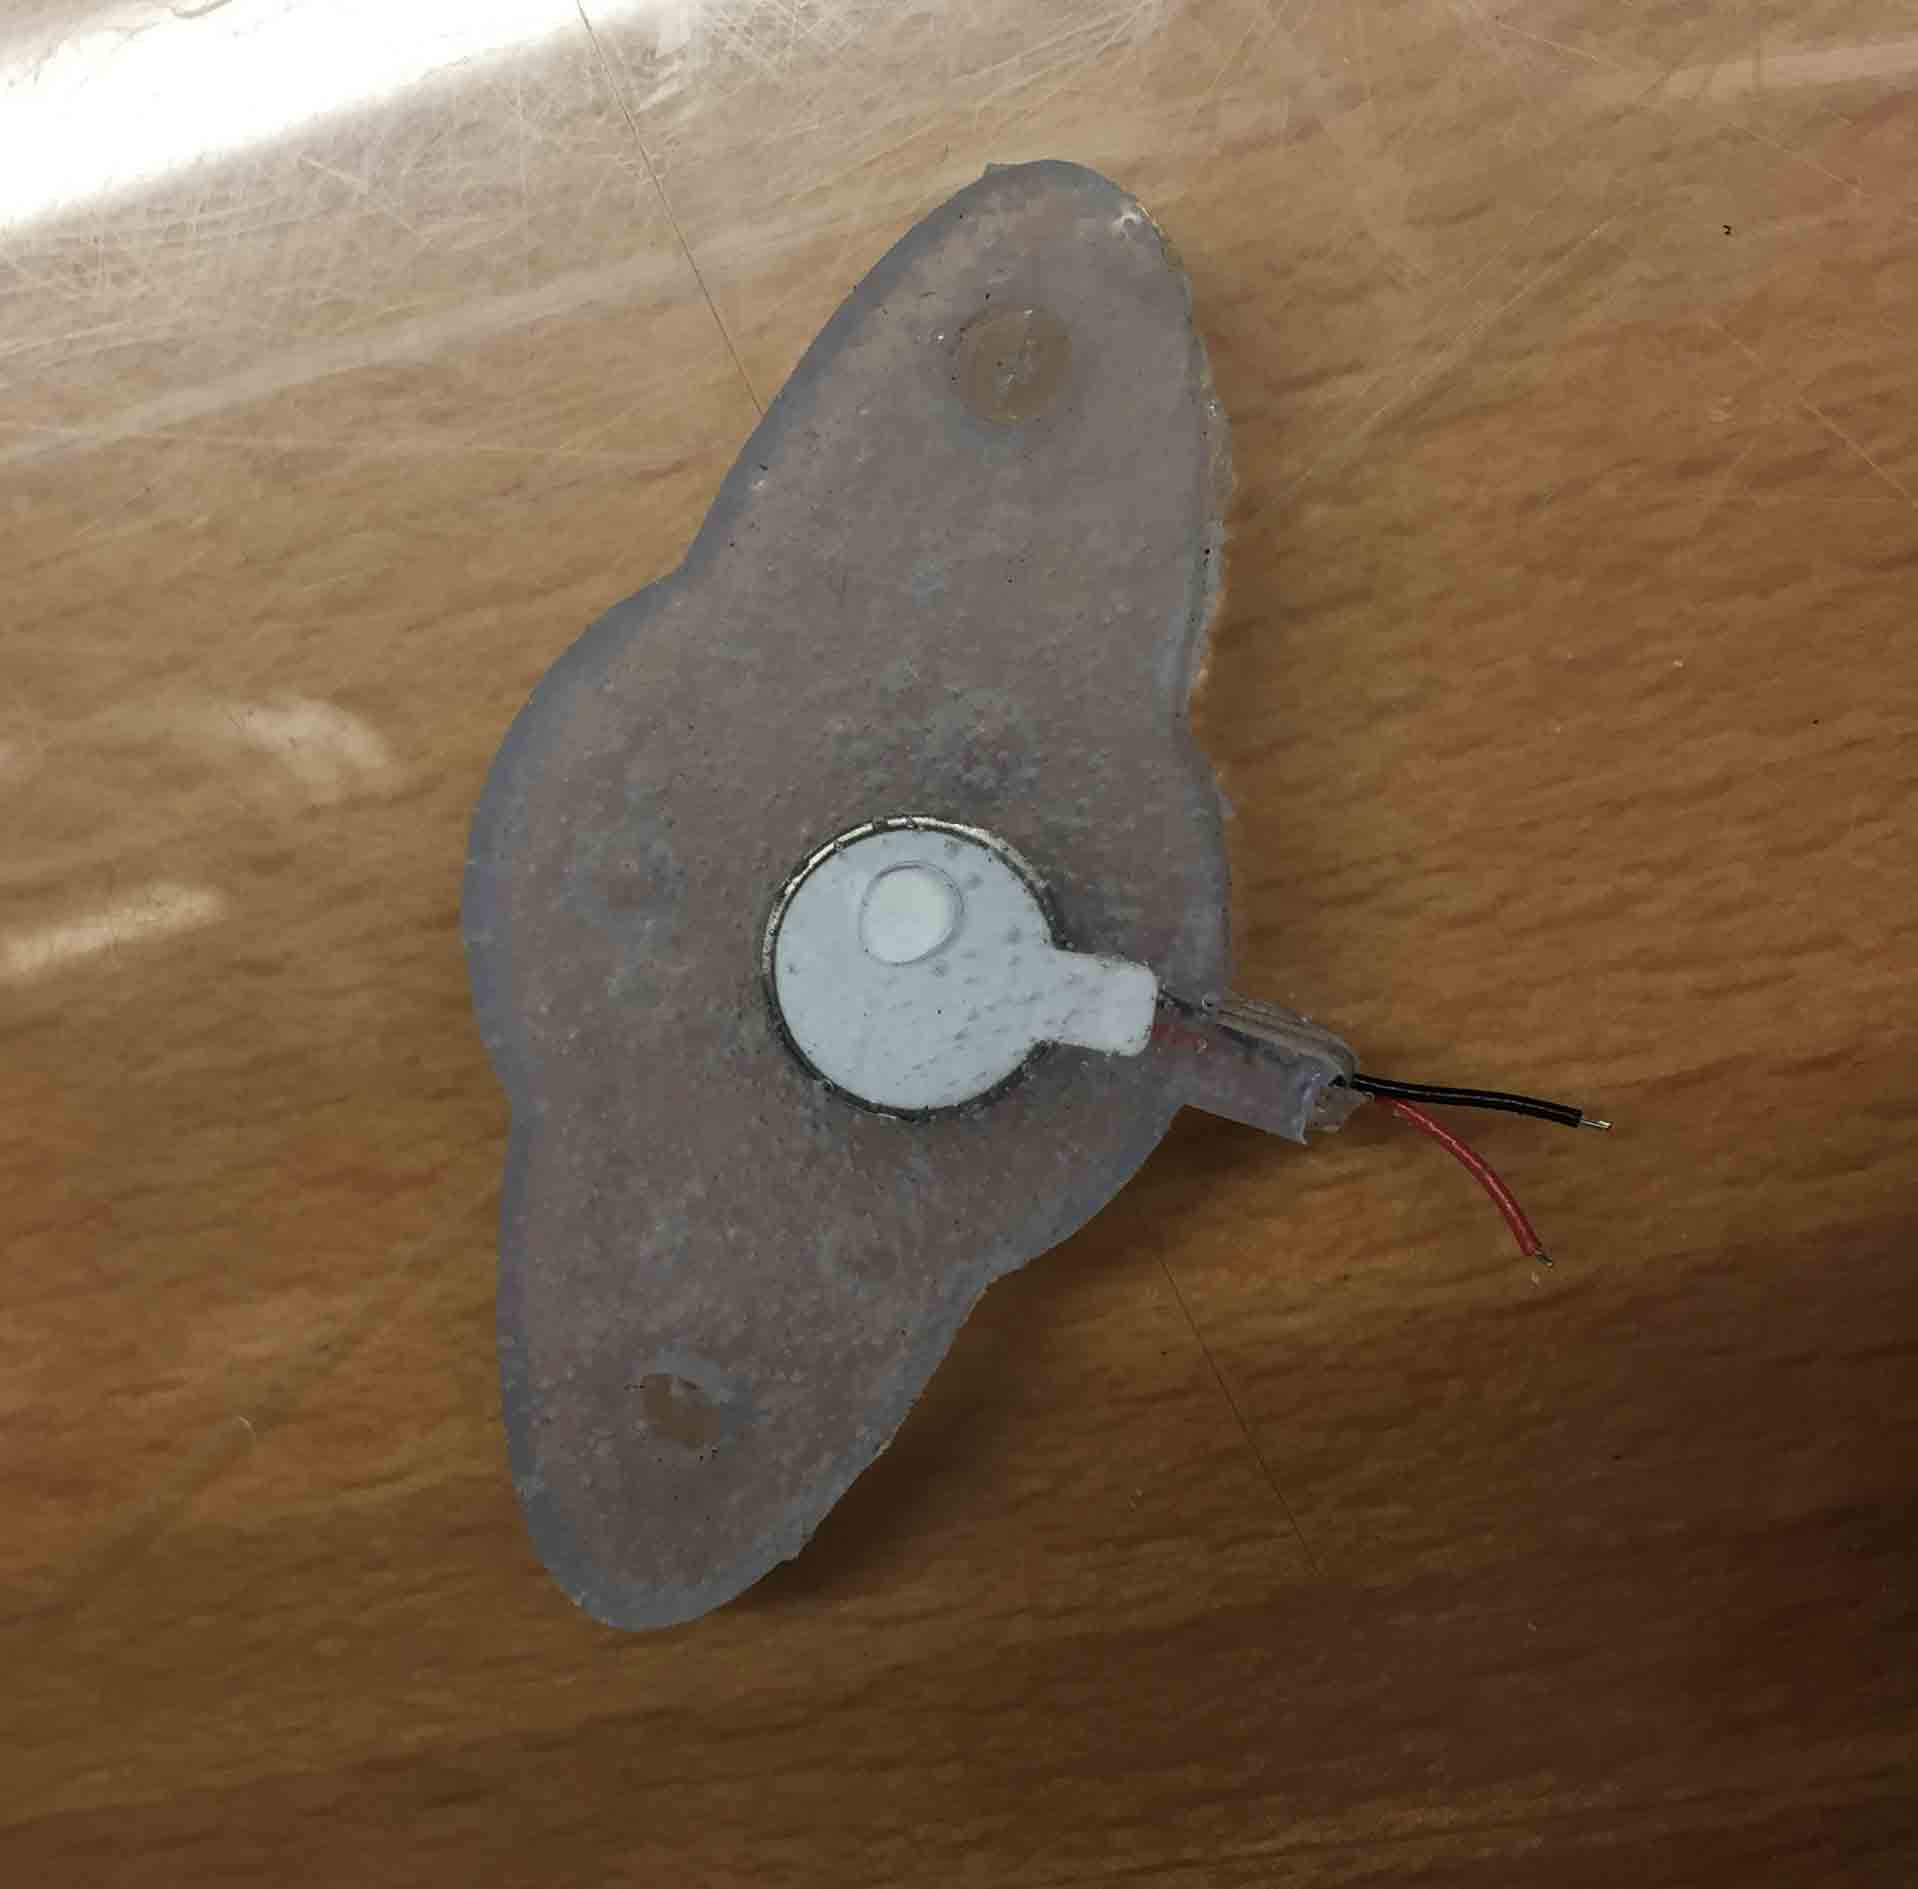
I have done a test with my final project board and the vibration are weaker then before.
3D DESIGN AND PRINTING
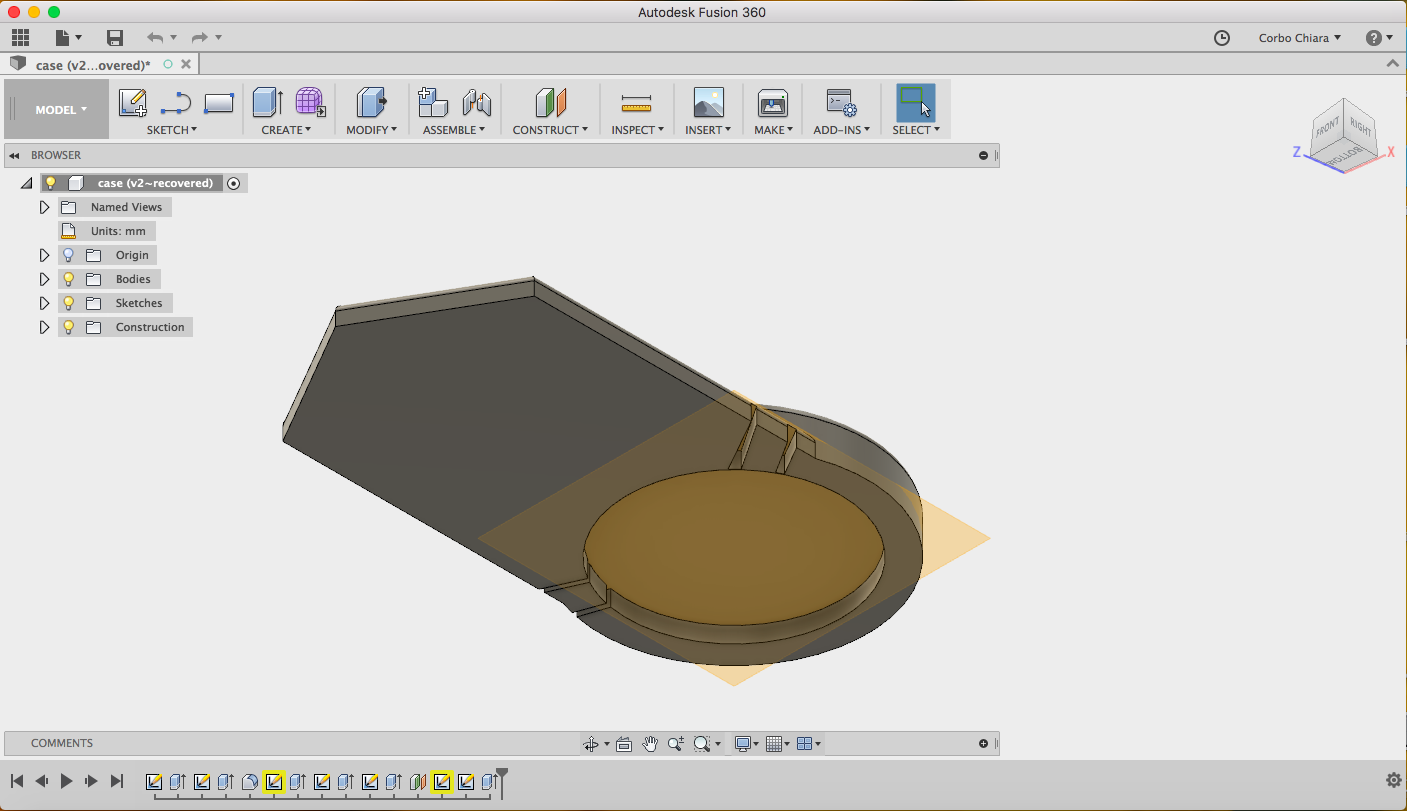
On Fusion360 I have also designed a cover to hide my board. I thought to design a kind of ribbon.
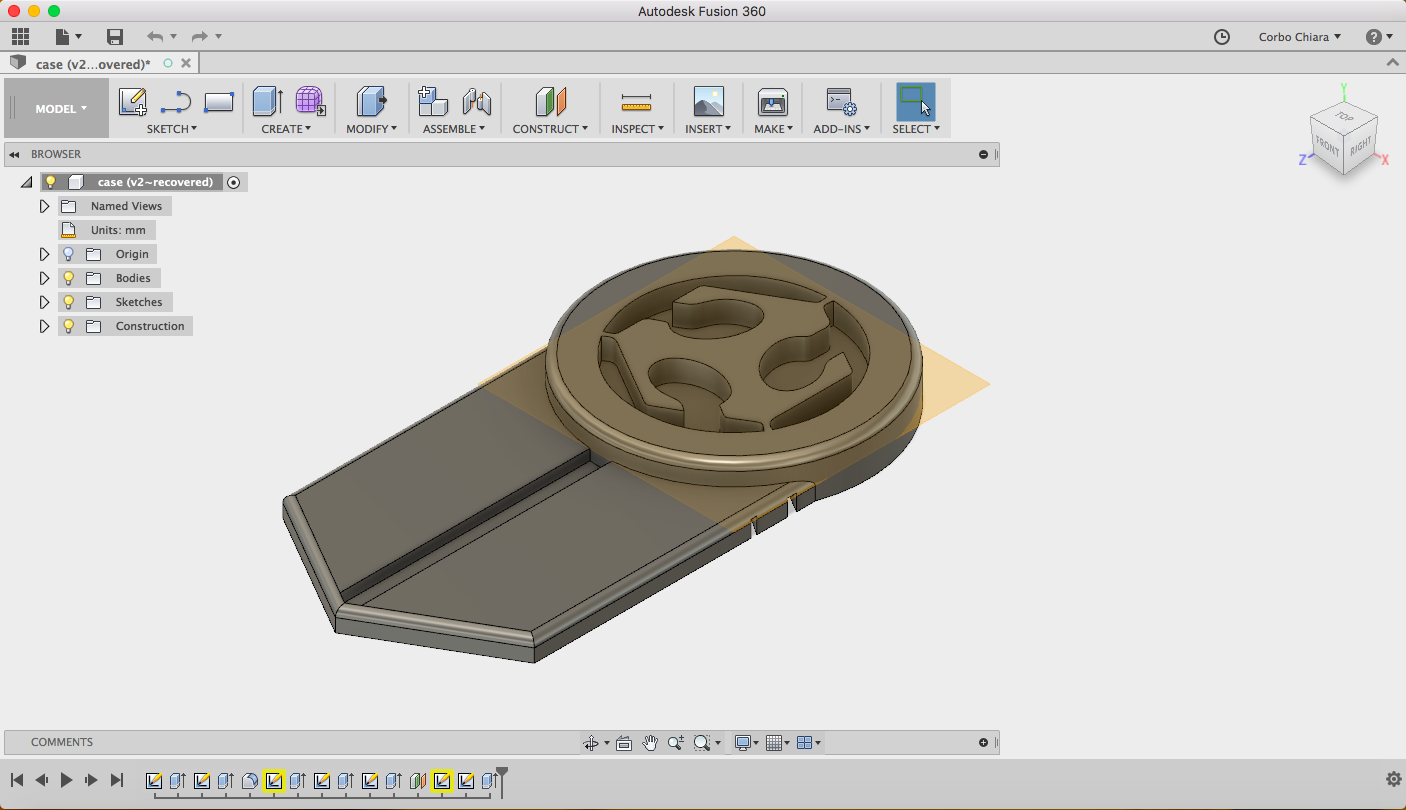
On it I have extruded the Fab Academy logo and bottom it I have extrude a circle with the same size of my board. I have also uploaded a DXF file of my traces to calculate the wires position to entrude same traces to connect sensors.
I have saved it as .STL and then I have prepared the file to print it.
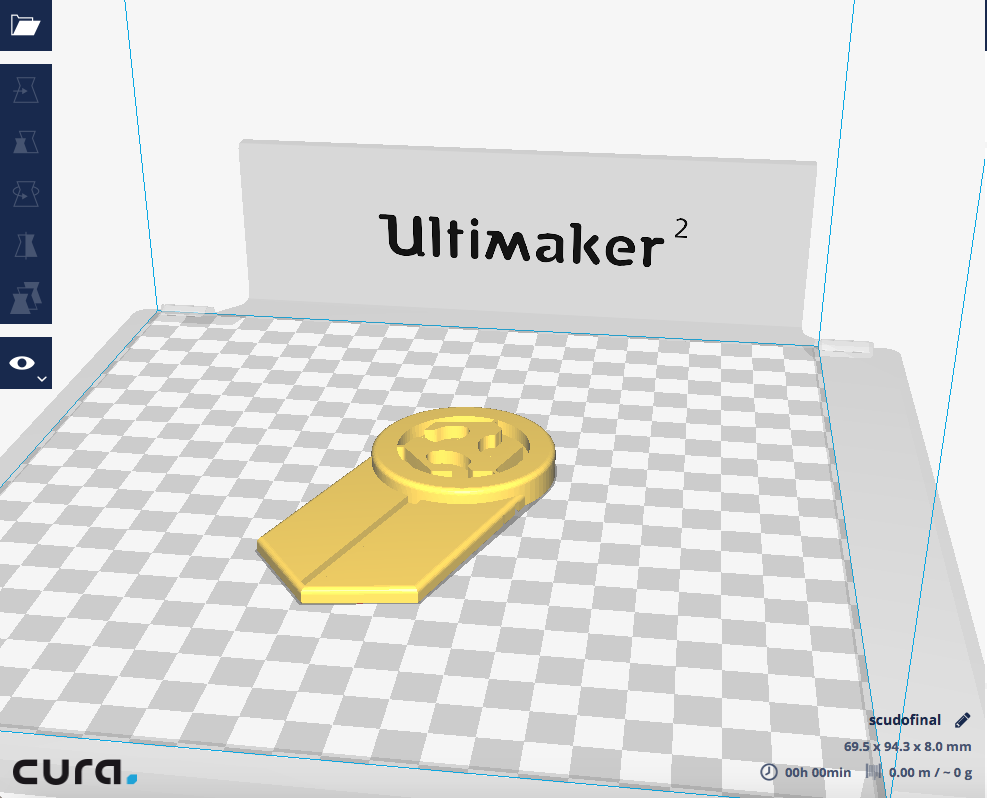
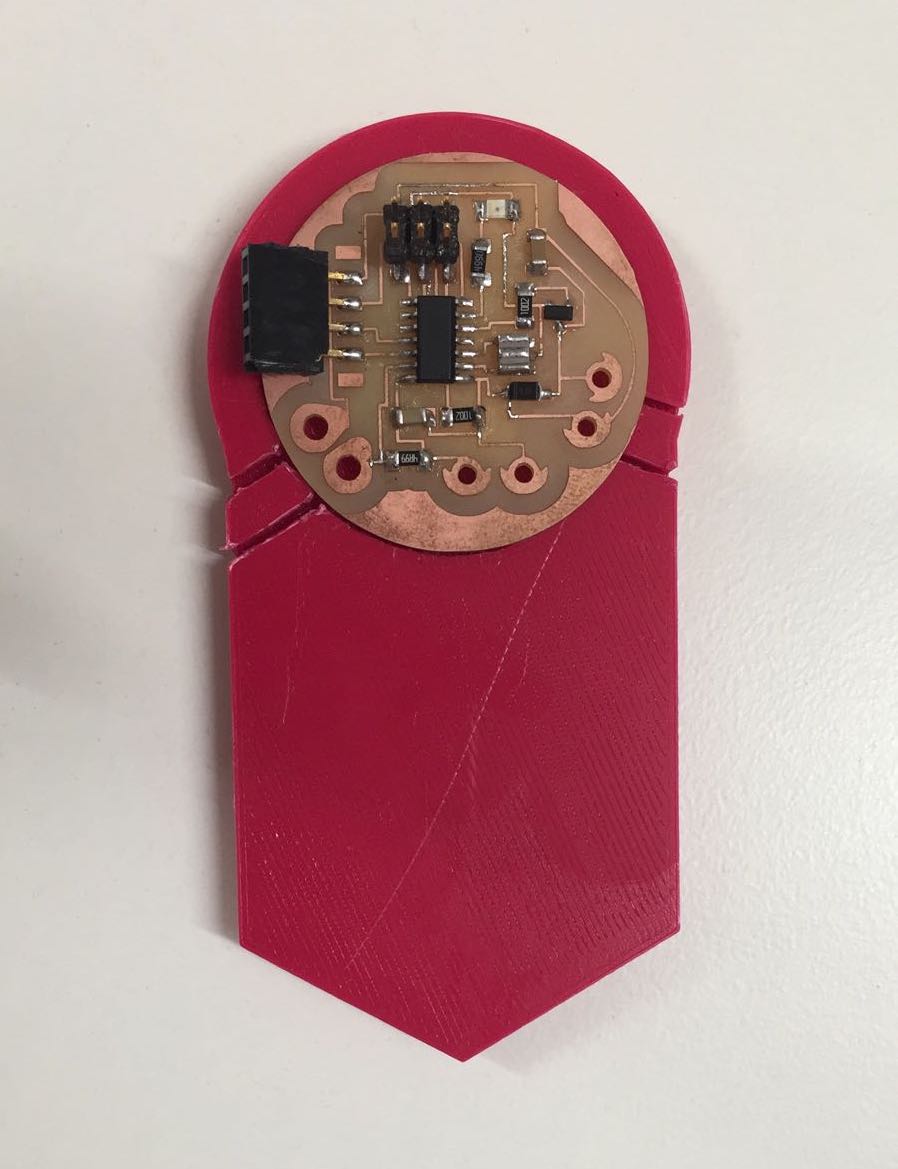
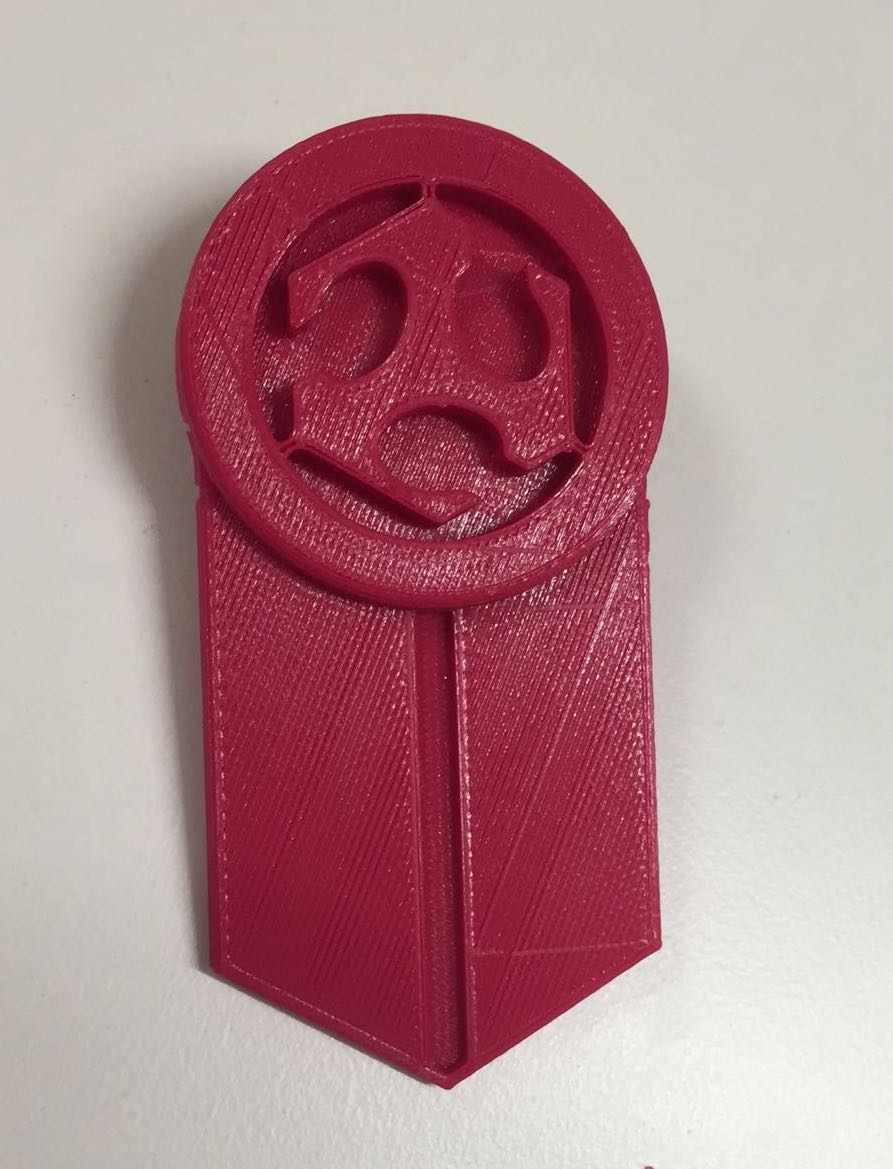
I have printed two of it, one white and this one magenta.
VYNIL CUTTING
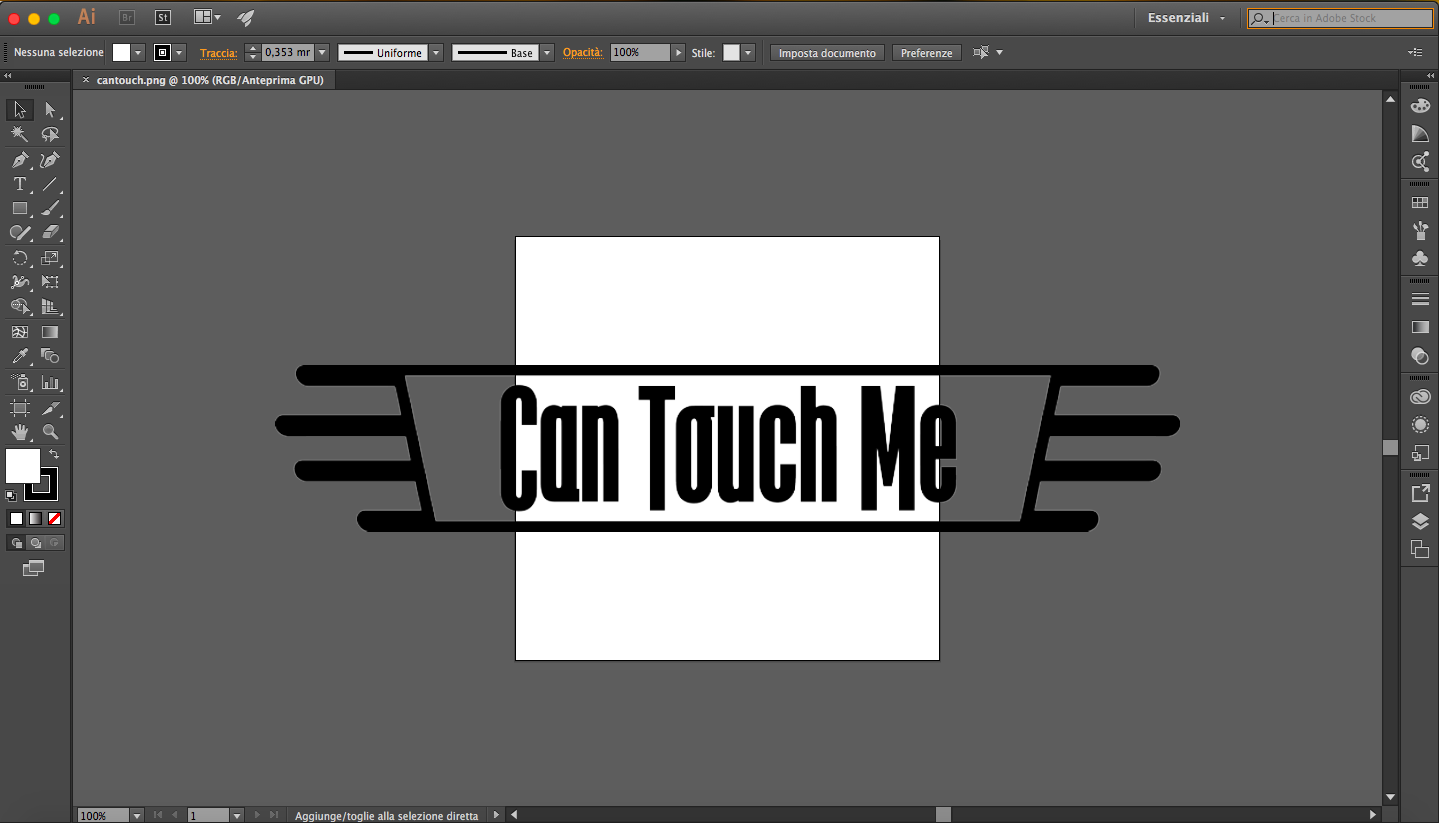
To include another process in my final project, I have decided to cut a sticker with the name of my project. I decide to call "Can touch me", so on Illustrator I have design it and then I have saved as .PNG at 1000dpi.
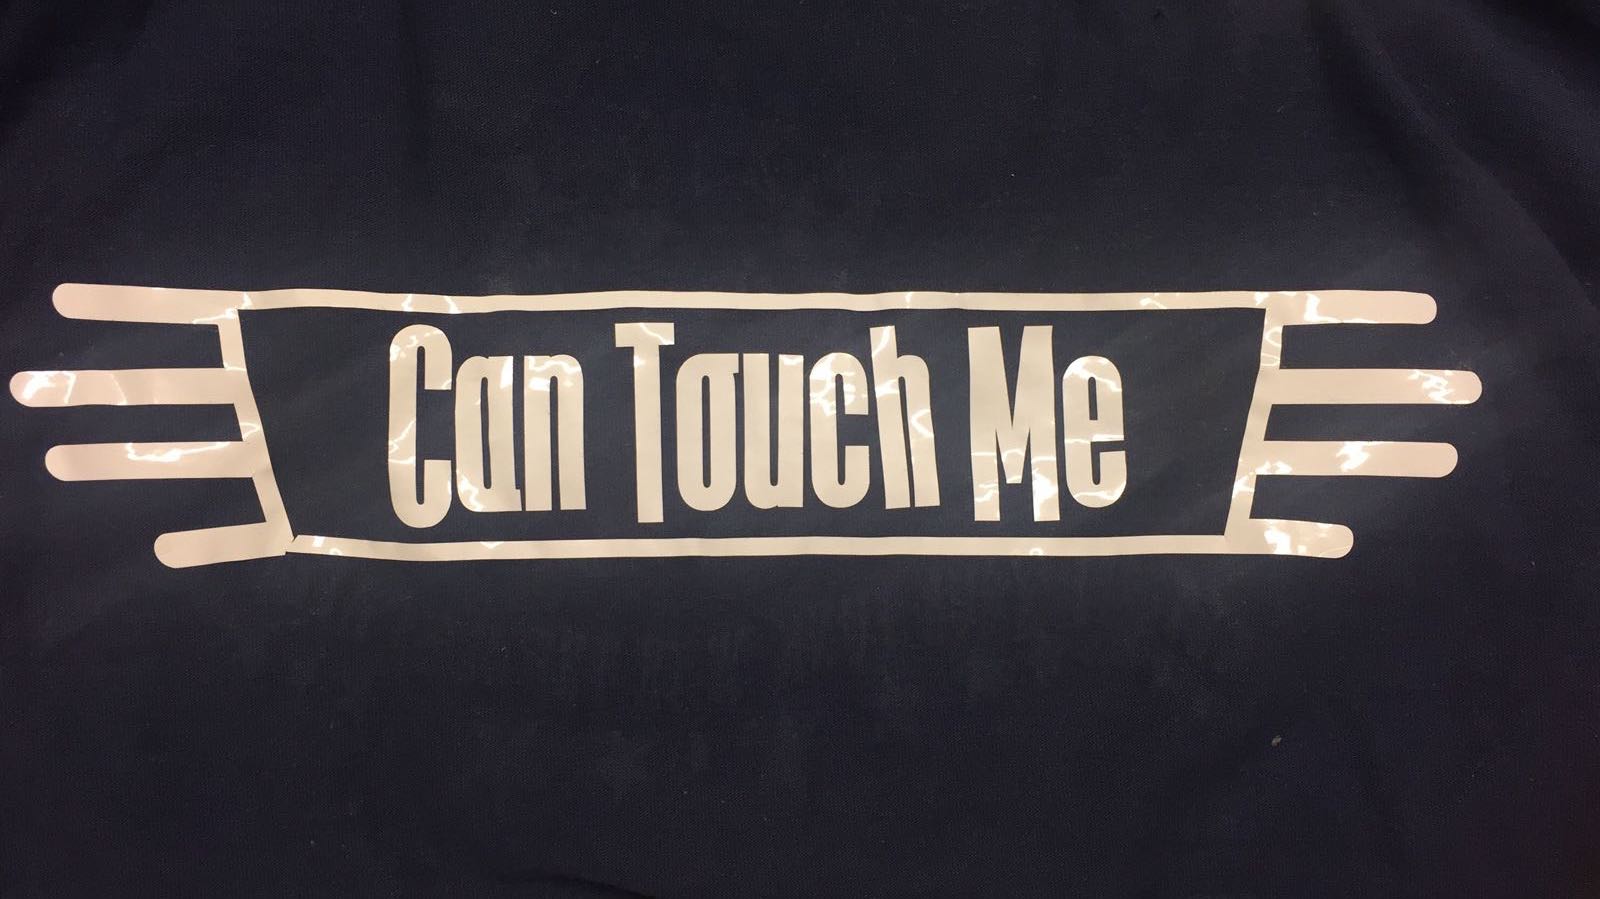
Then I have created the cut toolpath with CutStudio and I have cut my sticker with white vynil. Unfortunatly I didn't have the appropriate vynil, so I had to use another one. I taped it on the T-Shirt, but it isn't washable.
PROGRAMMING
Now it's time to write some code. So, basically it isn't complicated to do that, but I have found some difficult with the networking part. The basic function is that when I press on my sensor, vibration motor buzz. So I have write my sketch on Arduino IDE and then I have uploaded it with my FabISP.
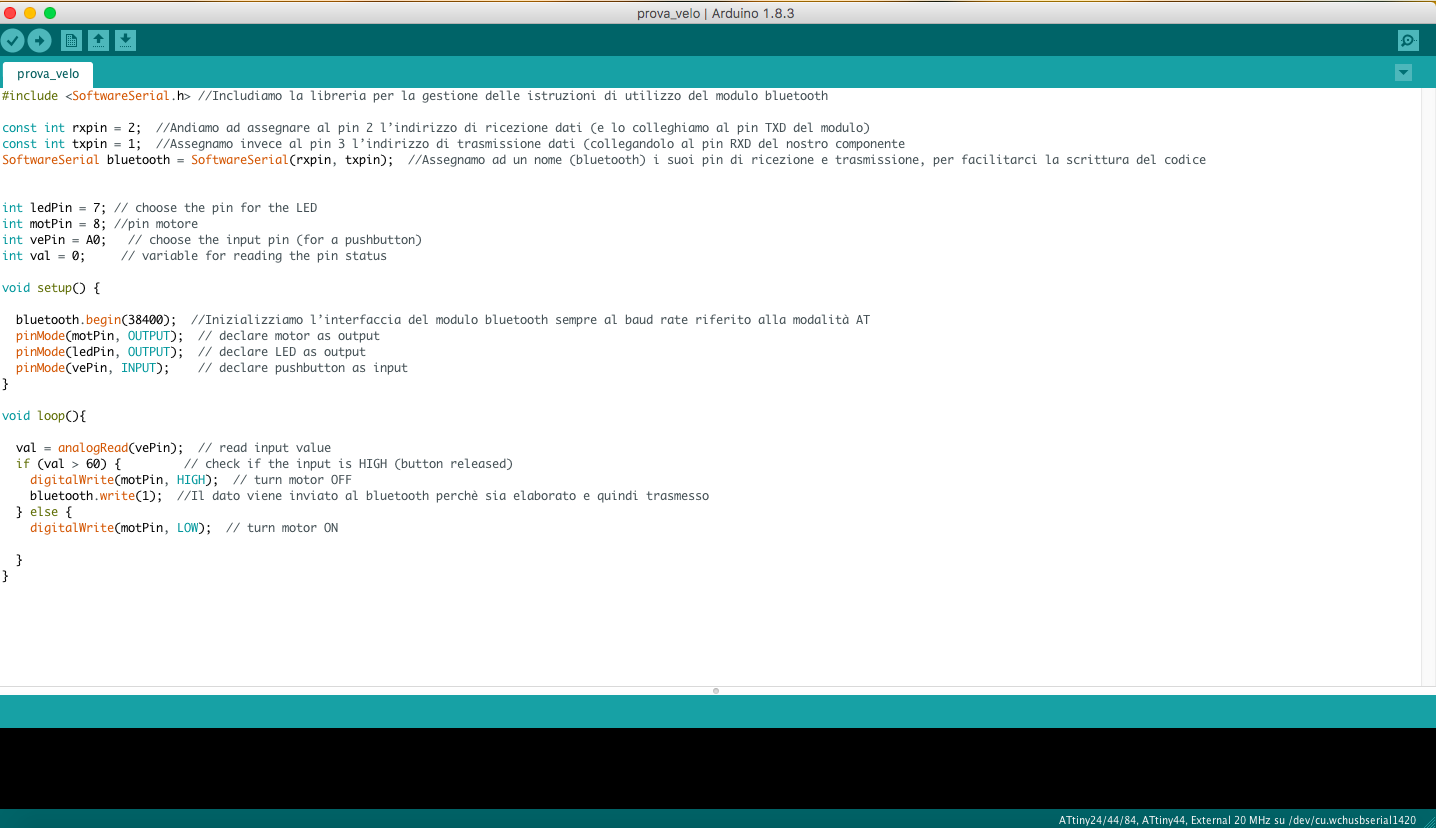
As you can see I have add in the sketch some line to connect the Bluetooth module but it is still a work in progress.
CONCLUSION AND DOWNLOAD
One of the major challange was create a wearable board, who respected the properties that I wanted to. It work correctly also with conductive thread.
Work with conductive thread wasn't easy. I must make sure that wires aren't touching (not even a small thread). Also worked on t-shirt wasn't easy. Cross the seams of the t-shirt isn't easy because they can interrupt the communication. My advise is make a double turn around it with the thread. Unfortunatly I haven't completed the Bluetooth task yet. It is the hardest part of my final project, and I'm still working on it. I have understand how it works, and what I have to do to use it, but I still have to try to connect two module to each other.
I don't know if I will complete this task in time, but surely I will make it.
For now the basic function works correctly, but I have the most important question to give an answer: "It will be useful for someone?"
I can't answer at this question yet, but I hope that it will be a positive answer.
Working on this project teach me a lot. First of all how use wearable device and what kind of challenge I could be meet. I have learned how hard it is works with electronics (honestly it is a confirm!!), include two different sensor with their components in a small board.
I have learned how build a DIY pressure sensor. I have learned a lot of things, but not only working on the final project, but during this six months of Fab Academy.
TIME MANAGEMENT
During week 17 I have planned my time to finish my project in time. I had some problem to respect this plan because I didn't count that I could have some problems. I have spent lot of time on electronic part becuase it was the "heart" of the entire project, but I haven't calculate that the design part was important as electronic one.I must to treat the design part accurately, I must chose the right colors and the right shapes becuase autistic childreen are very sensitive and create something simple and well ordered is very important.
Probably to finish it, I will work differently. I will spent time on electronic parts for sure, but I will focus on design part studing each details. I must spend time to study how to hide conductive thread, board and motors. I must study a new shape for pressure sensor and change t-shirt color.
If someone will want to work on this project, I suggest to find someone to try it on and understand which is the material, colors and shapes that he or she prefer, and design the t-shirt with that information. Each autistic child is different so it's important understand what he want.
So as I said before, networking part it is still a work in progress, but is almost ready. I have setted it like I wanted but I need to fix the communication between the two board. You can download all my final project project here.

This work is licensed under aCreative Commons Attribution - ShareAlike 4.0 International License.