Introduction
The assignment of this week was:- Design appropriate objects within the limitations of 3 axis machining
- Design a 3D mould, machine it, and cast parts from it.
DESIGN
Goal of this week assignment was design a 3D mould and then cast it, so I didn't spend mush time to design something. I decided to download a .STL file from Thingverse. I'm a Napoli soccer team fan, for this reason I have chosen their emblem to mill.

TOOLPATHS AND MILLING
I have uploaded .STL's file on CUT 3D to create toolpaths.
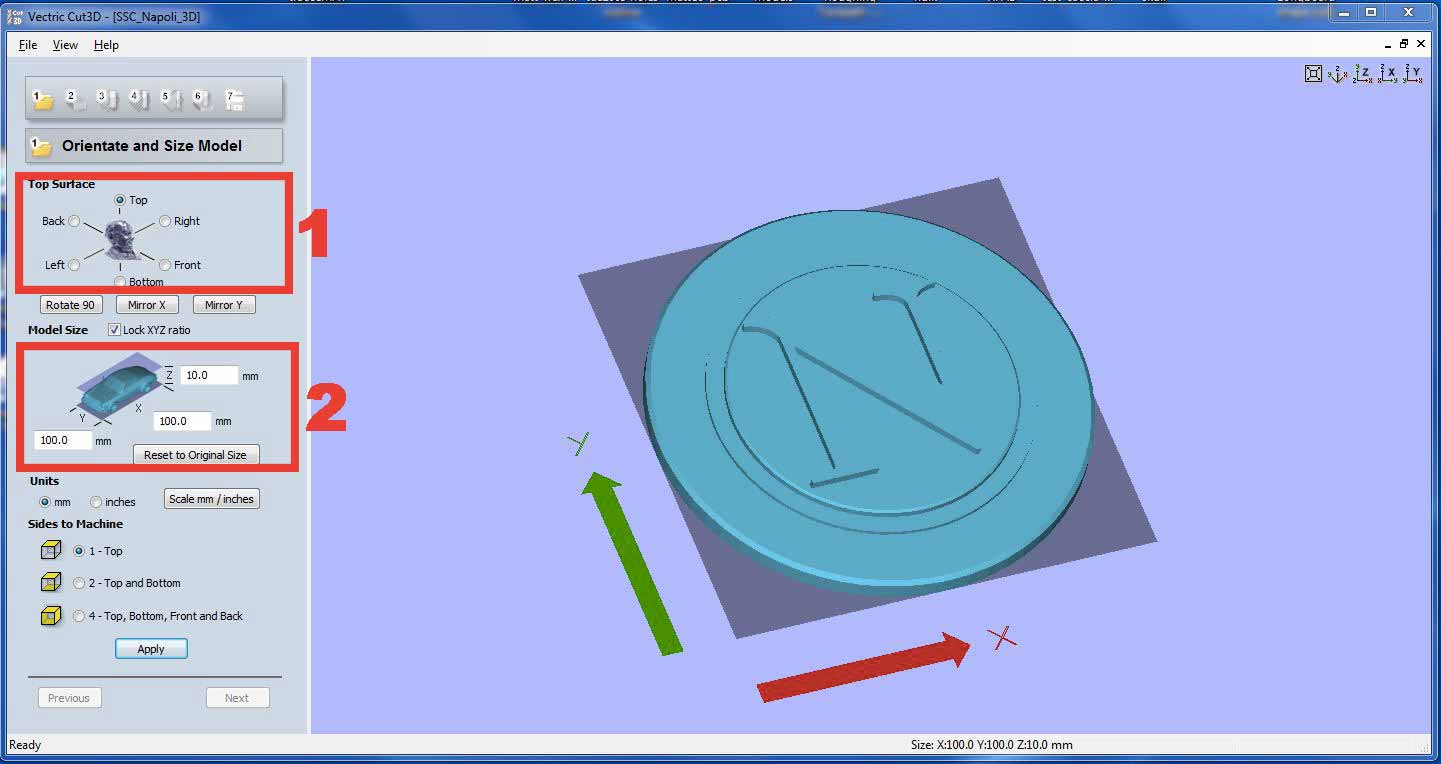
1: At first point I chose orientation of the image. I have decided which face should be the top surface.
2: Here you can set the model size.
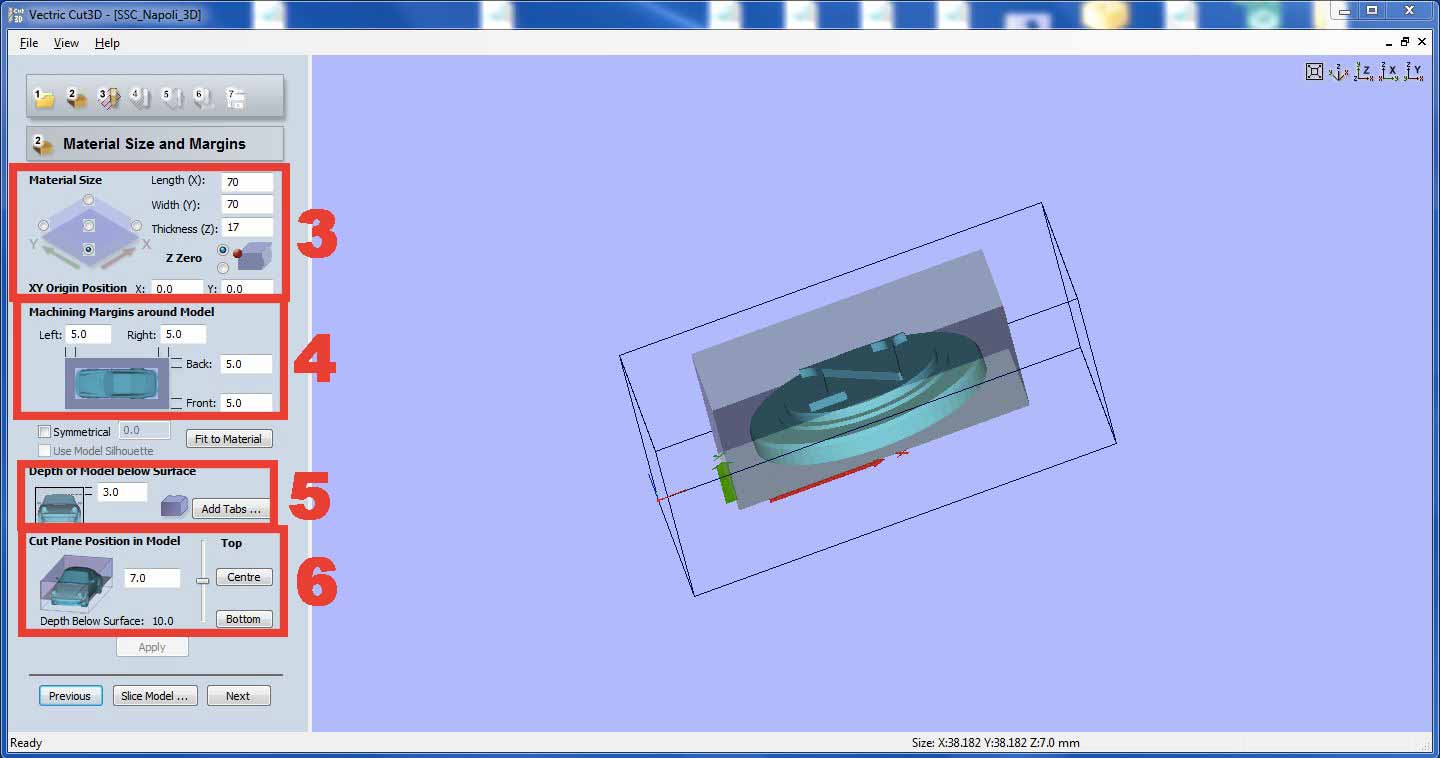
3: Set your material size. I haven't setted the entire length, just a little bit bigger then model.
4: Here I have setted machining margins around model. It's important leave a few millimetres around molel, to create a good mold.
5: Here you can decide how many millimetres leave below model surface. I left 3mm.
6: Cut plane position is to select depth of cut. For my mold I have setted it at the same height of the model.

7: At this point you can choose your end mill. To create first toolpath, I have used a 1/8 inches.
8: Then I have setted the right parameters.
- Cut Depth shouldn't have the same diameters of endmill.
- Stepover (how far the bit will move over before making the next pass) is the same of Cut Depth.
- Spindle Speed is 12.000 rpm because our Roland SRM-20 can support not more than this speed.
- Feed Rate is 17 mm/sec. I have decided to use a low speed to avoid that rapid movement heated too much the end mill and dissolve the wax.
- Tool Number is 1. For the second one I need to change end mill.
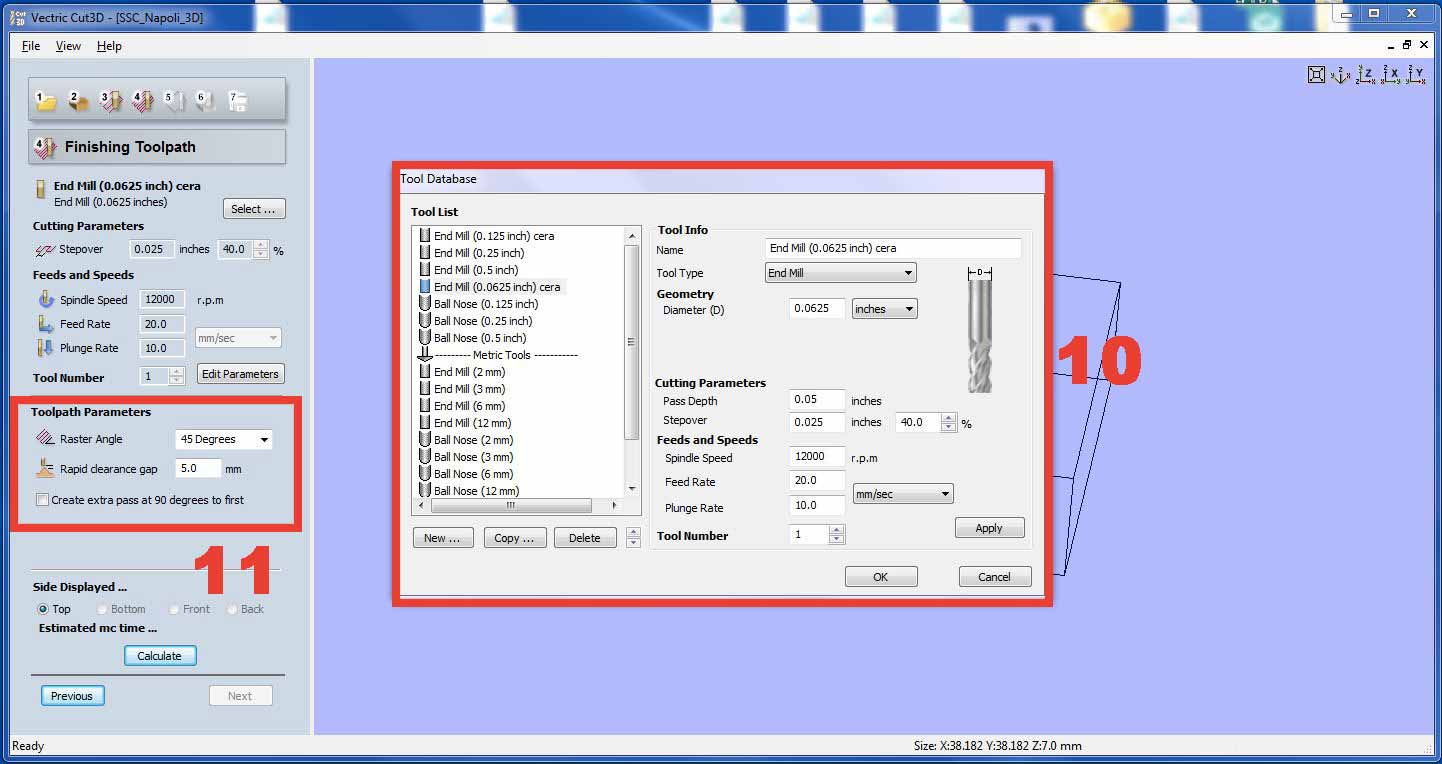
10: Then I have chose the end mill for the second toolpath. I have used an 1/16 inches end mill. Parameters is almost the same, I have changed Cut Depth and Stepover in reference to end mill diameters
11: Here I have set the raster angle for the second toolpath. This toolpath need it to me to redefine my model. If I had a more complex model and I needed more precision, I can create a second toolpath in the opposite direction.
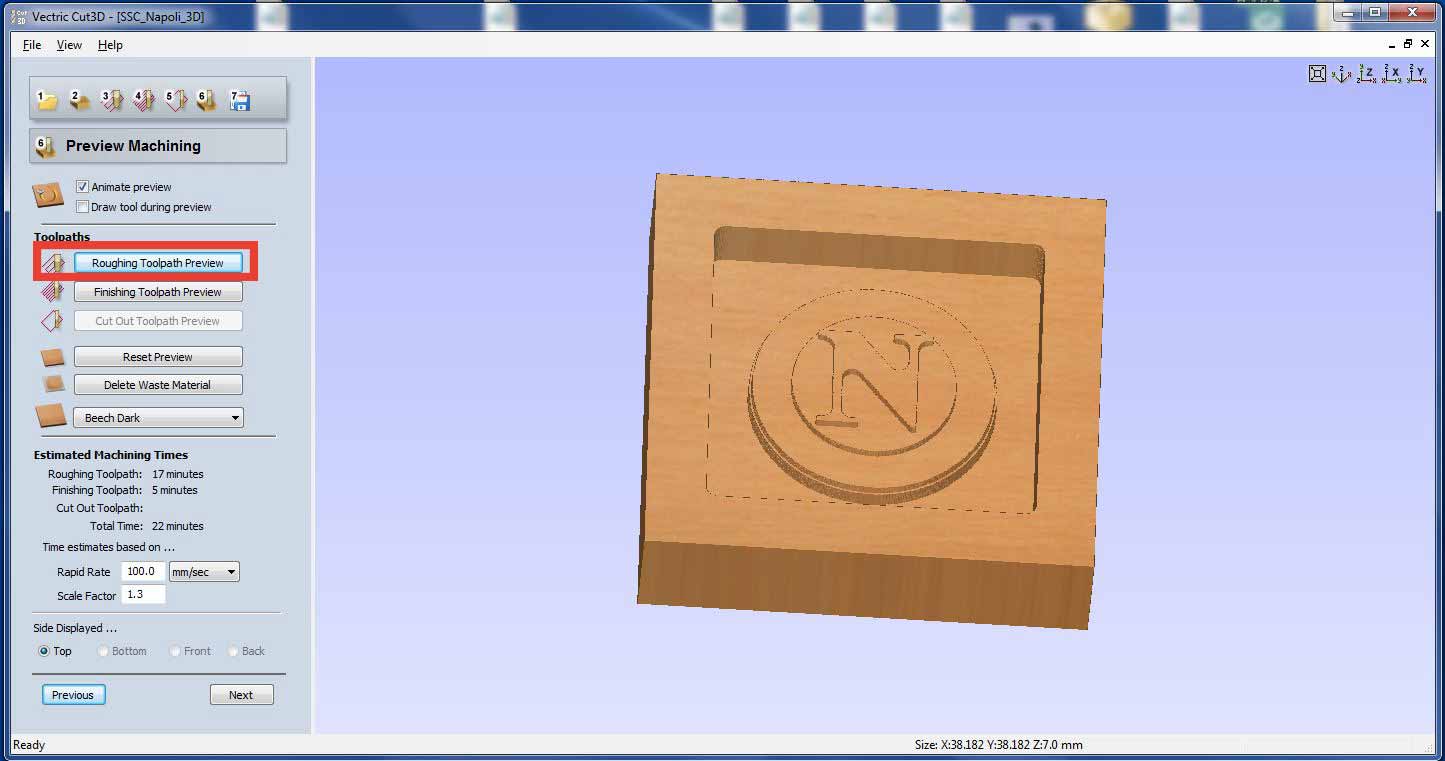
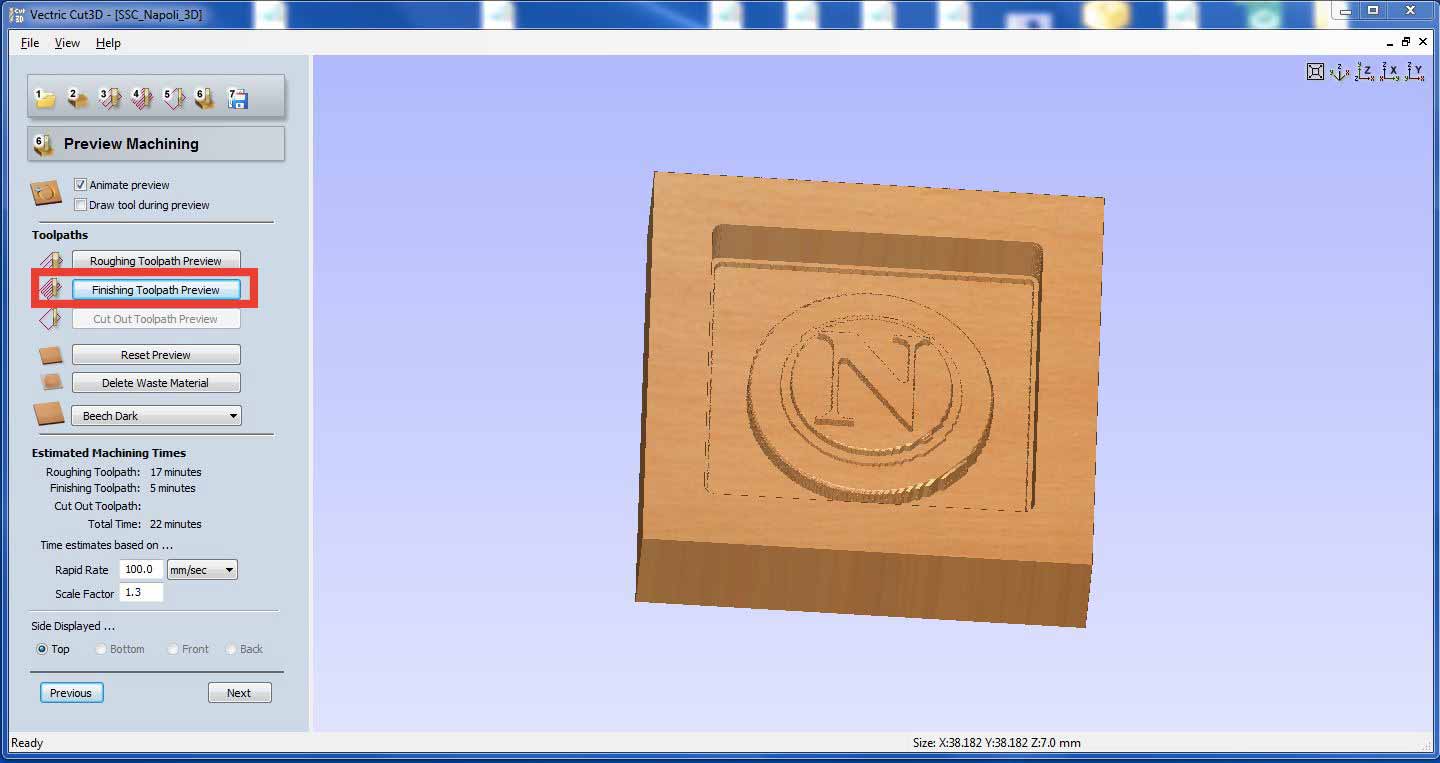
The last two screenshot show me the toolpaths preview.
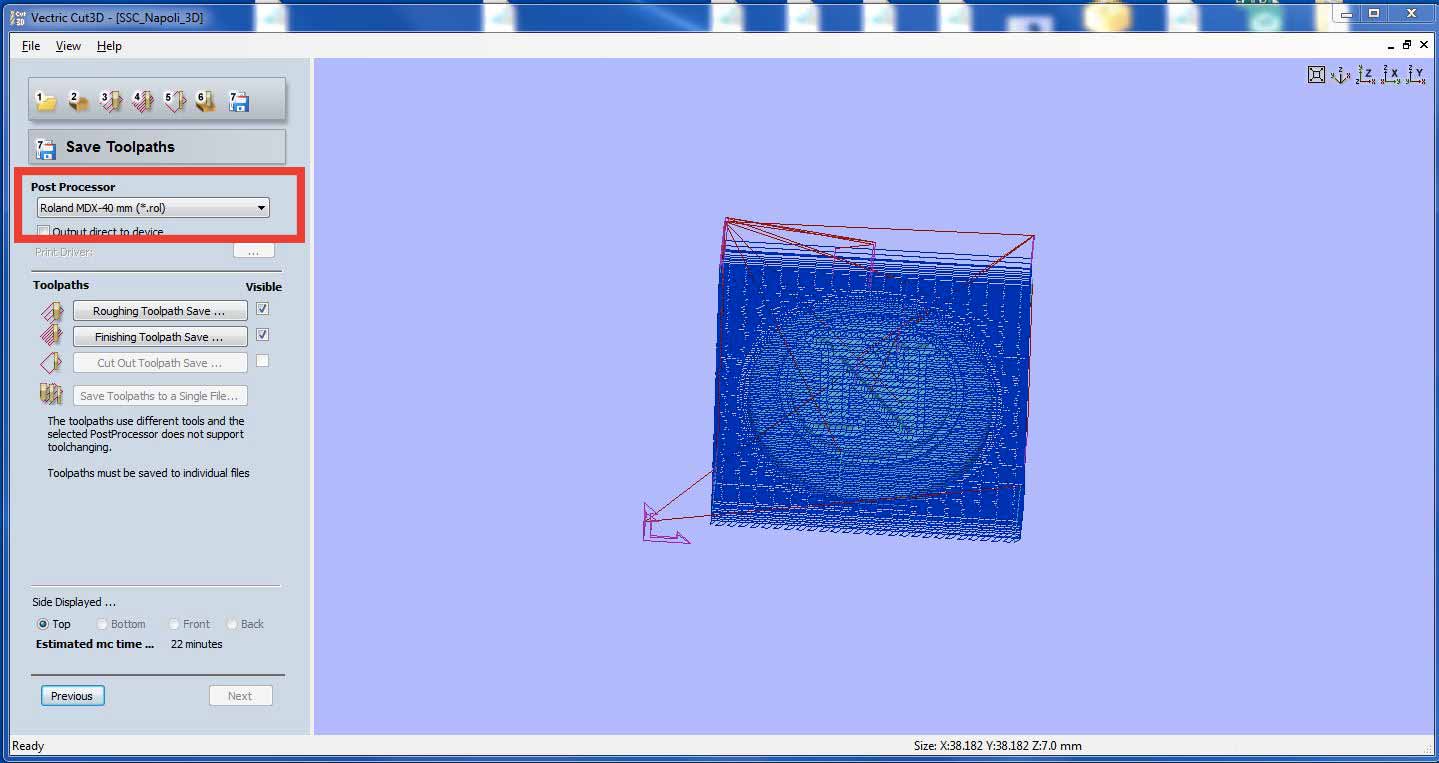
Last step was saving files. As you can see in the picture, I have selected another Roland machine. This is because our Roland there isn't in the list.
Now it's time to mill!! I have fixed my machinable wax block on the plate and then I have started to mill. Unfortunatly I had a problem. Higher speed detached the machinable wax block.
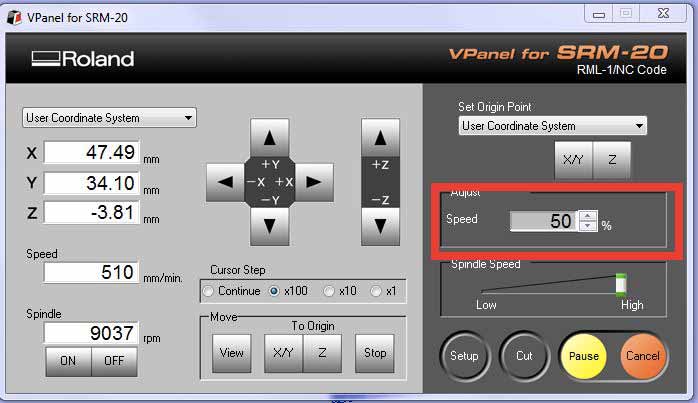
I have done another attempt using the same toolpath but changing speed on Roland V-panel.
and...this is final result!
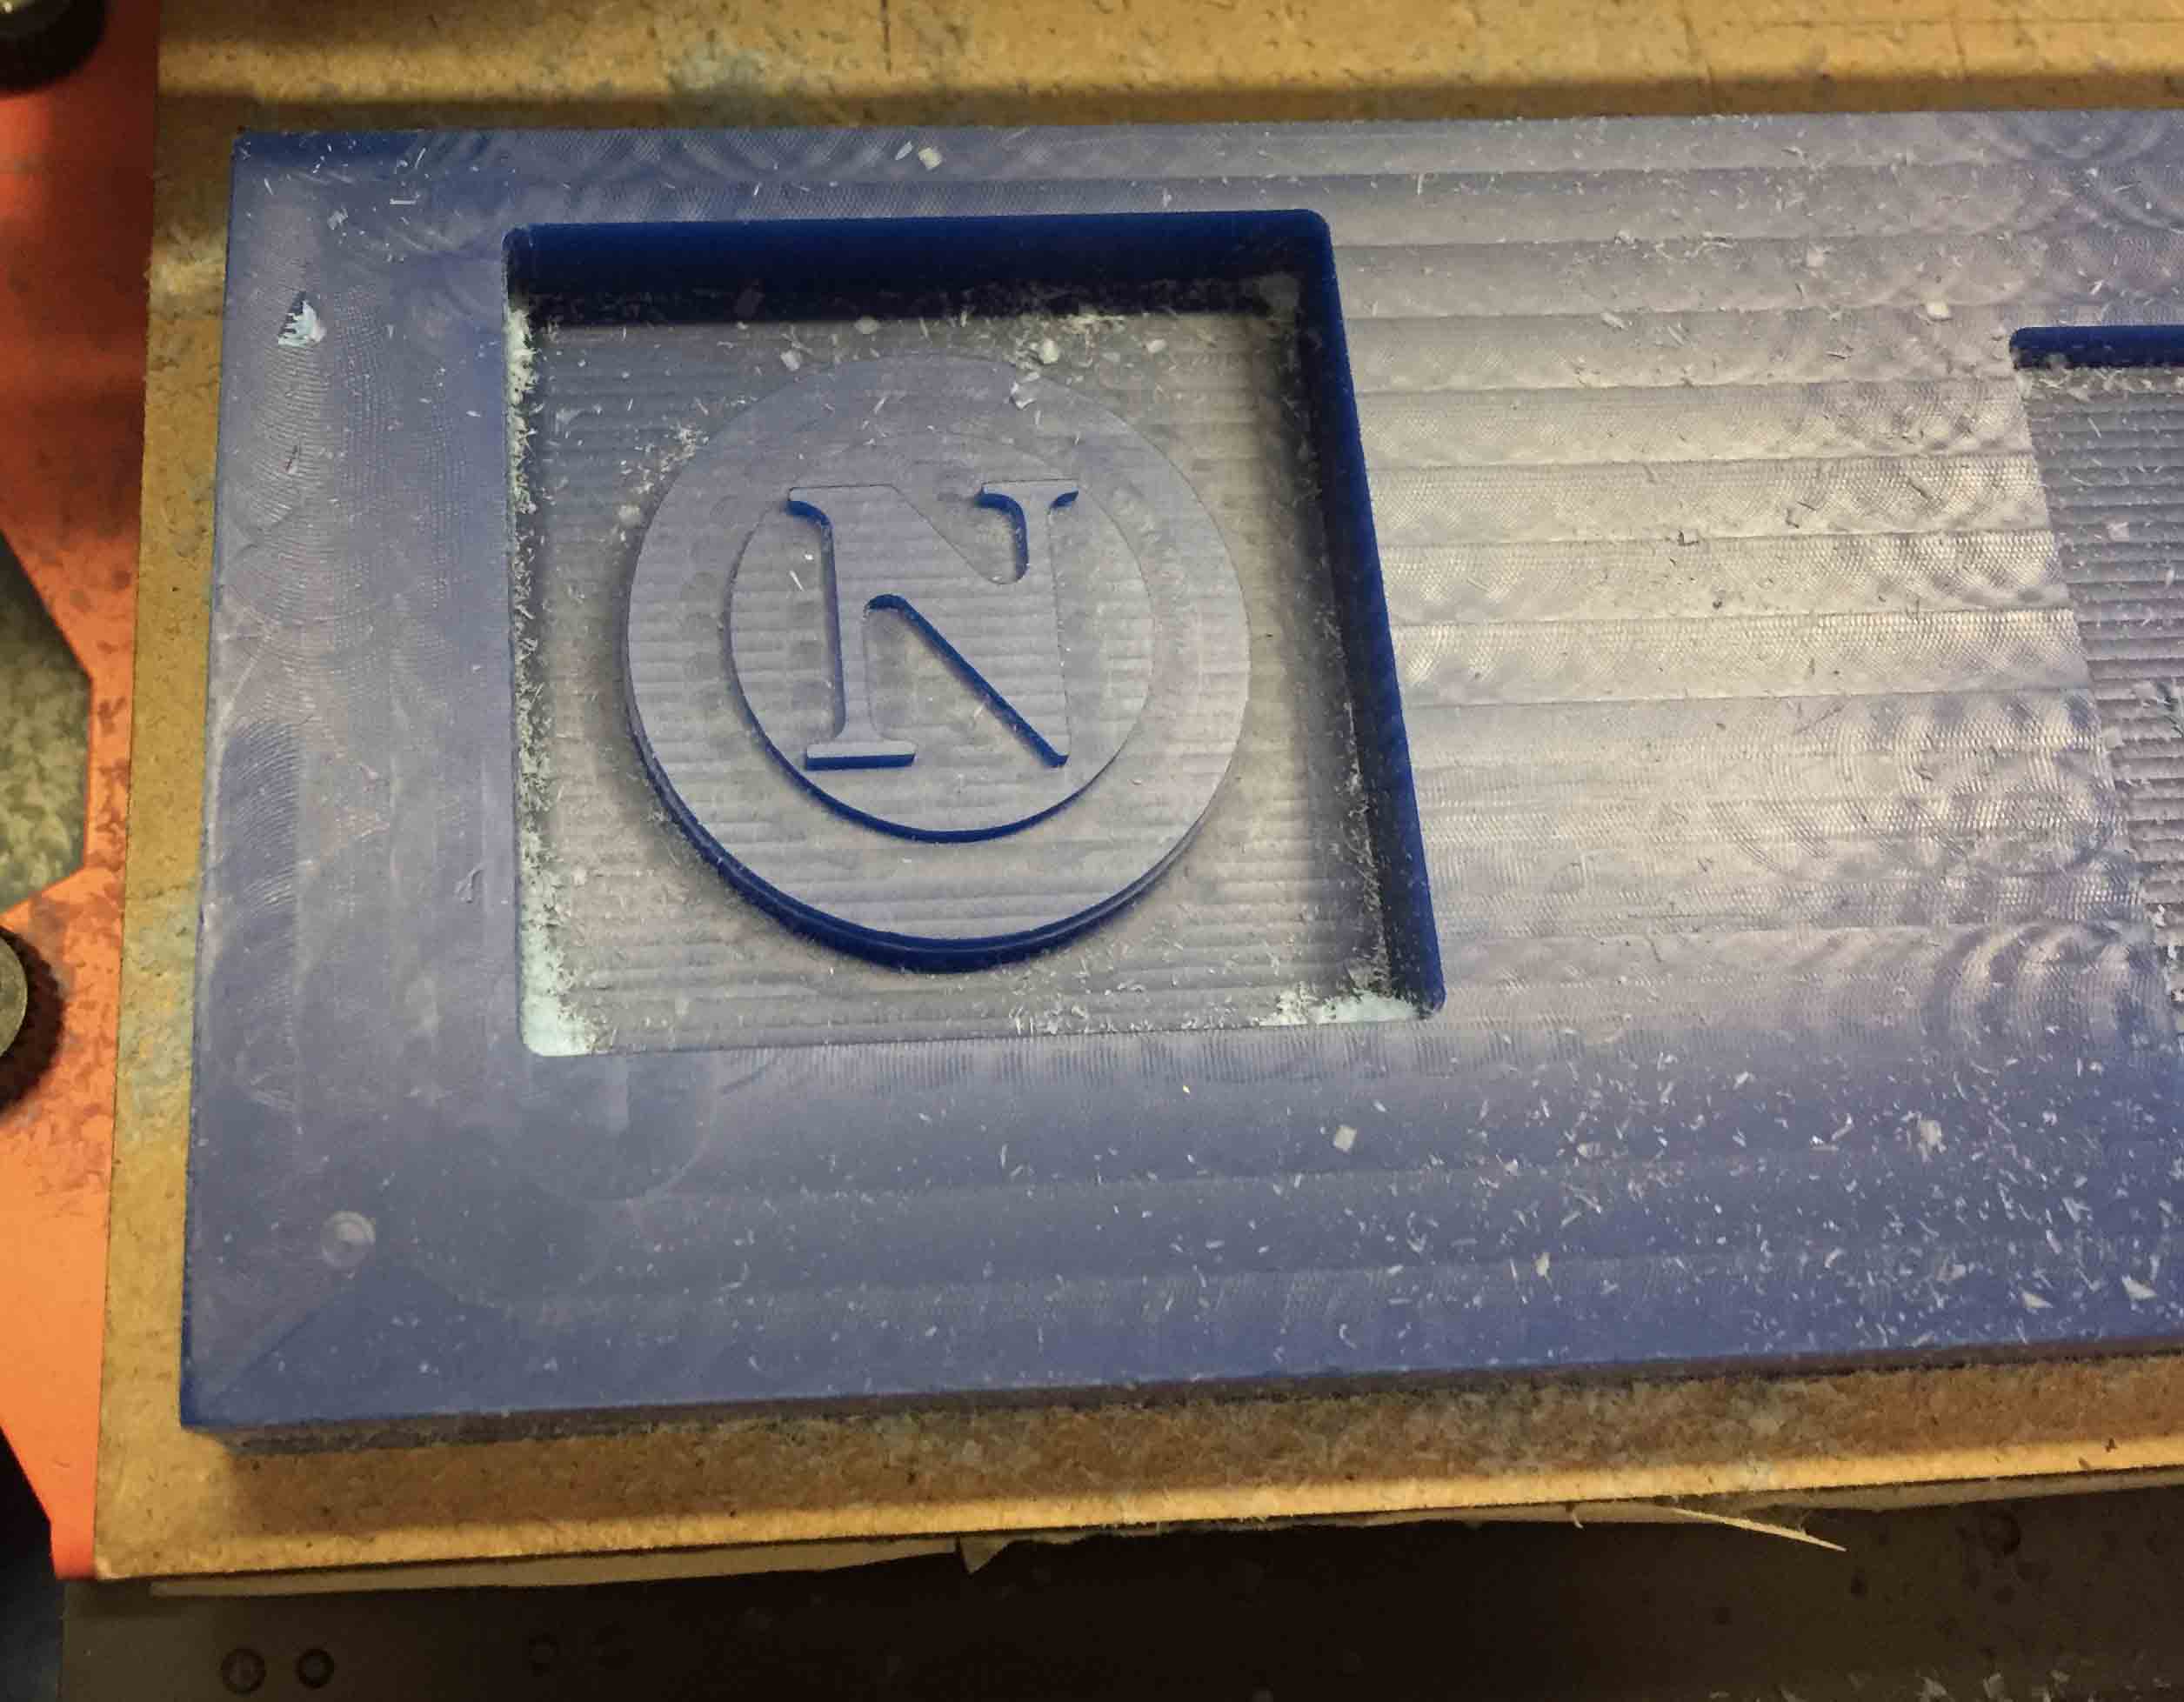
MOLD
After that I have created my mold. In the lab we have some OMOO-25 so Silvia and I tried to use it. We suit up gloves and ghostbuster suit and we started to work. This is what we need.
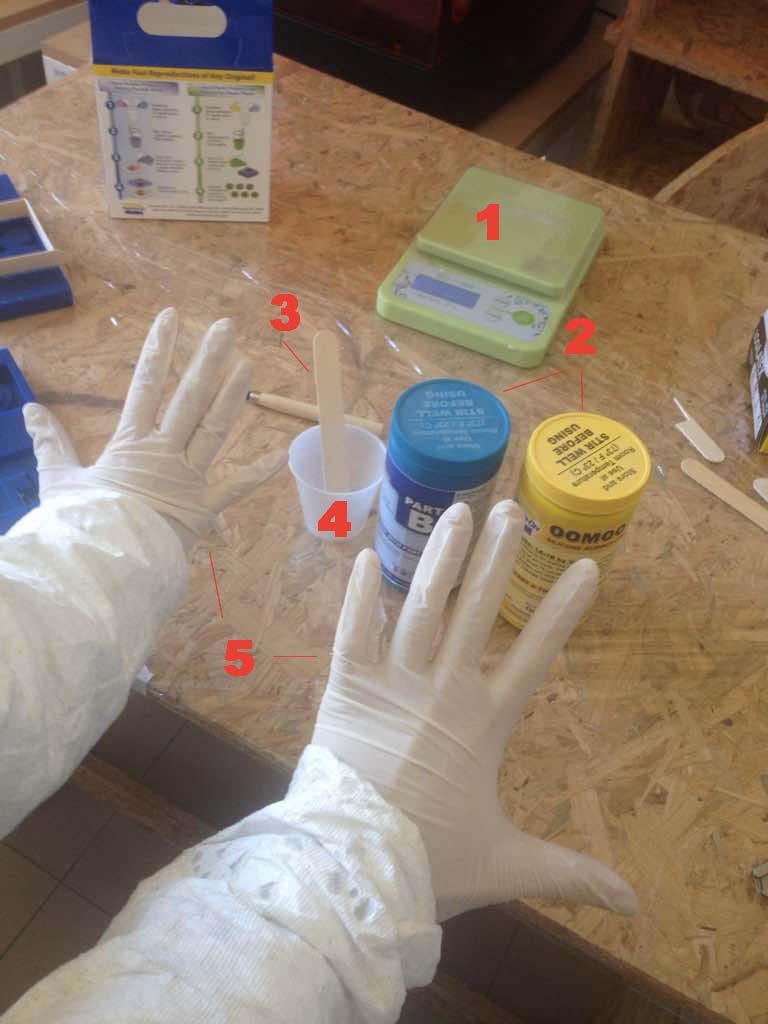
1: BALANCE: I have use it to weight 2 equal parts of OMOO-25.
2: OMOO-25: Following the instructions on the box I have combined Part A and Part B, in 1:1 ratio.
3: WOODEN STICK: For mixing OMOO
4: PLASTIC CUP: To put OMOO. To avoid bubble air it's important rotate plastic glass not wooden stick to mix it.
5: GLOVES: Could be boring spent hours to take off OMOO from your hands, so save your time and wear gloves!
I have opened first bottle of OMOO and...SURPRISE!!!
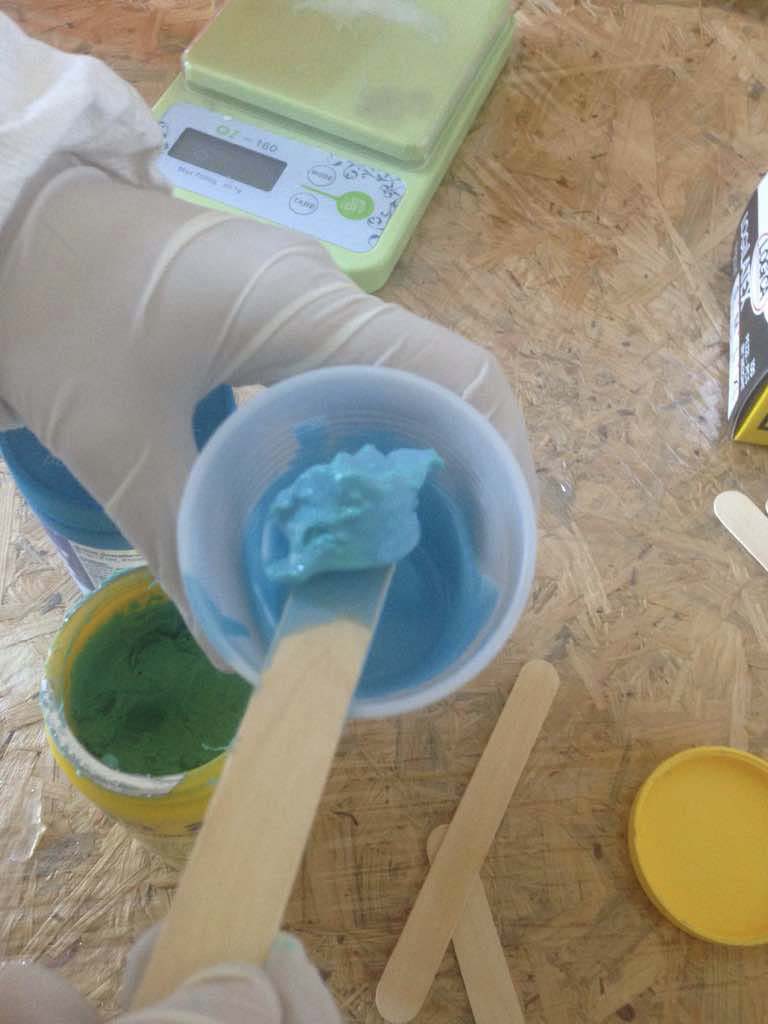
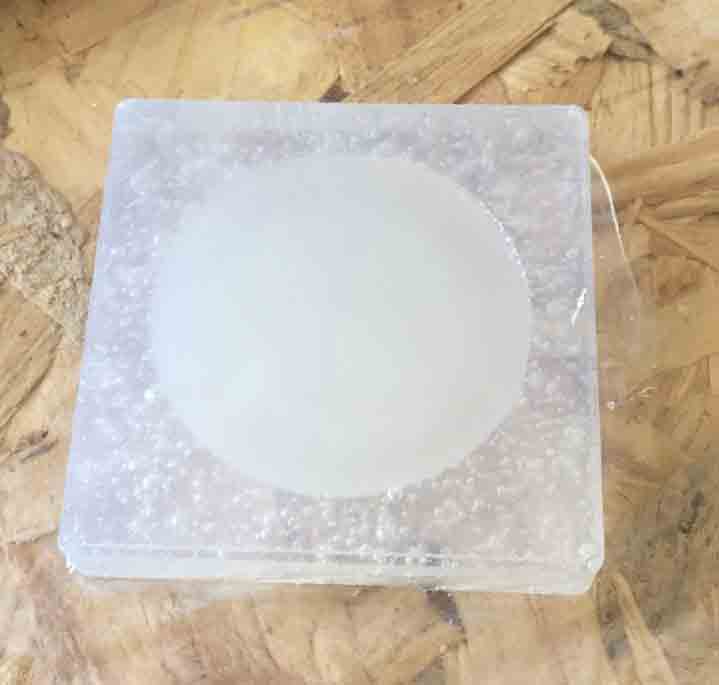
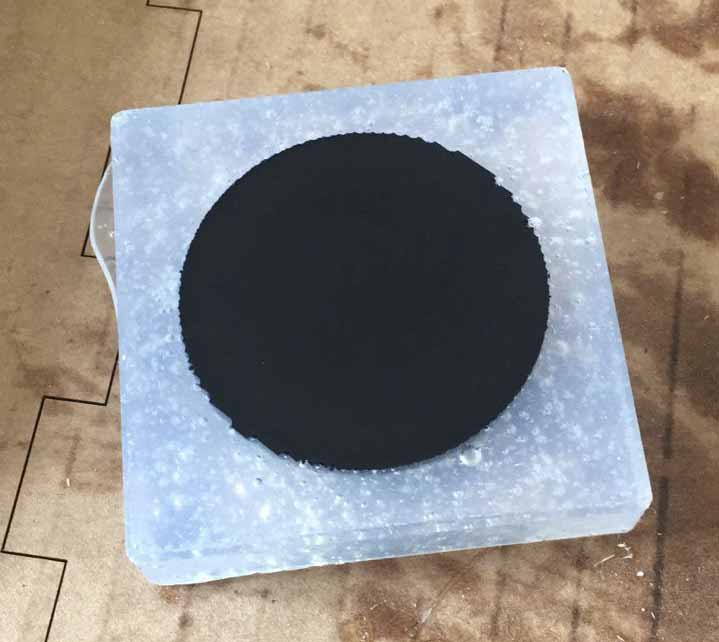
OMOO dried up cause was open for almost a year and it is useless. At this point we decided to use Silicon SORTA CLEAR 37. I have mixed it as box said and then I poured it in the mold. It's important, to avoid a lot of bubble air, poured it from the same point without moving glass.
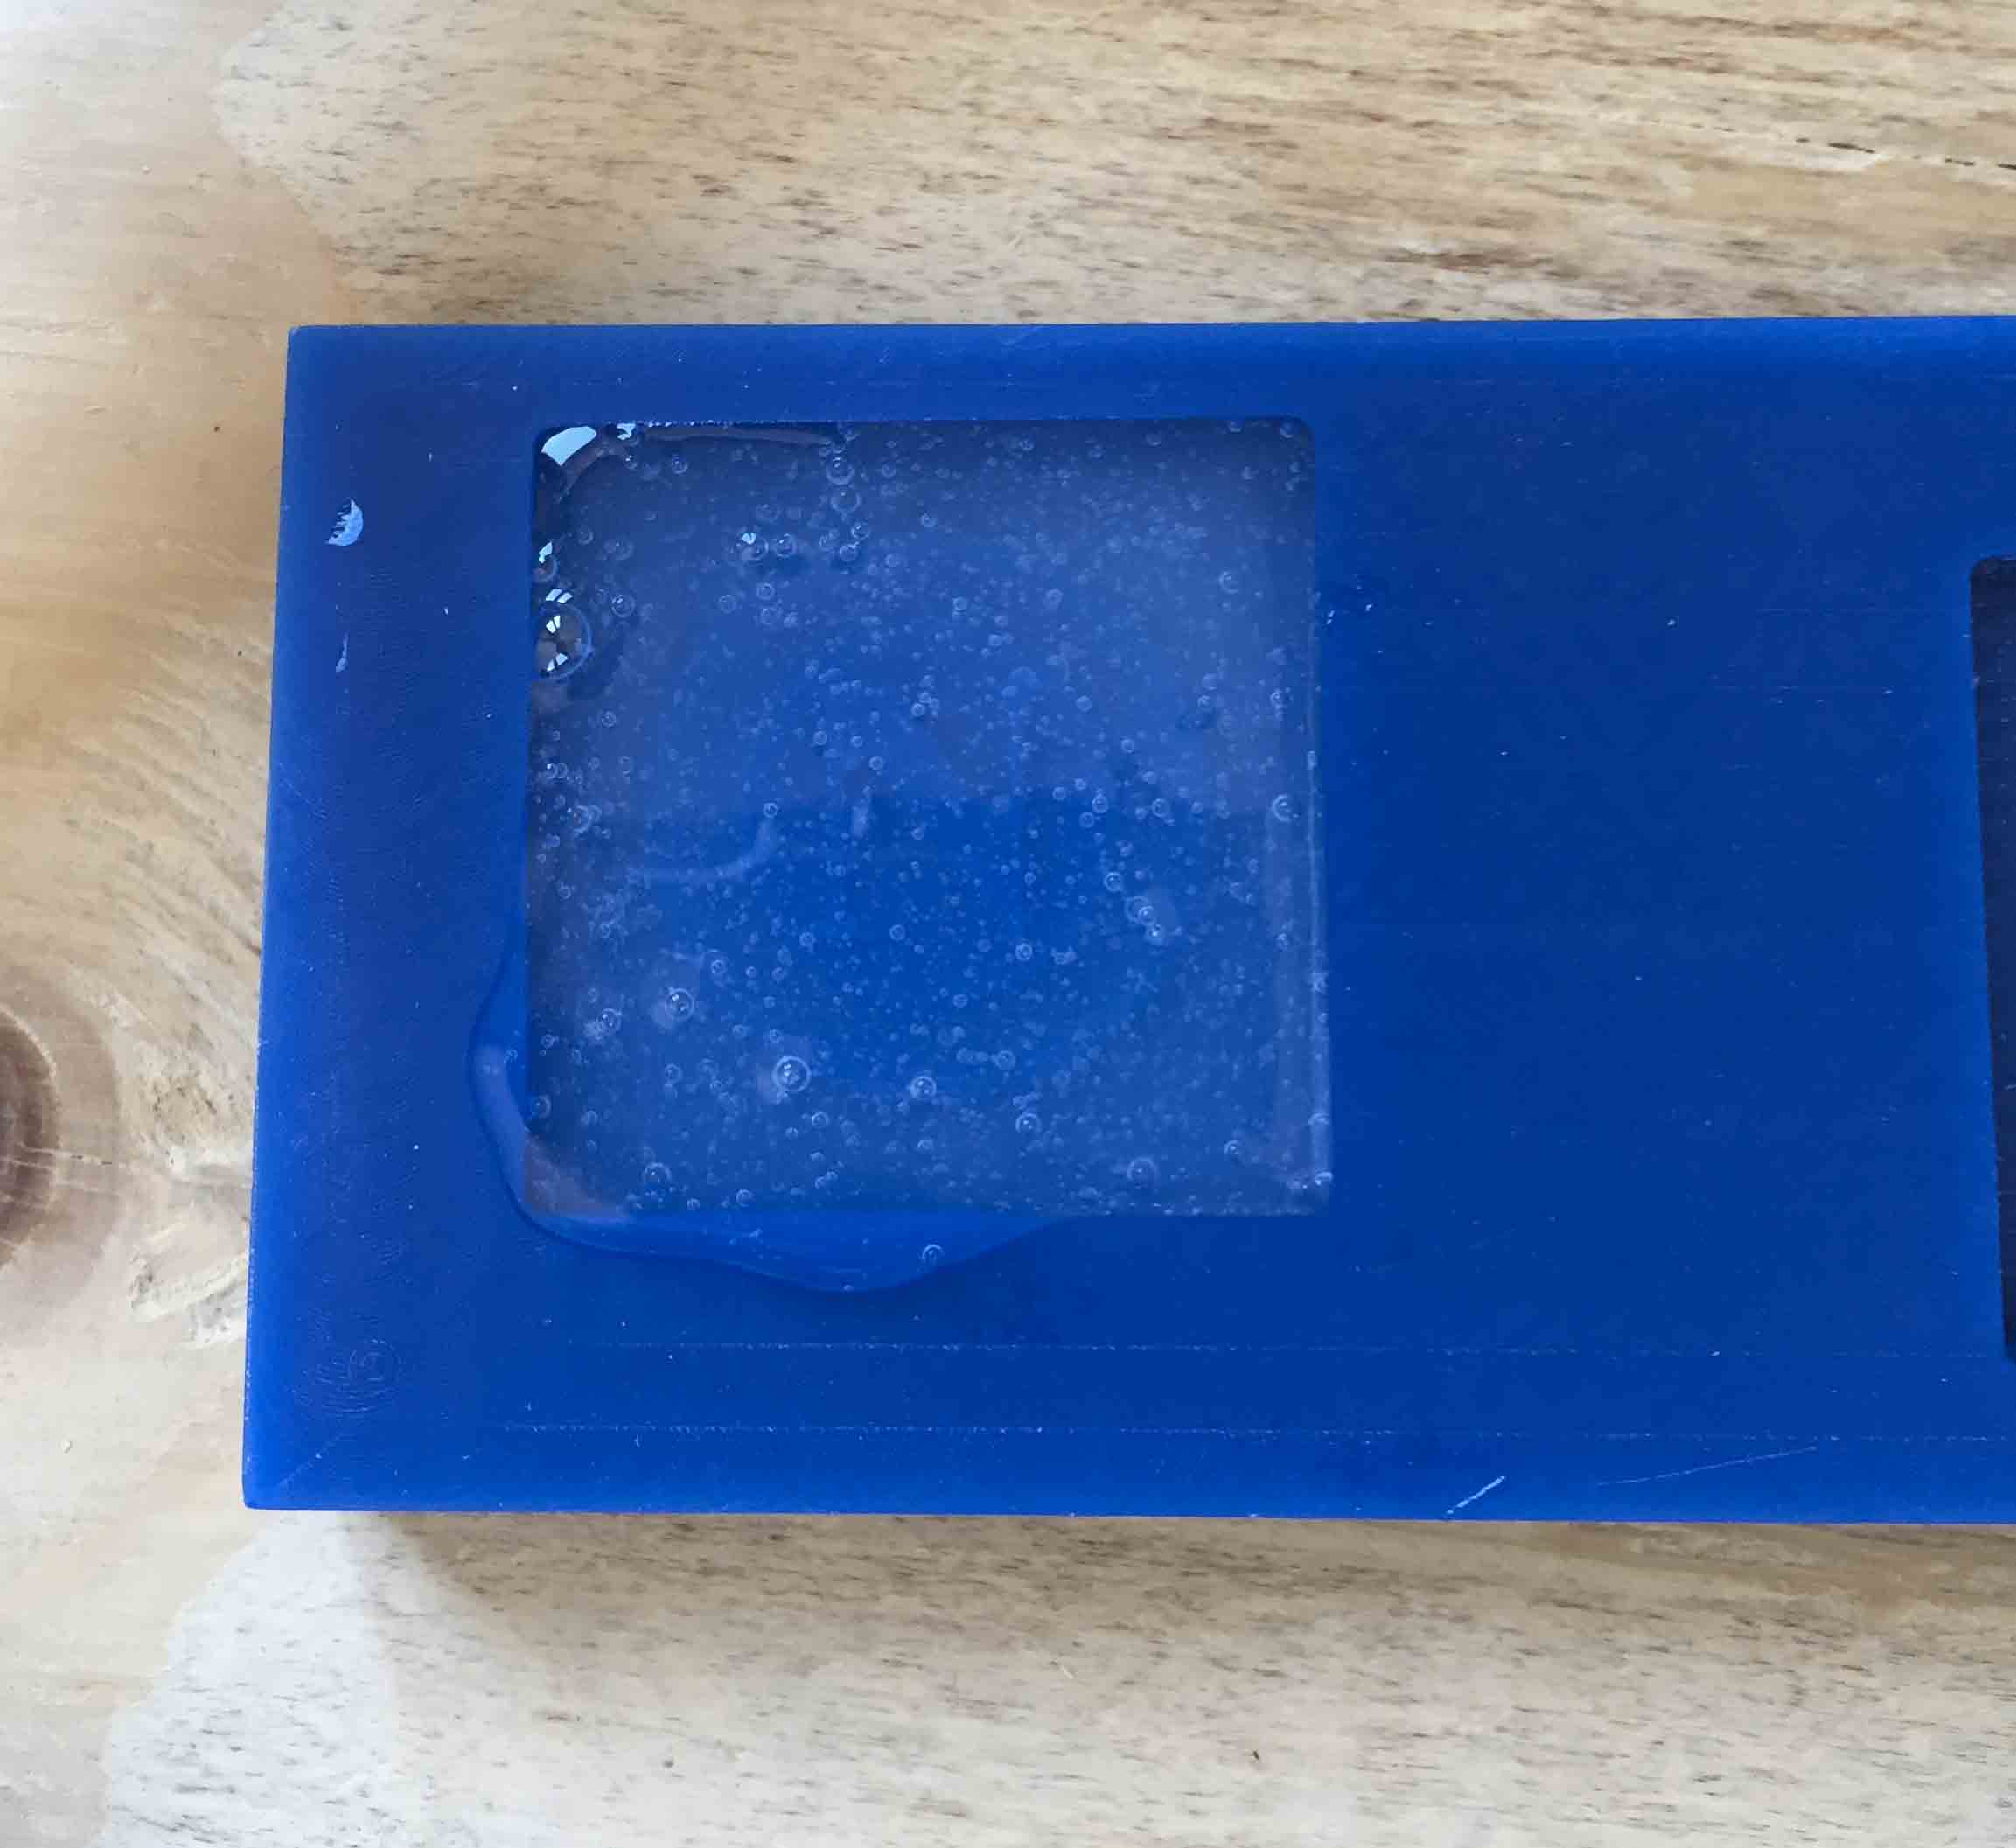
And 5 hours later...
As you can see I have a lot of bubble air in it, but with Silicon is normal.
CAST
Final step is create my model. This time I have used Smooth Cast 305.
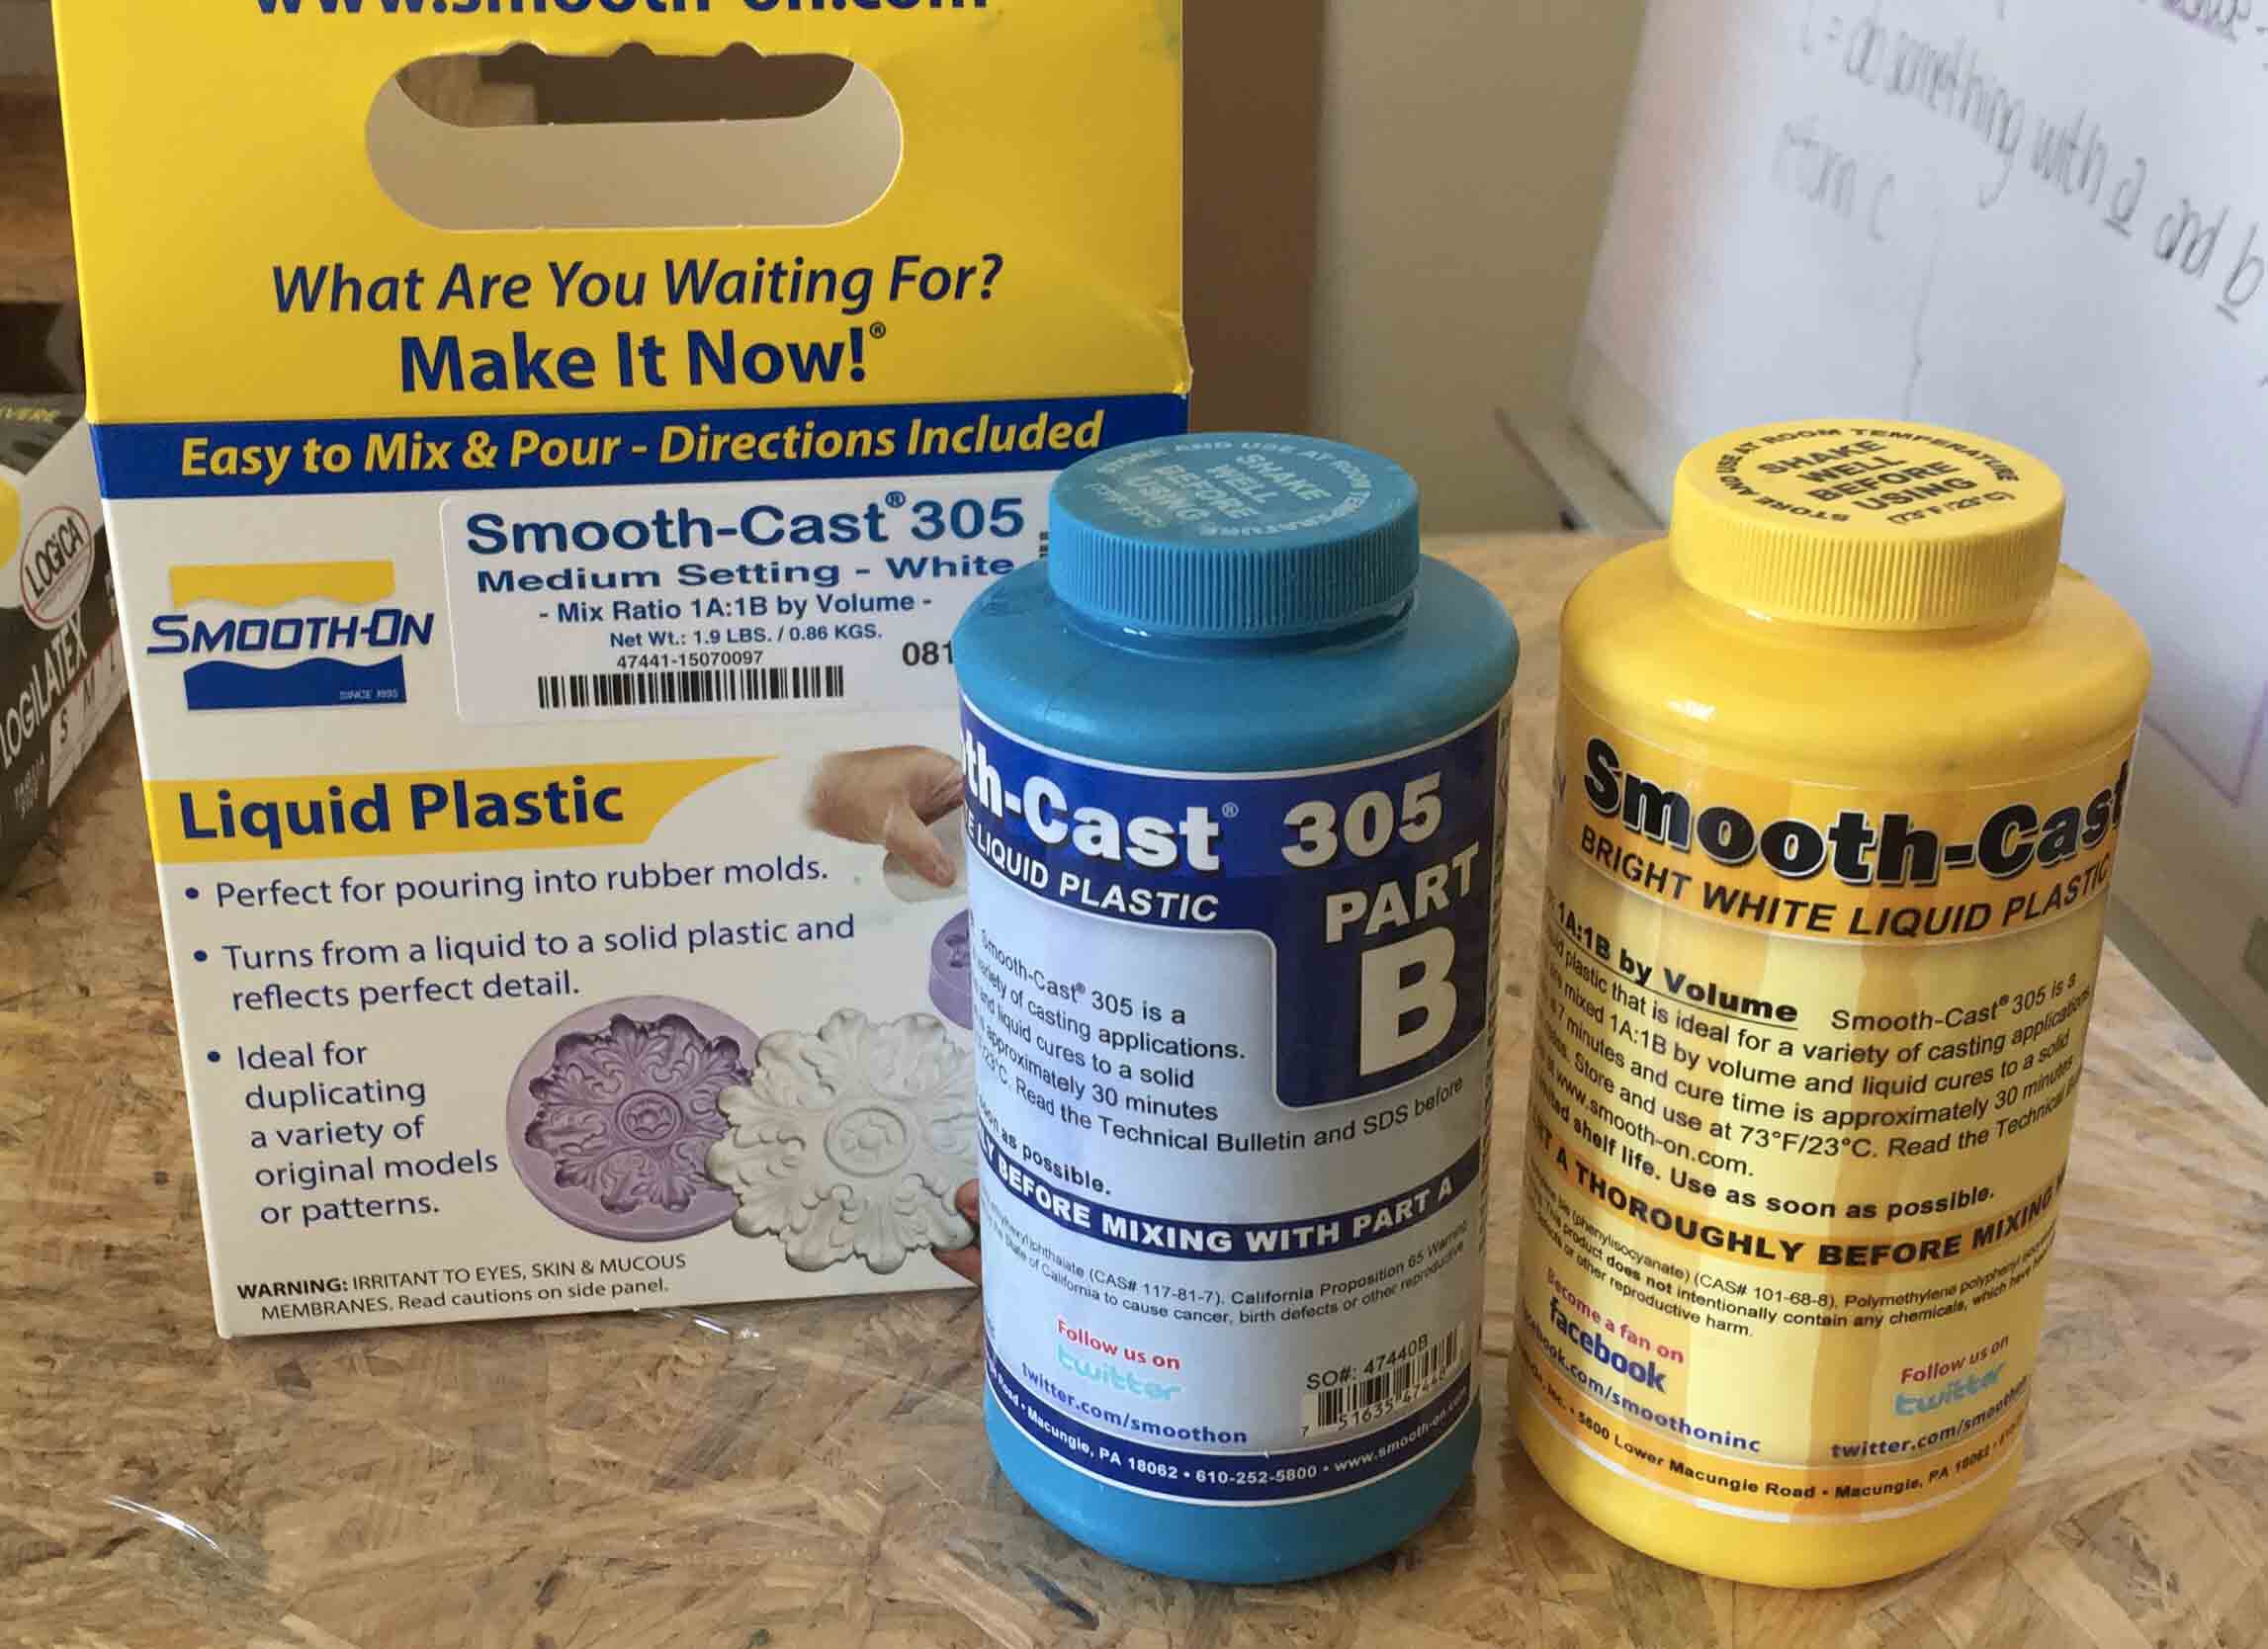
I have mixed two parts (A and B) and then I poured it into my mold. Instruction said that cure time was approximately 30 minutes, but after 4 hours it isn't ready yet.
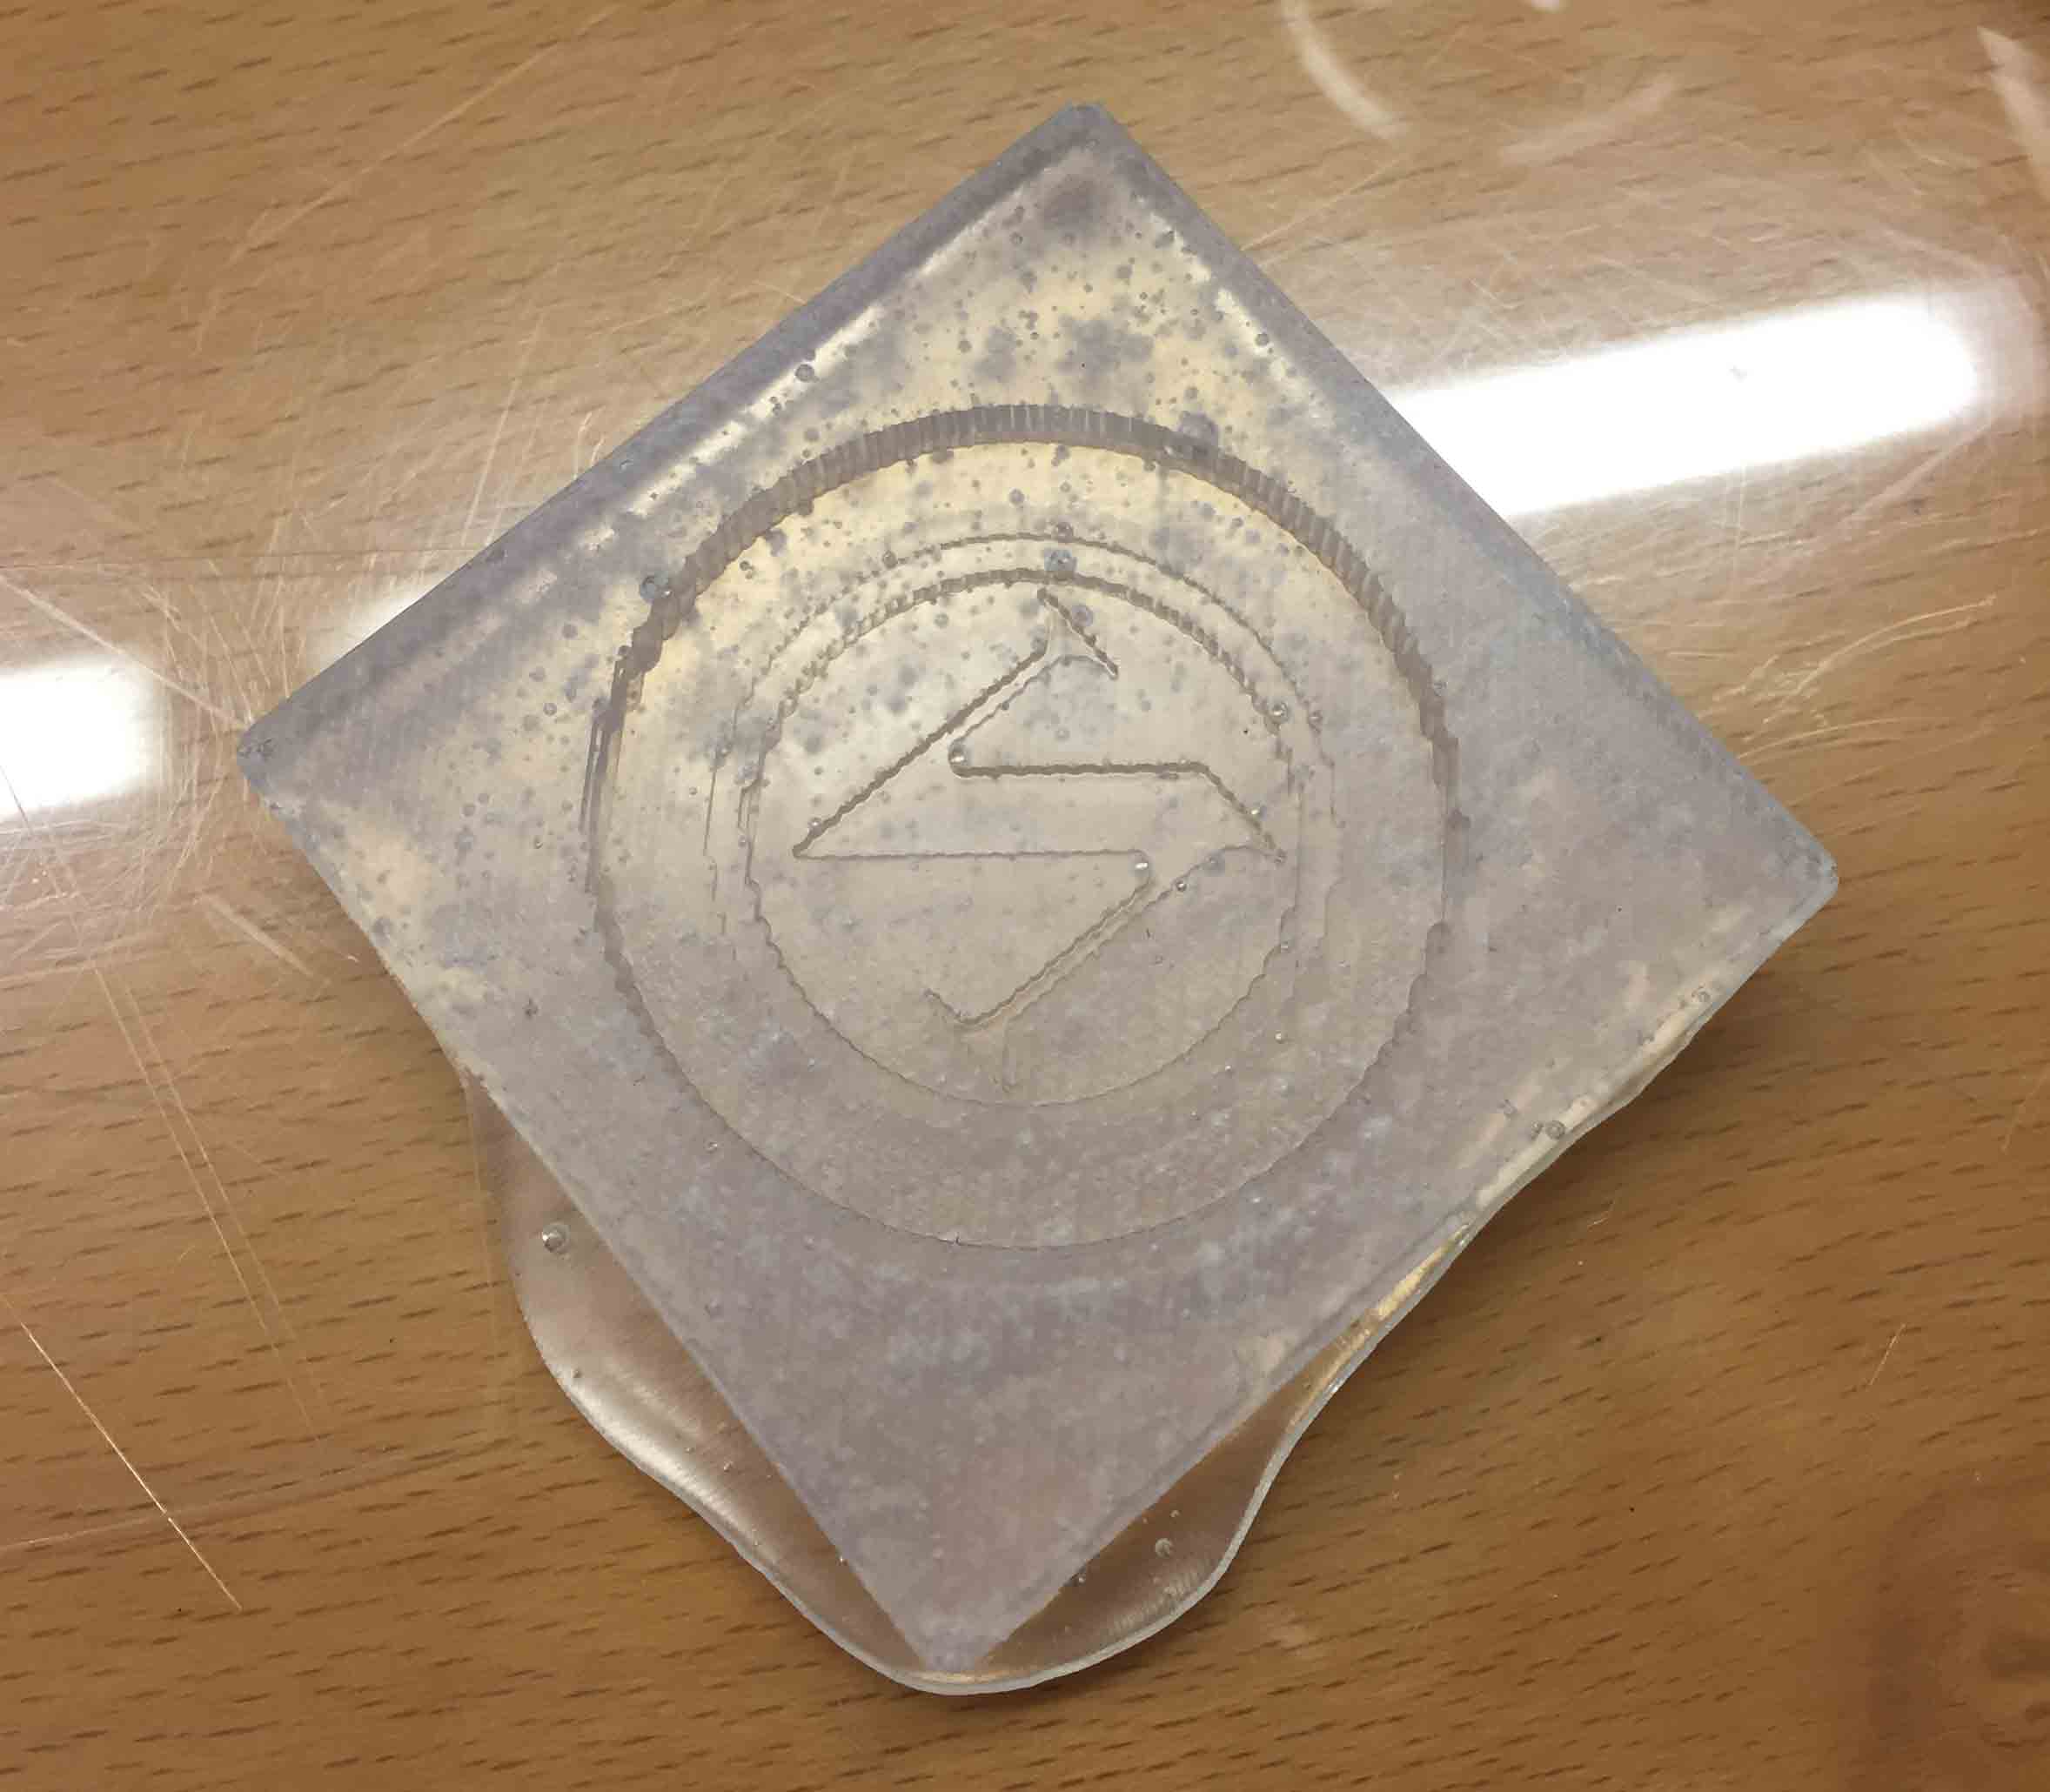
After a day, this is the final result

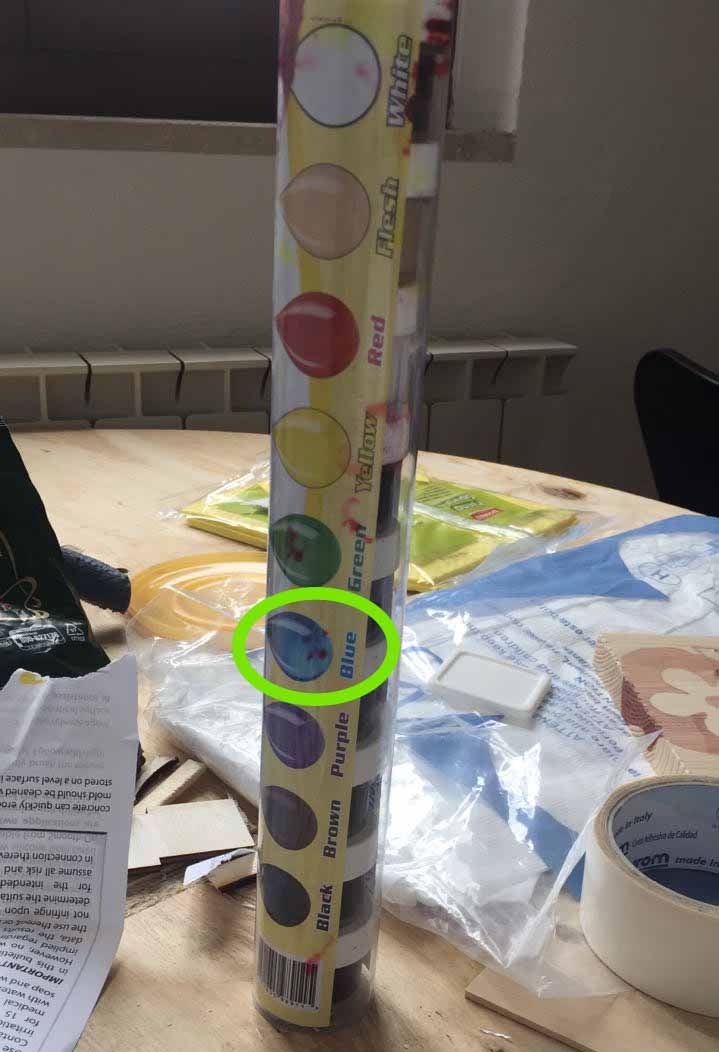
It wasn't hardered enough so I've done another attempt by mixing plastic in 1:1 ratio thanks balance. I've decided color it with blue pigment.
After 2 hours it was ready and this is the result.

MULTICOLOR CAST
With the same mold I have done another attempt. I tried to use different colors for each layer as the picture above.
First I have used the Smoot Cast 365 without color to create the first layer (N letter). I haven't added pigment because when liquid plastic is ready becomes white.

After 30 minutes (cure time) I have added the second layer. This time I have added a bead of blue pigment to get light blue liquid plastic. I have create the second layer and as before, I have waited other 30 minutes.
I have repeat this workflow for other 2 times and then this is the final result!
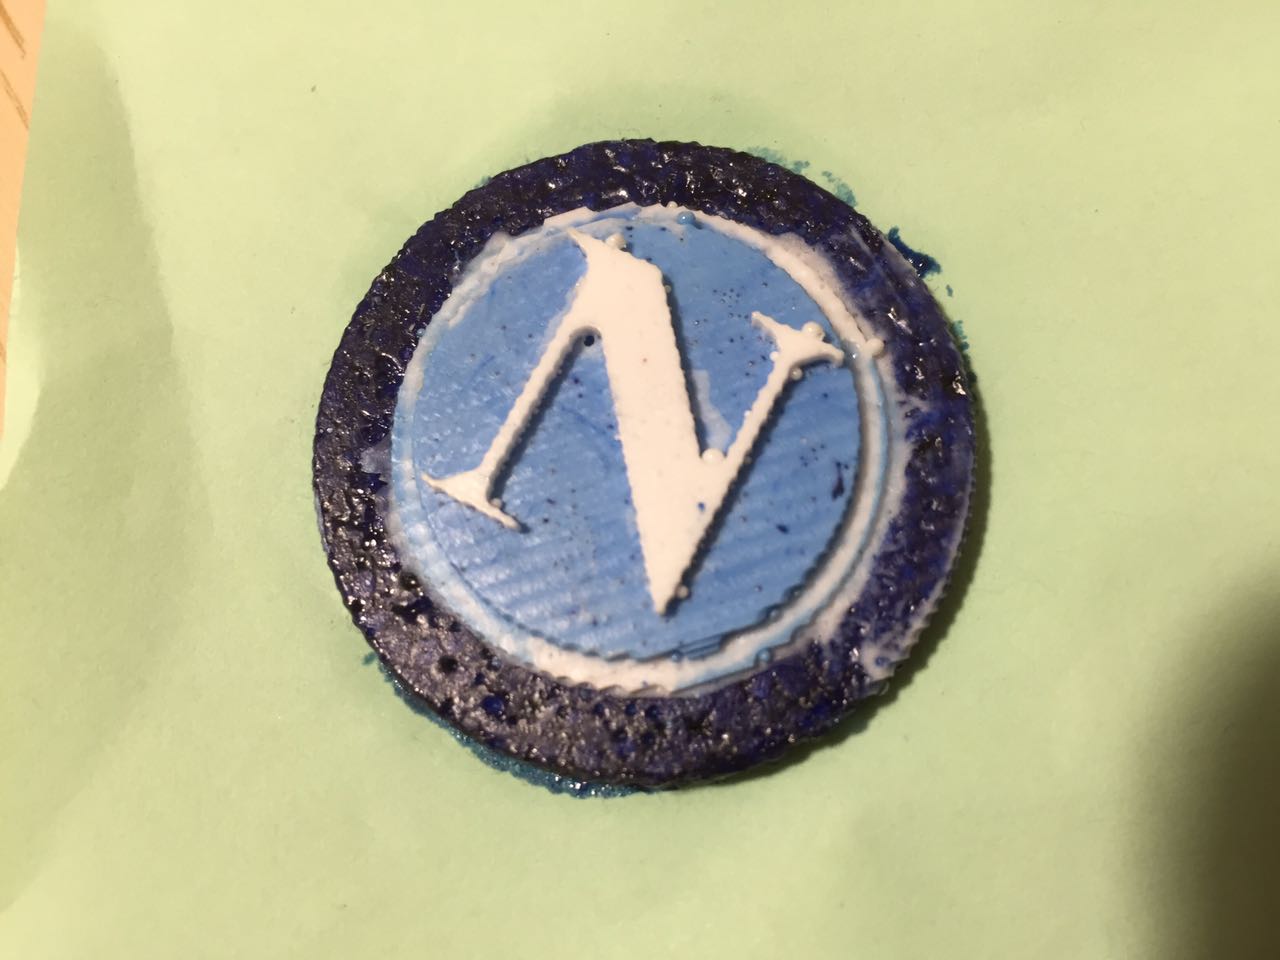
As you can see it isn't perfect. Two levels mixed up. This happens for two reasons:
- Liquid Plastic isn't hardened enogh
- I have poured too much Liquid plastic for the layer
Except this errors, I think this is a good result.
COIN MOTOR MOLD
For my final project, I will use coin vibration motors, but the vibration is strong and it could be uncomfortable. So I have try to put it in a silicone mold.
First of all I have design it with Fusion360. I have extruded it in a cube because I needed a female mold.
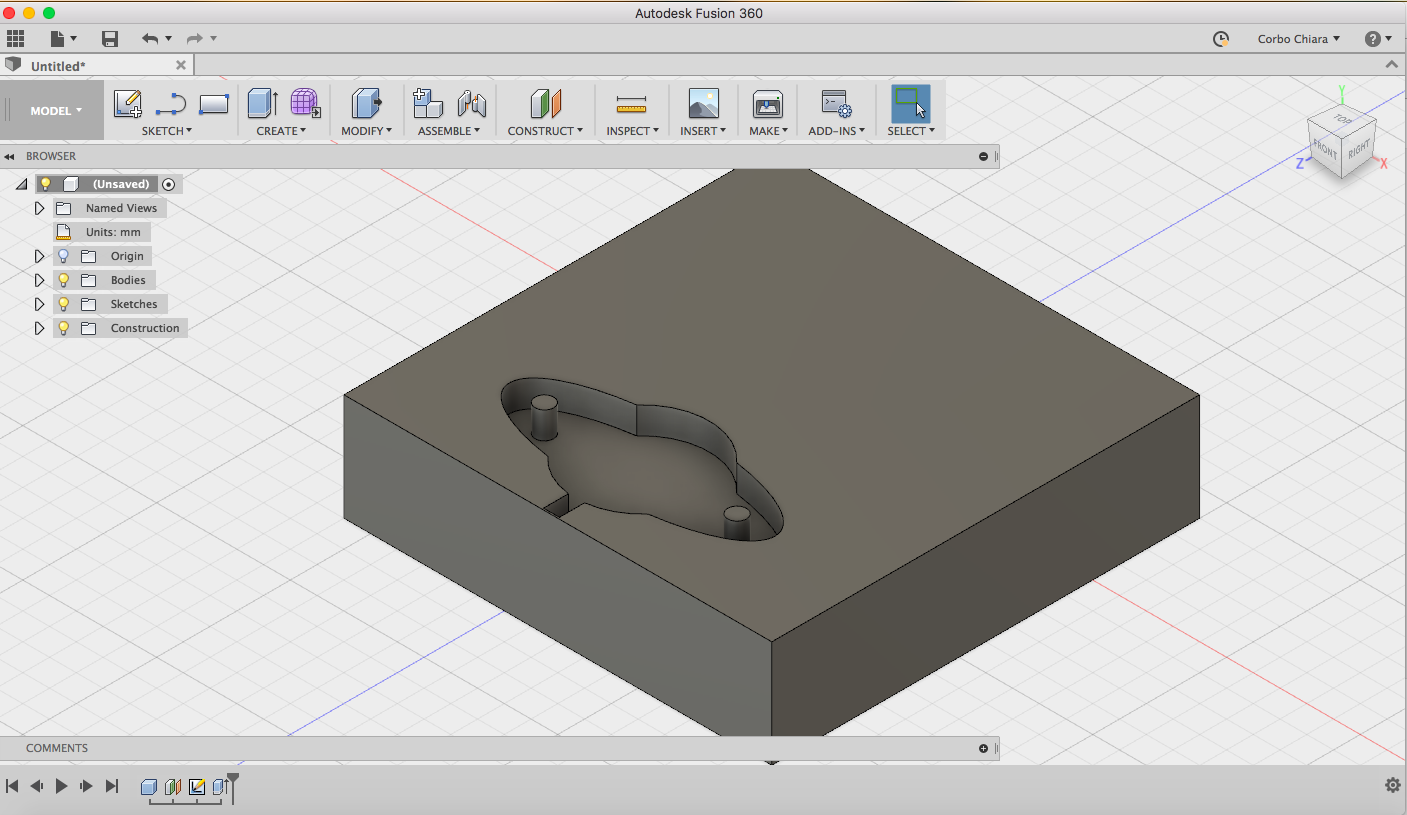
I thought to add two holes in it to sew it on the T-Shirt easily.
I have saved it as .STL file and I have created my toolpath on CUT3D. I decided to use a 1/16 endmill to do that, because it is more accurate for the smallest shape.

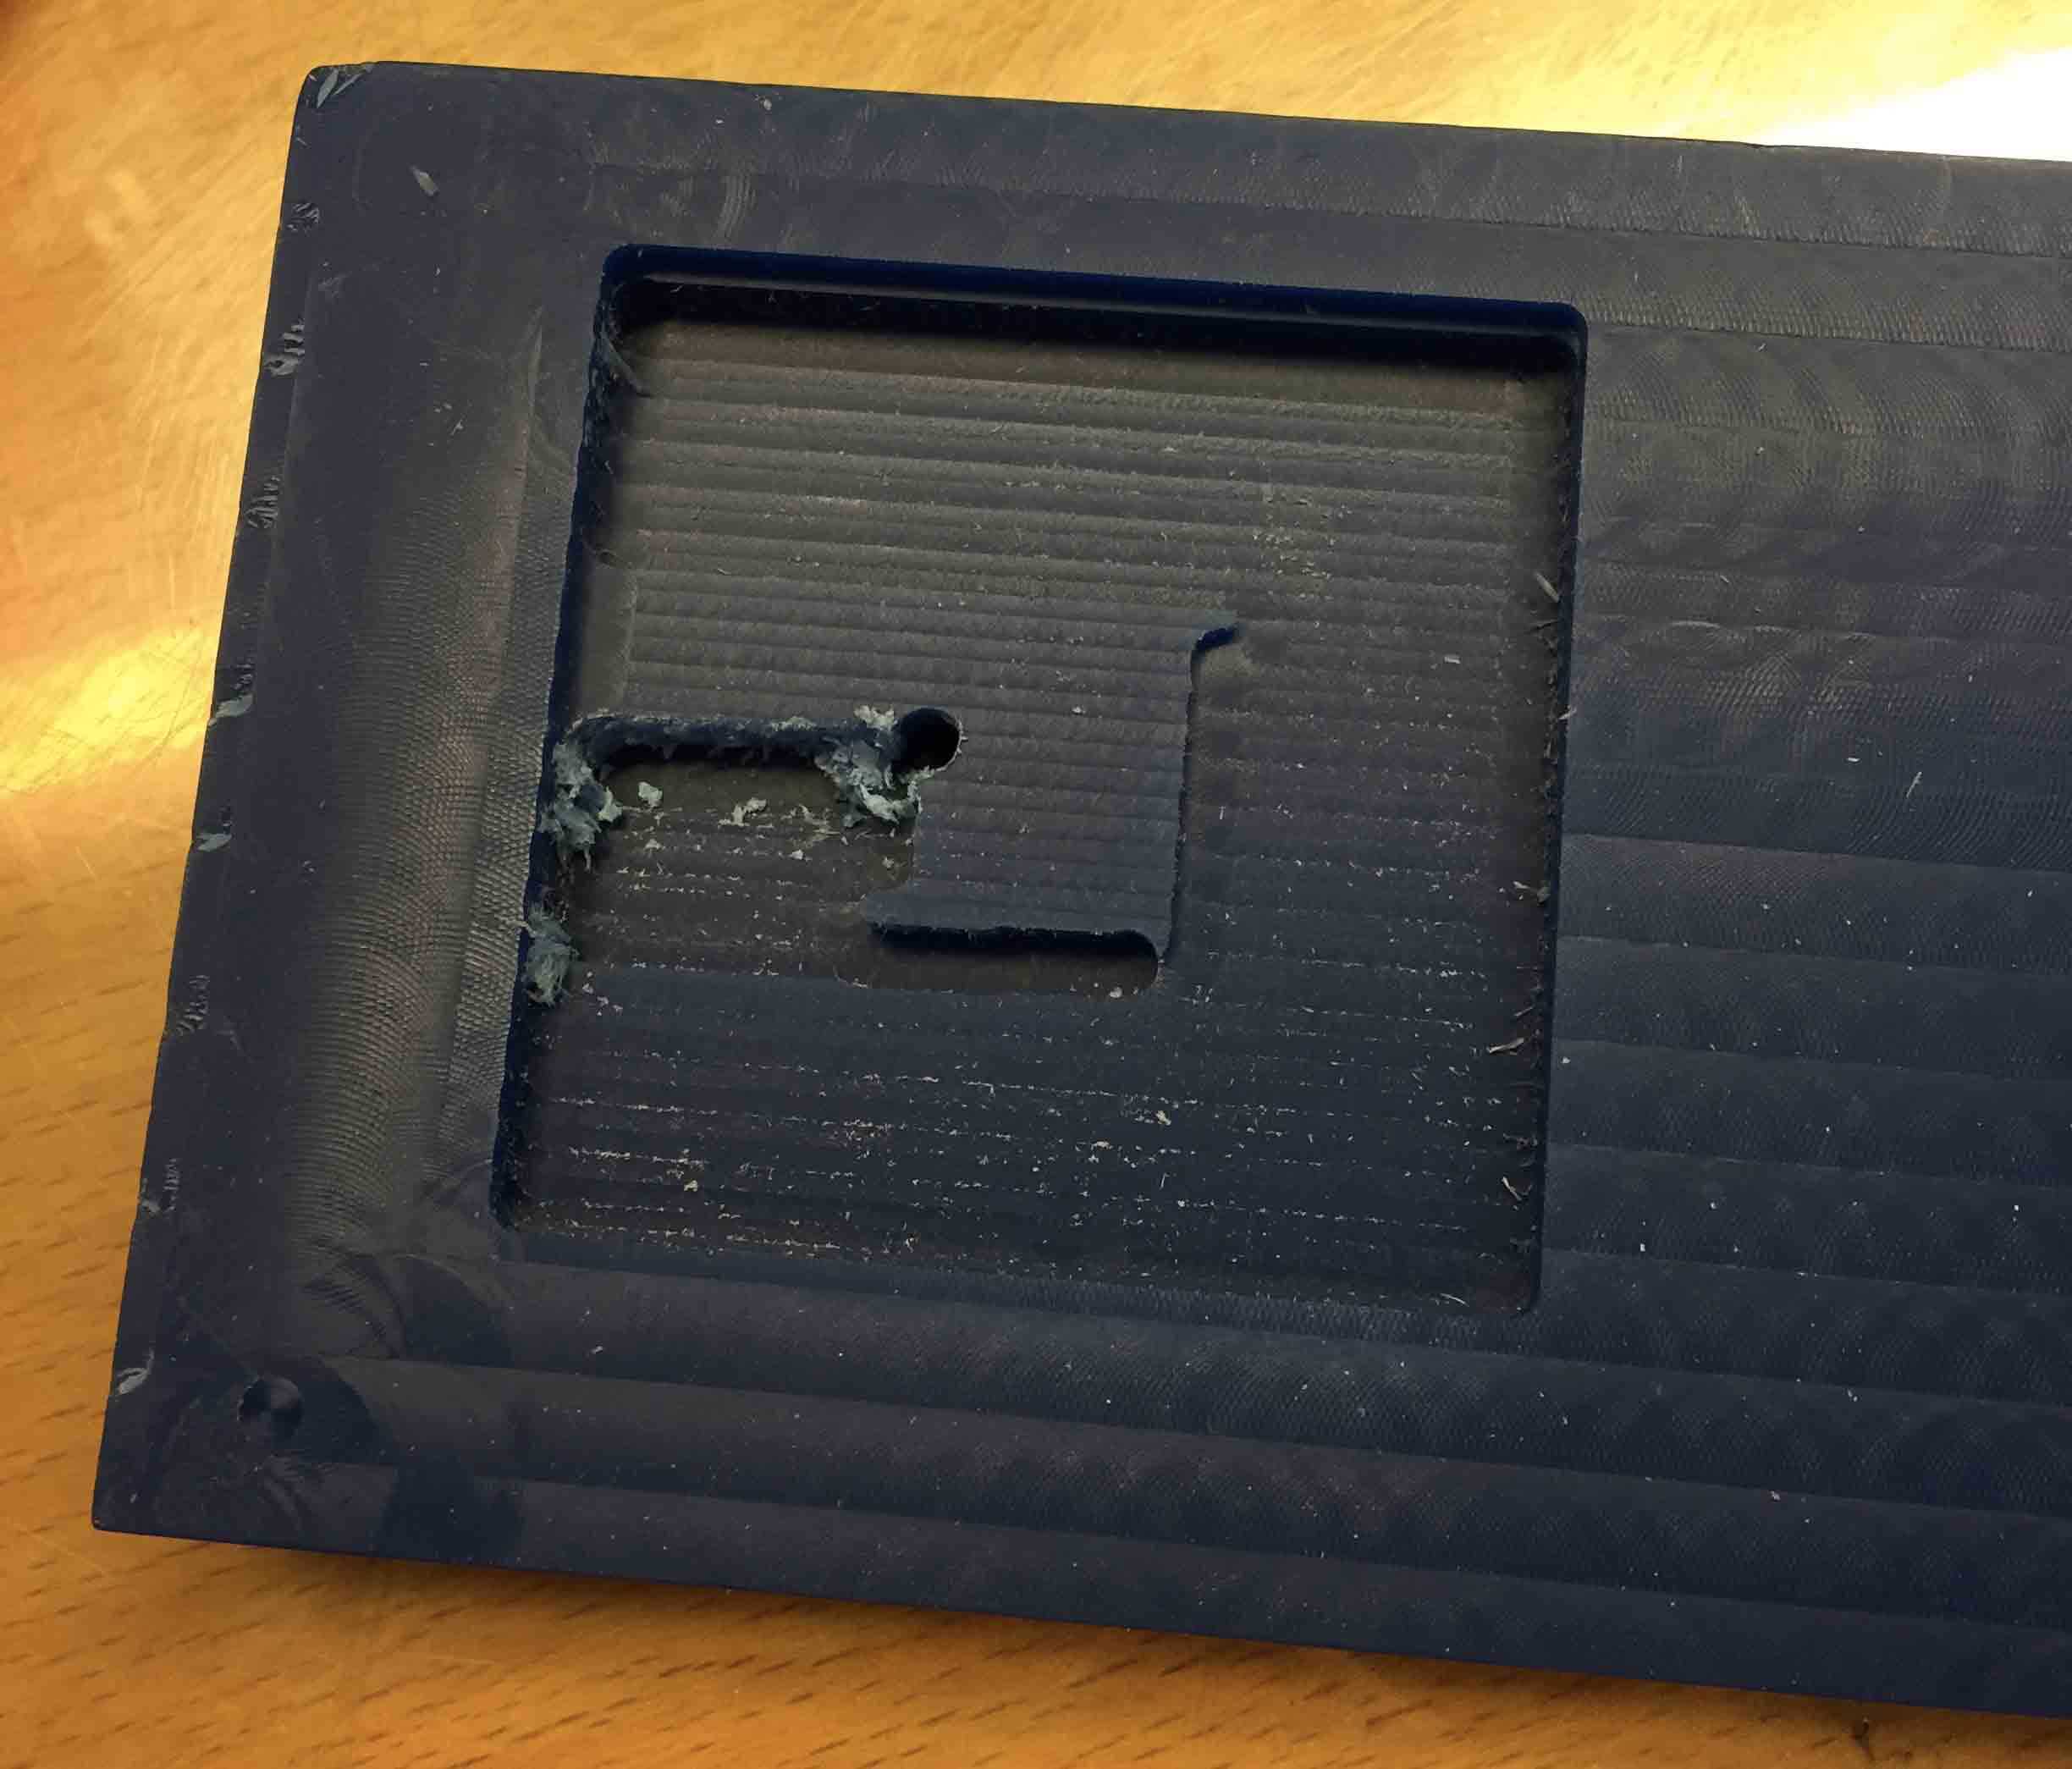
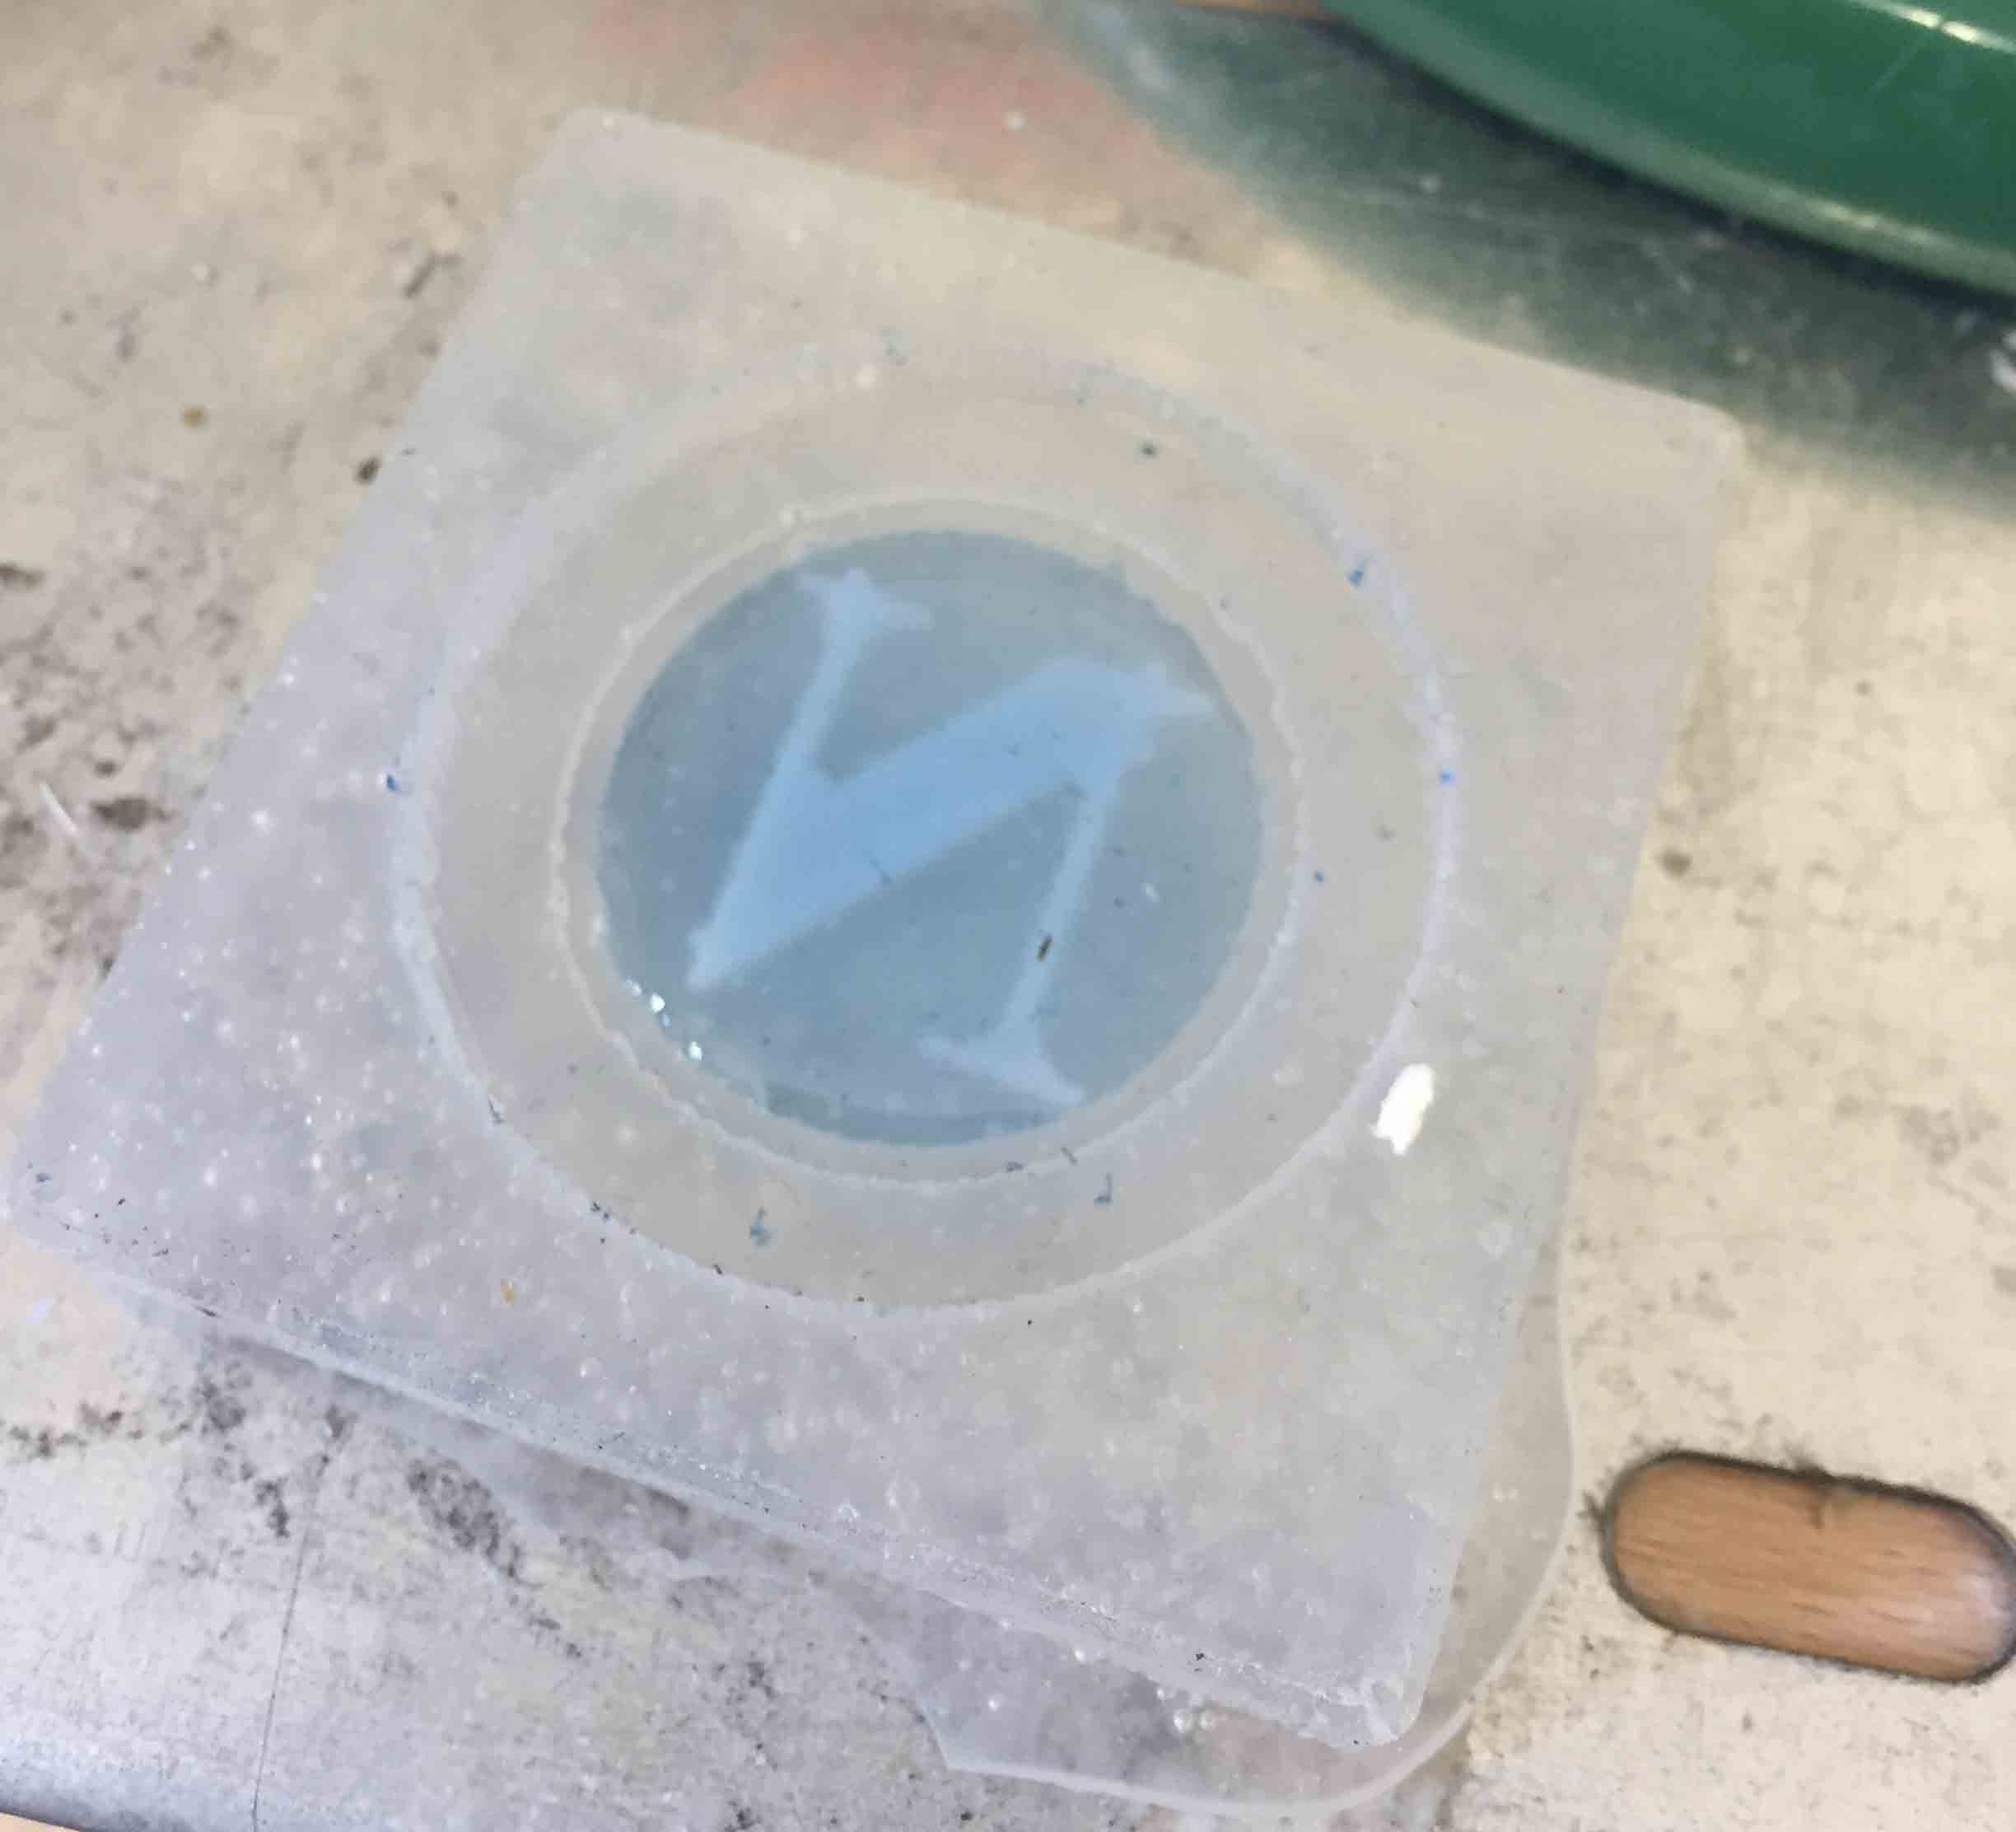
This is my mold. Now it's time to mix silicon. As I have done before, I have mixed Part A and Part B with the same ratio and then I have put it in my wax mold. To put coin vibration motor inside it, first of all I have cast a little part of it then I have putted motor on it and at end I have cast the rest of it.
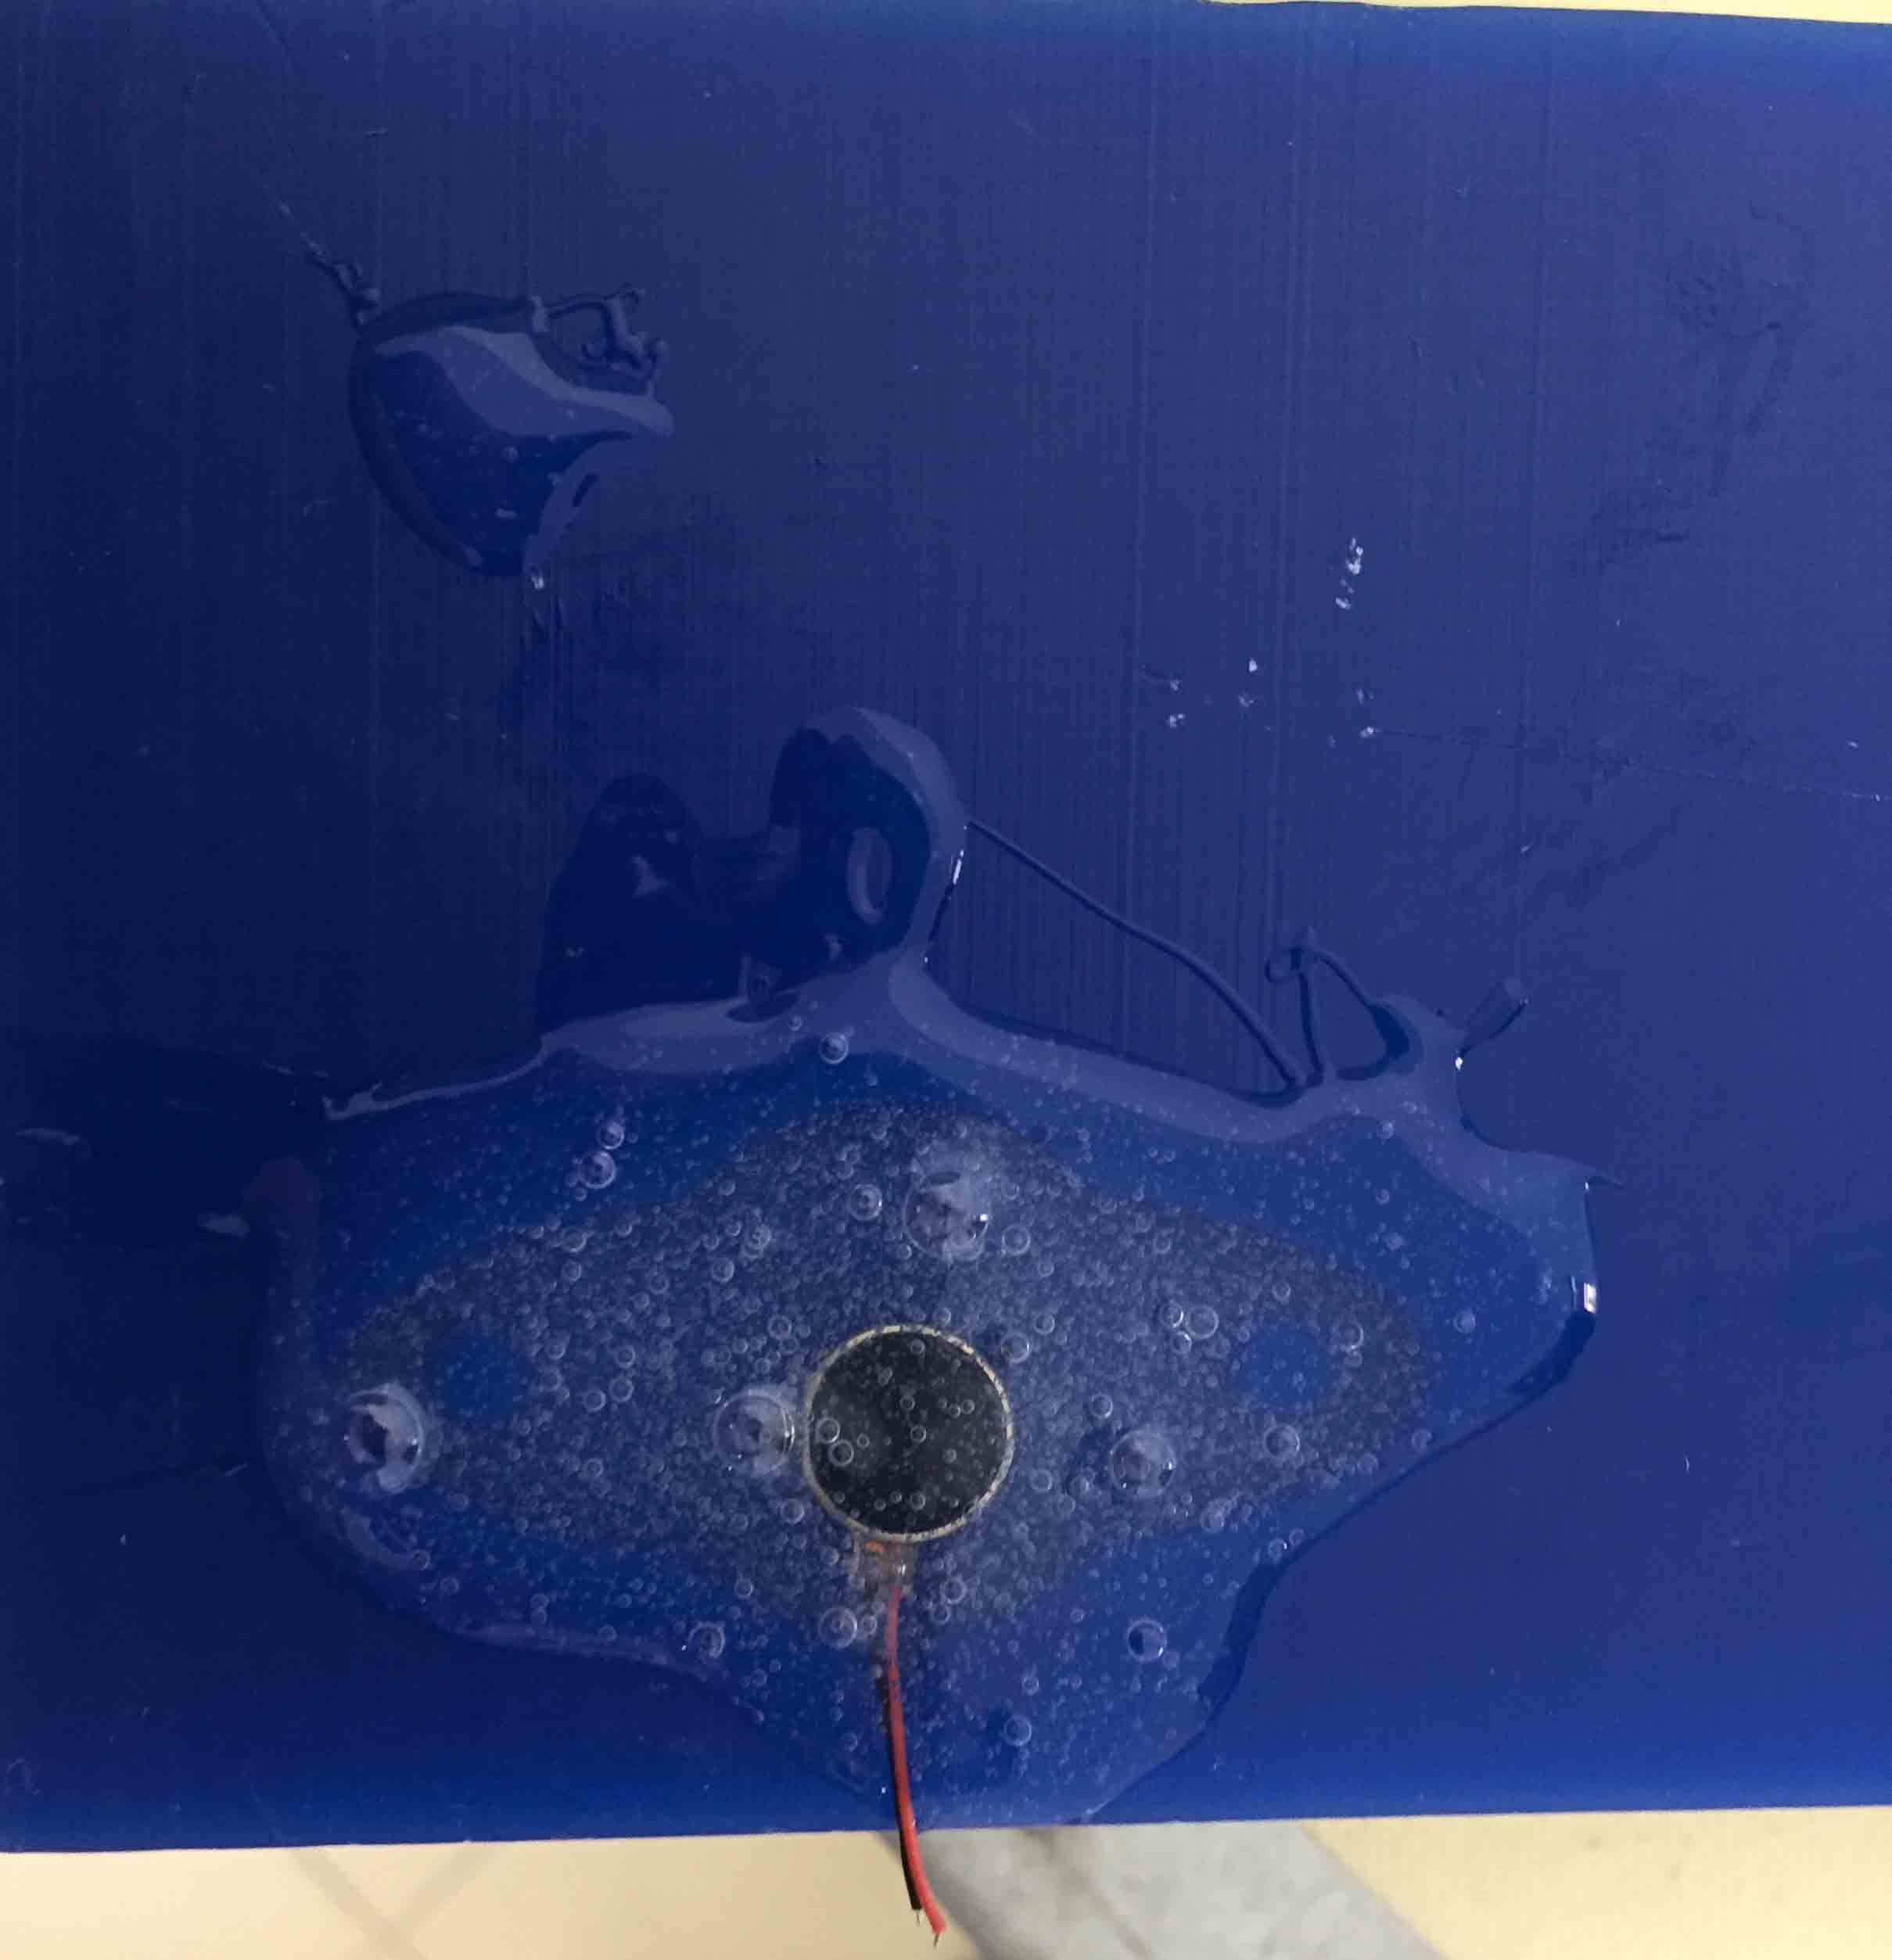
After 5 hours this is the result:
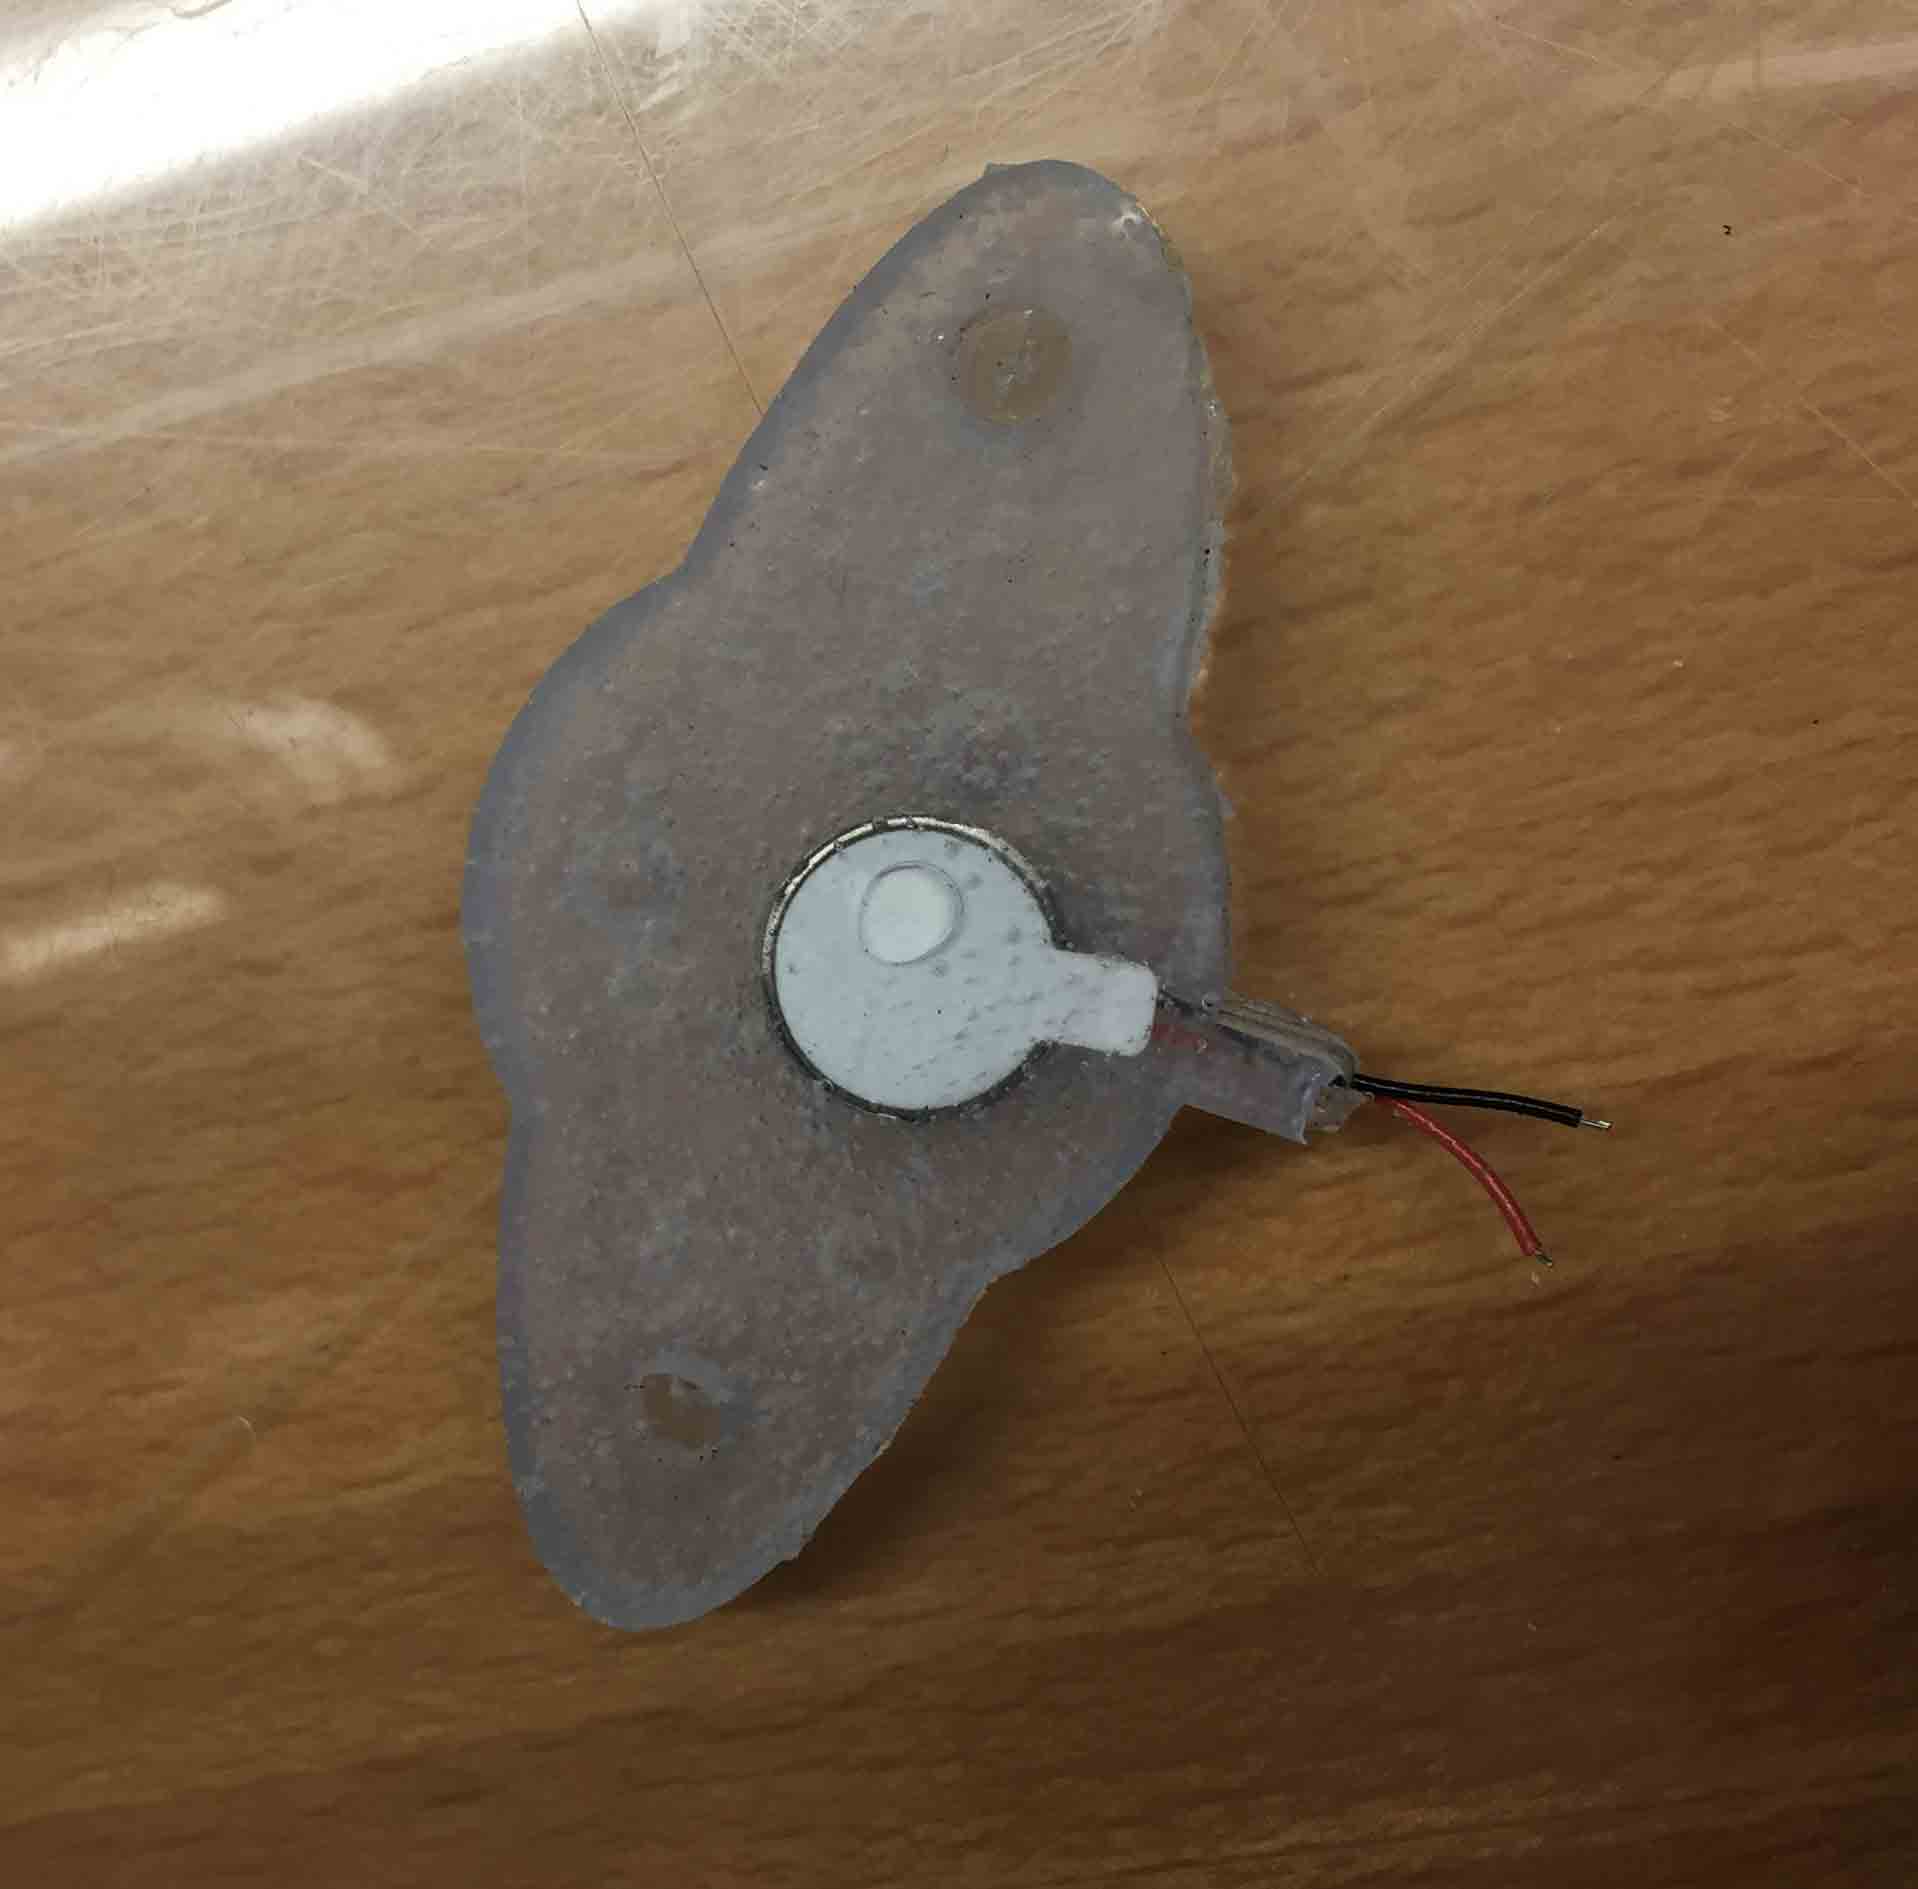
I have done a test with my final project board and the vibration are weaker then before. I have tried to record a video to demostrate it but it can show the differences.
CONCLUSION AND DOWNLOAD
This week was very very fun. It was fun and relaxing for me working with this materials. I'd like to try to do something else during the next weeks.
You can download my files here

This work is licensed under aCreative Commons Attribution - ShareAlike 4.0 International License.