GIT
Git is a version control software (VCS), useful for tracking changes in computer files. I never used this kind of software before, honestly I didn't know the existence until today. I had learned to use it to update my work on Fab Academy directory, but first I had some research about it. Wikipedia helped me to have an overview about this software. I haven’t use this kind of program before and I had some difficulties at the beginning, so I have tried to use this tutorial. First of all I have read, what is GIT and what is a Version Control Software, Then using "getting started" space, I have understand what was the main command.
Also our instructor explained us how GIT works, the most common problems that we could encounter. First of all I have created my SSH key. I followed this tutorial to doing it. SSH key need to autenticate yourself in the repository. Allows you to upload and download files on it. Then I proceeded to clone the archive on my desktop with command:
git clone
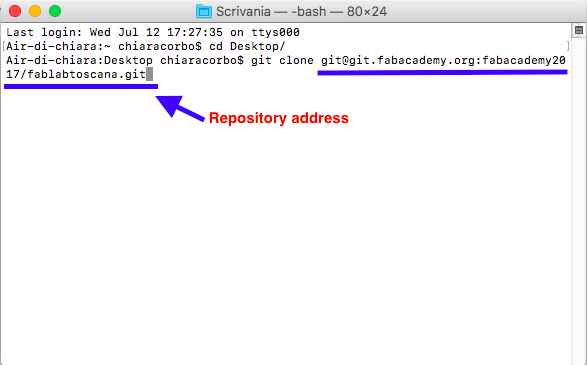
It’s important to do this because it’s easier to update and modify files. Be careful doing this because when you clone the repository, you have the archive of all students on your computer and you might modify other student's for error. Other important and useful command are:
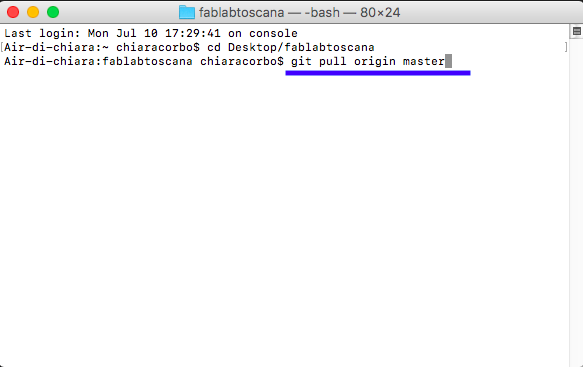
git pull origin master: with it you uploaded my repository with all new other student's files.
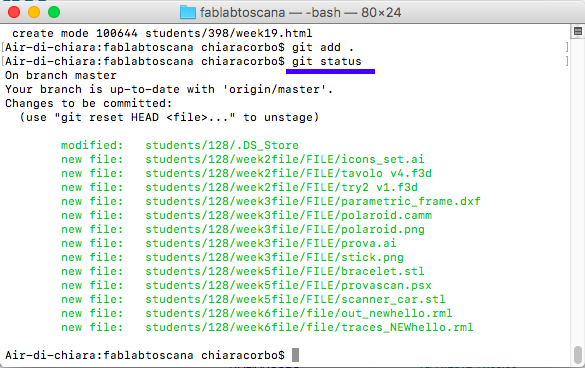
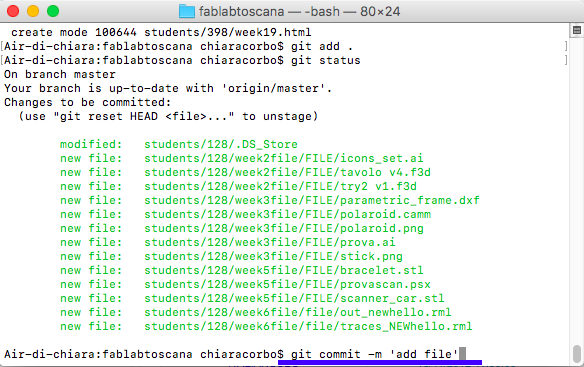
git add .: with this command you will start to tracking all new files.

git status: you can check if your preview commands works. For example after "git add ." you will check if you add all files that you need.
git commit -m 'text' : with it you confirms all new files in the repository. Writing a clear commit message is useful if you will help you browsing the code history.
git push origin master : with it you uploading all new files in the repository.

git log: with it you will see all commit message from the other students.
When I finished working on my web page, I tried to upload it on repository git.
To running GIT I have to used the terminal. So first of all I opened the repository folder with command
cd 'name folder'. Then I have uploaded my folder with git pull origin master ('origin master' is the remote name-of branch). At this point I had a problem. Probably someone had pushing something at the same time, so I had merge error. This conflict could happen for many reason, for example when you try to push something without a commit before.
So I had use :wq command for save and exit from the repository. So I started back with git pull origin master for refresh the repository but once again i found problem.
I had two files called, “.DS_Store”. in my folder. There are temporary binary files from my Mac, so i decide to solve manually the problem using command git rm for remove them. After that I tried to do git status to understand if it was solved.
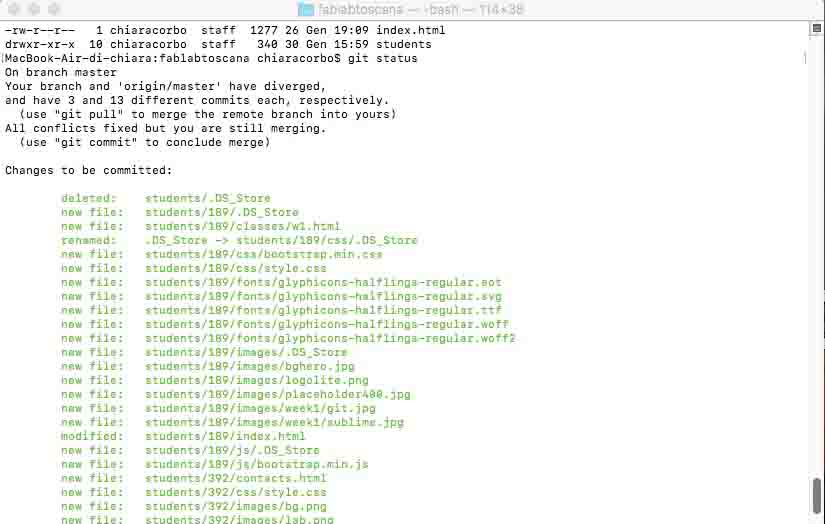
I solved it so I kept to upload my files.
BUILD PERSONAL SITE
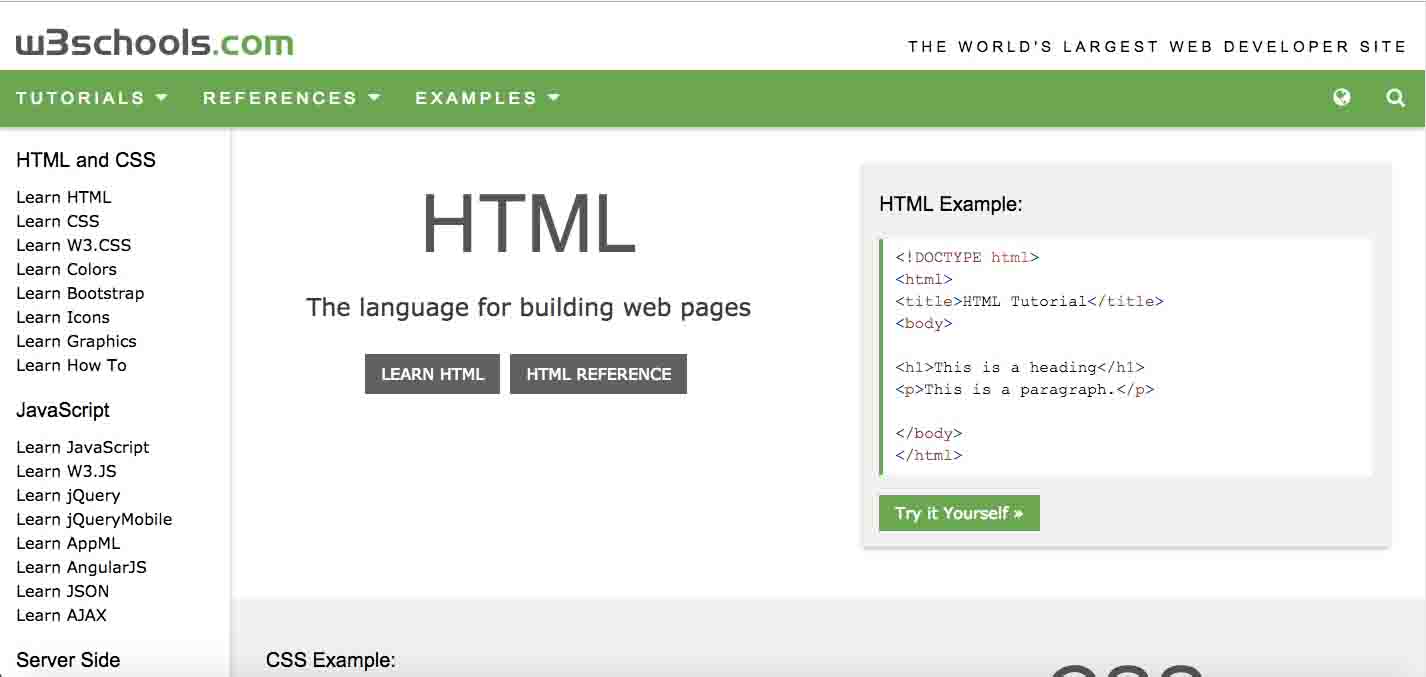
During highs school I used to work with HTML, but I had never used CSS language. This was the first time for me, so I started to read something about it and make practice with basics commands. I think that w3school is an useful site where you can easily make practice modifying the various codes, that allows you to understand how each commands works. If you have some questions, here you can find all your answers.
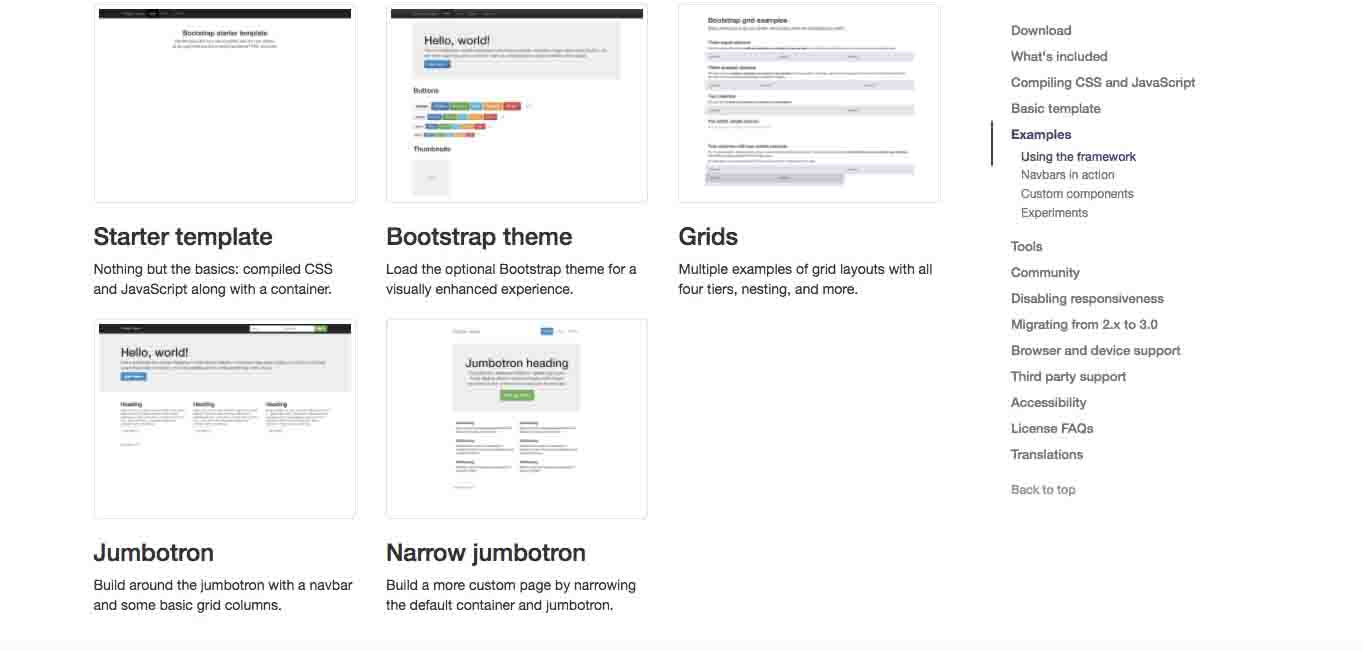
The last step was to build my page. I was looking to do something nice, clear and easy to programming for a beginner like me, so I use Bootstrap, where I found basic template that I can use. From this site I have downloaded basic template to improve it gradually.
To write the code, I had use Atom. Atom is a simply and clear editor for web page. It is easy to use especially because to each elements corresponds a specific color and for the automatic compiling. I decided to use it because our instructor suggested it to me. I always used a texteditor to write a simple HTML code, but I have never had to do something complicated.
I have created my own CSS class, to organize my site and my future work during this six months. In this stylesheet I have create some class to manage the photos.
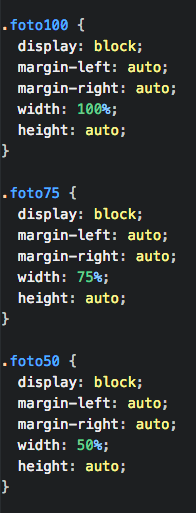
As you can see I have created three diffent class: Large (foto100), Medium (foto75) and Small (foto50). In it I have set up all the conditions that my photos should be respect:
- display: It allows me to insert a picture in a new line and not next to the sentence.
- margin-left/right: I can decide the space around the image. In my case I decide to put it as auto to horizontally center the element within its container.
- width/height: Depending the size I set only width value. For Large size I have set it at 100%, for Medium size at 75% and for Small size at 50%. Height value is auto, it means that it will be automatic depending the width value.
As you can see in this, and in the other documentation's page, on the left I have put a menu to organize all the usefull links.
To do that I have created more style class.
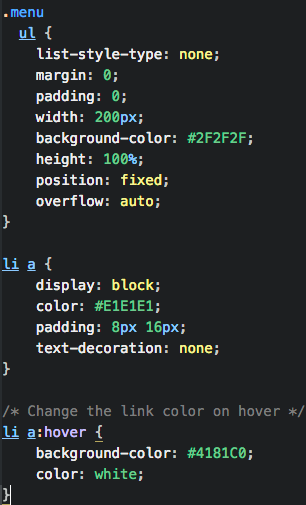
Firstly, I have create different setting for two different situation: one if I move the mouse on the link and one not. For the first situation, the right class is the last one: li a: hover .
In it I have setted the background color whit hexadecimal code, and the font color as white.
For the second situation, when the mouse isn't on the link, class to see is the second one: li a:
In this class I have set the font color, the size of each elements in the list (8px X 16px), text-decoration as none: it is useful to remove the underlines from the links.
The last class to describe is the first one in the photo: ul
Here I have setted the general characteristics for the list in the menu class. The most important command are:
- list-style-type: is useful to remove default settings as markers. To remove default margin and padding you should add margin: 0 and padding: 0
- position: I can decide the type of positioning method used for an element. In my case I decide to fixed the position.
- overflow: It allows me to decide to add a scrollbar if a content of an element is too big in a specified area.
The main command to create my CSS class are these, but during this six months for sure I will use something else.
DESCRIBE FINAL PROJECT
Check final project page at this link

This work is licensed under aCreative Commons Attribution - ShareAlike 4.0 International License.