Exercise 2 - Computer-Aided Design
Assignment for this week
Explore 2D and 3D software, evaluate and post it on class page.
Raster and Vector Images
There are two types of digital graphics files – vector and raster.
Vector images are made of hundreds of thousands of tiny lines and curves to create an image. A vector image can be identify by looking at its edges as it will remain smooth no matter how large you make it.
Raster images are often called bitmap images because they are made of millions of tiny squares, called pixels. A raster image can be identify looking at it very closely when you zoom in, there will be square outlines of each pixel around the edges.
2D Software
In my workplace, although we have access to campus license software like Adobe Photoshop, Illustrator. I hardly use them as I just need a simple software to create documentation. I mostly use MS Paint that comes with Microsoft Windows. From the open-source software introduced by Neil, I will be exploring GIMP and Inkscape.
GIMP
GIMP (GNU Image Manipulation Program) is a free and open-source raster graphics editor used for image retouching and editing, free-form drawing, resizing, cropping, photo-montages and converting between different image formats.
With reference to Gimp Tips, Tutorial Geek and a YouTube video, I managed to produce the image below
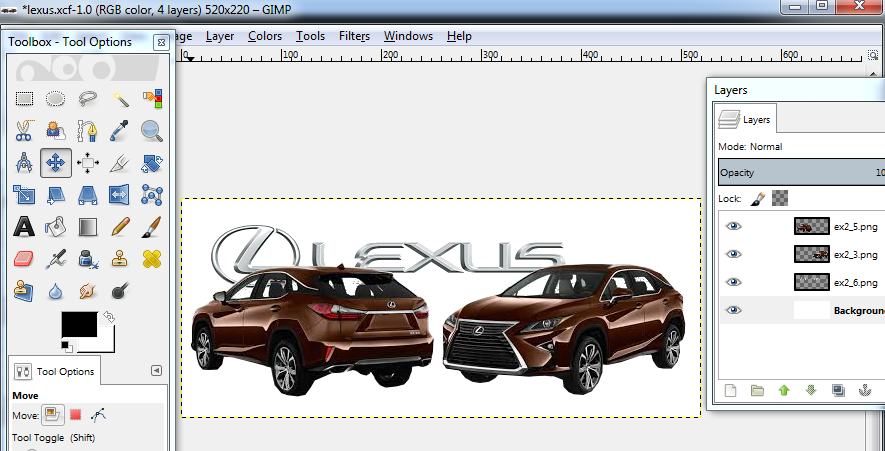
The image is created by removing the individual images from its background using the GIMP tools like Paths, Fuzzy or Free Select. The images were then exported in PNG format before bringing them back under a different layer. Below describe on the steps that I took to remove one of the image.
- In GIMP, Open the image file > Use the Paths Tool and pick the edges of the image till you complete the cycle
- Go to Layer > Transparency > Add Alpha Channel
- Right click on Image > Select > From Path, Select > Invert and then the Delete key
- Save and Export the image as a PNG format.
- File > Create New Image > Create a rectangle in a new Layer > then Drag and Drop the image created into GIMP.
The file is available for download
Inkscape
Inkscape is a free and open-source vector graphics editor. It can be used to create or edit vector graphics such as illustrations, diagrams, line arts, charts, logos and complex paintings. Inkscape's primary vector graphics format is Scalable Vector Graphics (SVG).
I spent some time going through the Inkscape Basic tutorial, Advanced tutorial and Bitmap Tracing tutorial.
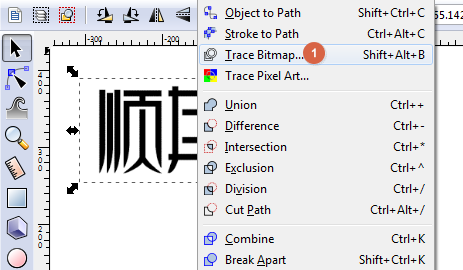
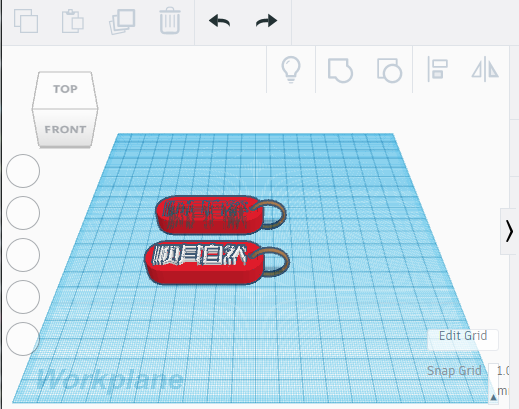
The following is what I have tested using the image which has this Chinese Character "順其自然"
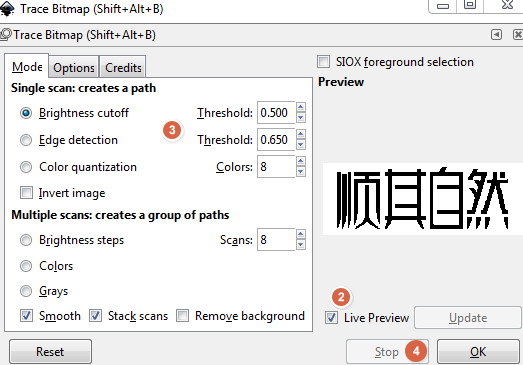
- In Inkscape, Open the image file > Select the Image > Path > Trace BitMap
- Check on Live update
- Adjust the threshold to meet desire output
- Click the OK button
- Separate the 2 graphics and expand both graphics.
 |
 |
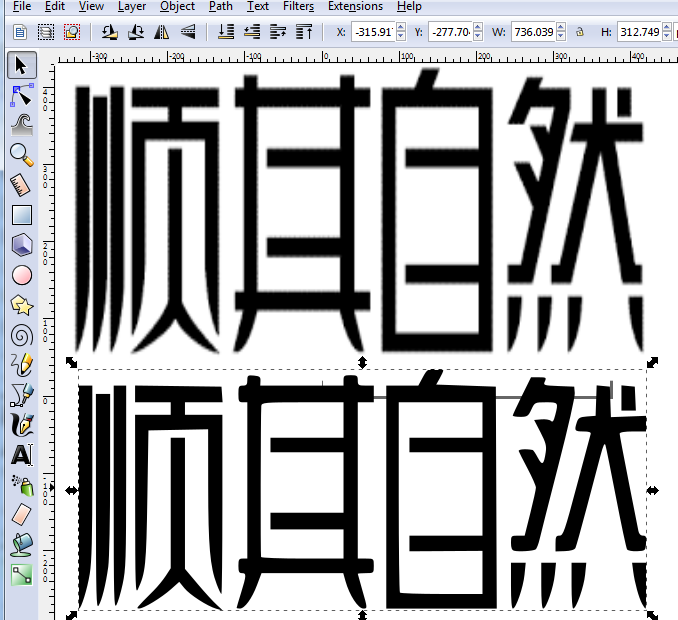
It can be seen that the vector graphic when stretch is still clear and smooth as compare to the raster graphic.
3D Software
Again for my workplace, there are access to Autodesk Software but in my field of work I hardly use them. I will be exploring TinkerCad and Fusion 360.
TinkerCad
TinkerCAD is a free online tool that can create and edit 3D models. It is owned by Autodesk. TinkerCAD is easy to use, has tutorial covering the basic and is a good choice for beginners. The TinkerCAD core engine operates on the Internet via server farms and is accessed by the user via a webgl-capable web browser such as Google Chrome.
With reference to i.materialise and TinkerCad Basic and Lynda.com. I begin my journey for my first 3D CAD using TinkerCad
The following was drawn together with the imported Chinese Character "順其自然" which I have saved previously in Inkscape
The 3D Model can be rotated and zoomed with the mouse
The file is available for download
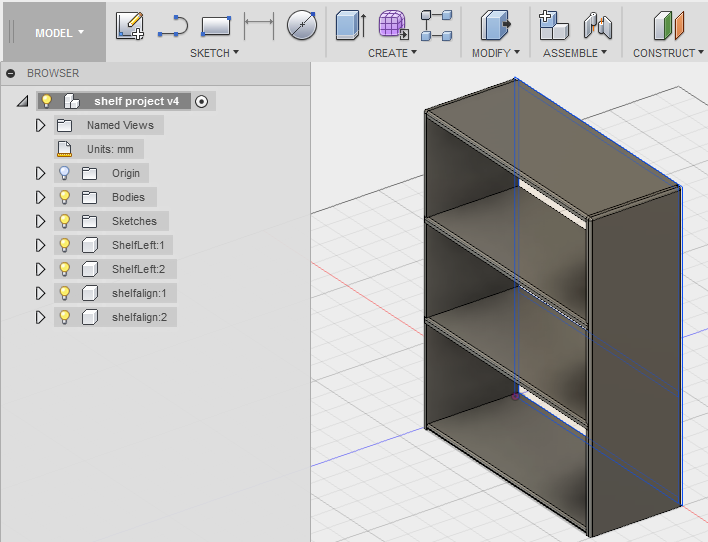
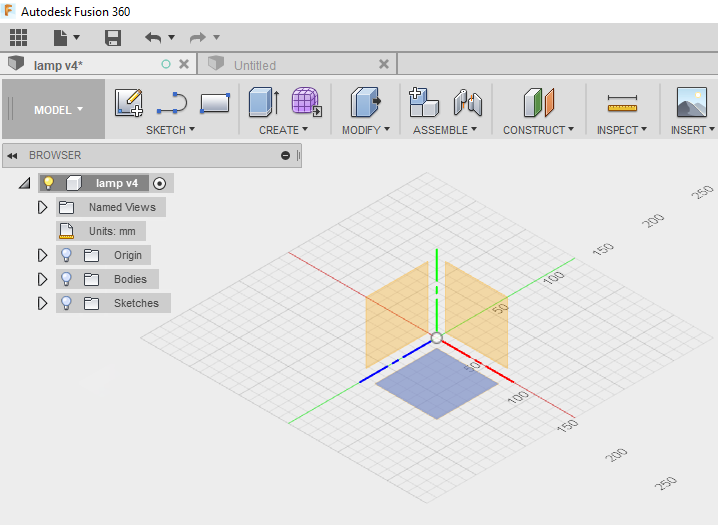
Fusion 360
Fusion 360 is another product by Autodesk. Students and educators can create an Autodesk account to get the free educational access to download and start running Fusion 360.
There are just too many online tutorials to follow and absorb in such a short time, can be cognitive overload. However, I find learningfusion360.com and Lynda.com most useful for starter like me. Another method of learning is to go through those Video posted on YouTube by the Advance User using Fusion 360. Zoom in to the particular topics you are interested to know.
The file is available for download
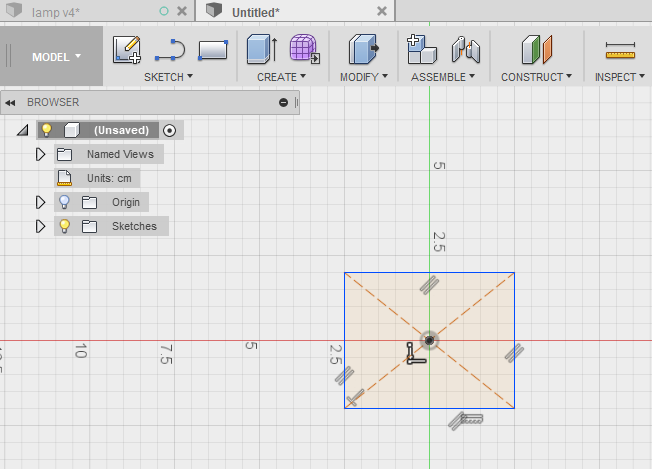
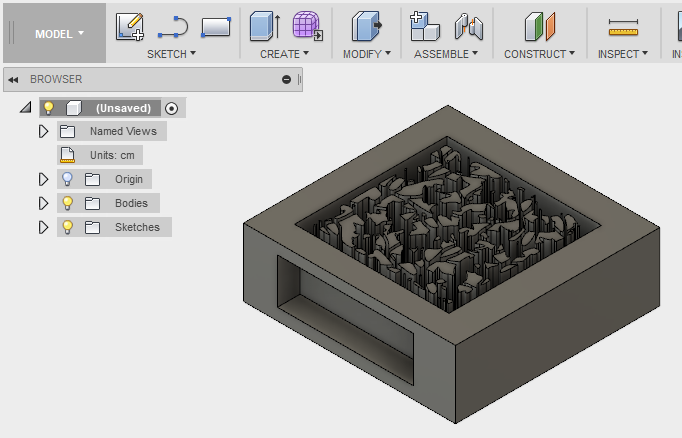
A screenshot of what I have done with guidance from the online tutorial posted on YouTube using Fusion 360.
Possible Final Project
It is not easy to draw the potential final project as I am still trying to understand the various tools and features in Fusion 360, furthermore I have yet to finalise what design or images to use.
Therefore only drafted what is a possible project when I am exploring Fusion 360.
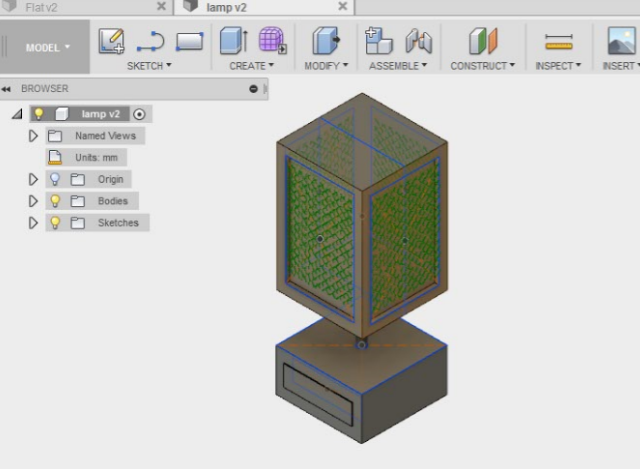
The file above is available for download
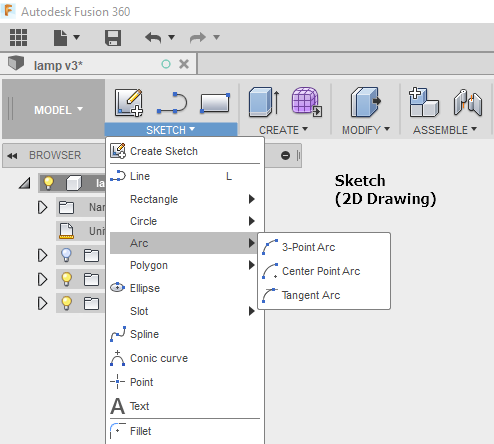
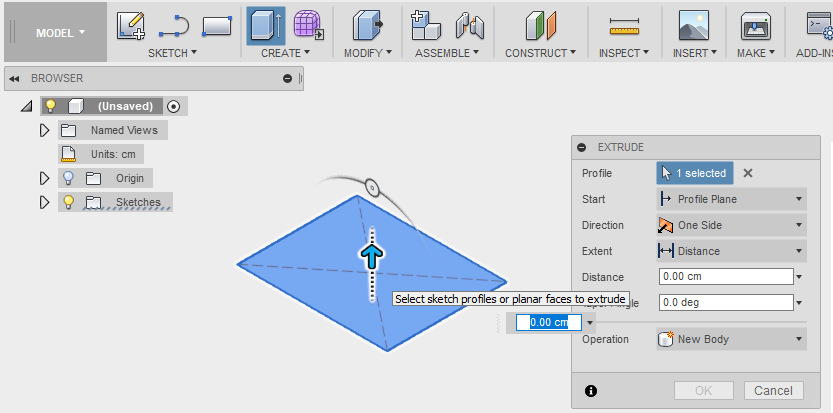
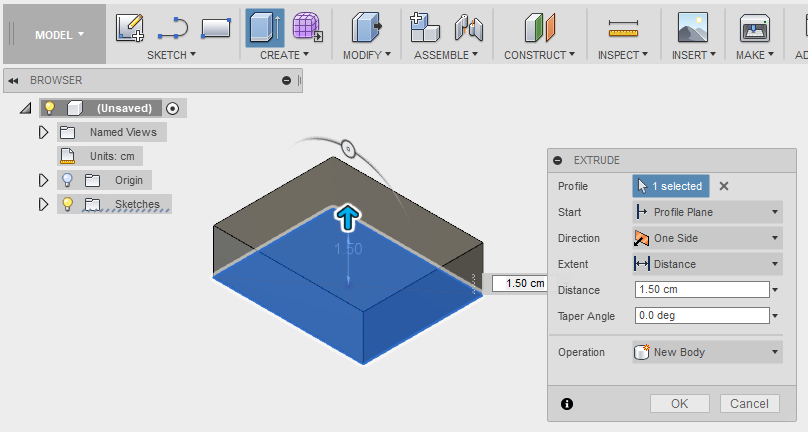
The following are the basic tool or feature I make used to draw out the shape for my possible Final Project. That would also show how i created my 3D drawings.
- Using the Sketch tab, this is where I can create 2D shapes like rectangle, squares, circles or even polygon on the workplane. Choose an axis (x, y or z direction) to place the shape.
- Using the Create tab, this is where the 2D shape transform into a 3D shape, select the Extrude button on the create tab. Select the 2D shape (if it is not selected) and a small blue arrow will appear. You are able to pull it up with the blue arrow or adjust the height via the input text.
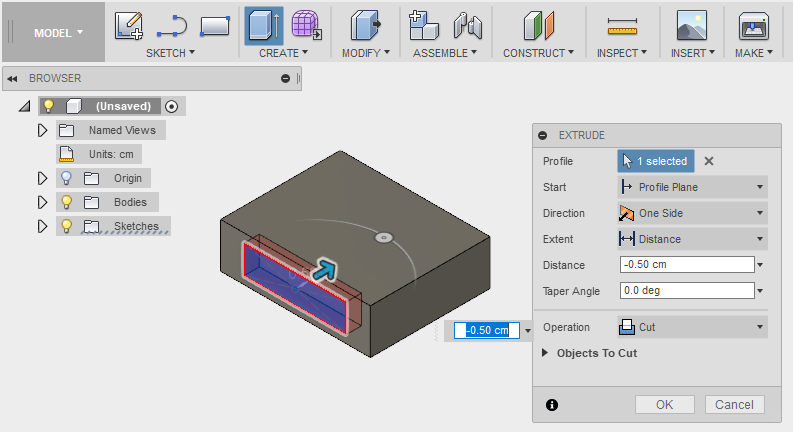
- To create a rectangular hole on one of the surface, select the surface then repeat Step 1 and then Step 2
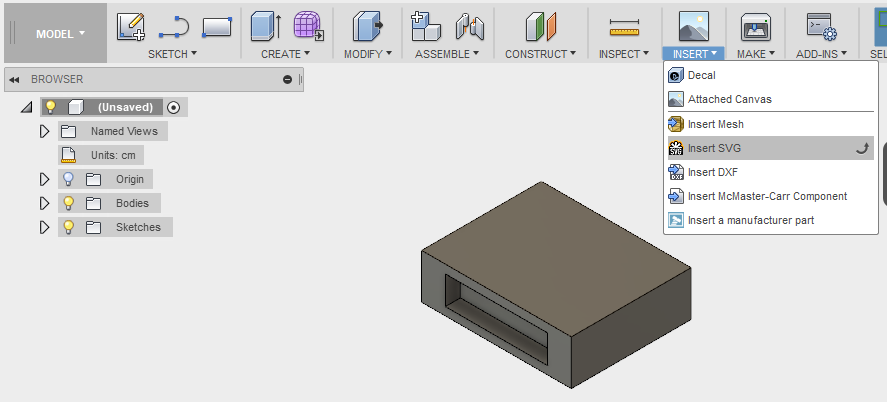
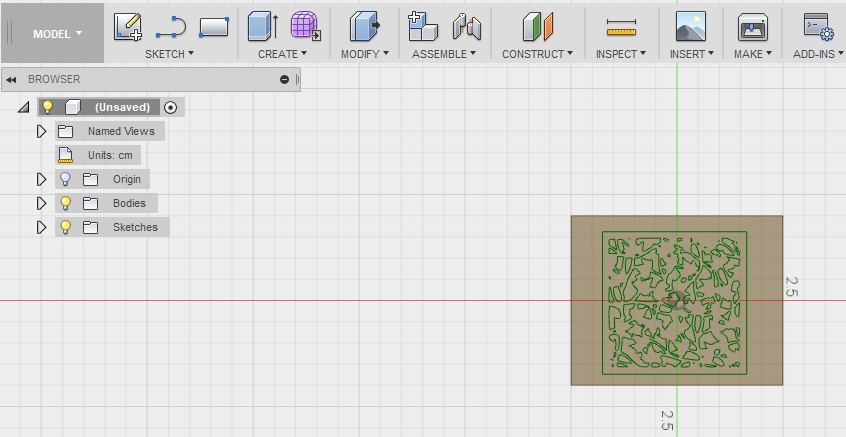
- To add images on the surface, first you have to save the images as SVG using Inkscape. Next go to Insert tab > Insert SVG
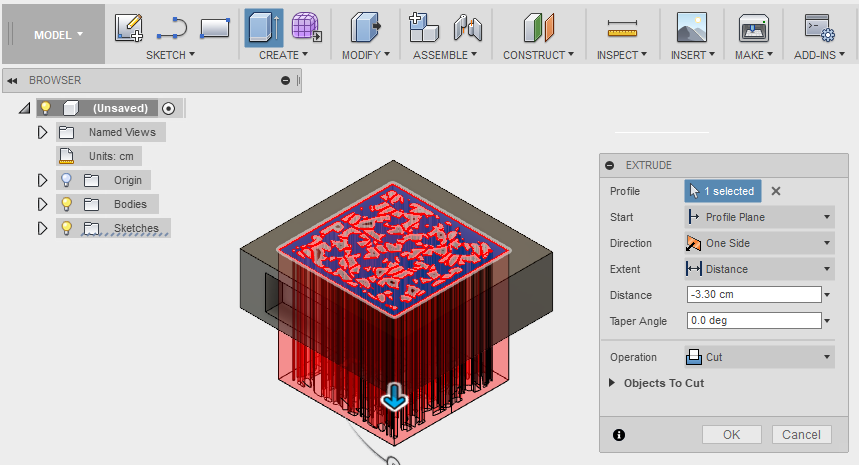
- To perform Extrude, select Extrude button on the create tab, pull down the small blue arrow to adjust the height or via the input text.

The following is a Video on Fusion360 for beginners which I find very helpful to aid in the learning.
My Thought
Although is only been two weeks and I can feel the amount of information to pick up and absorb. From last week HTML/CSS and Git Repository and now 2D/3D software. Is going to be a sharp learning curve for me, neverthless I'm glad to be expose to GIMP/Inkscape and Fusion 360.
I believe this will not be the last time I will be using Fusion 360. There are far more feature and function that I have yet to explore and learnt. As a Non-CAD user, I found Fusion 360 very user friendly and can be access anywhere as long as you have an internet connection.