Assignment Week 2: Computer Aided Design
This week our task was to understand the basics of 2D and 3D design, including the use of simulations and animations. I focused my time on learning the end-to-end software platform Fusion 360 from Autodesk. In particular, I explored how to simulate various shapes and forms using different materials.
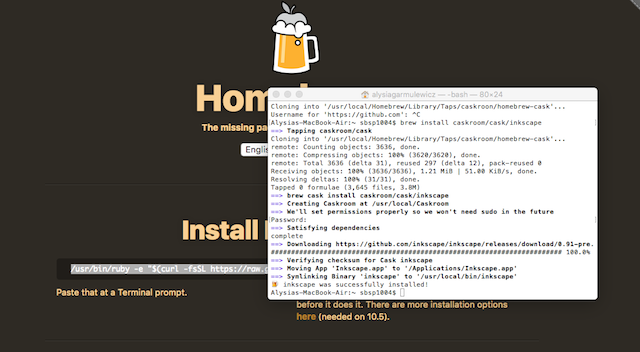
As a powerful 2D drawing tool, I installed Inkscape. In order to do so I had to learn how to use my mac terminal and type controls through the command line. Then I had to install Xcode from the apple store. Then tried Inkscape's recommended package manager, macports. This proved so slow I asked around for alternatives. Homebrew was the quickly proffered alternative, and it proved quick and simple. Here's a snapshot of my terminal downloading Inkscape from Homebrew.
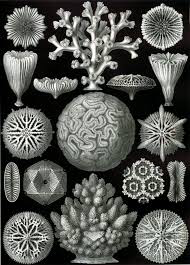
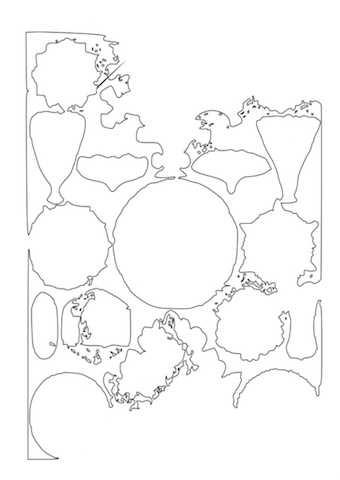
I then played around with Inkscape using the image of diatoms (drawn by Ernst Haeckel, a favorite examples of beautiful design). I managed to outline a layer and then extract it, creating an entirely different image. You can see the original as well as the top extracted layer here

Getting into 3D design, I started researching the differences between 3D design platforms. One of the more interesting distinctions I find is between more top down or bottom up ways of generating designs. Here is a snapshot of a e-book on generative design I am finding very informative
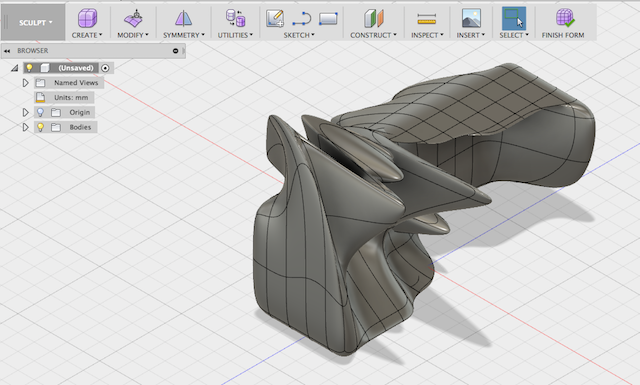
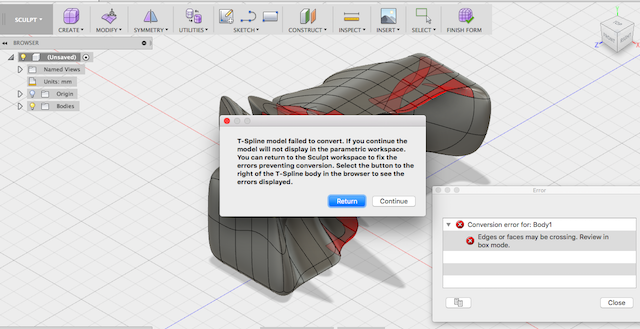
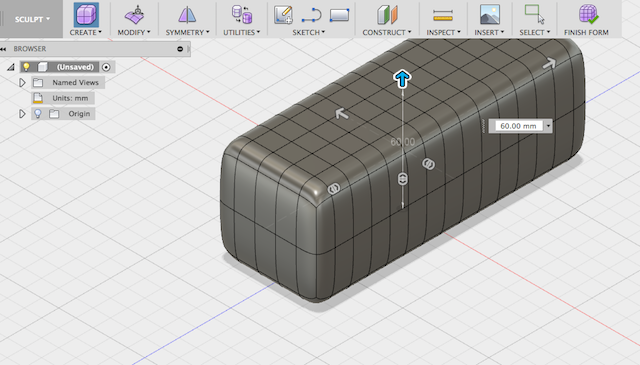
I looked into using Rhino for Mac so I could play with Grasshopper and generative design, but the mac version is still in beta, and I thought it better to first learn the basics of a more integrated package. I chose Fusion 360 and found it extremely intuitive. I tried playing around first, and quickly created this. As you can see (picture right), this caused problems with the software. I followed an Autodesk tutorial and made this instead - a better introductory step!

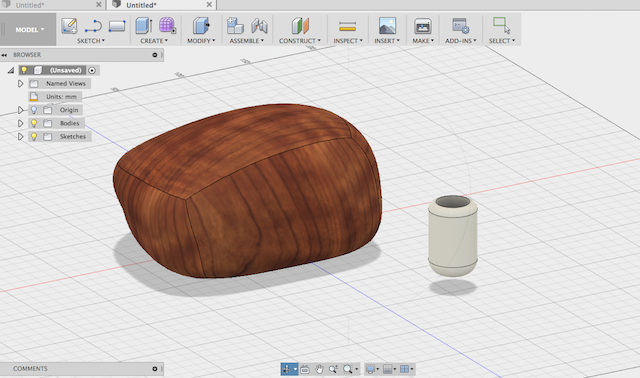
I experimented with different forms, hollowing out a cylinder, and flattening the block. I then added a material to each of them. Autodesk Fusion 360 has a large materials menu including woods, ceramics, plastics, and metals. Here is the cylindar and flattened block in ceramic and cherry wood, respectively.

Now I started to set up a model for simulation. I created a model of a spring, as I was interested in how it would respond to simulated forces. I first added ABS plastic as the material. You can see in the pop-up box the properties of ABS plastic that Autodesk has in its materials library. As a point of future research, I would like to know what reference material they use for this datasheet. Is it an average value for ABS plastics on the market? Or a specific brand? This is important as ABS plastic has variable properties according to additives and the production process.
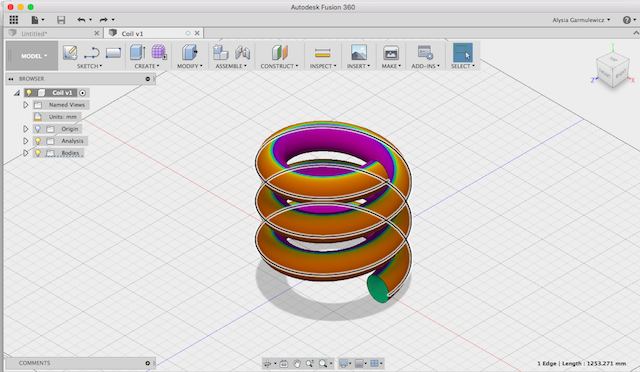
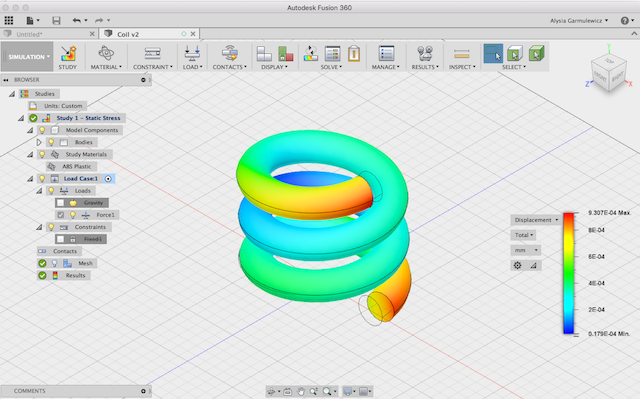
I started to experiment with simulating forces applied to the spring. The spring has only one face on the bottom, and one edge (displayed above). This meant that the force was applied through the spring from the bottom face. I chose a force of 100 Newtons. Here you can see the animated displacement, with the parts of the spring exhibiting the most displacement colored in yellow and red.>
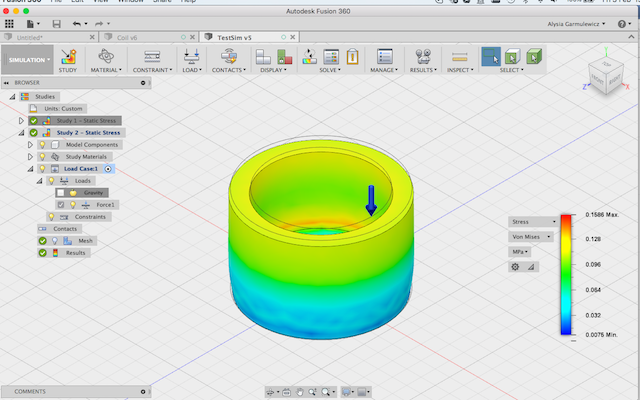
I then created a less complex shape - a cylinder - to apply a simple downward force. Here the material is silicon rubber, and the force applied (300 N), results in a displacement as well as a heat map of von misus stress throughout the object. The cylinder has clearly reached the 'yield strength' value, a critical point after which the material yields under the force applied. Click here to view the output file showing the details of this simulation.
Here are the files from this week:
Cylinder in Fusion 360