COMPOSITES
- Demonstrate workflows used in mould design and construction
- Select and apply suitable materials and processes to create a composite part.
this is the best option of testing reaction of resin on HD Styrofoam in order to approve if i will use it as reinforcemnt on my drone. I have been looking forward to this week for a long time, getting to work with composites. This week is also all about 3D milling on the ShopBot which I find very exciting. So even though our resins have still not arrived I had a excellent week learning to 3D mill, that helps me to make fuselage of my drone with higly precision on HD styrofoarm.
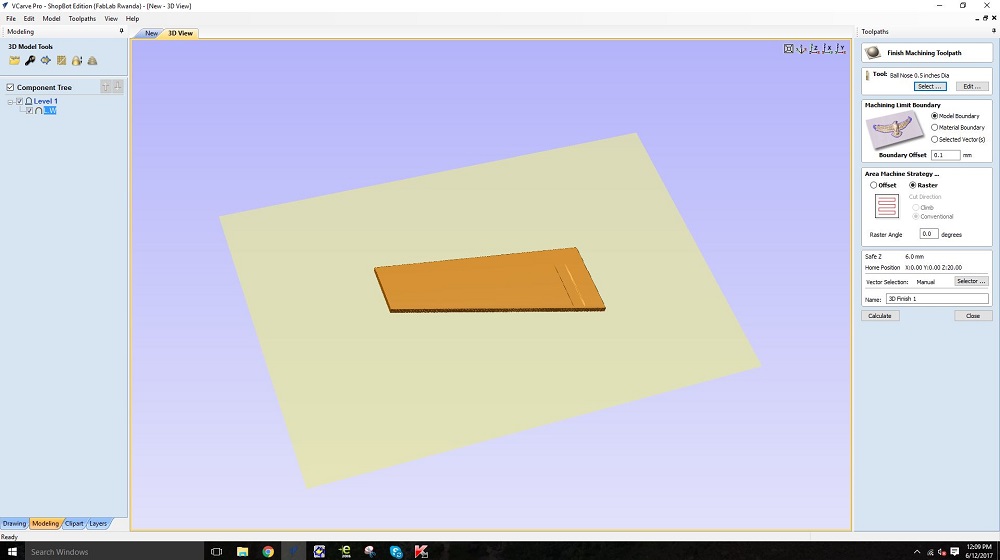
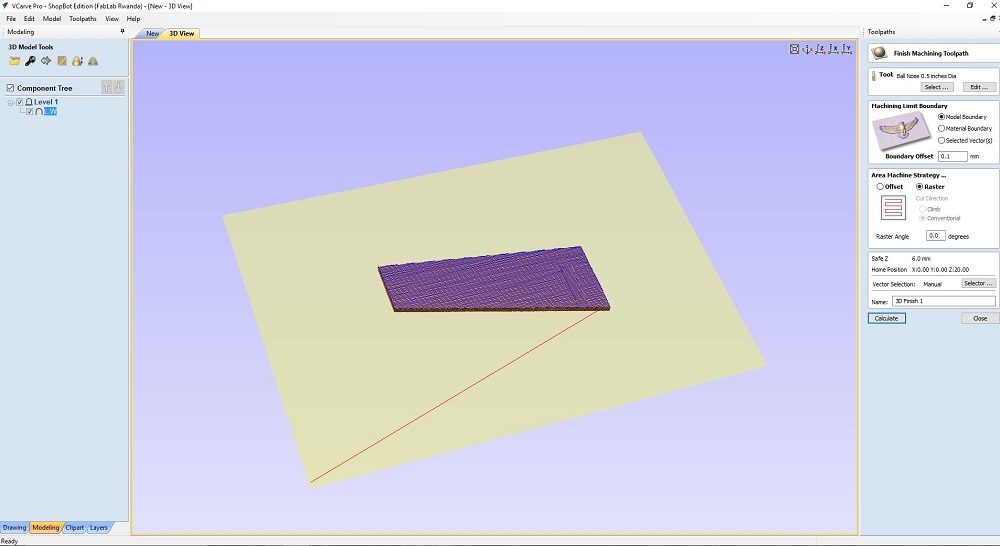
Mould Design and mashining the mold
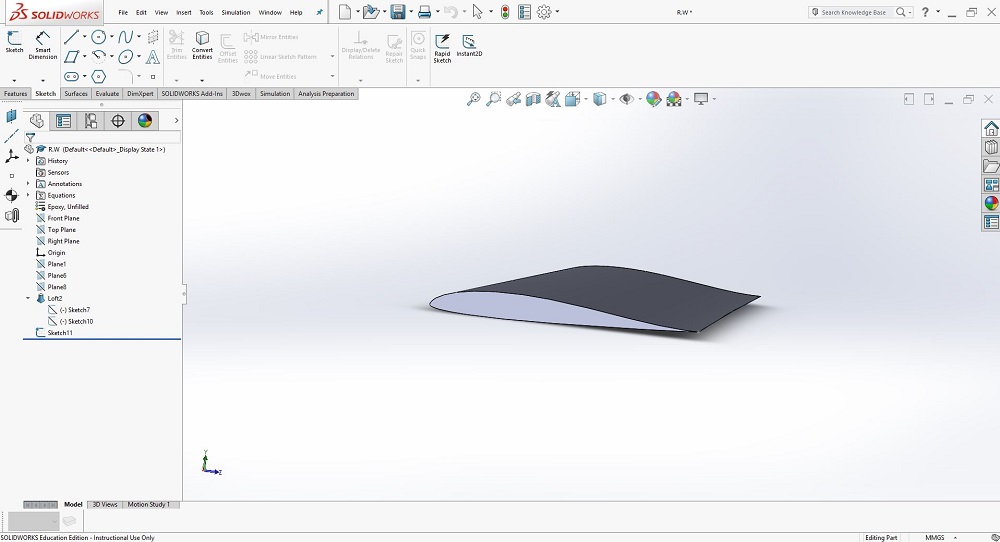
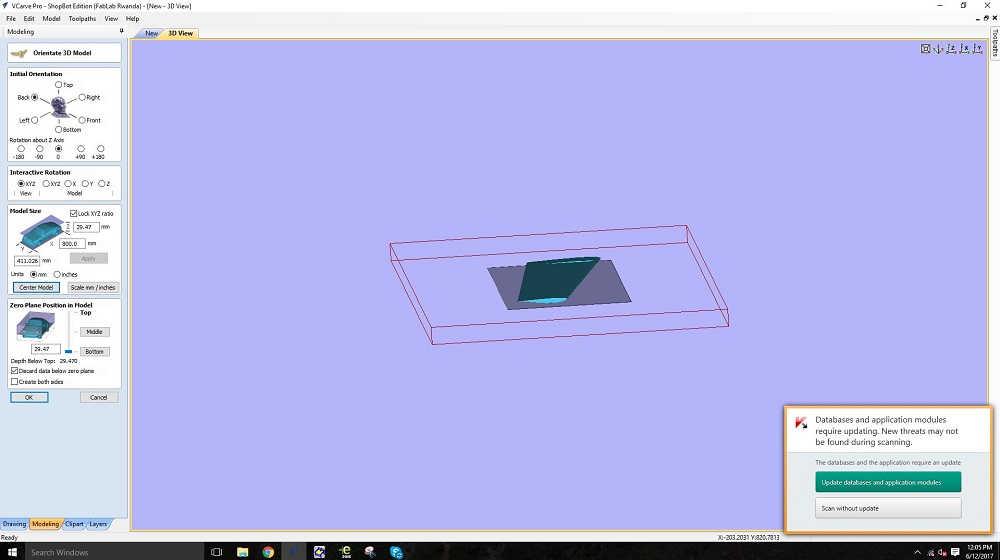
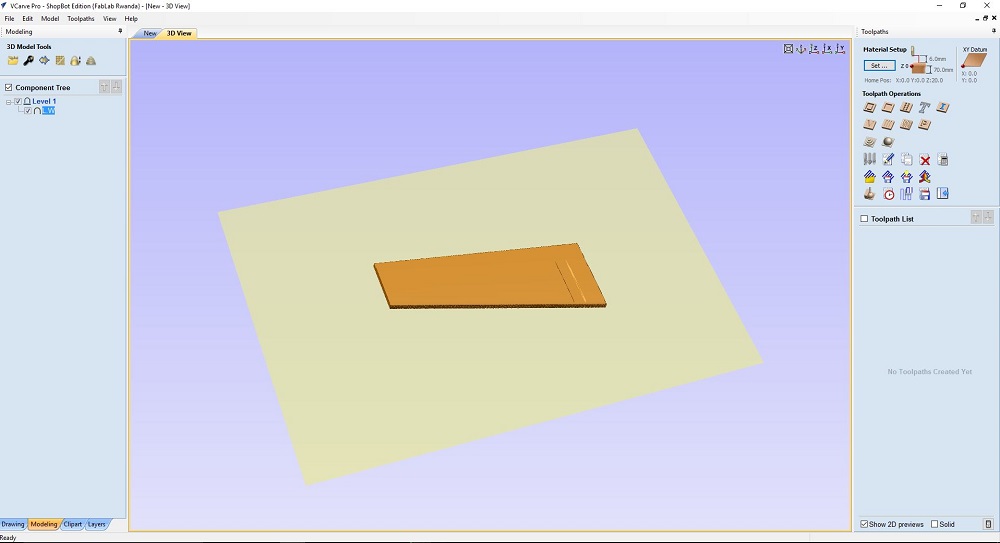
with the mould design i used a wing I designed during my week 2 "computer aided design "but i reduce the scale, I learn other skills on computer controlled mashining. the way I can used OUR ShopBot. to do that you have to import 3d model(*.stl,*.obj) in v Vcarve. because I was using the hard tool bit and soft material (HD styrofoam) I used smooth finishing tool instead of using rought tool
 />
/>
.jpg)
.jpg)
.jpg)
.jpg)
TIME FOR COMPOSITE
before doing any thing ready carefull resin safety data sheetDownload it here
For composite i used
 after putting every thing together its time for preparing work space. I covered all table insulating film with my collegues Serge and Denis
.JPG)
.JPG)
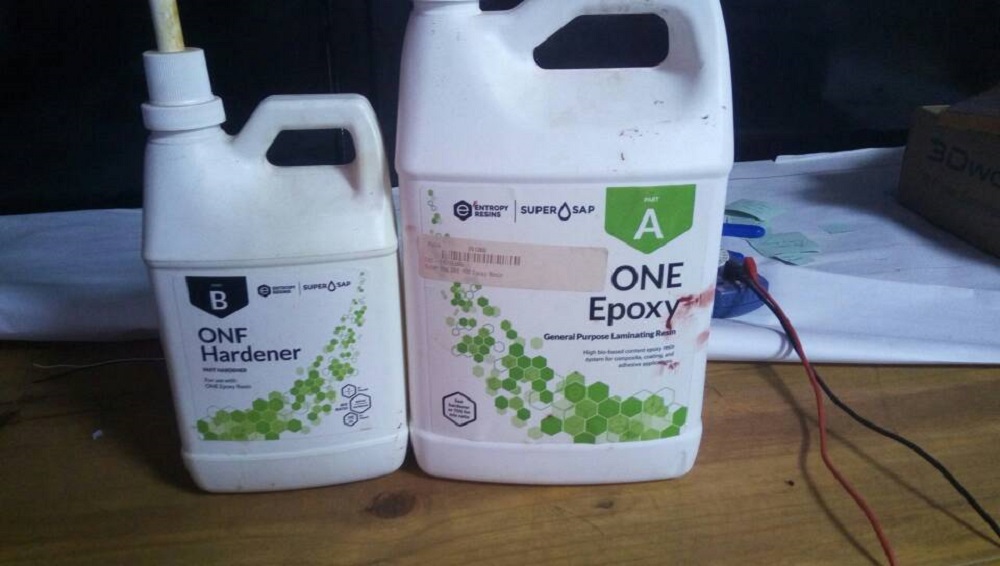
after preparing work space and material needed it time for start composite. as my resing datasheet says i have to mixe 2/1 as ration of part A (ONE Epoxy) and part B (ONF Hardener).
.JPG) After that mixing the solution of Part A and Part B i cutted a small tissue of fabric that can completely covers my mould and paint to apply resin on both side of mould and deposing the fabric on it and let resing came out until i covered whole body
After that mixing the solution of Part A and Part B i cutted a small tissue of fabric that can completely covers my mould and paint to apply resin on both side of mould and deposing the fabric on it and let resing came out until i covered whole body
.JPG)
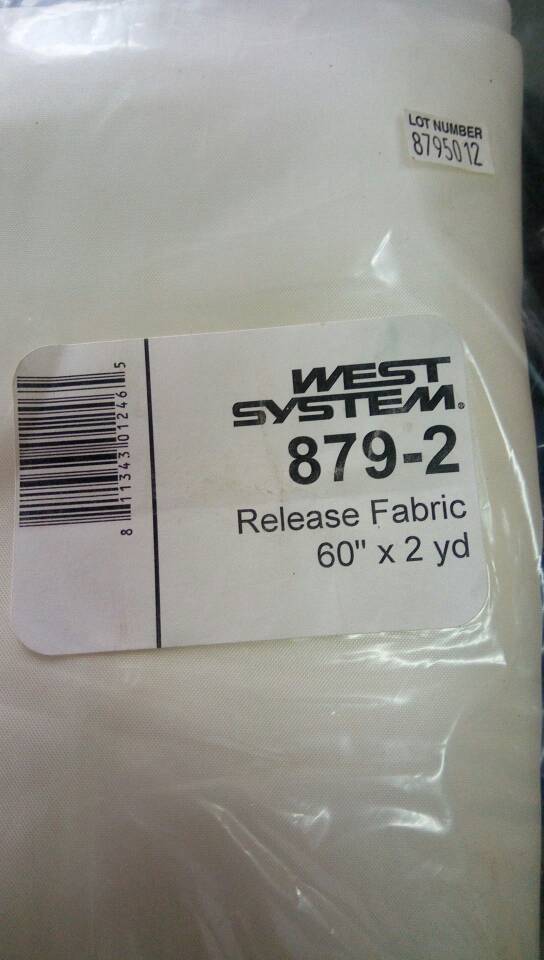
.JPG) After that i covered my mould again with release fabric to take out extra resin from the mould then apply breathing film and at the out layer breather and put every thing in vaccum bag
After that i covered my mould again with release fabric to take out extra resin from the mould then apply breathing film and at the out layer breather and put every thing in vaccum bag
.JPG)
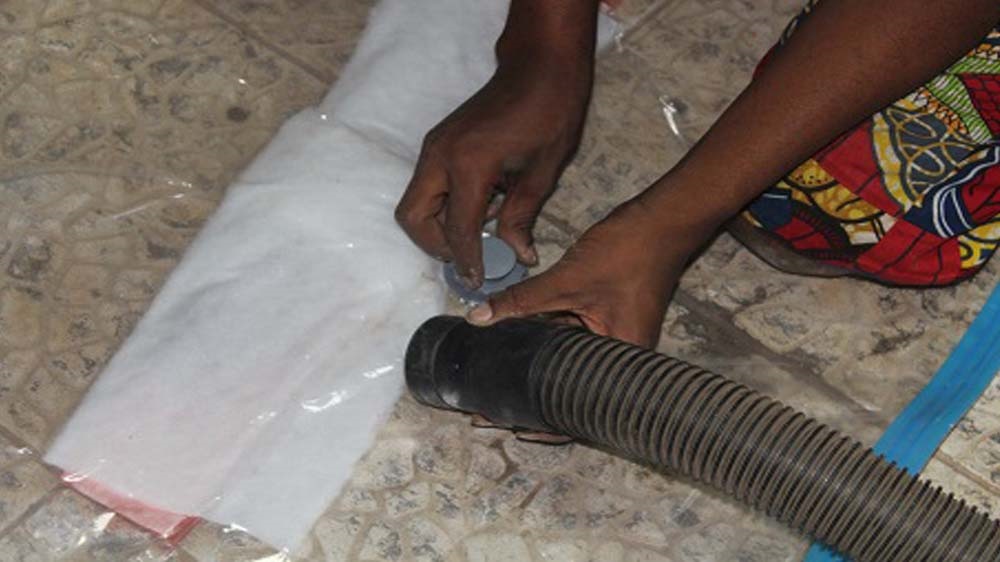
.JPG) to remove the air in vacuum bag i used our shop.vac(vacuum cleaner)
to remove the air in vacuum bag i used our shop.vac(vacuum cleaner)
.JPG)
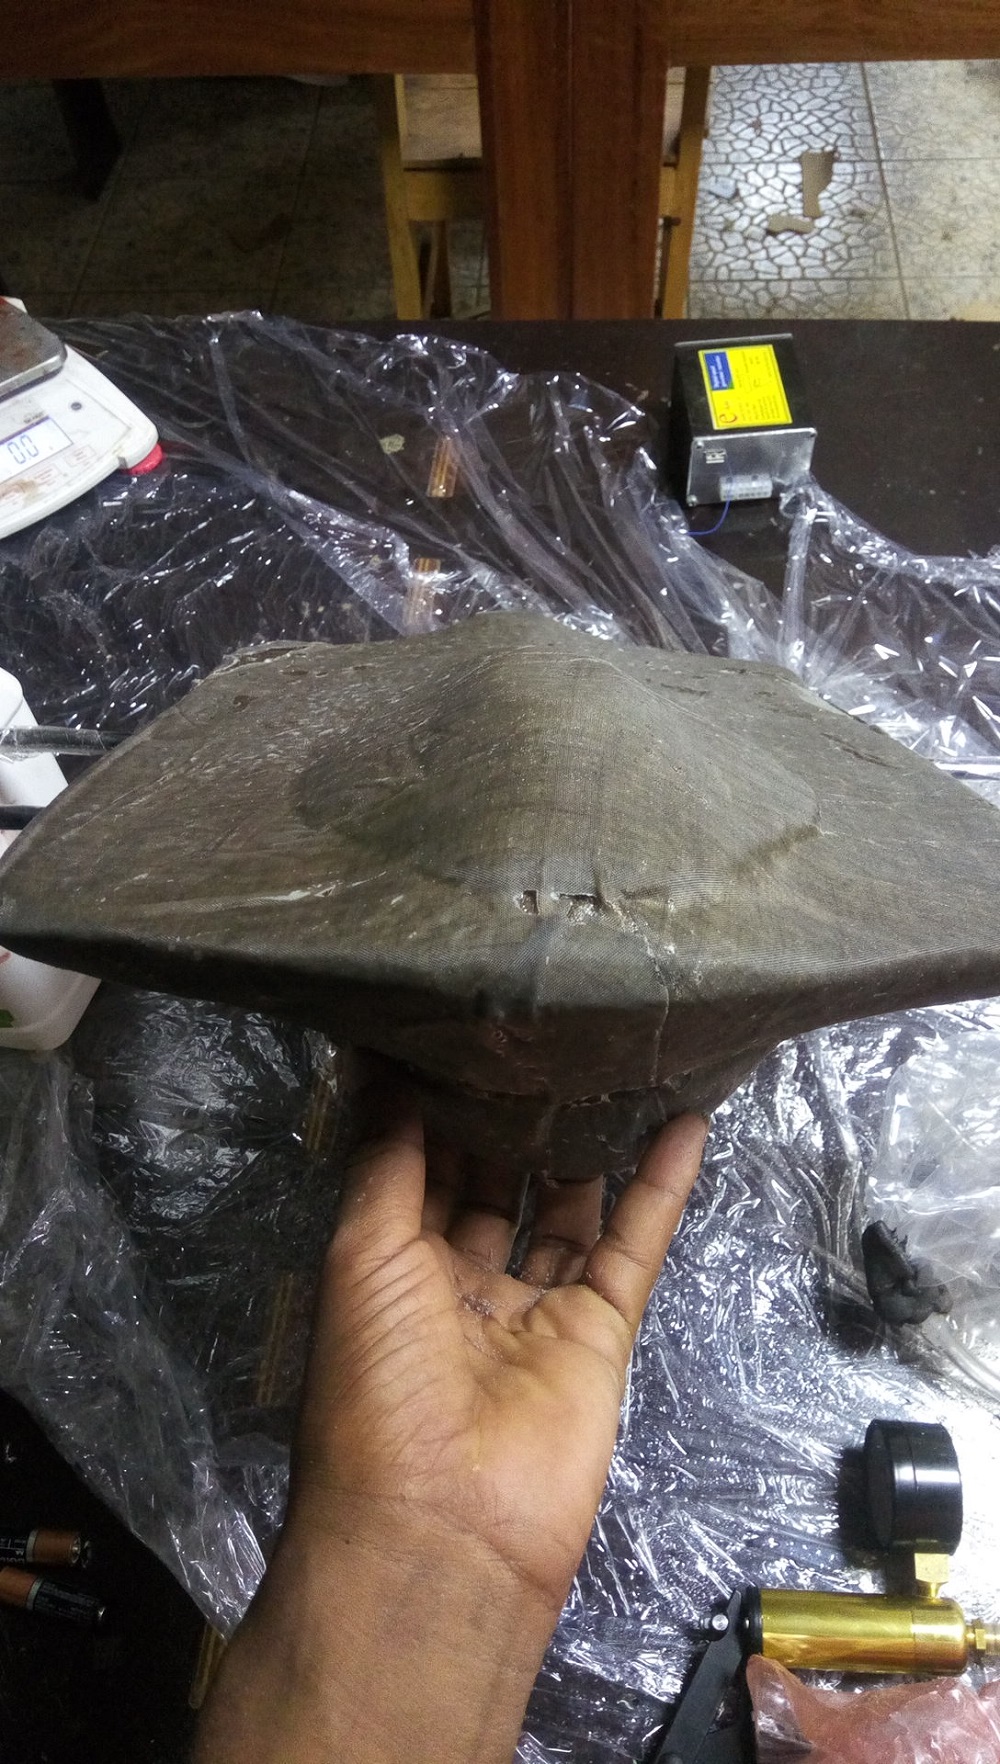
FINAL
This is the result I got after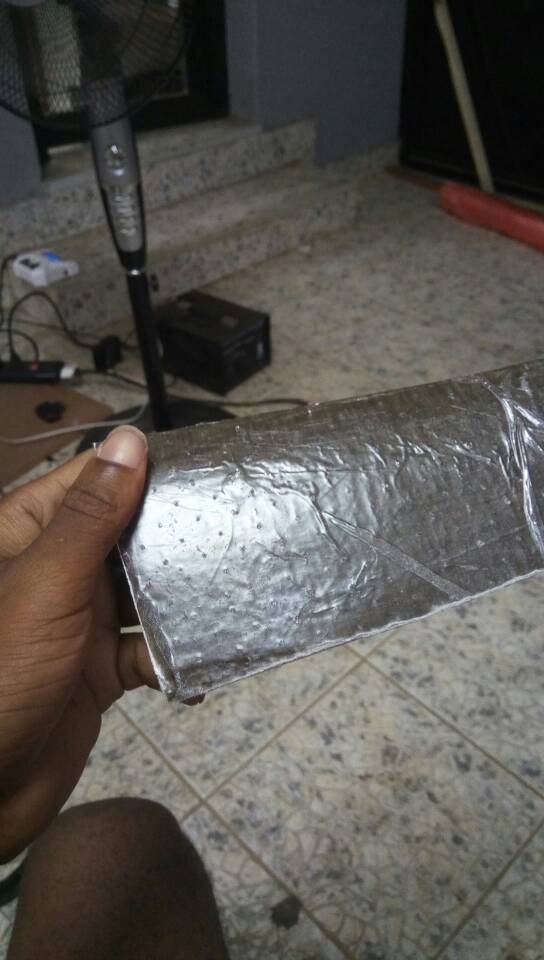 after making test i used the same procedures for making my fuselage of my drone
but at this time our vaccum clean was not working so to do that i used a small hand operated vaccum pump by this i spend more that 20 min or vaccuming the vaccum bag
after making test i used the same procedures for making my fuselage of my drone
but at this time our vaccum clean was not working so to do that i used a small hand operated vaccum pump by this i spend more that 20 min or vaccuming the vaccum bag