Assignment 14
3.5.2017
Topic: Composites
Read the material safety data sheet (MSDS) and technical data sheet
(TDS) for the resins that you're using.
Design and make a 3D mould (~ft2 /30x30cm), and produce a fibre
composite part in it.
Learning outcomes:
- Demonstrate workflows used in
mould design and construction.
- Select and apply suitable
materials and processes to create a composite part.
Have you:
- Shown how you made your mould
and created the composite.
- Described problems and how you
fixed them.
- Included your design files and
‘hero shot’ photos of the mould and the final part.
- Read and linked to the
material safety data sheet (MSDS) and technical data sheet (TDS)
for the resins that you're using.
New deck
What I found from garden? What a makers, my kids. I want help and do
a new deck.
A composite mould
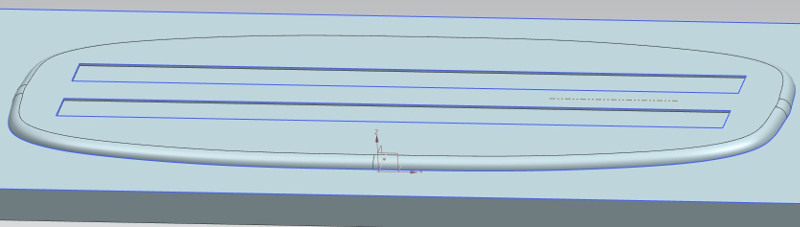
I modeled a mould by NX11 as earlier in Assignment 12, for
example. The first task was outlines, what a form it would have. I
extruded it upward 5 mm and blended the edges 5 mm. I have idea to
bend plies down and then up to the top of deck. Also, I want put
jute wires to the edges to strengthen them. As well as, I strengthen
the deck adding two bands to the middle of the mould. Deck size
is 350 x 150 mm. Thickness would be 6 mm, therefore I need
about 9 layers of plies.
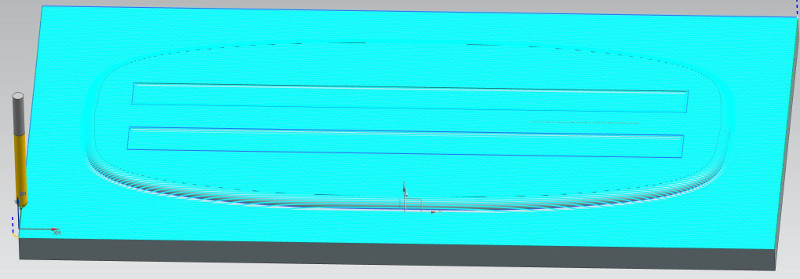
Then, I done plan for milling the mould by Ø6 mm ball head
mill. Operation was Fixed contour, drive method as Area
milling and quality as Mill finish. Designed feed rate
was 2.000 mm/min. and spindle speed 10.000 r/min. Depth of mould is
5 mm and I want mill it by one drive of tracks, but stepover
as only 20%.
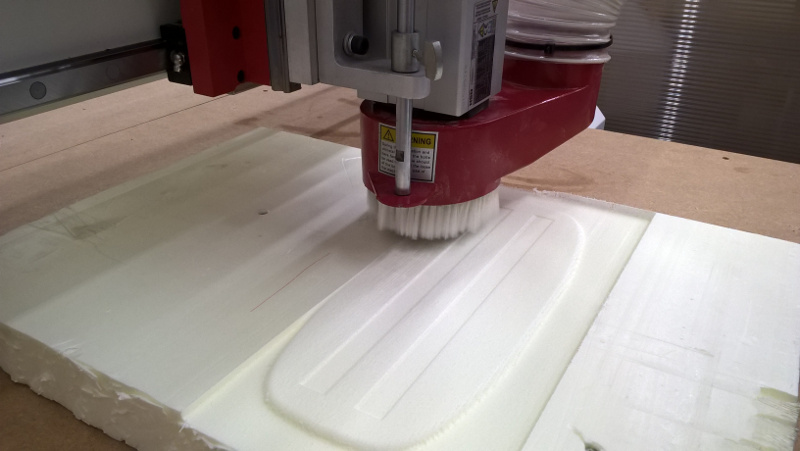
Again, I used our CNC router machine Eidtech E2-1325 for
milling. The material is XPS polystyrene and I fixed it by screws.
Materials
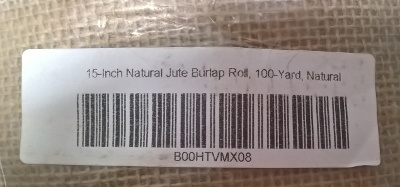
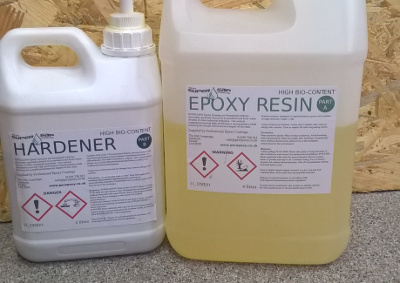
I must study also my composite materials: natural jute burlap as
well as Super Sap epoxy resin and hardener
(www.pecepoxy.co.uk) properties. Tehnical data sheet is here: https://entropyresins.com/wp-content/uploads/2014/03/ONE-TDS.pdf
and material safety data sheet of epoxy is here: https://entropyresins.com/wp-content/uploads/2014/03/Super-Sap-ONE-SDS-NAM-English.pdf
and hardener here: https://entropyresins.com/wp-content/uploads/2014/03/Super-Sap-ONF-SDS-NAM-English.pdf
Plant based
natural fibres can be used as reinforcement in polymer composites.
The maximum tensile, impact and flexural strengths for natural
fibre reinforced plastic (NFRP) composites reported so far are 104.0
MN/m2 (Jute - Epoxy), http://www.indiantextilejournal.com/articles/FAdetails.asp?id=3732.
The load to my deck might be F=500 N at maximum. Thus, the maximum
bending moment might be M=500 N x175 mm = 88 kNmm. Further, flexural
tensity might be σ=My/I = 98 N/mm2 = 98 MN/m2,
where y= 3 mm and I = 2700 mm4. Therefore, two bands in
the middle are needed.
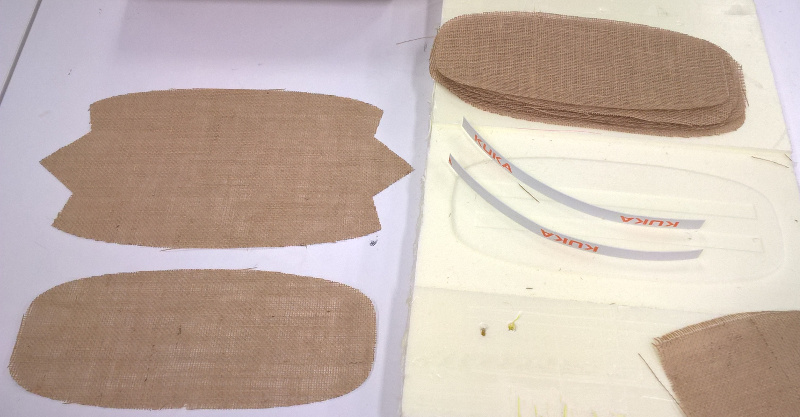
I needed also outlines for my plies. I designed outlines that the
edges of left one can be bent to the bottom of the mould. And, the
right one can be bent to the top middle of the mould. Both I
exported from my CAD model similarly as in Assignment 2.


I cut plies by laser using speed 40%, power 50% and frequency 50% of
maximum. I cut 1 big and 11 small ones. KUKA bands may be used to
strengthen the deck. Size of them is 18x294x1 mm.
I prepared me first, vinyl gloves and safety clothing. Then, I
prepared on top of the mold two sheets of plastics for releasing the
deck from mould. Then, I prepared epoxy resin-hardener mix. Mixing
ratio was 2:1 of resin and hardener, but I used 2:1 measuring
pumps, Then, one depression of each pump needed, 6 depressions from
each pump was enough for me.
I started apply epoxy mix to plies and stacked them. I added bands
after two plies. Finally, I found the big ply was too small. I
couldn't bend it enough and it didn't stay in place. I took it out
and stacked 9 similar plies together. Then, I added punched plastic
sheet and absorbing cotton to take all the excess resin out.
Finally, two plastic sheet to close the mould.
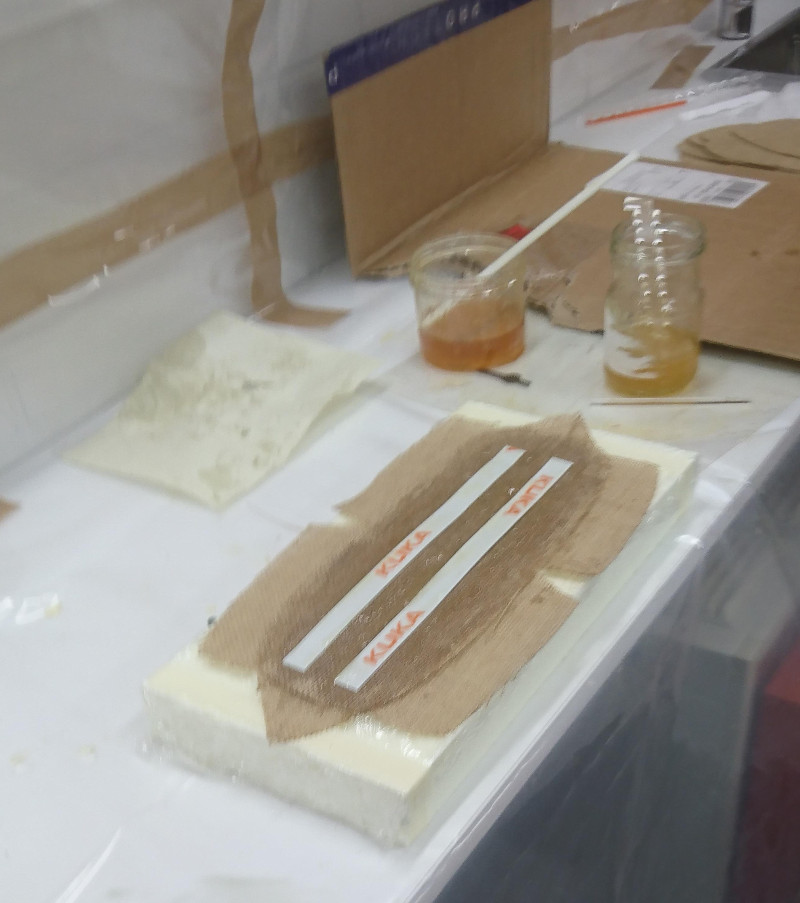
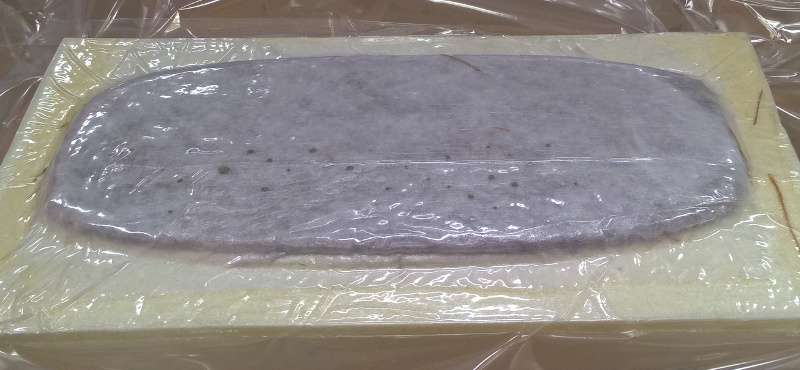
Here is my composite deck under vacuum. I checked vacuum every half
hour at the beginning. I used industrial vacuum cleaner Kärcher WD 4
Premium, 1000W, for this purposes.
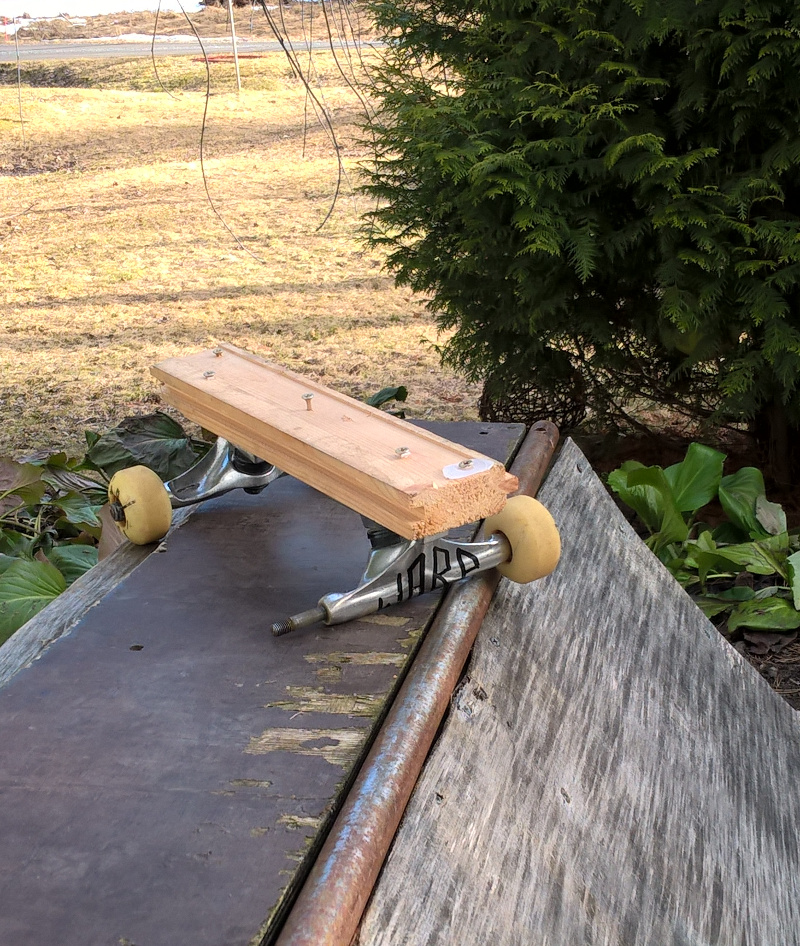
My new deck is ready. It needs only some rough around the edges.
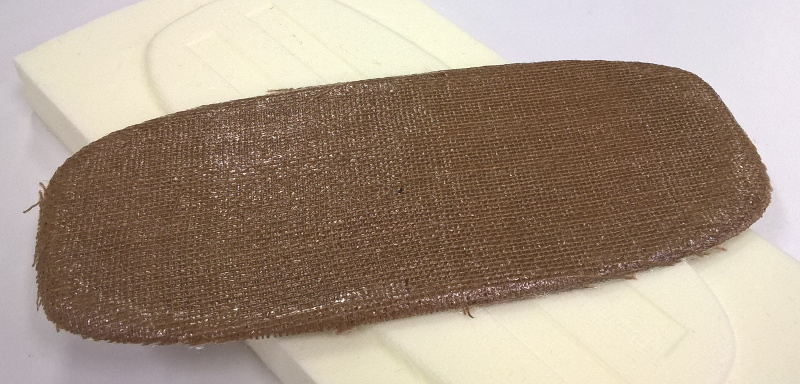
And, here we go. It is strong enough for my use, maybe.


Included original design files:
My NX CAD file is here: 3D model.
This also in DXF format is here: 3D model.
This also in stl format: fab_deck2.stl.