*TWELFTH*WEEK: MOULDING AND CASTING
Assignment
1. Assignment:
- Explaned how you made your files for machining.
- Shown how you made your mould and cast the part.
- Described problems and how you fixed them.
- Incluided your design files and 'hero shot' photos of the mould and the final object.
Assignment
DATA SHEET INFORMATION:
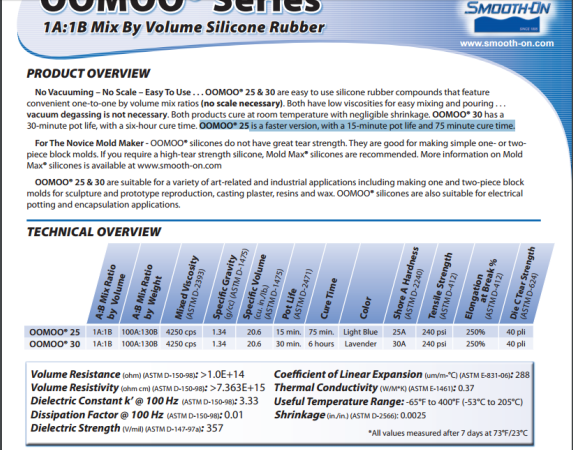
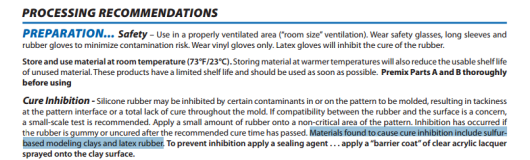
- SILICONE: This week, we must make a mold and in my case I will use a silicone to make the mold, this silicone is called Oomoo25, is elastomer silicone with easy use silicone rubber compounds.

For it use I need to know a little more about this silicone, on the one hand, which has two parts A and B, with a ratio of 1: 1 in volume and 100A: 130B in weight, so it is said that it is easy to use . On the other hand, the Oomoo25 silicone is quick to use, requiring 15 min of pot life and 75 min for cure time so you have to have everything well prepared to apply the silicone as fast as possible and do not enter the curing time without having poured it into the wax. There is another Oomoo30 that has higher usage times.
You can find the data sheet HERE
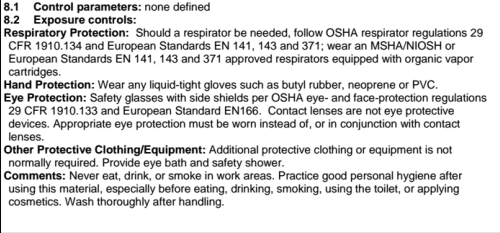
The use of this silicone has certain risks, for example that curing is inhibited by the presence of some components, such as sulfur-based elements.
Finally I collected the information about the dangers and recommendations of use of this silicone, having to use elements of: Respiratory Protection, Hand Protection and Eye Protection. Also, do not eat or drink in the work area
- CEMENT: To be able to make the final object you have to use an element that will be applied on the mold and although there are many materials I will use the cement as a material to make the mold positive.
This cement is ULTRACAL® 30 Gypsum Cement and is ideal for splash-casting molds and models for phenolic, polyester and epoxy resins, USG Ultracal 30 Gypsum Cement is water soluble – there is no need for organic solvents for cleanup.
You can find more information HERE.
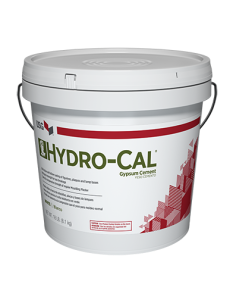
To use it must be diluted in water at a rate of 38 lbs of water per 100 lbs of product, explaining that the bonding phase between these two elements is critical. The cure time is 30-20 min but you have to work a little mixing.
You must also use protection elements for breathing eyes and hands. This compound is more dangerous because it performs an exothermic reaction and can reach high temperatures.
DESIGN MOULD 3D:
For the mould and the final object, I first had to have a 3D design. In this assigment modify a downloaded model because the time was right, I use the head of a dino lowpoly that you can find HERE. If you want to see how a 3D dinosaur head is designed in 3D you can go HERE .
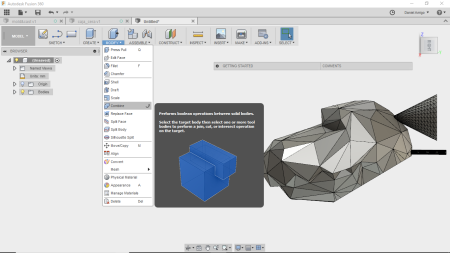
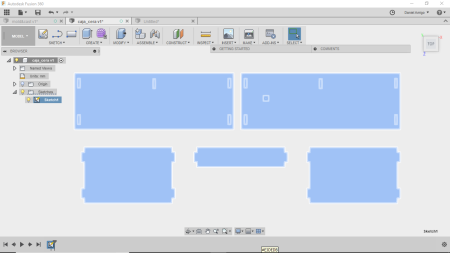
To modify the design I use Fusion 360, with a plane and the cut option in the menu of modify, I separated the part of the head from the rest of the body. In this design should add two parts to take into account:
- The cone that will serve to later cast the cement in the silicone mold.
- And the chimney that will serve so that the bubbles that form when introducing the cement can go out there.
These two structures put them in what would be the uppermost part of the silicone model, using boolean operations. After these steps, what I did was cut in half to save the constraints of the milling machine: Can not make cantilever structures.
Once I had the design of the object, I needed to prepare it to cut it in the wax mould with milling machine, for it I create the wax prism with its same dimensions 150x89x37 mm, subtract a cube, larger than my model, and then combine the Wax block with my model. In addition, it was necessary to add a holding part so that the silicone didn't slip when the cement was cast.
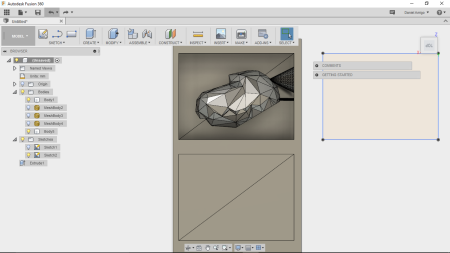
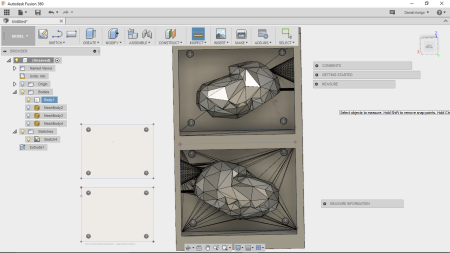
After doing this design I decided to do each of the molds separately and my guru advised me to make the designs without borders so that the designs were thus.
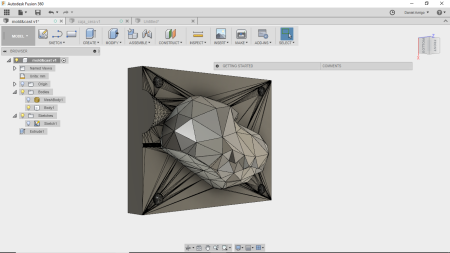
As with this design you need a box to be able to make a silicone mold that is not flush, design it also in 360 fusion.
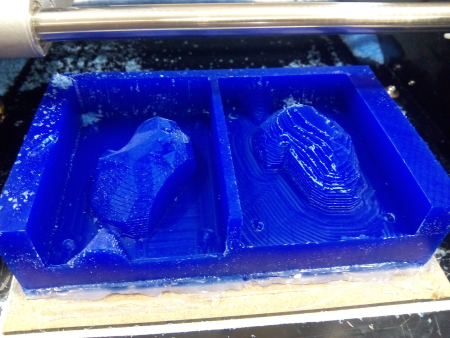
WAX CUTTER:
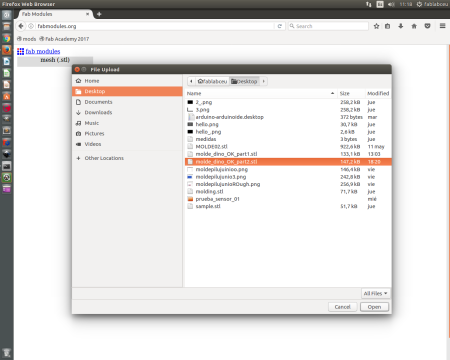
To be able to cut with the milling maching, I used Fabmodules, to start it in Linux the first thing to do is to start it from the terminal.

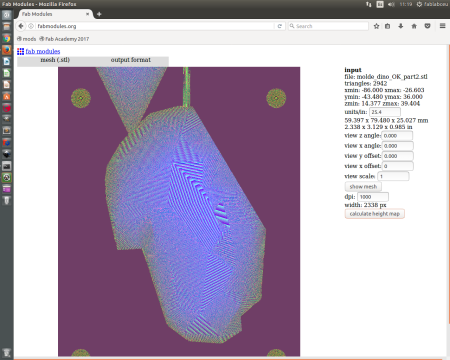
Once opened the server we must load the file as mesh (stl)
When the file is there, two important steps must be taken.
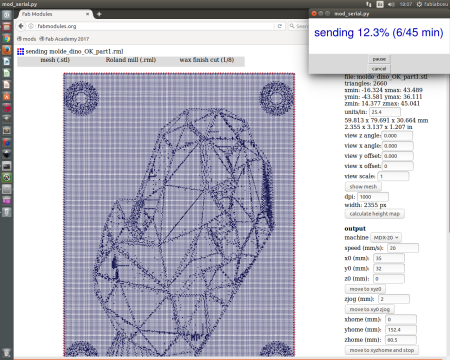
1. Roughing: where we will remove most of the wax we don't want, it takes a lot of time to calculate the entire course because there are numerous layers and the detail that will be obtained will not be very high.
2. Smoothing: where it will give more detail to the used strawberry, passing near the surface of the model to eliminate the steps, in both XY and YX direction.
The drill used for these two processes was a flat milling cutter of 3mm with a height of 25mm.

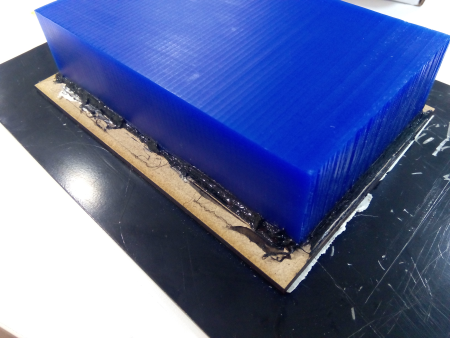
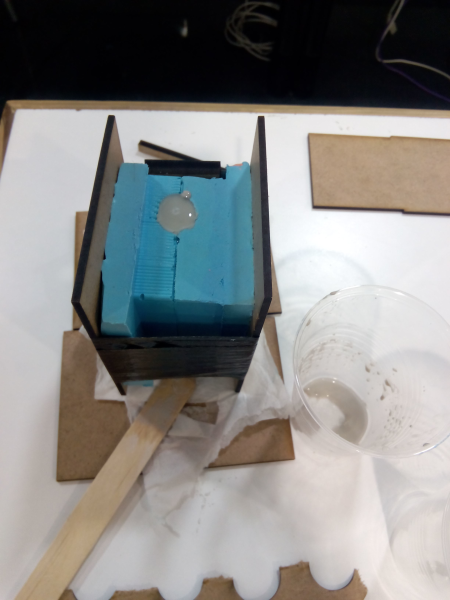
Finally, before putting on the silicone I put the wax in the box and used some plasticine to cover one of the side holes and thus hold the wax well in its DM box of 3mm.
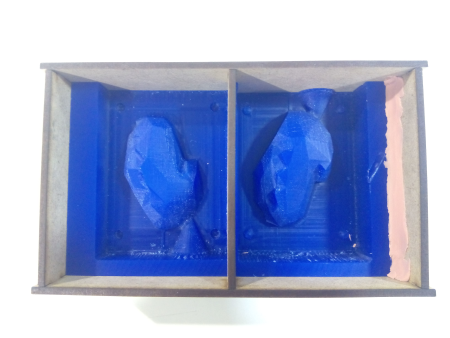
SILICONE:
To make the silicone I measured the quantities in glasses to be able to join the two parts A and B, removed before and after to be homogeneous and try not to create bubbles but the latter was difficult to have bubbles both on the surface of the mold and inside.
- Total Volume: 230 cm^3 or ml.
- Volume part A or B: 115cm^3 or ml.

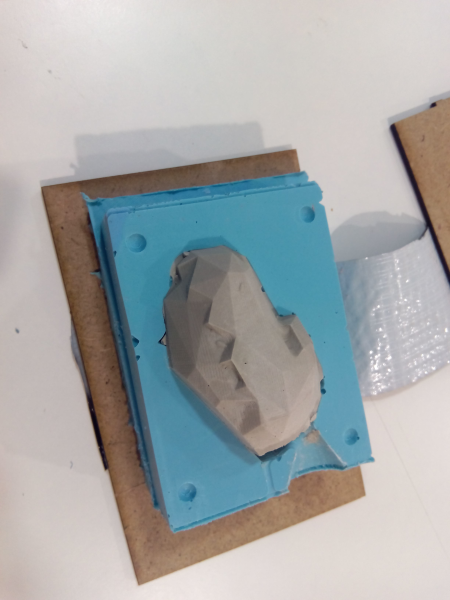
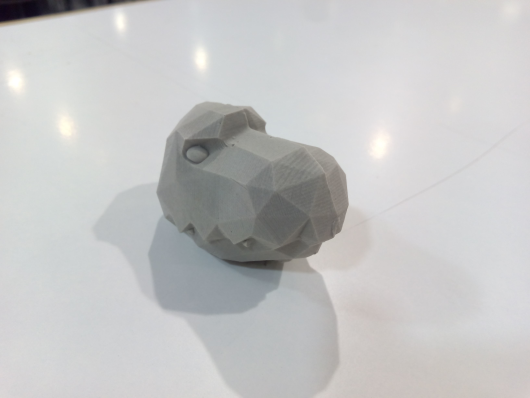
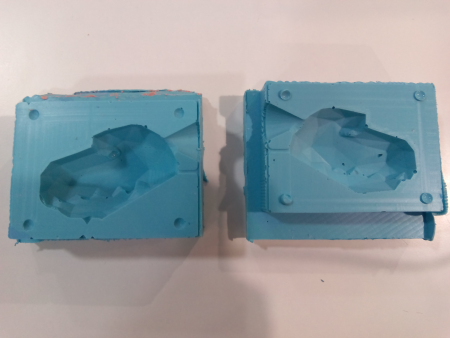 CEMENT:
To make the Cement I measured the quantities in glasses to be able to join water and cement, I removed fot homogeneous and I threw it down the cone.
CEMENT:
To make the Cement I measured the quantities in glasses to be able to join water and cement, I removed fot homogeneous and I threw it down the cone.
- Water Volume: 19 cm^3 or ml.
- Weight cement: 55 g.
 FILES:
- Stl mould01
- Stl mould02
- Project Fusion360
<