Week 2
Computer-Aided Design
In this week, i have two assignments.design something in 2D and 3D using the designing applications.
Vector and Raster images
I learned about the vector images and raster images , how to draw them and what are the difference between normal JPG & BMP images. BMP,PNG,GIF are raster pictures.
Mostly i used MS paint for the simple drawings.Which outputs a raster image
Vector graphics are better flexible than BMP (Bitmap ).We can re-size. Vector images look better when displayed on high resolution devices.But Bitmap images look the same, regardless of the resolution of the display.
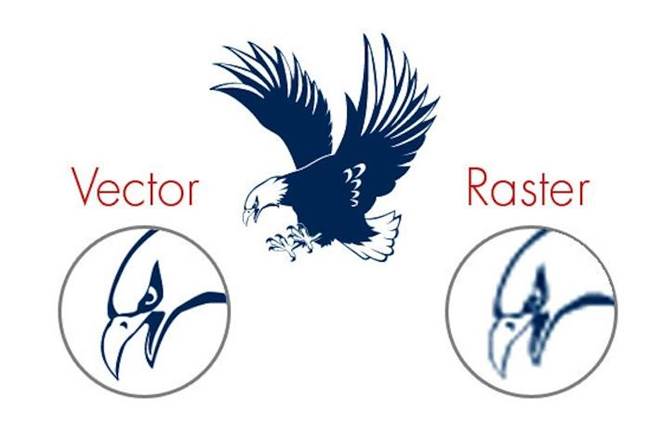
Image source: here
2D design
We were introduced to many 2D design softwares.
I used YouiDraw for the 2D design.(site address). There we can draw, make logo,posters and painting tools I selected drawing
There are many categories and samples in this application.
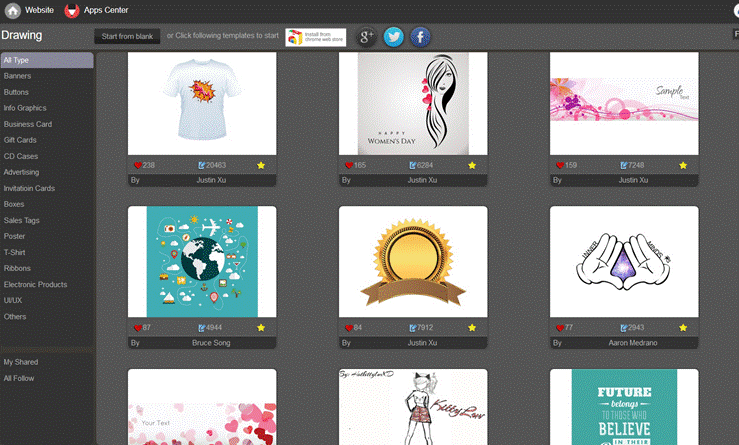
I selected start from the blank option.
Once blank page is open, it contains many tools, It will show tips for every sections like(file menu, canvas workspace,function area, layers,template style, libraries etc. by clicking on Tips option on right top will enable and disable the tips (? symbol in yellow)
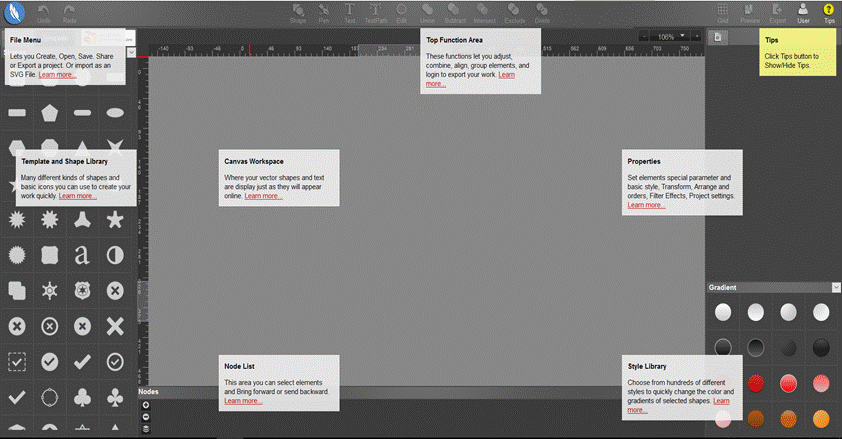
I enabled the Grid which is available on right top area. We can change the x , y spacing,sub divisions.
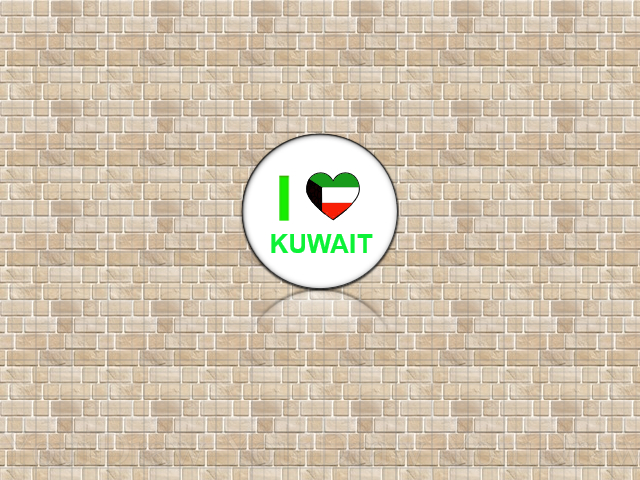
I planned to make a design for my love to nation.
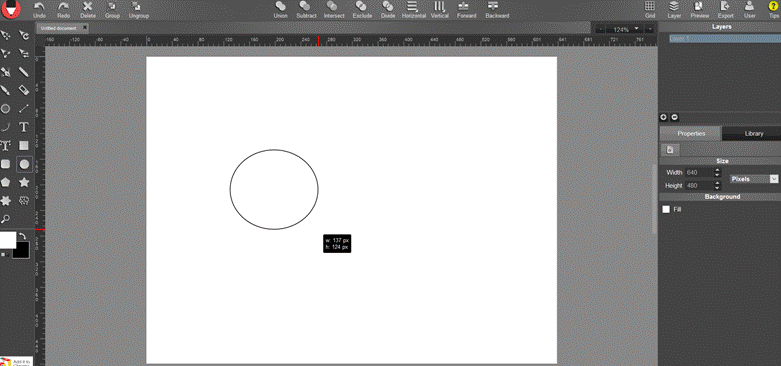
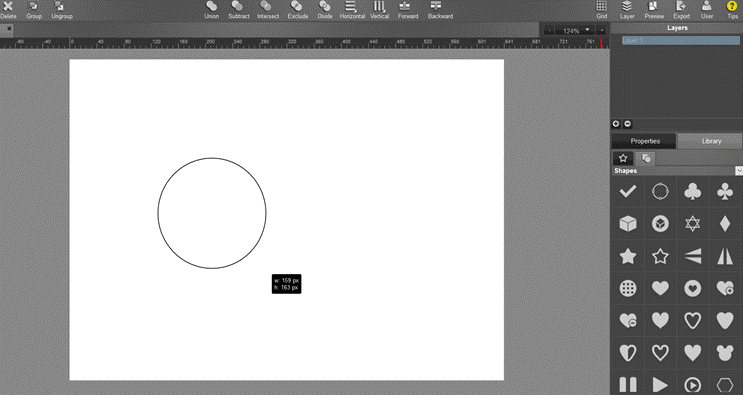
Firstly i draw a circle using the ellipse drawing tool in the toolbox as shown below.
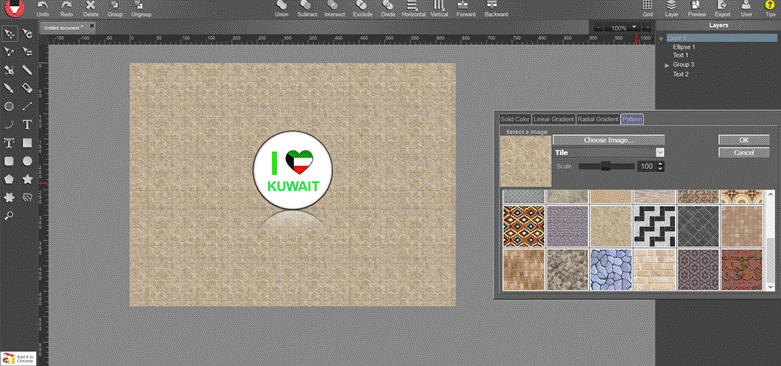
I adjusted the parameters and added the shadow and other options. I inserted the heart symbol from the label on the right bottom side
. 
I Colored it and inserted the text. Each of our steps will be showing in the layer flow.
After completing the design, i gave a background from the preloaded background available in the application.
Exporting the file
I exported my design using the export option . Then we can choose two formats. either JPEg or PNG.because this is a free version. There are SVG and PDF options for the upgraded version.
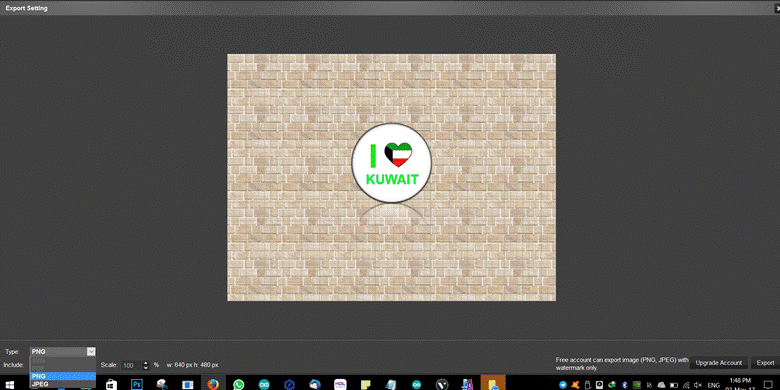
I converted my design in to JPEG
3D design
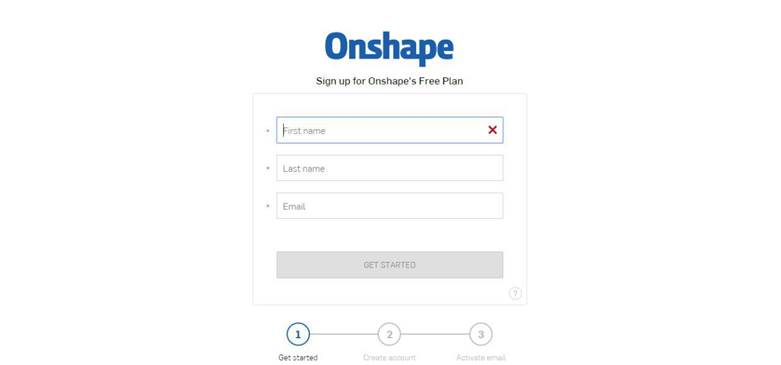
In 3D design, I used Onshape. It is a free cloud based application. Onshape
I created a public account .
Some characteristics of this application for public account are:
1-Unlimited Documents (Public only)
2-Full CAD Functionality
3- Sharing & Collaboration (View-only for Private Documents)
4- Version Control.
5-Works on Windows, Mac, Linux, Chromebook & Mobile (iOS & Android)
6-Import & Export Common CAD Formats.
I went through different tutorials available on the internet. This application is very similar to the solid works.
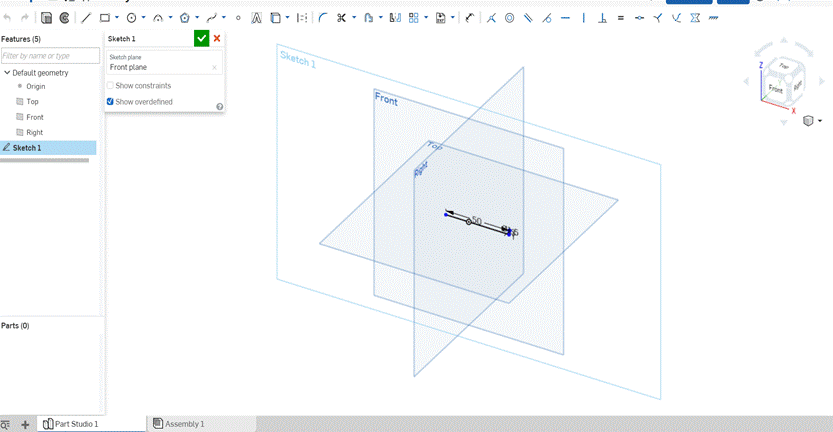
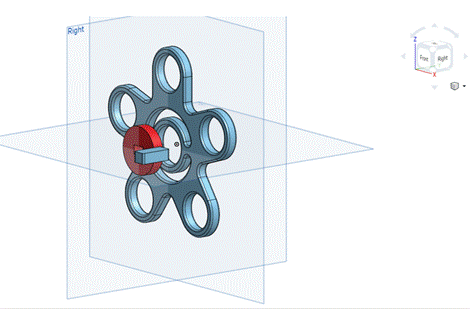
I created a new document and named it as Spinner 2.
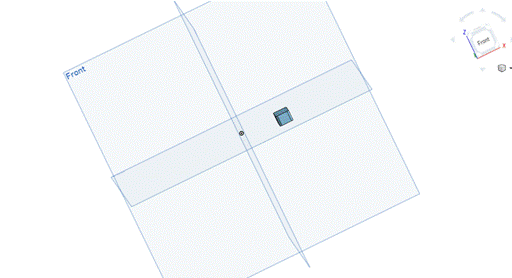
In onshape the drawings are created as sketches.Before drawing, selection of sketch plane and dimension is required. I selected millimeter as my dimension and front plane for my design. There are many tools for drawing in sketches.
(includes line, rectangle circle, polygon etc.)
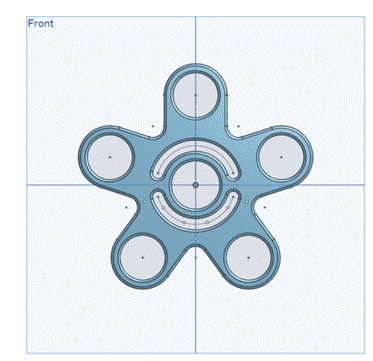
I designed my spinner as 3 parts. After sketching each Parts, I extruded to get a 3D part. After converting into 3D , i made fillet option to get the edges of my design fine.I gave colors
Three sketches of parts are. After extruding each part, i colored them using appearance of part option when right clicked.
Sketch 1 after extruding as part 1
Sketch 2 extruded as part 2
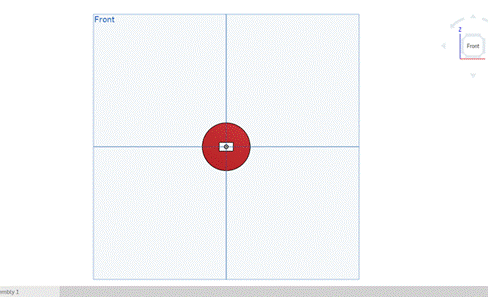
Sketch 3 extruded as part 3.
Parts before assembly
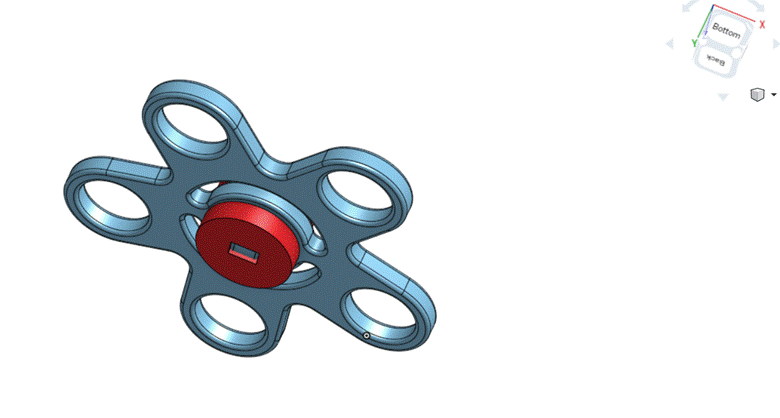
Assembled structure
Result:
After dealing with the applications above for 2D and 3D design, I got better interest on the designs. Which will be very good for my fab academy project and as well as
Files:
2 D design output file of YouIDraw: I love kuwait
3D design file on onshape is: spinner
In onshape, we can downloaded our design in various formats for different offline 3D design applications like STL,PARASOLID,ACIS,STEP,IGES,SOLIDWORKS,COLLADA and RHINO.
I downloaded my design as STL and the file is:Spinner STL