Week 13
Composites
In this week, the assignment is to built a composites model. I was planned to make a design of car on TinkerCAD. I designed a simple structure of car in TinkerCAD. I inserted the required shapes and attached and adjusted its measuremets.My design is shown below.

But the problem is the size should be 300mm X 300mm for proper composite output. While i am changing the size to 300mm X 300mm, The design is not good with its size.So i decided to make a simple design in tinkerCAD.
I made a diamond part on a die top and added my name to hole.
firstly inserted shape of Dies and varied the height.Then diamond shape is inserted over that and adjusted its height too. Then i grouped both structures and adjusted its height to 15mm
Because MDF sheet is having the thickness of 18 mm only.Then i inserted text tool and changed its property to hole from solid.
Inserting the Cotton and jute fabric in the name will not be able. So i removed the text.
The new shape is like as shown below.

Exporting the file :
I exported the file into STL format. Which is a 3D format. TinkerCAD is having export options to different formats. STL and .OBj for 3D and there is SVG format for laser cutting.
I downloaded my design as STL format,So that i can import STl file into ArtCAM and converted into CNC machine code.
ArtCAM processing:
I opened ArtCAM application and imported my design using
Milli Wizard option in the ArtCA
M.
I choosed mm as my working unit. I located my STL file and inserted.
I gave cut direction and then i kept the same dimensions in the design.Then there is option to set the cut plane. We can decide how much of our design is needed to be cut.
Selection of Cut plane can be choosed as centre, bottom and also by points.
My 3D view in artCAM is got like below.

I choosed 3mm bit and created toolpath. Simulation of toolpath is done after selecting tool.
I saved my file as .NC format.
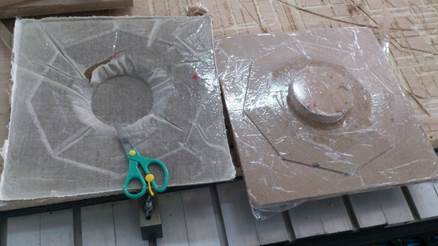
CNC machining of file is carried out and the MDF design is got like below.
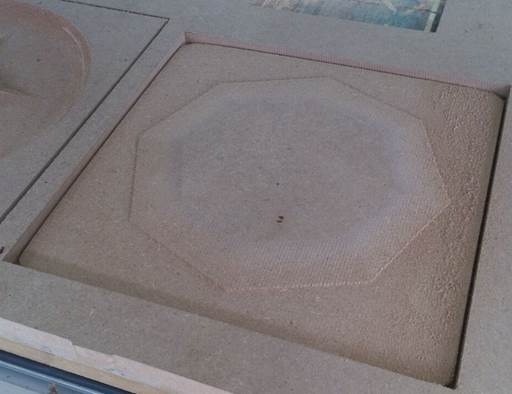
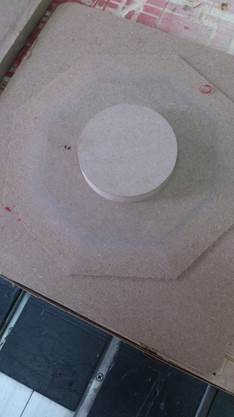
I took the CNC cut part. But i understood that there is a problem when i heard instructor's opinion. The diamond like design on top will not get properly in composite. So i decided to attach any part on top of it.I drew a round shape and cut the round design using CNC and attached that part on top of it by using the glue.

Composite Making
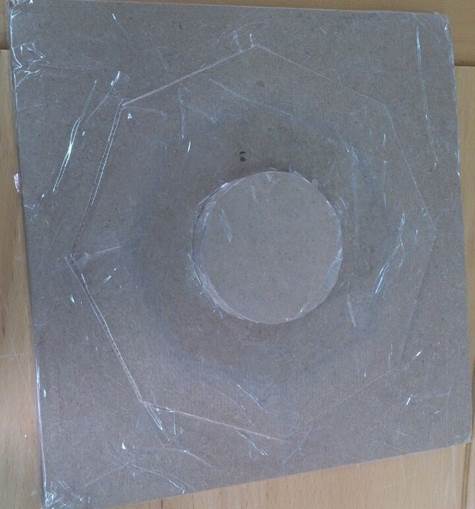
Firstly i covered my Whole Item properly using clear tape and ensured that it got covered well.
Making of composite:
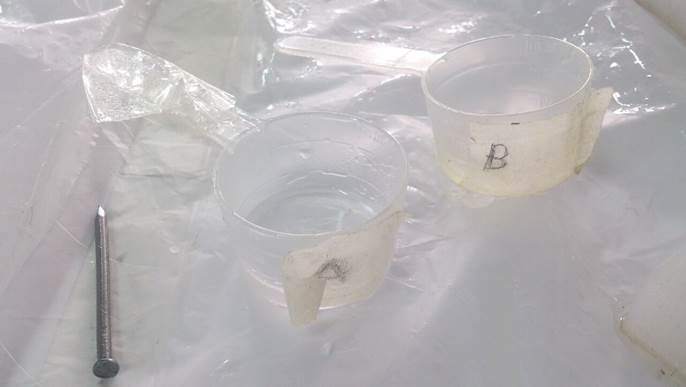
Here we used Two component epoxy resin system Gede by pebeo ( resin and hardener). Transparent .There is measuring Cup for both resin A and B.I we nt through the website and there are many products of crystal and other resins of them(Web site)
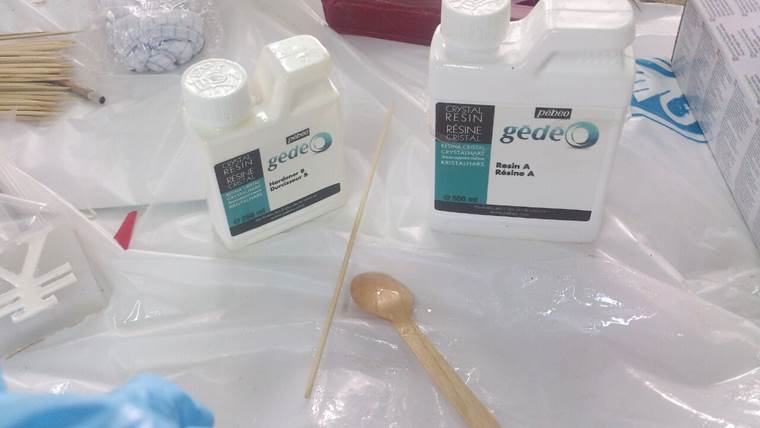
As per the specification and instruction document of this resin, The mixing ratio of A to B is 2: 1.
The setting time mentioned is 24 hour.
Steps done:
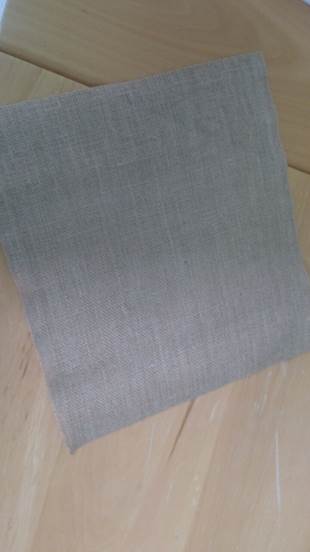
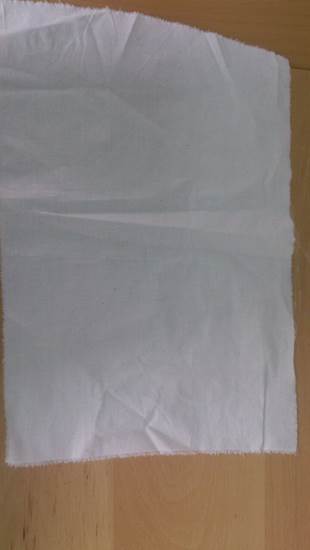
1)Firstly I cut 2 pieces of Cotton and jute mesh each to make the composite output thick and hard enough.
2) I took the composite Resin B 60 ml and Resin A 120 ml respectively using the measurement cup.
3)I mixed both and stirred well in a disposable glass for 2 minutes using the wooden stick available.
4) After mixing well, I placed cotton cloth on my Wooden model and start to pouring composite mixture slowly and ensured that cotton is wet enough with the mixture.
5)Placed jute mesh over the cotton and applied the resin mixture over it and made it like wet in every part.
6)Again jute mesh is placed and applied the material.
7)On top i put cotton and applied the composite mixture and ensured that it material is applied throughout.
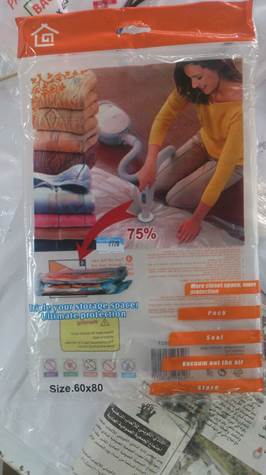
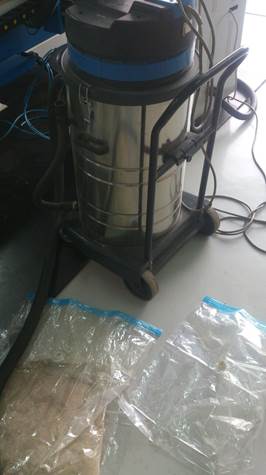
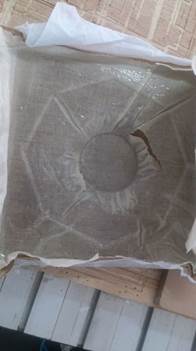
8) Covered the whole thing with the wrapper and placed the item in the vacuum bag.After placing in vacuum bag, I placed the vacuum cleaner and ensure that there is no air inside and i can see my item clearly.
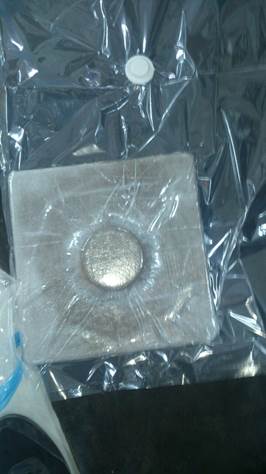
9) placed for setting it.So that i can took it on next day.
Output:
My composite result is got as shown below. I removed unwanted parts and FInally i got it.
Files:
Design file in STL format: Design
Art CAM output file: CNC