Week 3
Computer-Controlled Cutting
In this week i have done two things.First one is designing of sticker and cutting by vinyl cutter.The other one is laser cutting
VInyl cutting
Designing in
inkscape
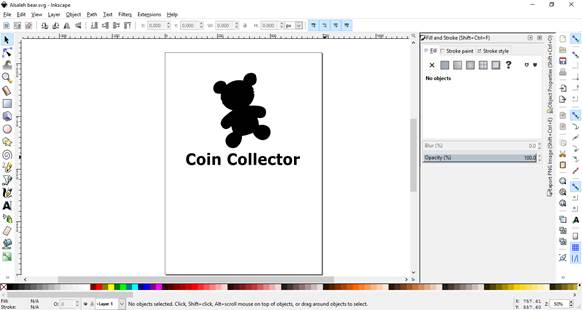
I used Inkscape to design my sticker for vinyl cutting.inkscape is free, widely available and has many tutorials to do my vinyl cutting design.
Cutting the design and final result.
I converted my design from inkscape to PNG,so that This can be cut using Silhouette cameo,which is the vinyl cutter we are using here.
For this vinyl cutter,I used Silhouette Studio® software for defining the design ,area for cutting.This software can import the design done in inkscape and define the toolpath for the blade to cut.After defining all these and loading the sticker paper material into the cutter. I got my sticker finally . I used transfer tape to align my design on my PC

Loading the tool and material
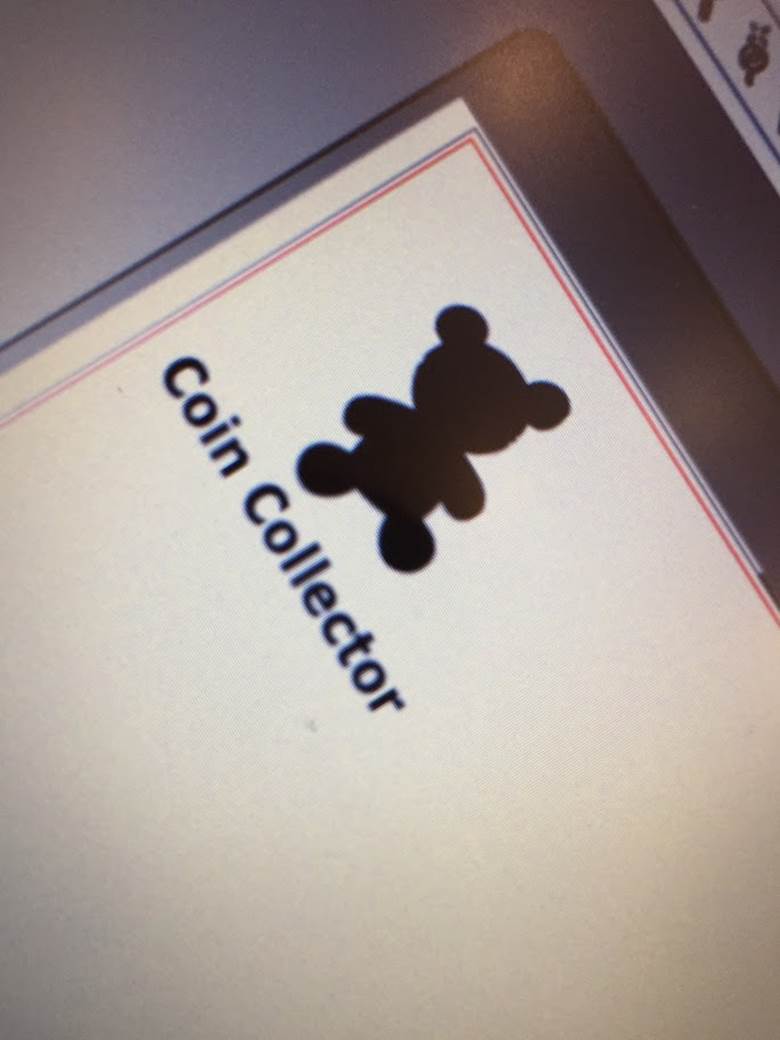
Printed sticker
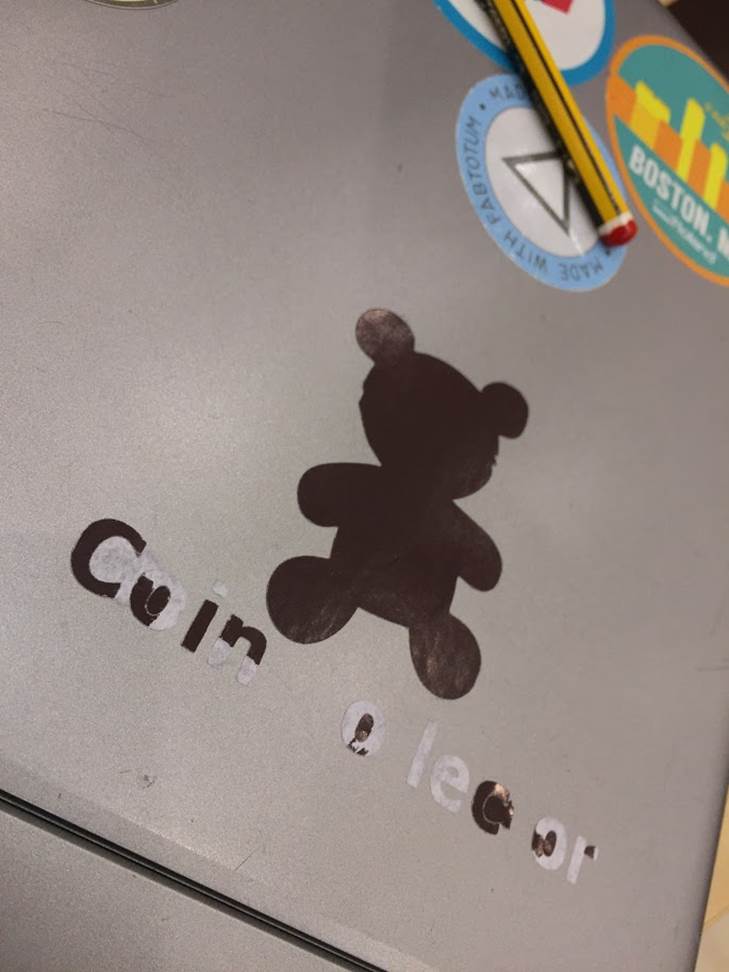
Final result
Since the tape is more sticky.I was unable to transfer my complete part of the sticker on PC.
Laser Cutting.
The second
assignment in this week is the Laser
cutting.
For the
laser cutting design, i used onshape
online software for the following reasons:
1. Many many
tutorials
2. Similar
to Solidworks
3. Could be
used to design complex shapes and good for product development
4. Free
5. I can use
it from my mobile as well
6. Cloud
based and can open my designs anywhere
7. Easy to
export as DXF format.
8. I can do
assembly of my design parts.
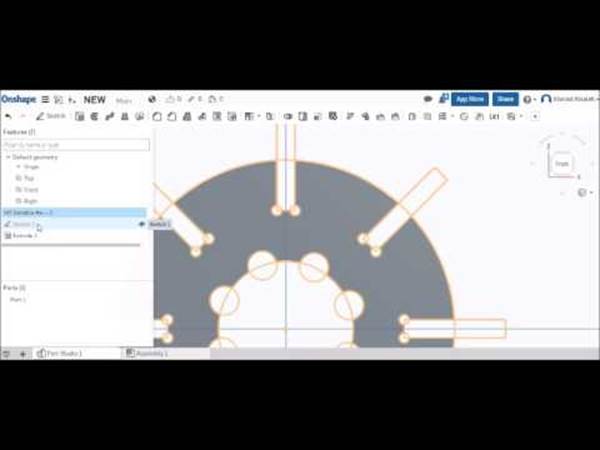
My
design for laser cutting.
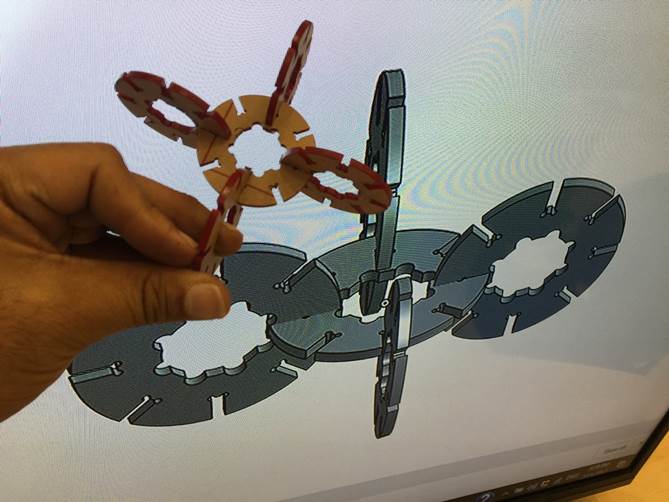
I designed
an assembly structure of this following
shape.5 parts are made into assembly.
Firstly i made a simple design as shown below.
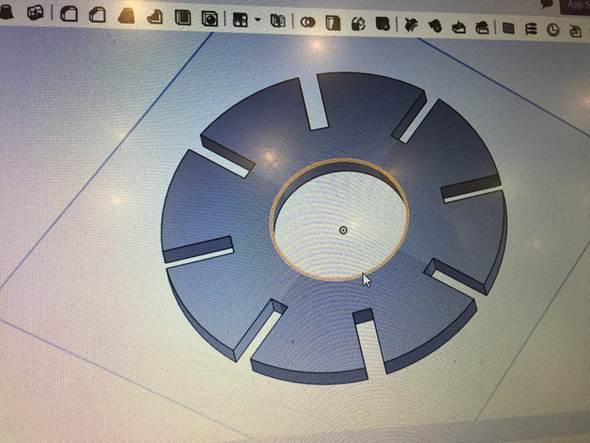
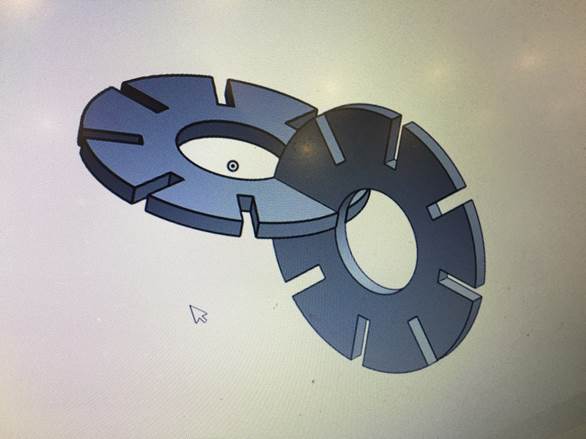
Then i made the modifications on the design as shown earlier which looks better. Made an assembly out of that and i got the result of my design as shown below.
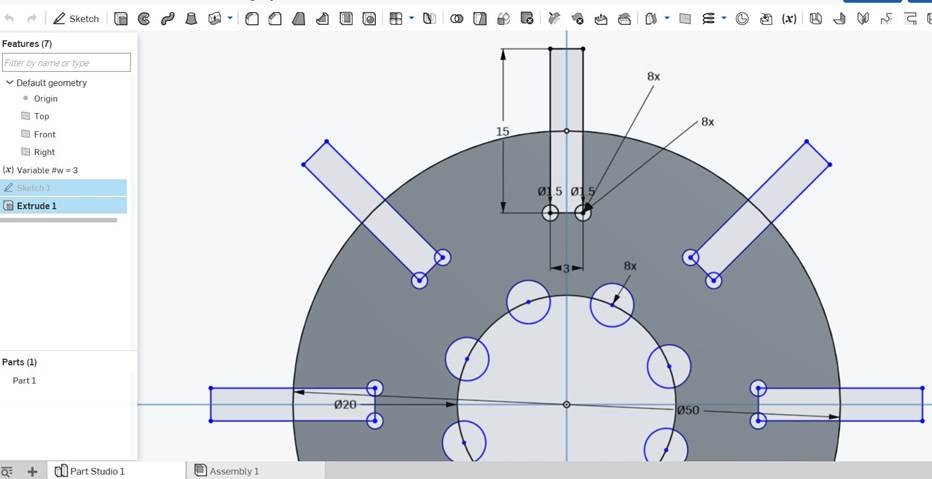
In my Onshape design file, You can see the parameters as shown
above. you can View the parameters after
making the copy of my design in onshape.Also in the video link I provided.
Testing the correct fitting mechanism by a test design.
Before cutting the design using laser cutting machine, I need to check the correct fitting.
I had change the fitting size twice to get the correct fitting of the parts.
I checked with a sample design and verified the correct one.We used 3mm acrylic sheets but for the best fitting, I reduced the locking structures measurements by -0.3mm from original. So that it perfectly fixes.
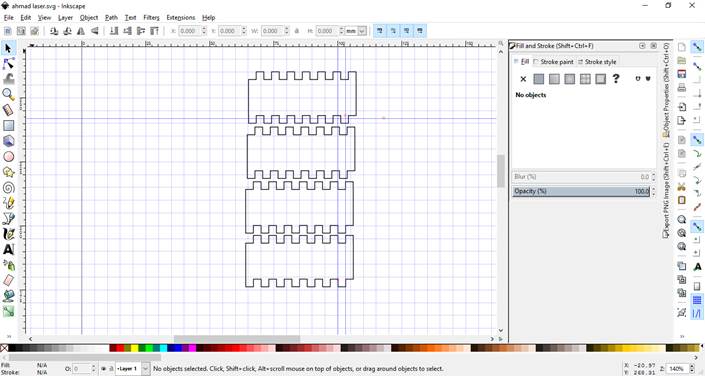
I used the inkscape application for drawing the sample design for checking the fitting.
I used the Laser cut software which is used to convert my dxf format to machine. I can set the power of laser and speed of the movement of laser head along the axis,
Using the chinese laser machine after proper focussing of the laser on the material,I cut the sample to check and verified it.The machine power was 60w and was good enough for what I'm doing.
.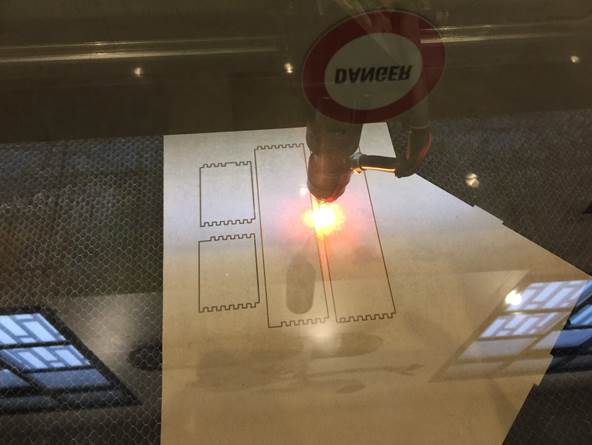

Test sample cut for checking the correct fitting.
FInal result of laser cutting
.
I got my cut exactly what i designed.It fits well asper the design.
Checking by the test sample helped me to avoid the problem of fitting of my design.
Files:
1- Vinyl cutting(.svg File): SVG File .
2- Laser cut onshape design. Onshape file
Dxf file: DXF file
Video:
My designing can be seen in the video link I shown here. It includes the parameters I choosed for the designing of shapes as well,
Conclusion
We learned CAD and vector images design, learned about the tools needed to cut and prototype like laser machine, plotters and talked briefly about the CNC . We used design tools for 2D CAD design and generate toolpath.