- This week's lecture : Lecture
- Fab Tutorial Link : Tutorials
- Fab Tool's List : Tools List
Assignments:
- Make a machine, including the end effector, build the passive parts and operate it manually.
What I did this week?
- Discussed about various project ideas and selected one.
- Developing Mechanical part of the project
This week we are going to do a group project. Mechanical part will be done this week and its automation has to be completed in coming week(Machine Design). Our group page link is available in link below.
In fablab Kochi, we have total 5 students.
We spend lot of time looking for good ideas. We have to choose one among them. We finalised the ideas using following criteria
- Project should contain both mechanical as well as electronic parts.
- Project should contain minimum 2 axis movements
- Feasible with our constraints.
Some of the ideas we finalised are listed below.
- PLAbot :
- This is the first idea we had. We are using PLA material for 3-D printing and the wastage of the material is very high. Ultimaker machine stops most of the time and lots of material is wasted. We wanted to do recyle the wasted materials. The wasted materials can be collected together and then processed to build the filament for further printing.
- Challenges : When we looked into the feasibility we found that the high temperature used for heating the material can make the material lose its properties. It may also cause bubbles inside filament if proper care is not taken.
- EdgeBander :
- The models made of plywood and wood in the Lab lack quality finishing. Tables and chairs should look better if we could bind nice bands on edges. The edges are pretty sharp. So we thought of making a "EdgeBander" which will have two motors that will be moved along the opposite edges of the plywood and the banding materials will be binded along the edges.
- Challenges :This will not meet the project criteria as it has only one degree of movement which is rotational motion along the horizontal plane.
- SolarTracker :
- This is something we almost fixed. SolarTracker as the name suggests tracks the motion of the Sun along its movement through the day to power something - like lighting using solar power. A solar panel is kept connected to a stepper motor which rotates 360 degrees. After one complete rotation the panel will go to the postion where maximum voltage(sunlight) is available. This process can be set to rotate every half hour to check the voltage. We were planning to use solar energy to power something here in the lab.
- Challenges :Constant checking along 2 axis (azimuth and elevation angle) is something that is difficult. Also solar panels are costlier as well.
- ZenithScope / Celestial Tracker(Name might change :P ) :
- This is 'goto' telescope. It means, this telescope can point towards a planet when we feed its coordinates as input.
- Challenges :Building good quality telescope :)
Project Selection
After discussion we all agreed to select 'Zenithscope' as our project. This is pretty interesting project. We were confused sometimes. We decided to build a small telescope for time being and concentrate more on the 'go-to' system. We will be developing good telescope as well, if time permits.
After going through a lot of material online, and understanding our constraints, we set the planned scope of our project.
- Default Position
- Auto-Locate Celestial Body
- Automated Movements of the telescope
- If possible, remote Controlled Movements.
Some interesting and inspirational videos we found online are below.
">
Dividing the project tasks
Assigning tasks properly was difficult. Anyway, some of us are good at mechanical side and some are good with programming side. So we decided split team the same way.
- Mechanical Design - Tanvir and Lancy
- Electronic Design and Programing - Suhail, Siraj sir and Aneesh
- Final assembly - Ofcourse, All together :-D
My part
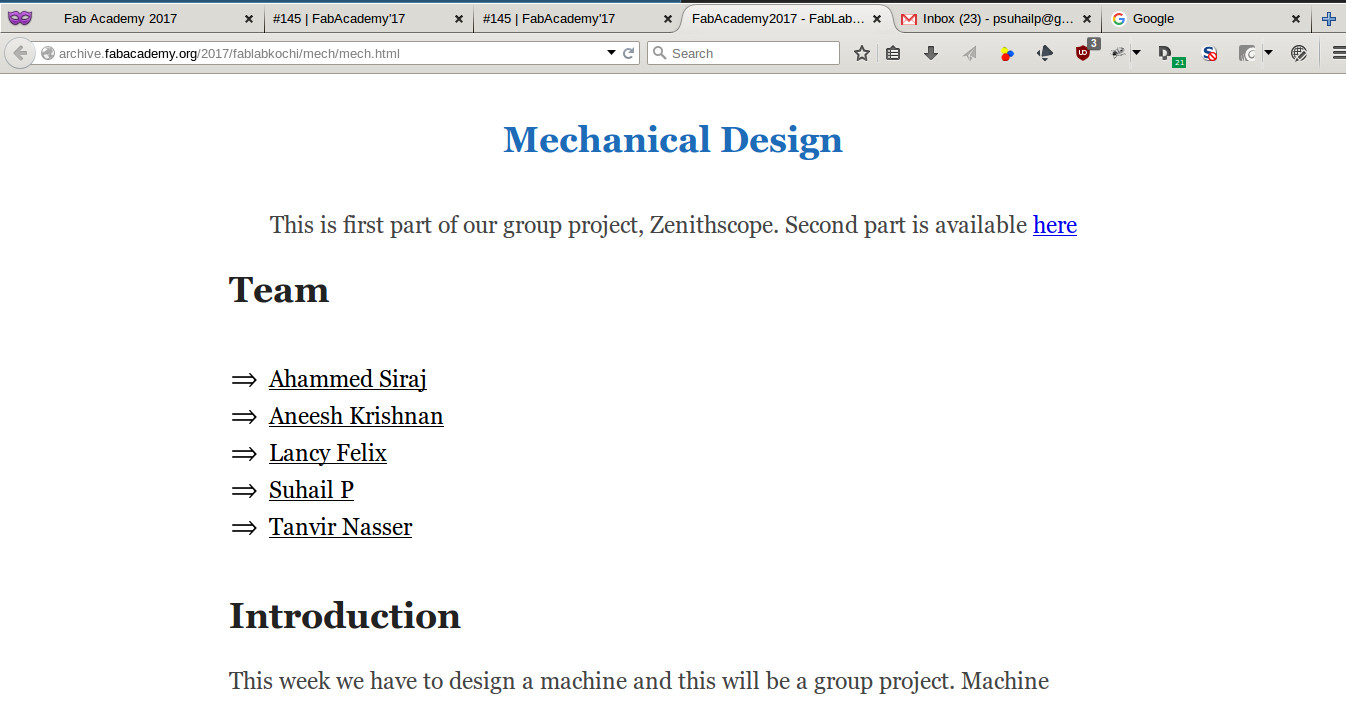
My part of the group project is programming the system, which is to be done next week. For this week I did the group page design and documentation. Complete details of the project are available in group page part-1 and part-2. I designed a minimal web page template using HTML and CSS. Here is a screenshot of html and css files.

I arranged all the data as center aligned. And given blue color for heading.
html{
margin:0;
padding:0;
}
body{
width:100%;
margin: auto;
text-align:center;
font-family: 'Georgia';
}
article{
max-width:1000px;
margin:auto 17%;
font-size:23px;
color: #444;
line-height: 37px;
}
header h1{
color: #1E6BB8;
padding: 19px 0;
}
Also contents like team, introduction etc were put in different sections(<section>). Then list icon changed into a custom arrow mark image.
article ul li{
list-style-image:url(images/arrow.png);
}

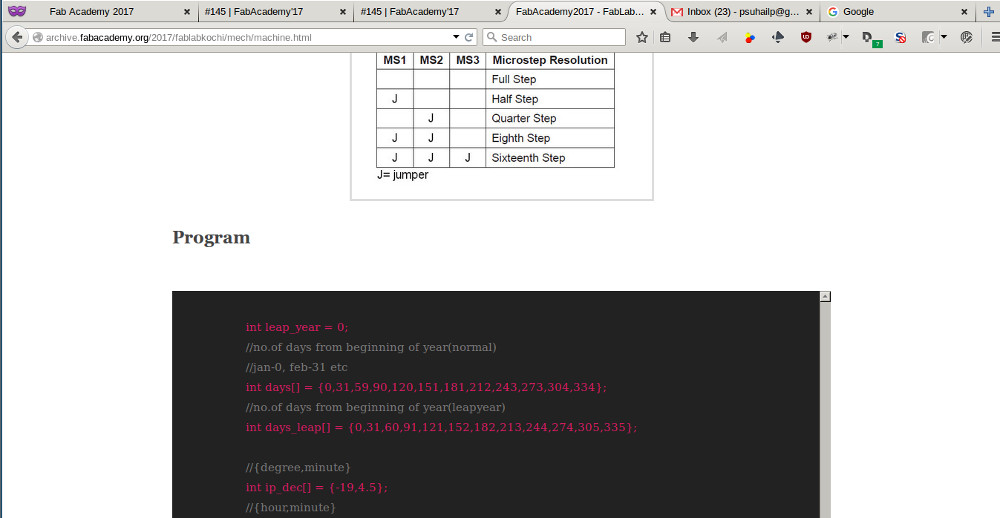
Later, while doing machine design week I added code block design also.
code{
font-family: "Times New Roman", Times, serif;
display: block;
background: #222;
color: #D81B60;
text-align: left;
padding: 9px 19px;
overflow: scroll;
font-size: 15px;
line-height: 27px;
}
code span.comment{
color: #777;
}

Documentation and download links are available in group pages.
