This week's assignment is to get familiar with design tools. Tools which can cover both 2D and 3D designing, rendering, simulation, animation etc...
The 2types of digital graphics are Vector and Raster.
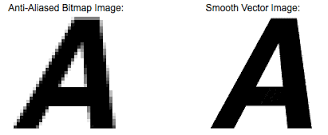
Bitmap / Pixelmap / Raster Graphics images are made of pixels. A pixel is a single point or the smallest single element in a display device. A raster image has a specific number of pixels. When we enlarge the image file without changing the number of pixels, the image will look blurry (Start to see a lots of tiny squares).
On the other hand, vector images are mathematical calculations from one point to another which form lines and shapes. When we enlarge a vector graphic, graphics is rendered without losing quality.
Here is an image taken from google
The tools I tried out are GIMP, Photoshop and Inkscape.
Photoshop is a professional image edting tool. Photoshop offers more training options and photoshop training can be certified. We can create as many layers as we want while working on photoshop. It can be merged alltogether as well. I tried photoshop in windows. Attaching something I tried for the first time in photoshop :)
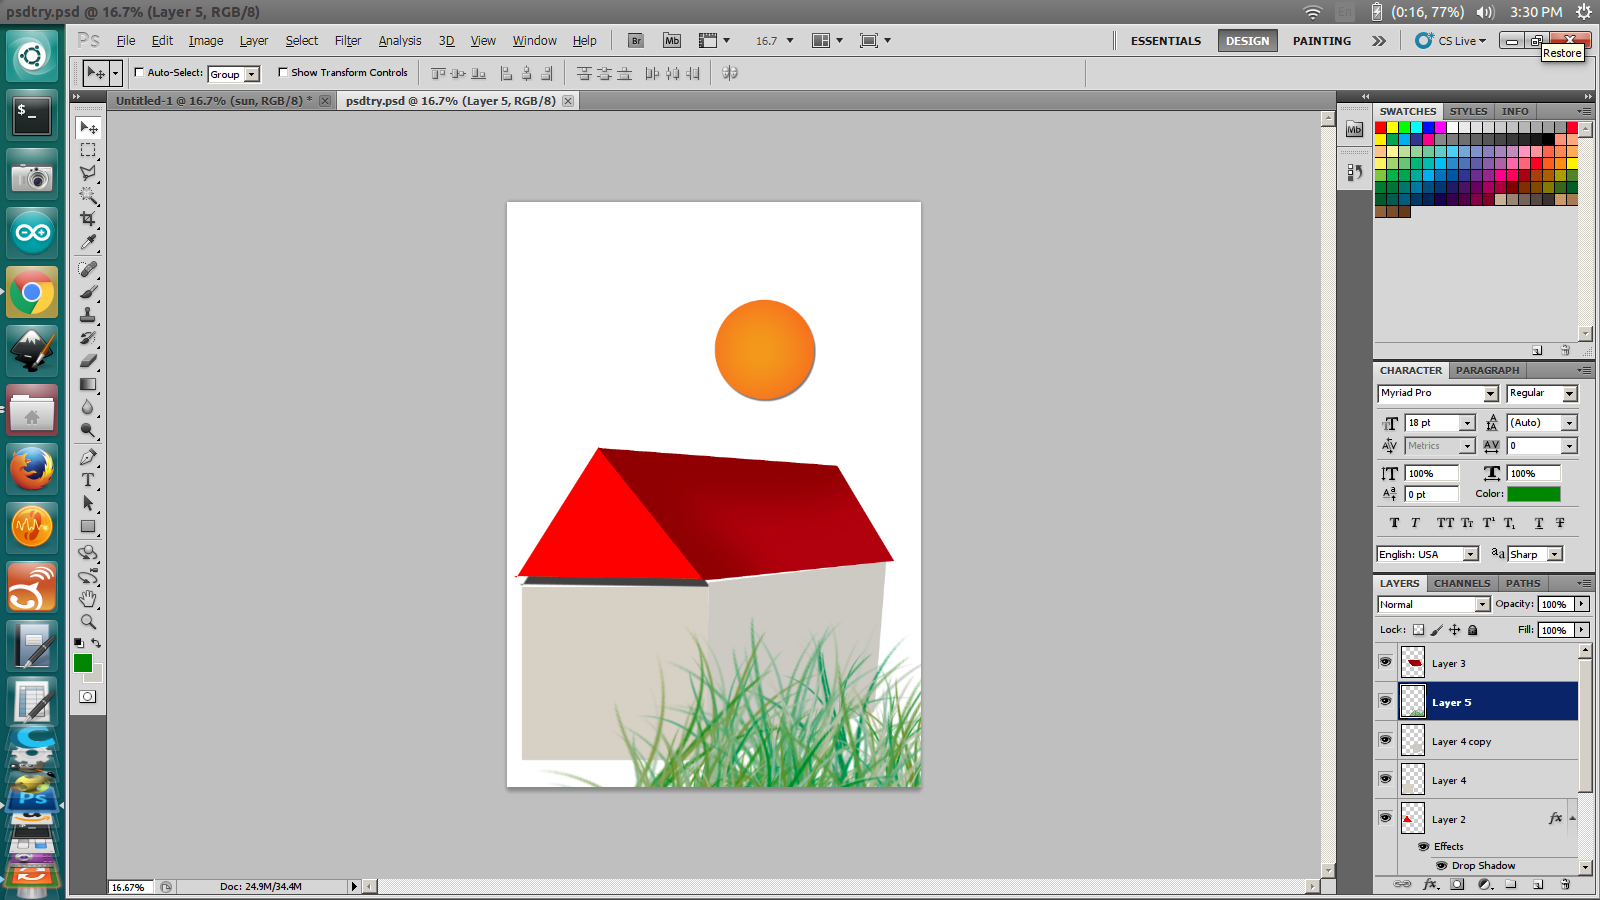
psdtry2
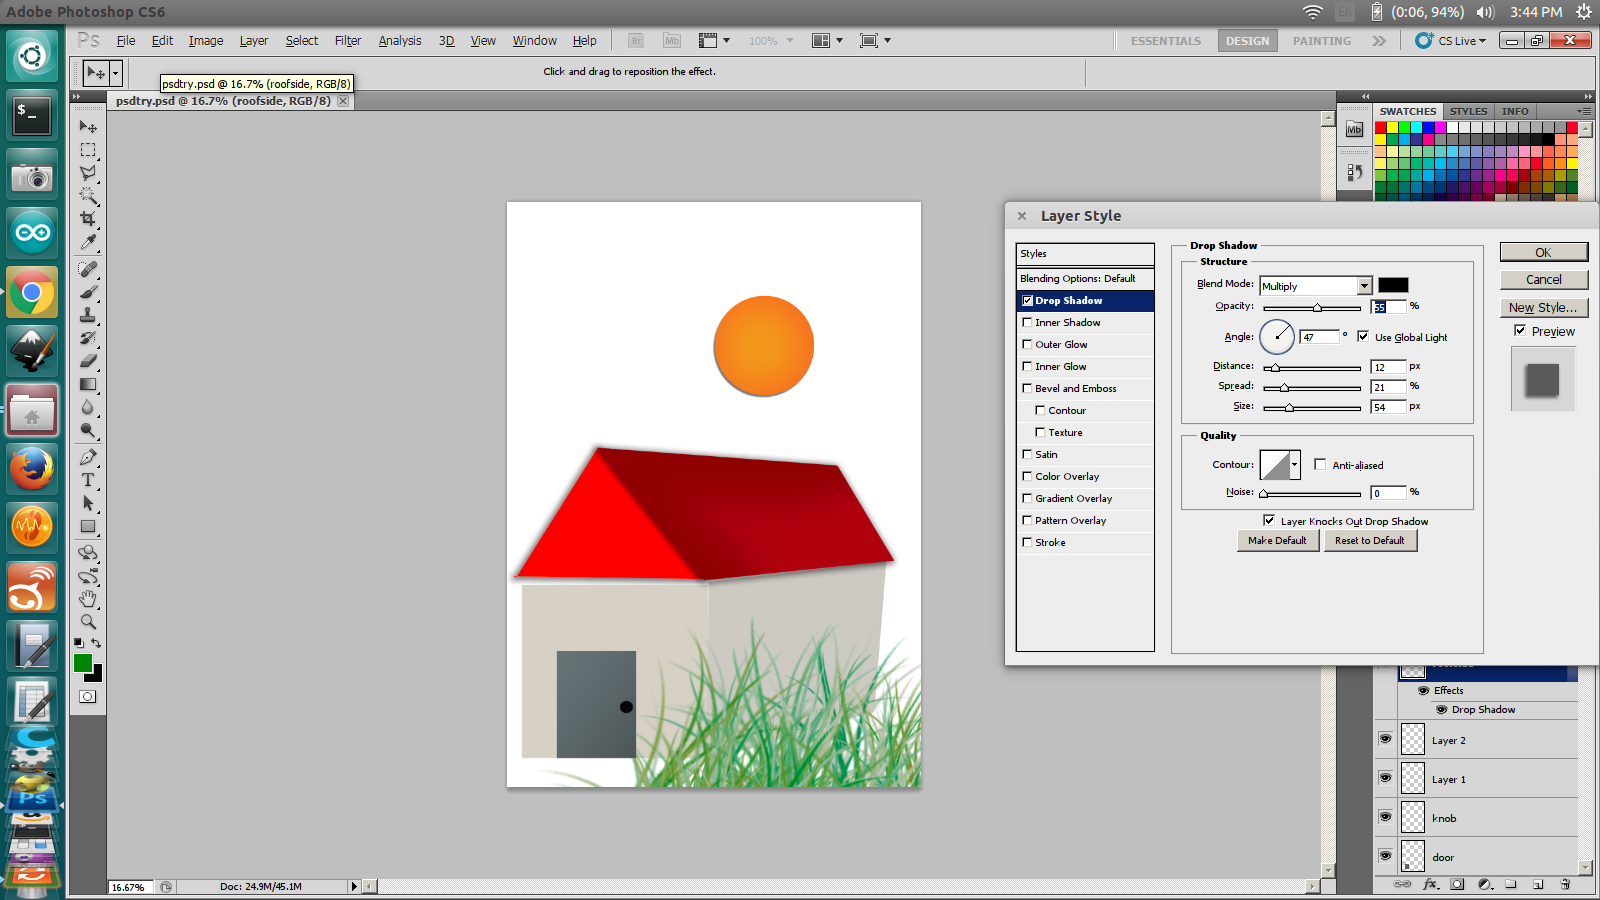
psdtry
GIMP's most attractive feature is that it is free. Again, it requires only 1/20th of hard drive space compared to photoshop. GIMP has open source tutorials as well. I found GIMP’s user interface is friendlier overall. GIMP is a very good free alternative of Photoshop. GIMP is mainly used for resizing the pictures, changing colour schemes, etc. I tried to design something in GIMP. I downloaded a background picture and added text on top of it and made the final file which looks like this.

gimp1try

gimptry2
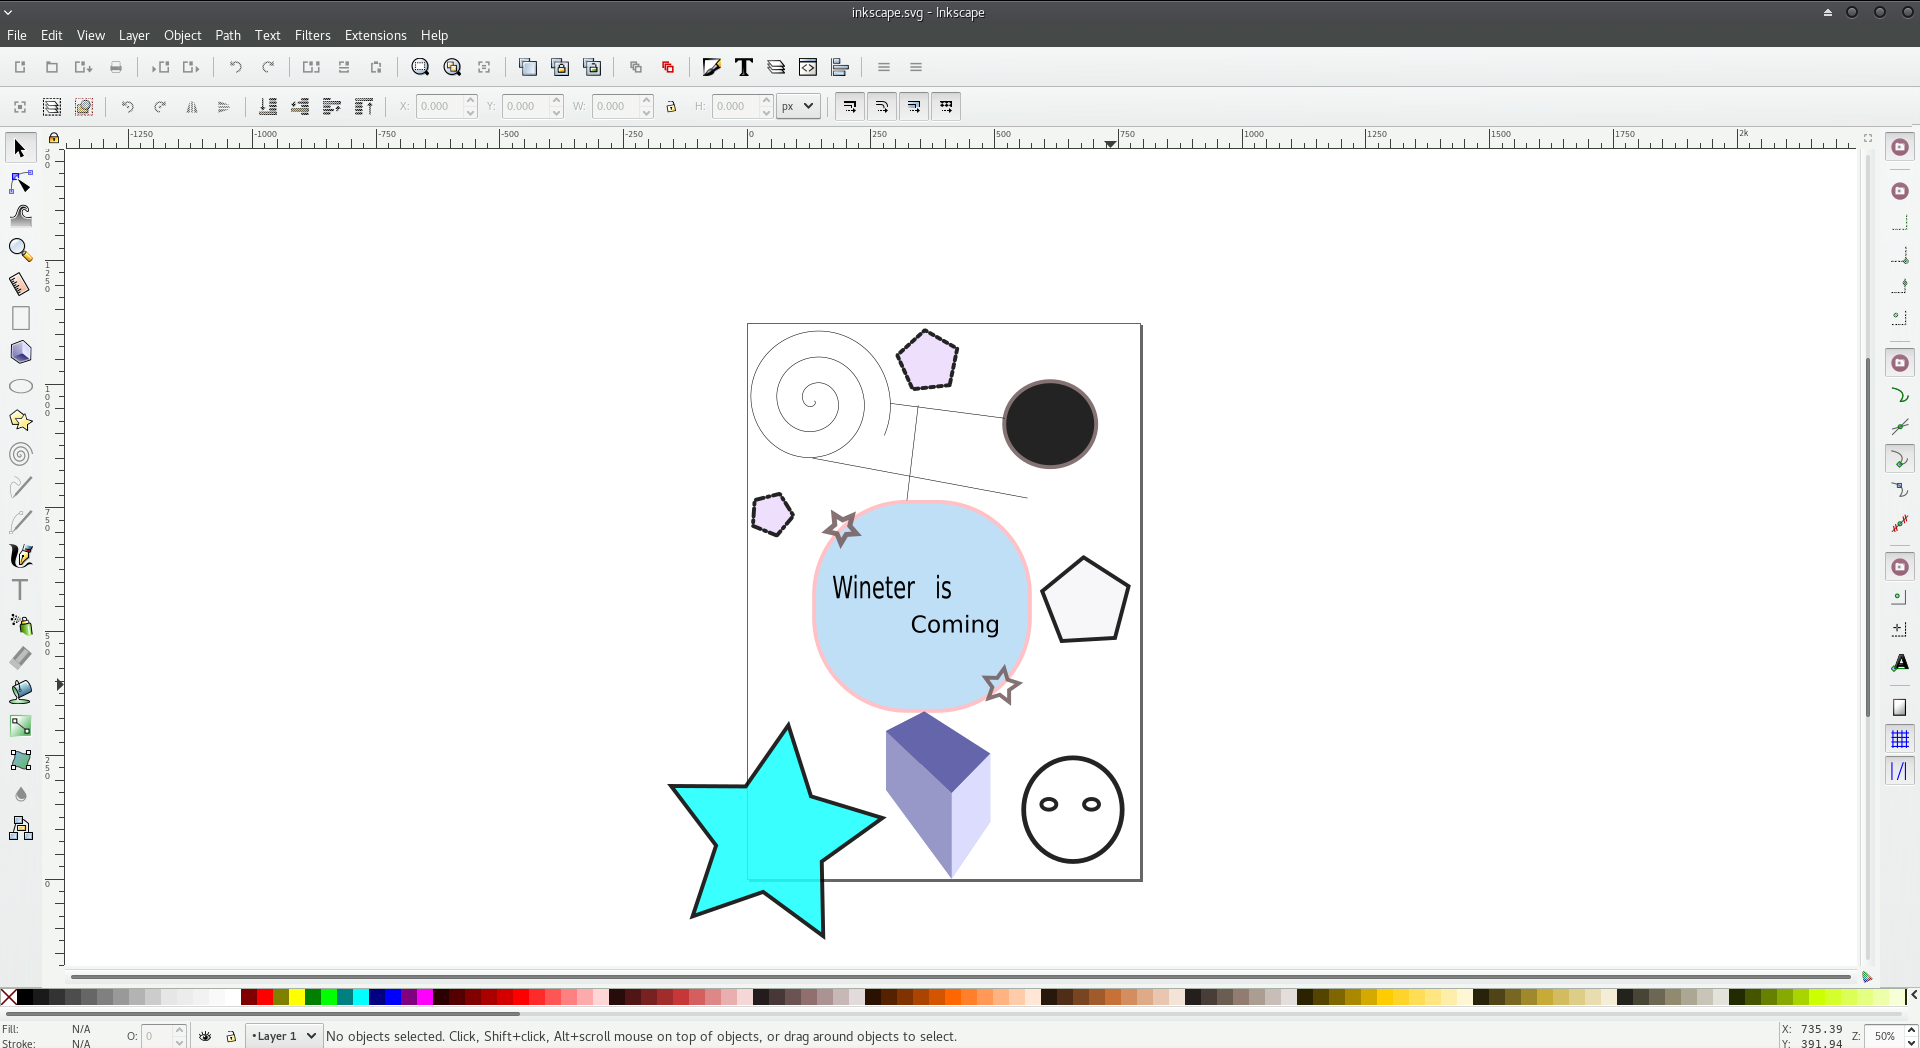
While GIMP is recommended for sketch drawings, Inkscape gives a better projection of the same.
Inkscape is an amazing tool for drawing vector graphics and for editing pics. I had used this tool once, when I attended a session in FABLAB Trivandrum on Laser cutter. I etched something on acrylic that day using laser cutter.
inkscape
This is an online tool which is very simple and user-friendly for beginners. 3D structures can be made very easily. I had no prior experience of designing in 3D, but I something easily in my first try. This is very sign-up and there is even a learning lesson for designing a shape with given instructions. I tried that and then used the shapes to make a FABLAB sign-board.
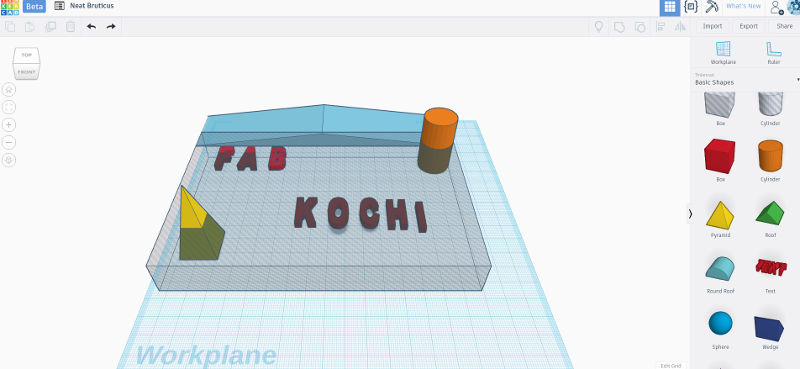
tinkercad
Onshape is the first and only full-cloud 3D CAD system that lets everyone on a design team simultaneously work together using a web browser, phone or tablet.I tried Onshape in Google Chrome and created a 3D model of the Fab-table I'm planning to make. I'm still working on the project idea. Onshape has a very interactive online forum which helps you a lot when you start learning a new tool. Even the free version offers unlimited public documents which is very helpful for the kind our works in fablabs.
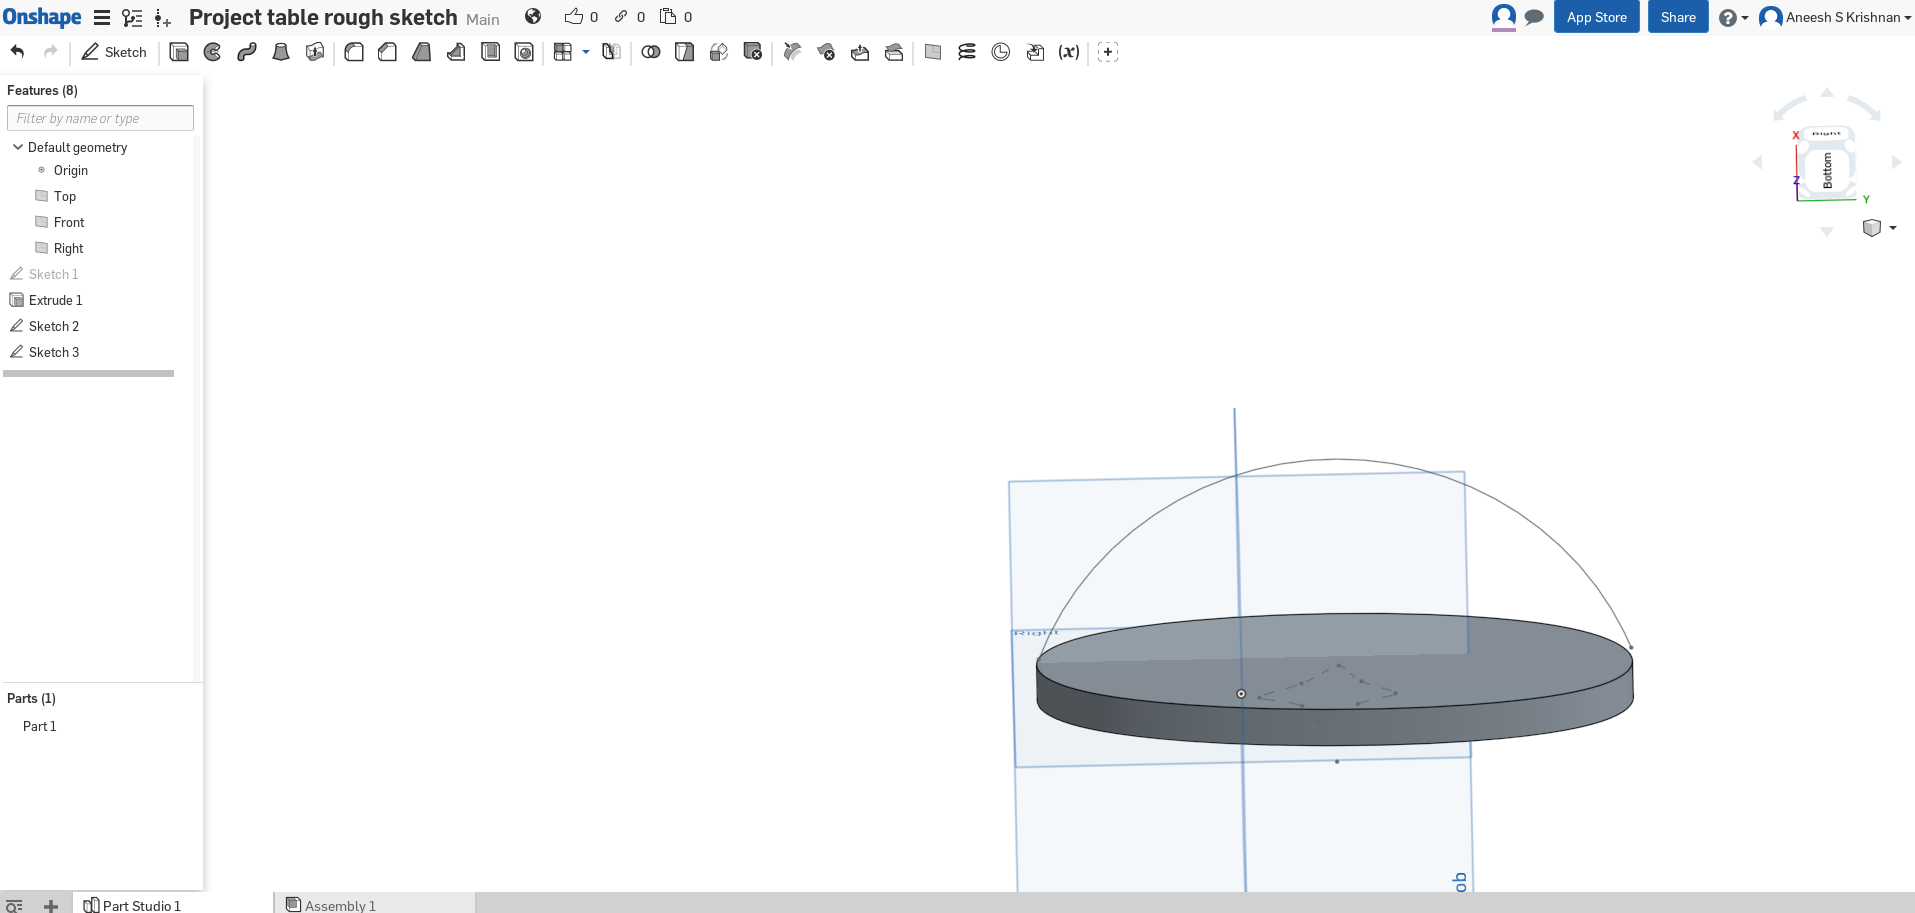
onshape2
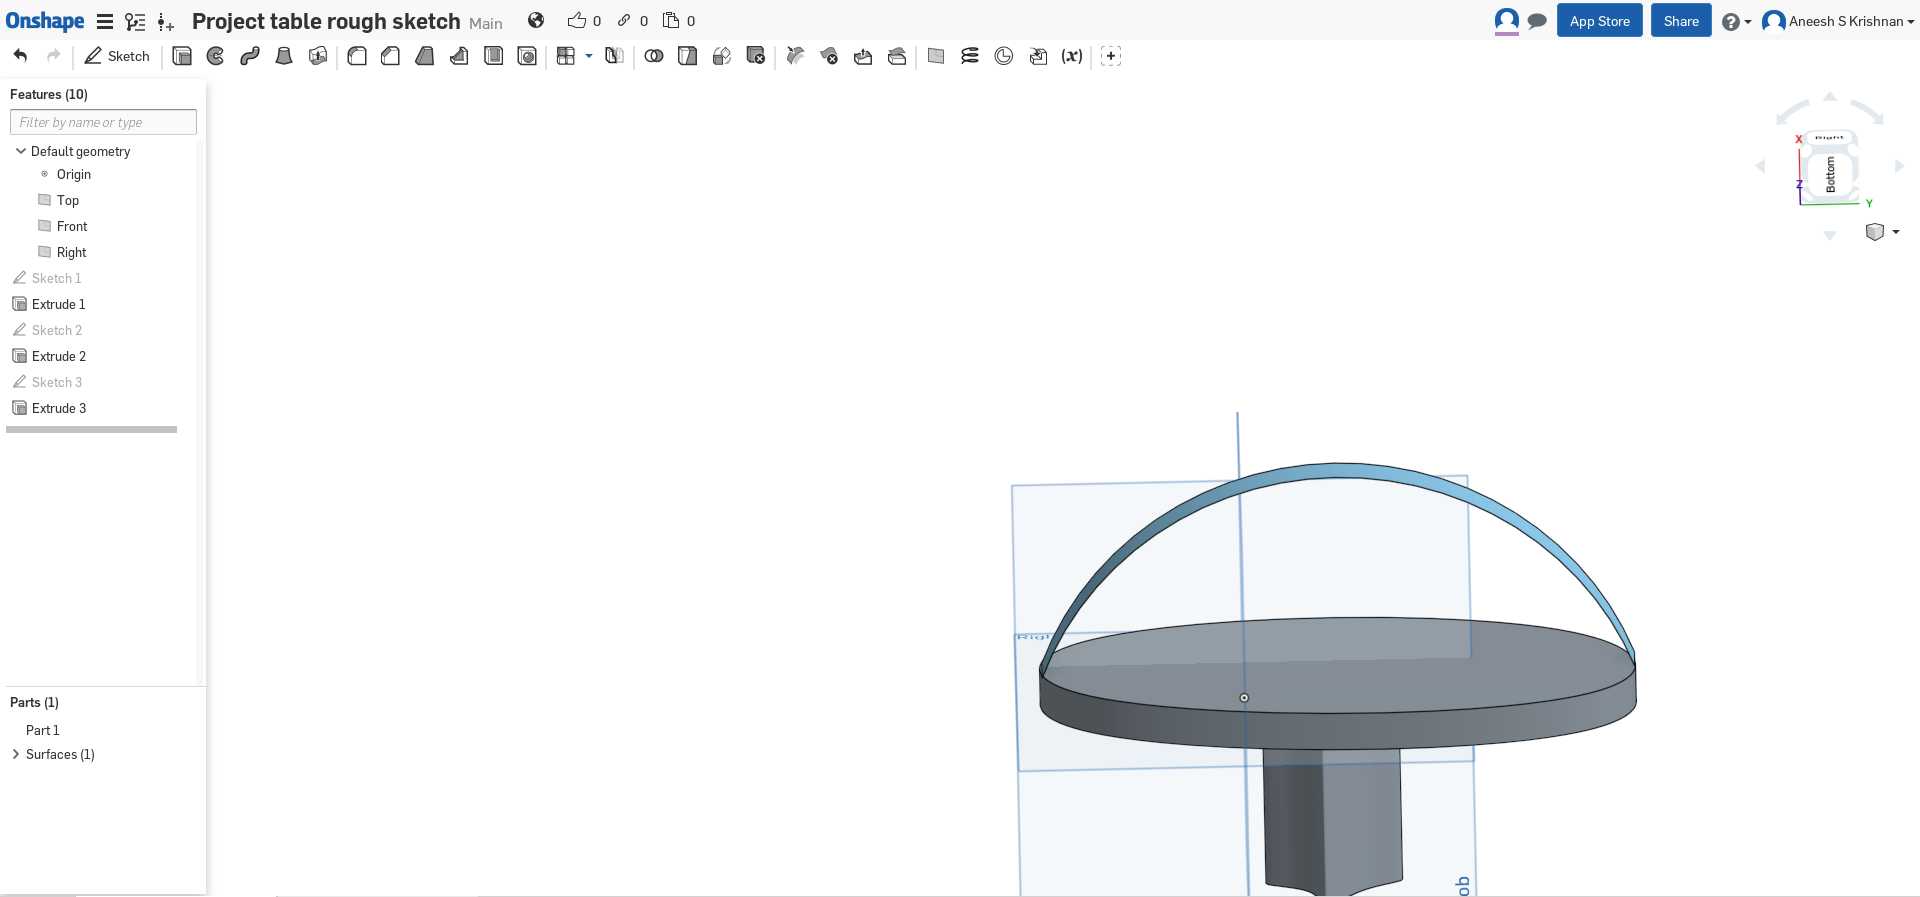
onshape1
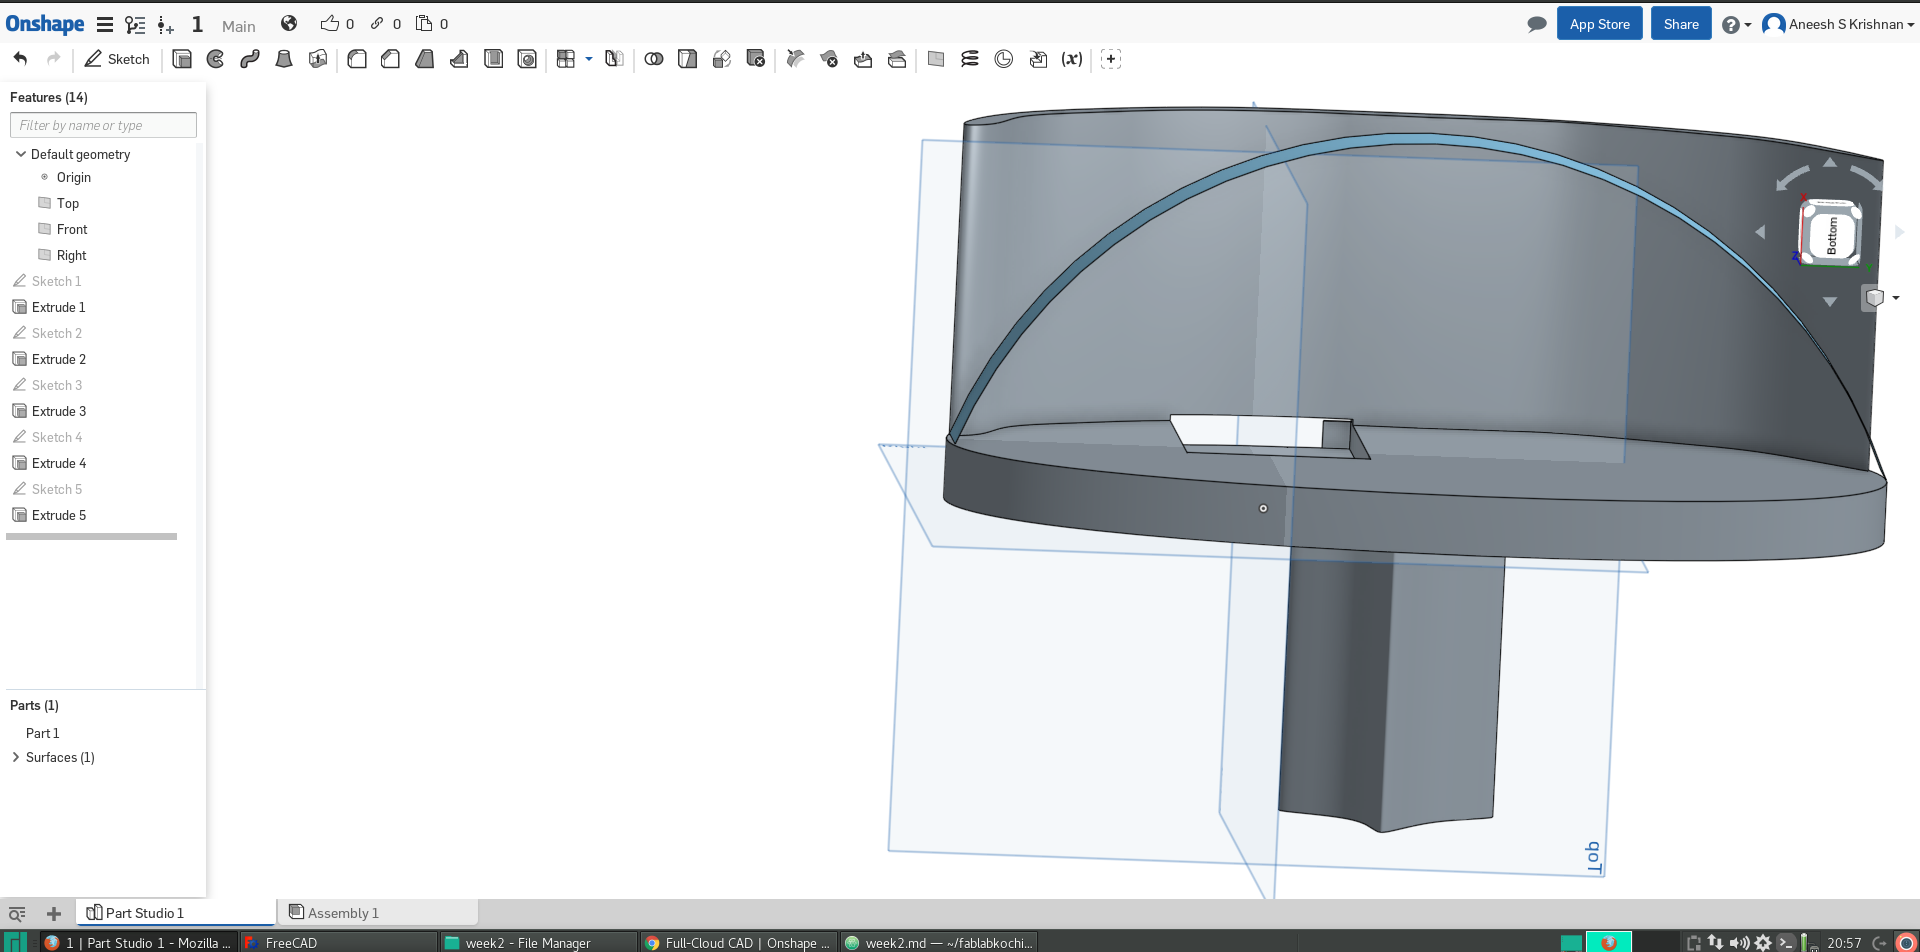
onshape
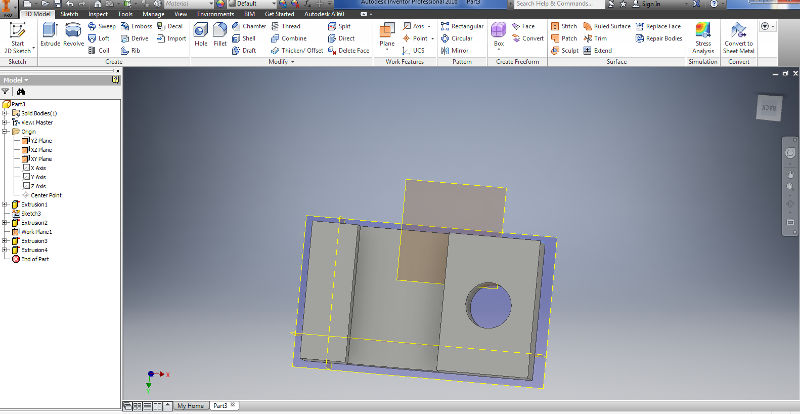
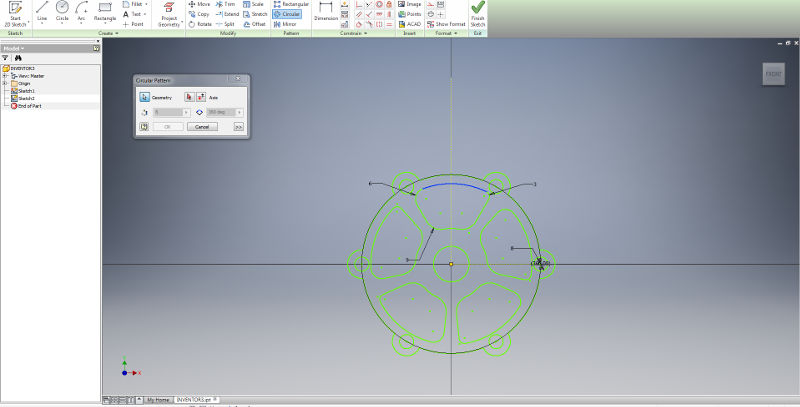
Autodesk Inventor, developed by U.S. based software company Autodesk, is a computer-aided design application for creating 3D digital prototypes used in the design, visualization and simulation of products. It uses ShapeManager, their proprietary geometric modeling kernel (wikipedia).
This can be used only in windows and is not an open source software. I tried the free version of inventor and I found it comparitively easy. I even tried to design a couple of basic models to know how to use the software.
Attaching the screenshot
Attaching the links to the model I did in inventor
Antimony is a software which is derived from Kokopelli, which is a script based CAD written in Python. In kokopelli we have to write code in Python for designing. Antimony uses something called nodes which is connected to form solid models. As it makes use of constructive solid geometry philosophy and it is very powerful in modifying the design parameters at any point during the development. I'm yet to try antimony as I didn't get enough time to work on this after the softwares i already tried. I'm planning to get familiarized with antimony as well later on. I have installed antimony after going through some strain. hehe :P
Installation of Antimony
# Install dependencies
sudo apt install git build-essential libpng-dev python3-dev libboost-all-dev  libgl1-mesa-dev lemon flex qt5-default ninja-build cmake

# Clone the repo
git clone https://github.com/mkeeter/antimony
cd antimony

# Make a build folder
mkdir build
cd build

# Build and launch the application
cmake -GNinja ..
ninja
./app/antimony
This is available here
Attaching the installation screen-shot
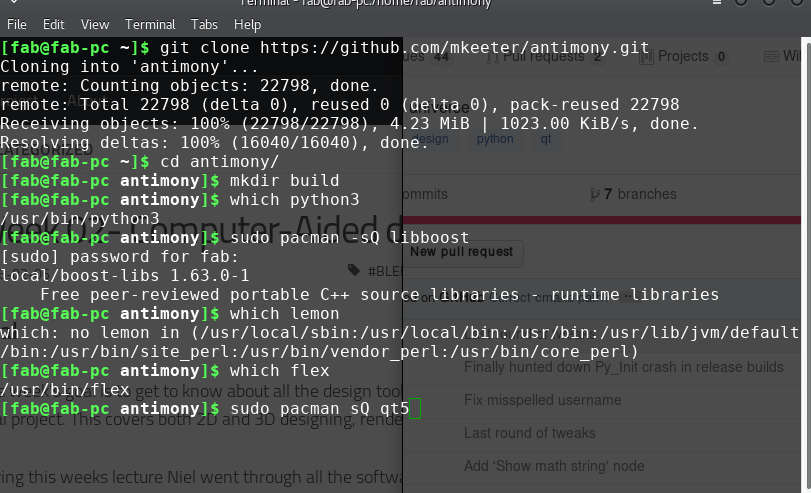
antimonyinstallation
Running antimony
Since I'm new to Linux, it took me sometime to figure out how to open the software. I went to the terminal and typed antimony. But it showed an error message.
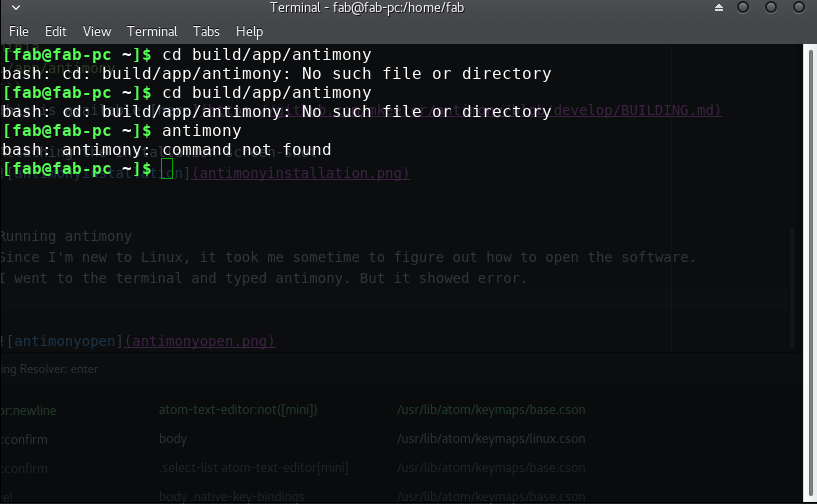
antimonywrong
Then I googled and finally found out the solution. To open the app, I've to go to the folder it's been installed and should give the command
./antimony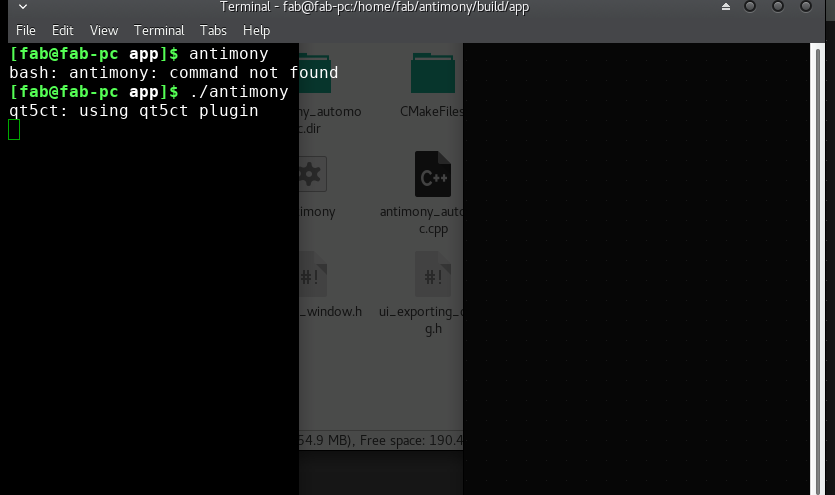
antimonyopen
This is a free and open-source software for displaying, converting, and editing raster image and vector image files.
To install
sudo pacman -S imagemagickIn this we use certain commands to do the conversion. For example :
If I want to resize multiple(all) images in a folder I'll have to give this command in the terminal (The path on the terminal should be the folder where all the images are copied).
mogrify -resize WIDTHxHEIGHT *.pngTo convert
mogrify -format jpg *.pngPDF generation from image files. All the images will be shown in a single pdf.
convert *.jpg test.pdfSnapseed is a mobile application I've been using on my mobile. This is easy to use with a good user interface. All the basic image editing options are available in this tool, and also some good filters.
Photoshop
GIMP
Inkscape
Tinkercad
Onshape
Antimony
Inventor
Imagemagick
Snapseed