
- Read the material safety data sheet (MSDS) and technical data sheet (TDS) for the resins that you're using.
- Design and make a 3D mould (~ft2 /30x30cm), and produce a fibre composite part in it.
Class material: Composites
Insper FabLab's operational manual here.
Epilog Mini - laser machine - tutorial01; tutorial02 and turorial03.
DuploTech - laser machine - software tutorial; user operation tutorial and machine download manual.
Clamps, scissors, stiletto, hammer (hand tools).
- MDF 3.00 mm thickness
- Imperveg resine AGT 1315.
- fabric
- Gloves
- Inkscape
- GIMP2.0
- Fusion360
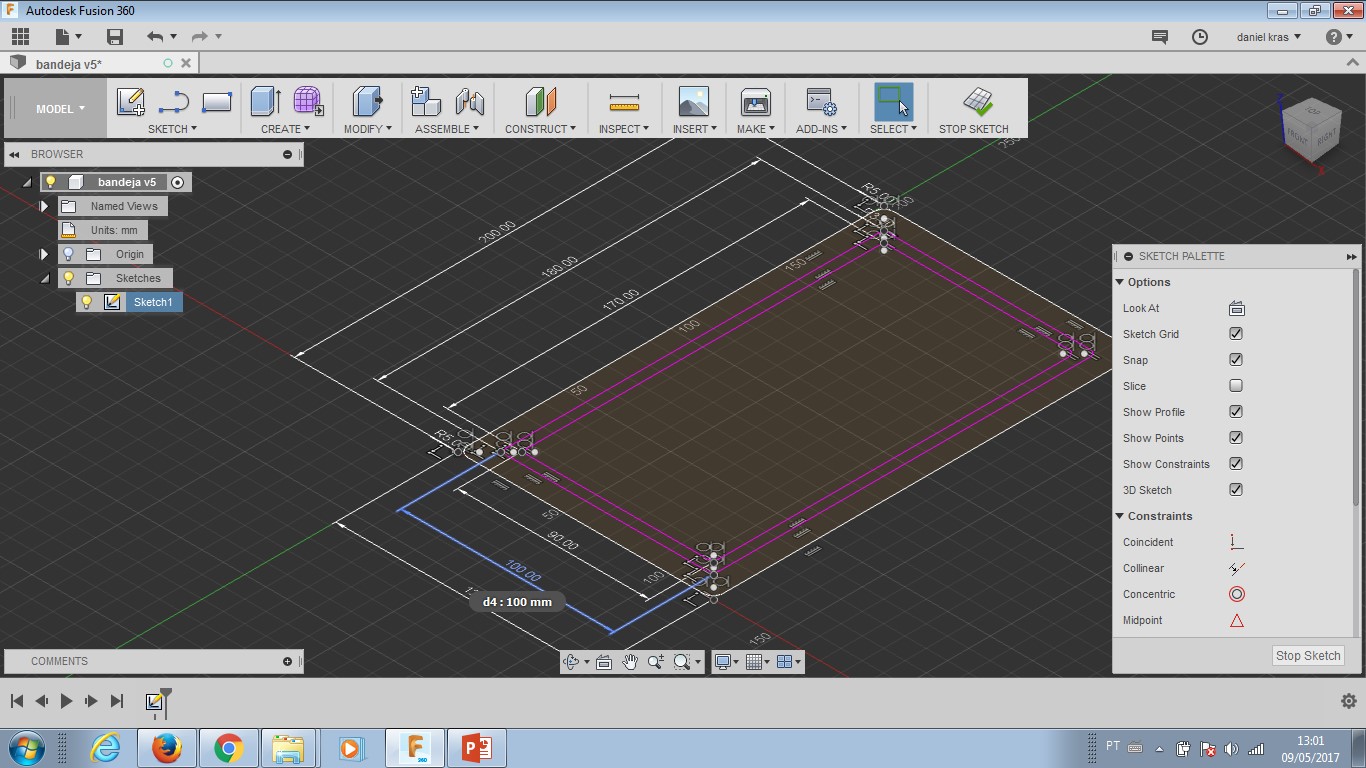
Fusion360 design file tray.
Again thinking about the coffee machine and how to enjoy it when ready, I thought building a tray to serve two cups of coffee would be nice. As basic material we had Imperveg resine and a cut of plaid fabric.
Laser cut a piece of mdf to make the mold and then press it with clamps was the technique applied to this assignment. The result will be shown below (as other images of this process).
Imperveg resine AGT 1315 was the material. It comes in two bottles (A and B). The mixture has a proportion of: 1 A + 1,5 B = good mixture. More information about it (in Portuguese) will be found here or here. It includes MSDS and TDS information.
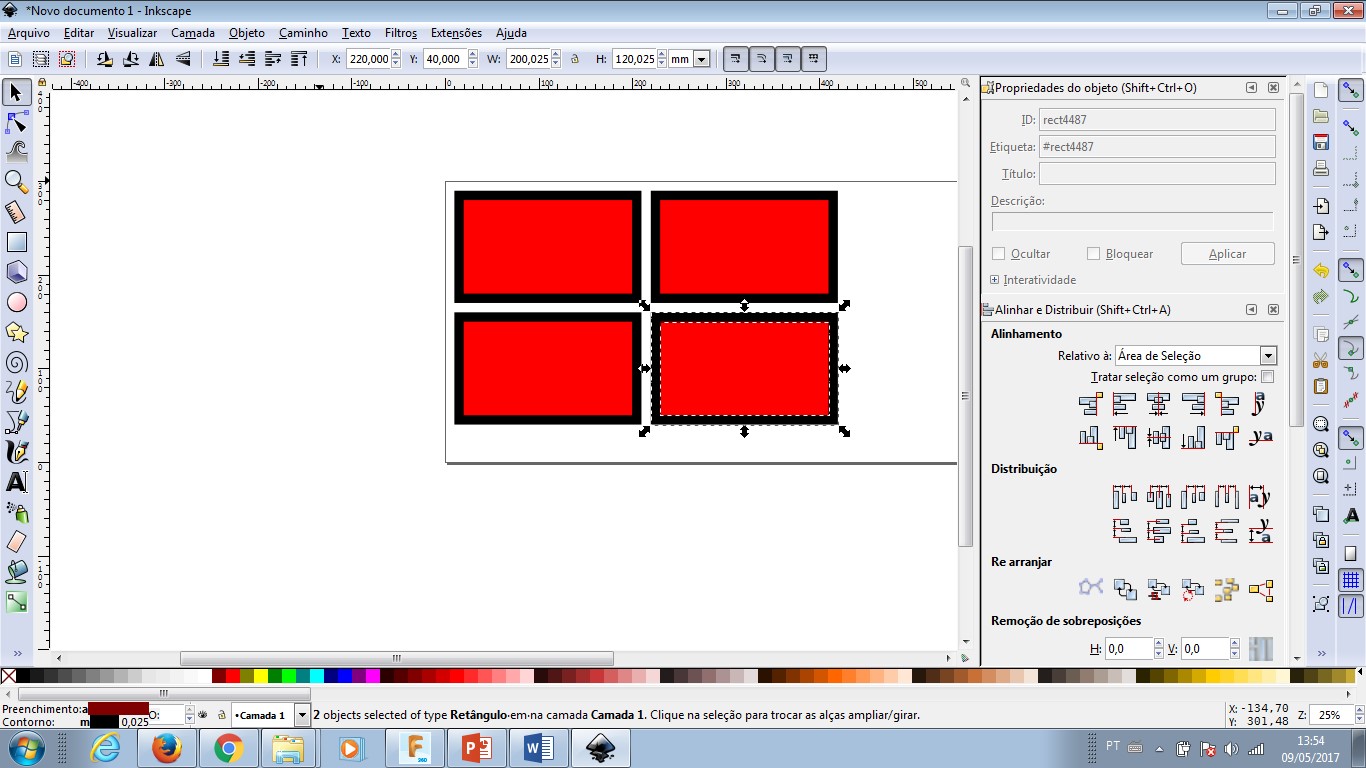
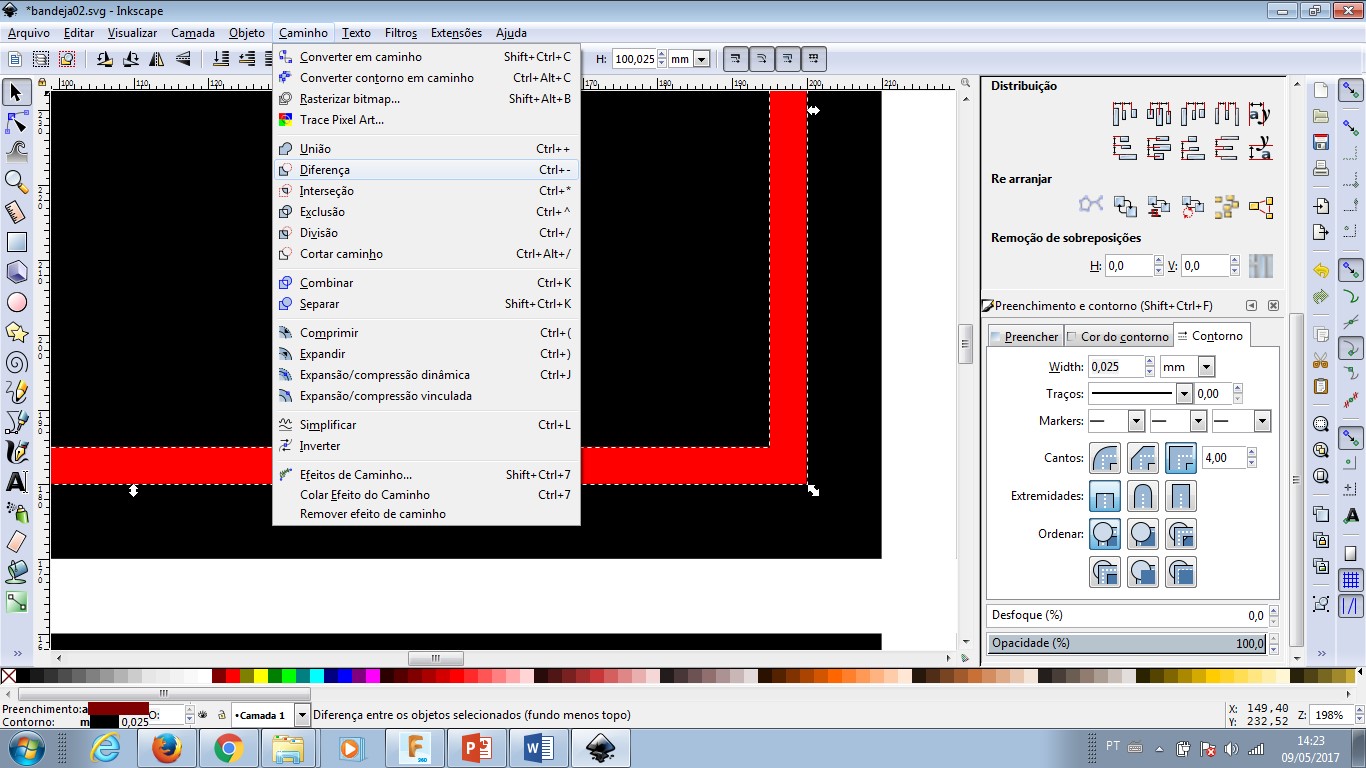
At first, InkScape was the tool I choose. But I changed to Fusion 360 in orther to make the round corners I wanted. InkScape is not the software I had understanded yet. But, in the end, I moved back to InkScape and did some boolean operations to cut the parts I intended to have. From InkScape, I saved a pdf file and cut the mdf - 3.0 [mm] - with Epilog laser cut mini.
- Speed = 10;
- Power = 100%;
- Hz = 5.000.
- Tray design .DXF
- Tray design .SVG
- Tray design .PDF
We have EpilogMini as a printer installed in the computer, so I used the pdf file for production.
The seven layers of fabric iquals the thickness I would like to achieve. This is the tray hanger side thickness. Having only finer fabric brings the issues of mechanical resistance. After readdy, I used the tray with different objects, nocnoc it in order to check how it sounds, and after several experiments, I concluded that it is very resistent.
Puring the resin over the fabric inside the mold may not be the first and ideal way to work with this finer fabric, but I build the mold in order to make it work like that. The strategy - or process workflow - was:
- design the mold.
- build the mold and place it where I could easely clamp it (hold it tight).
- measure how many layers of fabric would be necessary for the tray side wall thickness (5.00 mm).
- cut and place the fabric inside the mold.
- work with the resin to make it readdy, pour it over the fabric.
- close the mold and add pressure.
- wait enought time for the resin to spread thrugh the fabric and dry.
The tray is part of my desk objects now. It helped me out with picking lists (eletronic components) and tools (selecting and keeping safe mills and drills during different production operations).
small.jpg)
small.jpg)
small.jpg)
small.jpg)
small.jpg)
small.jpg)
small.jpg)
small.jpg)
-----------

This work is licensed under a Creative Commons Attribution-ShareAlike 4.0 International License.