At the time we had have this assignment, the Epilog Mini was broke in our lab. Rhyzos Lab hosted us (from Insper) in order to achieve and finish this week tasks (as listed below). I learned that networking and helping each other inside the web is importand and brings better results on projects development for everybody. Once a lab is willing to share information and infrastructure with other labs, its power of improvement multiplies. After the laser cut machine maintenance was done, I could finish some extra work at our lab. Right now, we have two machines and a basic tutorial available.
- Make lasercutter test part(s), varying slot dimensions using parametric functions, testing your laser kerf & cutting settings (group project).
- Cut something on the vinylcutter
- Design, make, and document a parametric press-fit construction kit, accounting for the lasercutter kerf, which can be assembled in multiple ways
Class material: Computer-Controlled Cutting
Insper FabLab's operational manual here.
Epilog Mini - laser machine - tutorial01; tutorial02 and turorial03.
DuploTech - laser machine - software tutorial; user operation tutorial and machine download manual.
Roland GX-24 - vinyl machine - begginers tutorial and laptop decal tutorial.
Cardboard - singlewave - 3,00 [mm] thickness.
Paper (paraná-paper) - color is not relevant - 3,00 [mm] thickness.
Vinyl sticker - 400 [mm] x 300 [mm] - color of your choice.
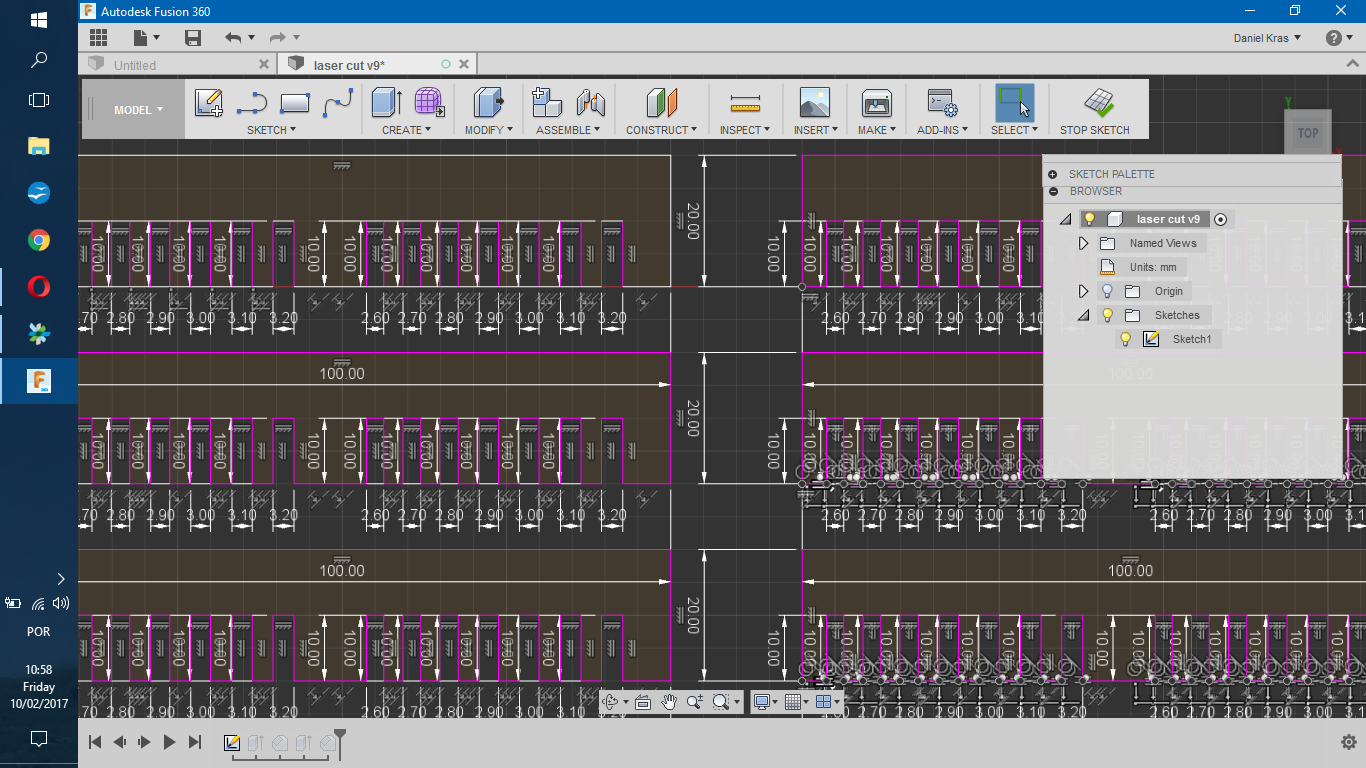
Fusion360 design file here.
I refer to Victor Macusl's documentation for this topic. The link is here. In his webpage there is a description of our job and pictures of what we've made over there and Rhyzos lab.
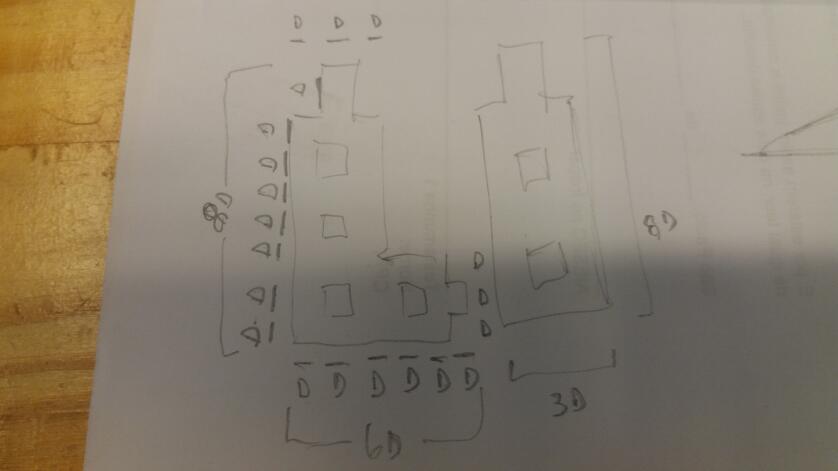
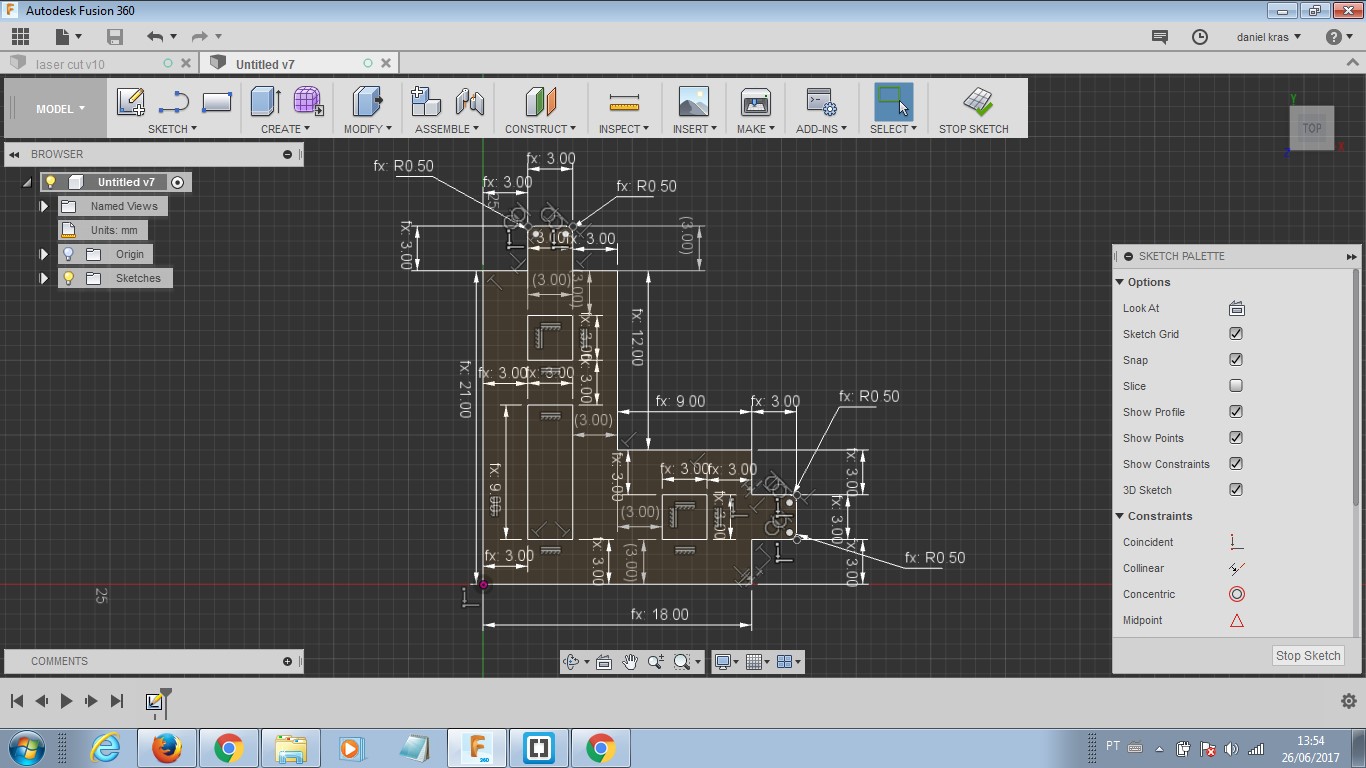
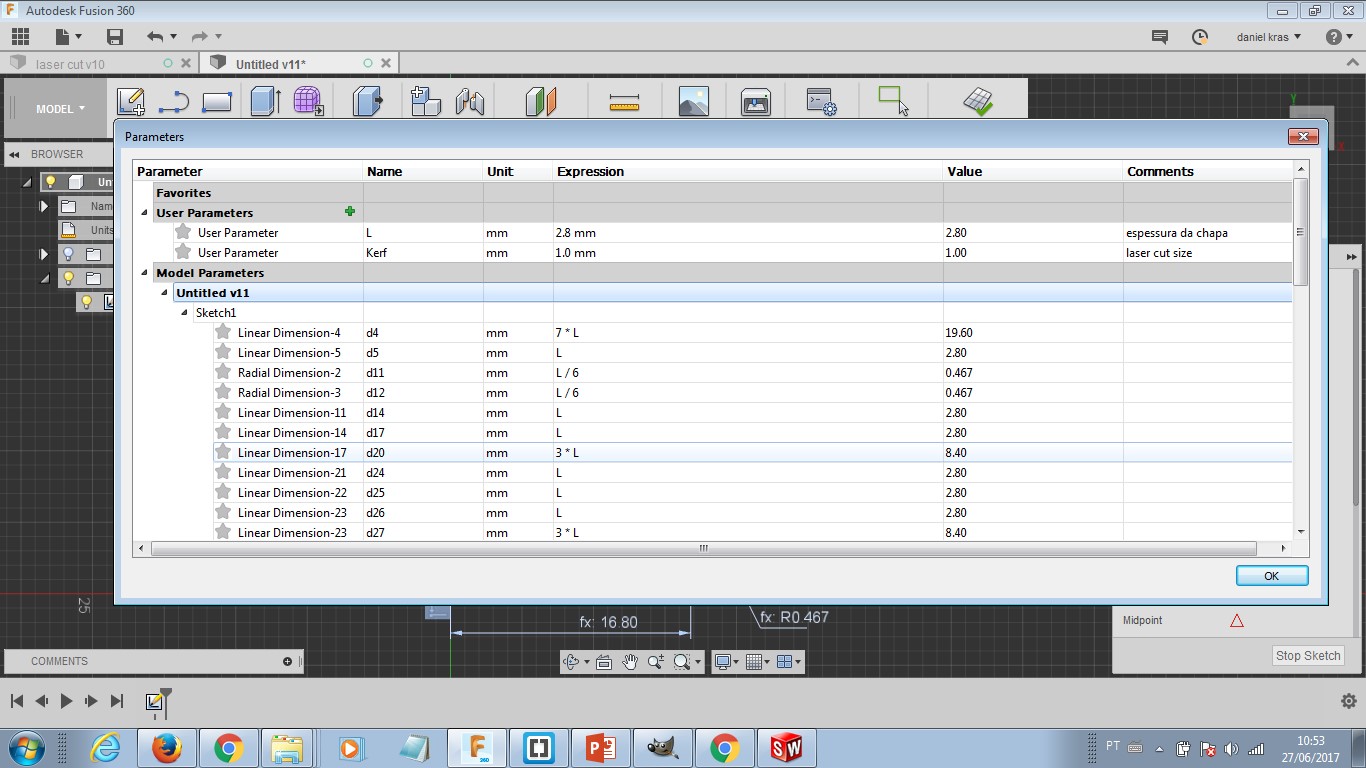
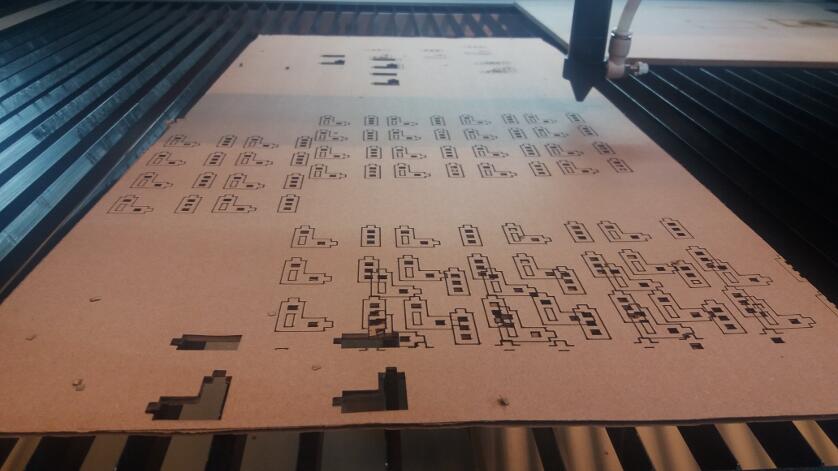
Below, I will show some images of my part of group work. I made the design in Fusion360 of assembling parts to be cut in cardboard. Those parts had a variation in its dimensions and also the edges had two different formats. The idea of having this sample of small differences was to test assembling quality.
We learned that a good assembling quality would have a kerf (as you see in Kerf, the width of a saw cut) compensation to fit one part into another and also a choice of edges that makes easy to put parts togheter without braking anything.
Finally, we've learned that cardboar wave orientation over the cut format has an impressive influence. The parts mechanical resistence changes dramatically. So, for each application, I suggest to prototype different cardboards orientations to measure the one witch is going to present the best performance.
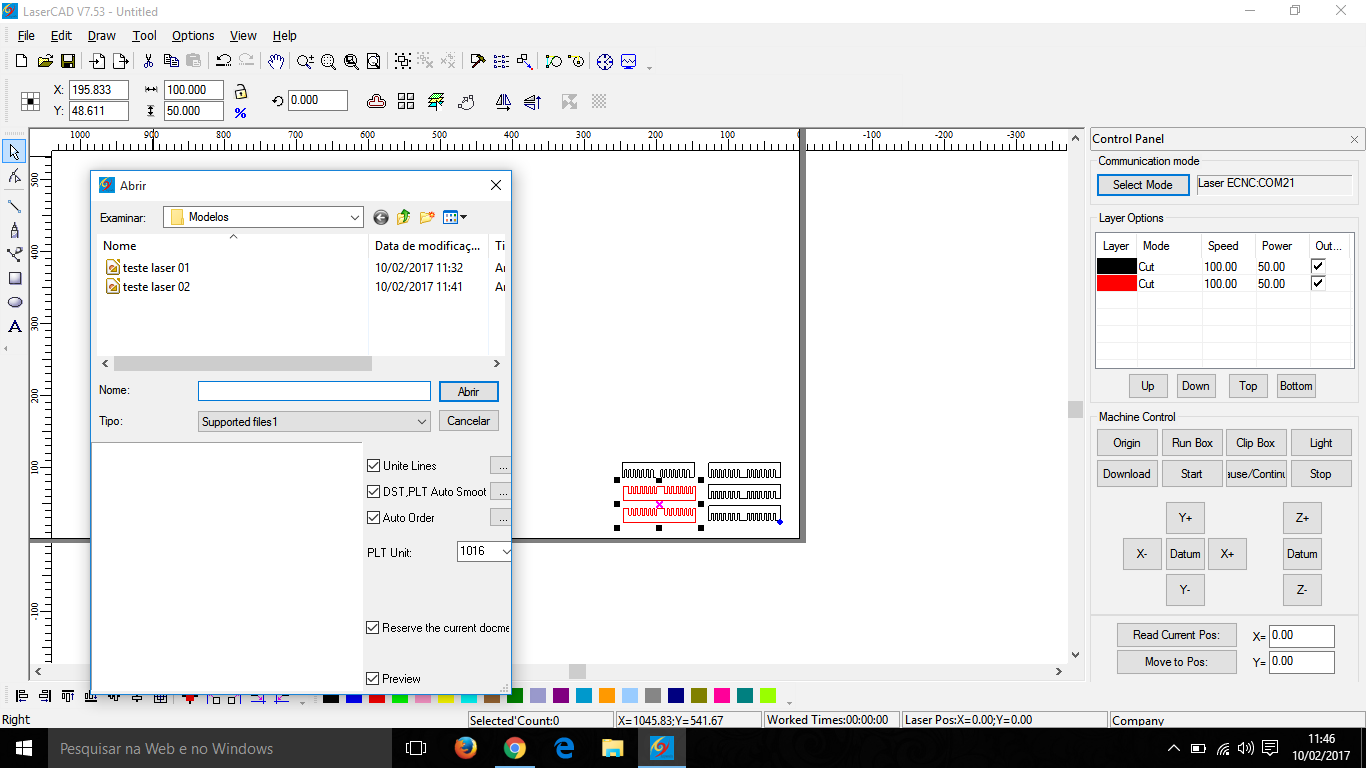
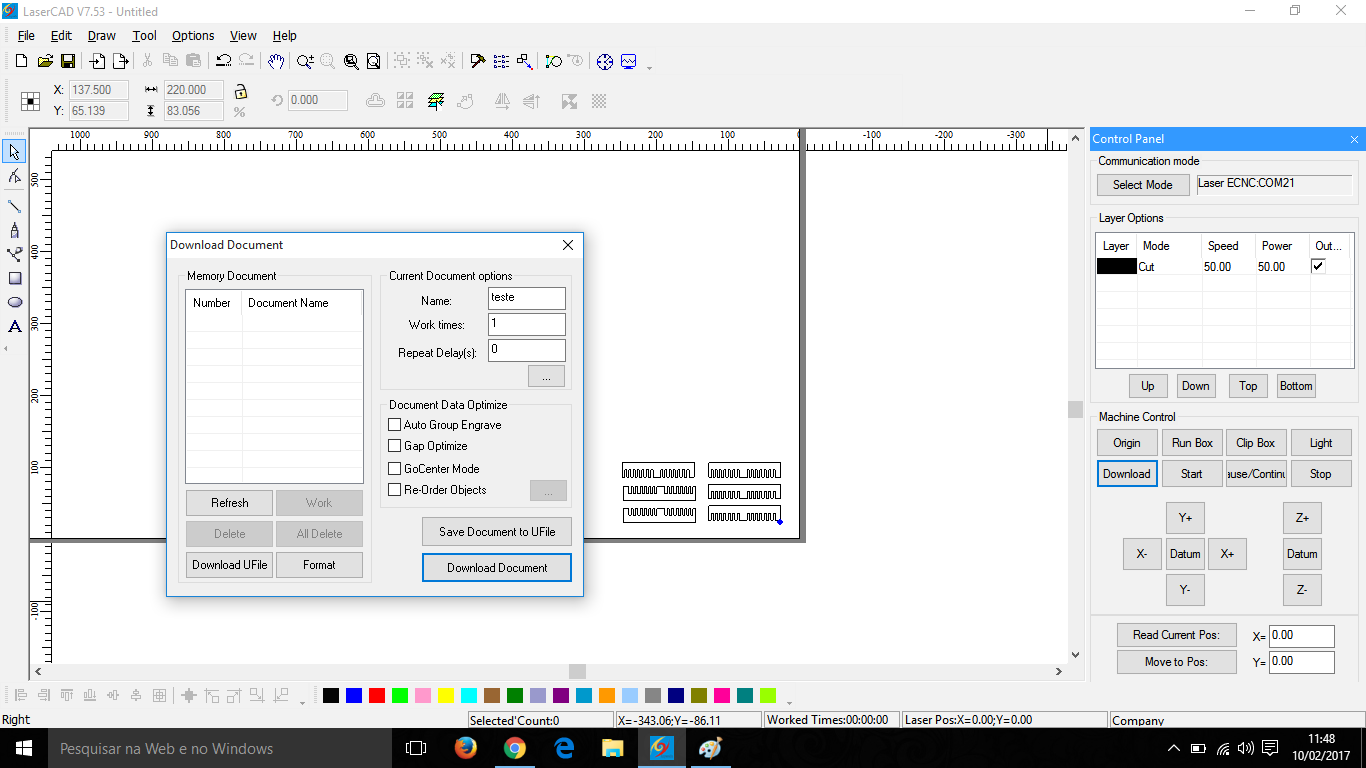
- Machine available at Ryhsos: Laser Cutter ecnc (Made in Brasil);
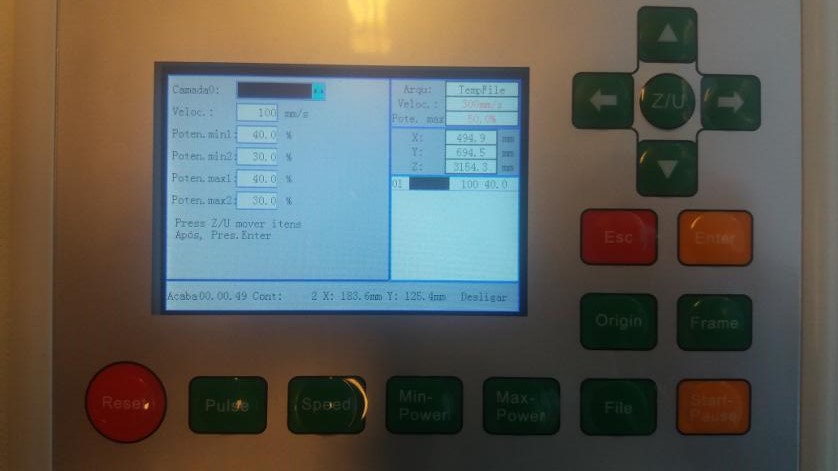
- Machine speed = 200 mm/s;
- Machine power level (min;max) = 50%; 50%.
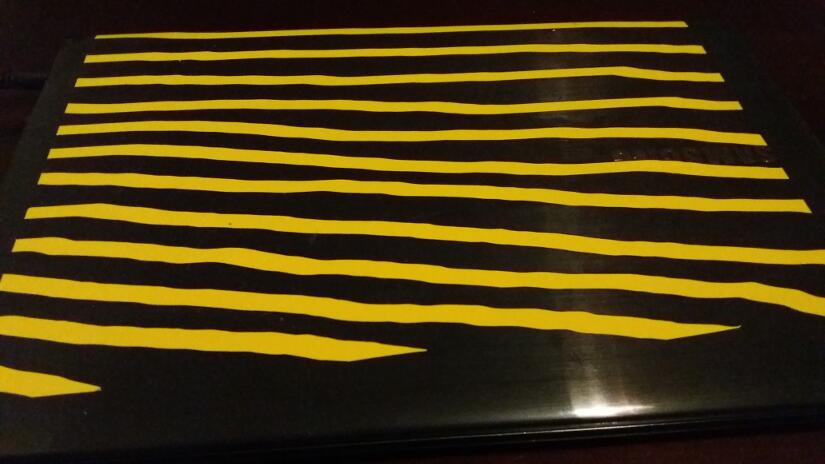
I made a strange profile drawing free hand in the cumputer. After that I stick it to my notebook. It was challenging 'cause I had problems with machine driver when installing it to my windows10 notebook. I borowed a lab computer to cut the vinyl. I choosed yellow collor and I think the result was nice.
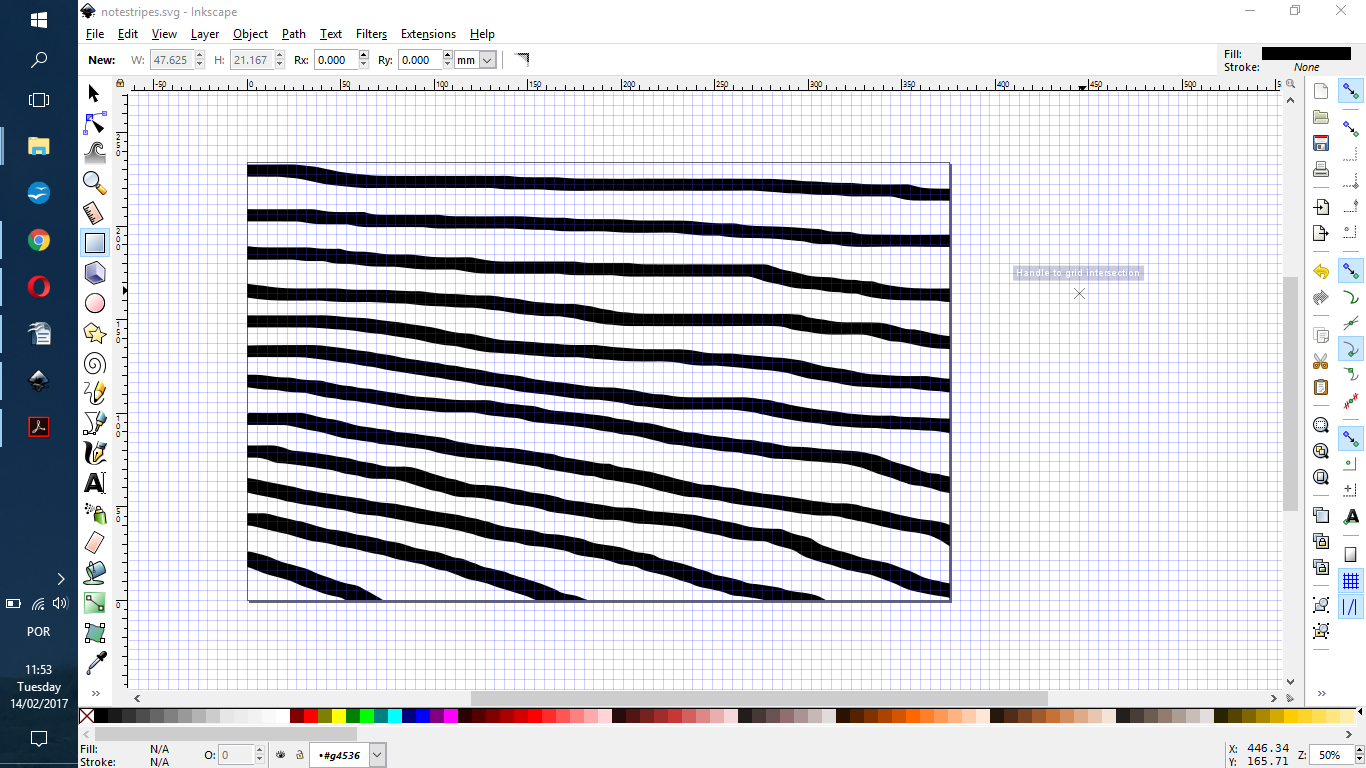
Revisiting Vinyl Cut I had some time to remember how it works. I made de design with InkScape (you'll find more about this software in exercise02) and save it as pdf - that you can access here.
The vinyl sticker material is sold in rolls. But, as you work with it, it might happen that you end up with a piece left from a cutting work. Save each piece in a nice shape for smaller works (if you have space to keep those).
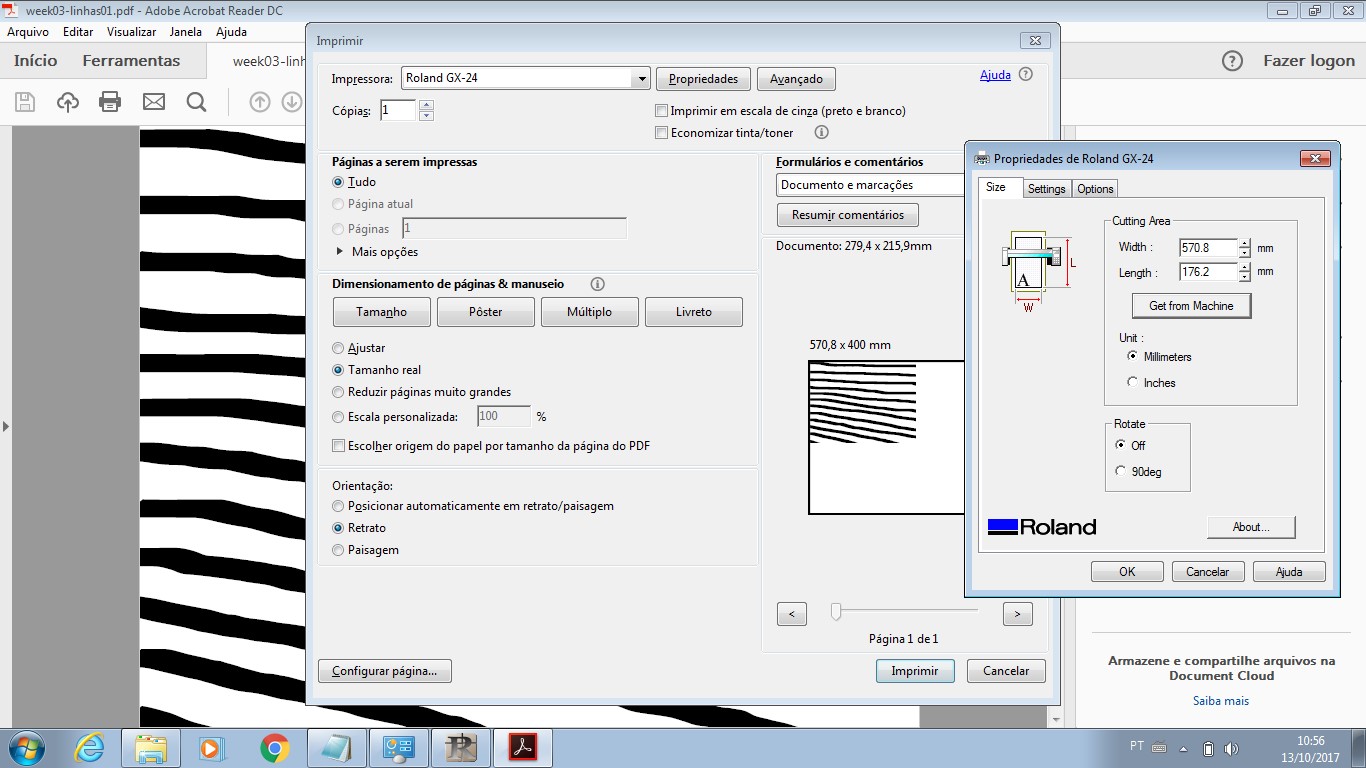
The process I had to do was "print" the pdf file with the lines I had designed. For this to work, there is the need to install the vinyl cut machine as a printer in the computer you have available. There will be an image bellow that shows Roland GX-24 and printer selected and also that you may "get from machine" the information of width and lengh of your material.
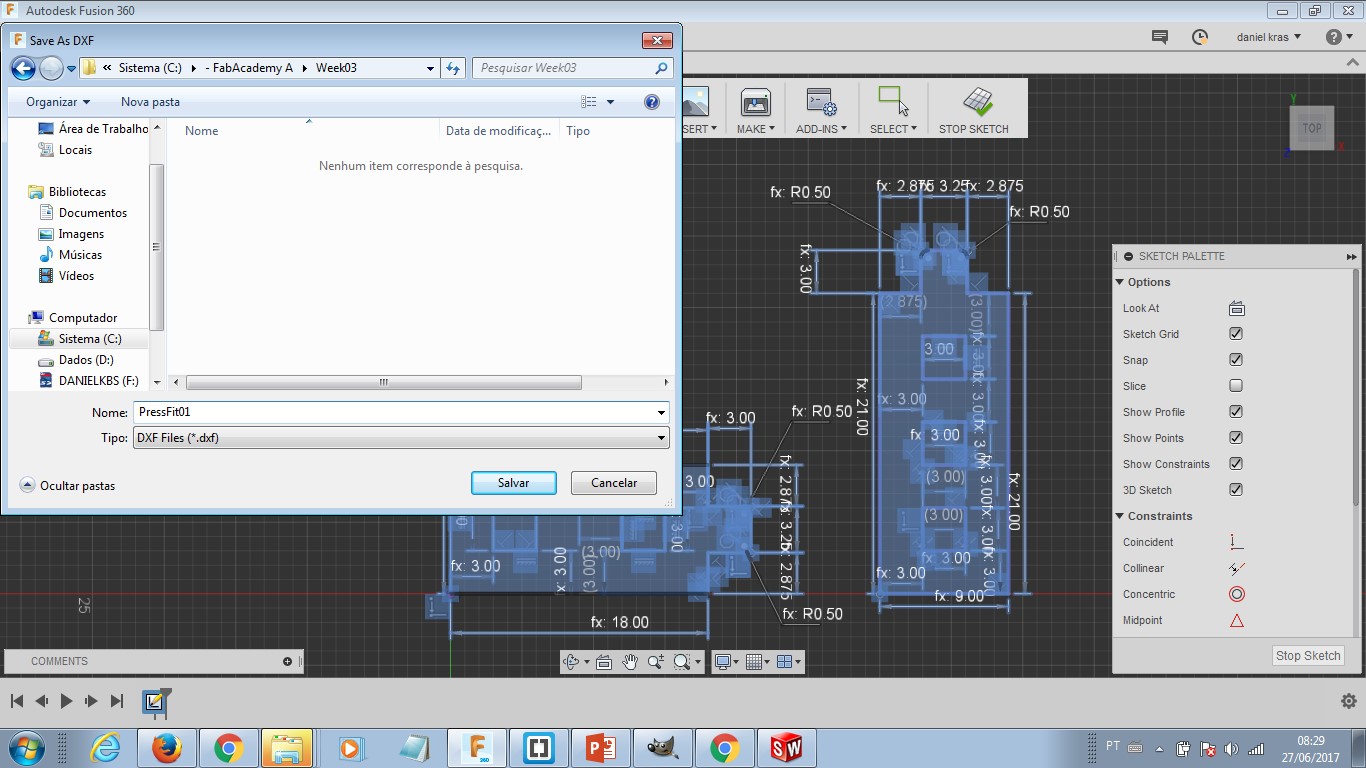
Fusion360 design file Press-fit.
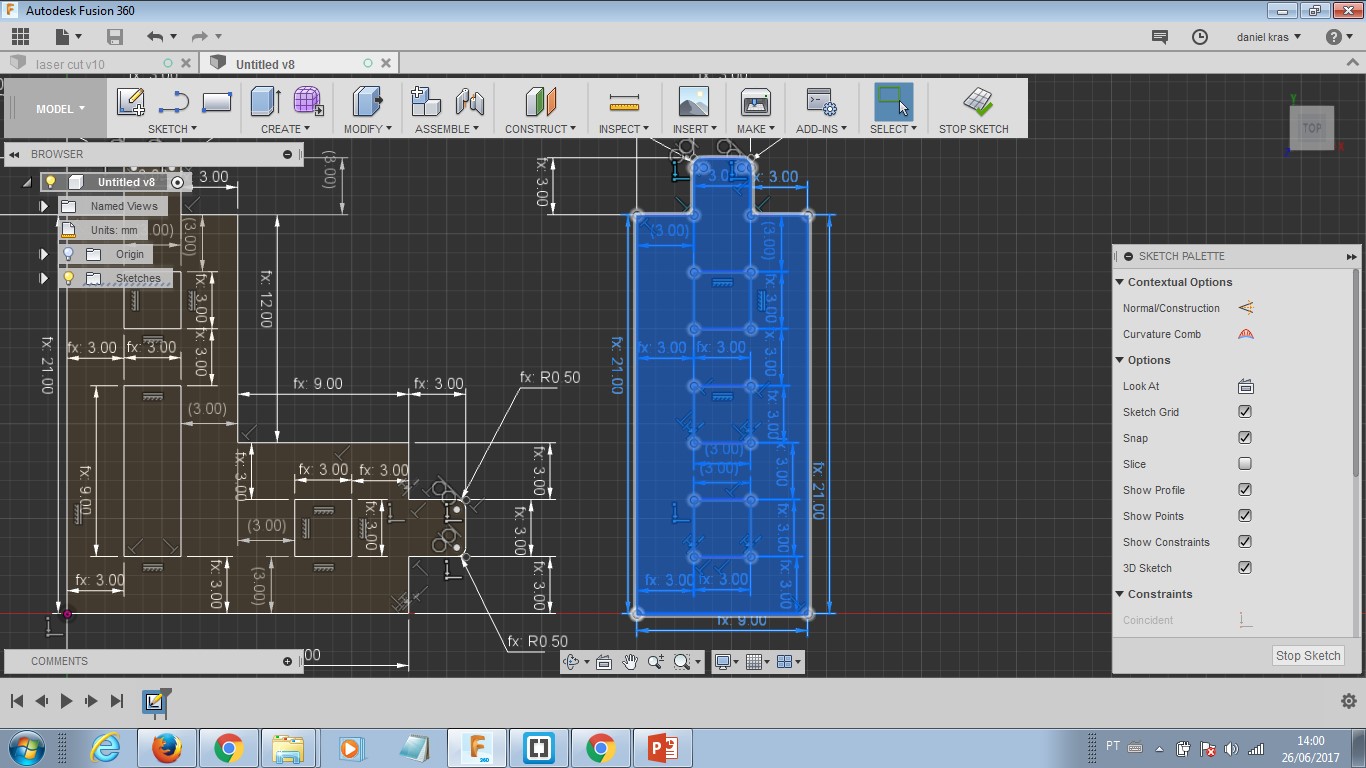
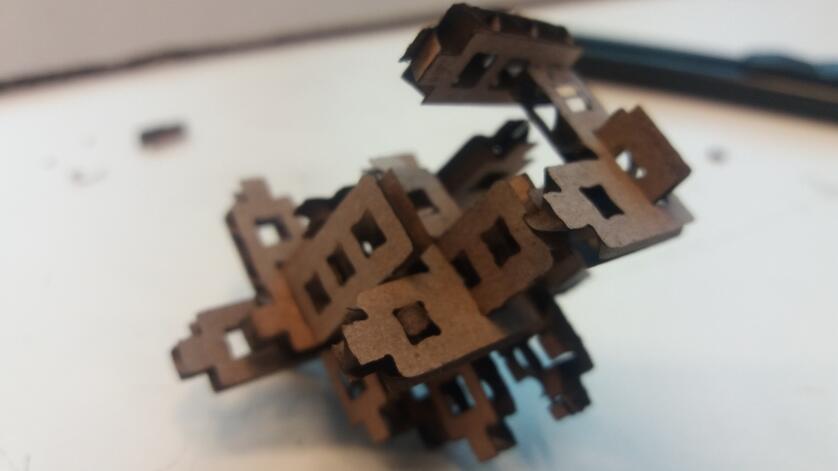
This task was interesting. The challenge was to create a design that was parametric and had a shape which allowed assembling in different ways and structures. Material was cardboard 3,00 mm thickness as said above.
As the images will show, I made two different modules and cut a lot of them. In this way, I could try different assembled structures and have some fun creating objects.
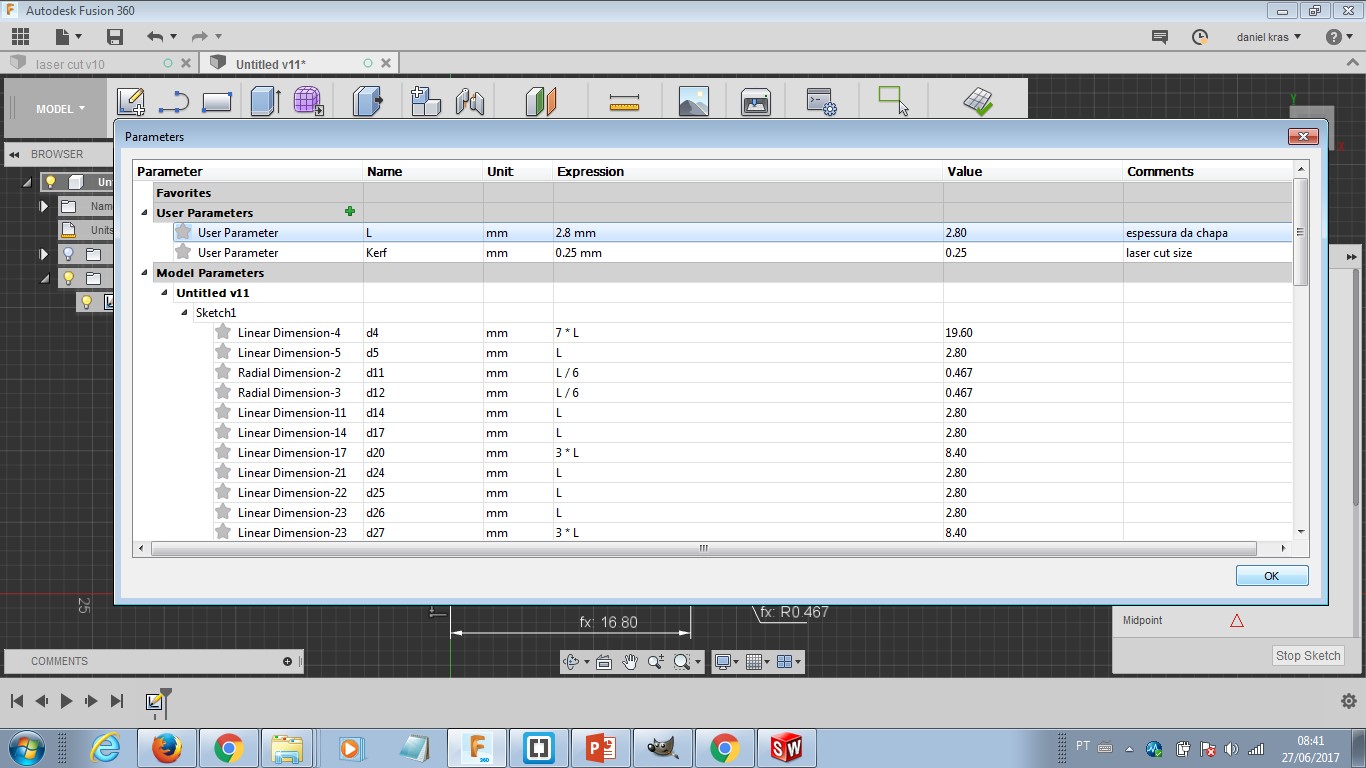
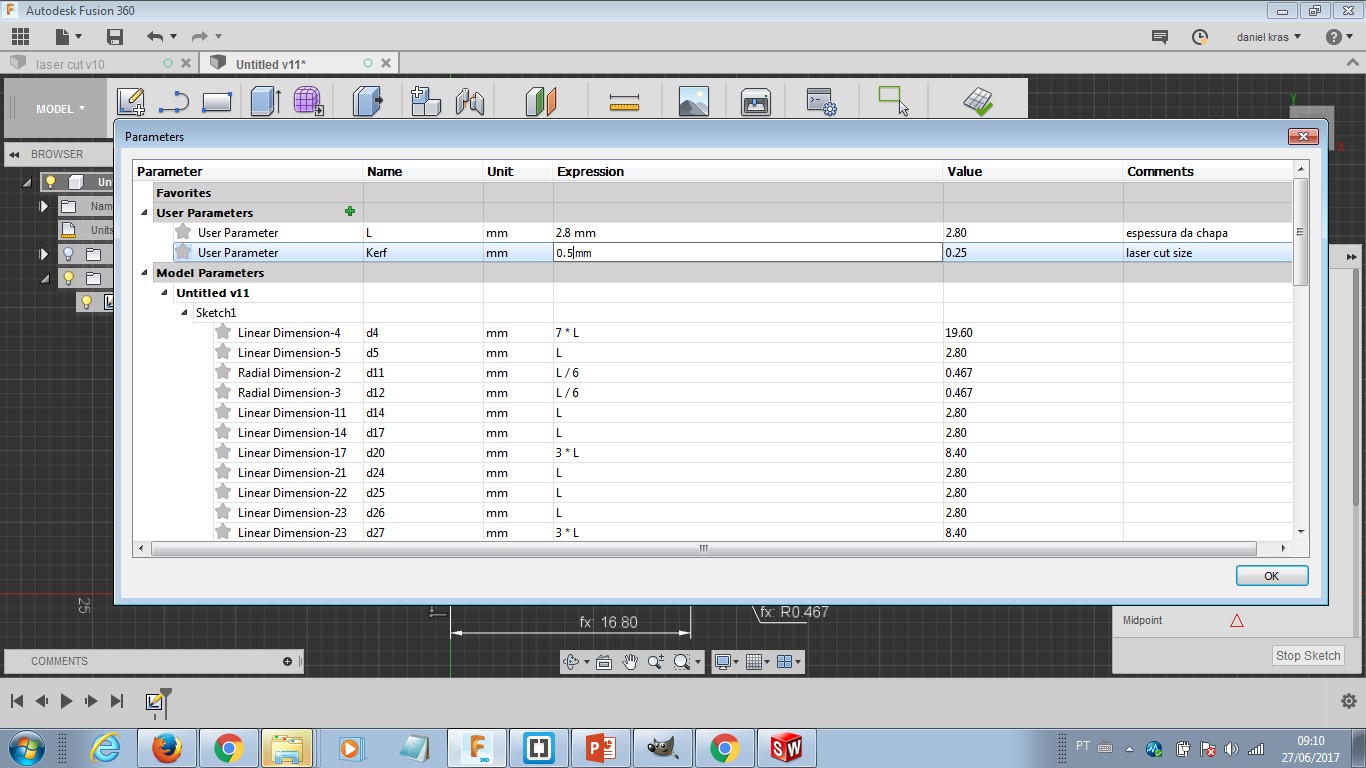
The parametric design was handy once I needed to cut parts more than once, adjusting the laser machine and kerf interference. After analysing the inicial parts, I could make small changes in the parameter and propagate it over the whole set of designed parts (edges and surfaces).
The small parts drop to laser cut's waste box below its 'grill'. In a way to preserve your work, I suggest cleaning the waste box before starting it. So, if some parts fall off the cuting cardboard, they are easely recovered.

-----------

This work is licensed under a Creative Commons Attribution-ShareAlike 4.0 International License.