This first week assignment is related to create documentation and also start to learn about GitHub.
- Build a personal site describing you and your final project.
- Plan and sketch a potential semester project and add it to your website.
- Upload it to the class archive. Work through a git tutorial.
Class material: Project Management
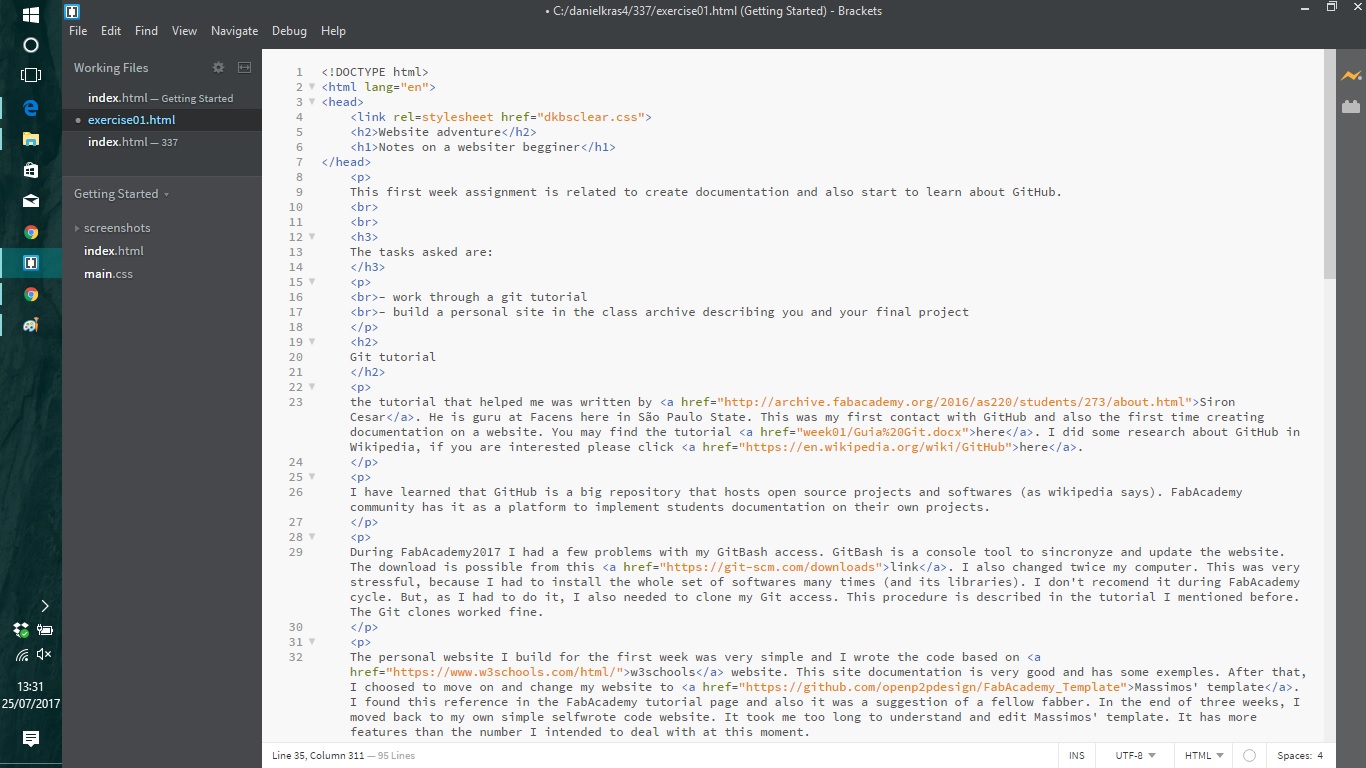
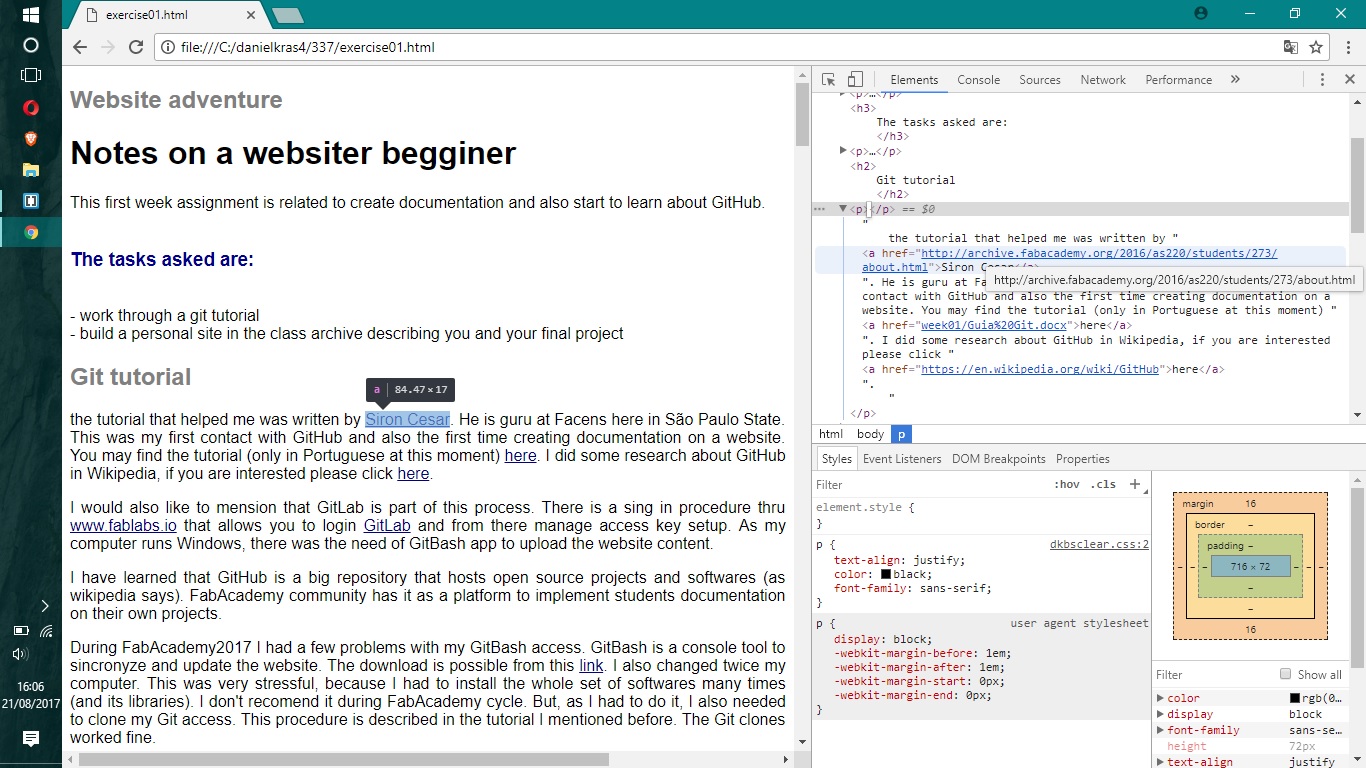
the tutorial that helped me was written by Siron Cesar. He is guru at Facens here in São Paulo State. This was my first contact with GitHub and also the first time creating documentation on a website. You may find the tutorial (only in Portuguese at this moment) here. I did some research about GitHub in Wikipedia, if you are interested please click here.
I would also like to mention that GitLab is part of this process. There is a sign in procedure thru www.fablabs.io that allows you to login GitLab and from there manage access key setup. As my computer runs Windows, there was the need of GitBash app to upload the website content.
I have learned that GitHub is a big repository that hosts open source projects and softwares (as wikipedia says). FabAcademy community has it as a platform to implement students documentation on their own projects.
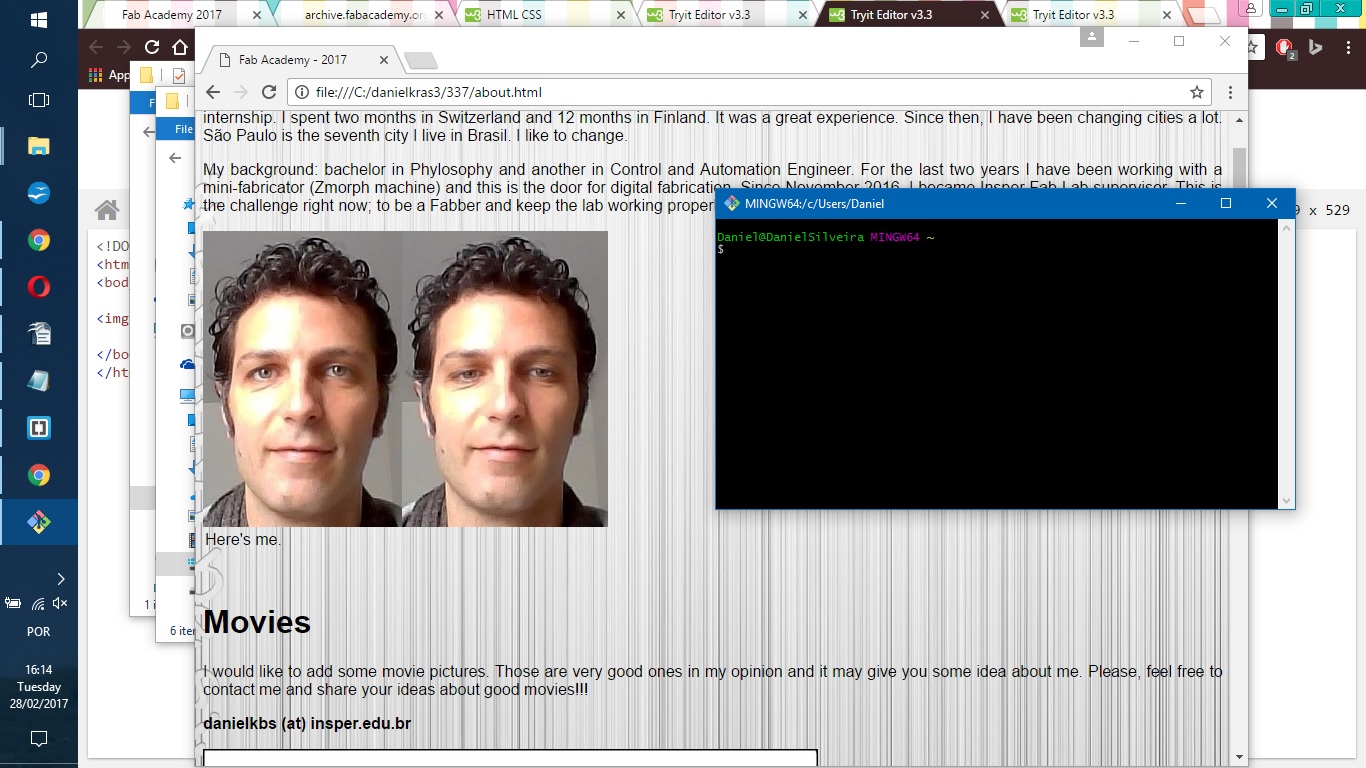
During FabAcademy2017 I had a few problems with my GitBash access. GitBash is a console tool to sincronyze and update the website. The download is possible from this link. I also changed twice my computer. This was very stressful, because I had to install the whole set of softwares many times (and its libraries). I don't recomend it during FabAcademy cycle. But, as I had to do it, I also needed to clone my Git access. This procedure is described in the tutorial I mentioned before. The Git clones worked fine.
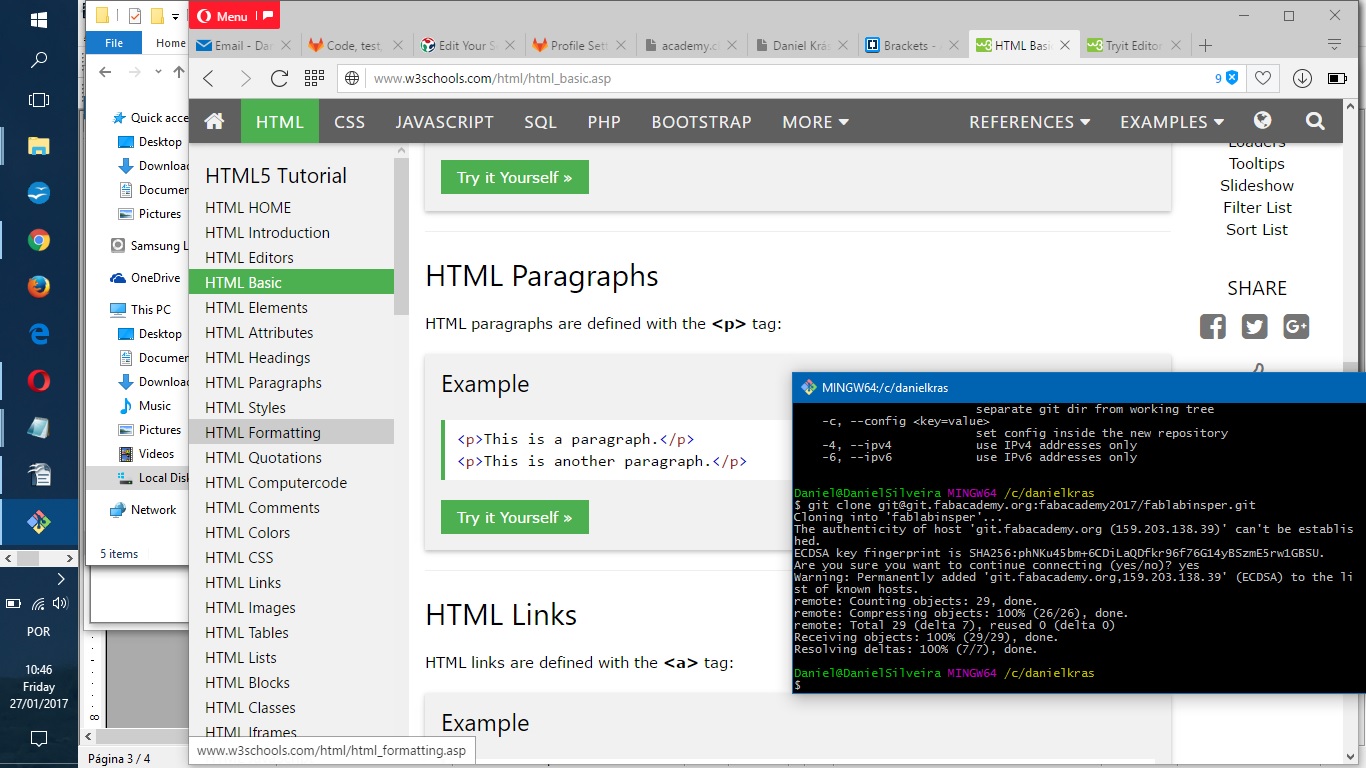
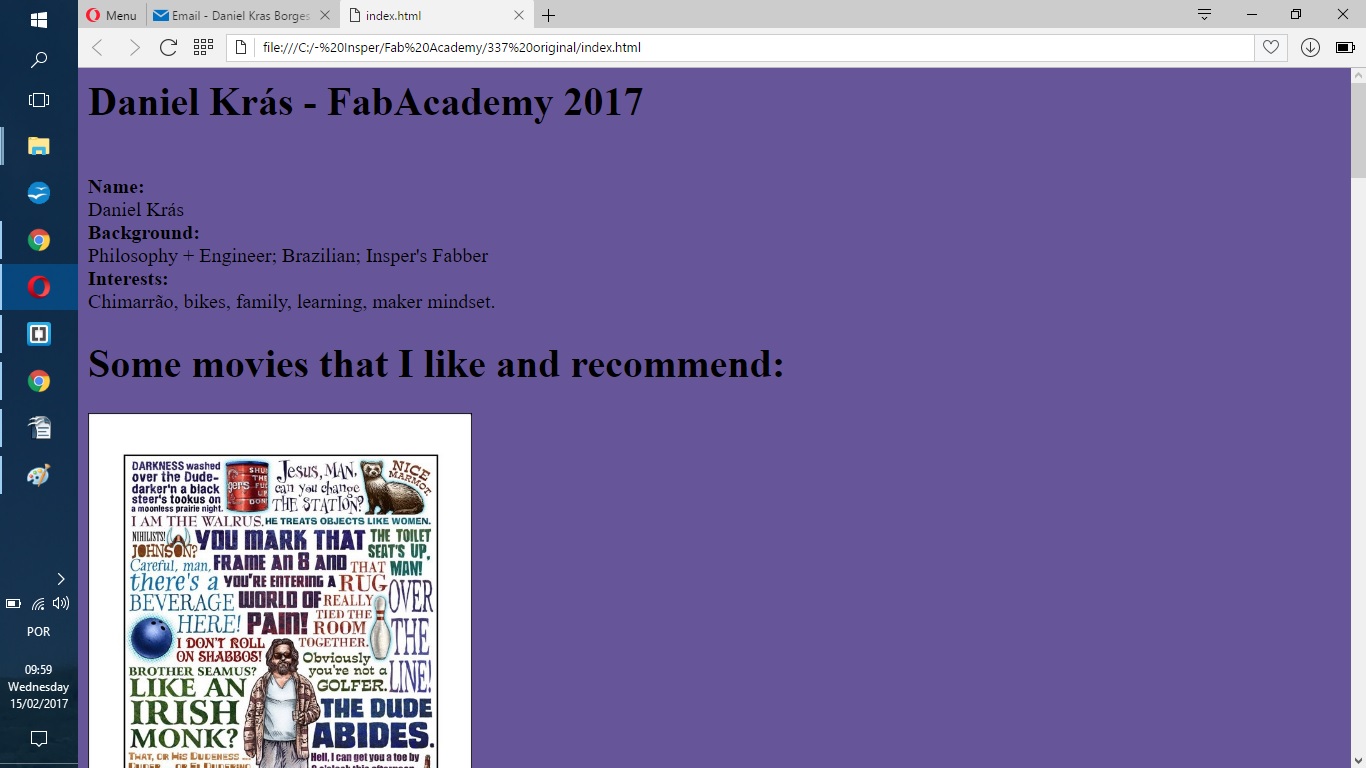
The personal website I build for the first week was very simple and I wrote the code based on w3schools website. This site documentation is very good and has some exemples. After that, I choosed to move on and change my website to Massimos' template. I found this reference in the FabAcademy tutorial page and also it was a suggestion of a fellow fabber. In the end of three weeks, I moved back to my own simple selfwrote code website. It took me too long to understand and edit Massimos' template. It has more features than the number I intended to deal with at this moment.
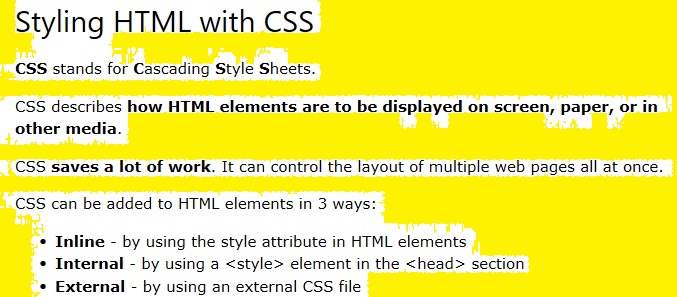
The website is based on html programing language. It has customization - css - over its raw format. The main idea is to add information to the website more than work with the way it looks like. I did some experiments with colours and fonts, but this later version of it has a standard CSS for all webpages. I added some information and some code exemple below.
In order to make images and other files smaller/compressed and good for internet navigation I learned how to use David's batch processor for Gimp2.0 software. The standard setup I applied after testing it was Resize to 0.20 (scale) and Output as JPG. If you set output directory and some text expression to identify modified files is handy (but not necessary).
This is how I present my website after global evaluation. You will find below some print screens of problems seting Git and also the way it looked before.
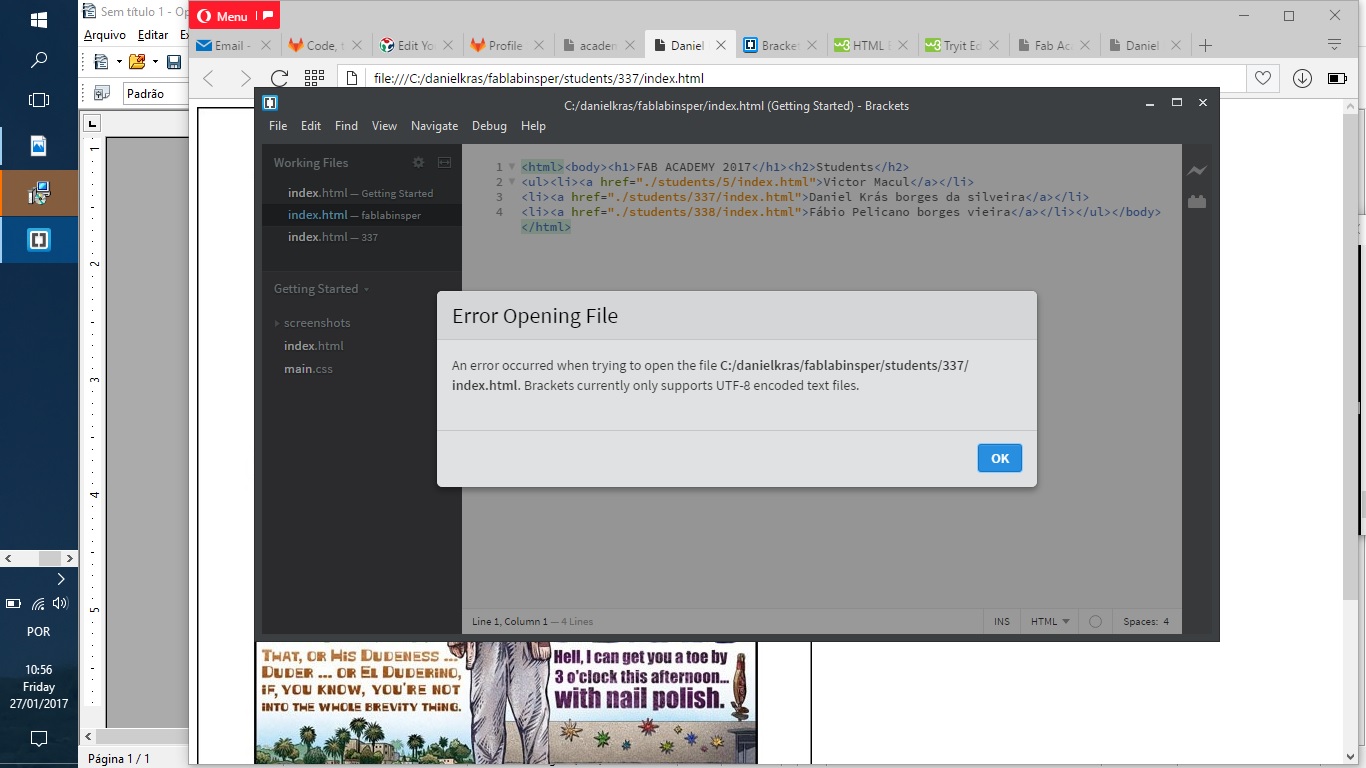
This is the first error message. The .html file I create from Notepad didn't work well. I tried to access it from Fabacademy.org website but the image supposed to be displayed didn't. Searching for a tool to edit .html files, I came to Brackets. This software reported to me the error with my .html file.
After I uploaded my first website, I changed to the FabAcademy suggested website (Massimos' template). This is a much more complex and nice looking website. What happened next was me trying to understand and comment a lot of a website I didn't had any idea where it had come from. This delay in taking notes was bad to my documentation, once I couldn't follow up just after finishing my tasks. Later, I moved back to the first website style and kept that till the end of FabAcademy documentation.
It was taking me too much time editing another one's website. I had a chat with Pelicano and followed his exemple of working a very simple website and keep posting everything.
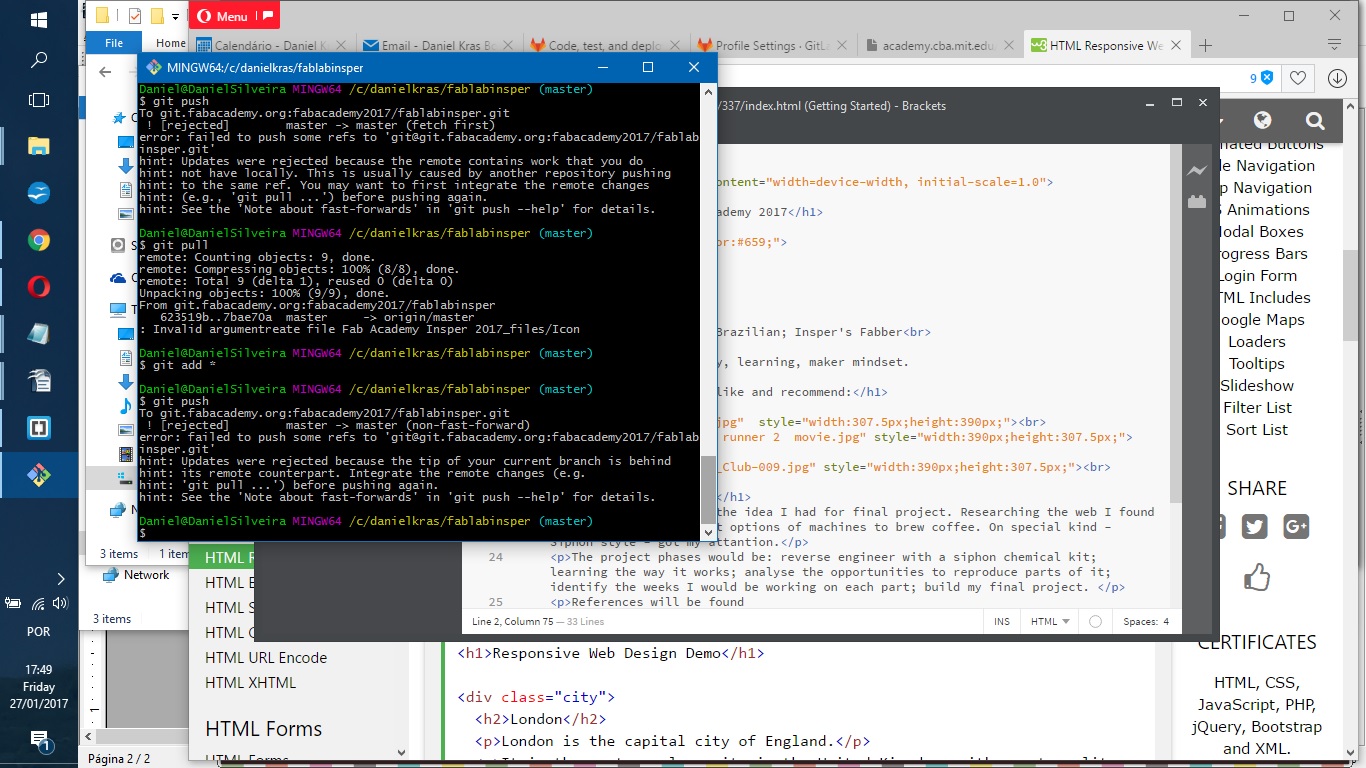
GitBash was the software I choose to make the uploads. Sometimes it didn't work. I got some help from my tutor and from another Fabber to upload my website few times. We faced a situation with a Fabber that made some mistake uploading his website and we needed to restart our branch. After that the whole system had a keyaccess problem and another time we restarted. Later May2017, Insper had a hacker attack and, after that, safety measures made quite hard for me - from an Insper computer - to access GitHub. Those situations were all managed.
The bigger files I stored in Google Drive and linked from each exercise webpage to the cloud folder. This was more easy for me to manage and access the files as a personal backup as well.
-----------

This work is licensed under a Creative Commons Attribution-ShareAlike 4.0 International License.