WEEK 9 - MECHANICAL DESIGN
ASSIGNMENT
- Design a machine (mechanism+automation), including the end effector
- Build the passive parts and operate it manually
- Document the group project and your individual contribution
THE LIGHT PAINTING MACHINE
This week I was working in a group with Ana and Ola, from Denmark. We all did an individual documentation and then a group documentation. See group documentation here. Because we live in separate places we decided to make two version of our machine, one in Denmark and one here in our lab in Iceland. I started looking at Nadya's machine kit. I started to work on the machine by download the Nadya's file from here. The first thing to do was to laser cut the frames for the X and Y axes.
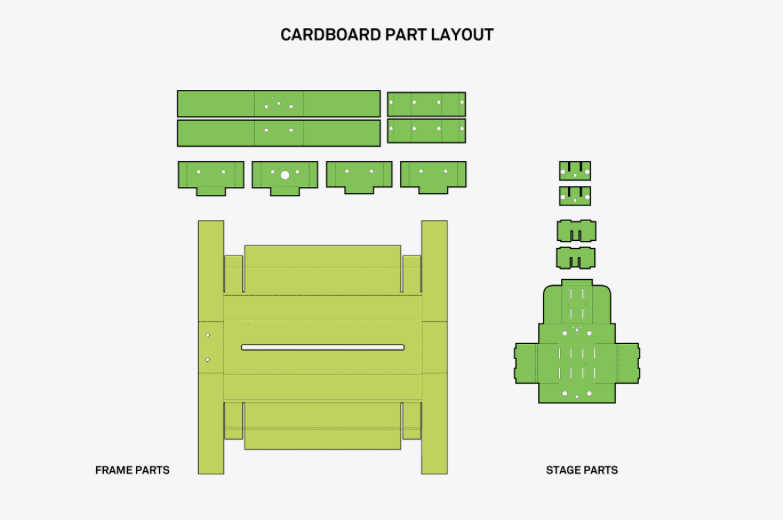
The laser cutter we have in our lab is 300x600 mm so I used this cutfile instead, which fits in the laser machine. I had to change the thickness of the cardboard to 3,9 mm in Rhino and then Grasshopper because it wasn't the same as Nadyas.
On the video below you can see the lasercut cutting out some of the parts in a cardboard.
Laser cutting from BirkirThor on Vimeo.
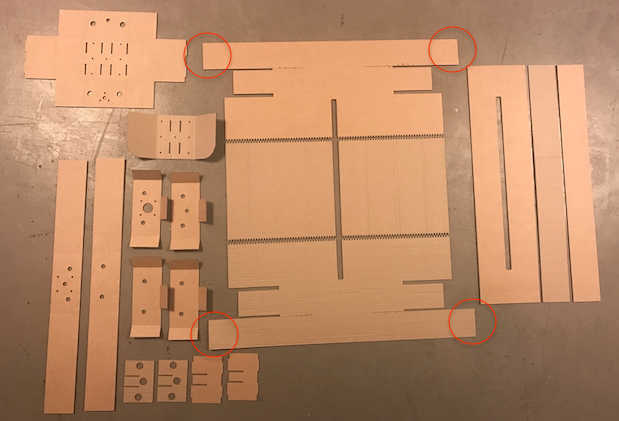
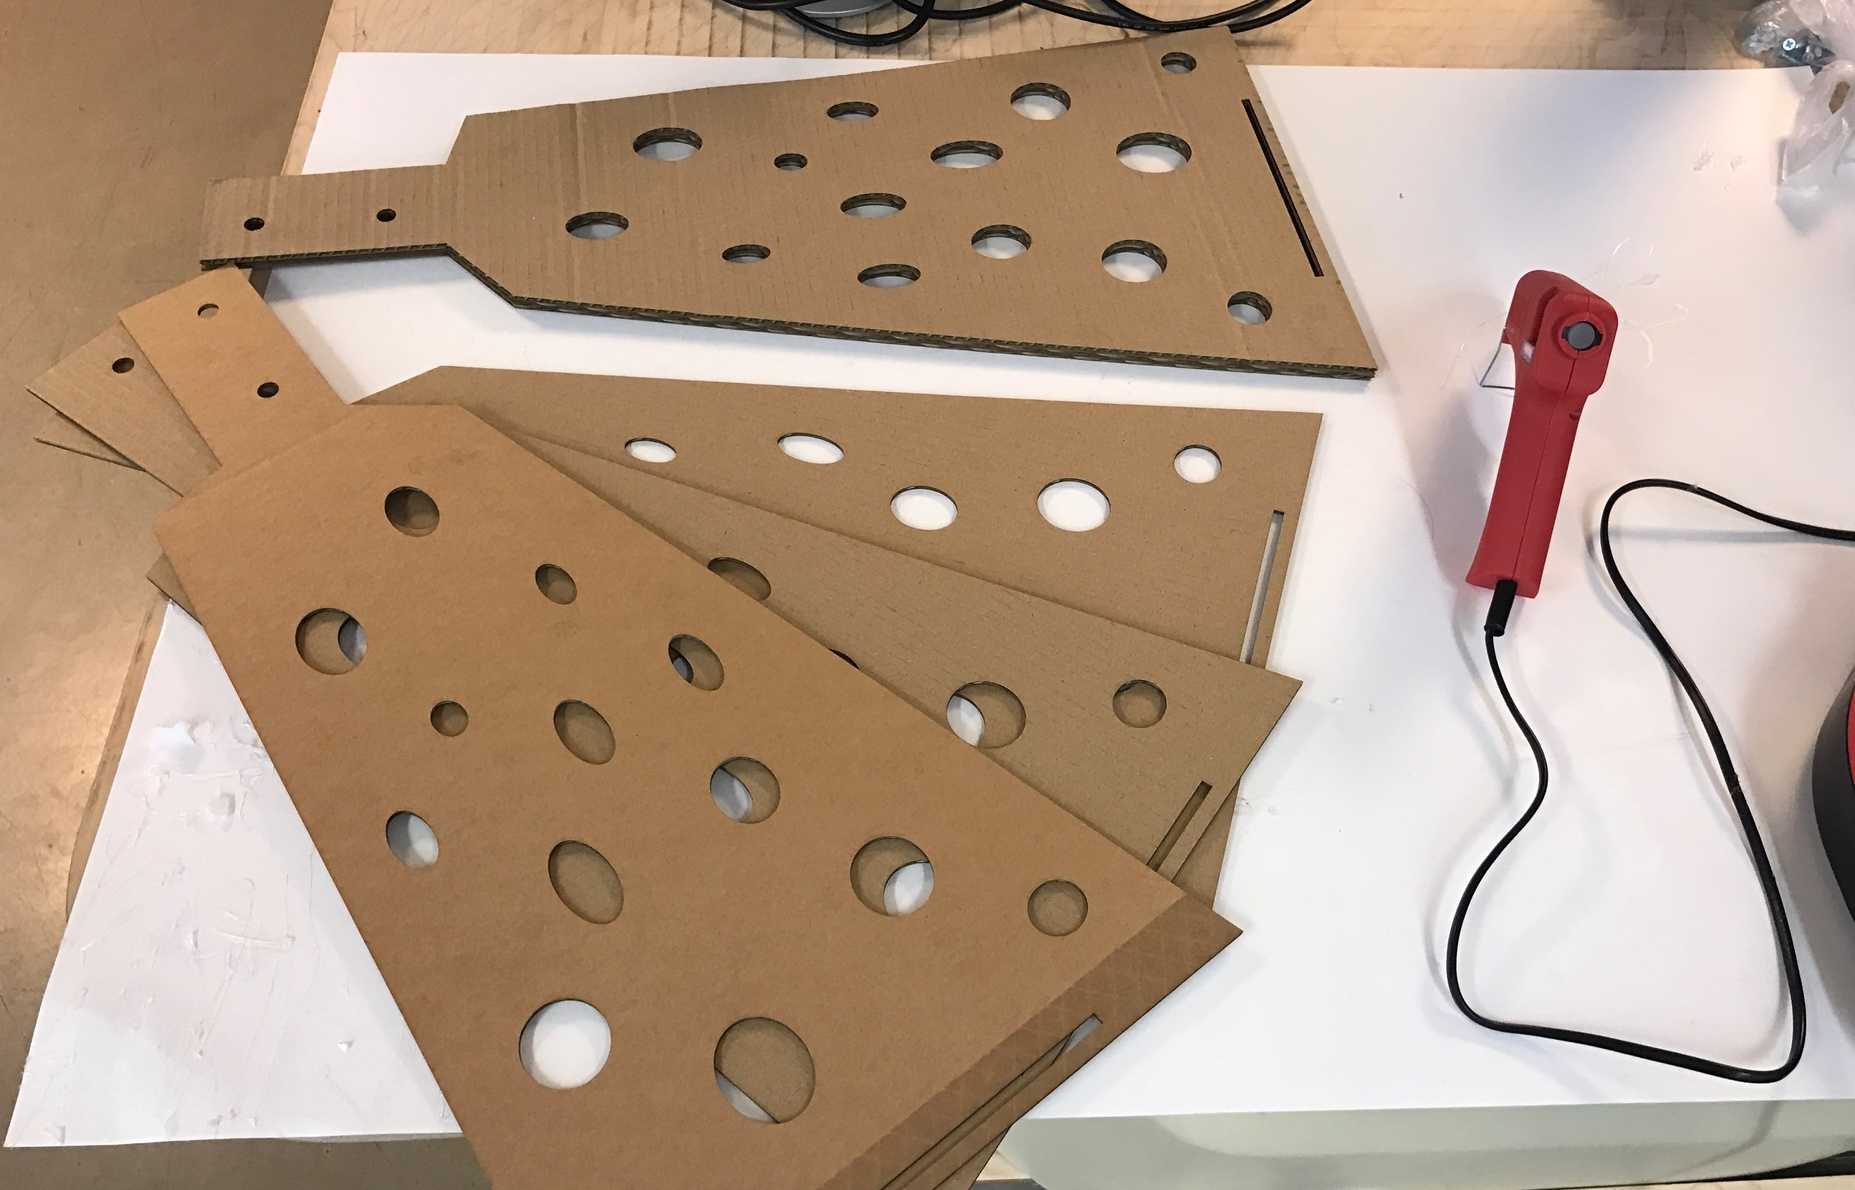
These are all the parts of Nadya's kit. The parts in the red circles did not cut all the way (it should have been a little bit longer), the lasercutter wasn't big enough, but it's okay, everything will work the same when it's set together.
The next step was to put it together and glue it. The drying time of the glue I used was really fast so I had to be very quick when gluing.

I used tape on some places just to be sure it wouldn't fall appart and to maintain density. It is not neccesarry to use the clamp but it's better on some parts.
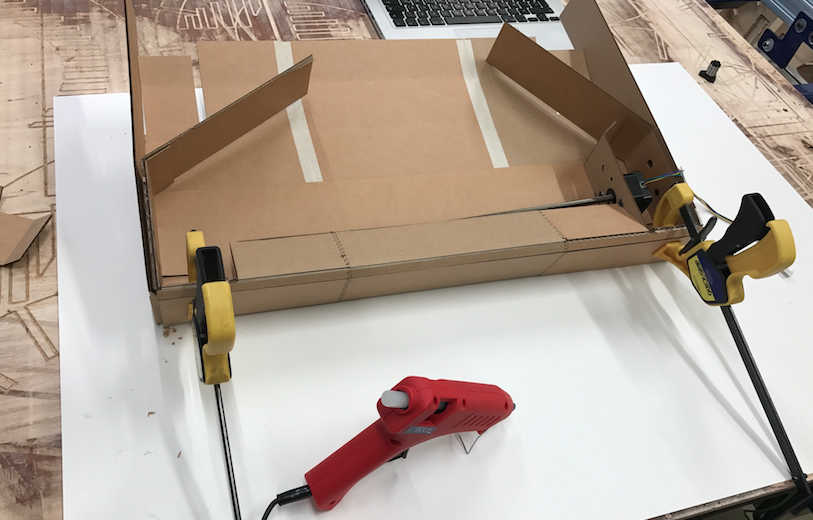
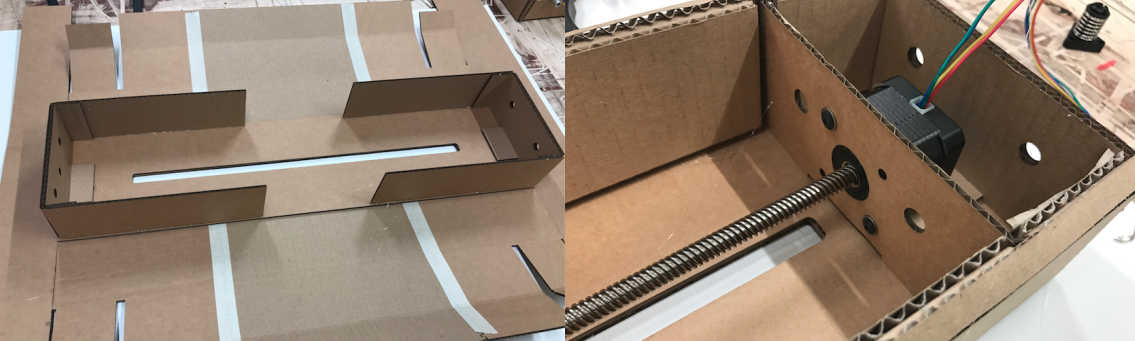
I managed to build the first part of the machine kit after some thoughts. It looked okay for the first try but it was not sturdy enough.
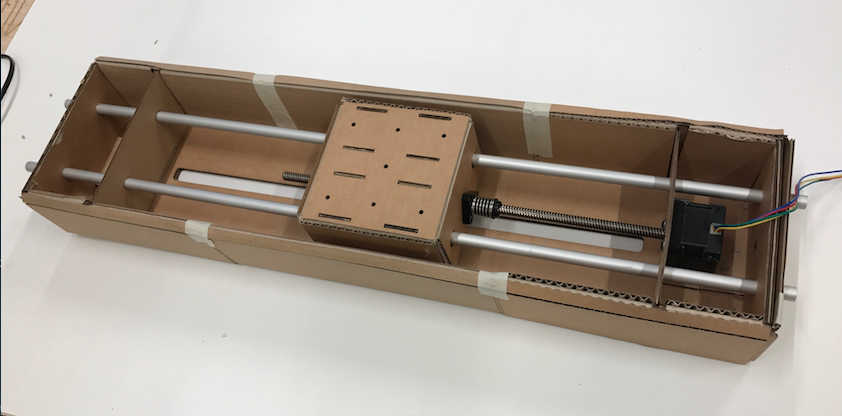
Then I put the other box together and it was much better than the other one. I didn't have enough screws so I used two on each motor like you can see on the image in the right.
It was like the top wouldn't fit in the box so I cutted four lines out (see in the red circles) so it would fit in. Maybe I did something wrong, but it worked.
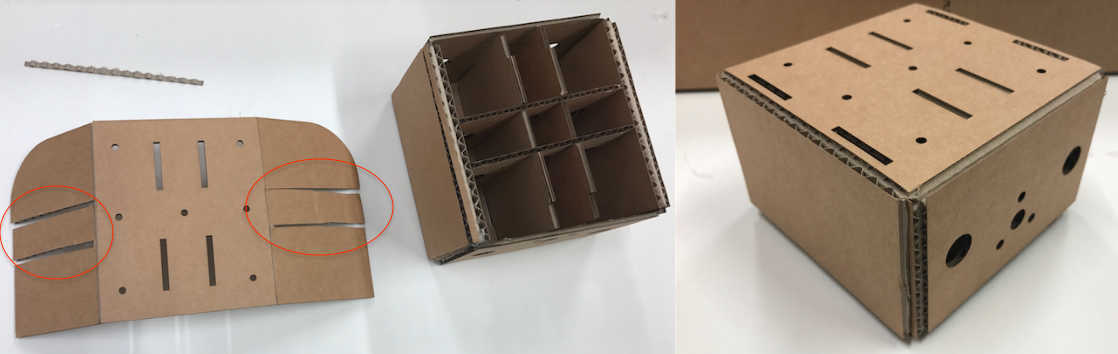
This is the other box, it looks much nicer than the first one.
There supposed to be four screws on the motor and three srews in the red circles. I will get the rest for this kit later.

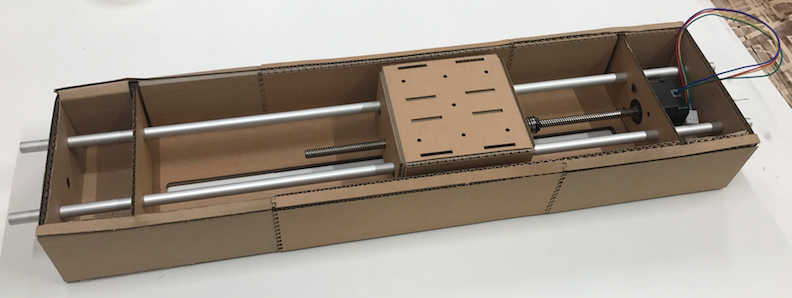
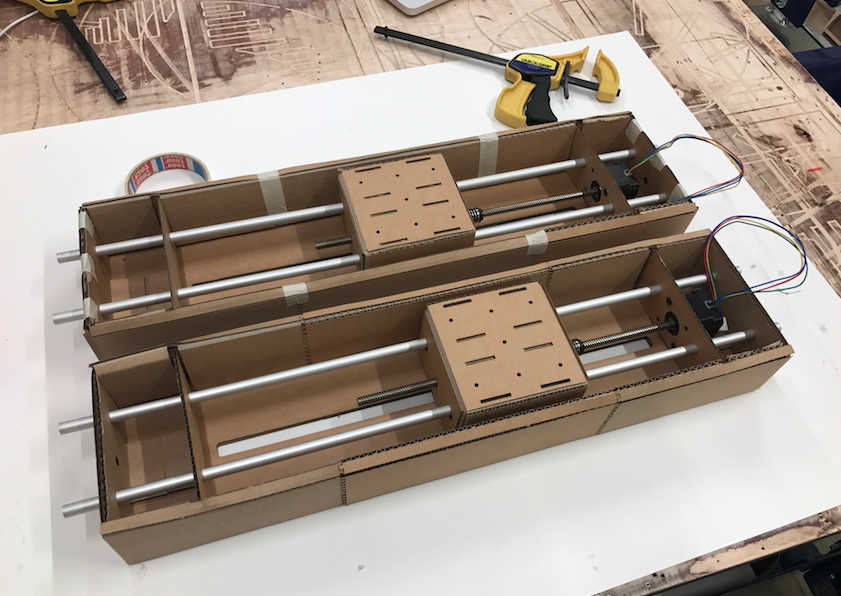
The two parts of Nadya's machine kit was ready. But it needs few things on it that I didn't have at the moment.
Then the next step was to create a support for the kit which I drew in Inkscape.
Laser cutting from BirkirThor on Vimeo.
I made a support on the sides to keep the machine up and still so it wouldn't fall apart. There are three cardboards on each side that are glued together. The circles were just for fun.
The video below shows the lasercutter cutting the back support of the machine kit. The Muse logo was just for fun.
Laser cutting from BirkirThor on Vimeo.
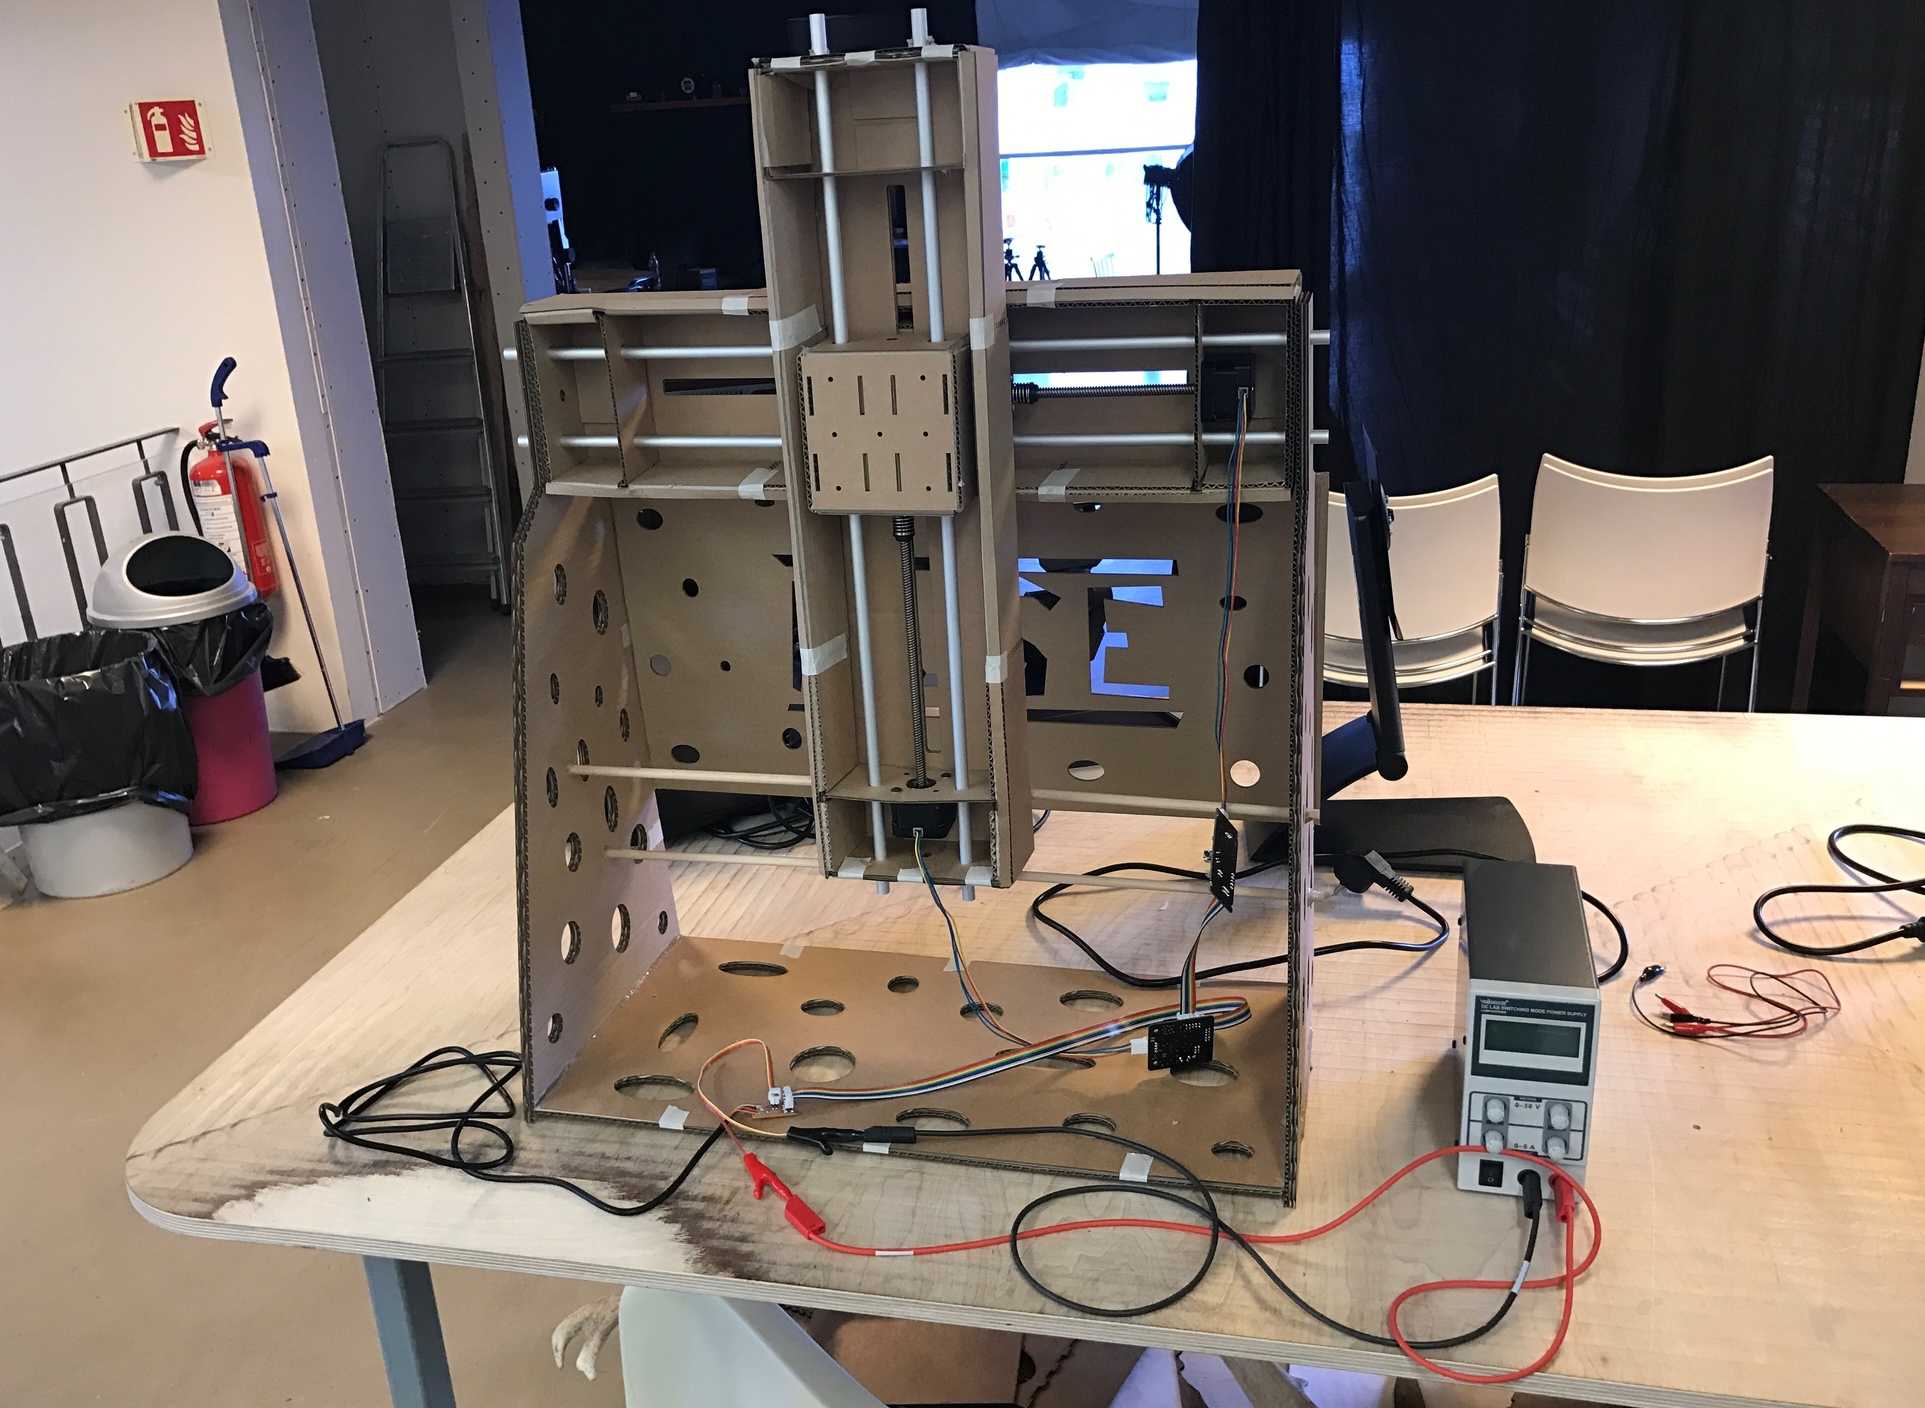
Then I put the supports on the machine kit and glued them so it would hold together. I added one support on the back and the wooden piece as a support.
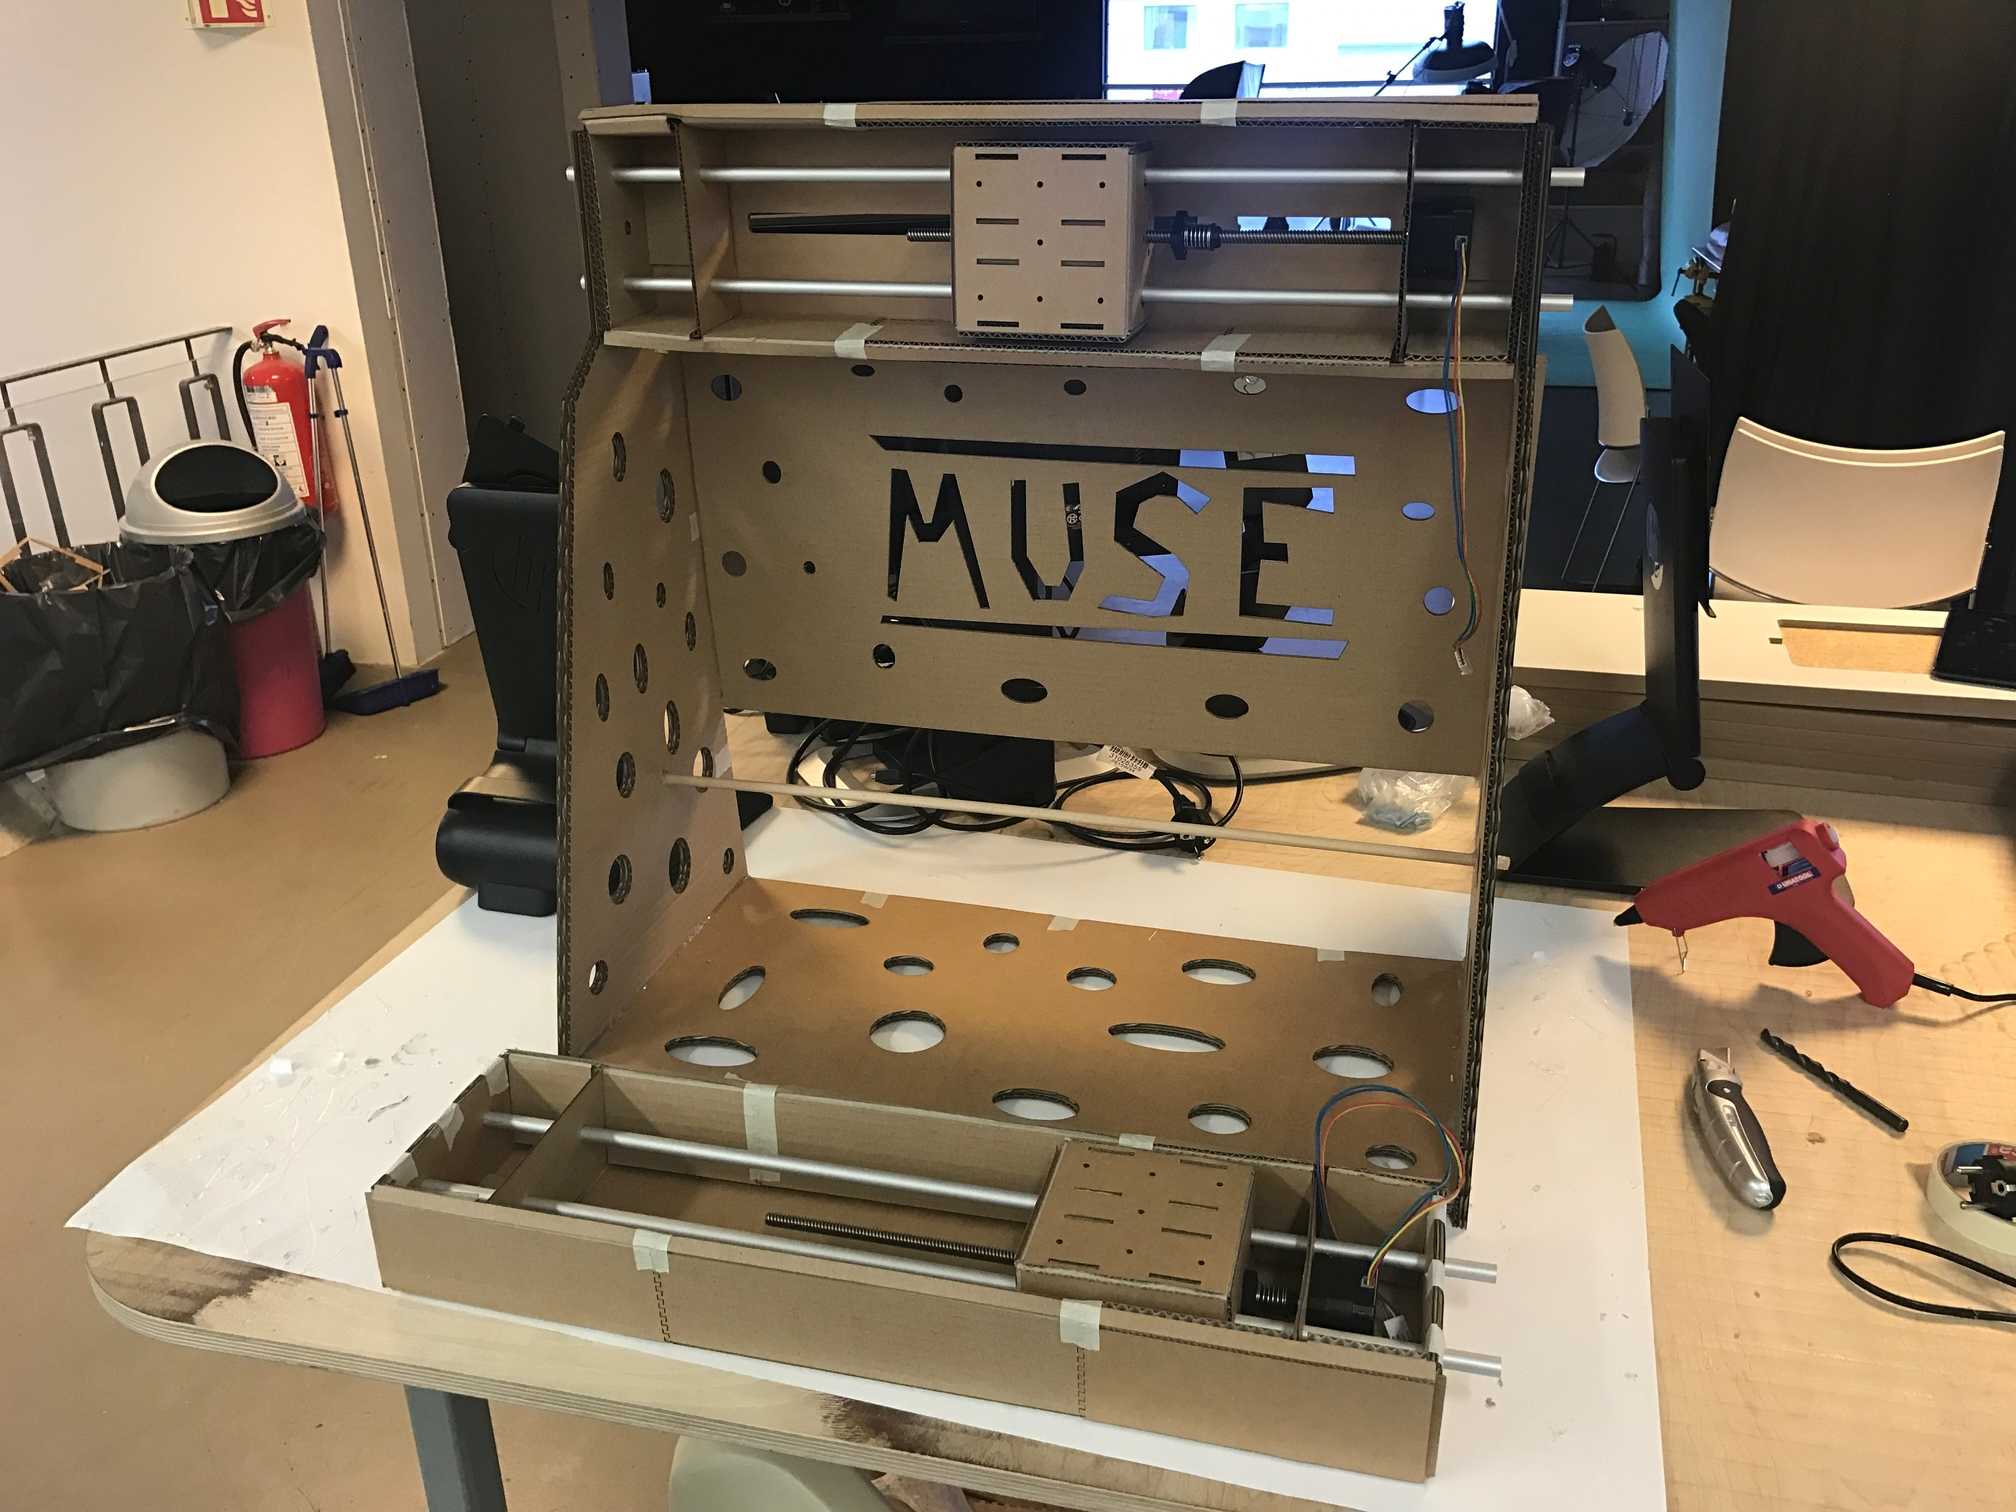
Then I glued the two axis together and at first I though it wouldn't hold but it did. Then I connected it with Gestalt board, Fab ISP and power supply. Ready to be programmed. To be continued ...
RELATED LINKS
Our Group Documentation Website
Ana - Website
Ola - Website
Nadya's Machine Website
FILES
Box Inkscape - Right click to download
Part 1 - Right click to download
Part 2 - Right click to download
Part 3 - Right click to download
Part 4 - Right click to download
Part 5 - Right click to download
Part 6 - Right click to download
Support Box - Right click to download
Part 1 (support) - Right click to download
Part 2 (support) - Right click to download
Part 3 (support) - Right click to download
Machine Kit - Right click to download
HAVE QUESTIONS?
Contact me!
Höfn, Iceland
Email: birkirthorhauksson@gmail.com
Swing by for a cup of , or send me a message :)