WEEK 12 - MOLDING AND CASTING
ASSIGNMENT
- Design a 3D mold, machine it and cast parts from it
DESIGN THE MOLD
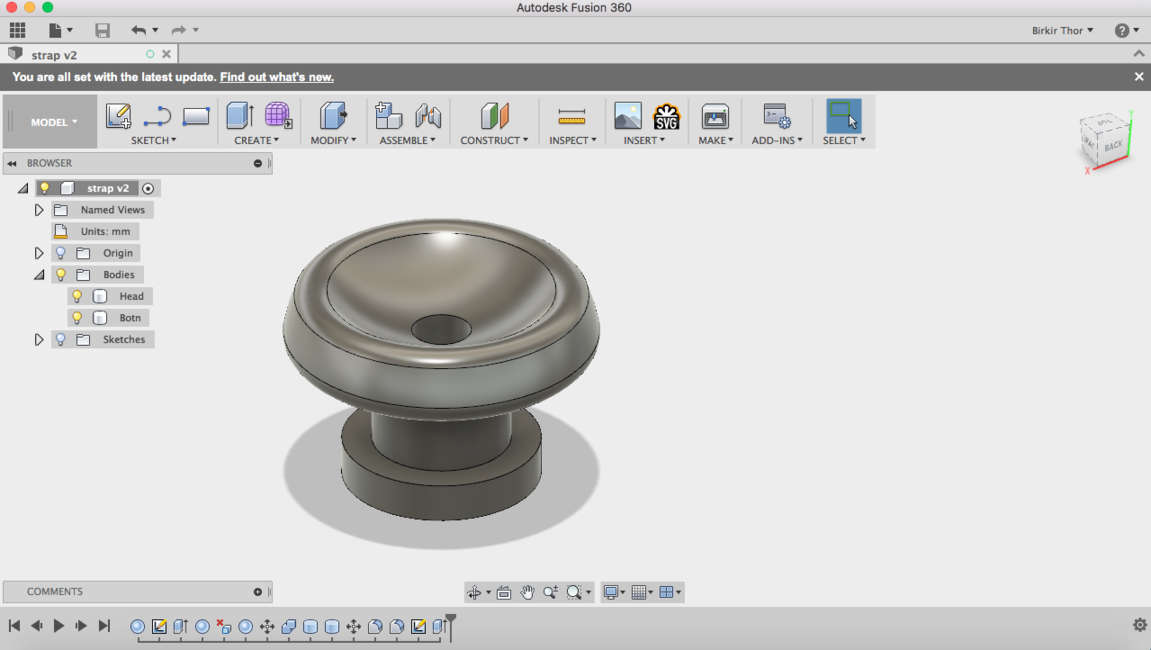
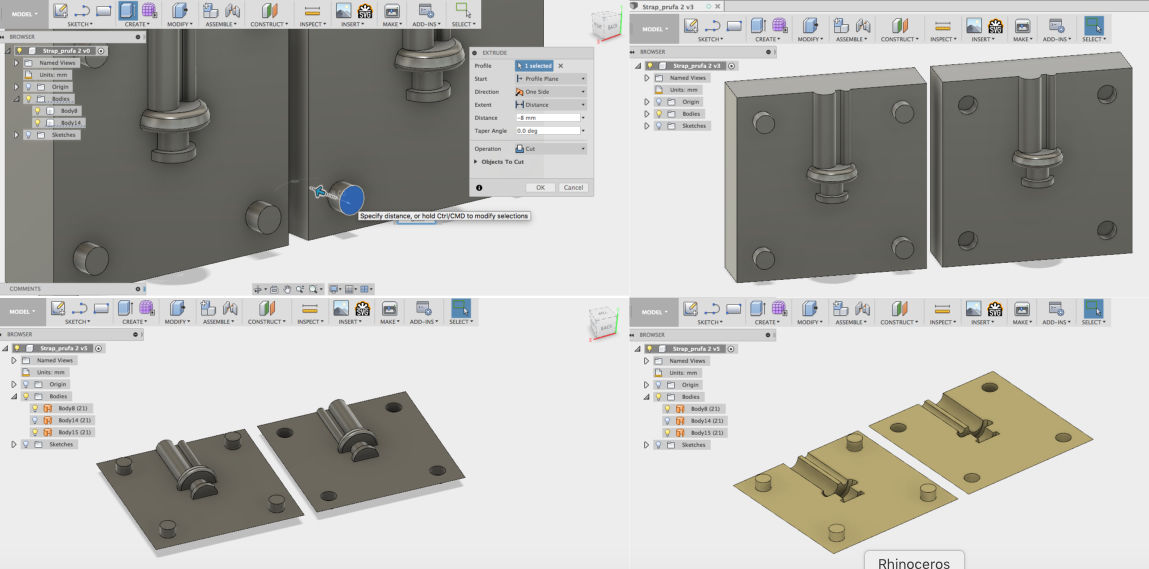
This week the assignment was to design a 3D mold and machine it and cast parts from it. I decided to make guitar strap buttons for my final project. You put the guitar strap on the strap buttons so you can play the instrument standing. I started by making a sphere and cut it in half. Then I made another sphere and cut it from the other (see on the first two images), I did that by going to Modify-->Combine on the bar. Then I made a cylinder on the bottom of the sphere and extruded it 5 mm. Then I made another cylinder on the bottom of the other one and extruded it. I designed the button strap in Fusion 360.
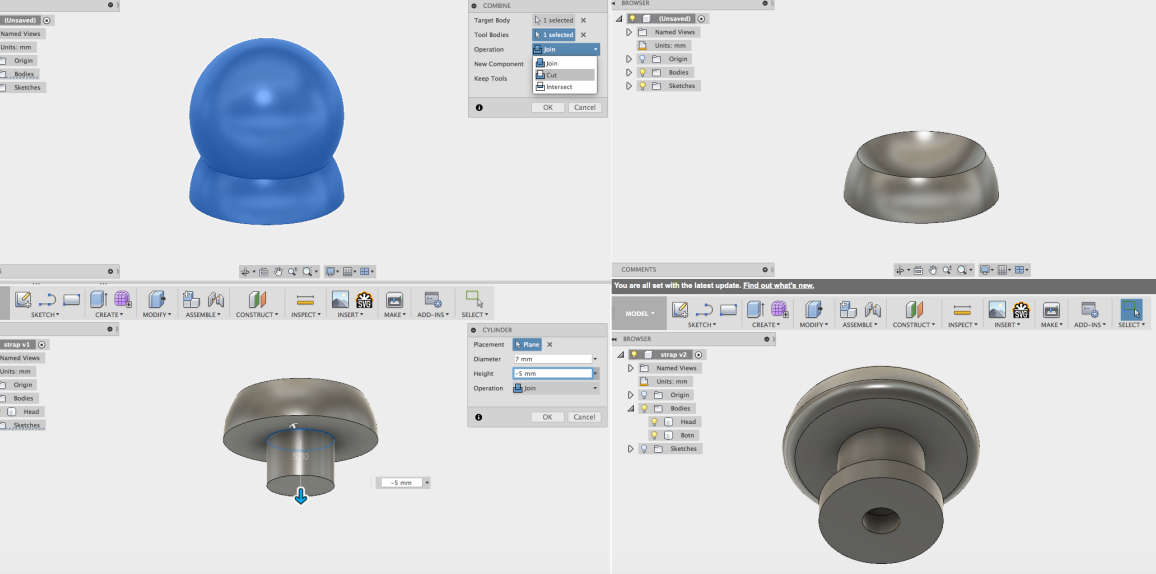
I rounded the edges and put a hole through the strap button for the screw. To round a I pressed f and clicked on the thing I wanted to round.
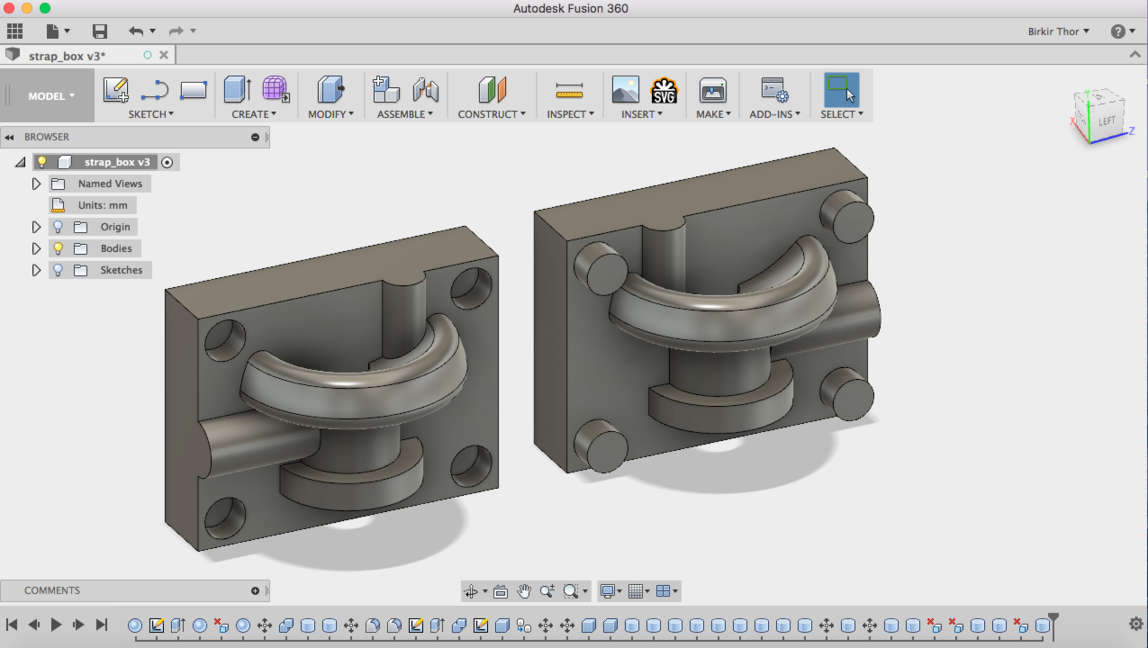
I cut the strap button in half and put it on two boxes. Then I made four cylinders standing 4 mm out of the box and another four inside the box, also 4 mm. Then I made a 4 mm pour hole on the side and 3 mm air hole on the top. I had to fix the design because it was too small for the mill and it was impossible to drill the curve.
I had to fix the design so I took the drill hole out, I was going to make it with a drill afterwards. Also the top had to be flat.
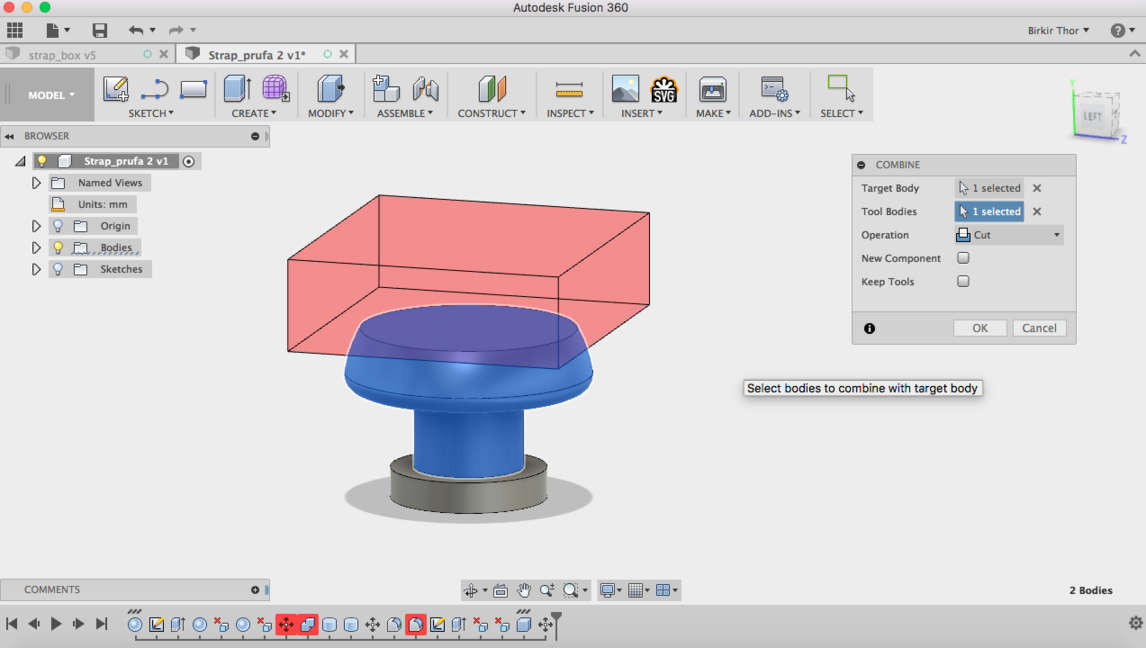
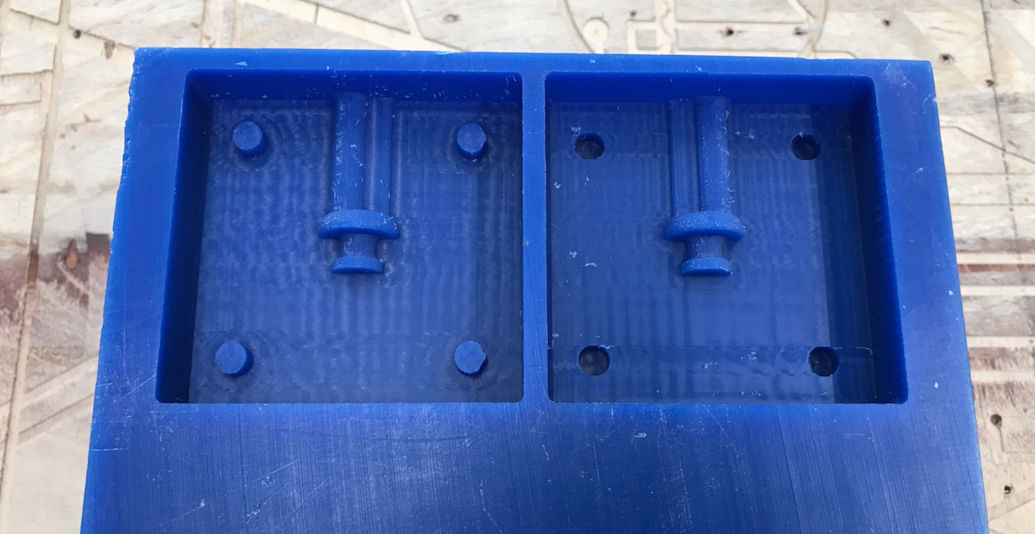
I expanded the box from 30 mm to 60 mm and moved the pour hole and the air hole next to each other. I went to Patch and took the sides and the bottoms off like you can see on the images below.
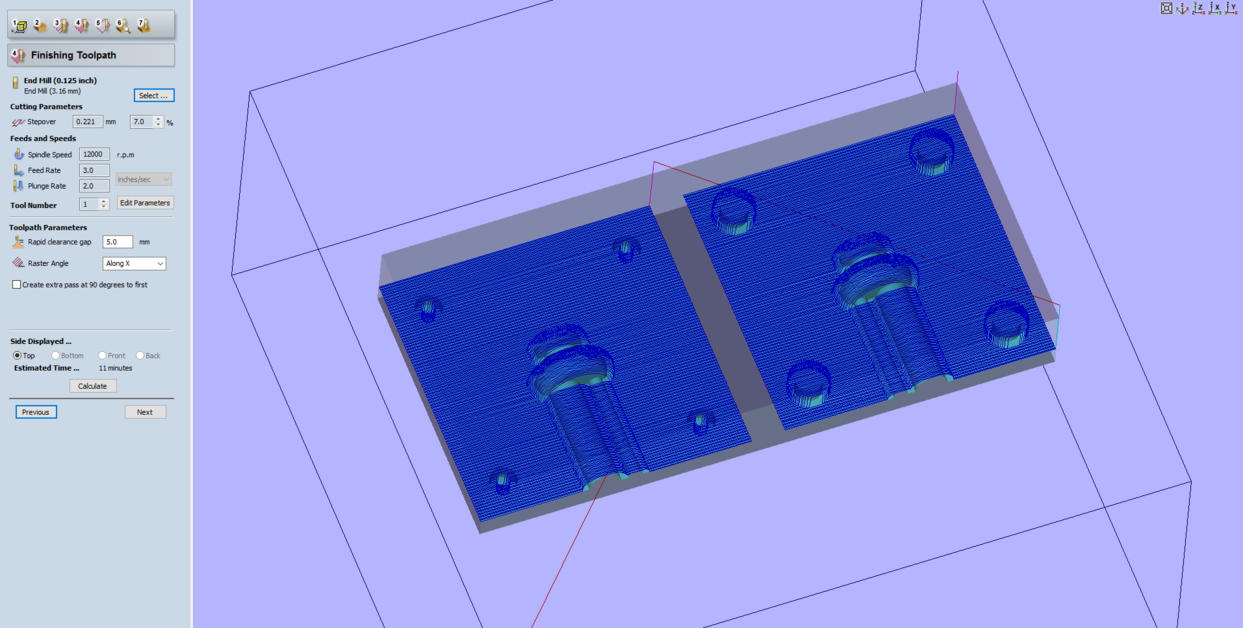
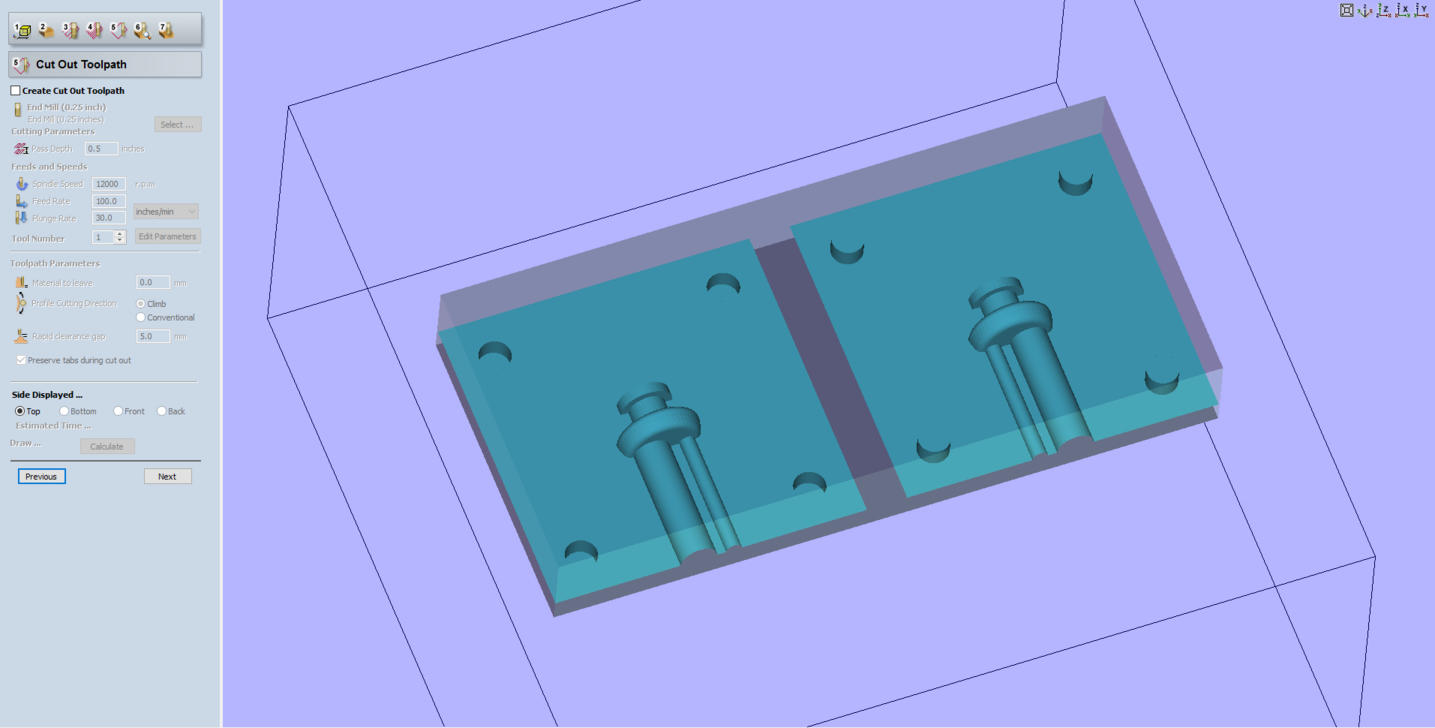
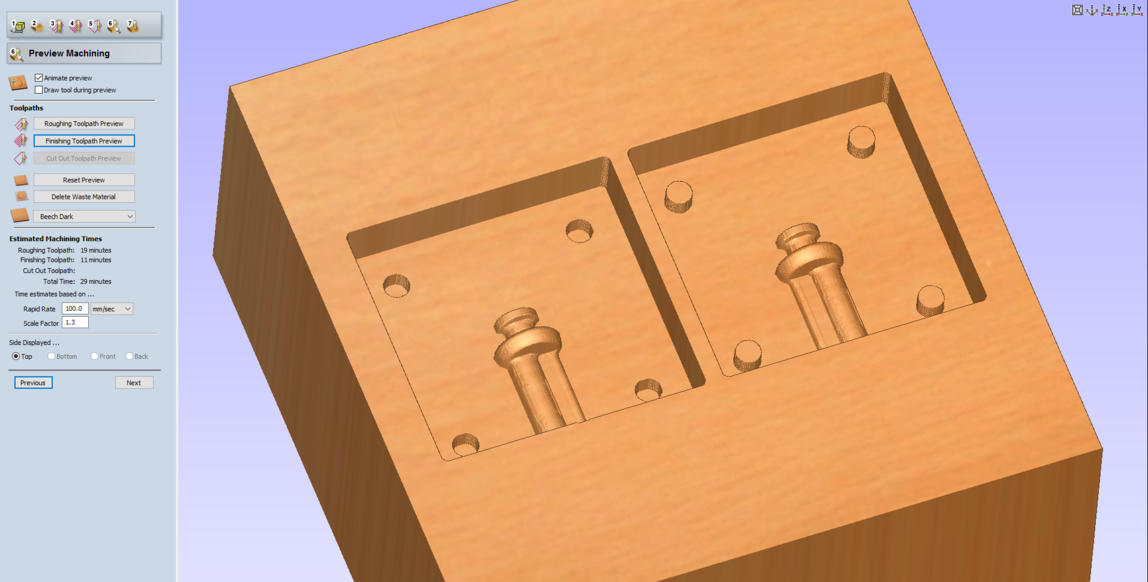
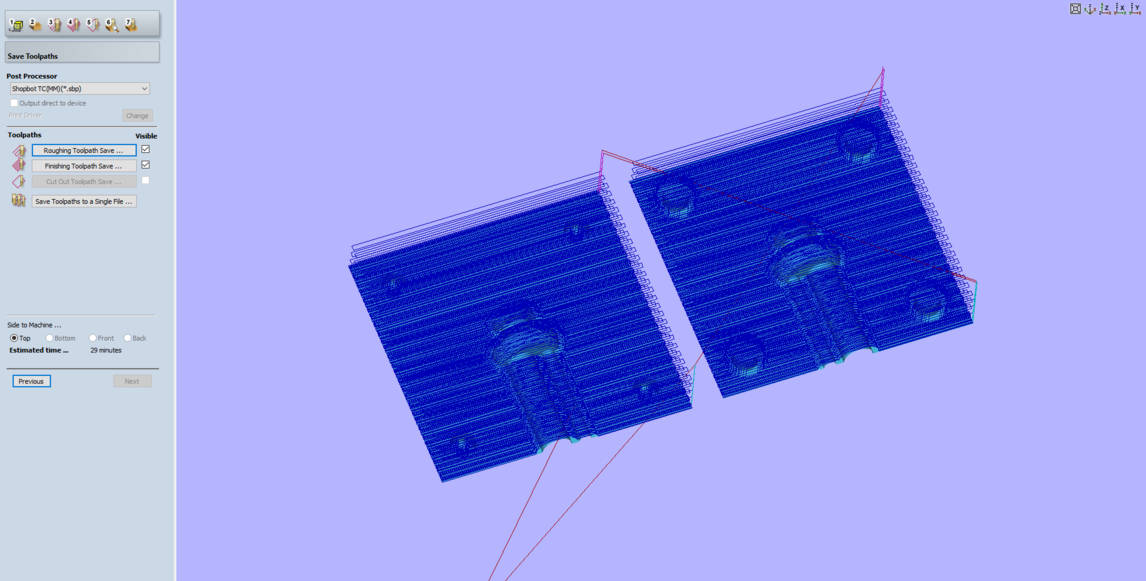
For the next step I used Part-Works 3D to prepare for the milling. I did not have Partworks 3D on my computer so I used the ones in the Lab. There are seven steps for that. You can see all of the steps below. Step 1.
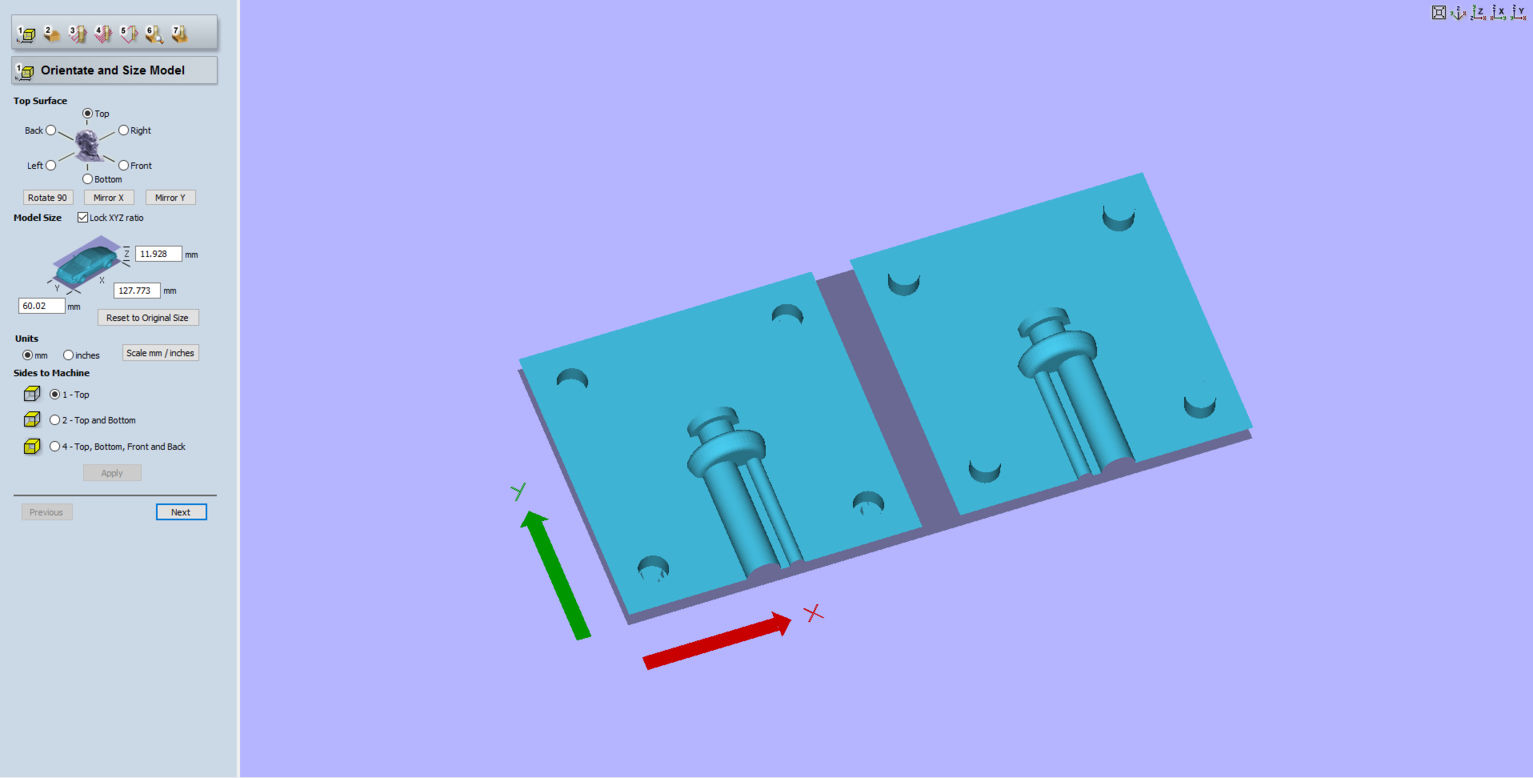
Step 2. The size of the machinable was is 152x152x75 mm.
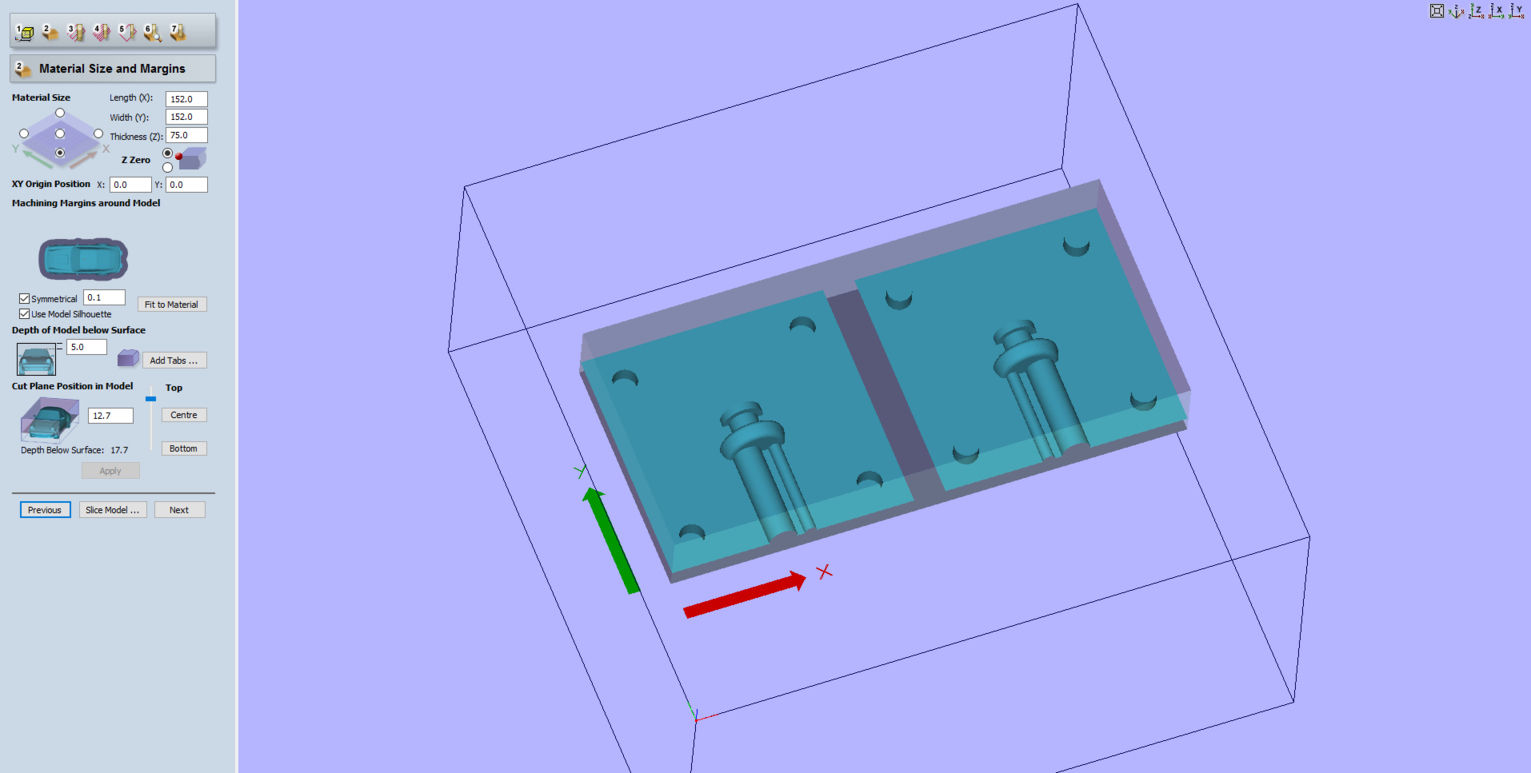
Step 3. I got an error when I calculated, it was about machining allowance. I had to lower it from 1 mm to 0.5 mm because it was to high. Too much "Machining Allowance" will extend the milling time and can cause strange toolpaths that can hurt your milling bit. I was going to use End Mil (0.125 inch) for the raughing toolpath and the finishing toolpath.
Step 4.
Step 5.
Step 6.
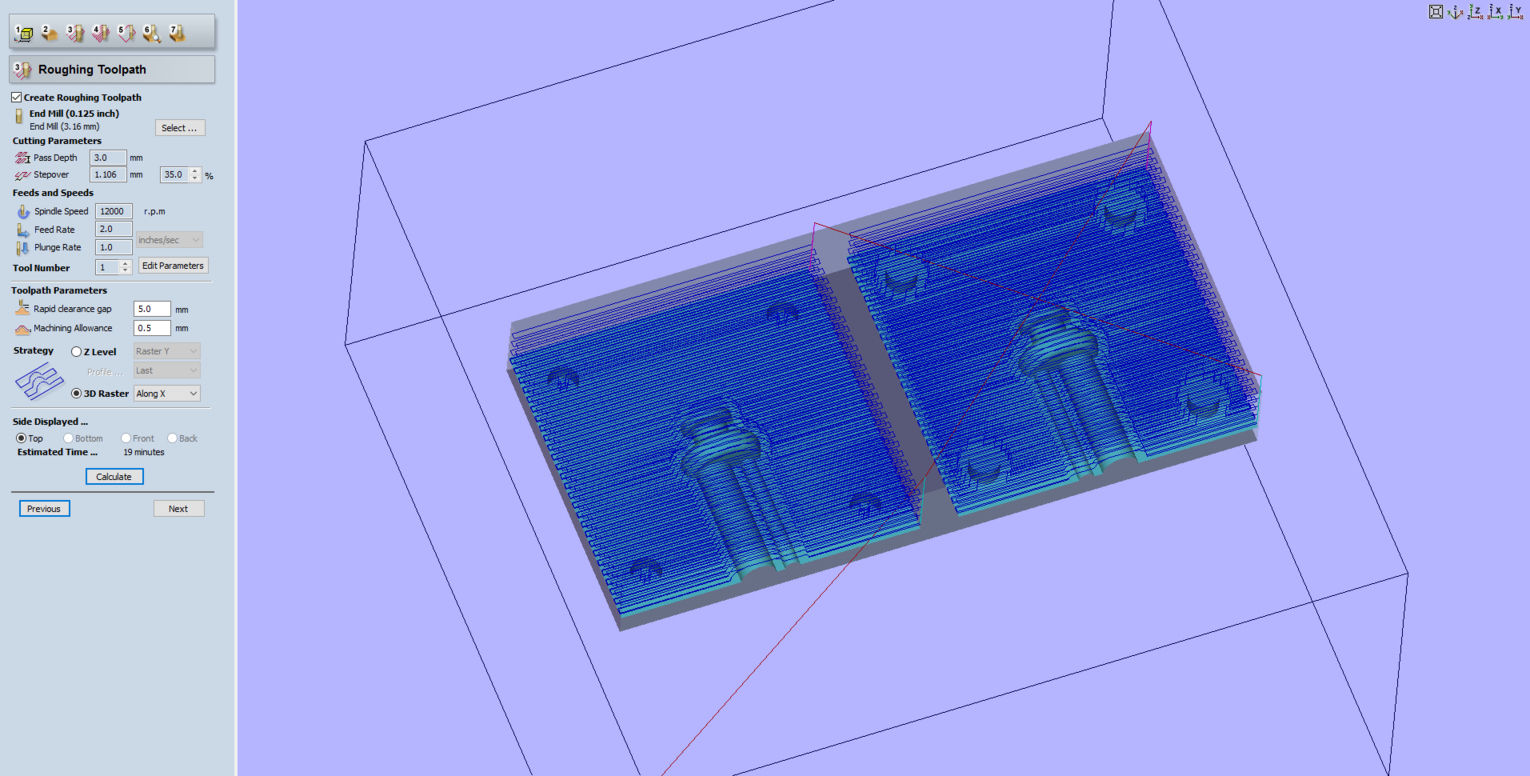
Step 7. Estimated time was 29 minutes.
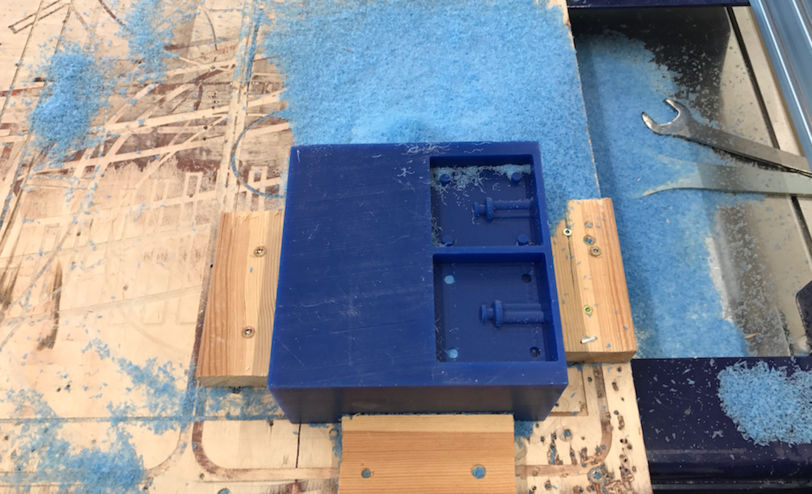
The Shop Bot milling the wax, using the End Mil (0.125 inch) for the raughing toolpath and the finishing toolpath.
Then it was finished. A lot of wax leavings that can be collected and reheated and used again.
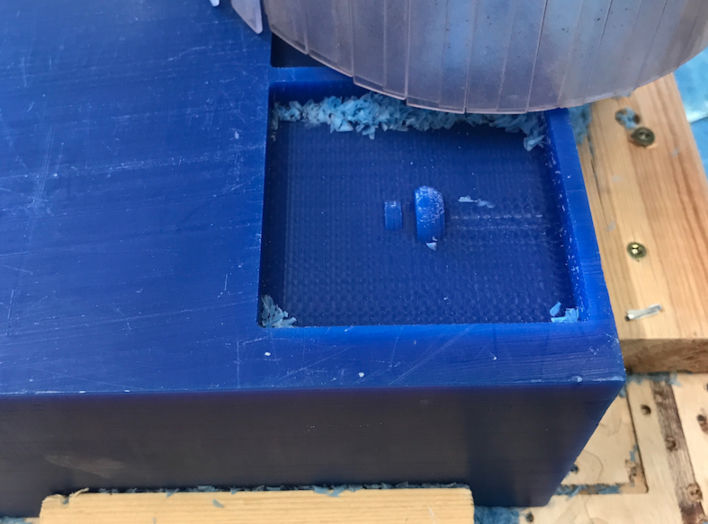
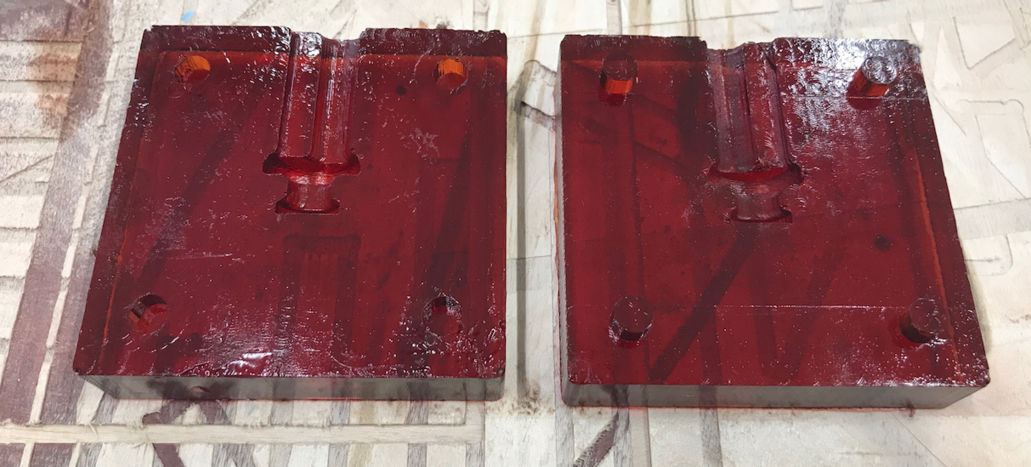
Everything went well except one thing, the milling bit was to big for the space between the air hole and the pour hole, so it didn't mill it all.
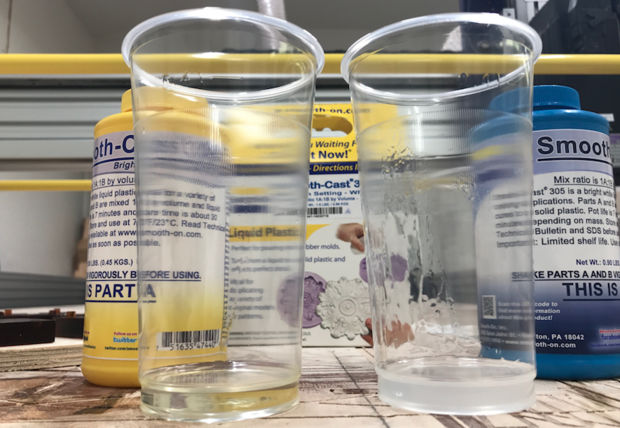
Those are all the materials I need for next step. A liquid rubber to create the mold and a liquid plastic to pour into the rubber mold. CAUTION: Be careful when mixing the two liquids together, it's irritant to eyes, skin and mucous. Then there is a Smooth-On spray to spray on the wax to make it easier to release the casting material. You should always have a mask, wear gloves and glasses when working with the liquid. And then use a plastic glas to put the liquids in.
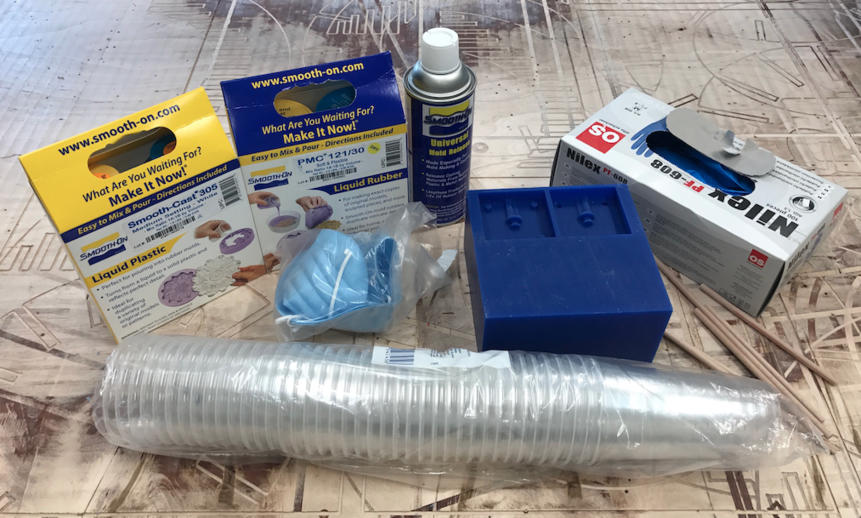
There are instructions on the packaging. You should combine equal amounts of the liquids.
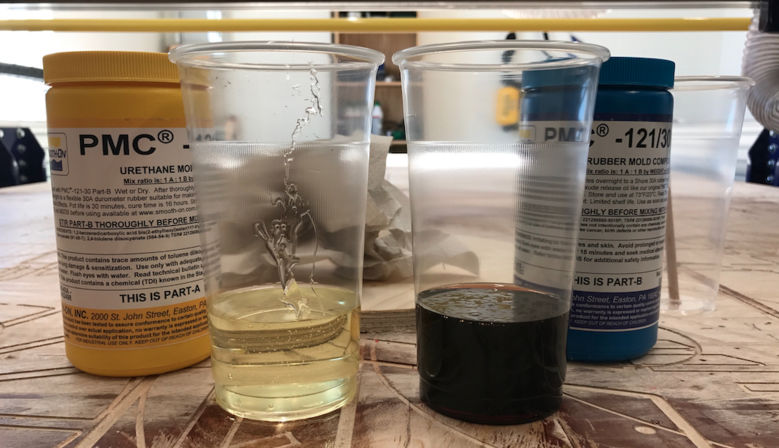
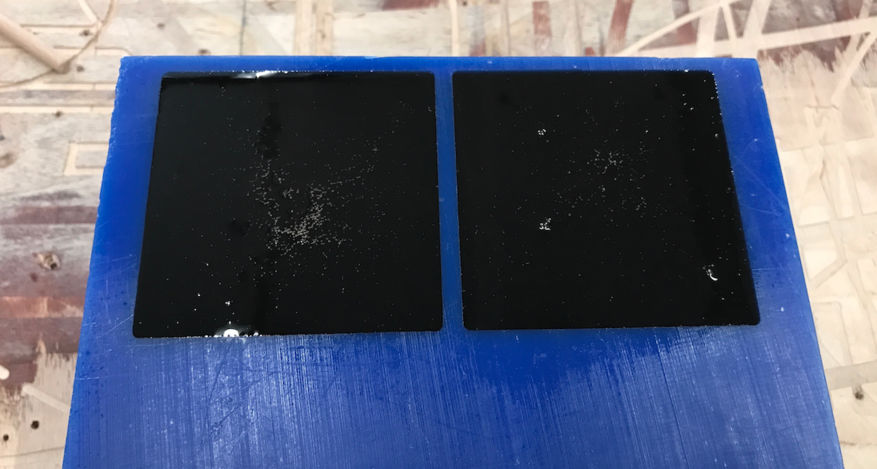
Then you mix both of the liquids together and mix it thoroughly and try to avoid to create bubbles. Them pour it on the mold.
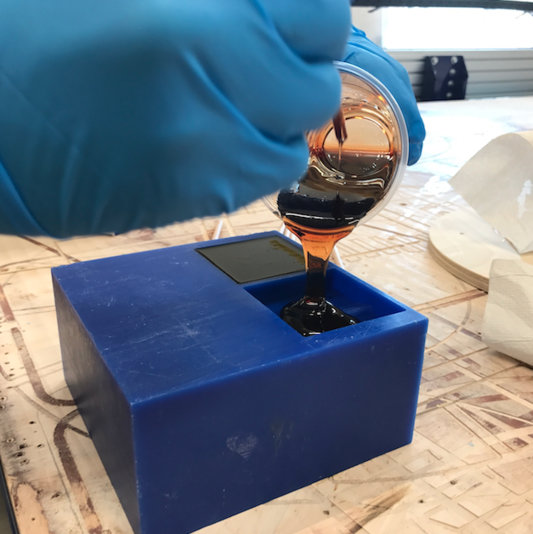
Pot life is 30 minutes and the cure time 16 hours. Store and use at 73°F/23°C, room temperature.
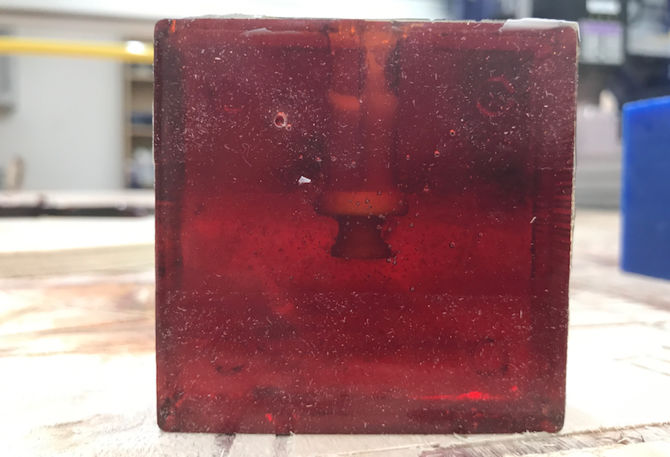
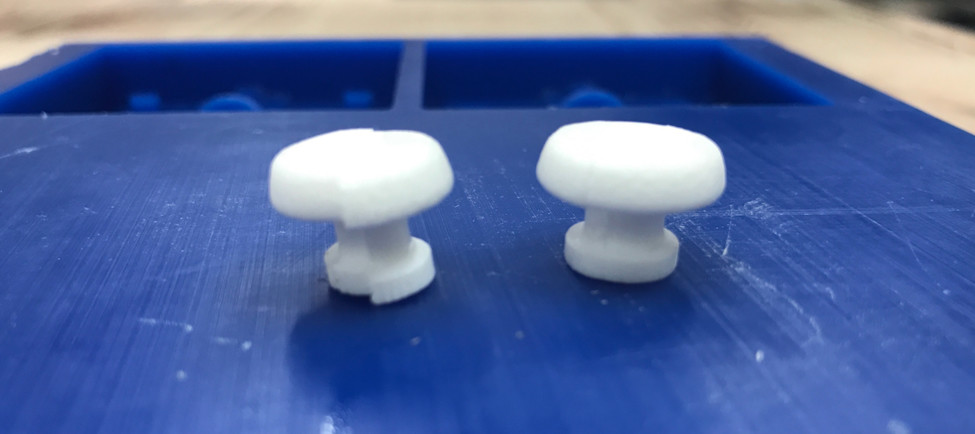
I took it out too early like you can see on the one to the left. The second one turned out okay.
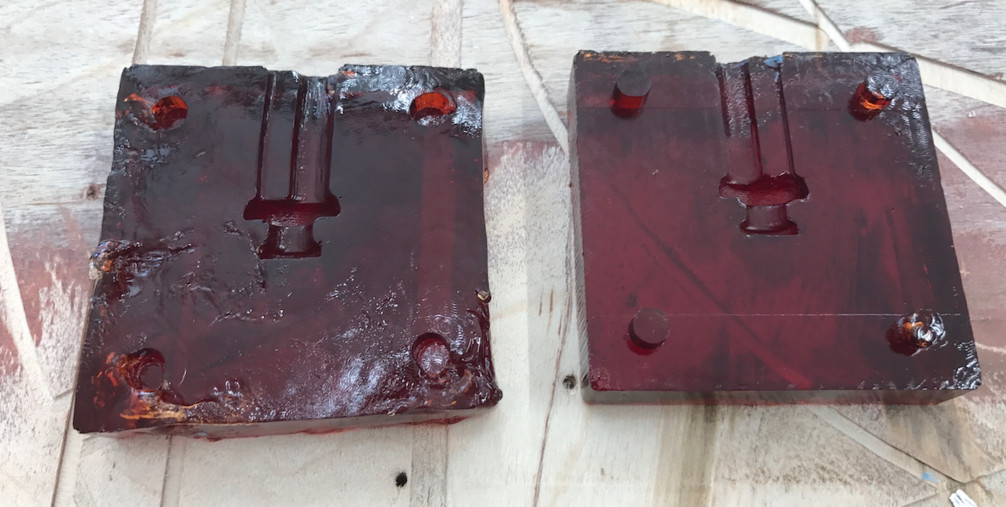
The second one came out perfectly
Again: I put equal amount of the liquids and mixed them together thoroughly.
Like you can see on the image below the pour hole and the air hole are not separate, so there is no air hole.
I did two strap buttons. The first one (on the left) failed a little. The mold was incorrect like you can see. The other one was correct.
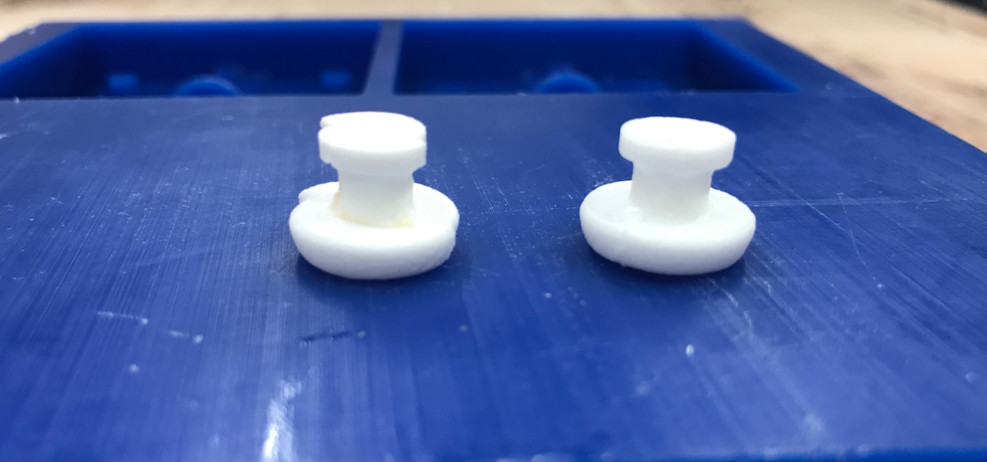
I did the third one for the guitar. I will drill a hole threw for the screw and paint it black.
WHAT DID I LEARN?
It was fun to do something like this in the Fab Acadmemy, it was different and instructive and gave me a little break from the electronics. It is fun to work with materials like this and mixing them together. I got more experience in designing in Fusion 360 and some knowledge of the concept of molding and casting.
RELATED LINKS
DOWNLOAD FILES
Strap.stl file - Right click to download
HAVE QUESTIONS?
Contact me!
Höfn, Iceland
Email: birkirthorhauksson@gmail.com
Swing by for a cup of , or send me a message :)