1. Design
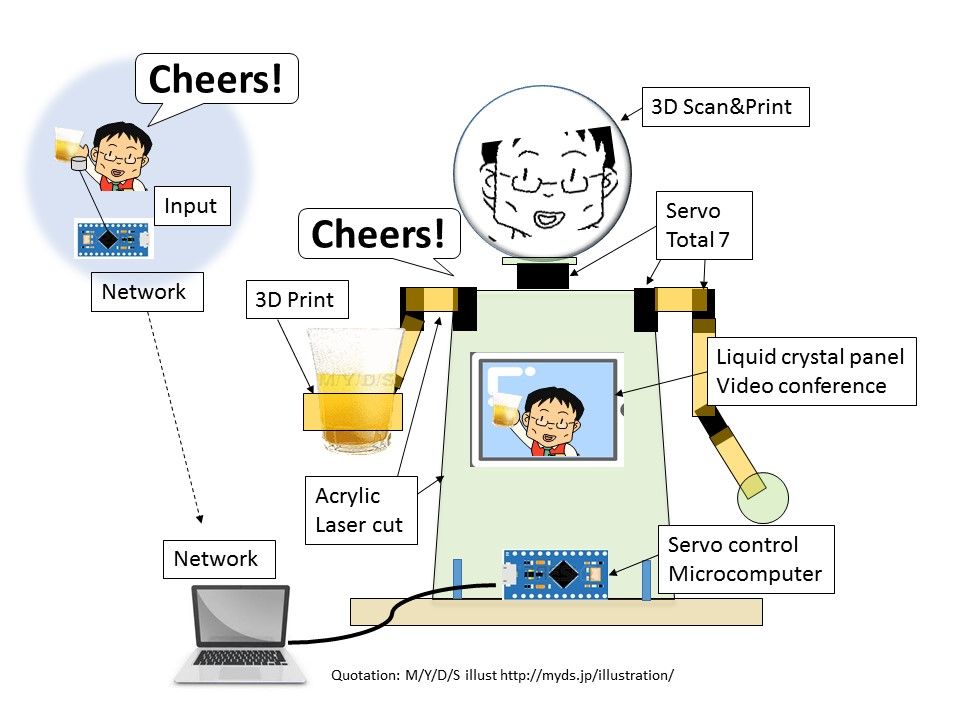
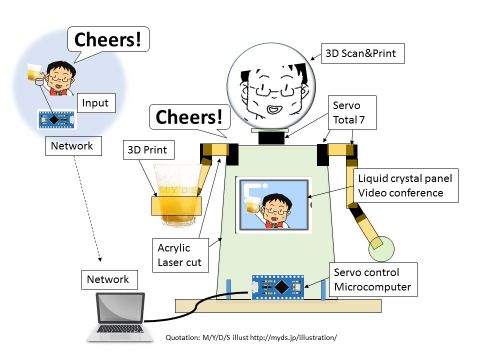
I am planning to make a robot like a photo in the final project. Therefore, the problem of resin decided to manufacture the body cover of the robot.
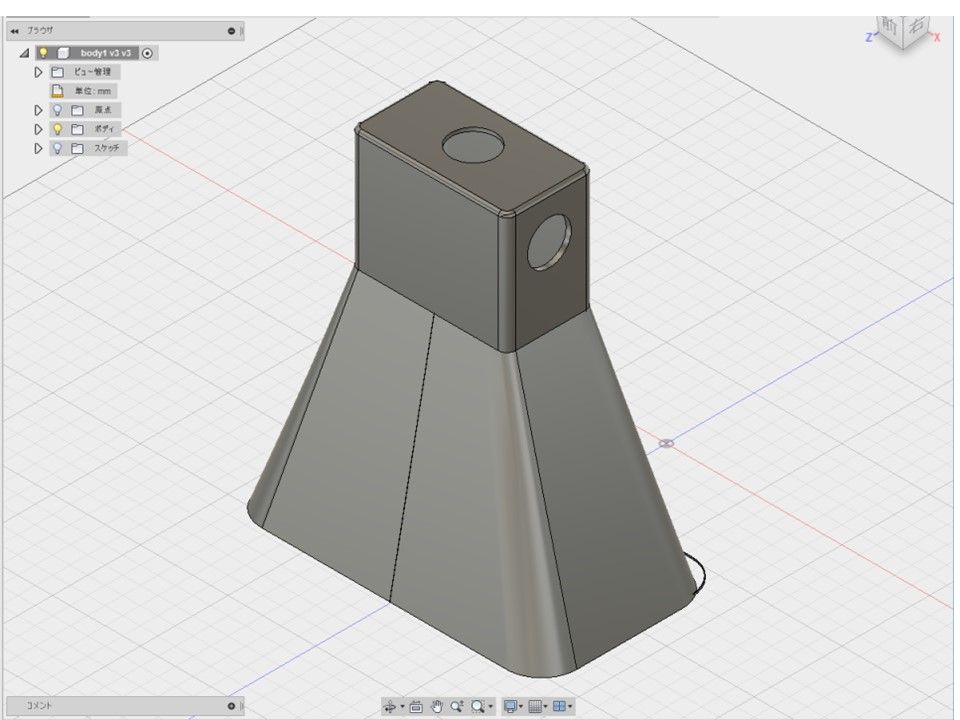
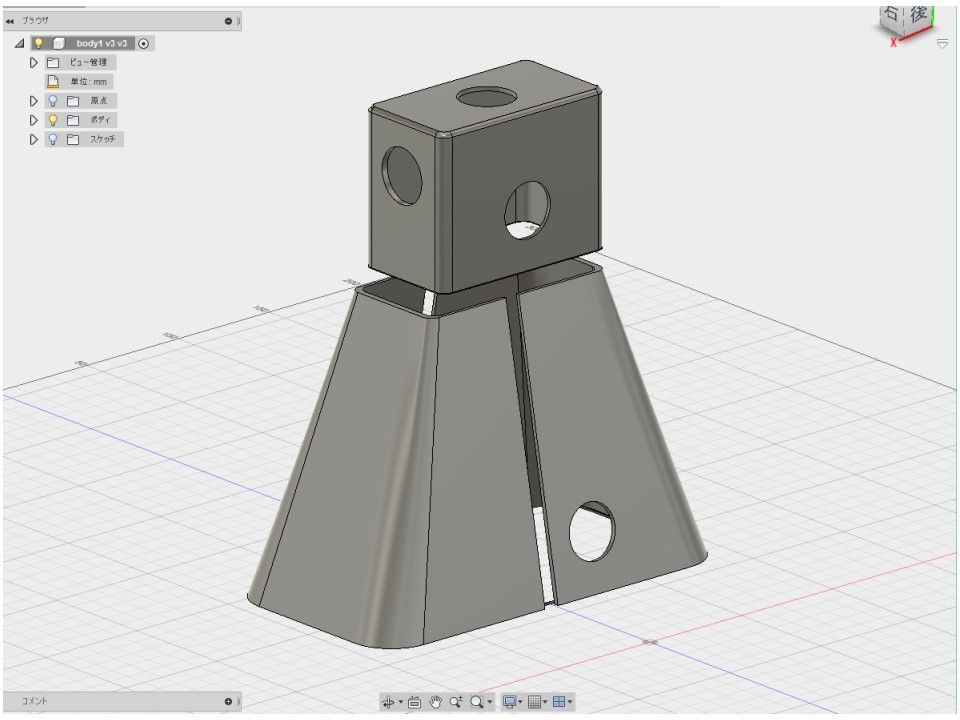
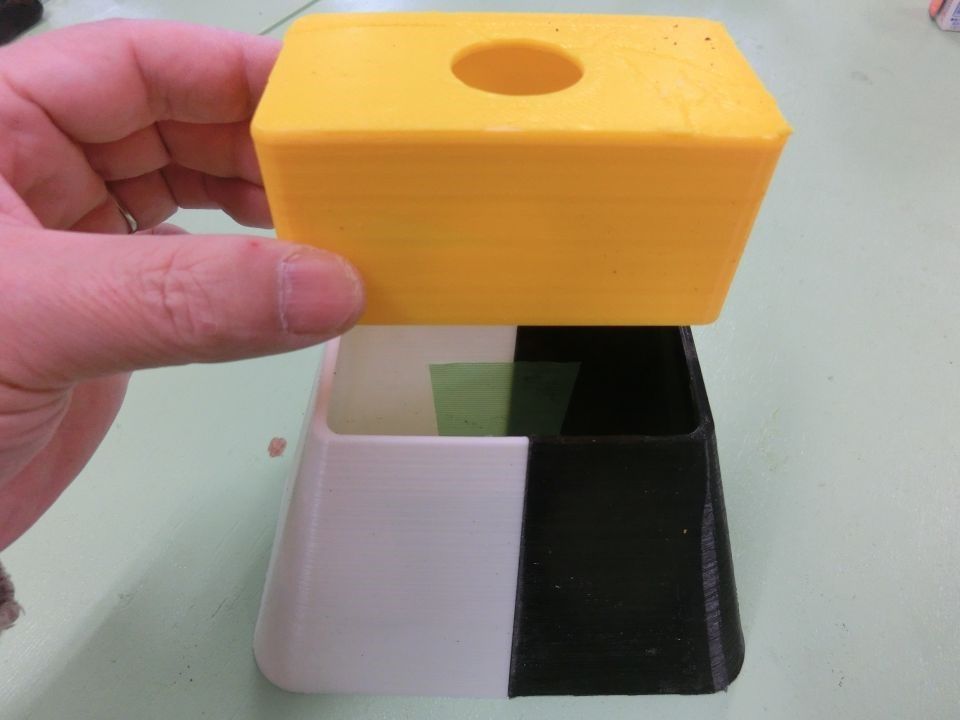
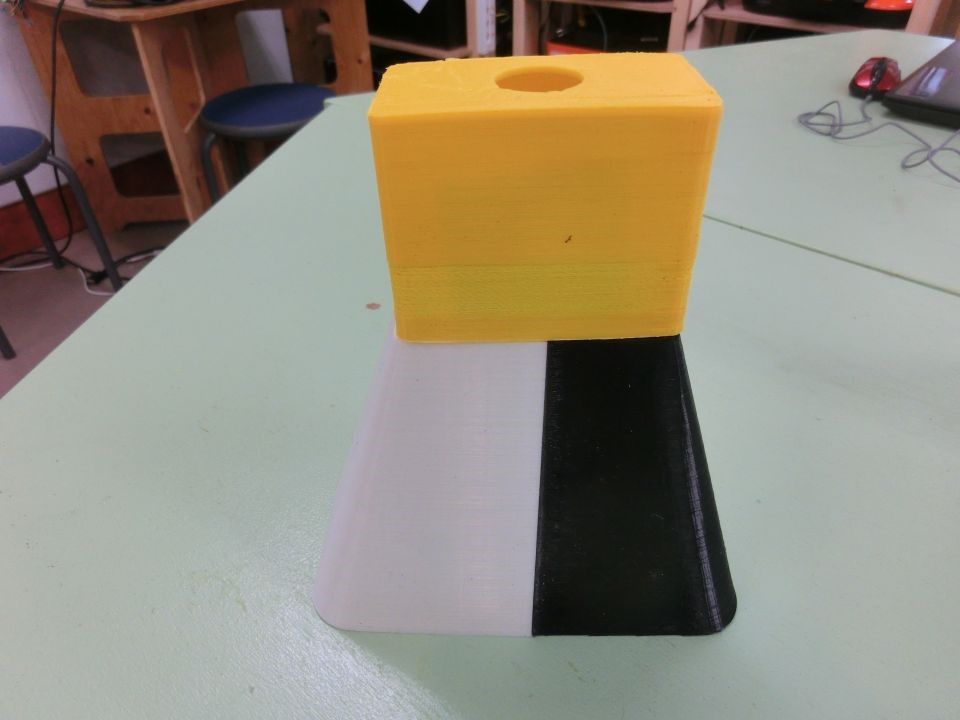
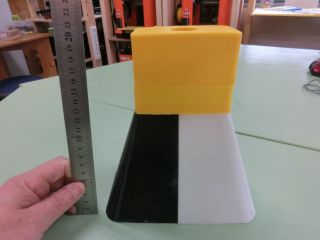
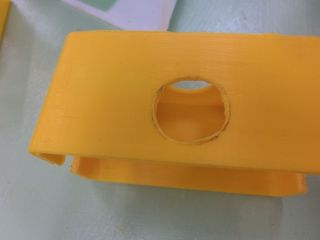
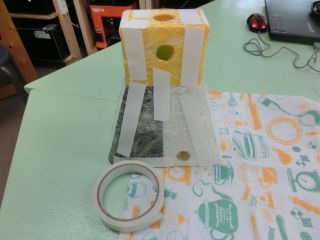
First I designed the body cover with Fusion 360. From the size etc. of the servomotor, the height was 200 mm and the width was 180 mm. However, the model size of the used 3D printer is 140 mm the largest. So I decided to disassemble it into 3 parts and mold it.

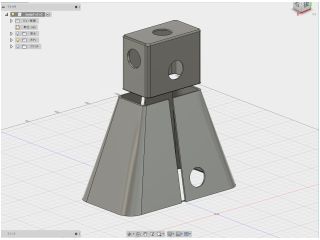
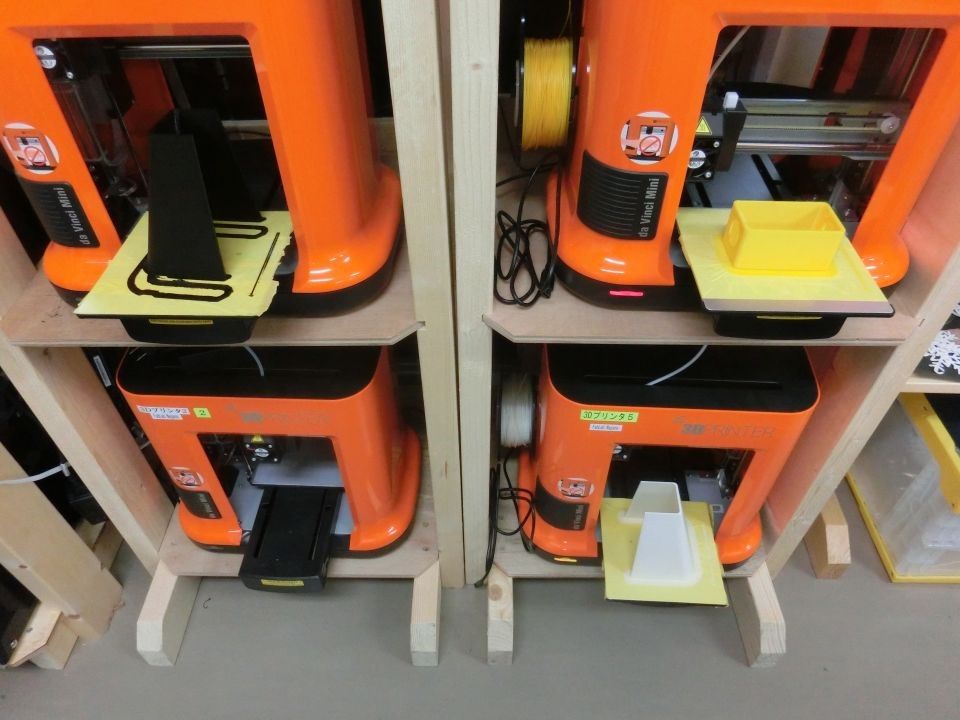
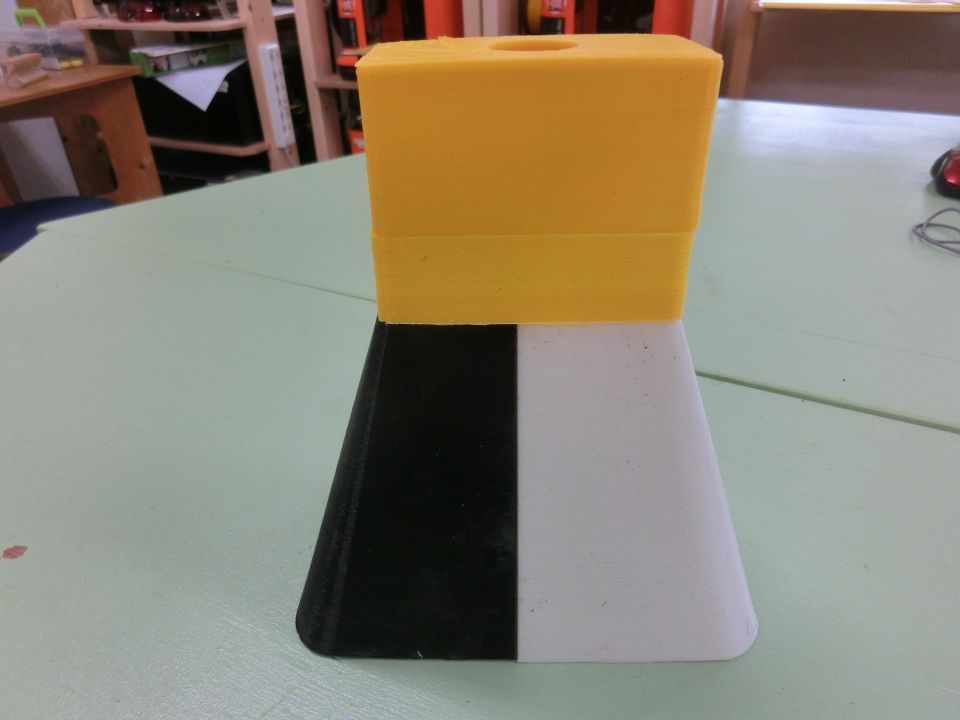
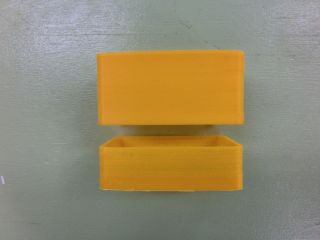
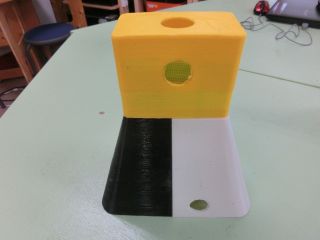
Printing was done simultaneously with three 3D printers. However, the head part stopped halfway due to clogging of the filament. Then I recreated the shortfall data and printed again. When assembled it became like a picture.


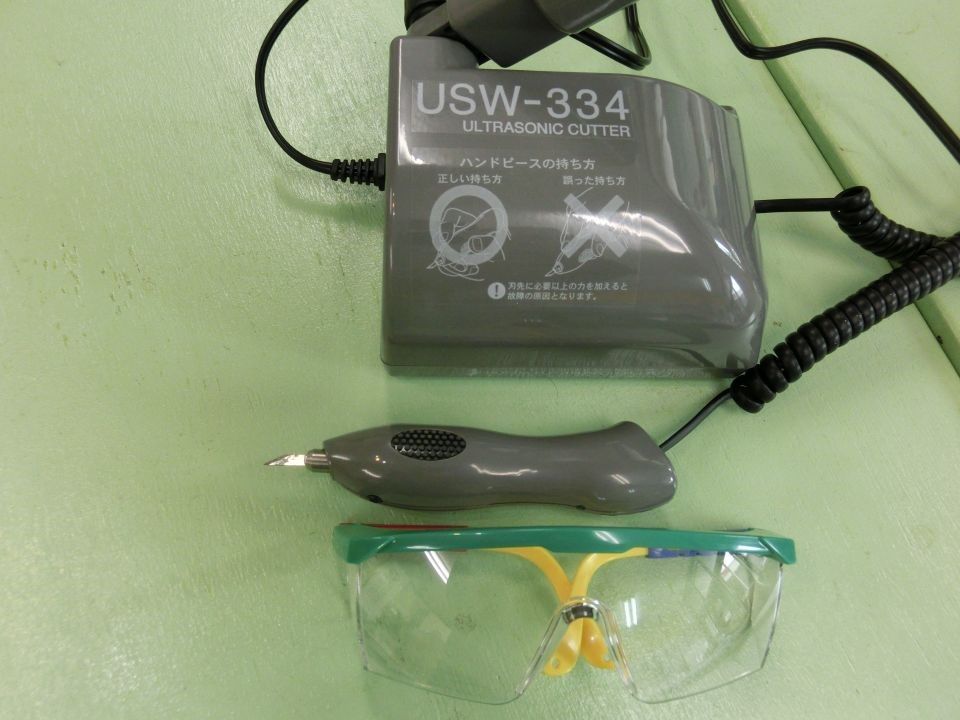
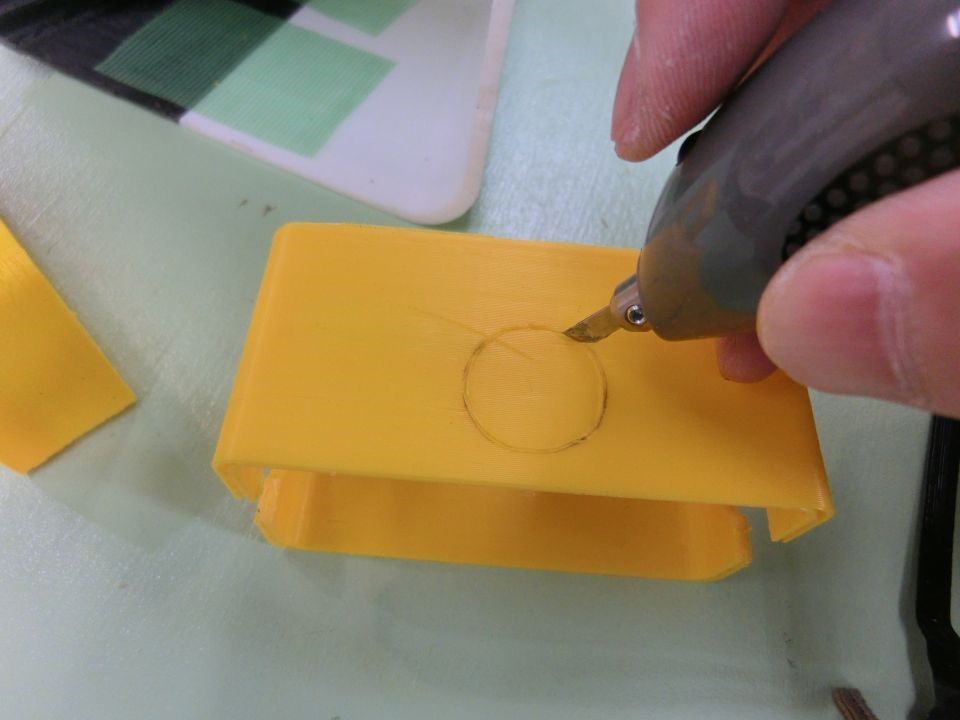
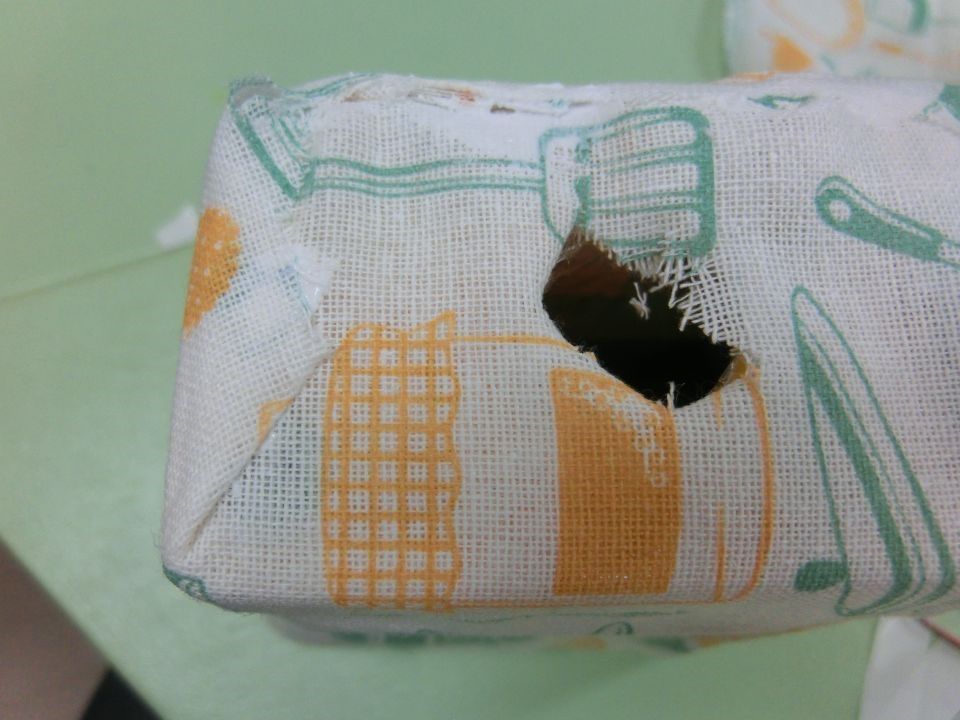
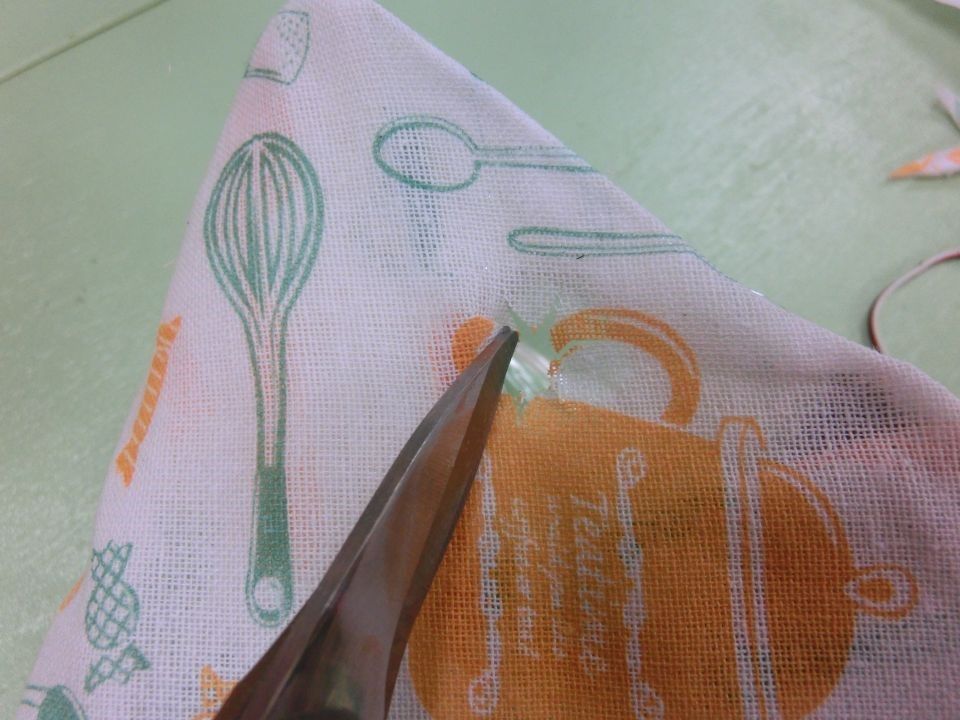
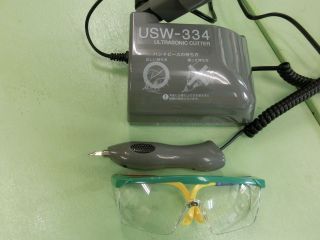
Since the design of the hole through which the cable was passed was missing, I cut a hole using an ultrasonic cutter.An ultrasonic cutter is capable of freely cutting plastics. The design data of the missing hole was modified.


2. Preparation preparation
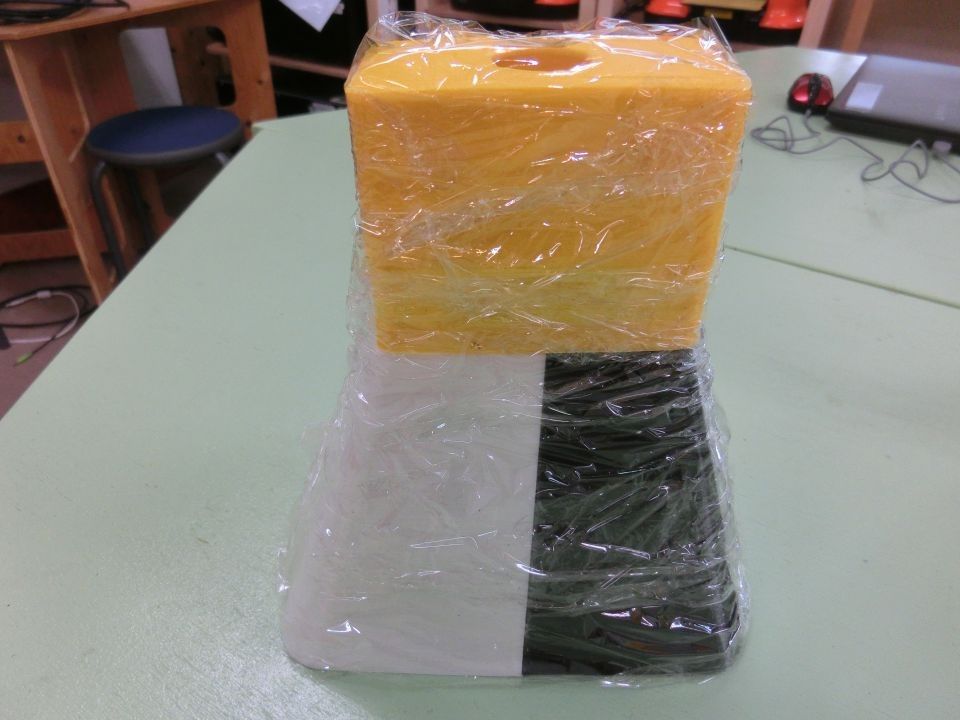
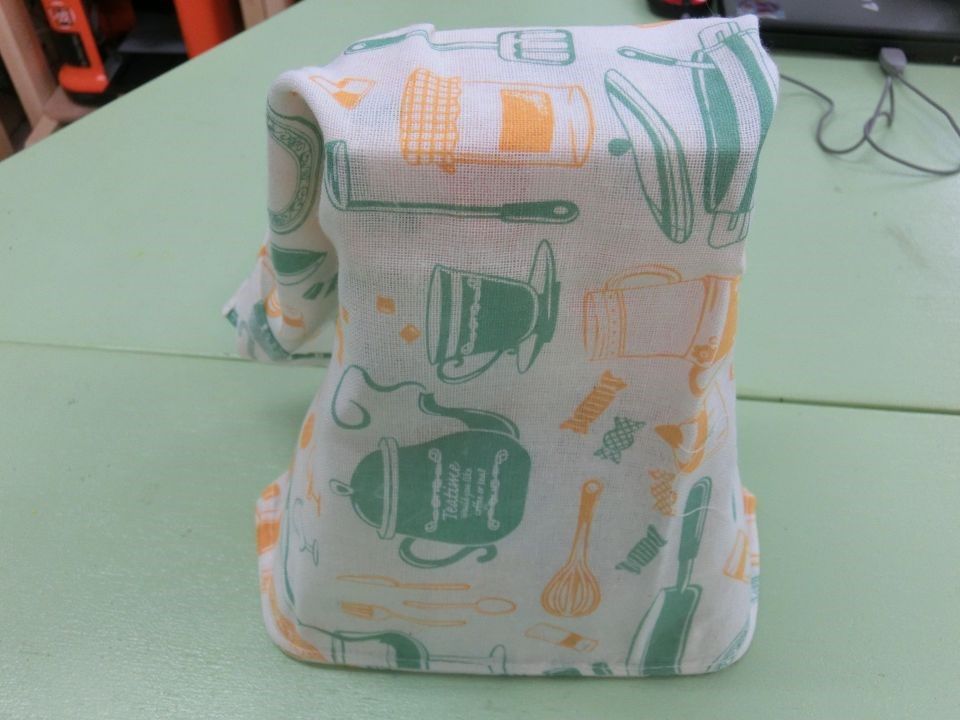
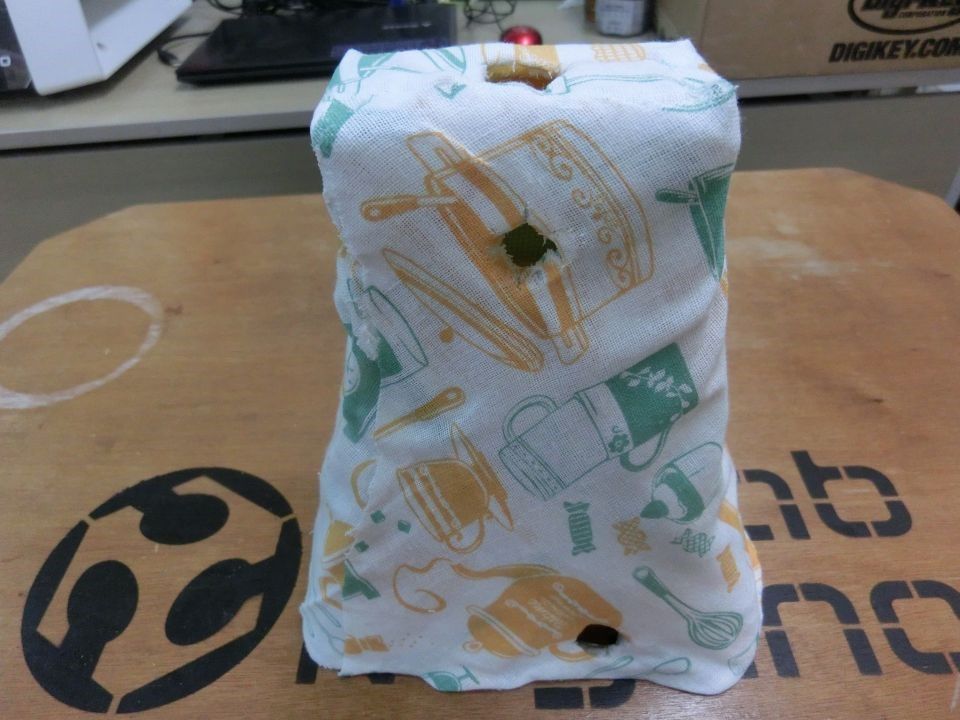
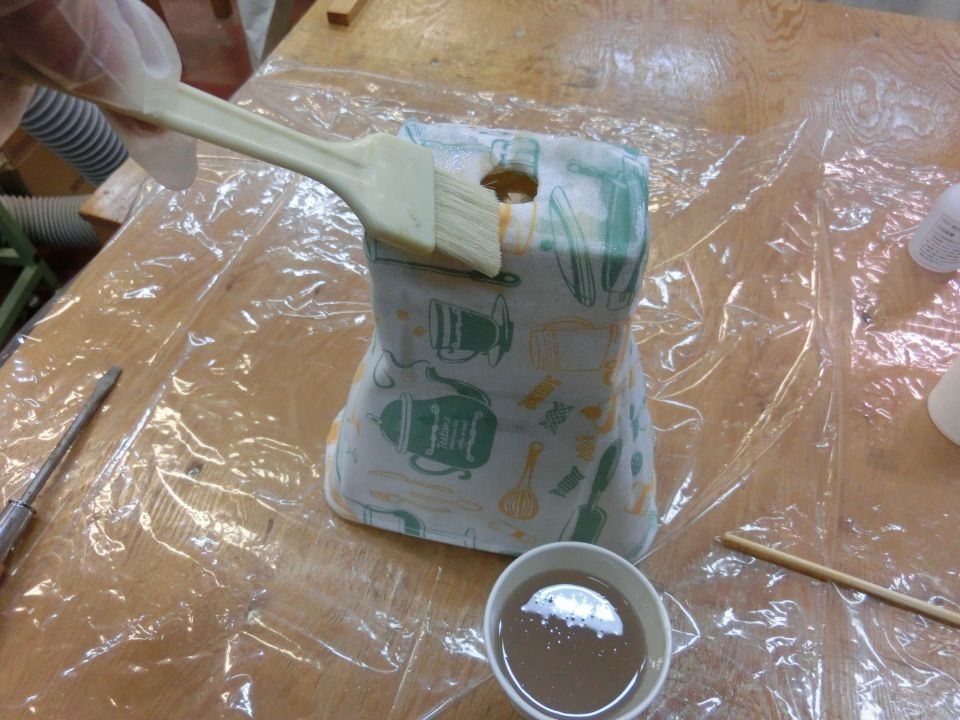
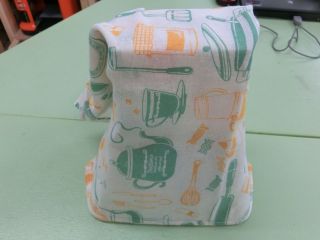
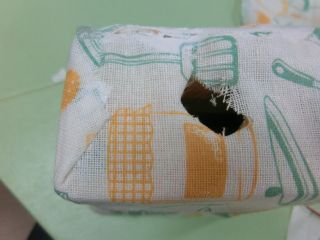
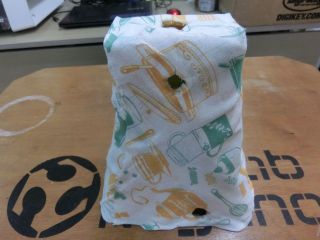
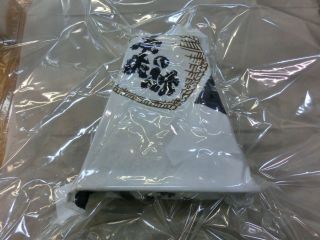
As a mold was made, Saran wrap was rolled as a release agent. I tried to make it well. Next I wound up the cloth.

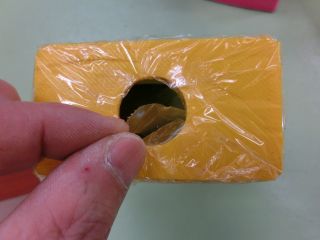
Adhesive for double-sided tape and wood was used for cloth fixation. I cut off extra parts and completed the attachment.


 3. Resin shaping
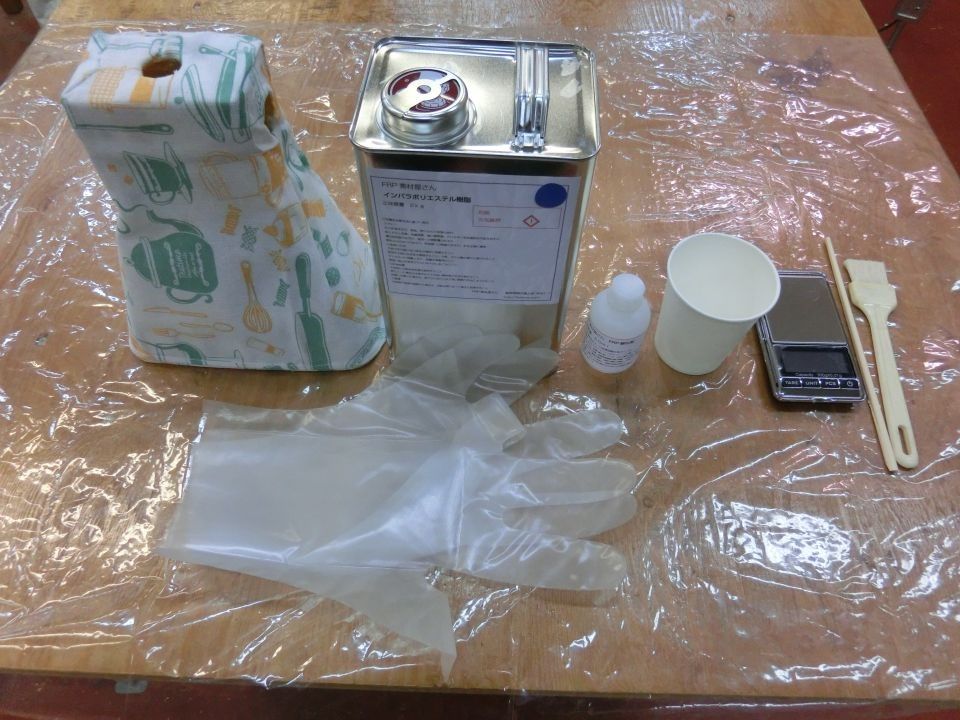
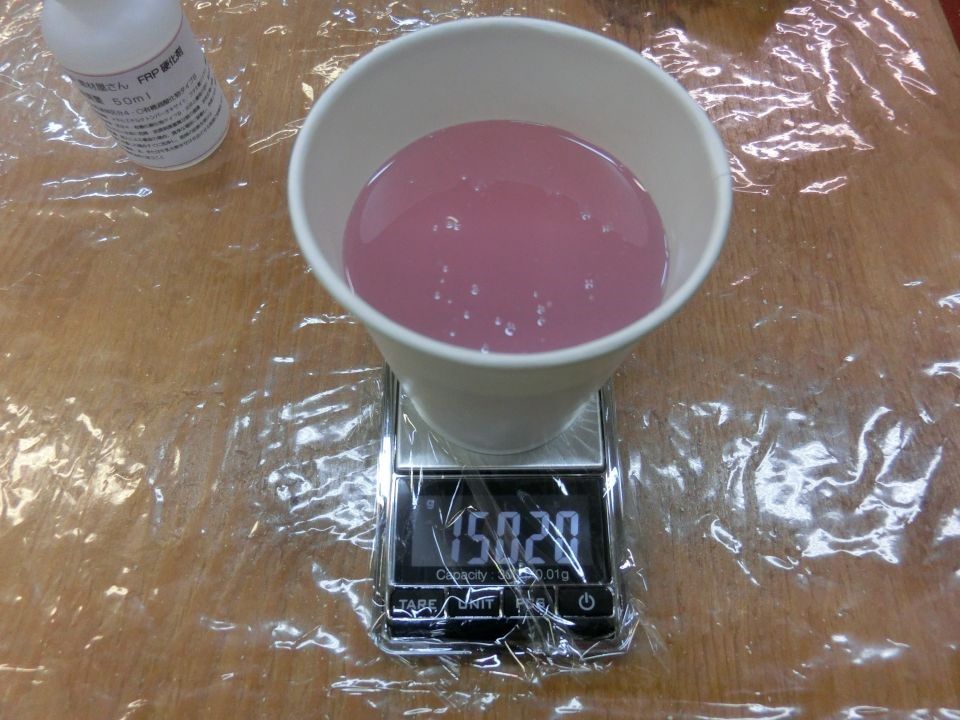
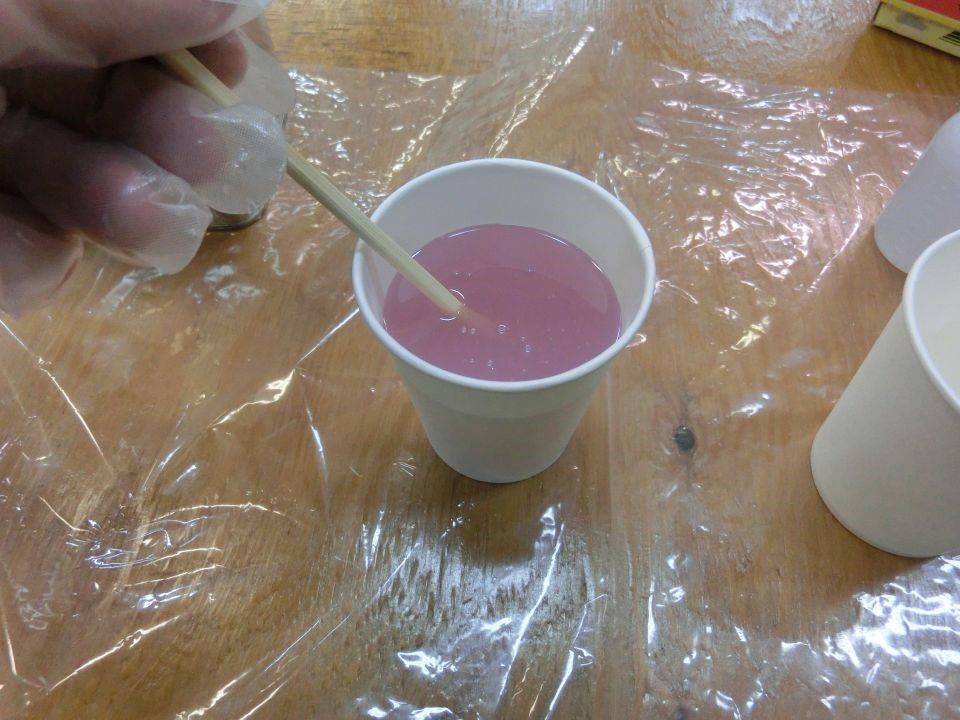
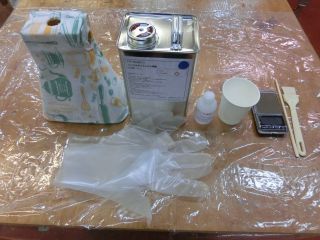
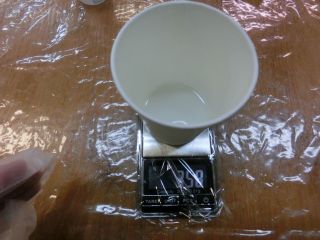
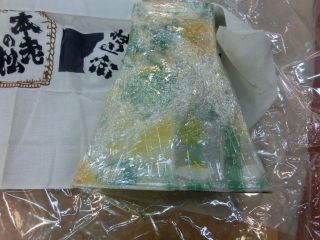
For the resin, a resin for FRP and a curing agent were used. 150 g of resin was used. Since the temperature of the curing agent was only 15 degrees, 3 g which was 2% was used. The mixed two solutions were stirred for 5 minutes or more. After stirring, it was painted with a brush.
Link to resin manufacturer's MSDS MSDS on Solar's FRP Co.
Abstract
Chemicals
-Polyester resin,FH-123,Product code 770560
Summary of hazard toxicity
-Flammable liquid Category 3, Acute toxicity Category 4
Composition and ingredient information
-SDS 3, Ethylene glycol (less than 1%)
-Cobalt and its compounds (less than 1%)
-Silica (less than 1%), Styrene (less than 1%)
-Phthalic anhydride (less than 1%)
-Flash point 31 degree, Specific gravity 1.0-1.2


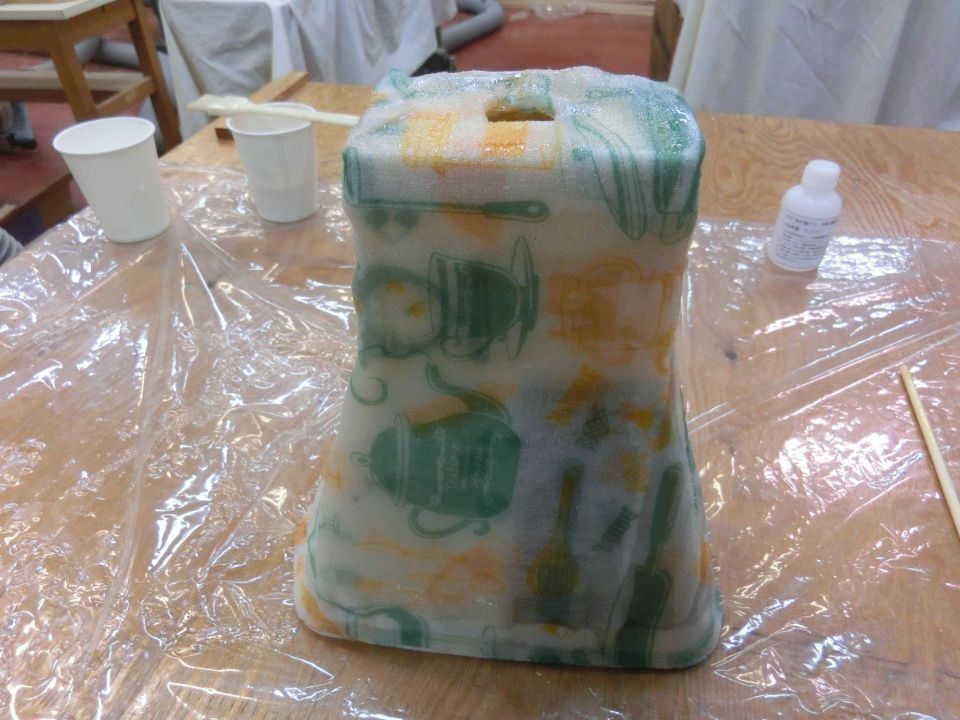
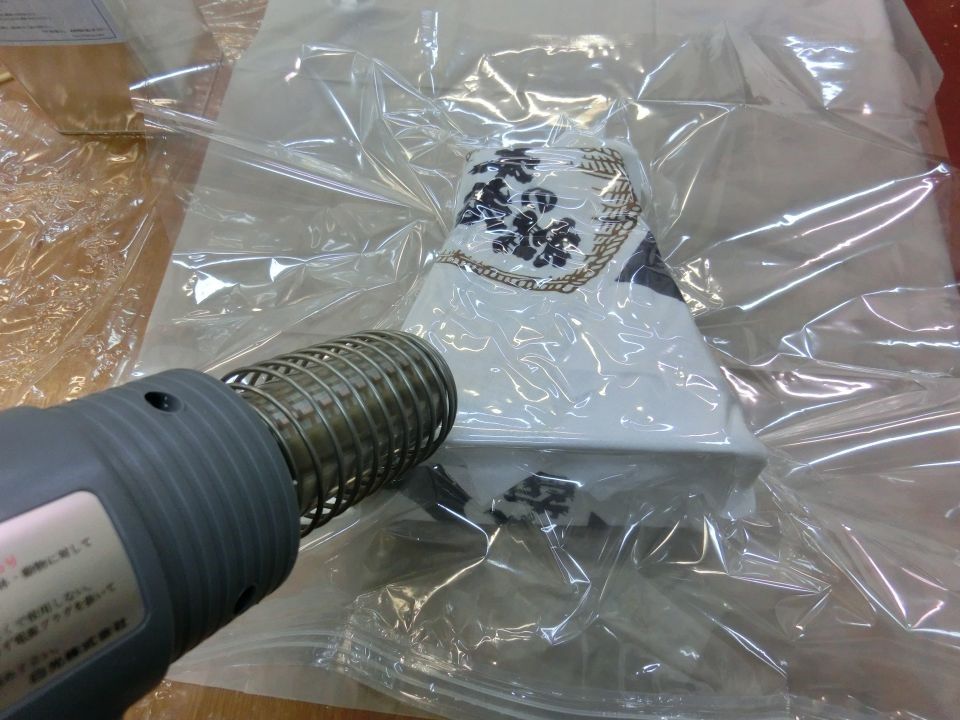
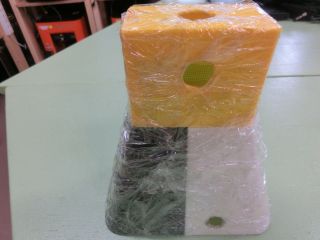
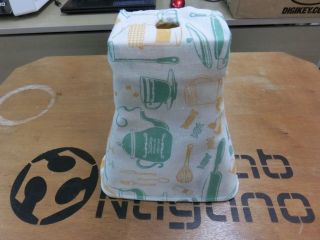
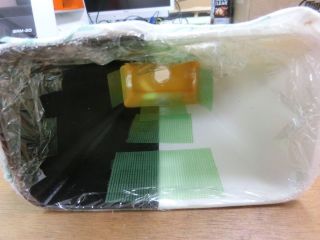
When painting was over, Saran wrap was rewound again, and a towel was wound.

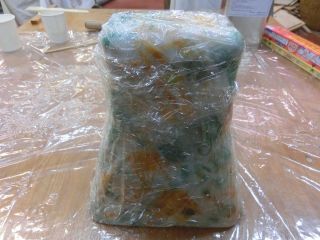
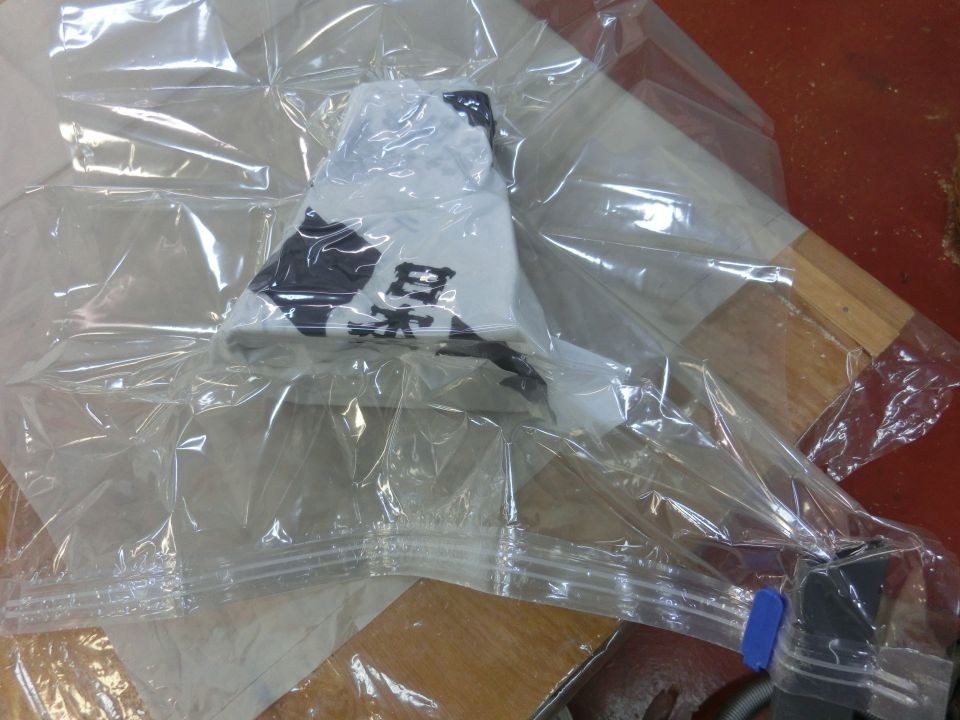
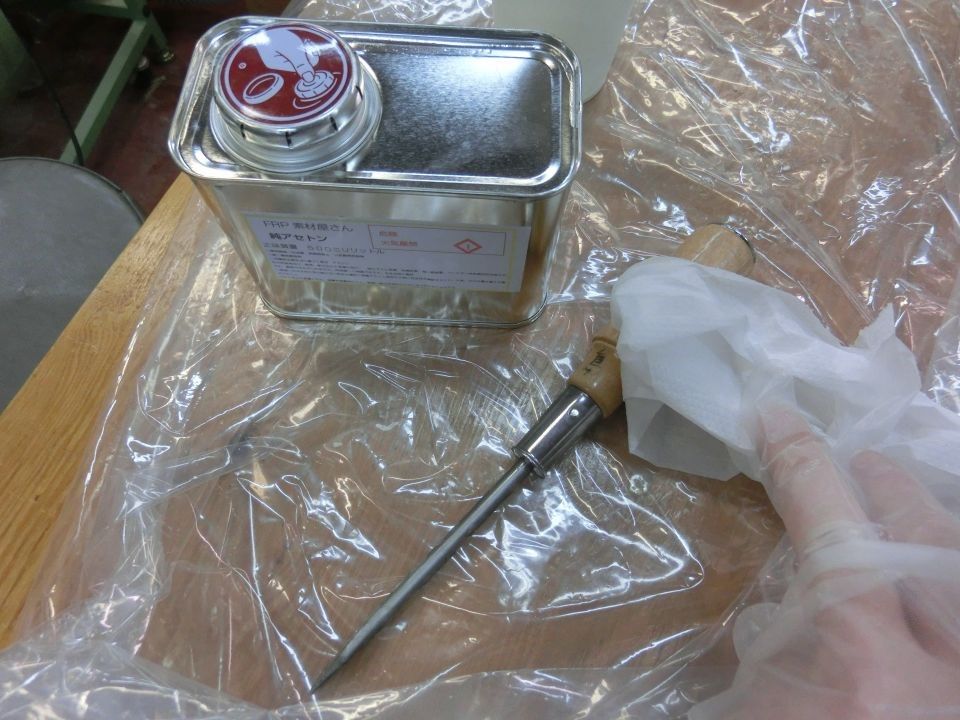
Aspirated with a compressed bag of futon so that the material adheres. Because the basic was low, I warmed up with a heater a little. The tool used was cleaned with acetone. I left it overnight.


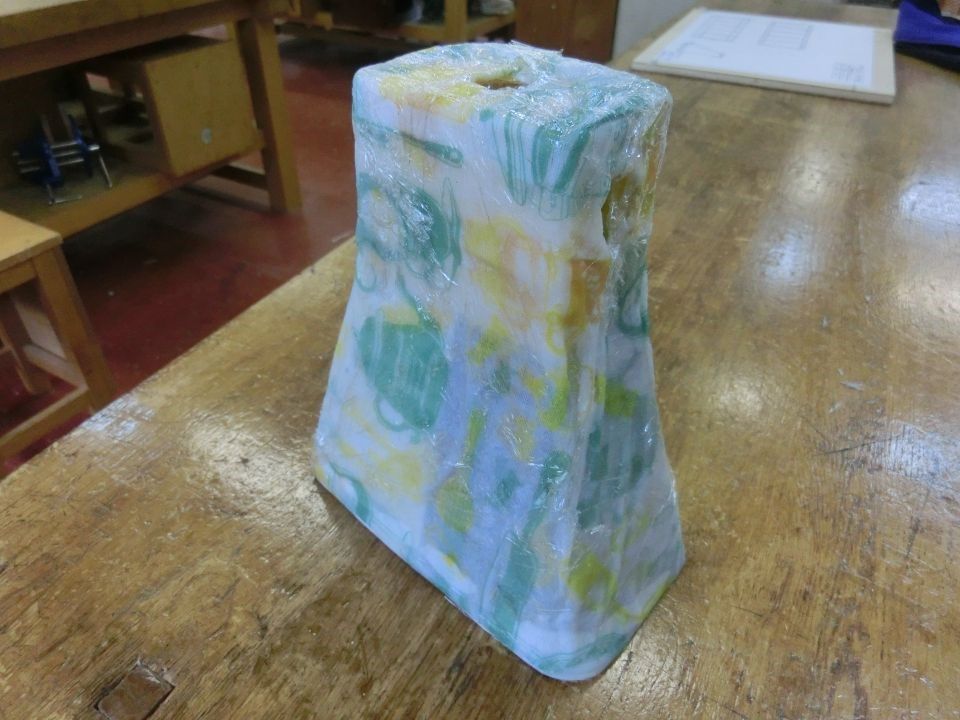
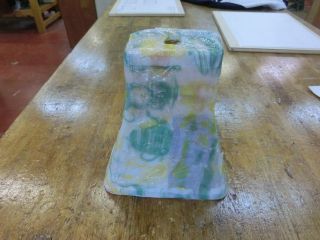
The bottom picture is the completed body.

I did not use a perforated film plus breather layer in this molding. According to the advice, when using a perforated film plus breather layer it absorbs excess resin and it will be a smooth finish. So I will try on the next processing.
-Purchasing example of perforated film.
Archive
-
Body_data(3parts) (STL)
This week's assignment is over.