1. Design
As a large-scale work, I decided to create
Emosilla used in our workshop. The original Emosilla is for children but I fixed for adults.
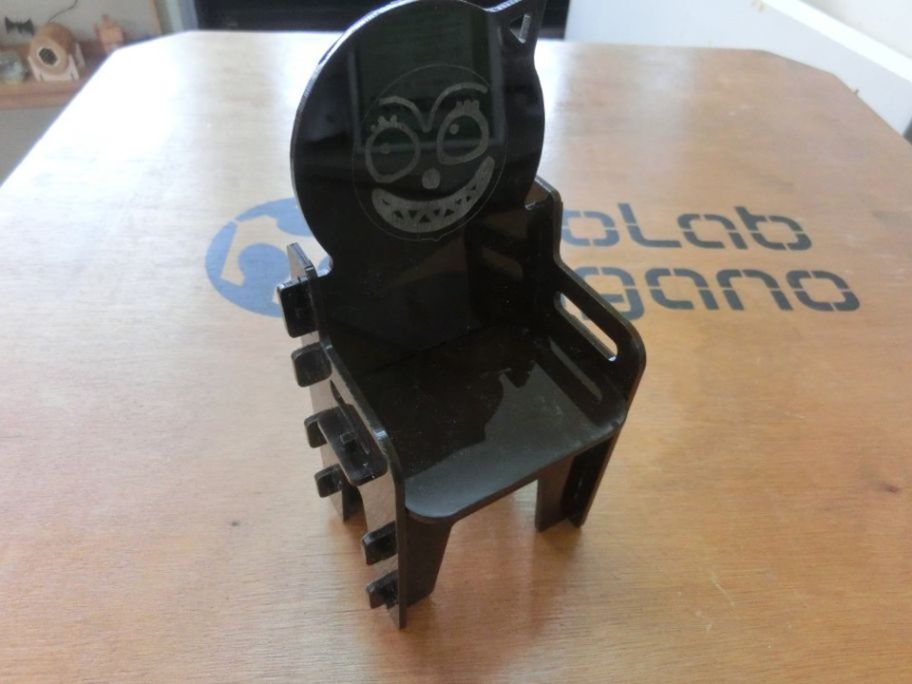
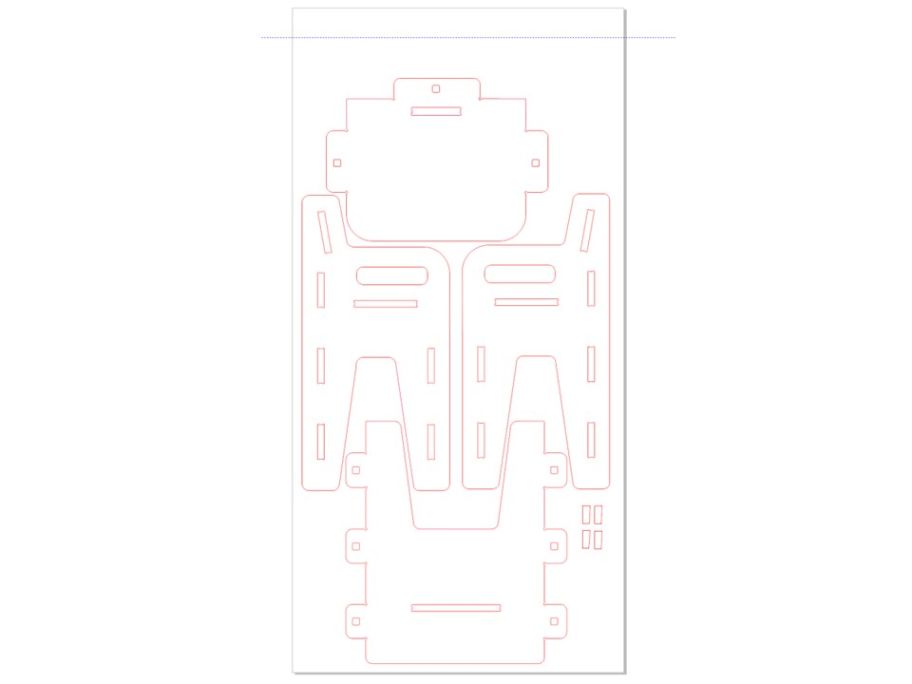
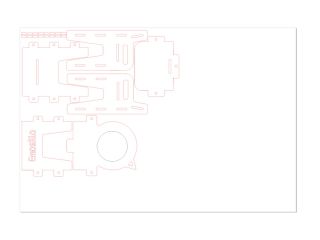
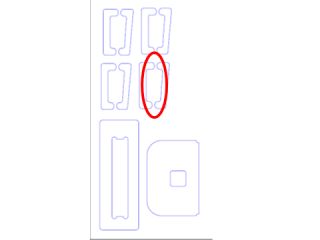
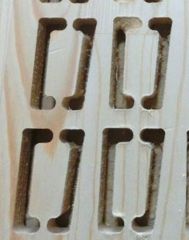
In order to make a model, I designed it in 1/6 size. CorelDRAW X8 was used for the design. A brown acrylic plate of 3 mm was cut with a laser cutter. This picture is assembled.

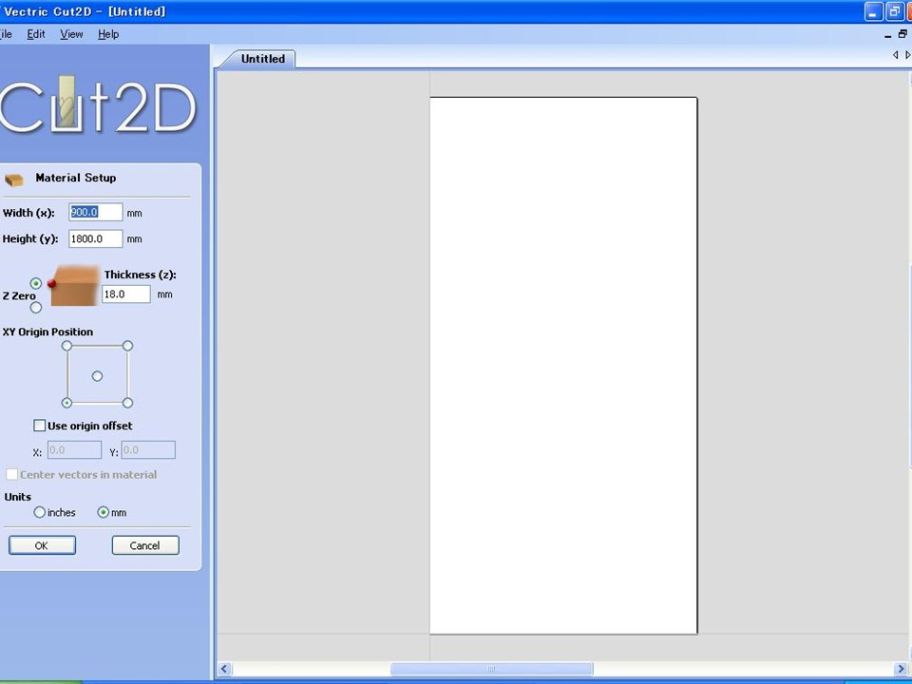
After correcting the insertion part, it expanded to the actual size. As a material, 18 mm laminated wood (W900 mm ,H1800 mm) was used.
The margin of the junction of wood was taken 0.5 mm in consideration of processing error.
 2. Preparation for processing
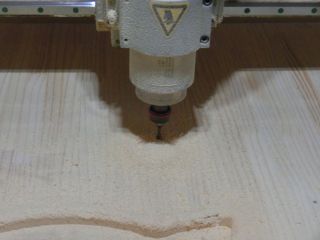
Since woodworking CNC is not at FabLab Nagano beta in Japan, it was processed at Guru's FabLab Hamamatsu. I got the basic operation taught from Guru Takemura.
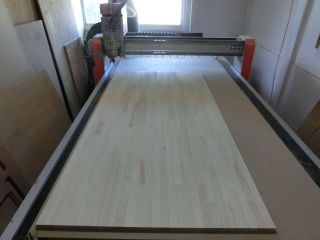
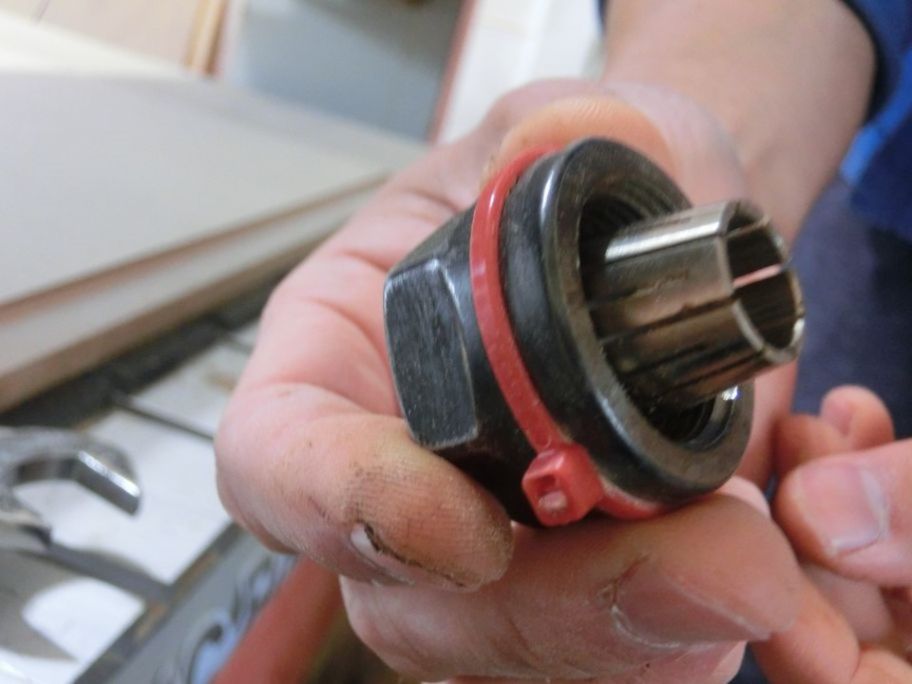
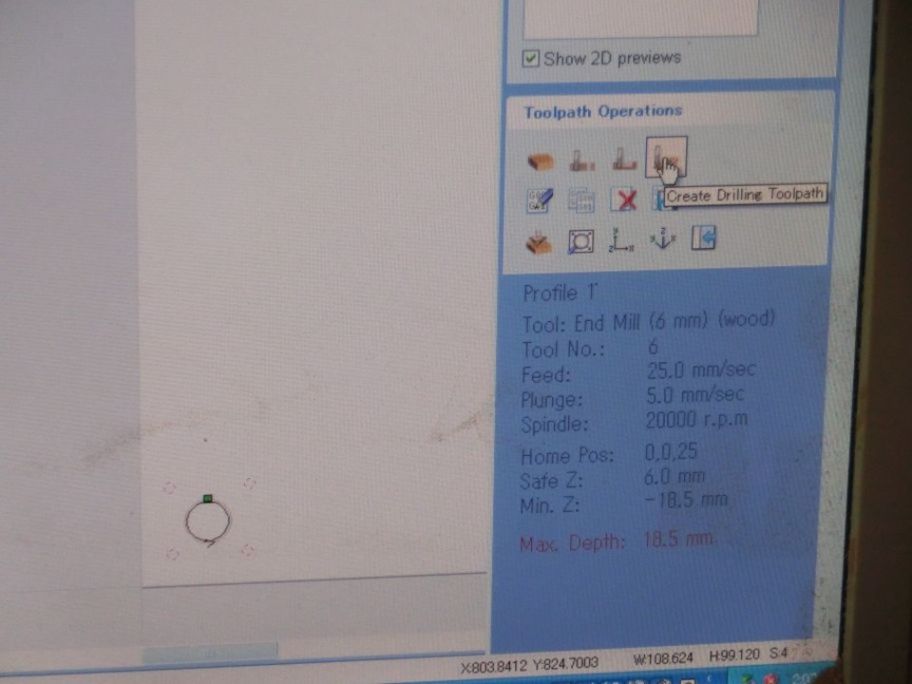
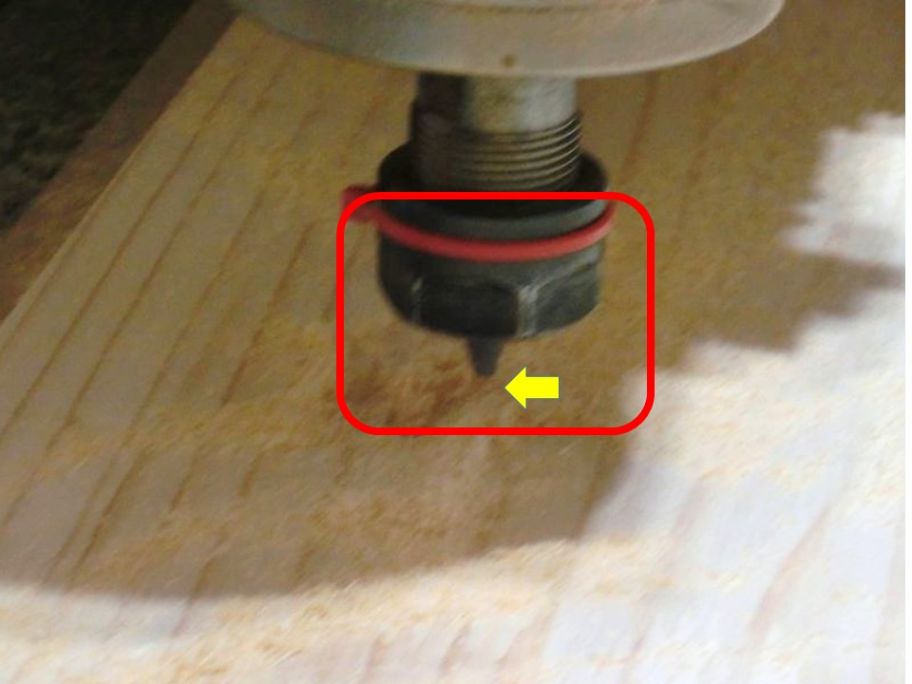
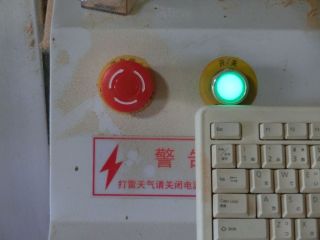
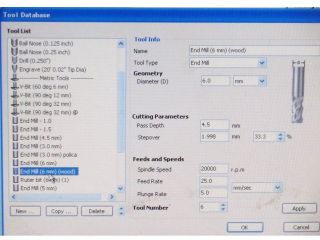
A 6 mm diameter end mill was used. First I learned how to remove the end mill and how to put it. Attention should be paid to the place where the collet is inserted for end mill. I also learned about emergency stops.
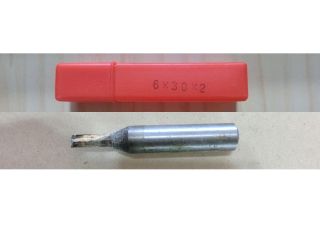

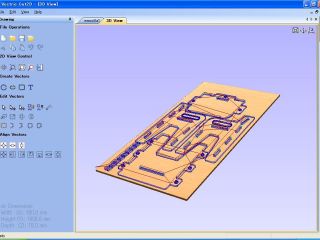
The setting of the end mill was as shown in the figure.
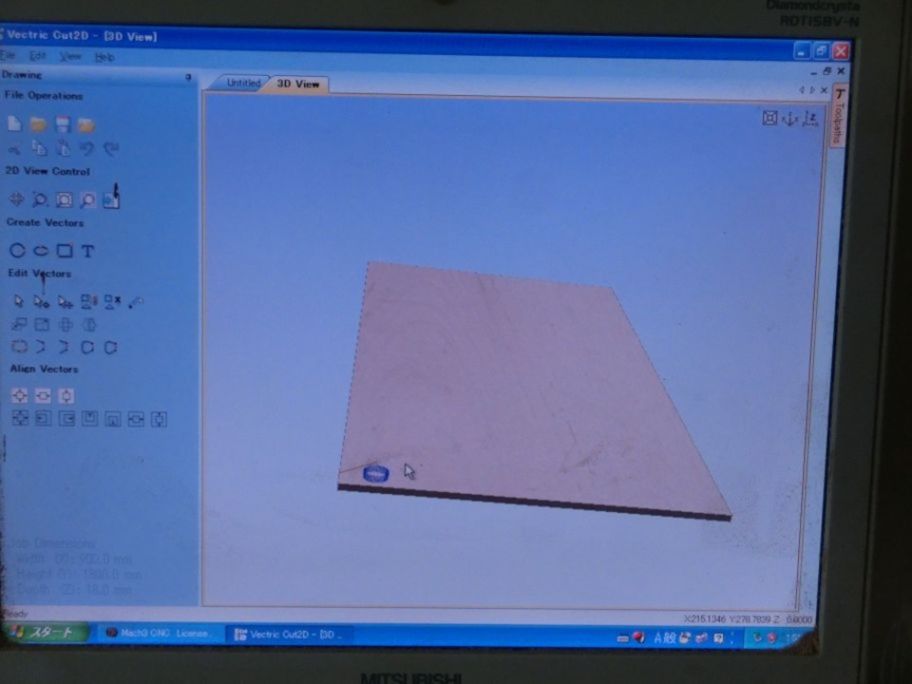
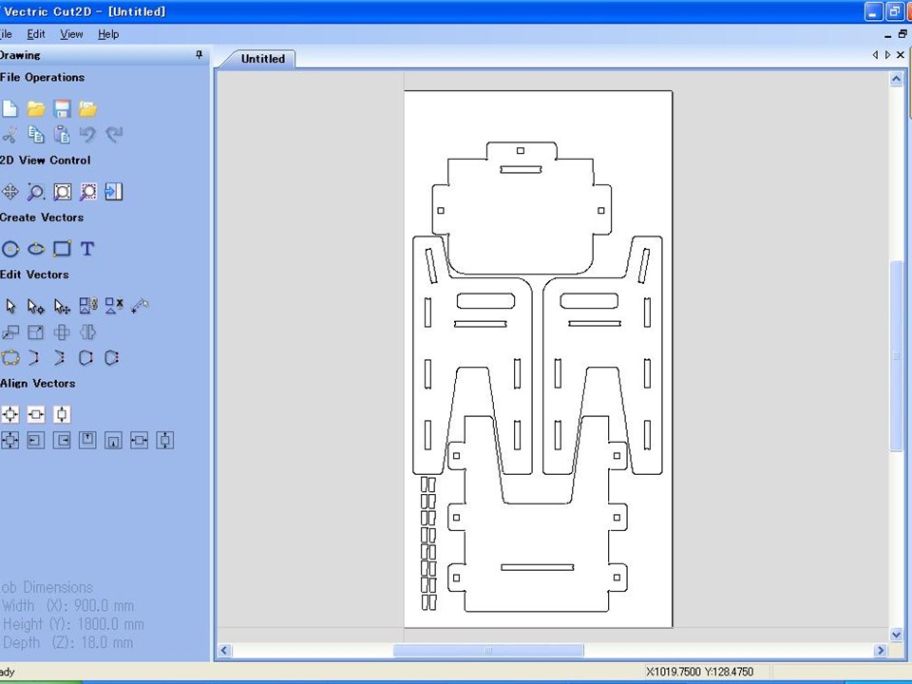
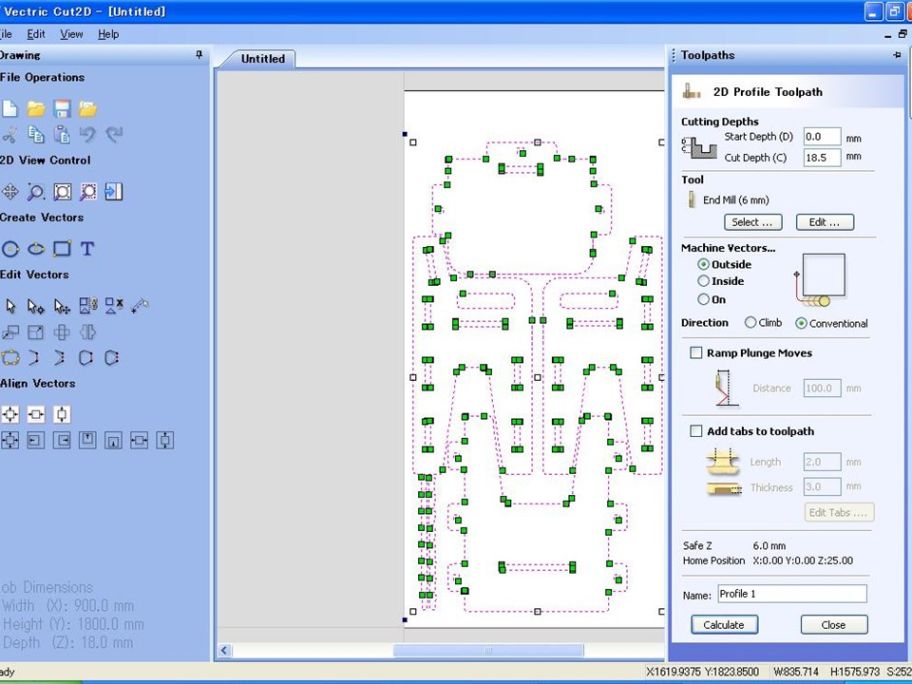
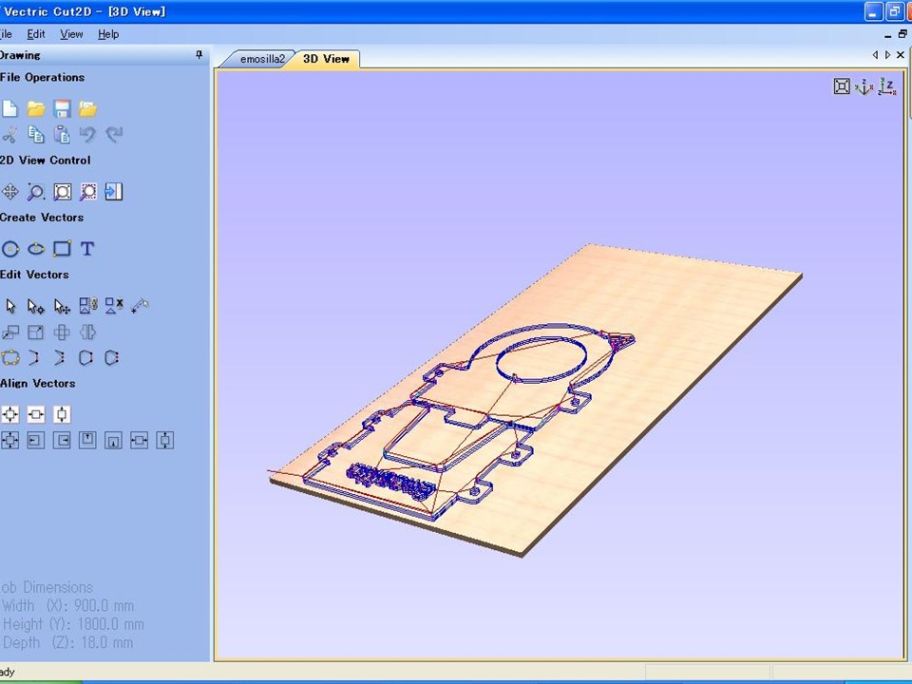
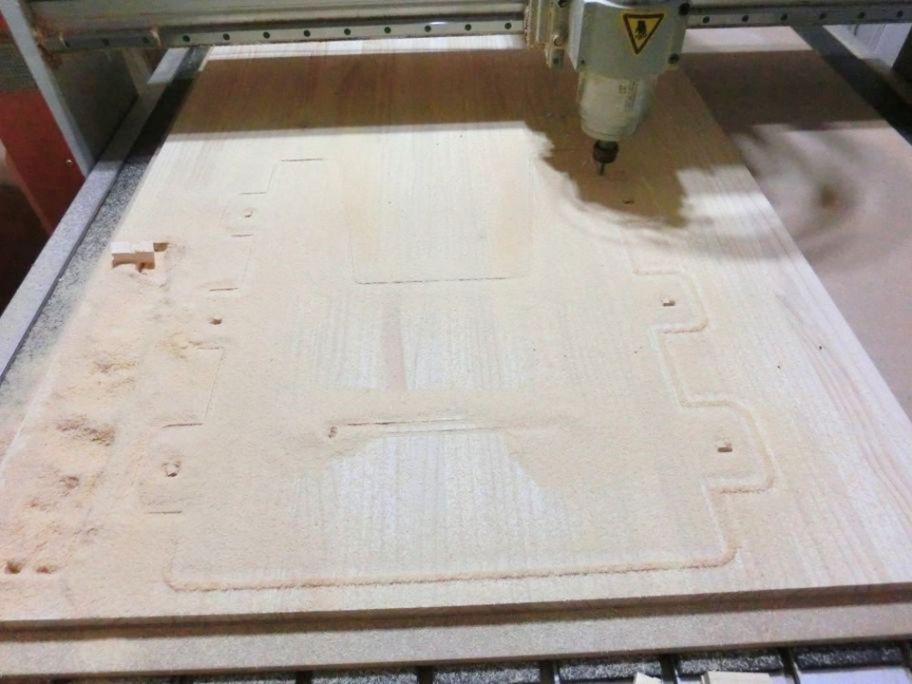
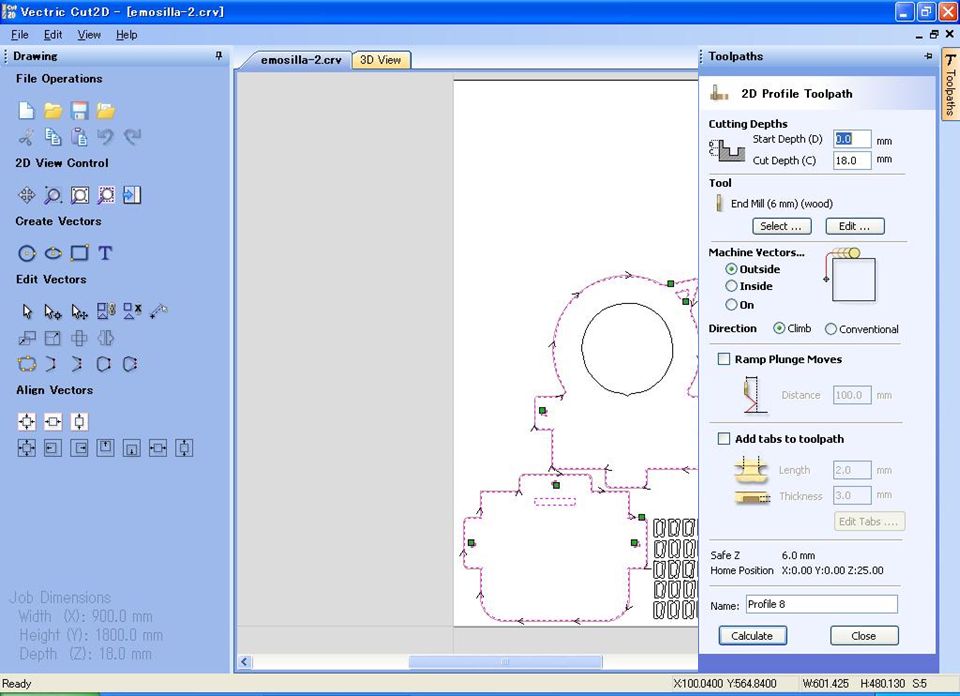
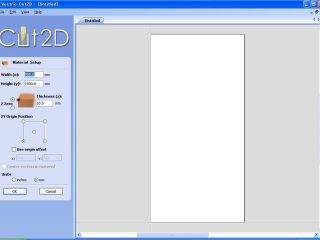
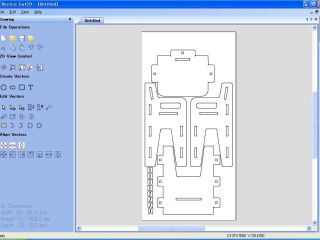
Cut2D was used for G code generation software.As processing exercise, small processing was done on the edge part. In addition to processing data, drill holes for screws to fix the material were also set. The state of processing can be confirmed in 3D view.

 3. Processing
First The end mill was set the origin. Next, the processing data of the drill hole was read and a hole was opened. Screwwas stopped. I confirmed that processing was possible.
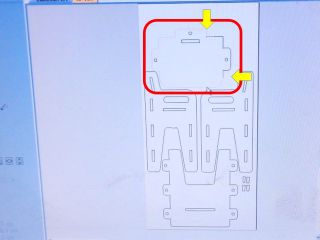
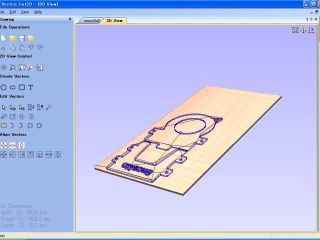
Next, the first processing data was read. There was a problem here. Multiple closed paths were found.
In laser processing, it was caused by machining even if the pass was not closed and it did not notice
I had to correct data and generate G code several times.

It is confirmation of processing data in 3D
The G code was read into CNC control software
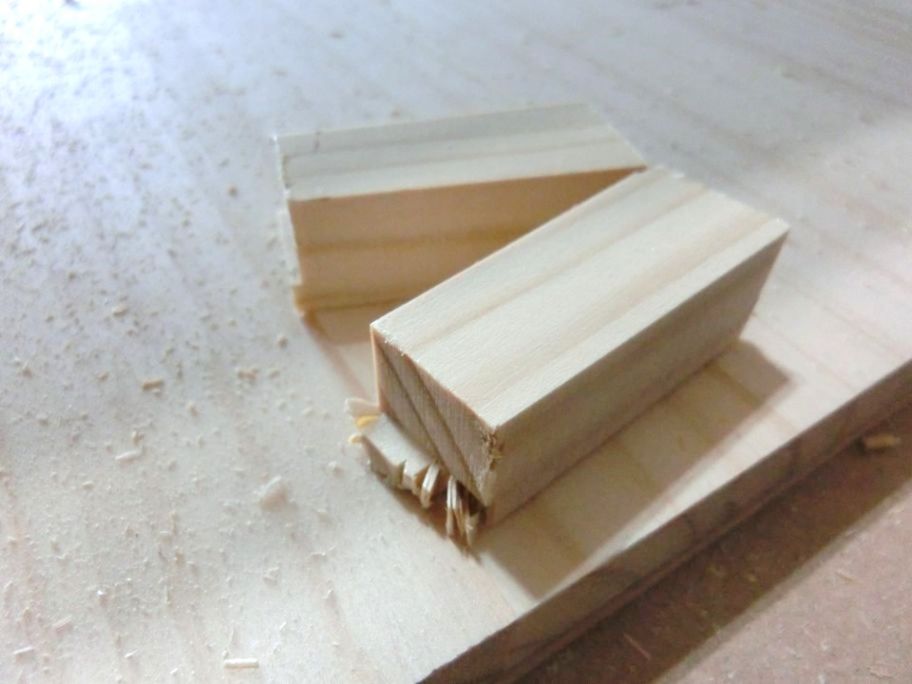
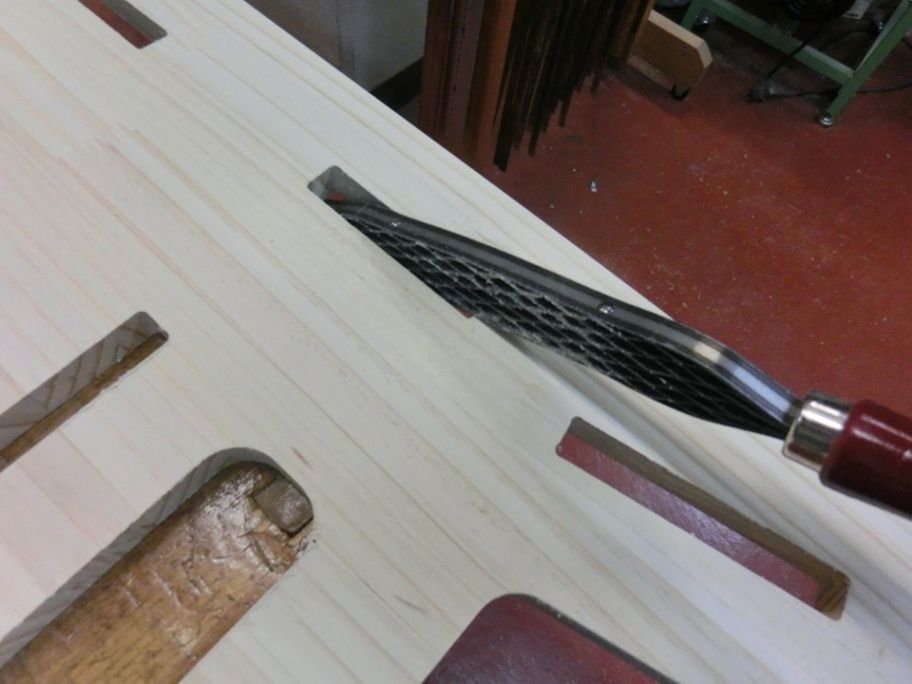
Mach3 and processing started. However, there was a noise and the end mill broke! It was thought that it may be caused by the rotational speed of the end mill being too fast. The number of revolutions was dropped from 24000 rpm to 2000orpm.


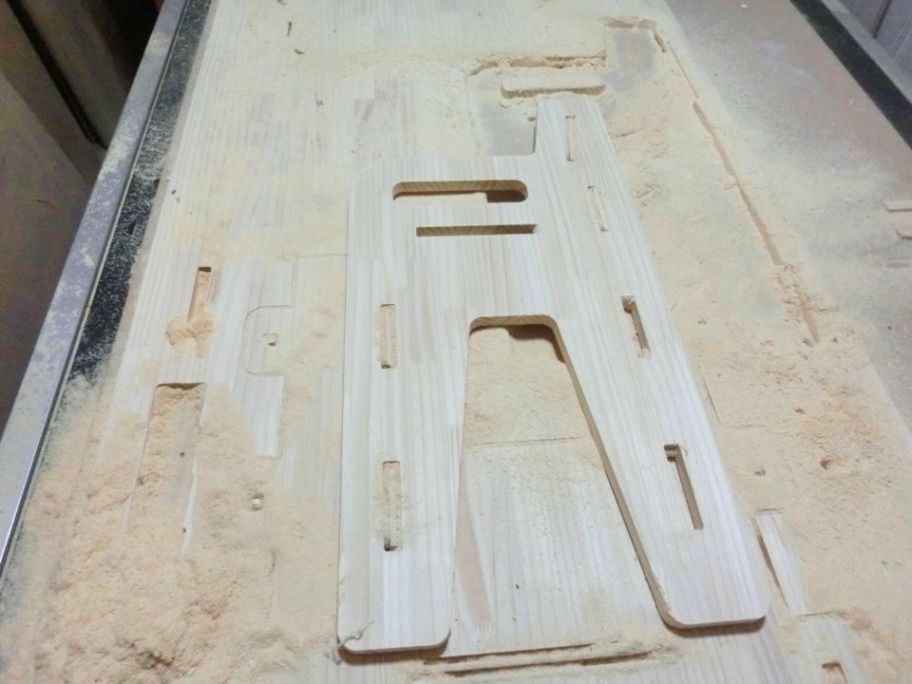
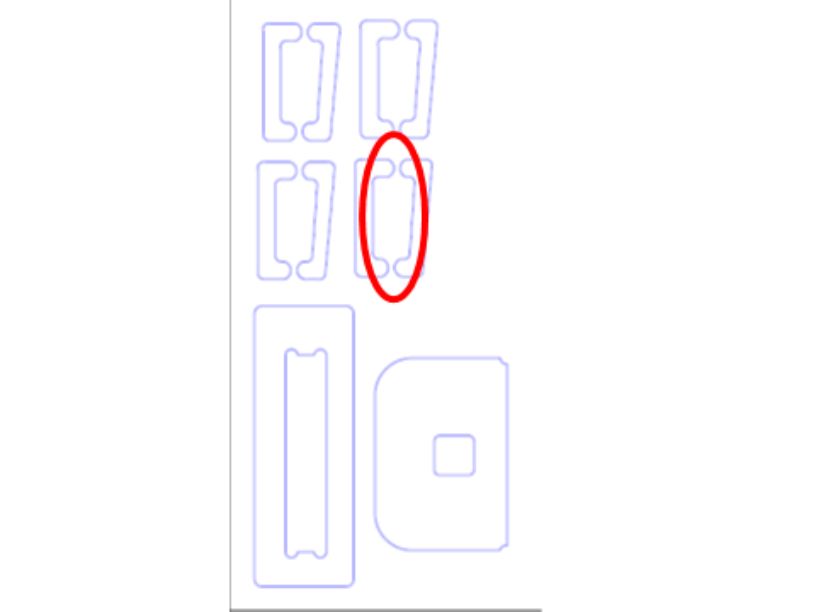
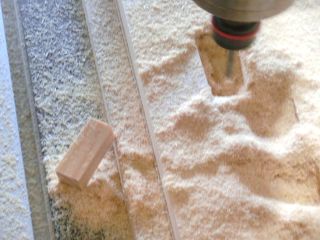
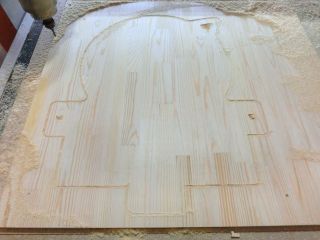
When processing was resumed , wood plate was cut. A problem also occurred here. Part of wedge part is small, so it flew in the middle of processing. It was necessary to keep tabs in order not to fly.
Cutting of the first plate was completed in about an hour.

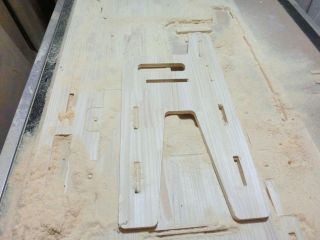
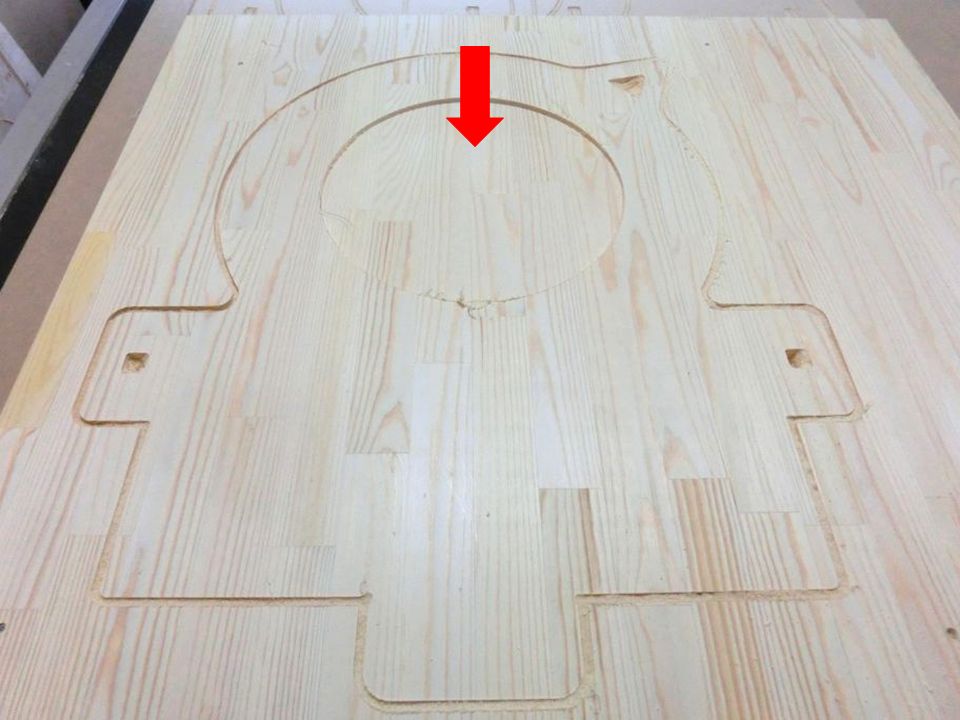
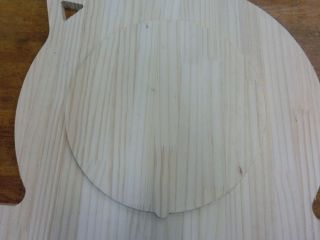
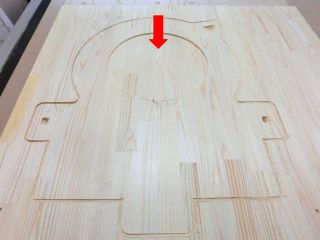
Similarly, the cutting of the second plate ended, but a problem occurred again. The decorative part of the back board was designed to cut to a depth of 5 mm, but it was cut as it was. So I used the remaining boards to cut out the same parts so that they could fit in.

 4. Assembly
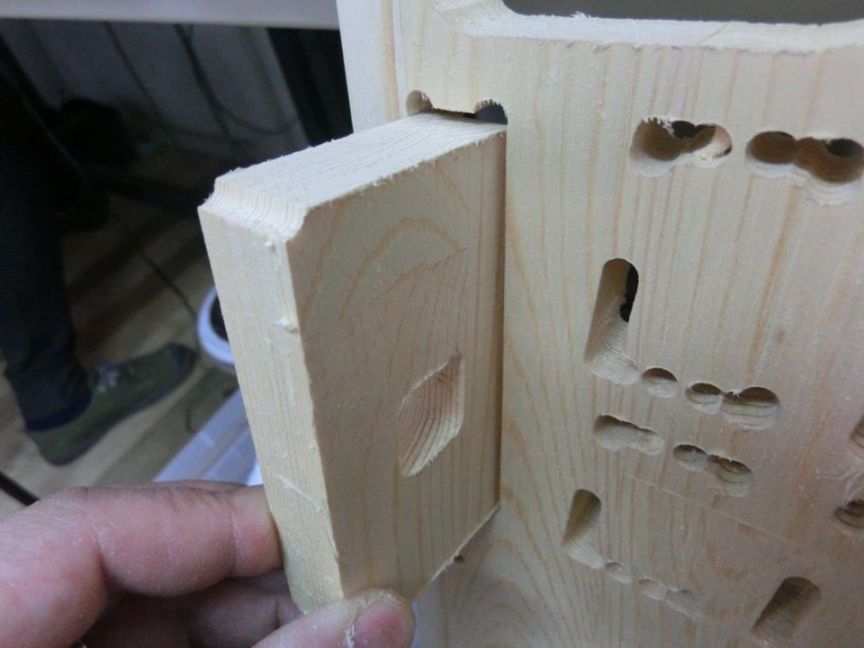
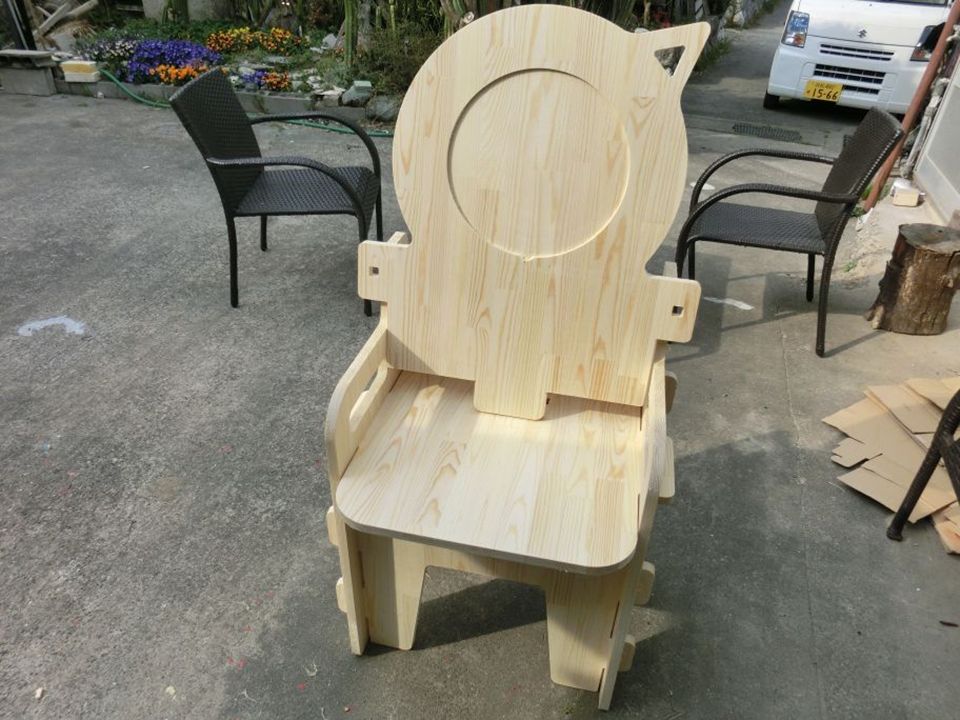
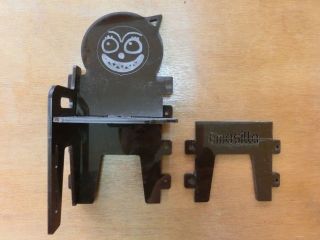
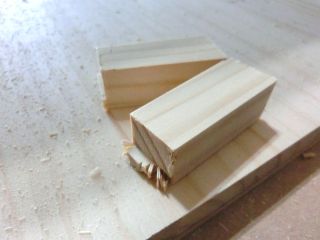
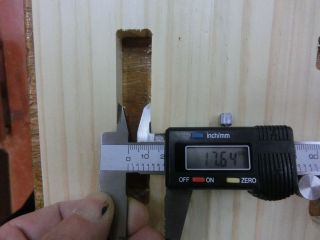
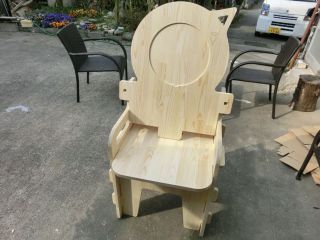
It is a part after processing.
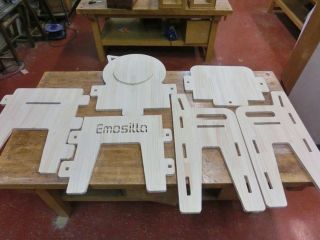
The width of the fit portion was measured to be 17.7 mm, narrower than the design. I rasped a file to adjust it.

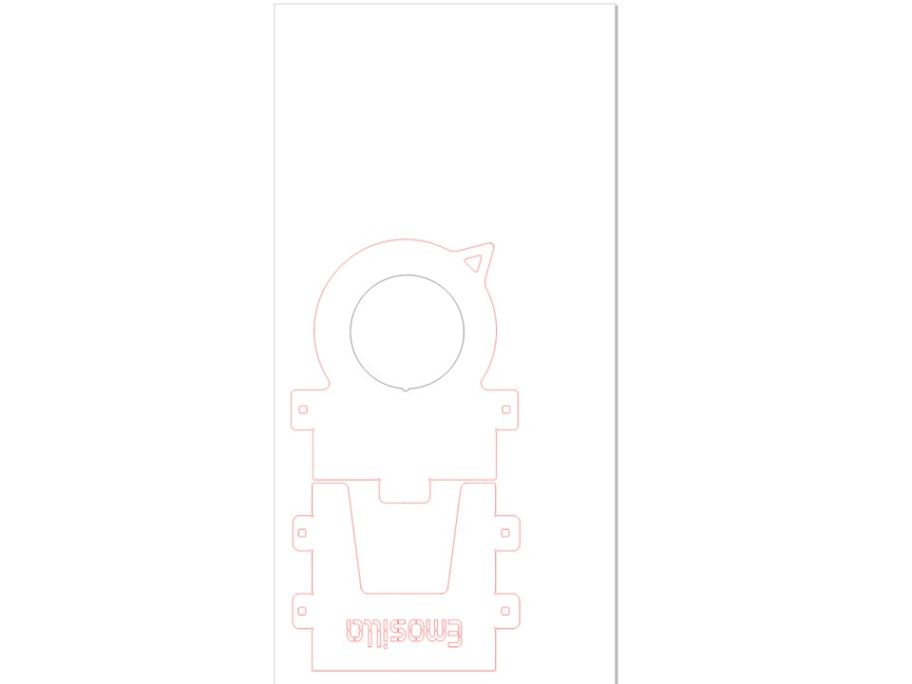
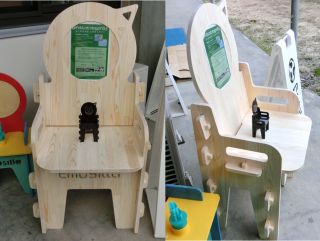
Emosilla font used
Fab font.

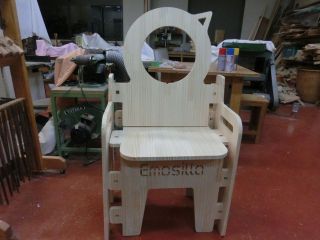
Adjusted the degree of fit and finished like a photo.
 5. Reprocessing
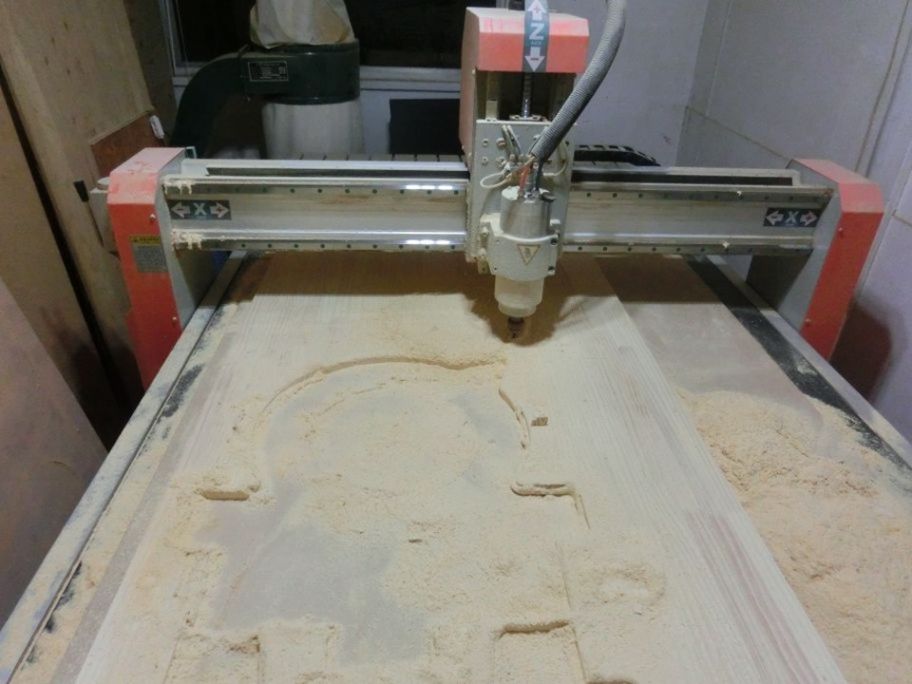
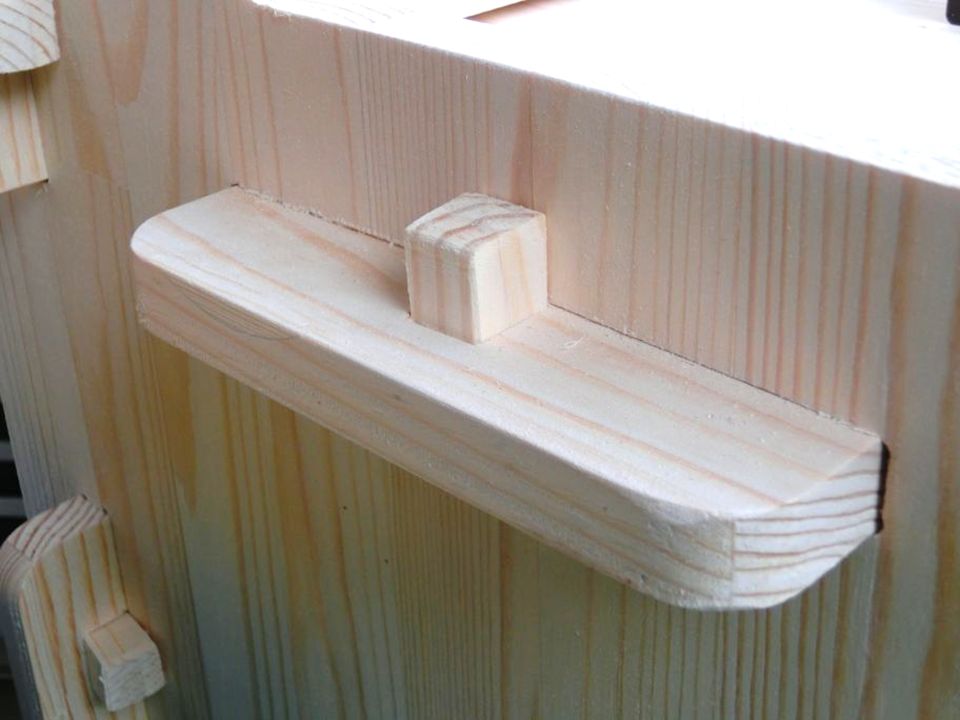
I was not satisfied with the fact that I was mistaking the back plate processing and the assembly precision, so I decided to process again. I designed test parts to test the fit each part. Also, wedge parts are made with tabs so that it does not splash during processing.
After processing the test parts and confirming the fitting accuracy, the data was corrected. I also confirmed the processing of the wedge.

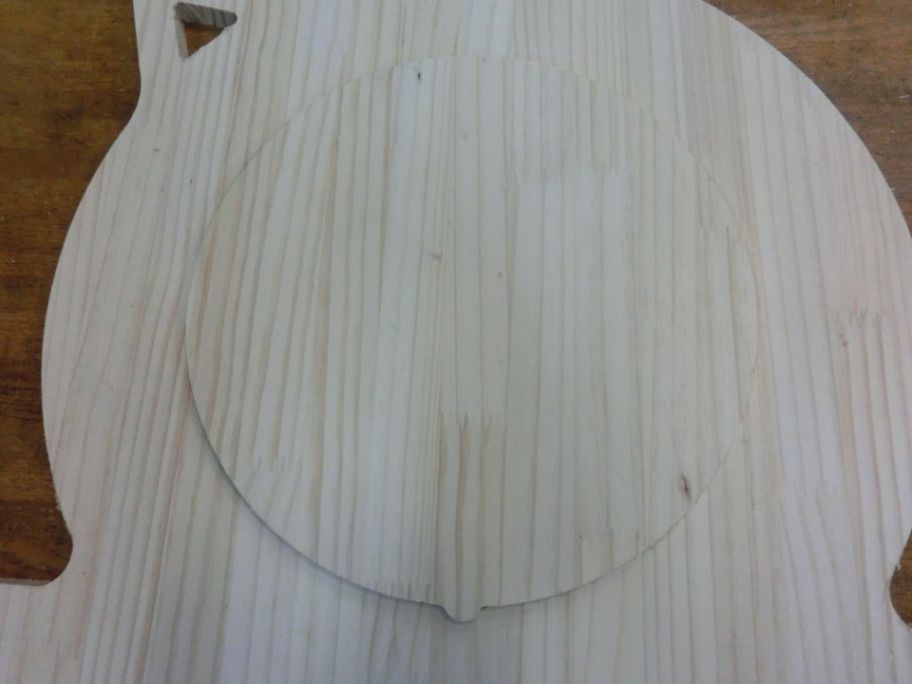
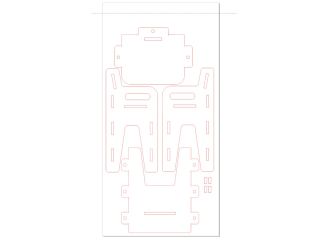
The back plate part was processed separately for the outer periphery and the fitting part. Parts processing is completed.

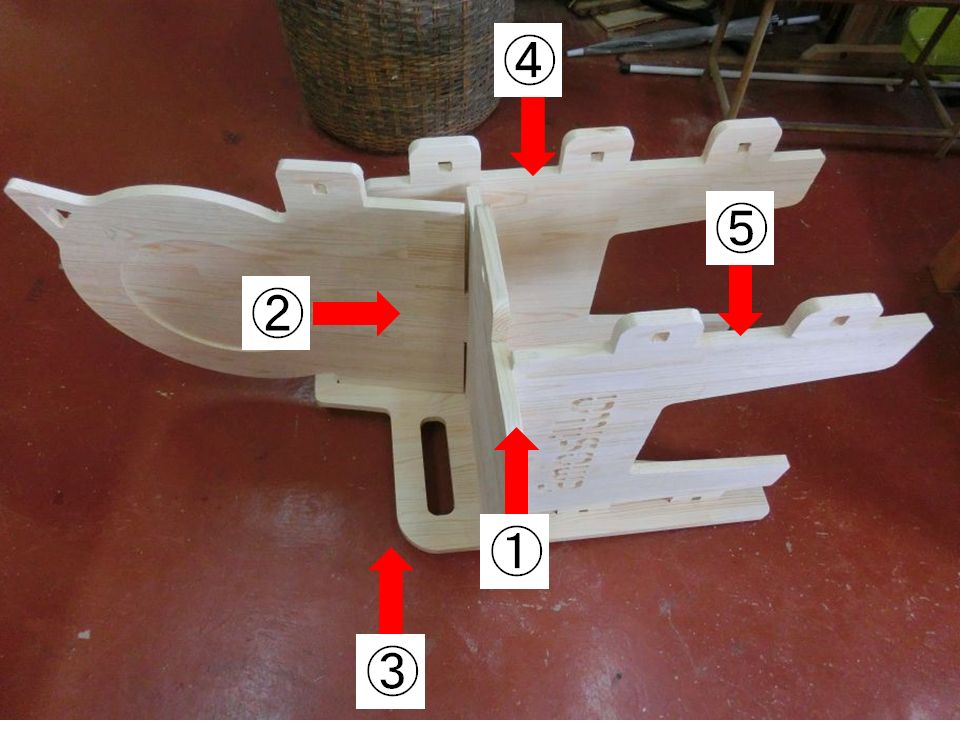
The parts were assembled in the order shown. Each part was joined with a wedge.


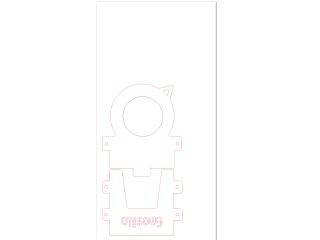
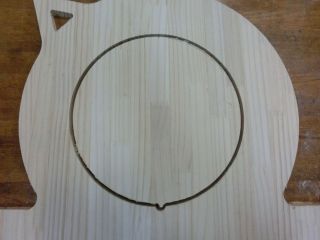
In the back plate part, it was made so that the photograph could be put in the acrylic board.
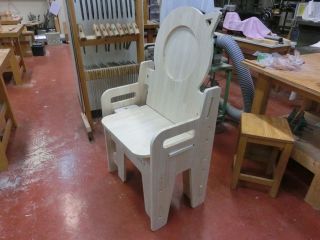
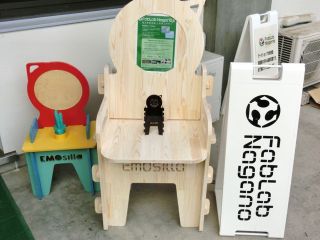
This is finished emosilla.
 Archive
-
Emosilla adult for Laser (cdr,CorelDRAW X8)
-
Emosilla adult for CNC (cdr,CorelDRAW X8)
-
Emosilla adult for CNC (AI,Illustrator)
-
G cord of Emosilla (Cut2D)
This week's assignment is over.