#14. Composites
Design and carving
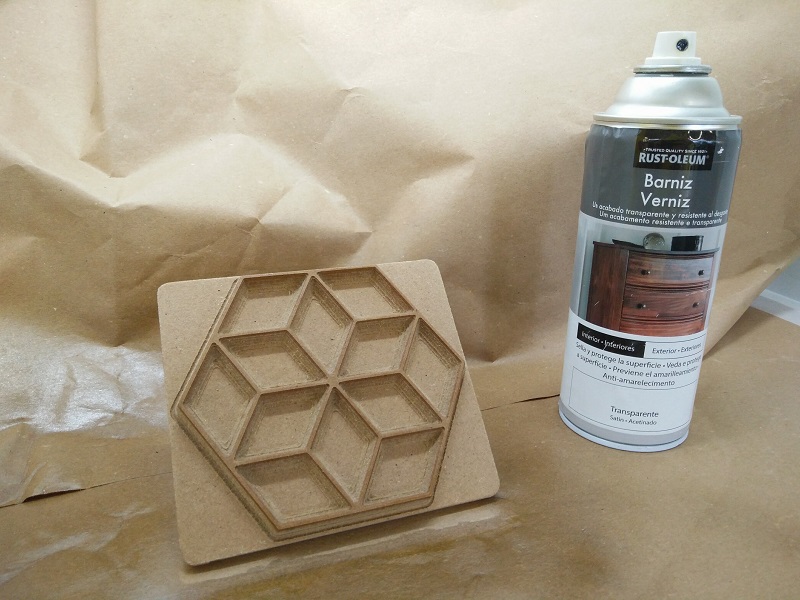
This week i thought i might would make some sort of bolts&nuts holder, i usually use lids and similar container to store this parts while i'm building something so i thought i should make a more proper place to put them. So, came up with a design i was pleased with, made it on AutoCAD where i exported as .stl, imported it into MeshCAM, exported the .gcode, imported it into Easel and carved it.
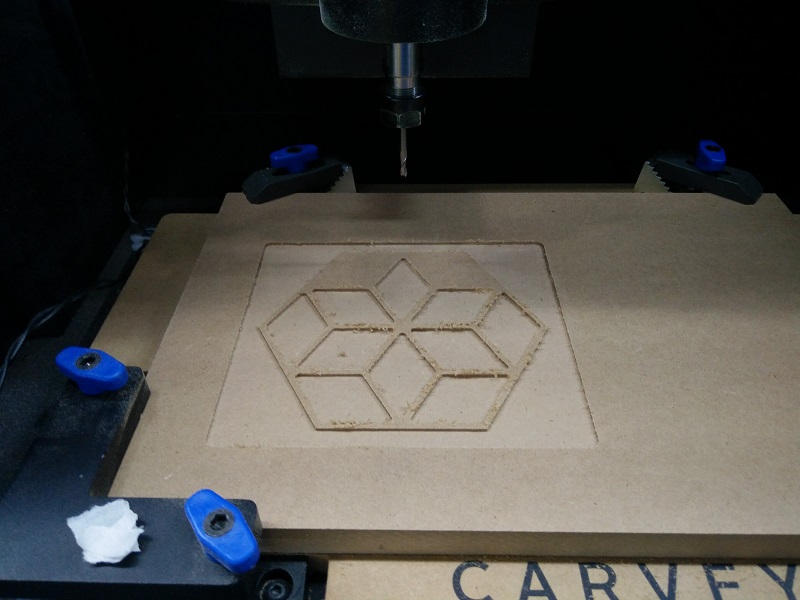
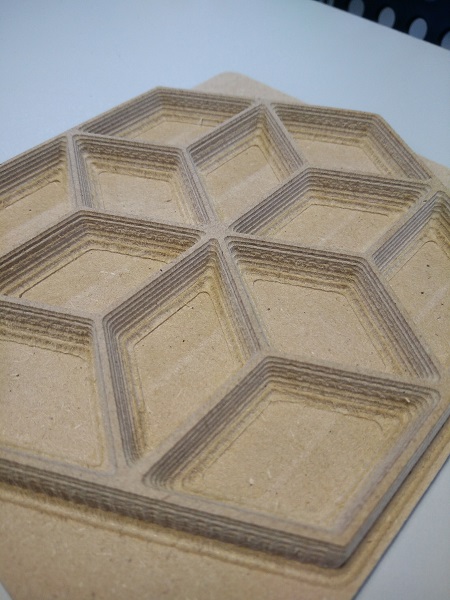
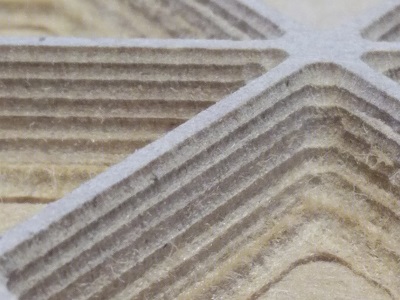
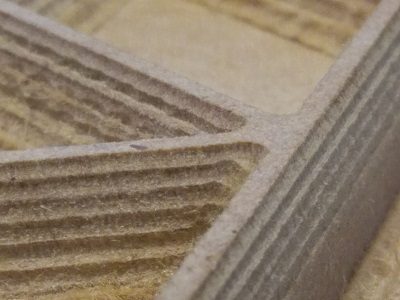
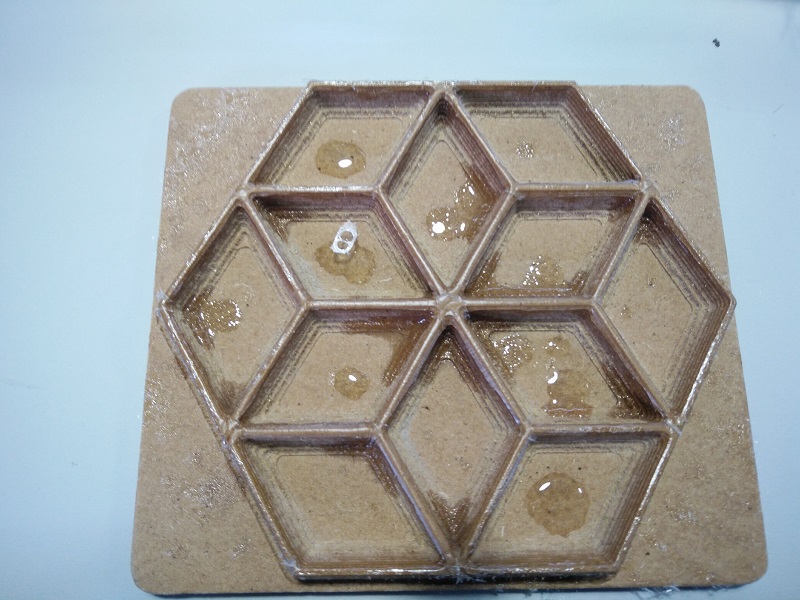
Below you can see the setup i used, a simple 16mm MDF board and a 3mm tool. Then the carved it and below you can see a couple of images of the details off how the part came out. Afterwards i started to apply some clear varnish to cover all the holes and unwanted imperfections. Unfortunately haven't had the time to finish the process but i'm thinking about using cotton rags or so but still have to find them.
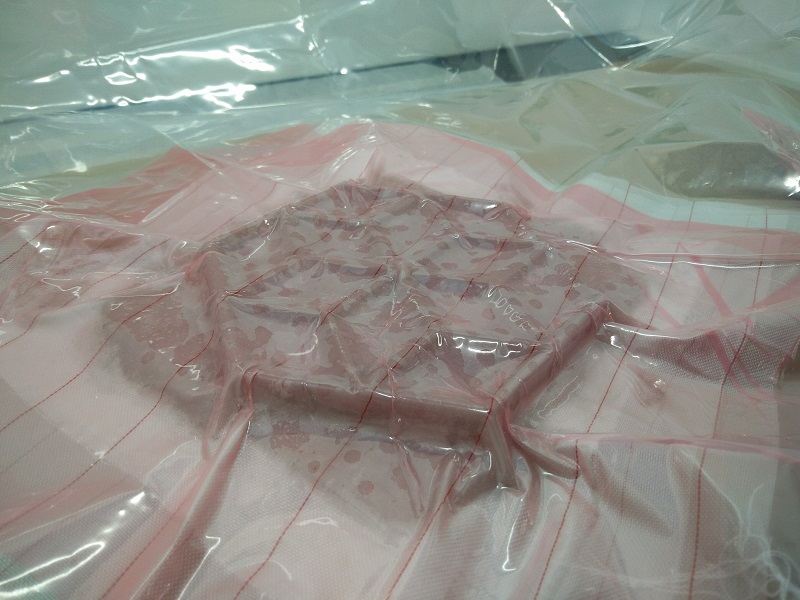
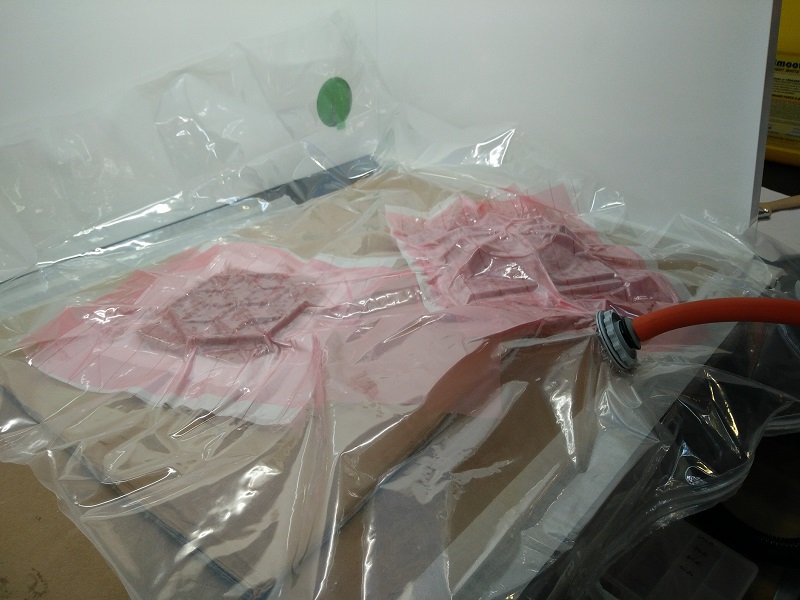
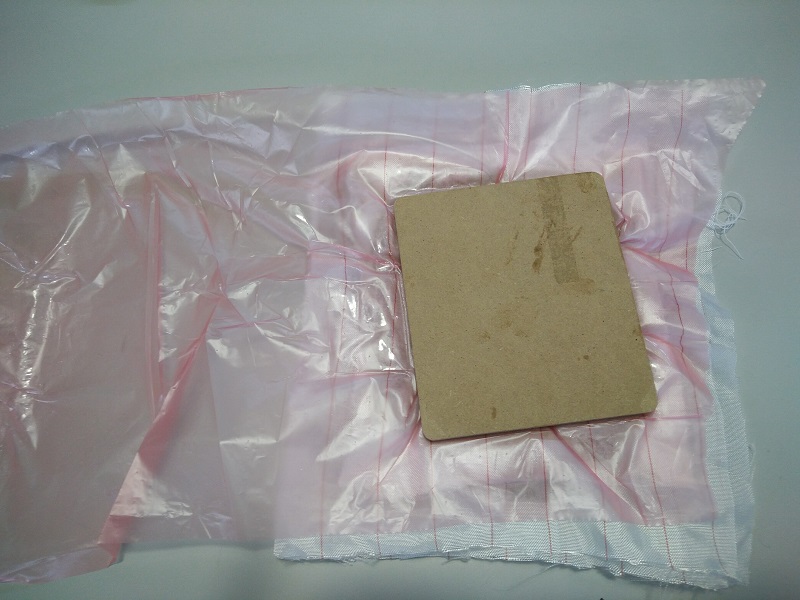
After some search i found what seem good enough for this week project, so to start i applyed a coat of release agent and waited for 5 minutes, after this part i went and begun applying the layers, first the release film, second peel ply and then the layers. Went for 3 layers of fabric, didn't needed to be stronger than that, so on top of the peel ply i put on rag, then the resin (100 to 47 racio in weight), another piece of rag, a bit more resin and lastly another rag. Used a brush between the layers and in the final so try to get the resin as even as possible and to get it all trough the layers. Then finish the "sandwich" with a peel ply the another release film on top and put it all inside the vaccuum bag.
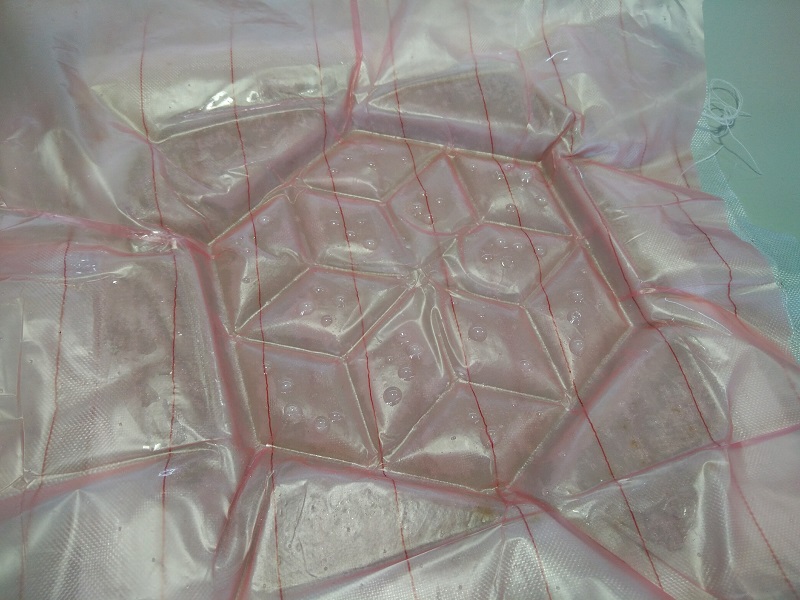
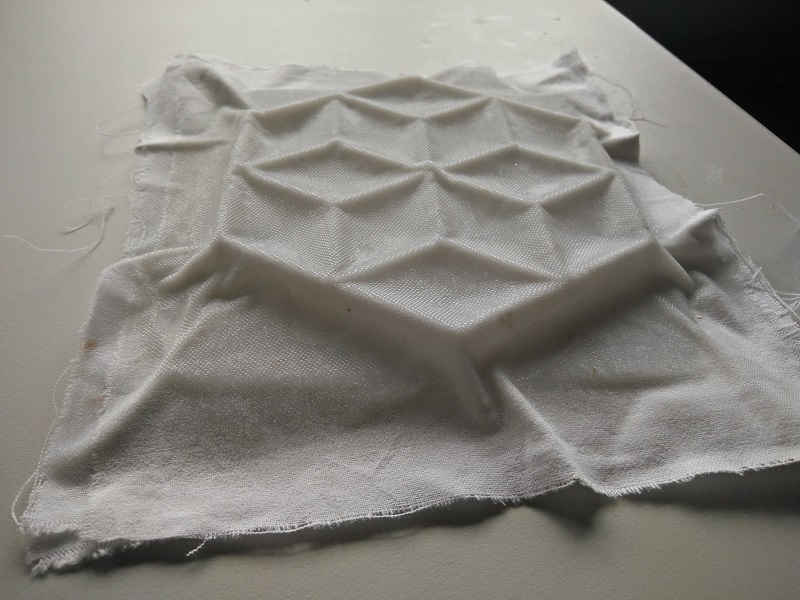
The next day went and remove the piece from inside the bag and started peeling of the layers.
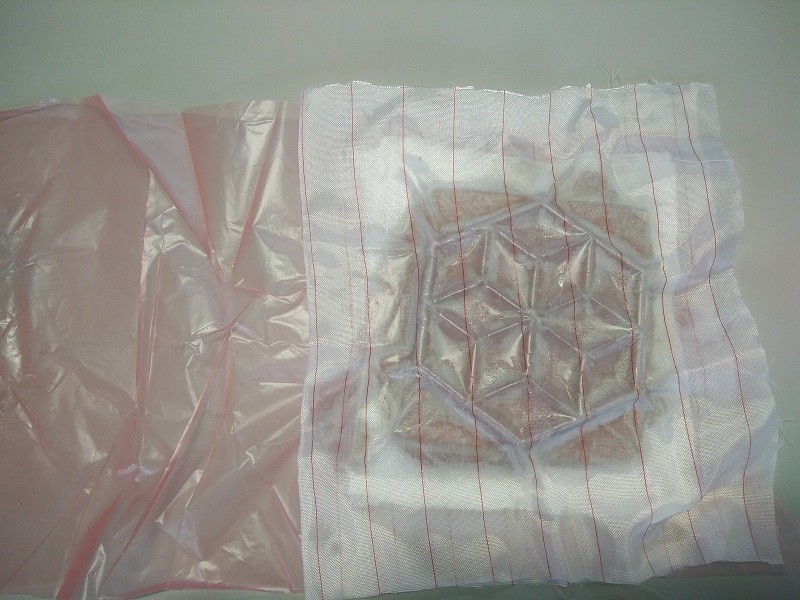
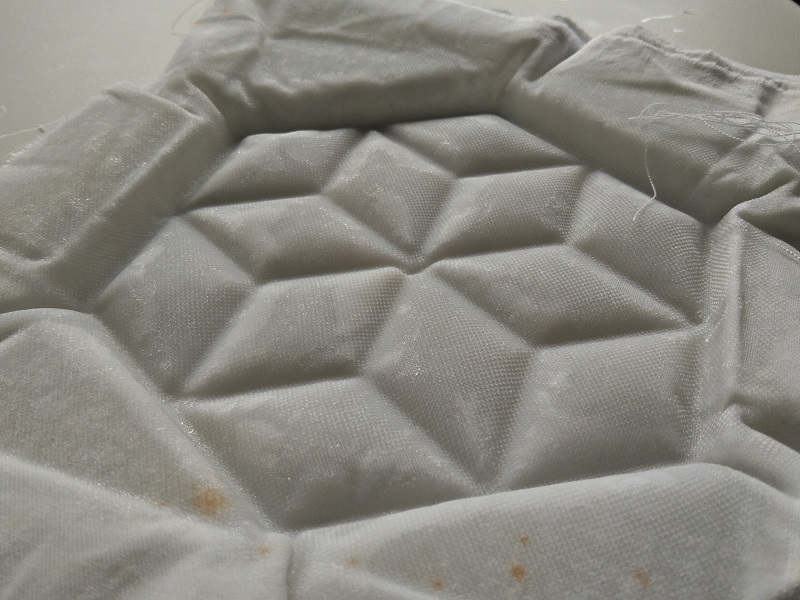
Removed the mold from the back and this is how it looked:
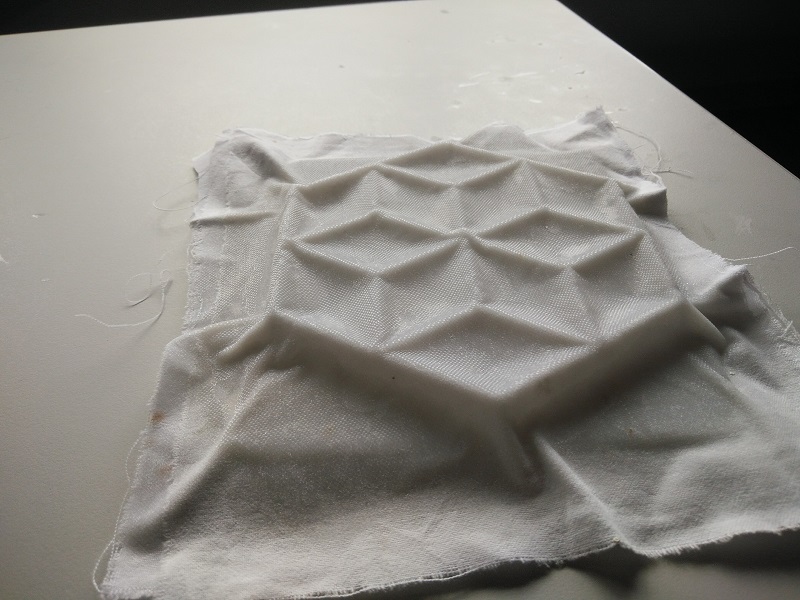
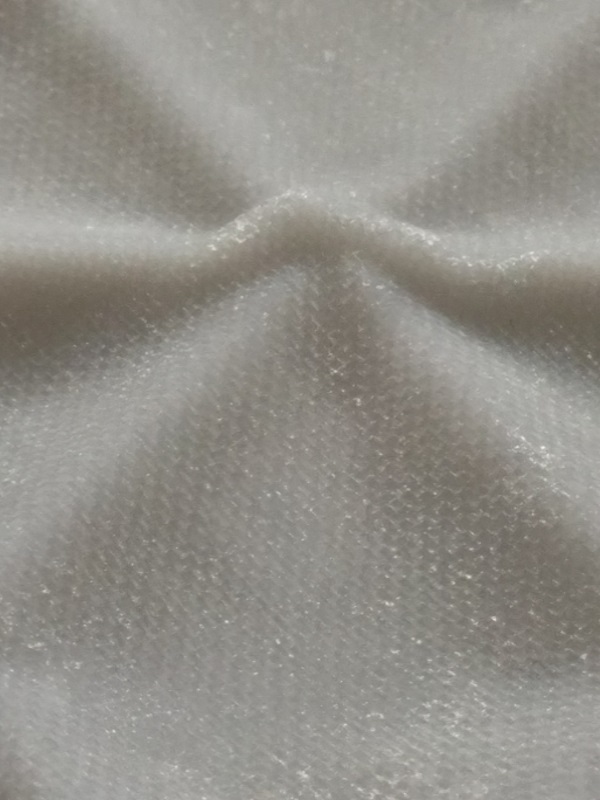
And after removing all the layers, the end result was the following, not as deep holes as i'd liked the still a nice result.
Files to download: