Assignment 2
Computer - Aided Design
Have you:
Modelled your proposed final project in 2D and 3D software
Shown how you did it with words/images/screenshots
Included your design files
2D DESIGN
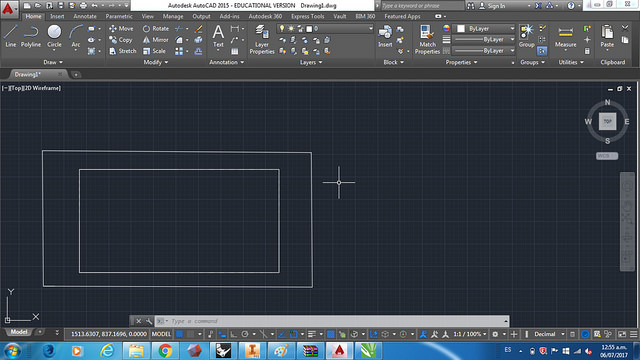
AUTOCAD 2D 2016 : To start designing, we tested a design software that looks more like the Inventor but in 2D, the Autocad 2016.
We start by creating some lines to make the top view of the machine that we will try to manufacture for the final project. The line command is the same as in Inventor but it is very difficult to draw the line since the pointer and the drawing plane have many configurations (straight lines, angles, centers, etc). For the first time the program is very difficult.
We tried to make a circle with prefits to build the container of ingredients but it was very difficult and did not give you the ease of the Inventor, perhaps because I am not used to using it.
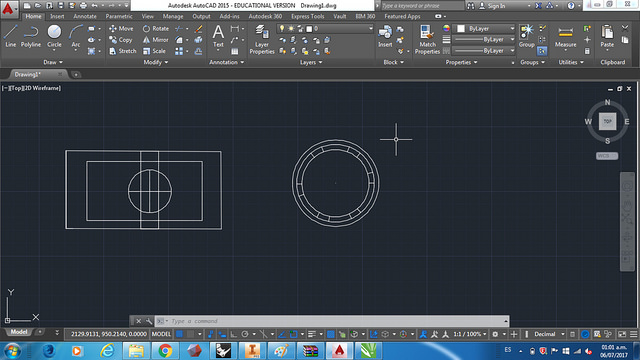
Finally, I conclude that it is a program of greater utility for drawings of constructions or drawings than to create pieces with digital manufacture.

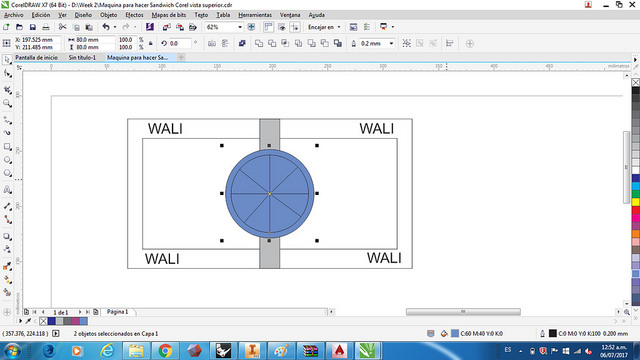
COREL DRAW X7 : Then, since several of the machines use CDR and PNG format, we try to use Corel Draw. When starting, the program is very friendly allows us to create a work plan with the measures that we put, which in Inventor and Autocad takes time.
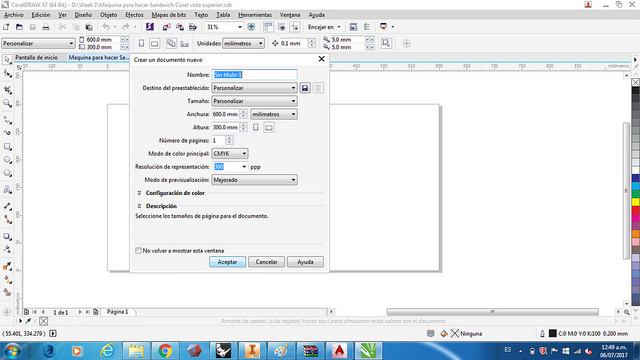
It is interesting because if we create a figure it is very easy to change the size and always remains centered with respect to other figures.
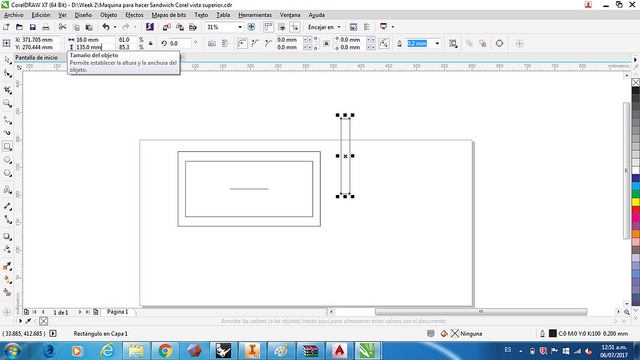
Also, what I can highlight of Corel is that it allows you to couple drawings on top of each other perfectly because the origin centers are easily recognizable, it also allows you to put a different color to each line and add text.
3D DESIGN
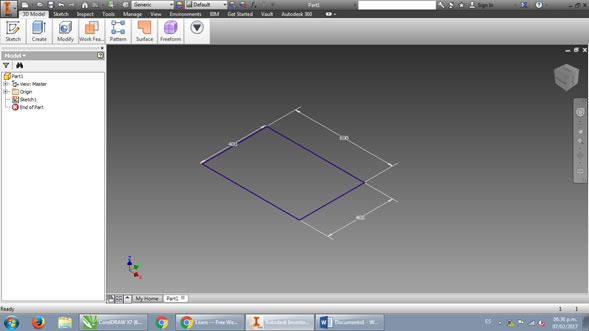
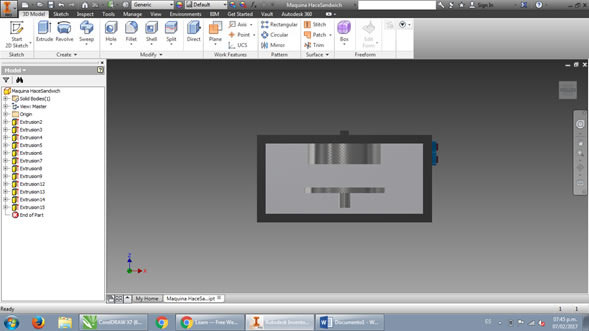
INVENTOR AUTODESK 2016 : For this task, first, start using "Autodesk Inventor", this program allows you to model in 3D parts and then assemble them and have the respective plans. To begin, we create a plane in 2D (be in the xy axis, yz or xz), and we draw with the commands "line", "trim", "circle", among others; The base of the figure.
Then we use the "extrude" command to raise the surface.
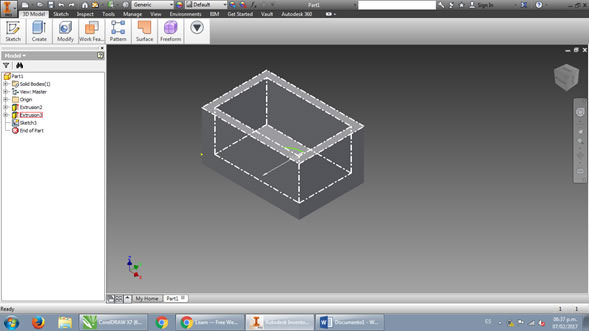
After that, we work on each side of the solid as if it were a plane, using "Create Skectch" and "extrude" to give the required shape to the solid.
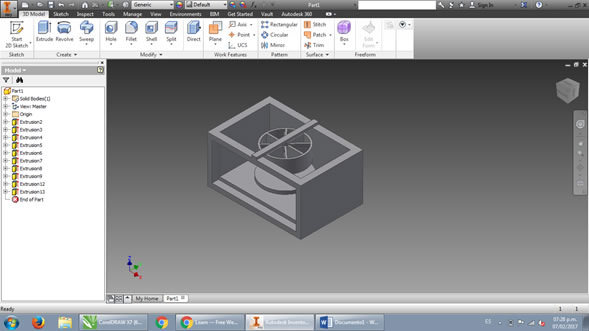
Finally to give the details to the machine we can use the command "fillet" for the corners and the "appearance" command to differentiate the textures.

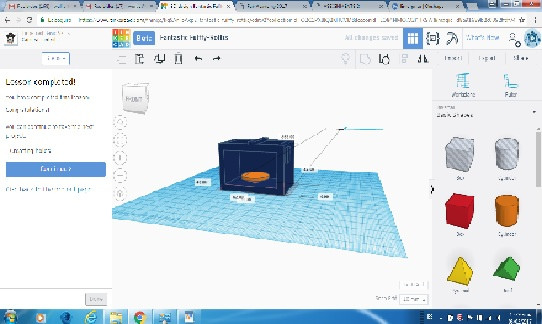
THINKERCAD WEB ONLINE : Then, probe the Tinkercad, it is not necessary to download the program because it is online. To design here, first, I chose a basic figure in "Basic Shapes", chose "box" and edit the measurements according to my design.
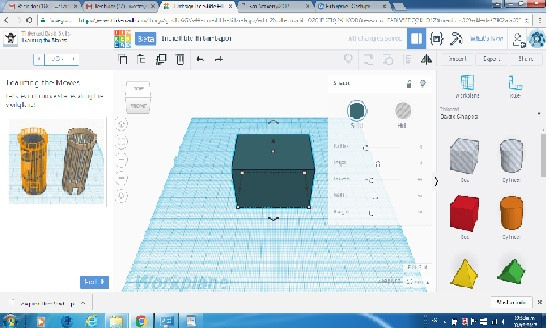
The advantage of this program is that it allows you to mold the solid by adding other figures on top of it, either solid or hole, with the commands "group" and "ungroup".
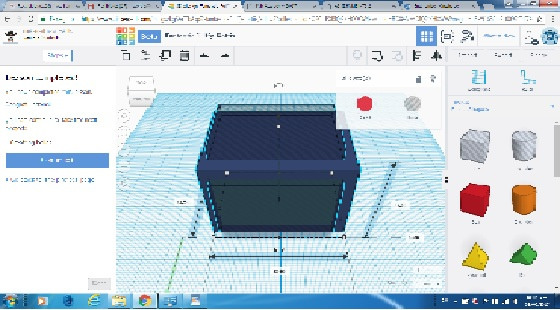
Finally, you can build the same design by adding the shapes to the solid one by one, however, it is not easy to locate one of the other since there is a tool that allows you to verify the measurement from one point to another, and the tool "ruler "It does not help much.