Assignments 6
Electronics design
Well, I decided to make my "echo hello-world board" plate.
First, download the EAGLE Program, which allows you to design plates with their components and make paths.
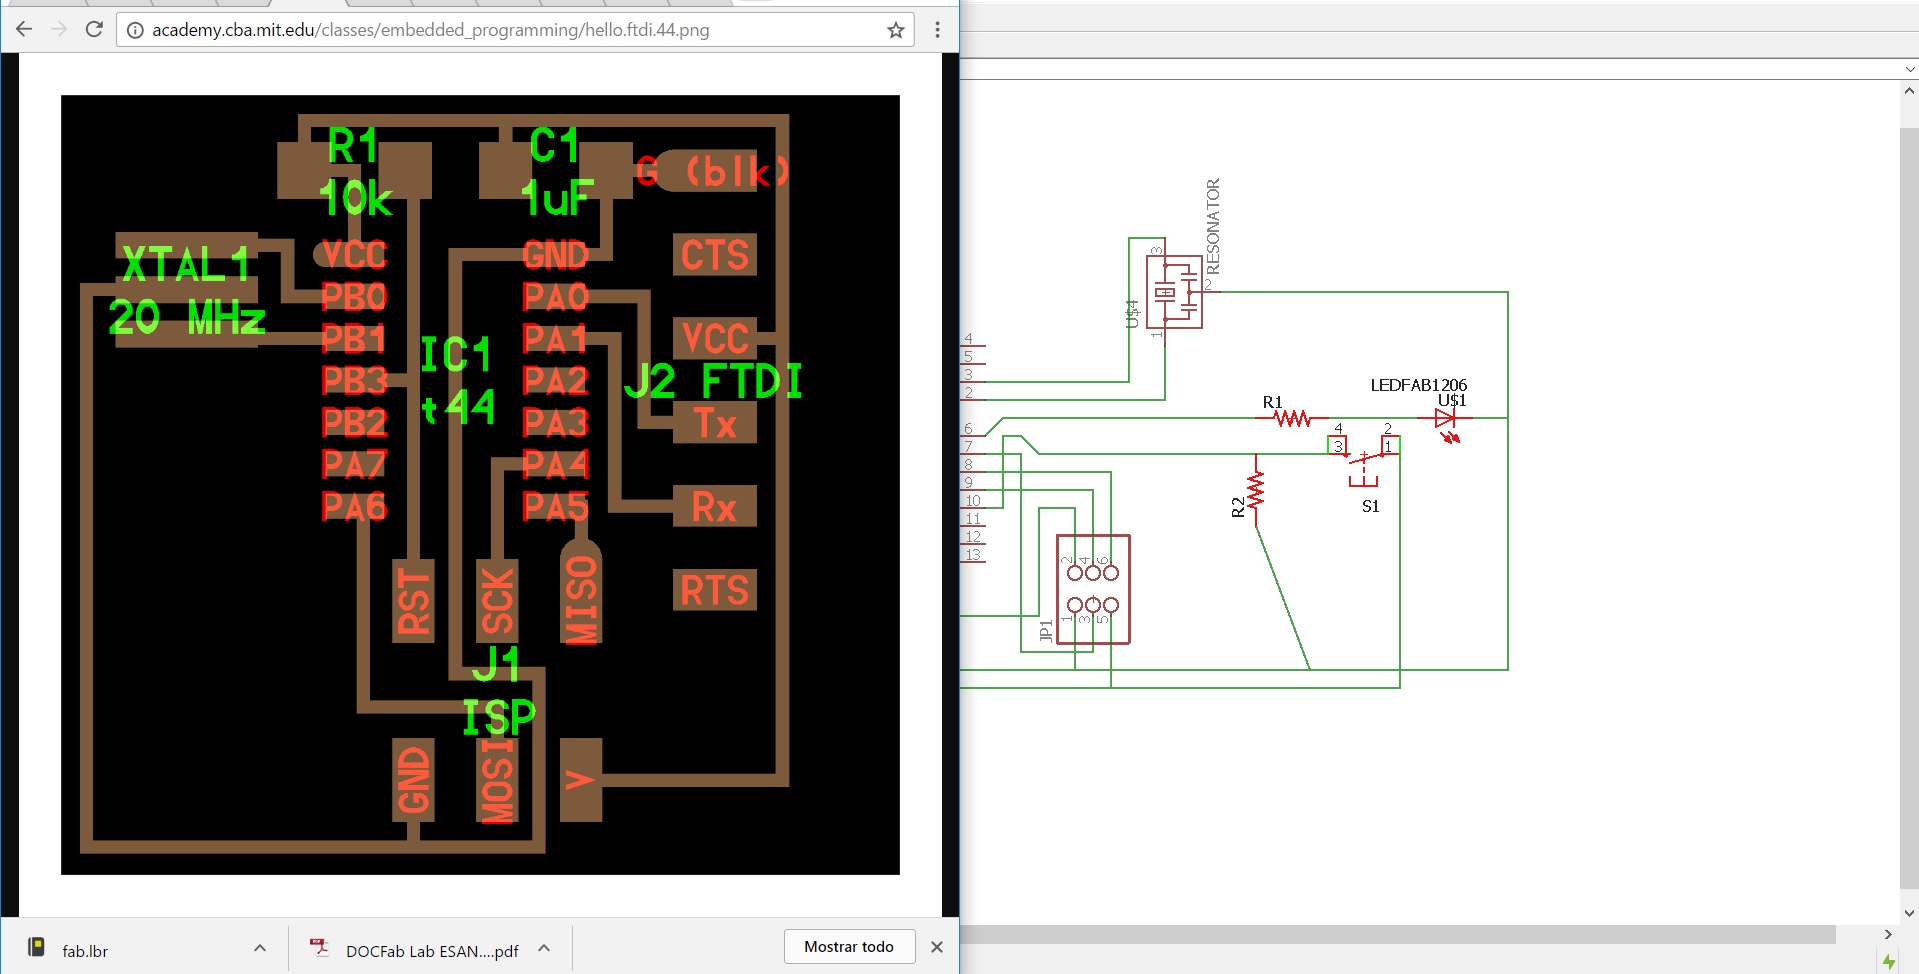
Then, download the FABACADEMY website to find the necessary components on the board.
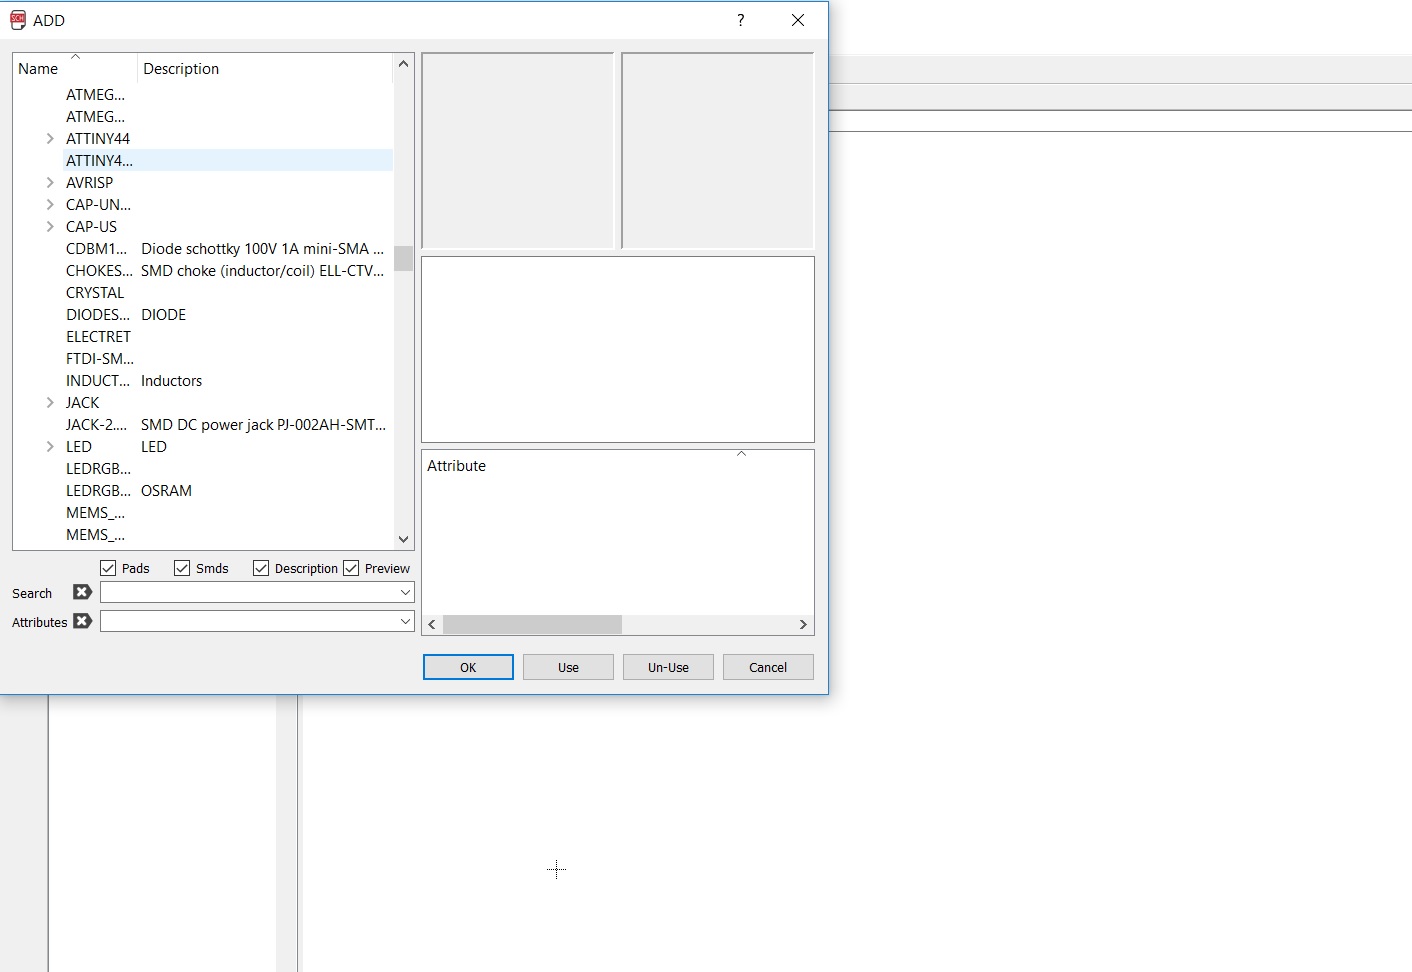
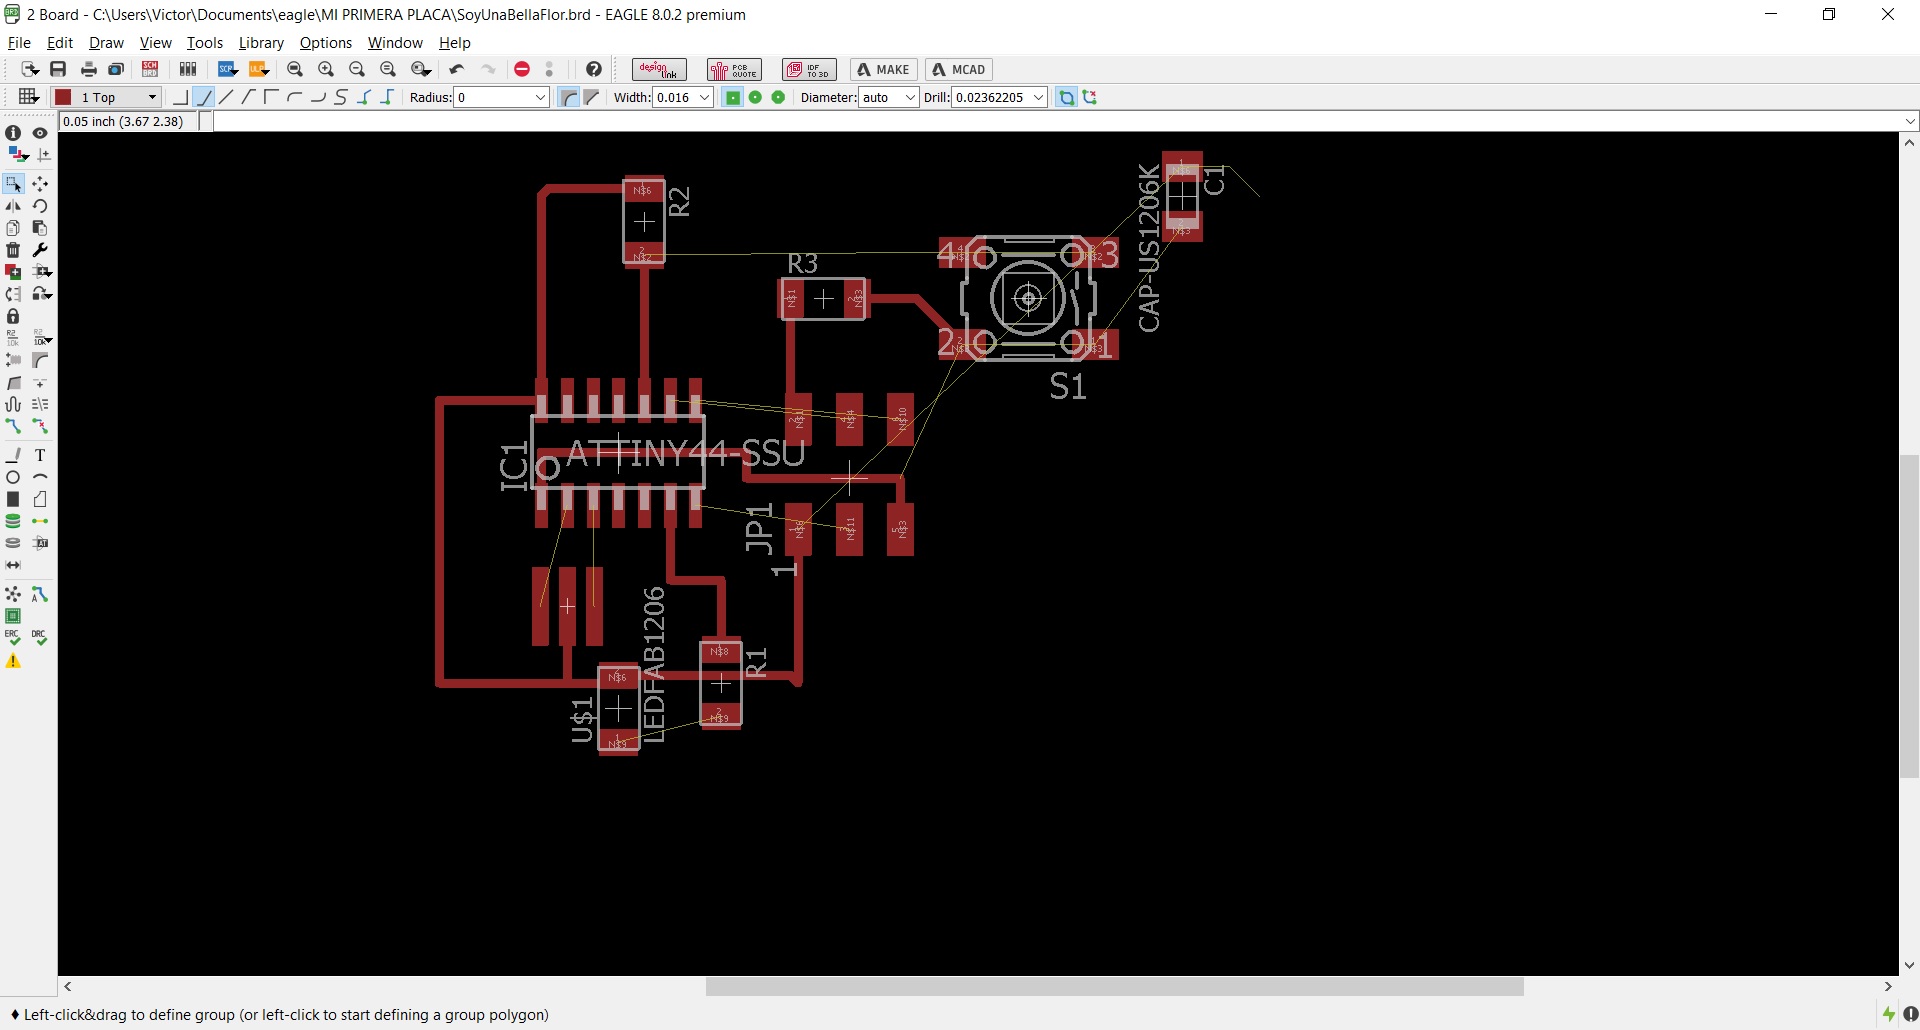
And, I was extracting from the repository every necessary component, and added a led plus a button.
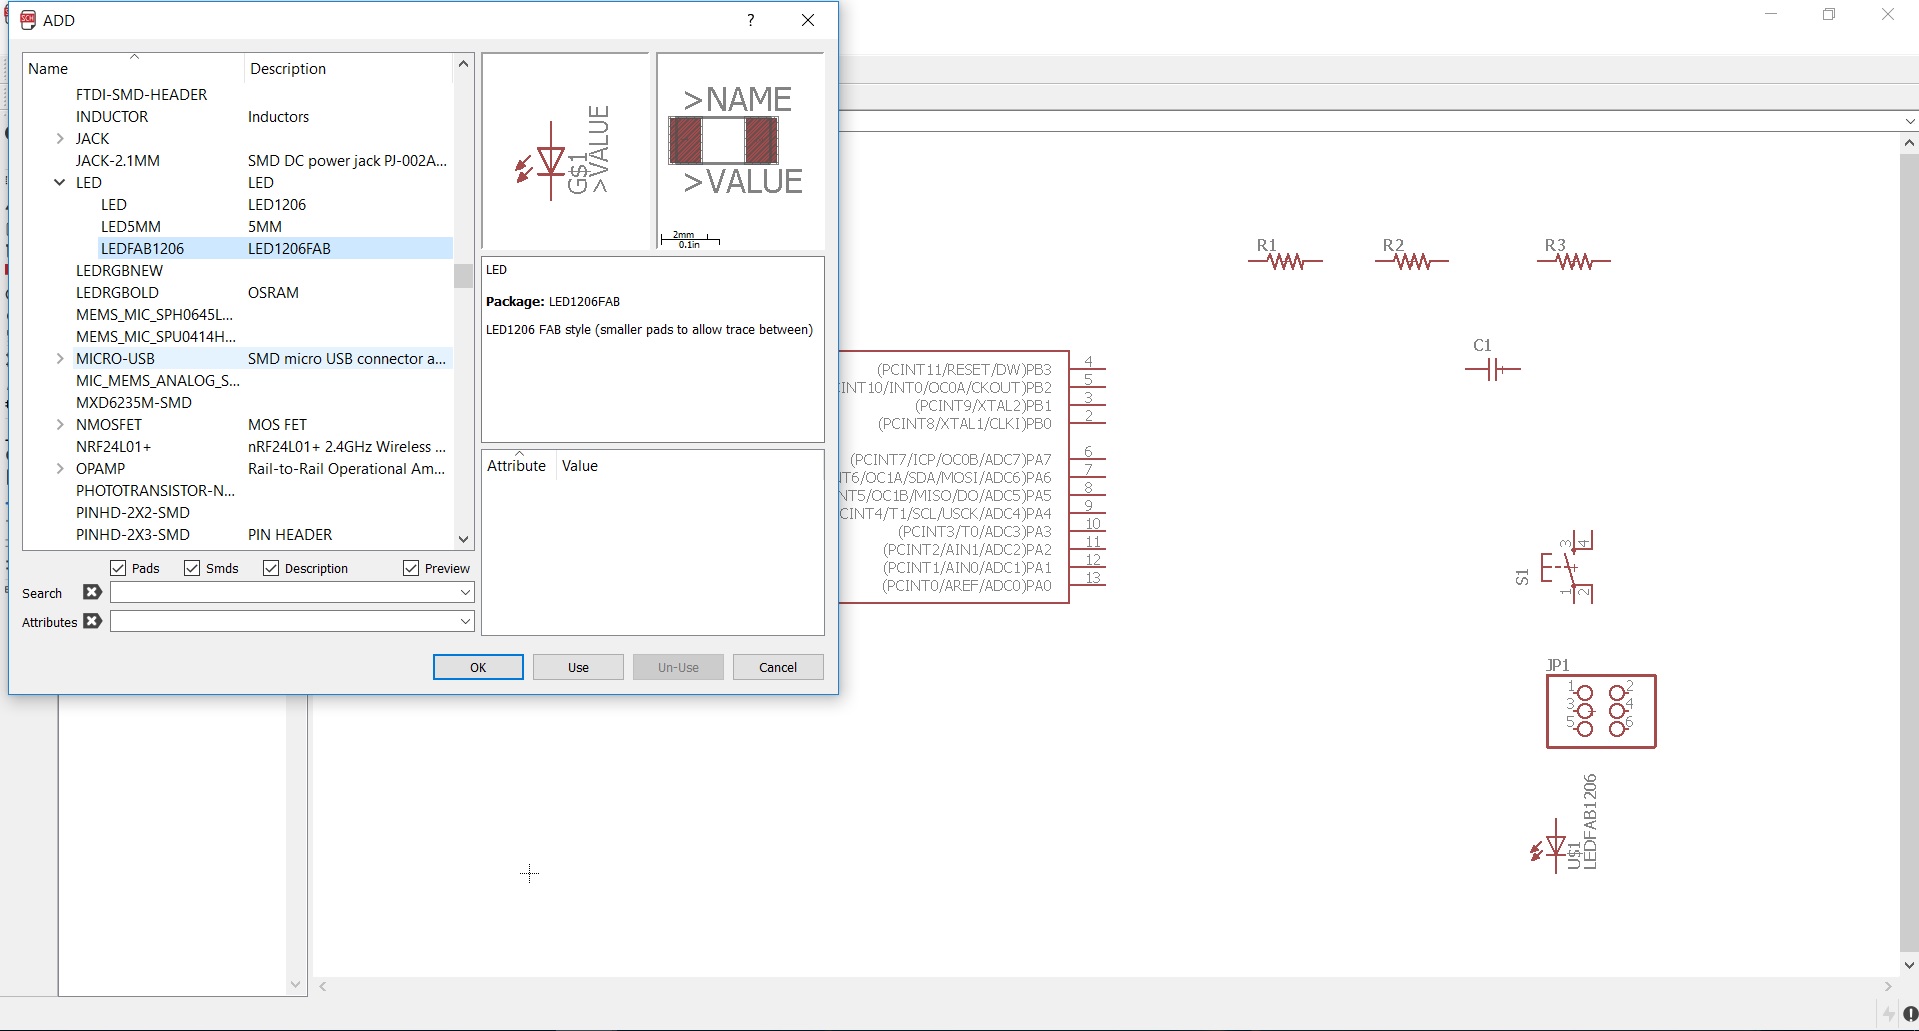
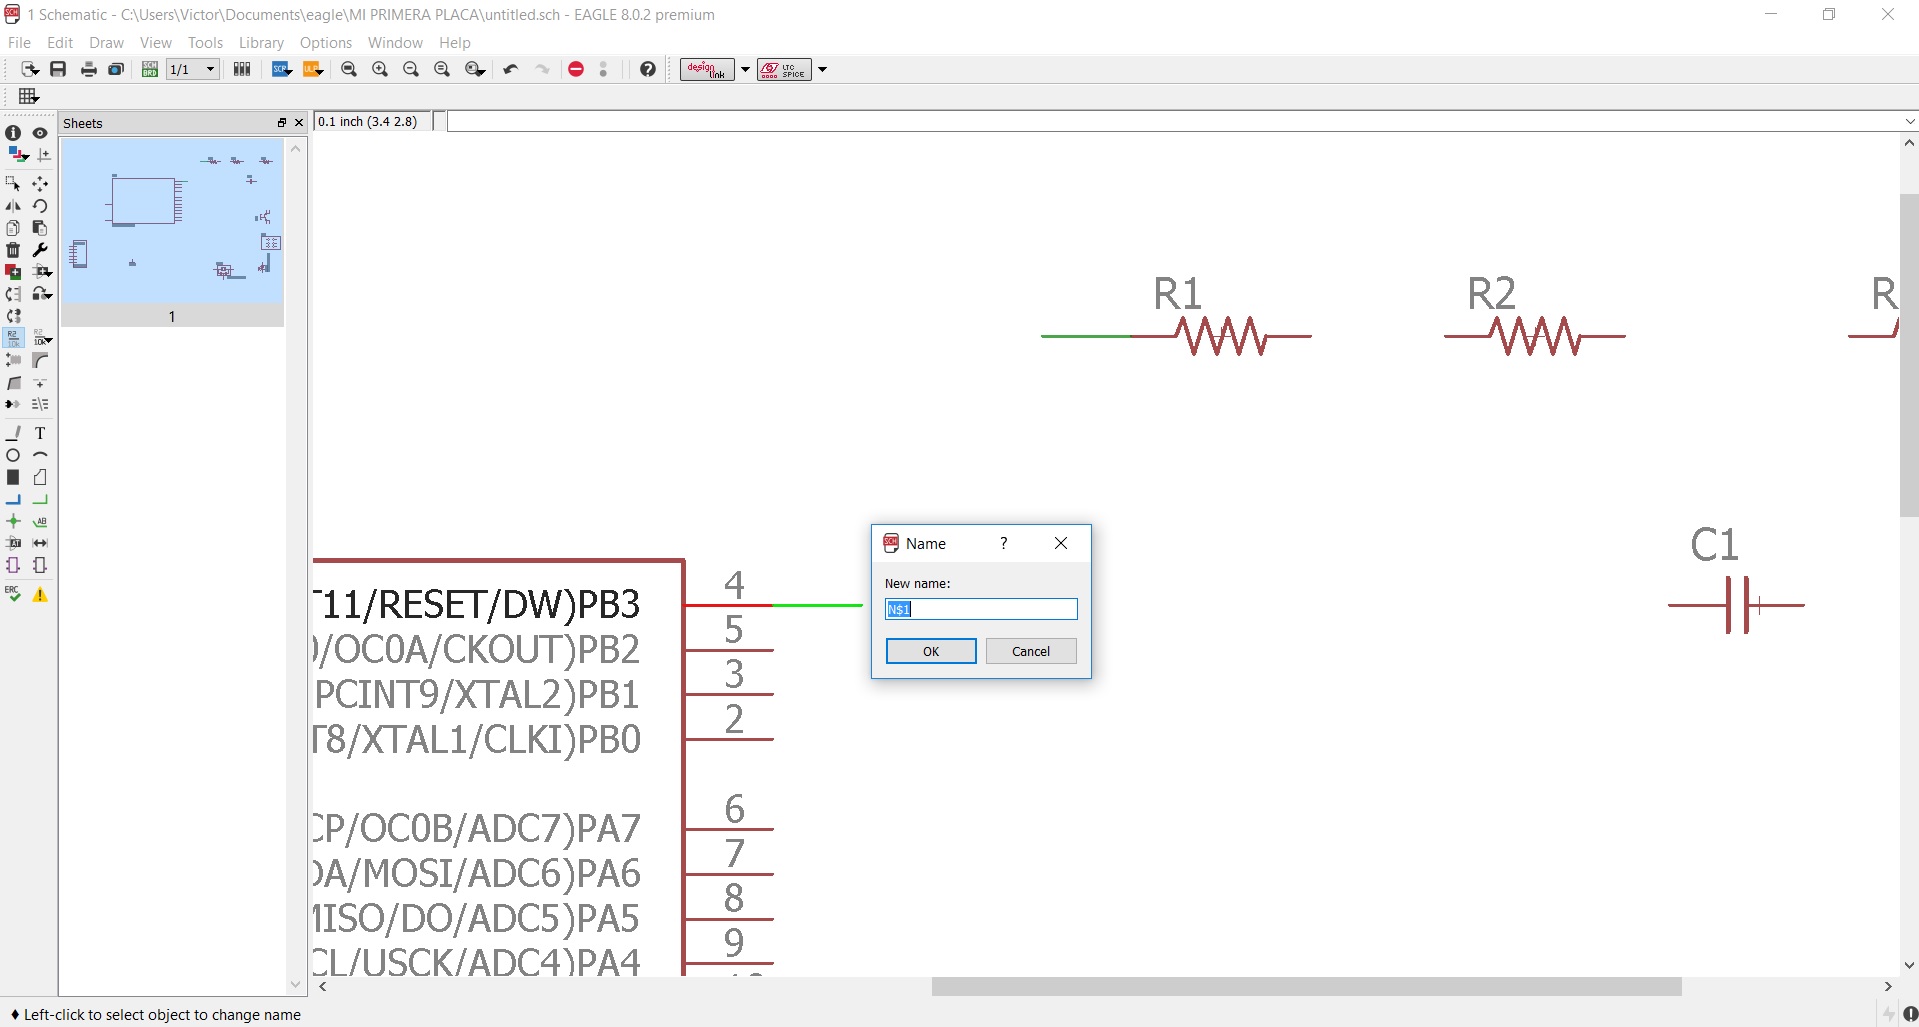
Then, begin to link each component with the ATTINY according to the digital terminal.

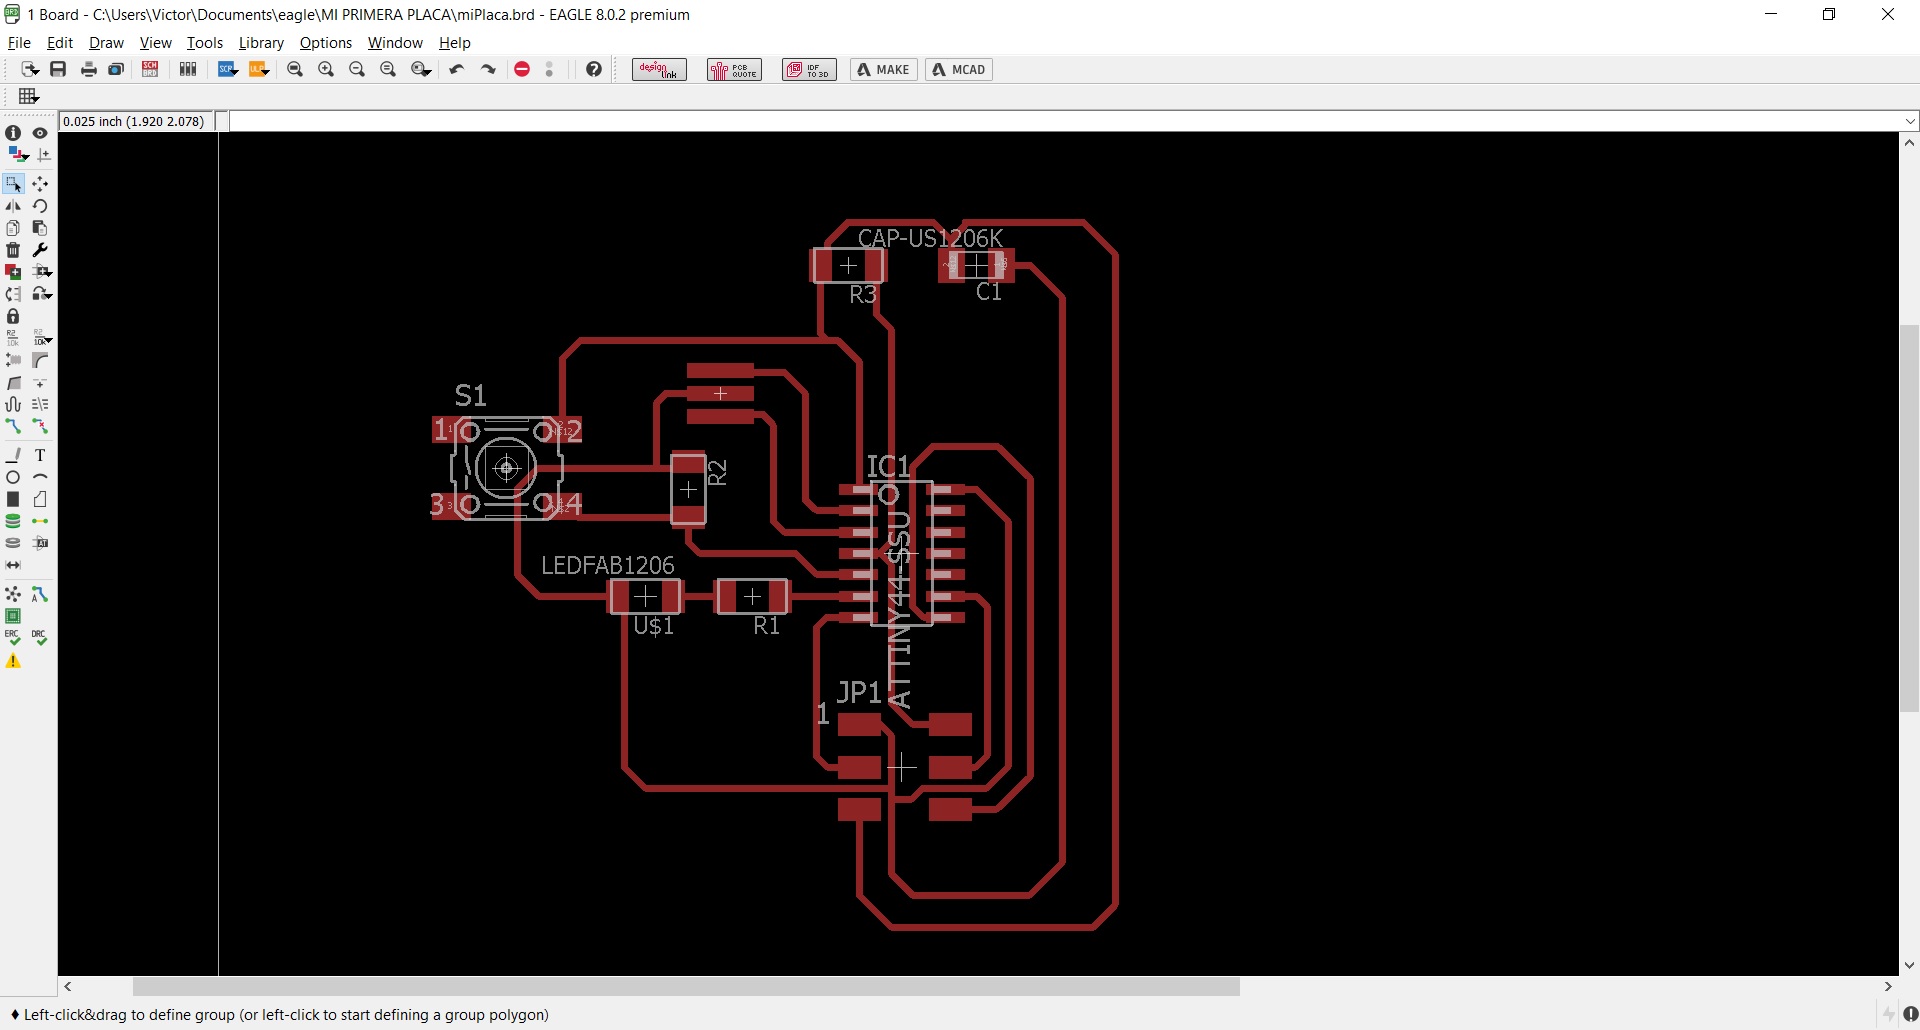
Then design the tracks and locate the components, according to the skecth downloaded from the FABACADEMY schedule, and added the necessary components for the LED.
So, the board that is shown is of a reference design of a controller of the schedule, to this design will be modified so that it involves in its design an led SMD.
Click here for download the files to BOARD
![]()
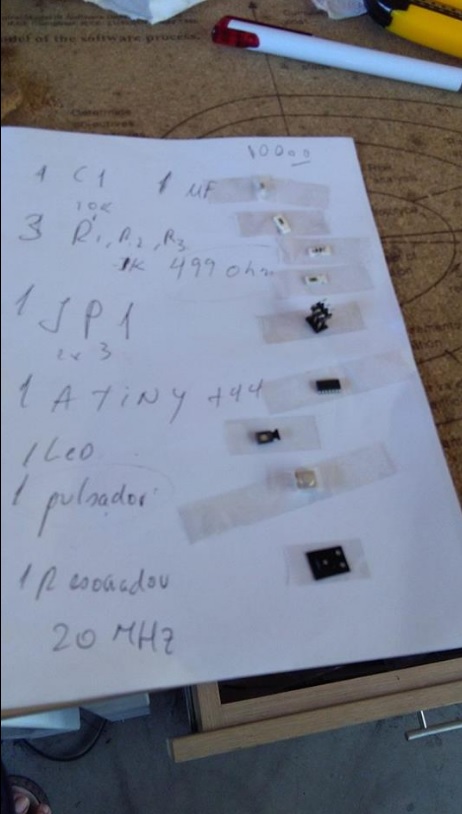
I use the following components:
-1 ATTINY 44A
-1 CAP 1 uF
-1 RES 1.0 K
-1 RES 10K
-1 RES 499 Ohm
-1 PIN HEADER 2X3
-1 SWTICH TACTILE
-1 LED SMD
-1 RESONATOR 20MHZ
And this is the board and schematic.
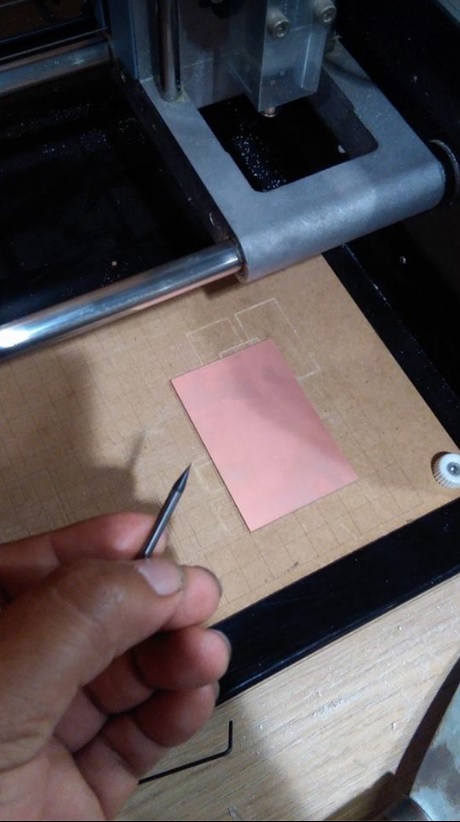
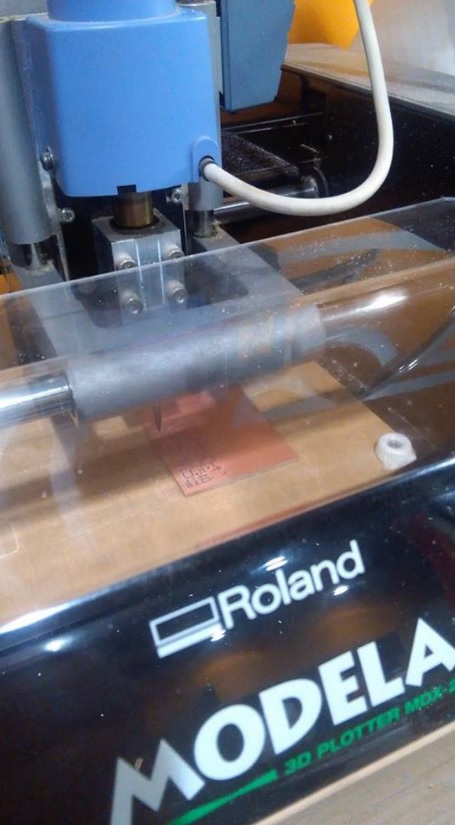
Then, I export the board to PNG format and MONOCHROME view.
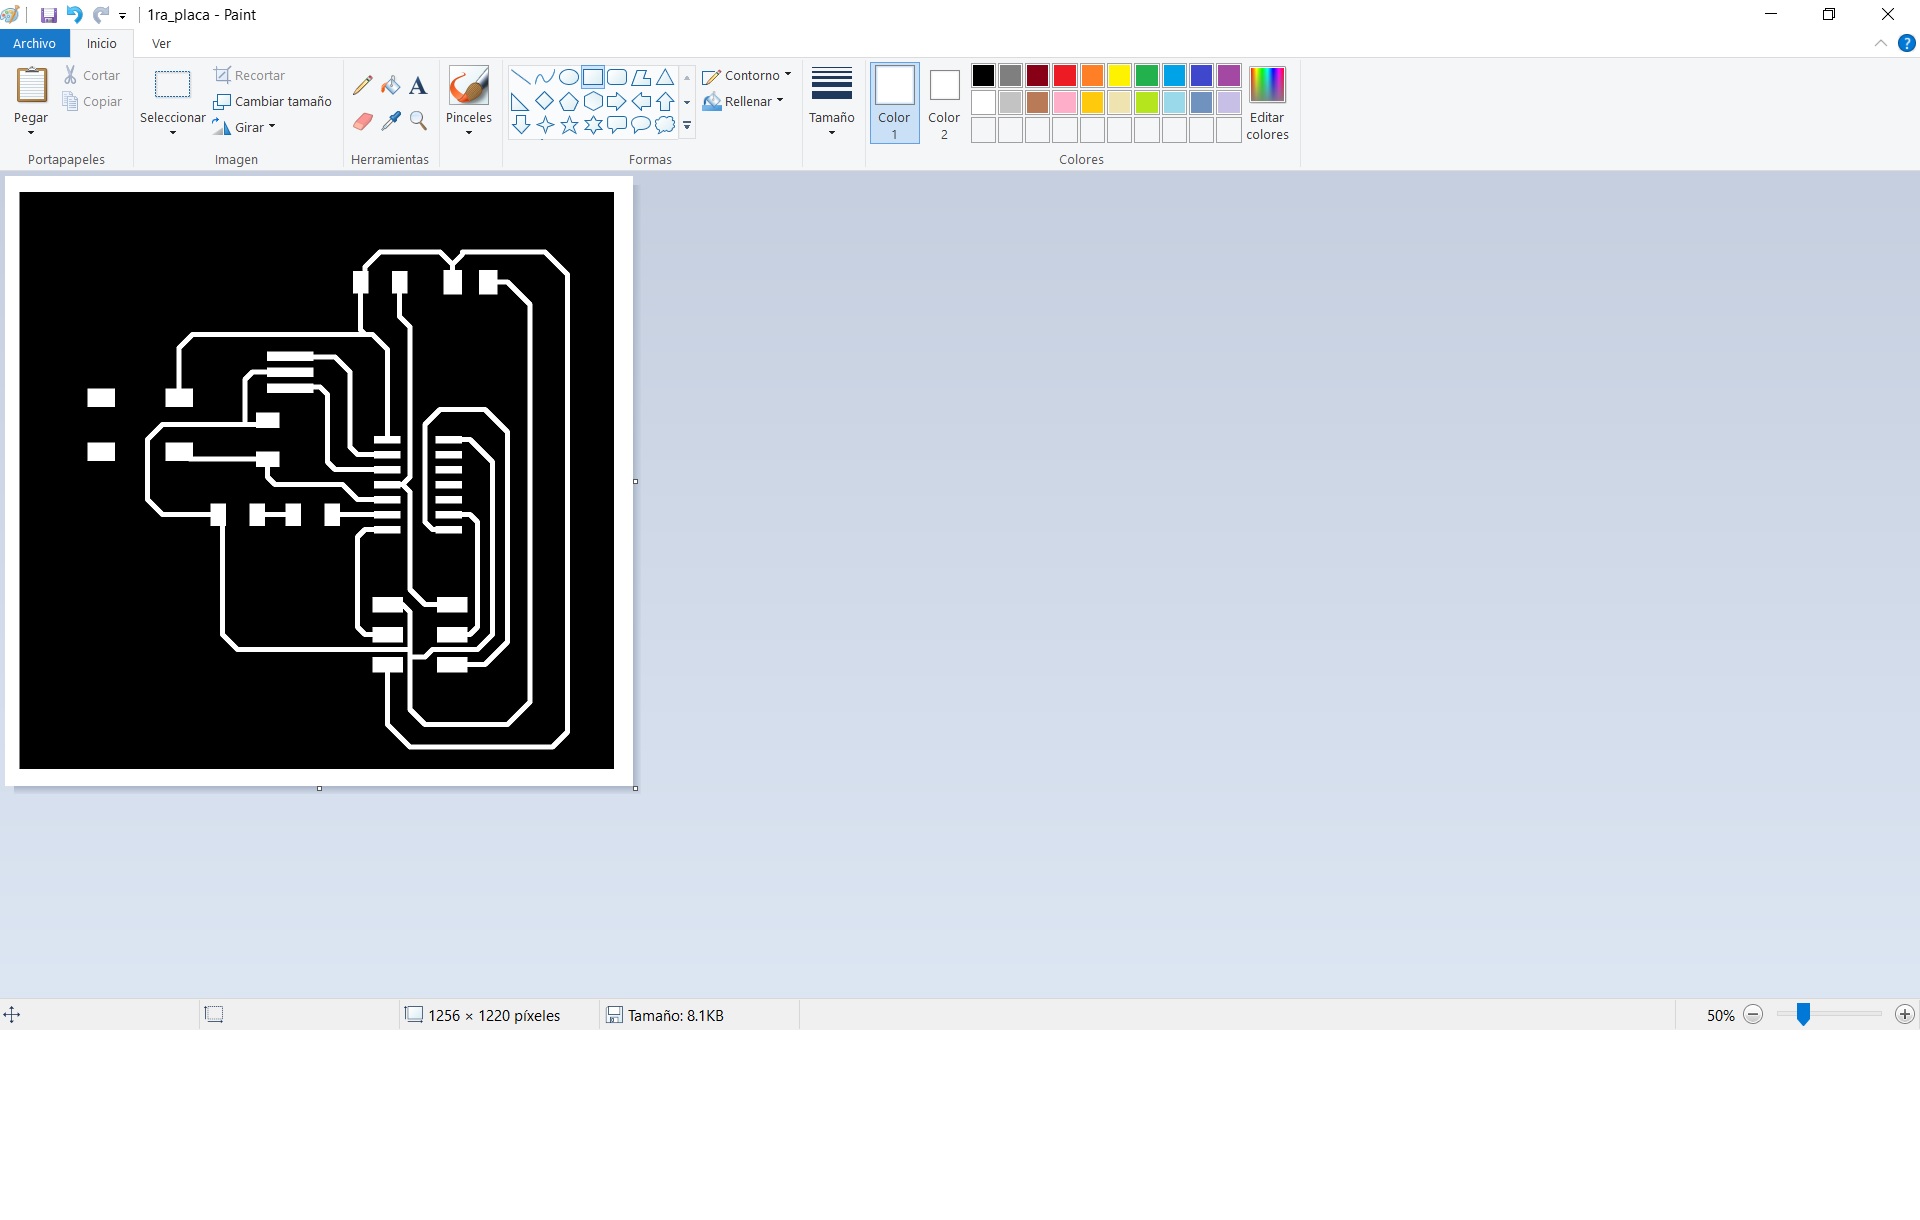

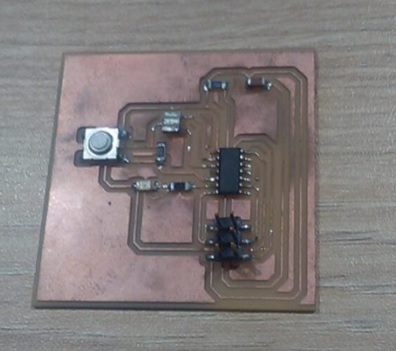
Then, I opened the PNG file, in the software of the MODELA, opened the terminal and mill the design on a copper blad board.
Then, start soldering the components on the plate that has the design paths.
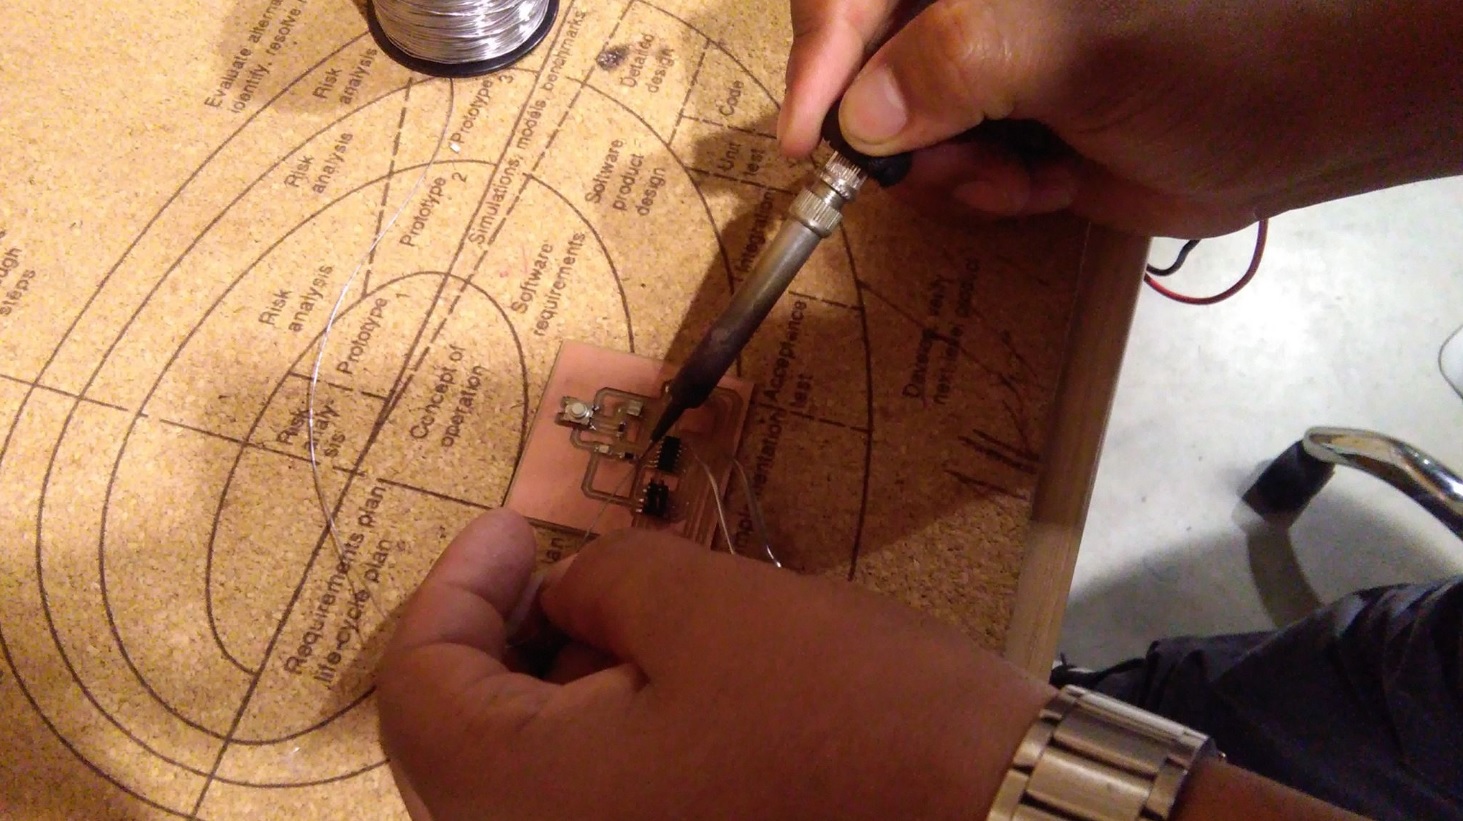
And finally this is my HELLO BOARD with a LED.
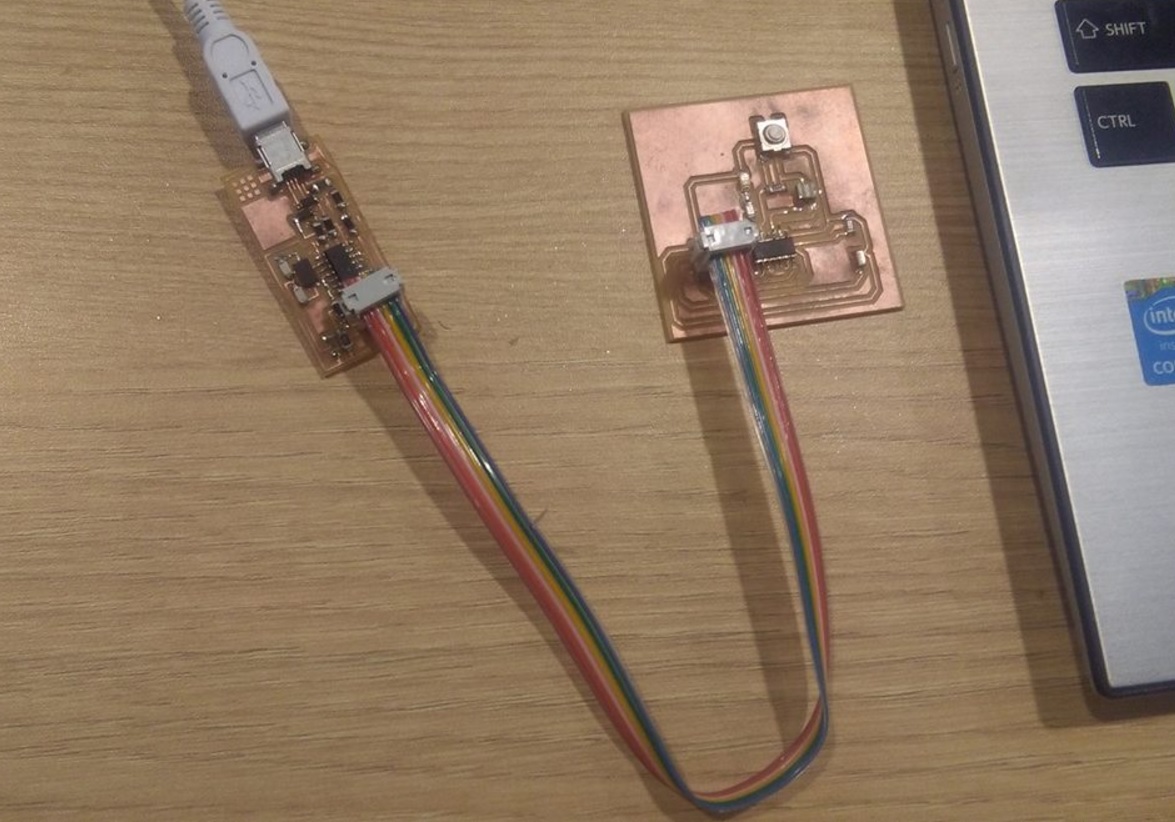
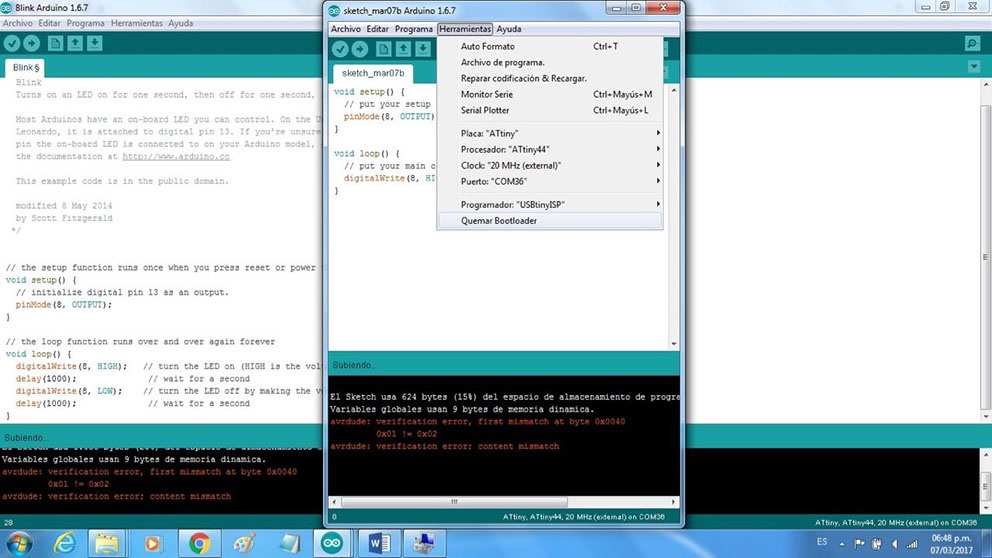
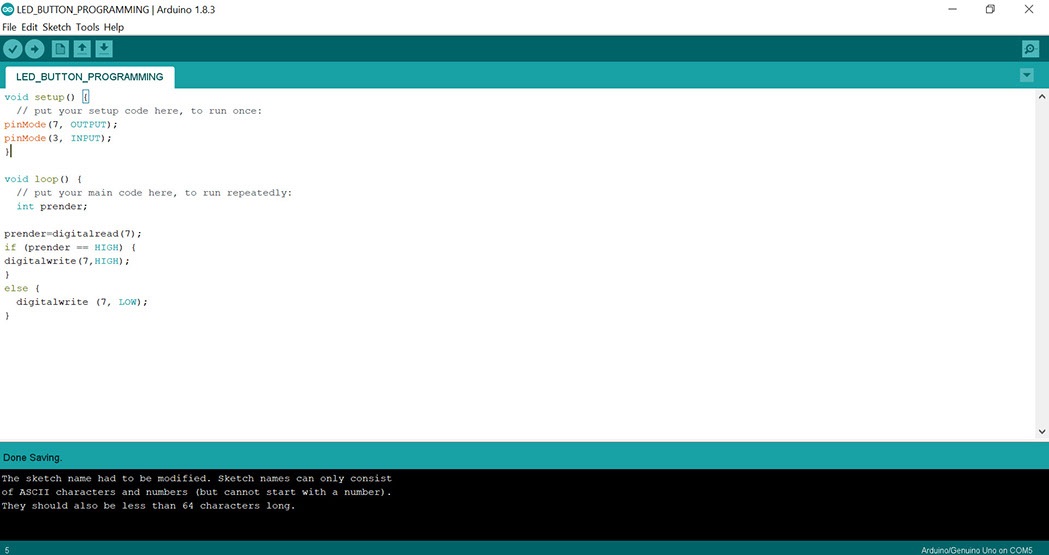
To burn the bootloader, i need to identify the port in wich the FTDI cable was pluged, then in the tool tab, begin to set the information, board, processor,port,
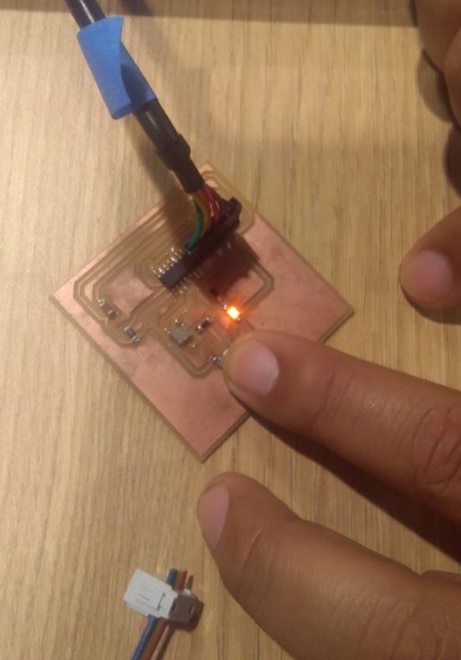
clock and programmer. Then I wanted the led light always on and turn it off every time i ressed the buttom. For that I looked for the table of equivalences between
the ATtiny and the Arduino, so I can choose the right pins. After that I made the code on the Arduin IDE and test the board
CLICK HERE FOR DOWNLOAD THE ARDUINO FILES
![]()