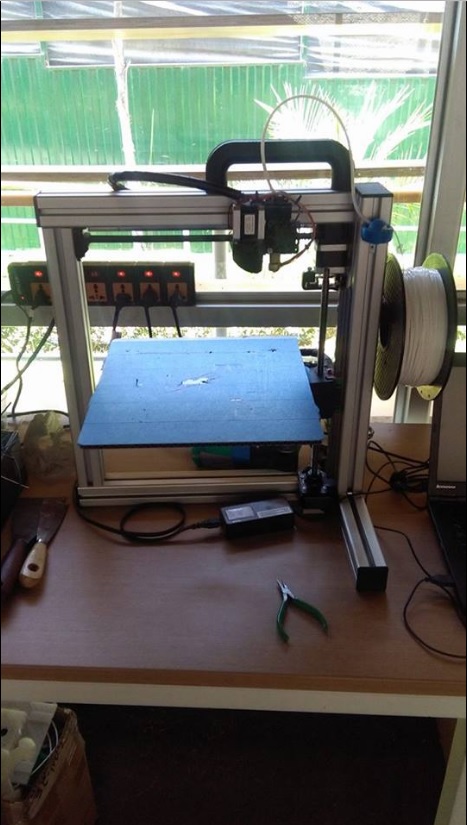
This is a Printer Felix 2.0.
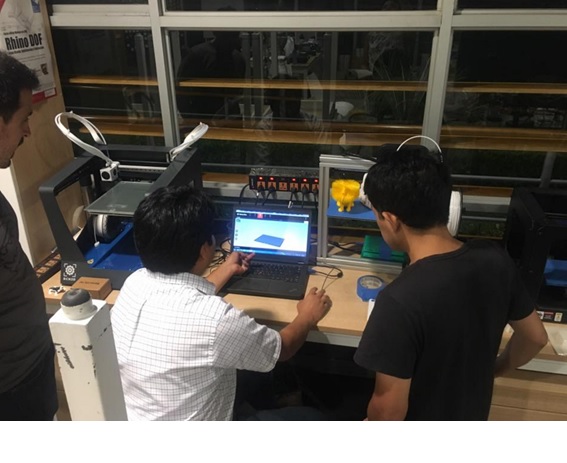
First, we did the tests in a group, for this we received a class how to use the printer by the instructor of this assignment.

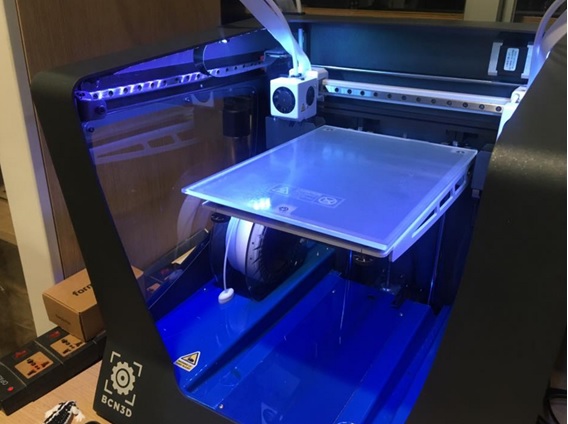
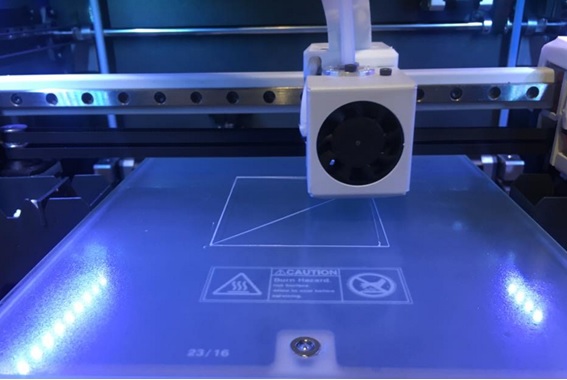
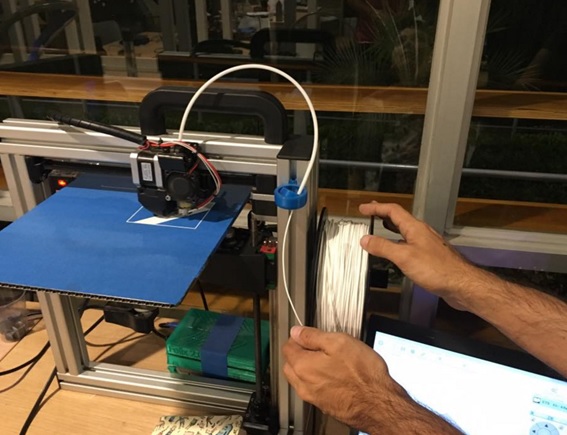
In the case of the BCN 3D printer, this has a glass surface, which is cast "lacquer" to fix the printed design to the surface. In this photo you can see how the print starts.
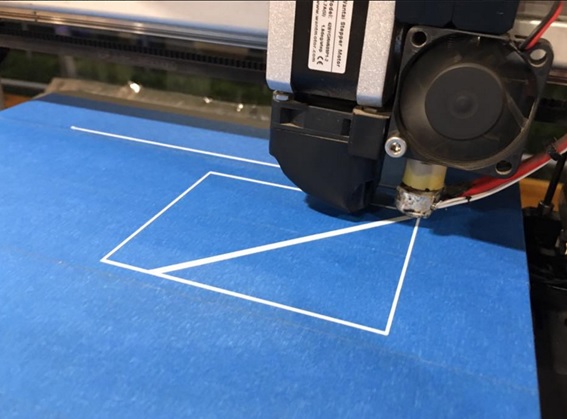
In the case of Felix 1.0, it has a steel surface, this picture shows how the print starts.
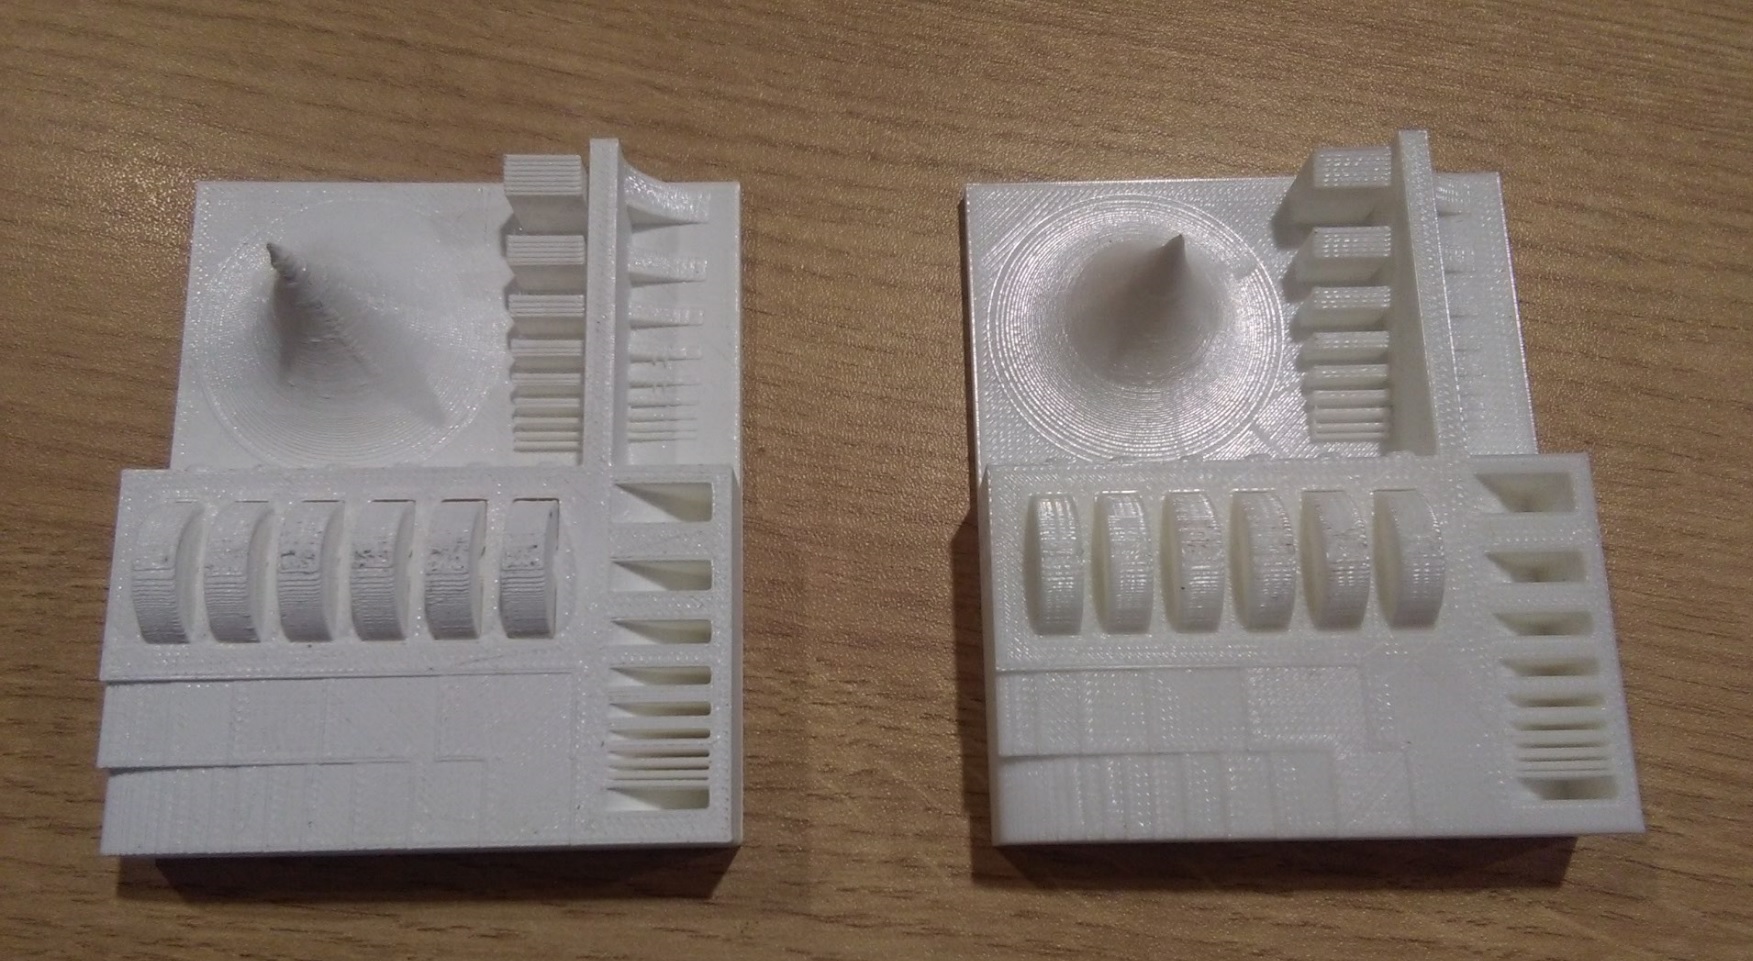
And finally, these are the two designs that were printed.
Left (FELIX 1.0), Right (3D BCN).
As you can see, the design printed by the BCN is of better quality, creates the layers better, and has a better surface finish.
The design printed by FELIX 1.0, is of more rustic finish, and the tolerances in this case are more considerable because it does not uniformly bind each layer of filament.
Click here for link the files to the testing

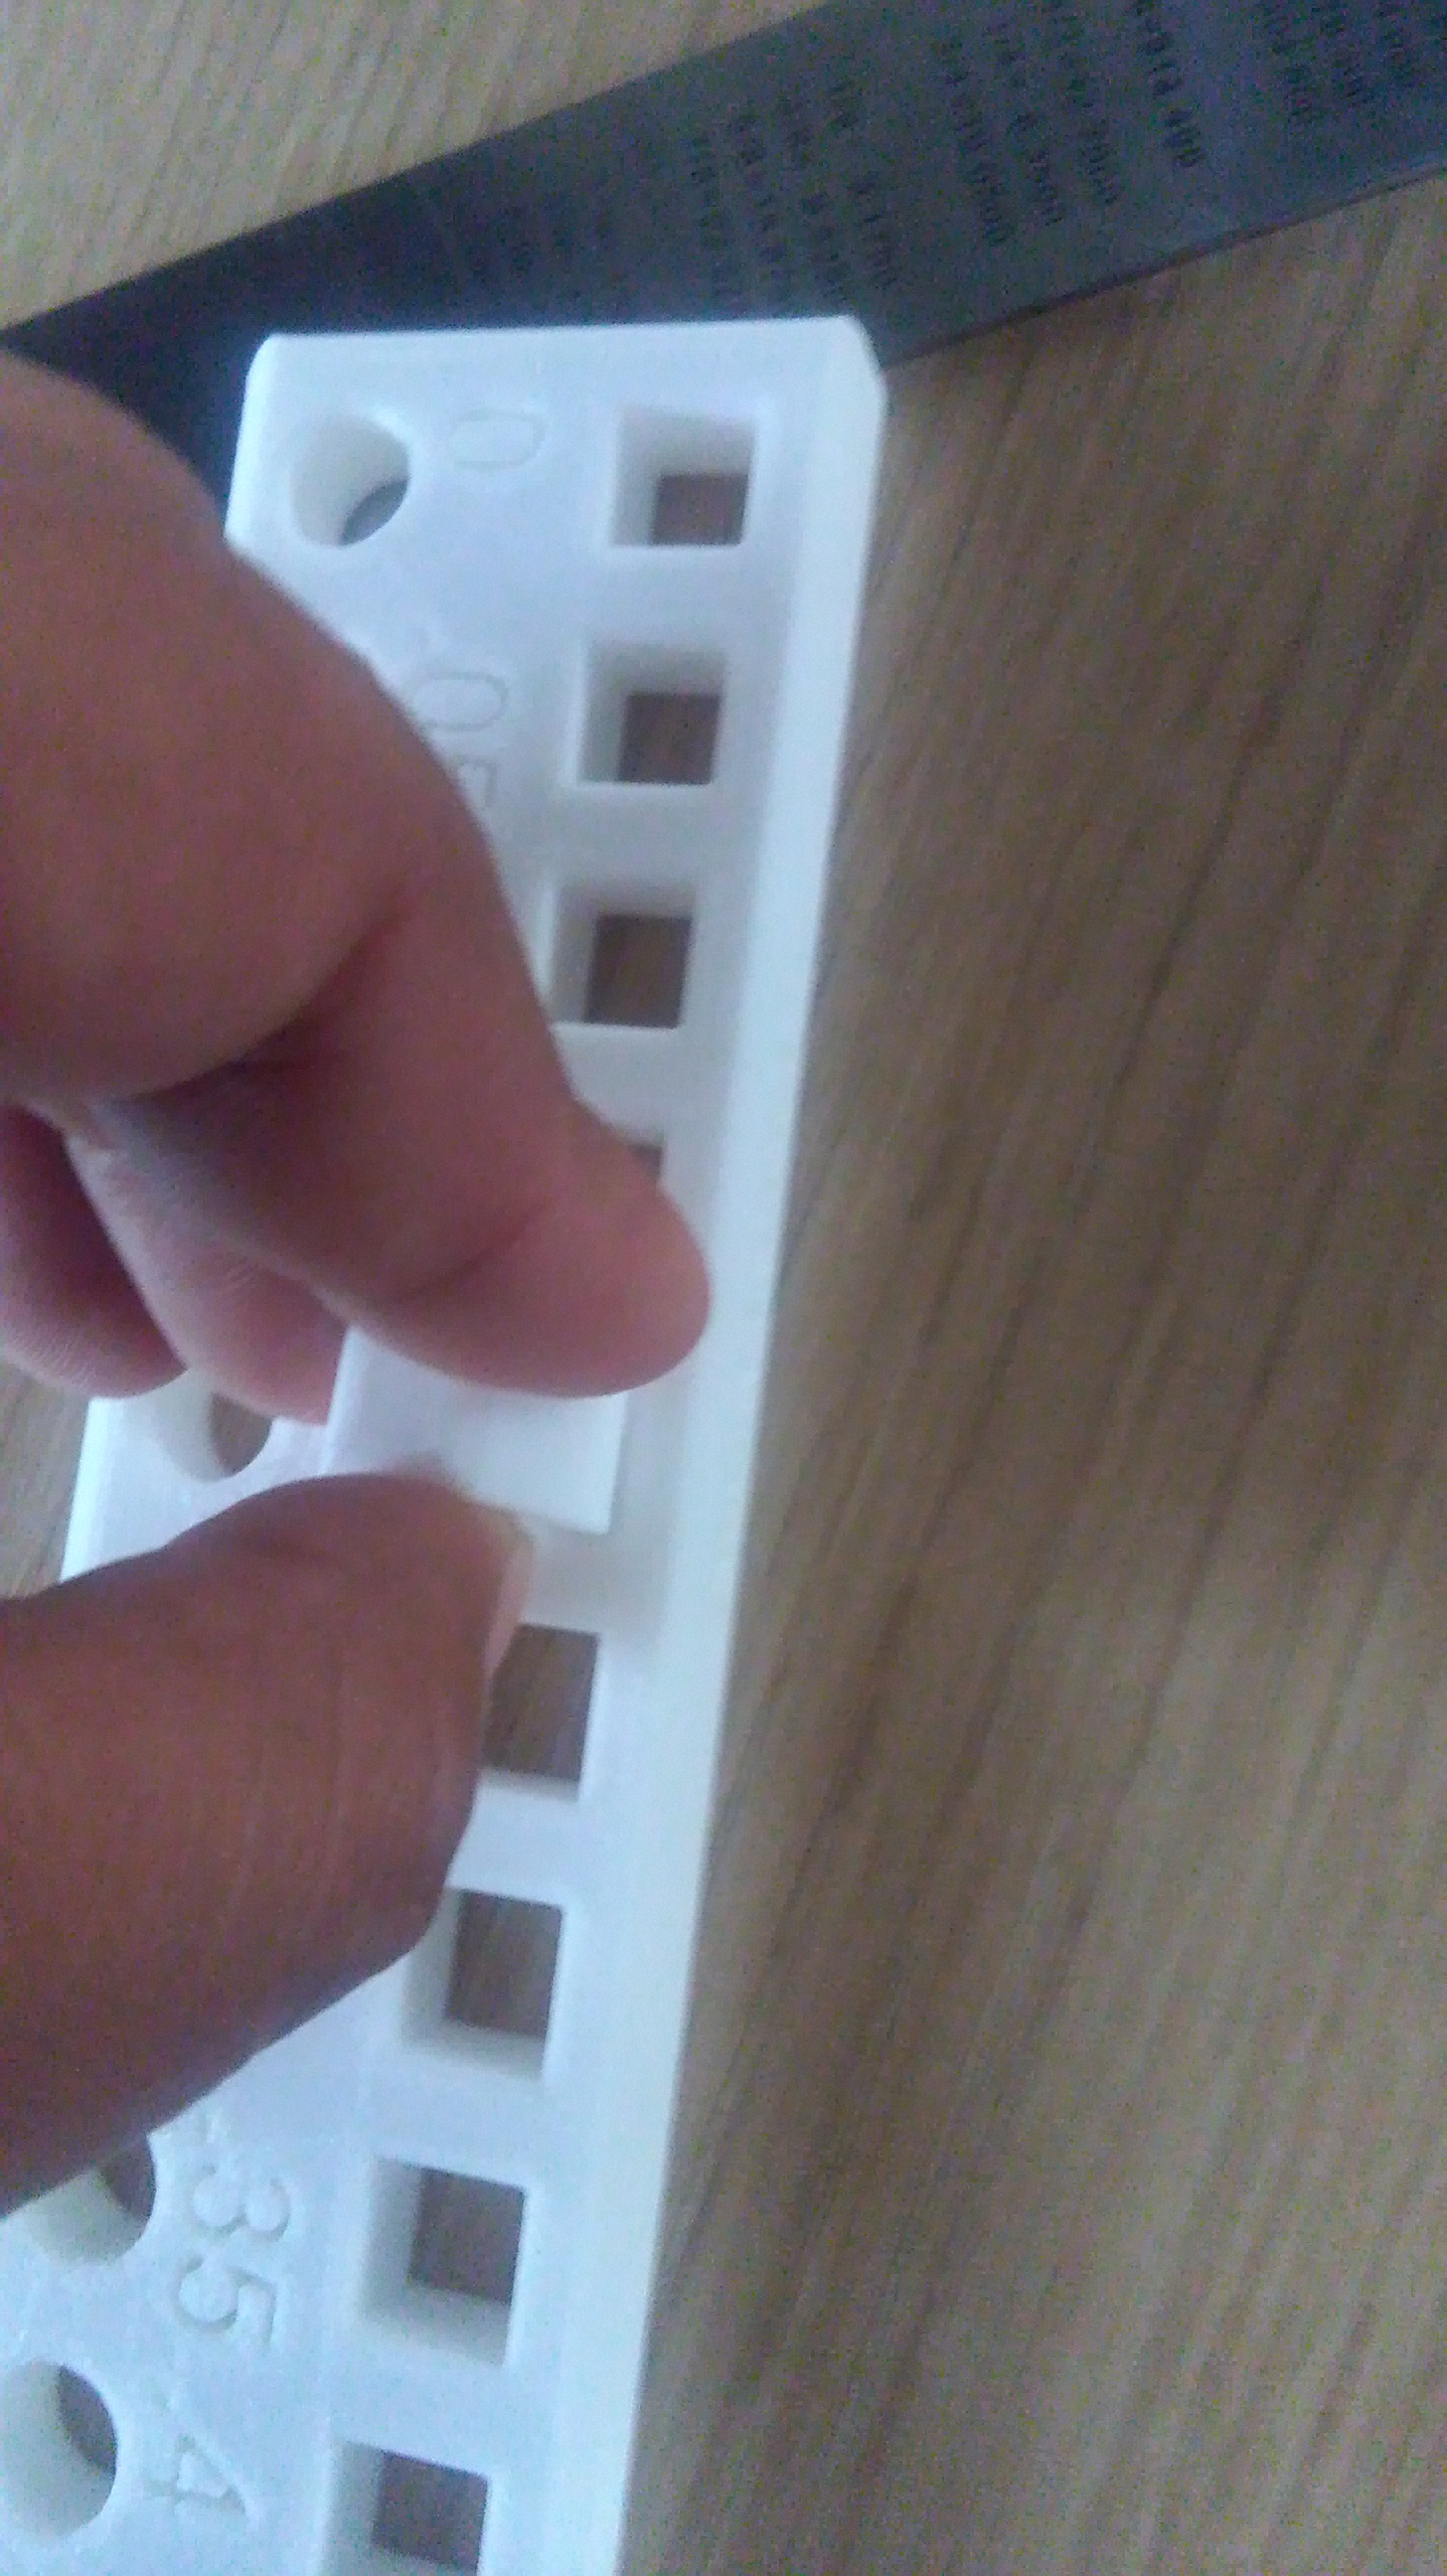
And also a test of tolerances was realized, to find the correct space between pieces for a free movement in Printer BCN 3D.
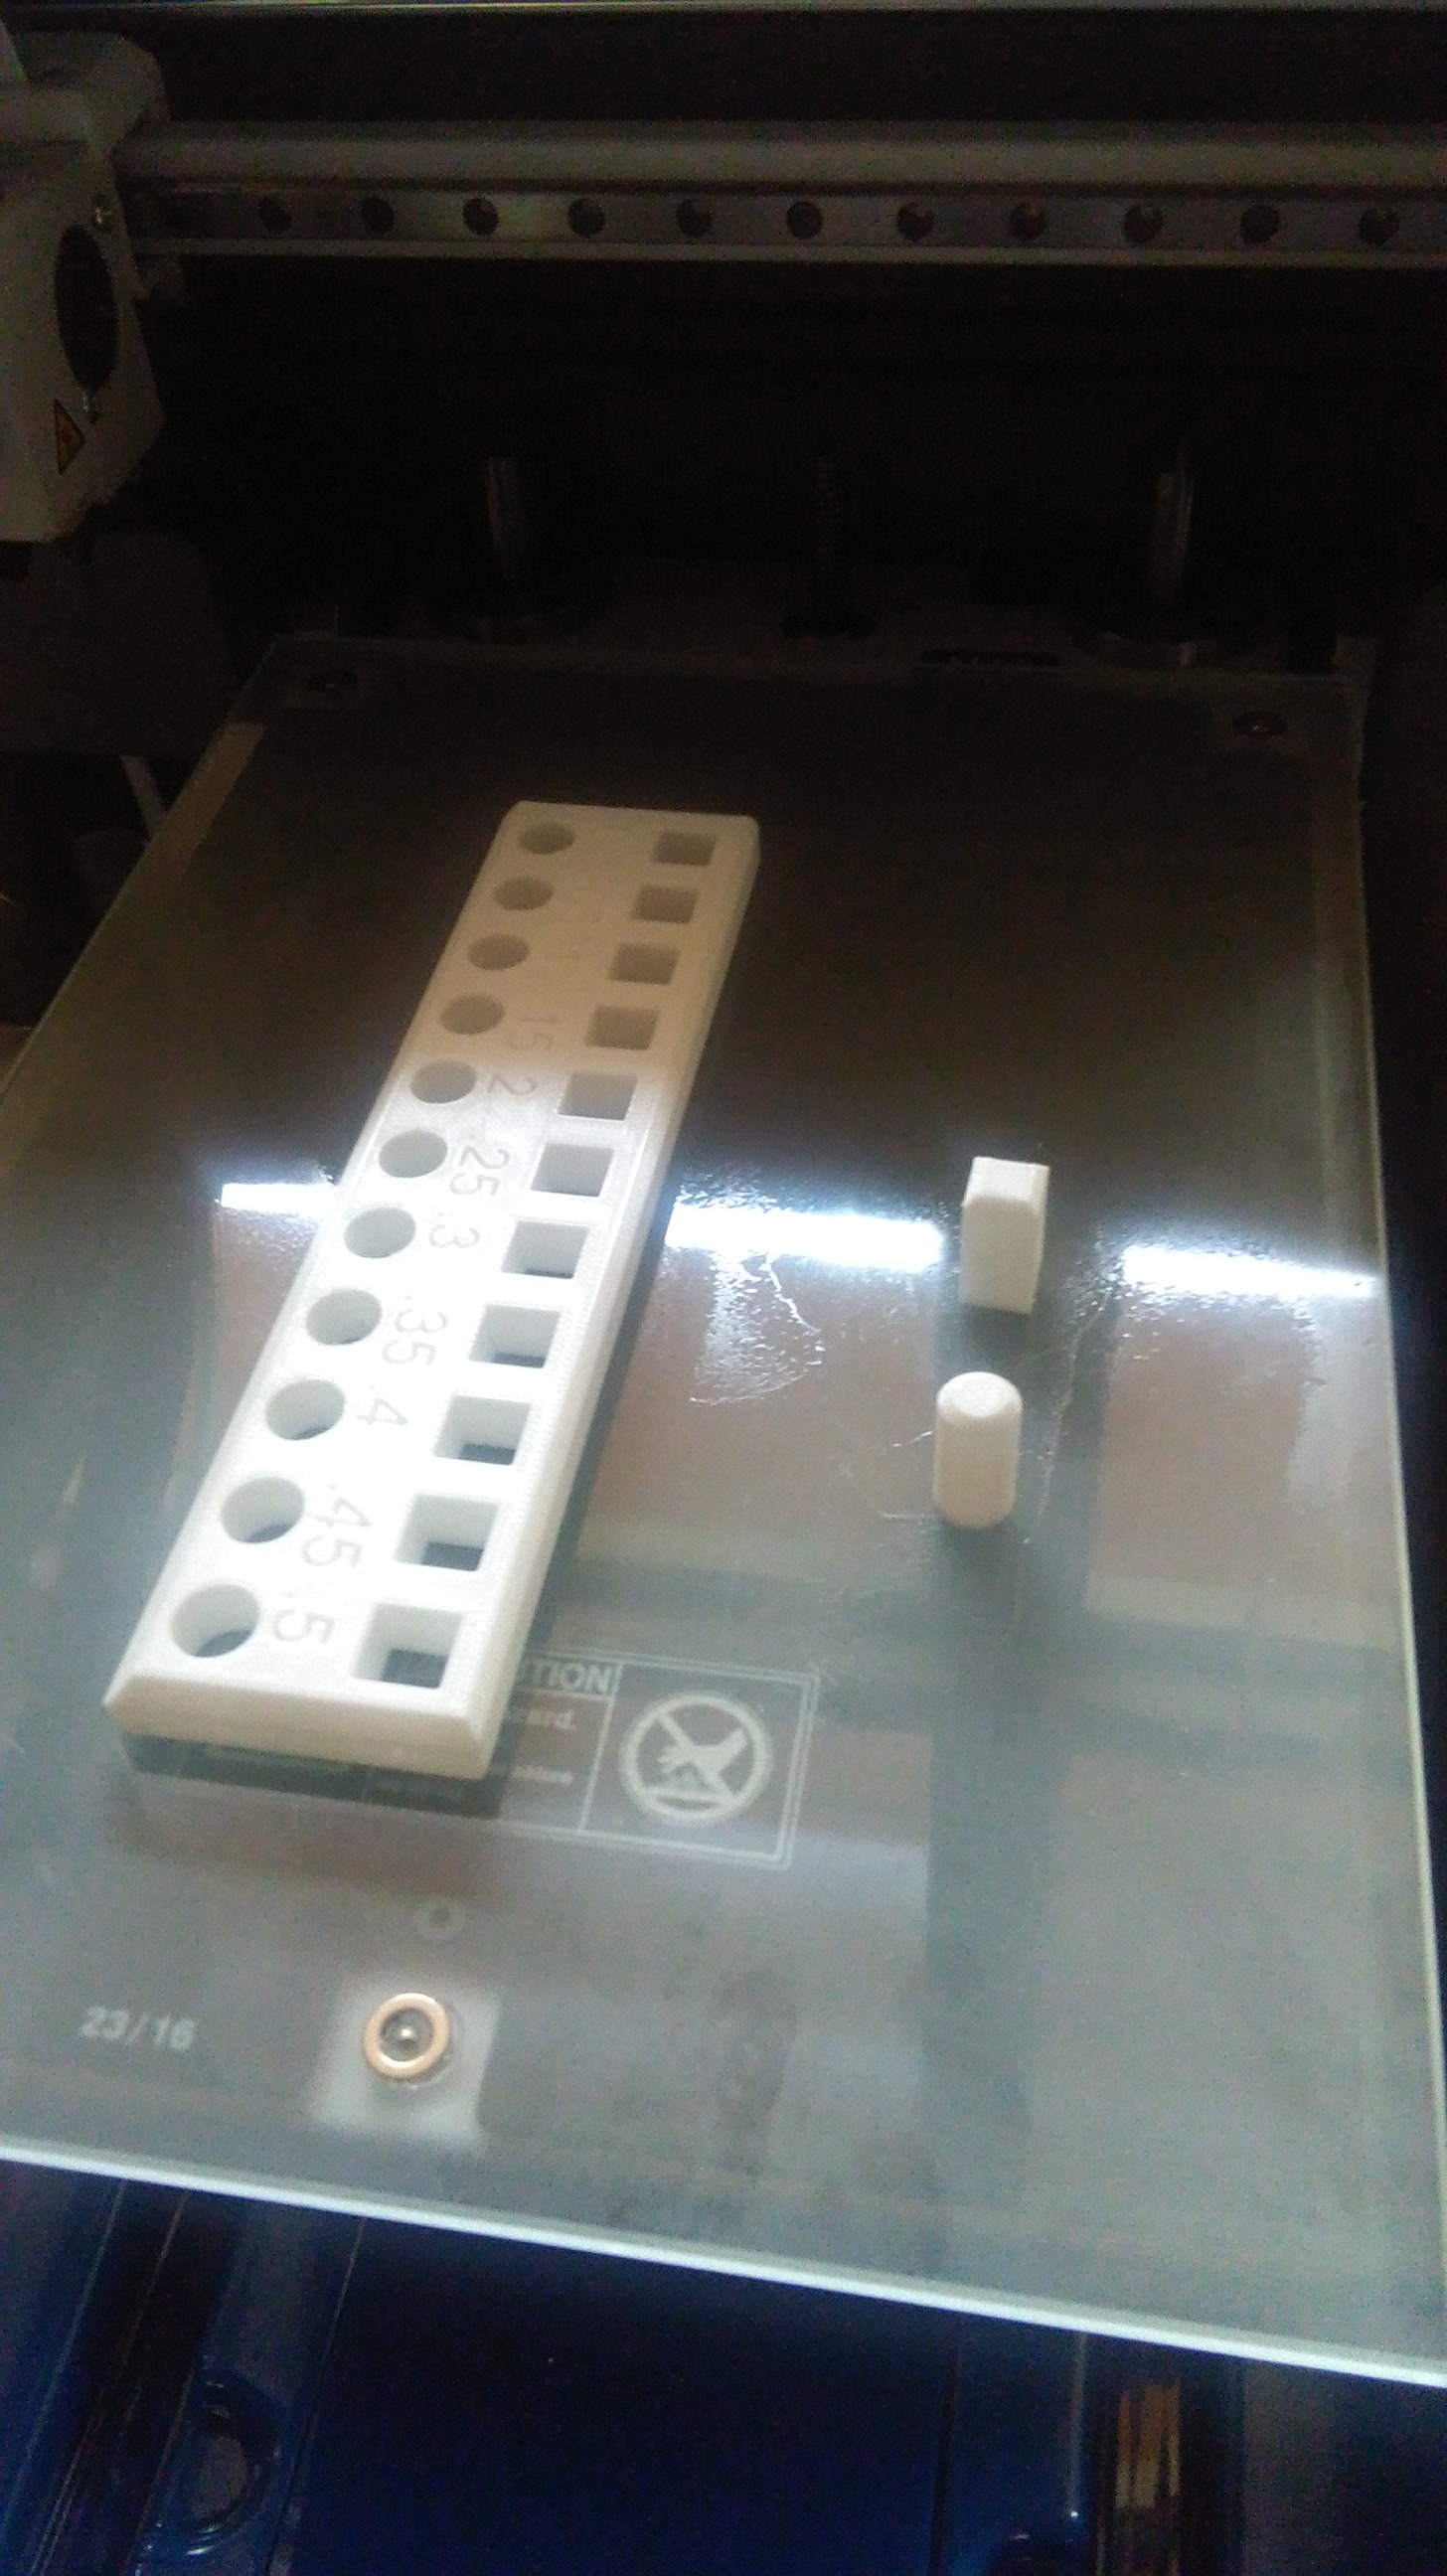
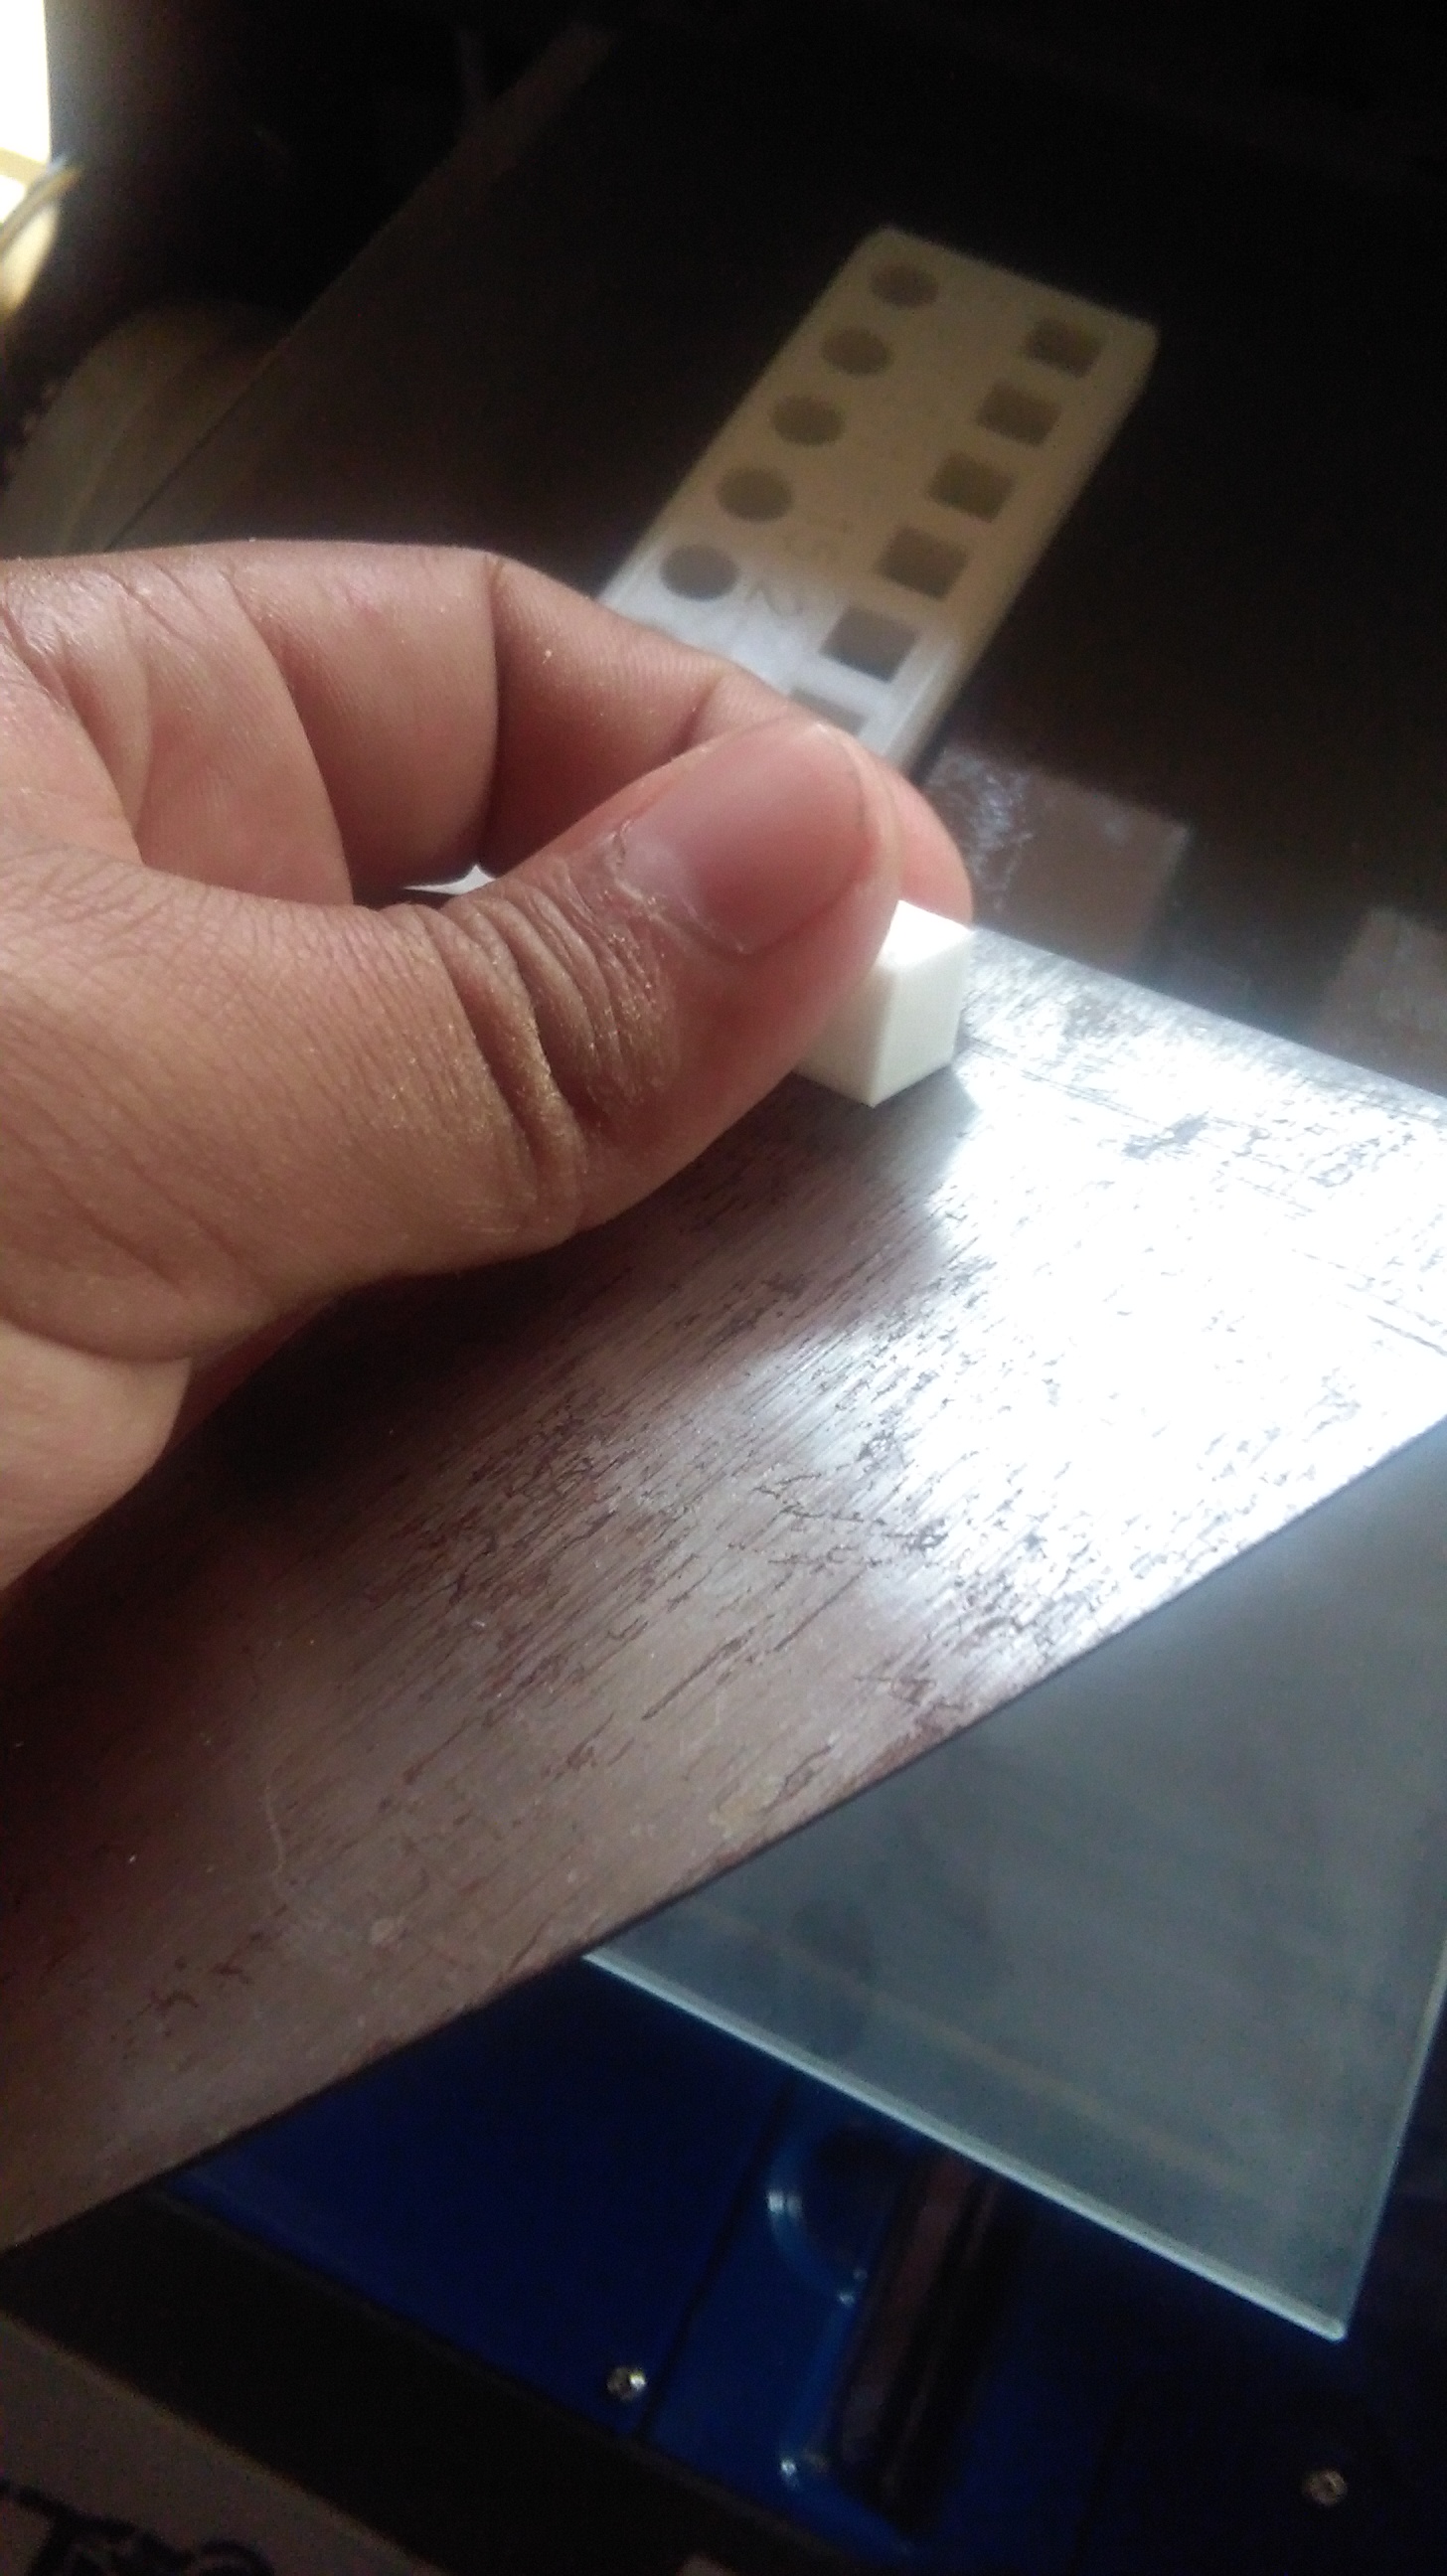
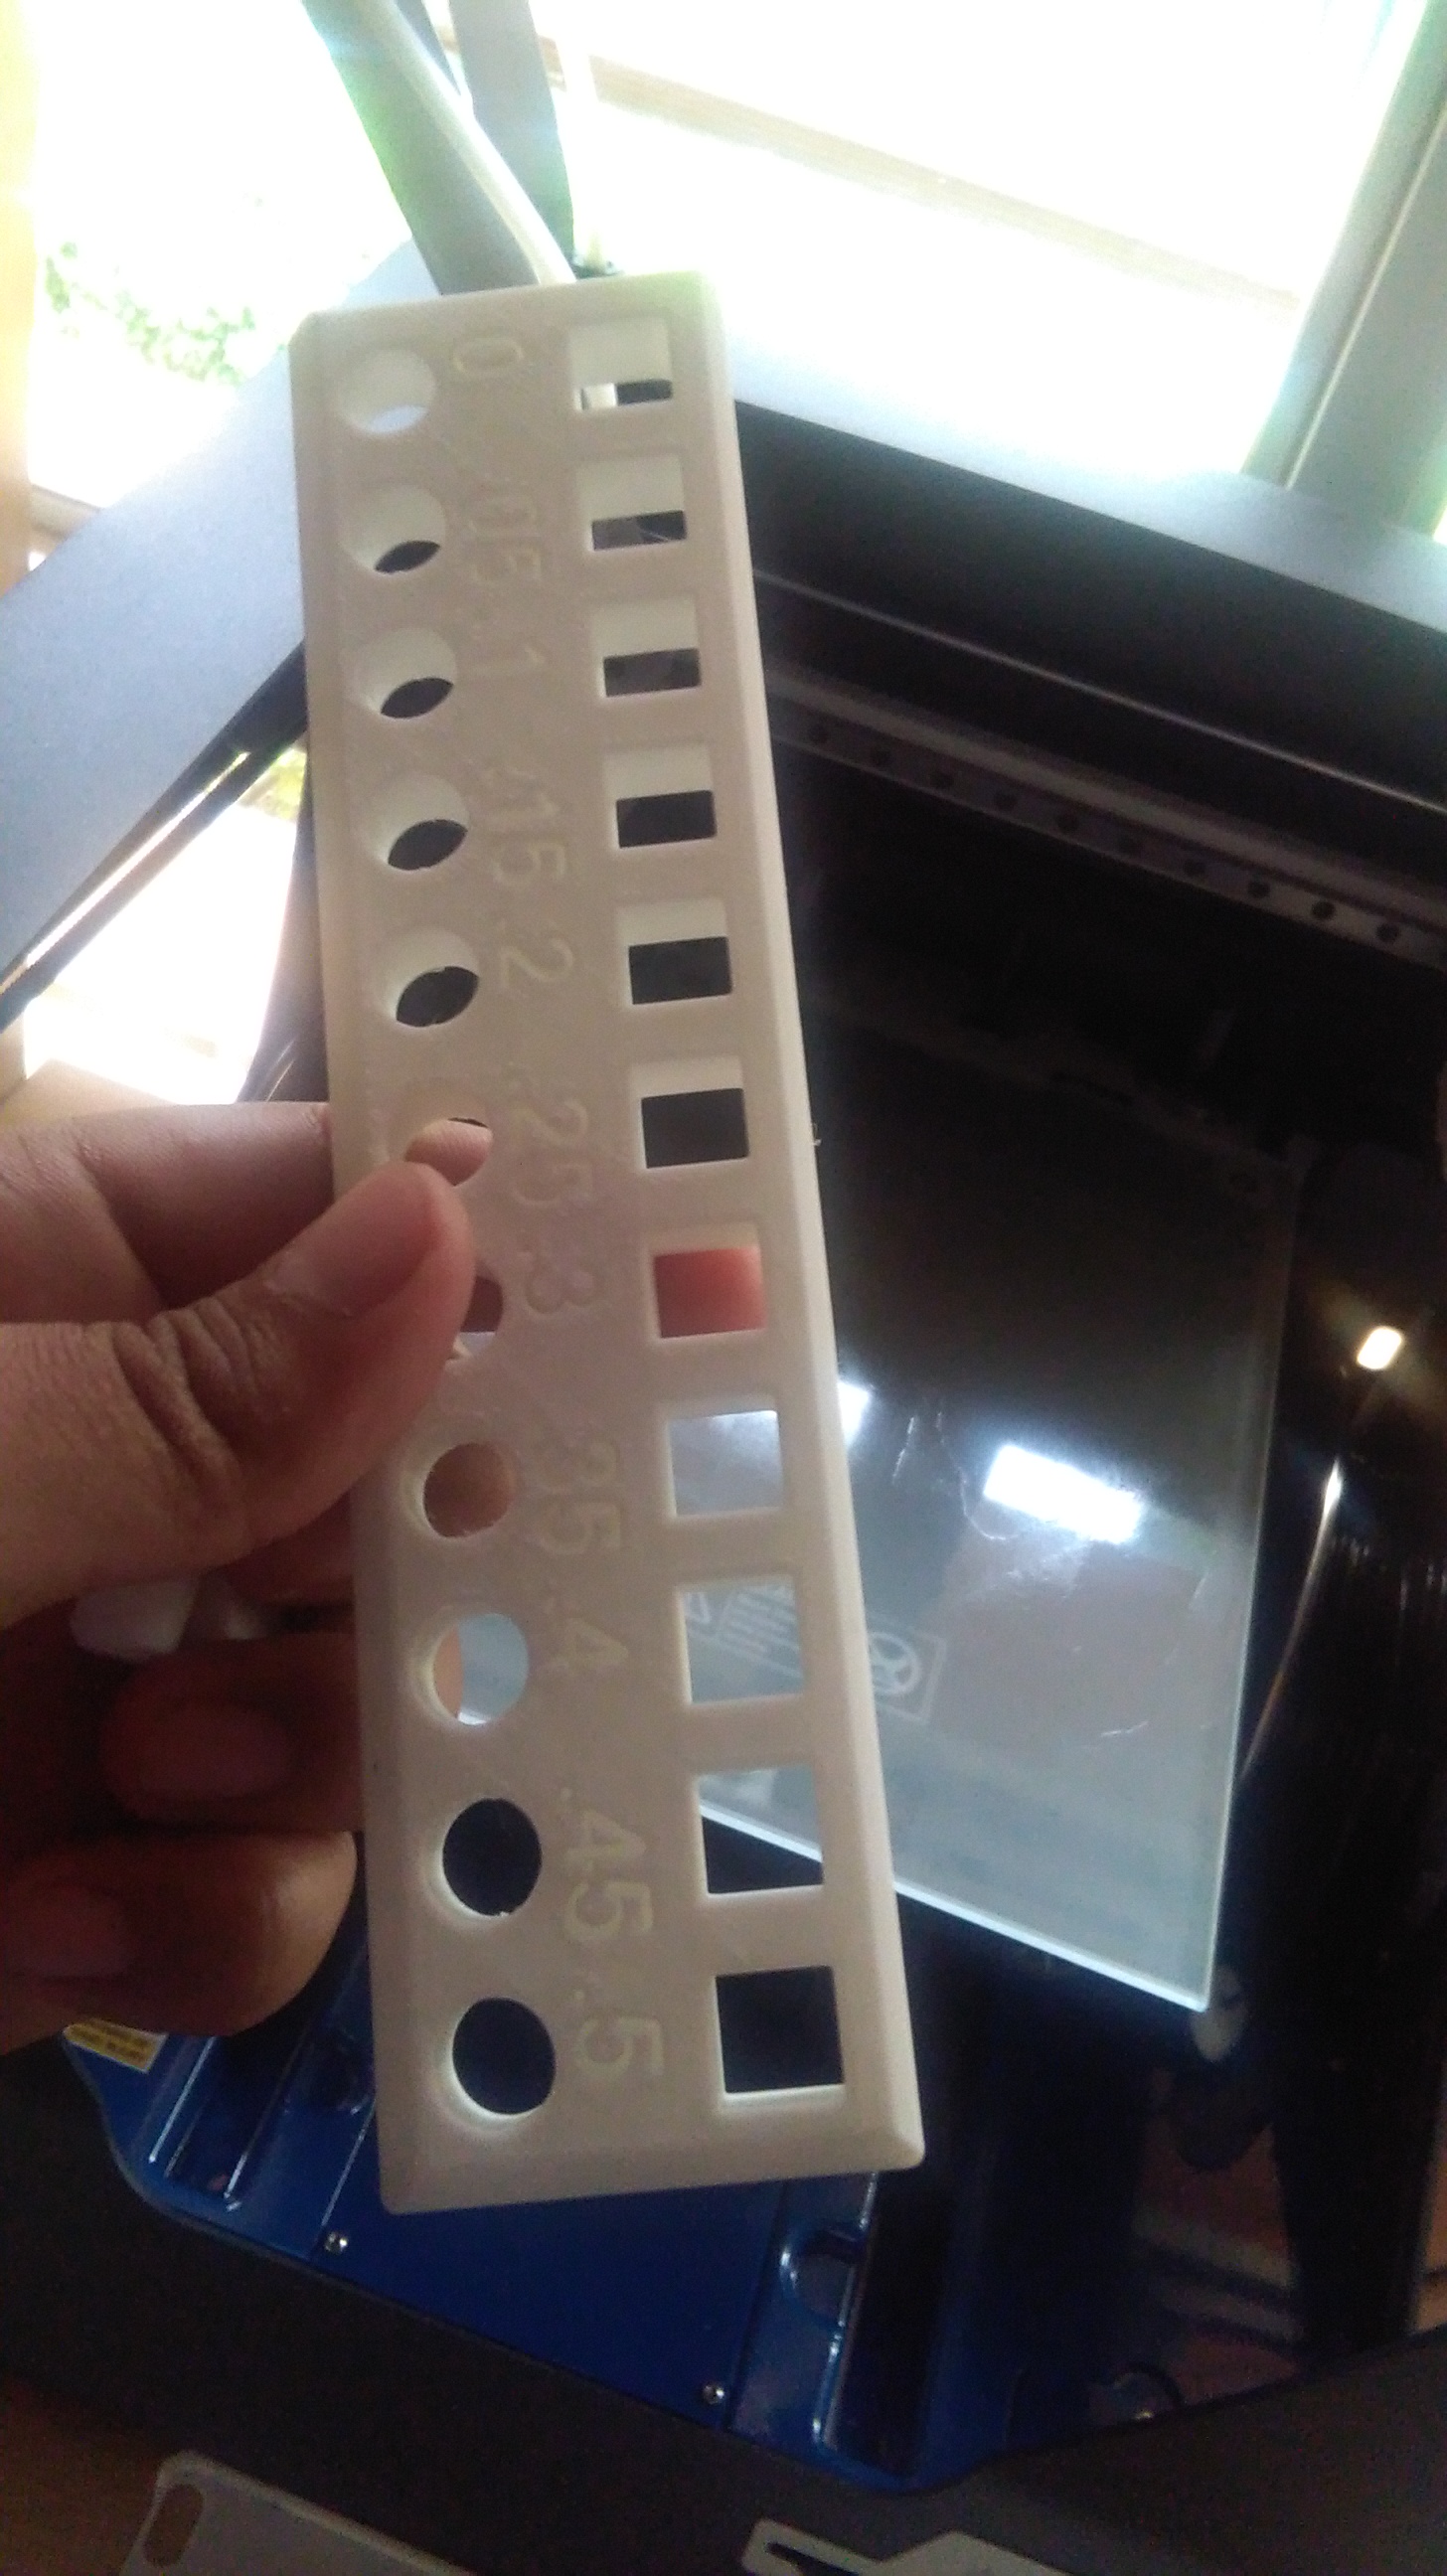
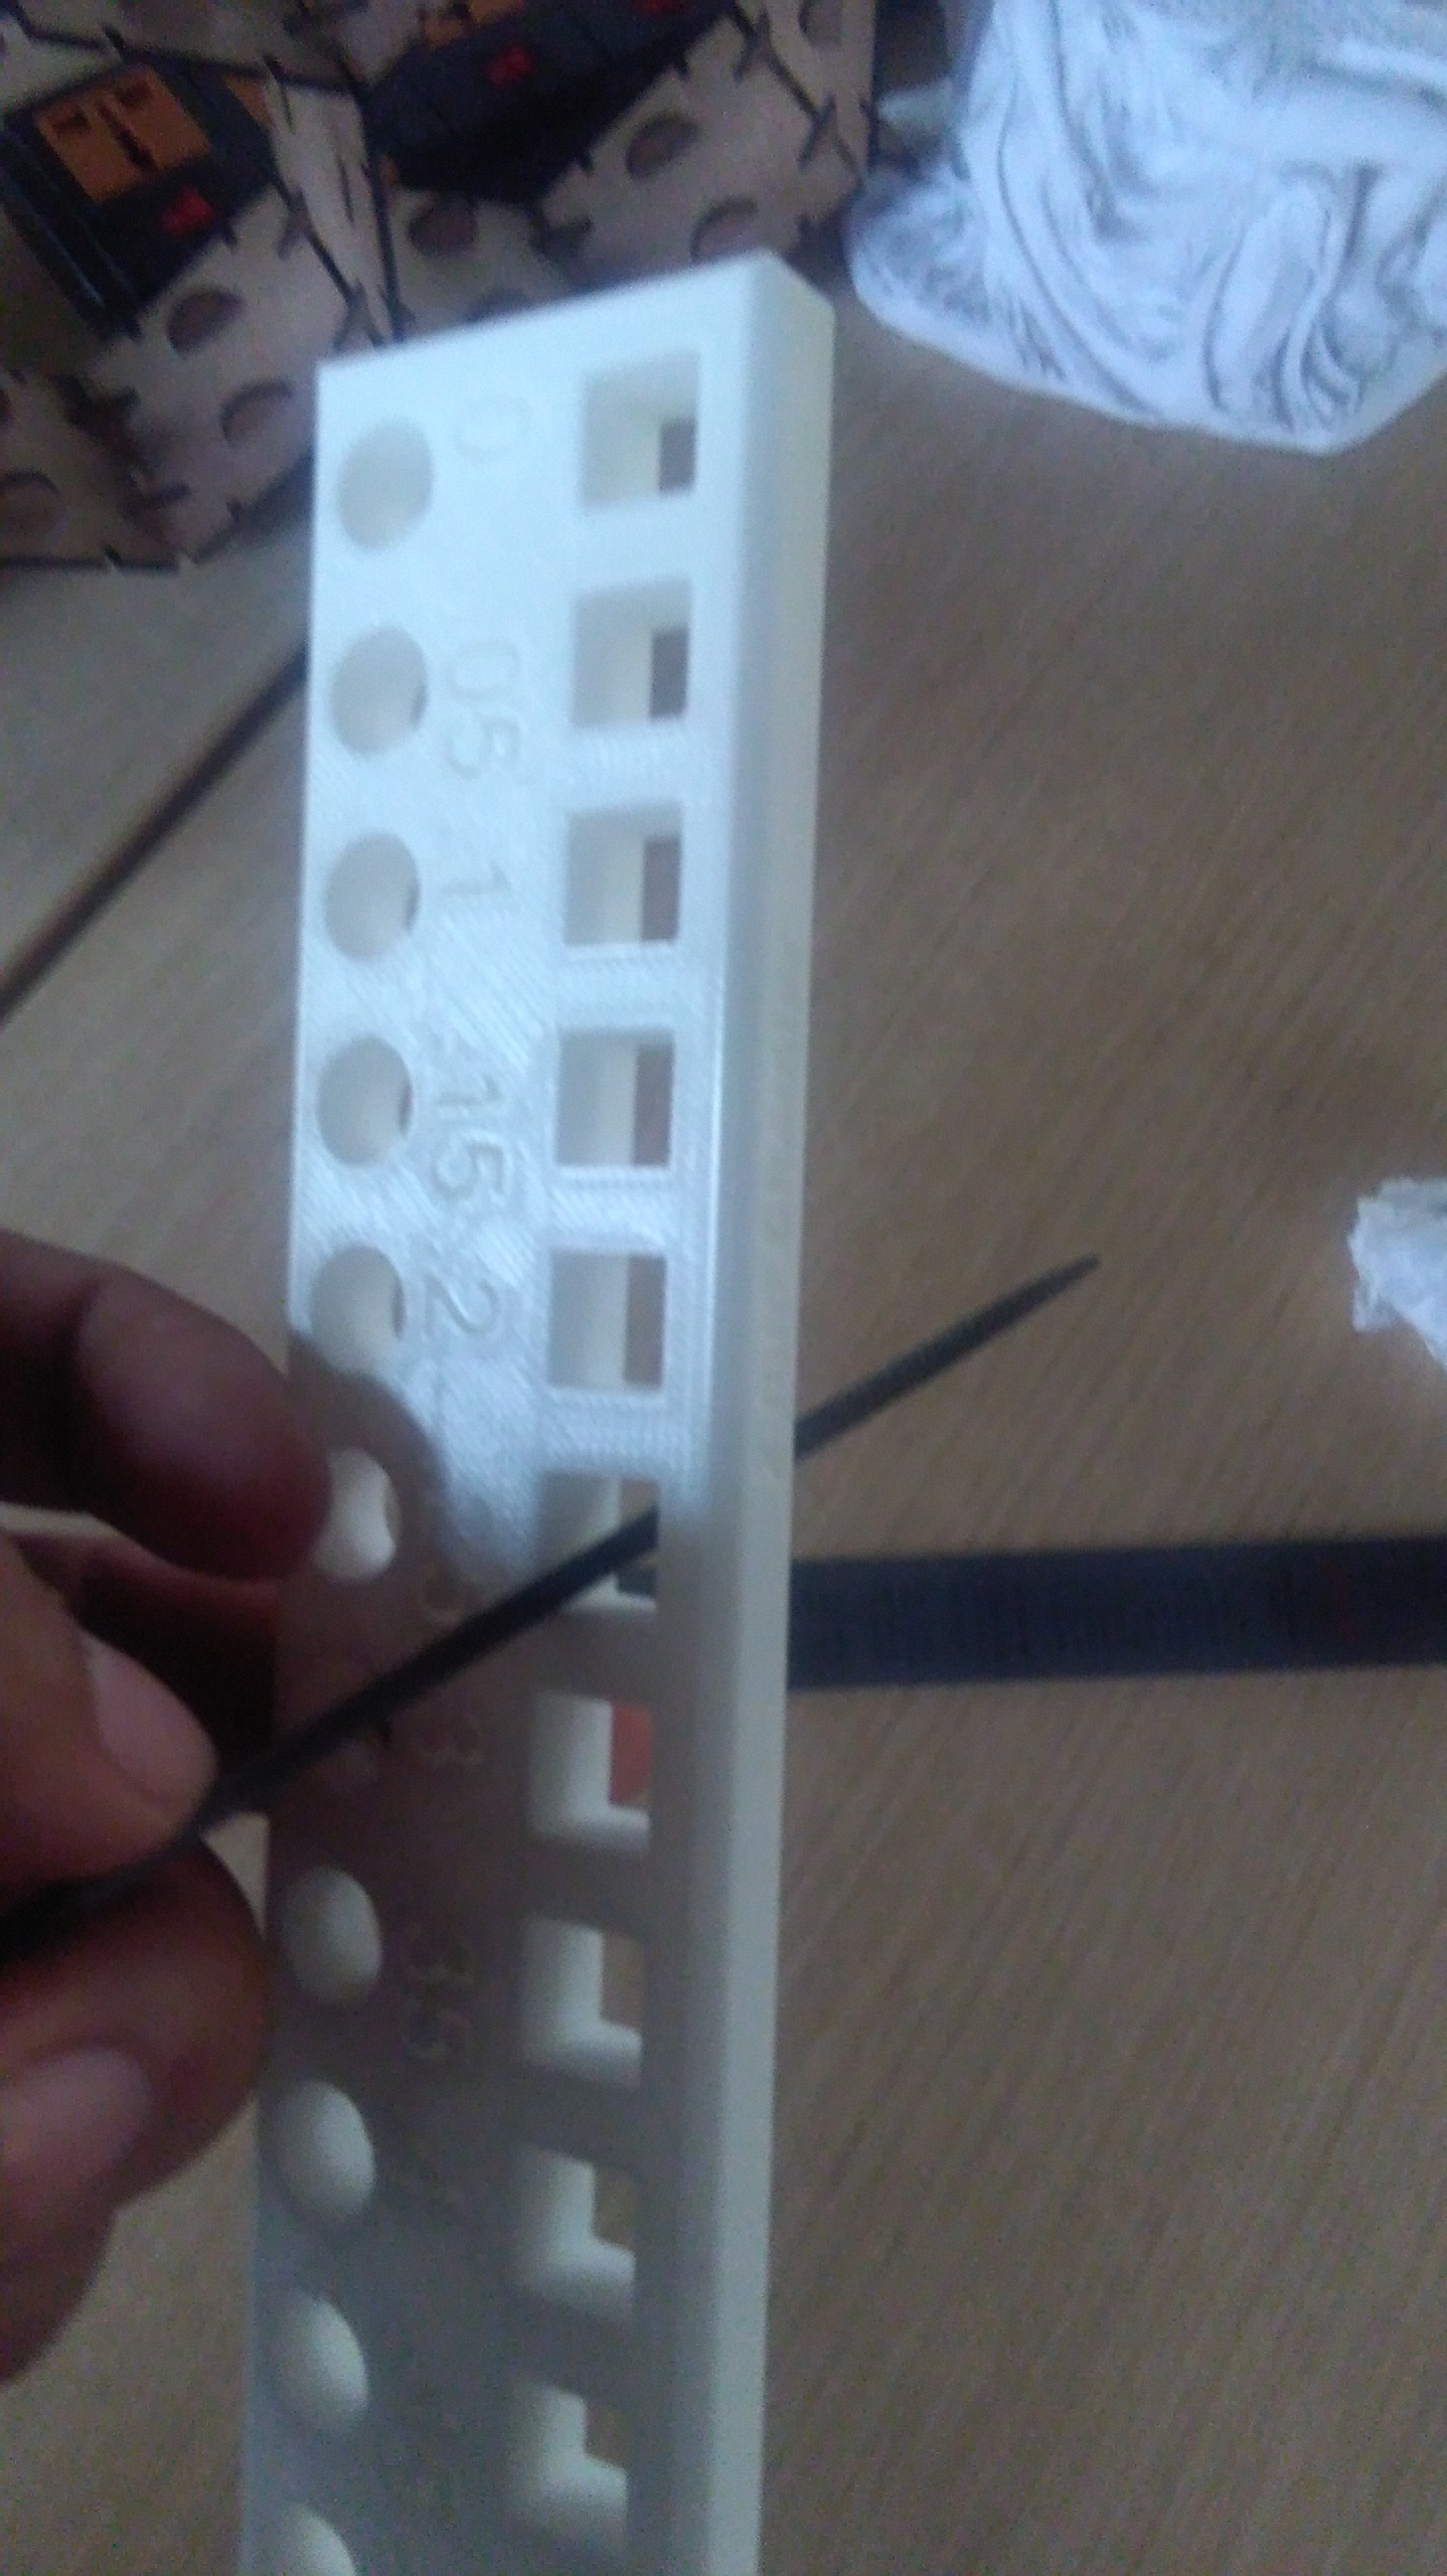
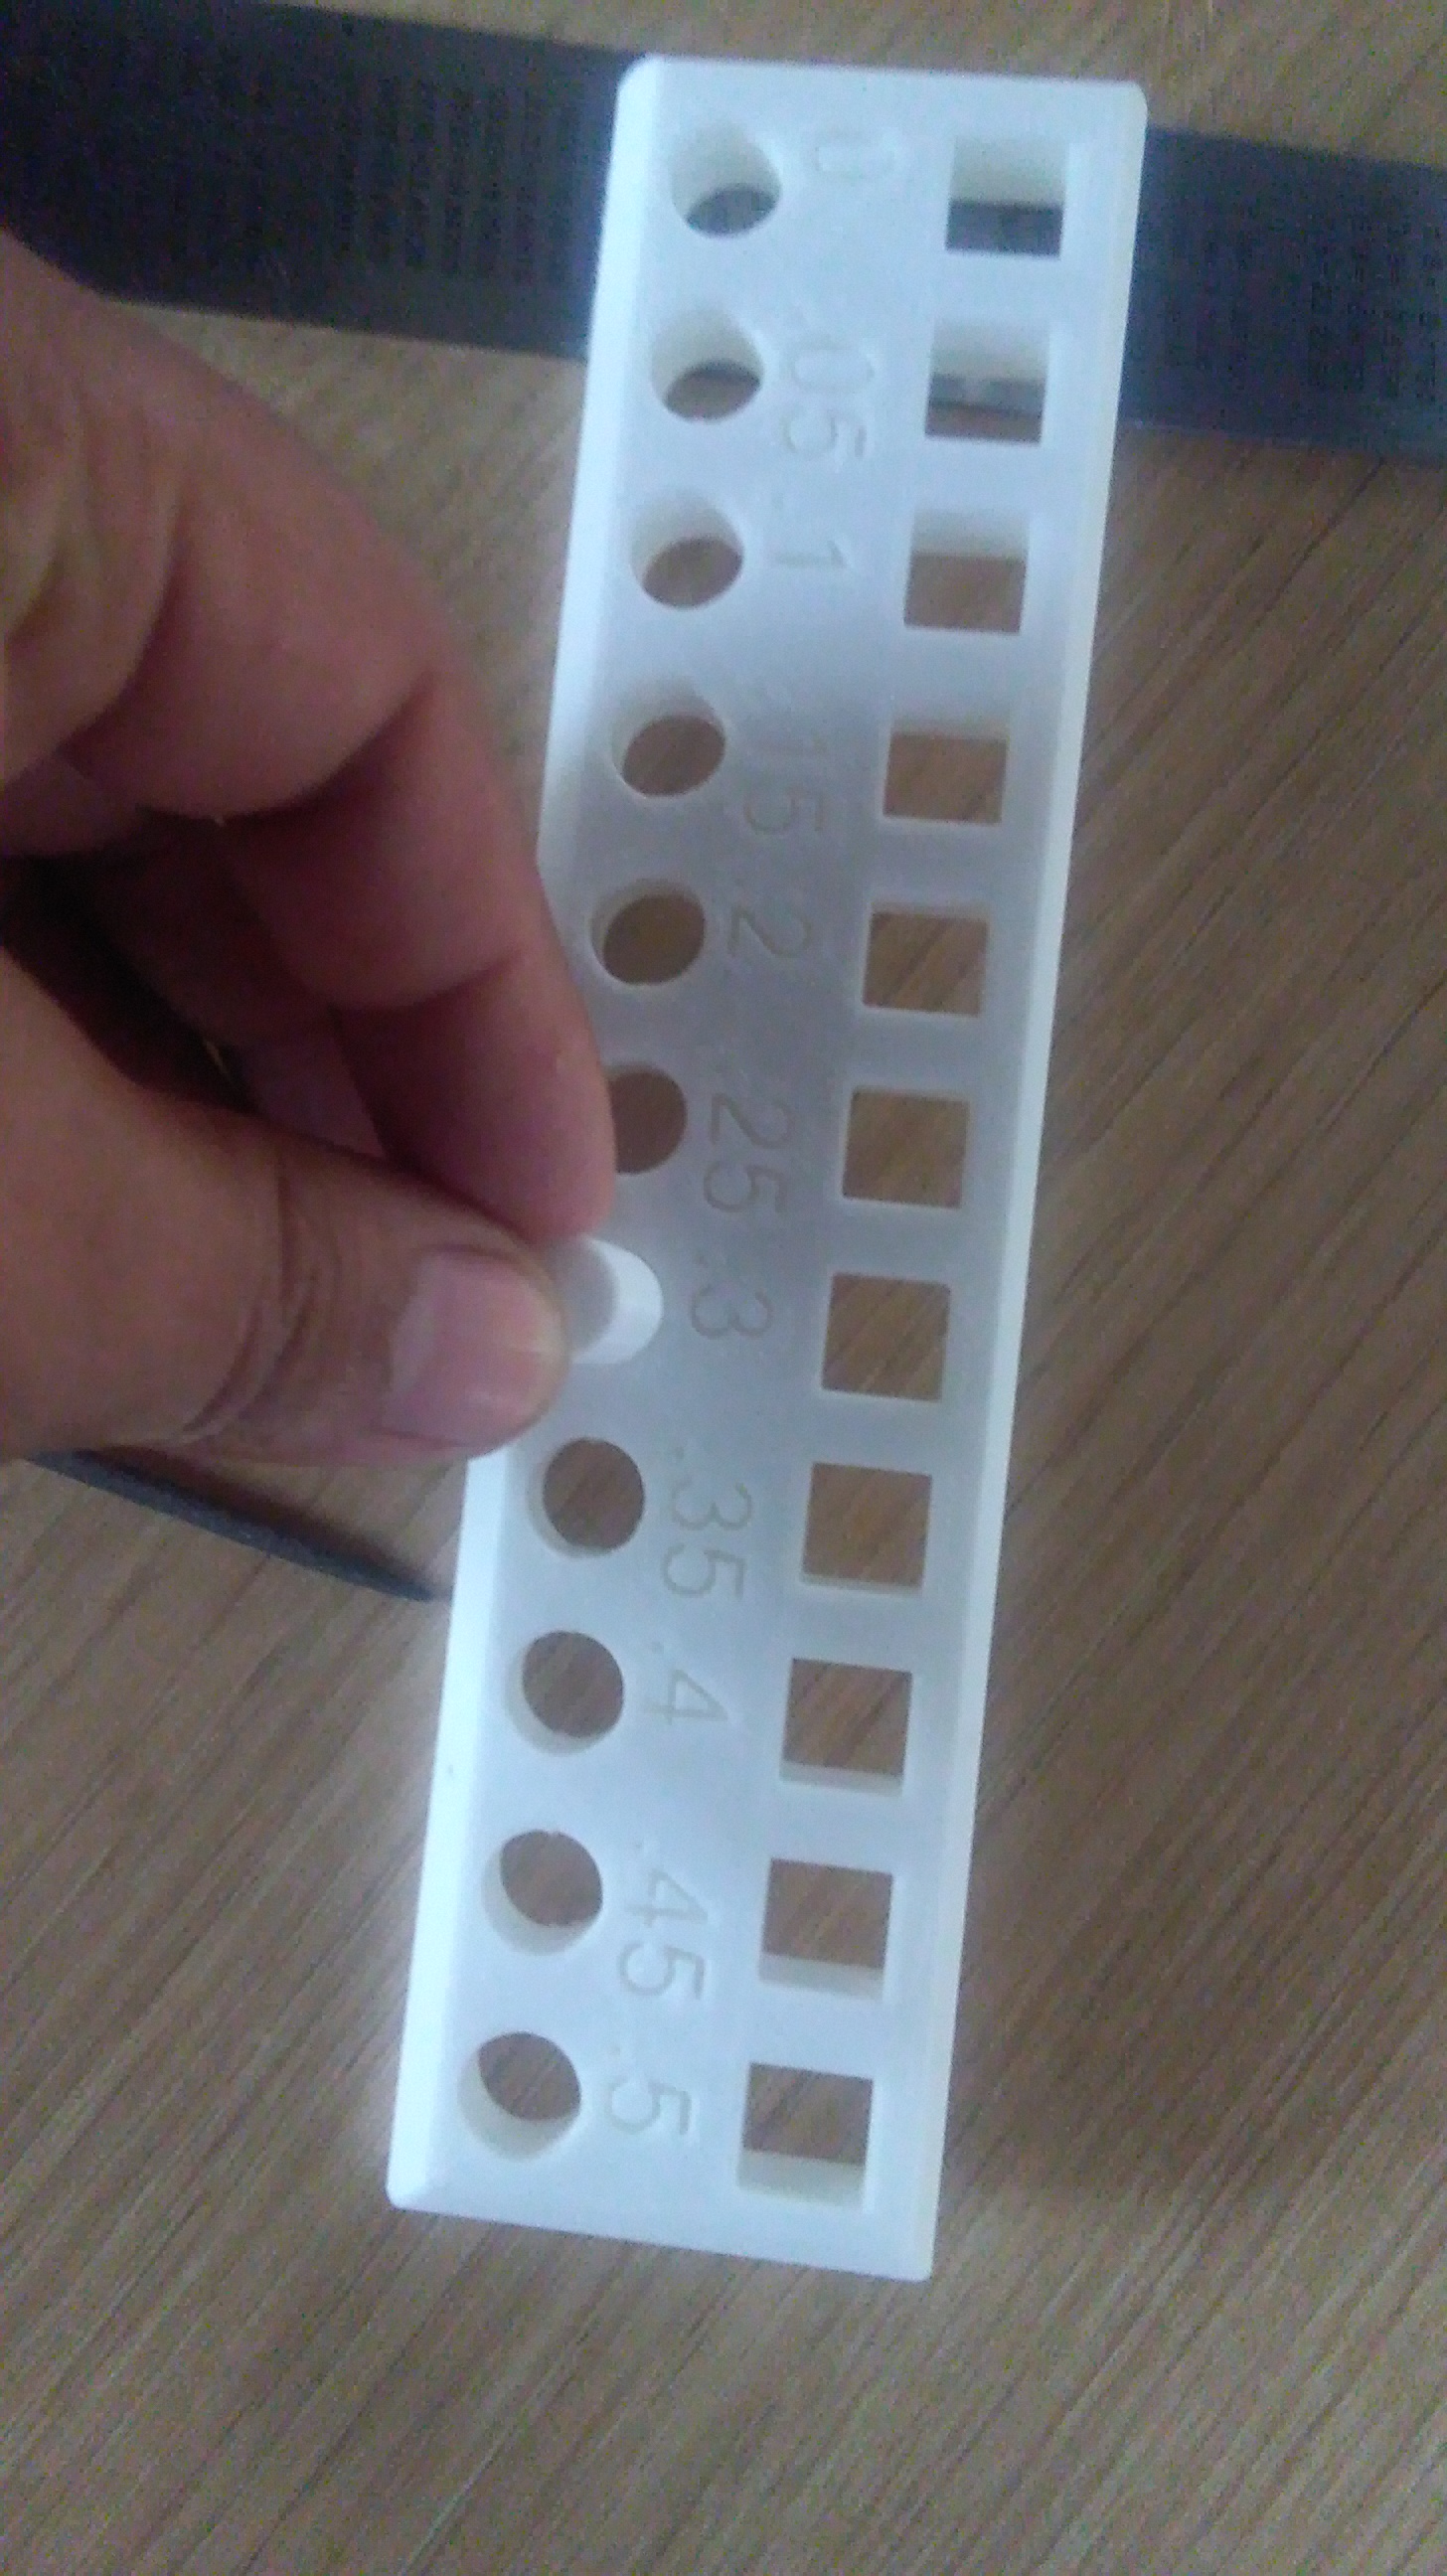
And according to these tests, the proper tolerance for a free movement is 0.4 to 0.5mm.
Designed and made your object and explained why it could not be made subtractively
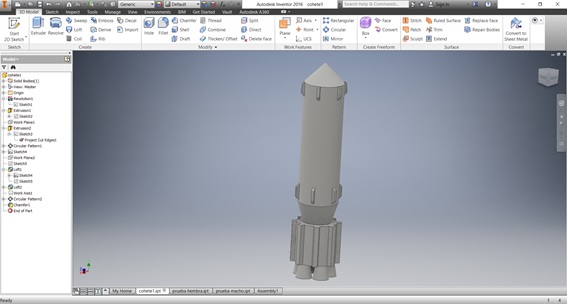
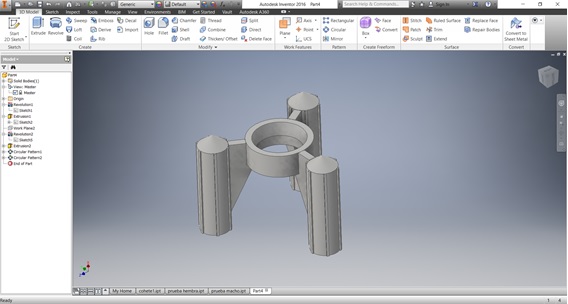
I decided to design and manufacture a ROCKET but that is composed of two parts, which when assembled turn and be printed as an assembly together.
This type of design could not be manufactured in a subtractive way because there would be no way to manufacture two objects already assembled and able to rotate with one another.
I used AUTODESK INVENTOR to design the rocket.


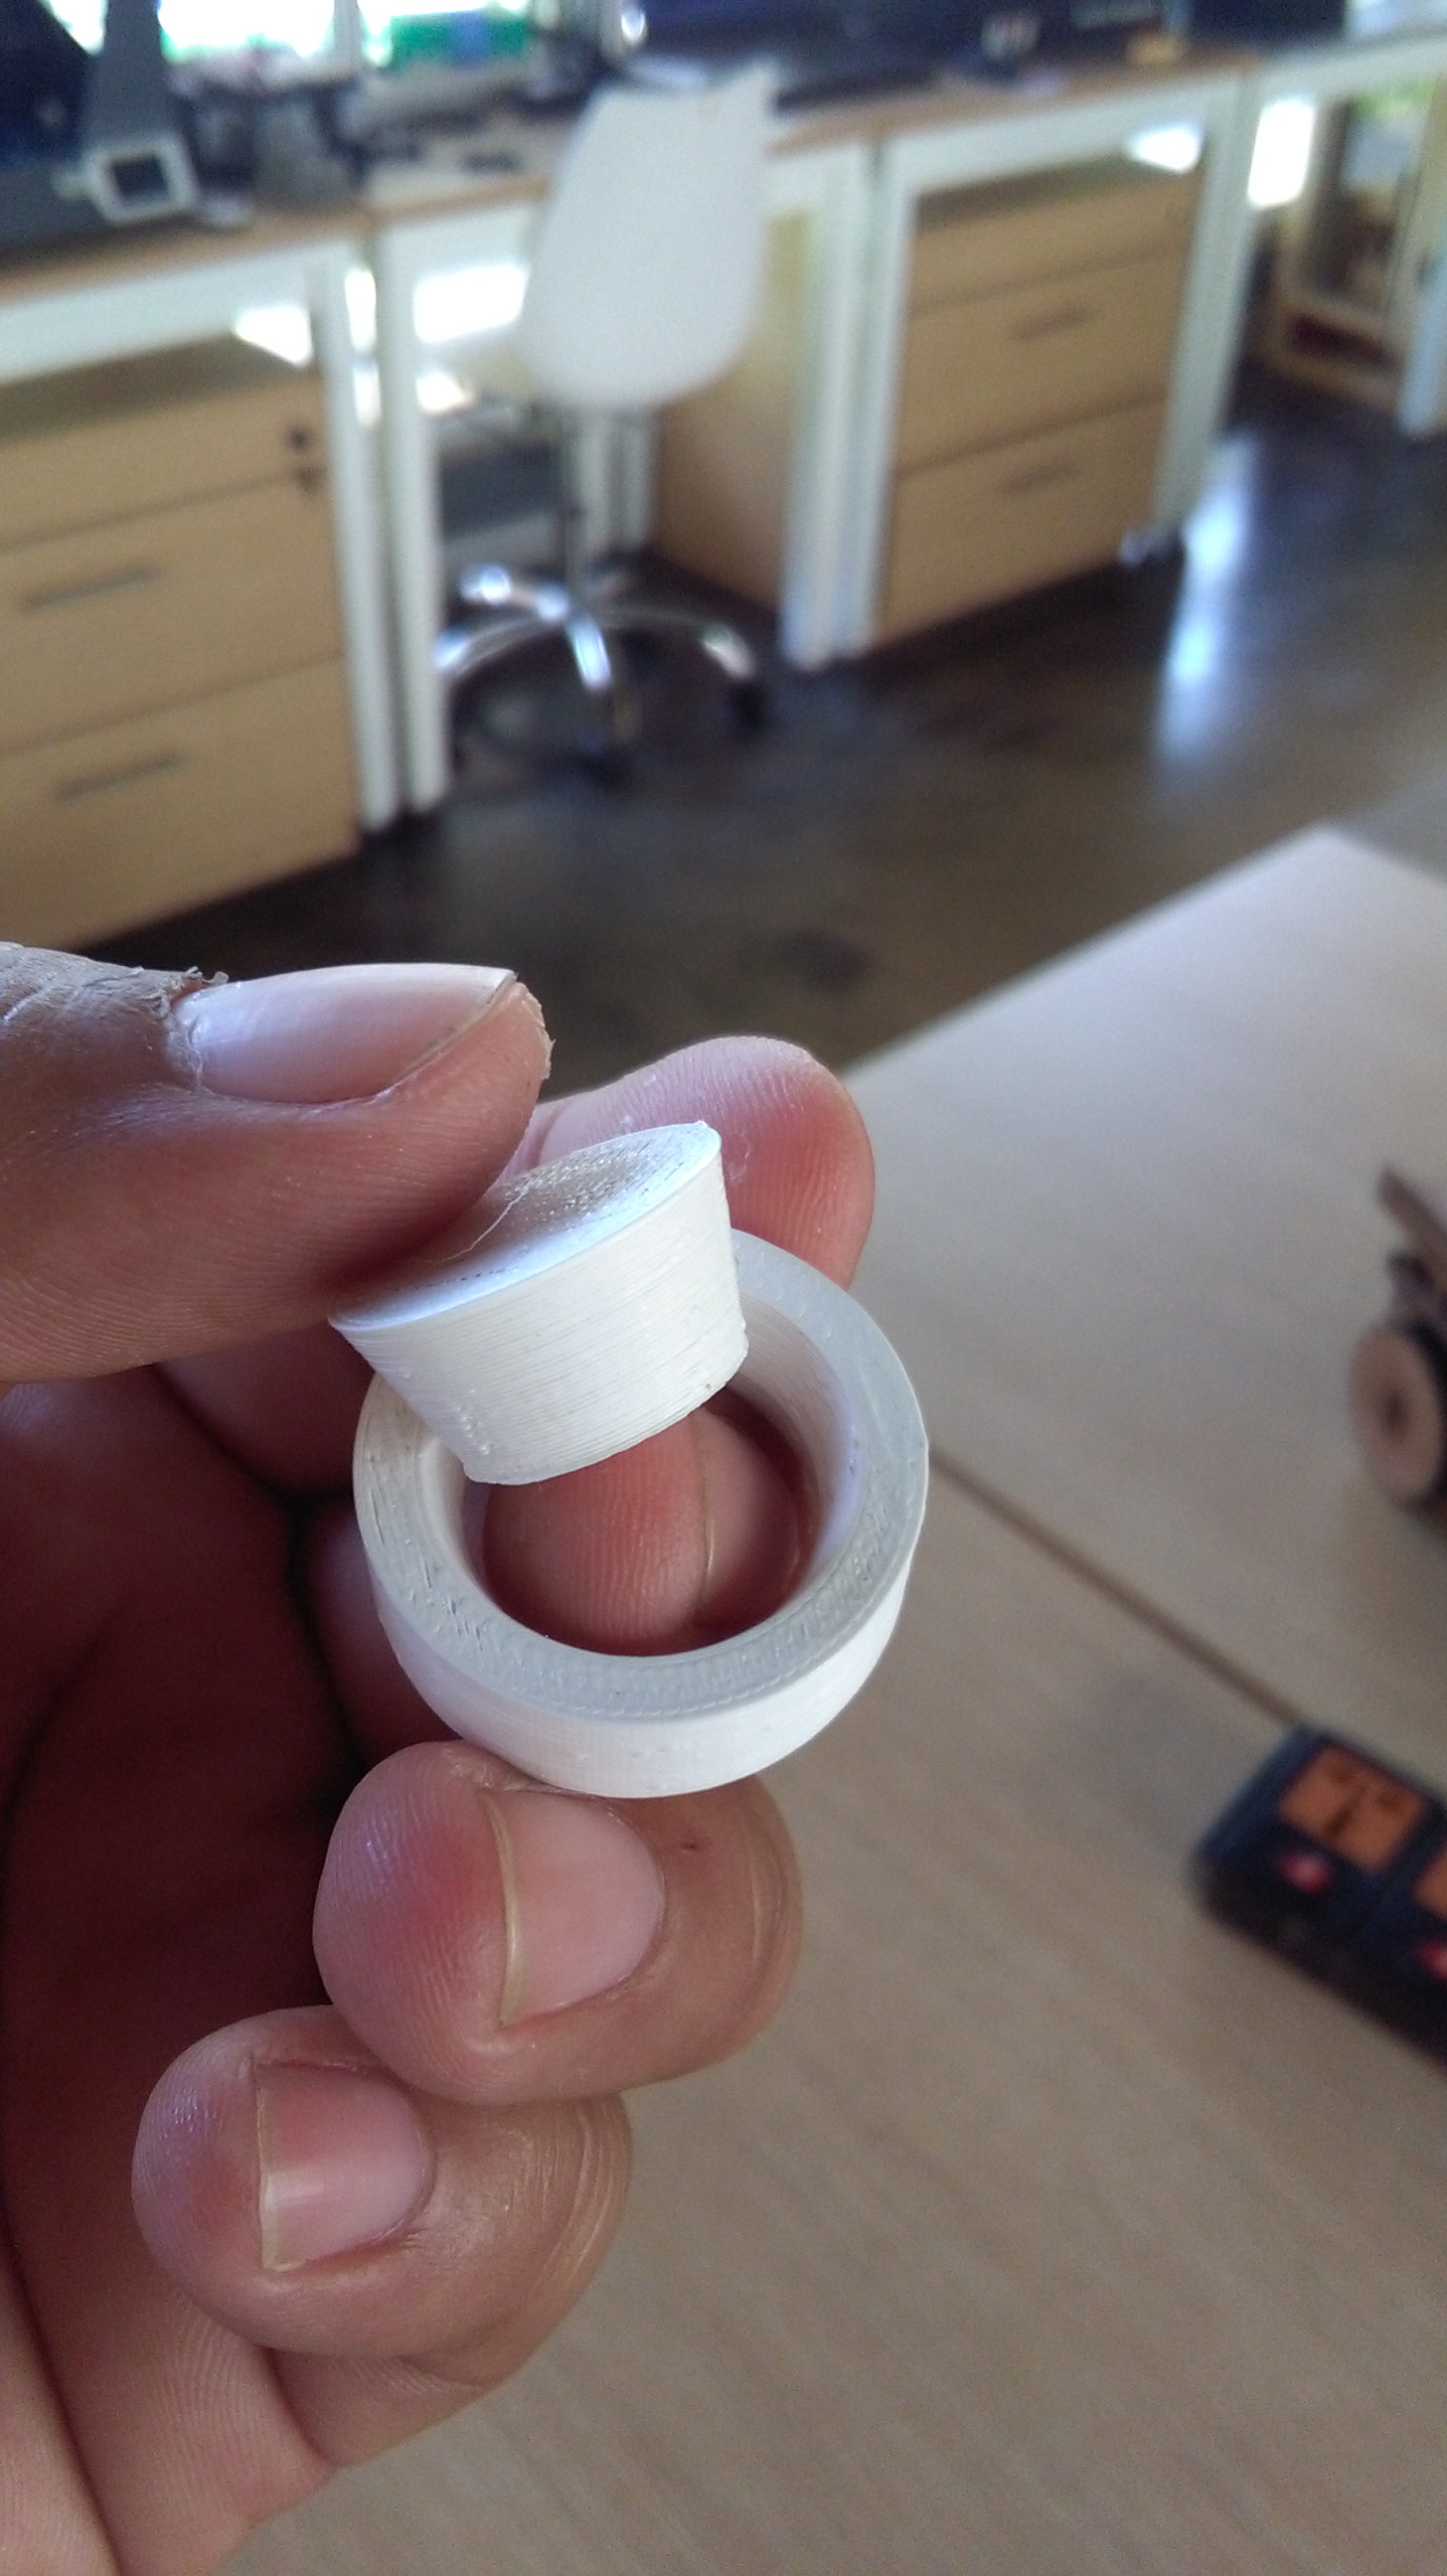
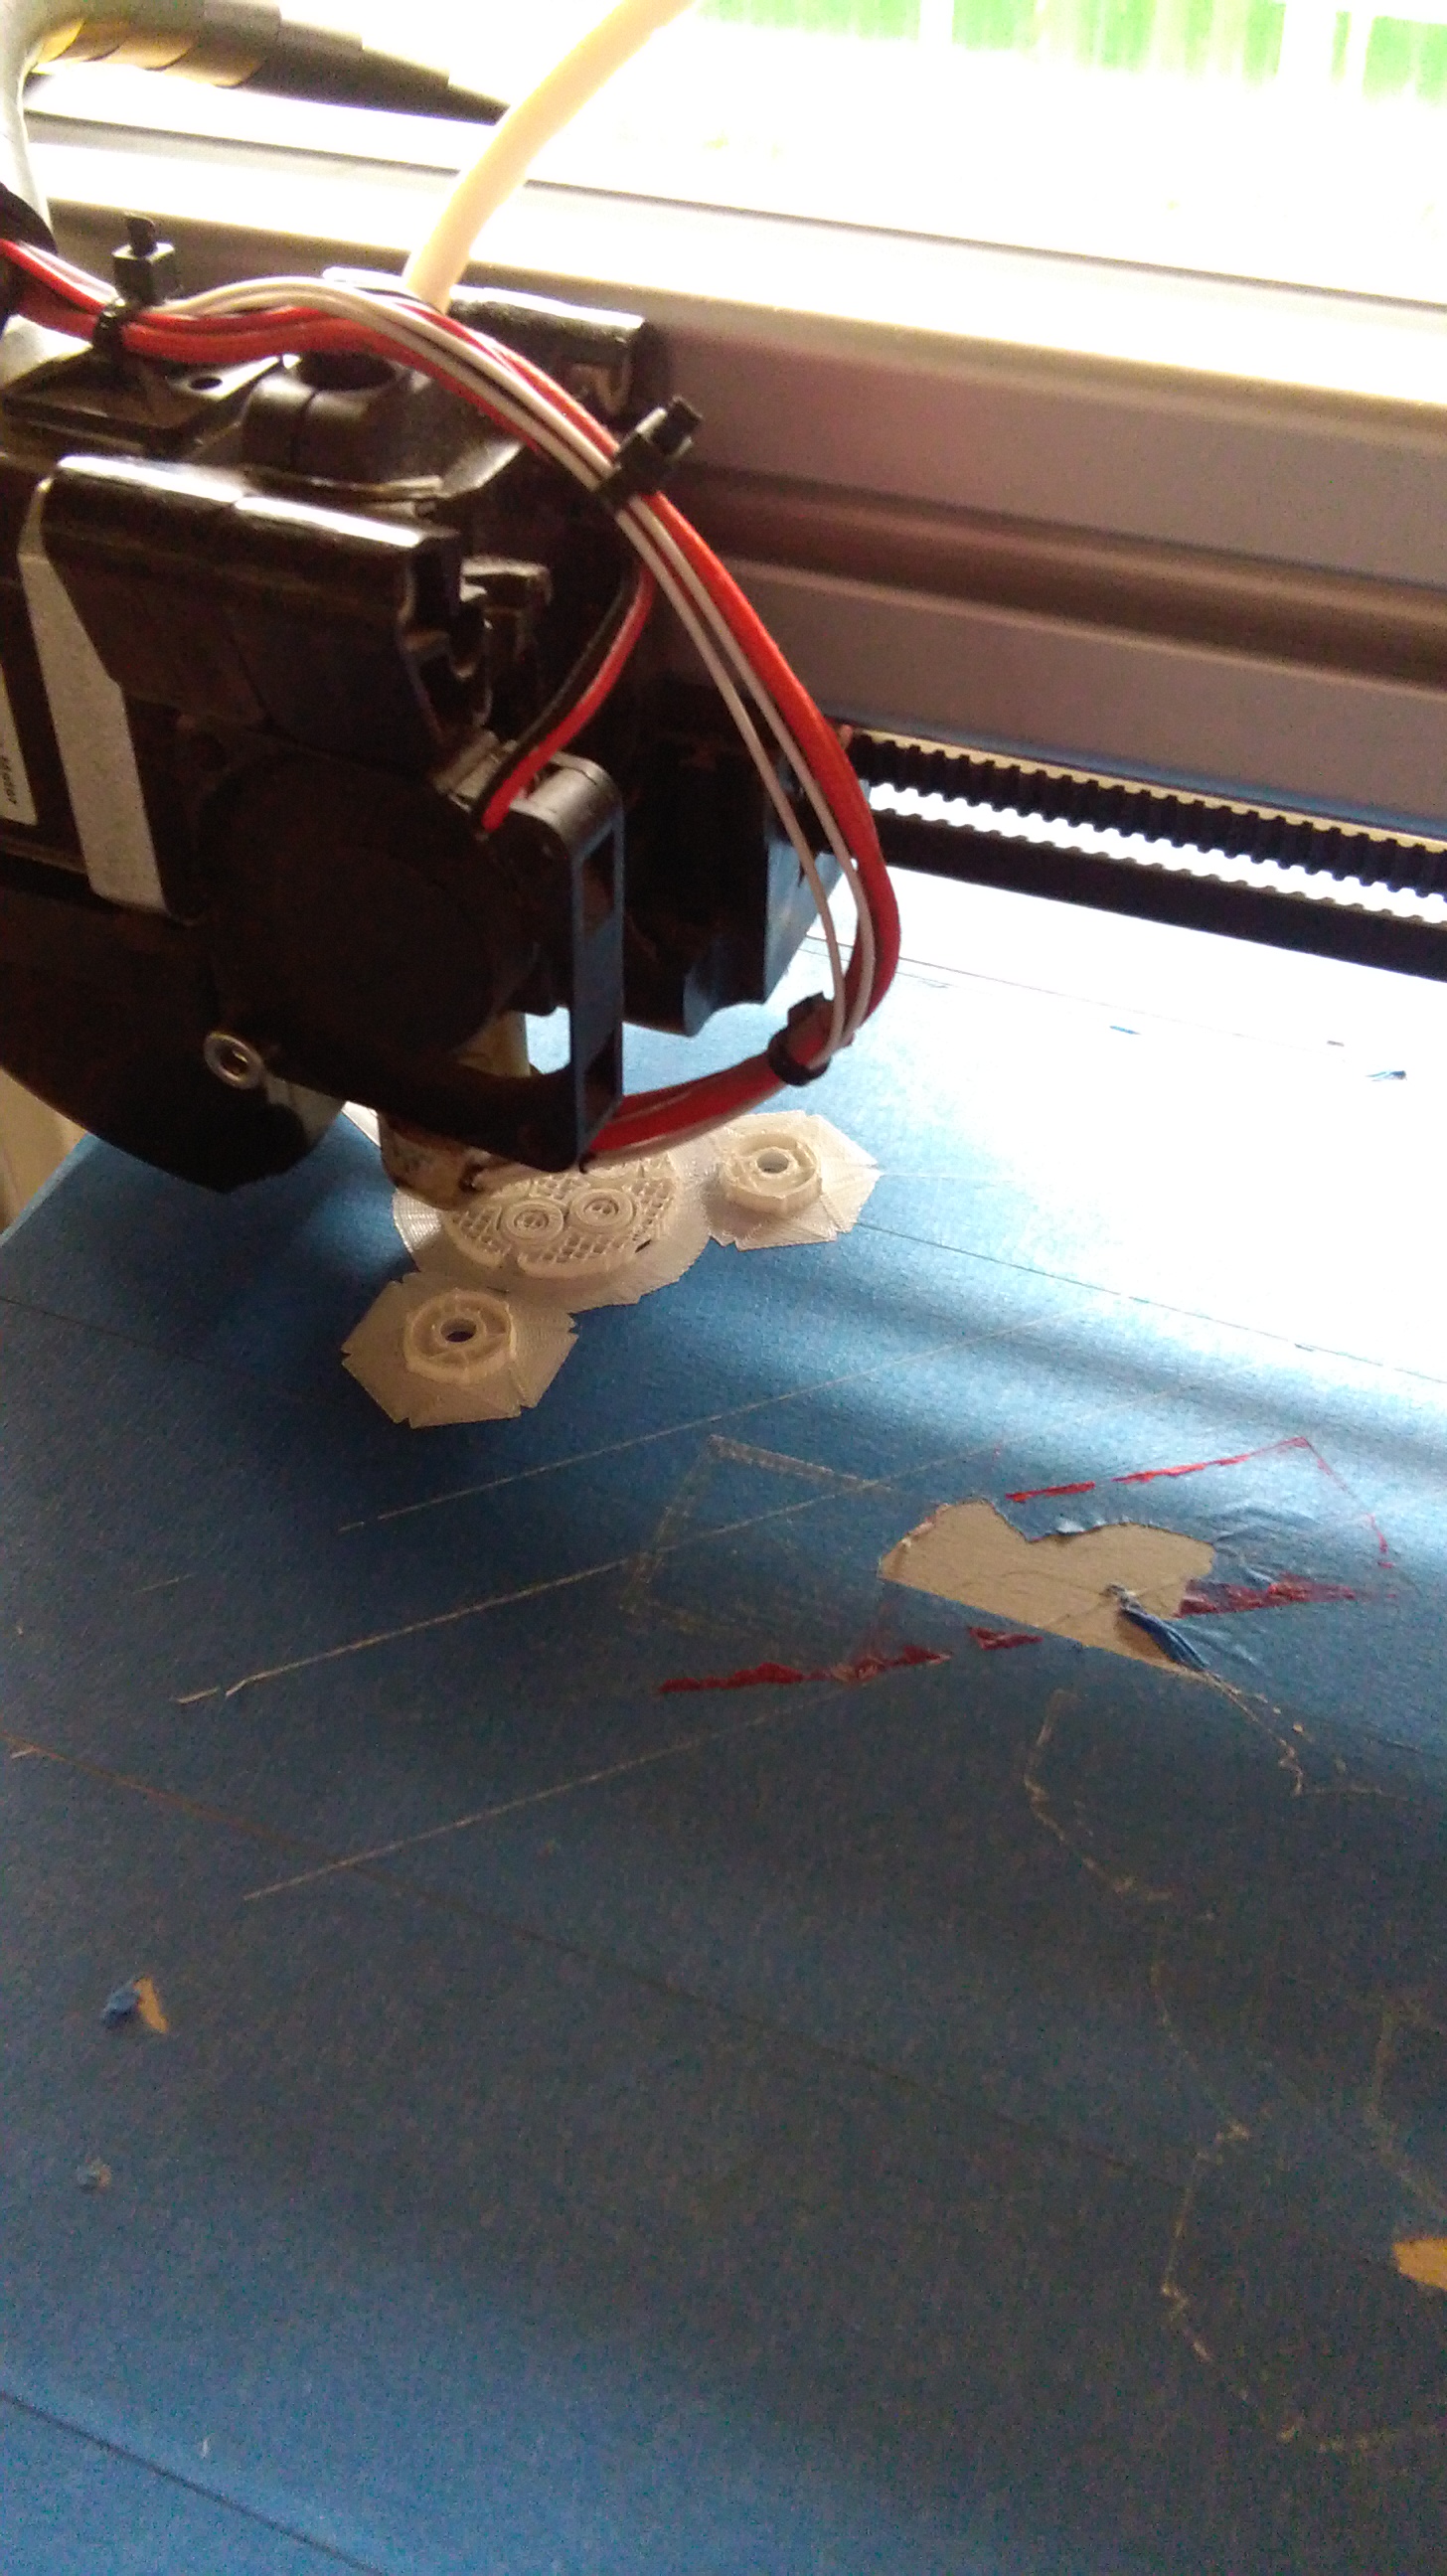
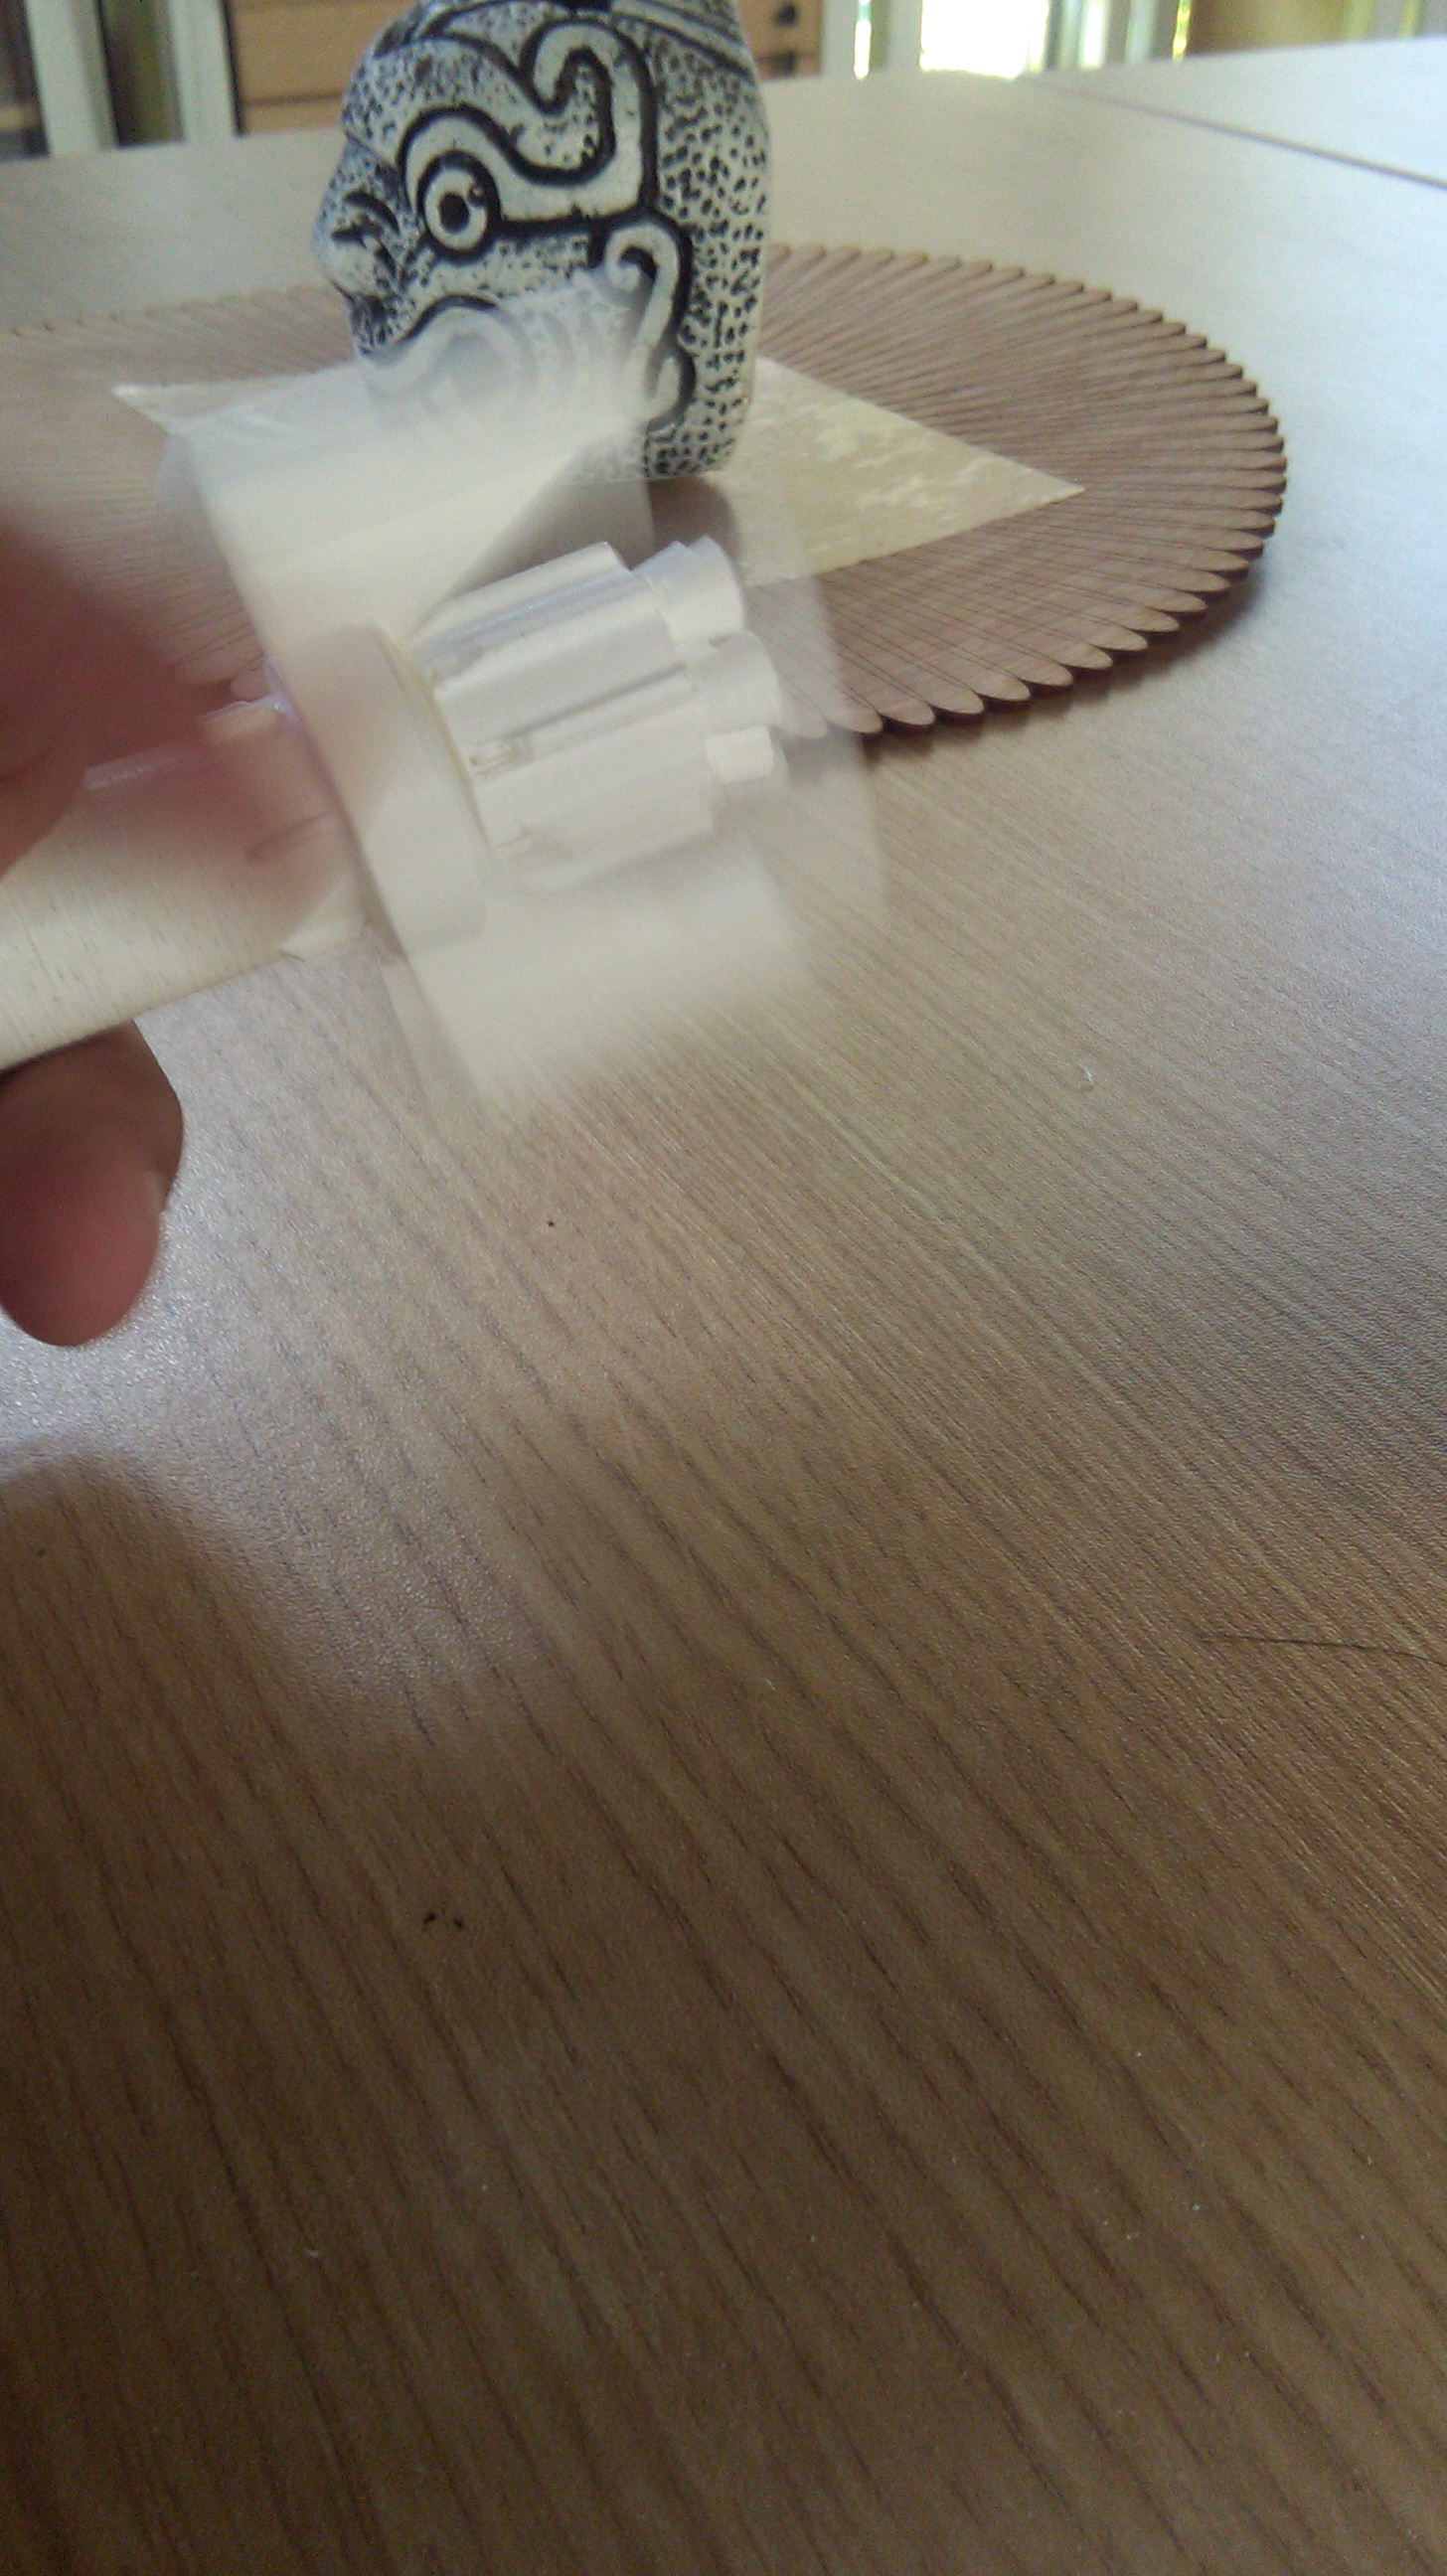
But before completing the designs, make a test of the part where the bearing or turning occurs.
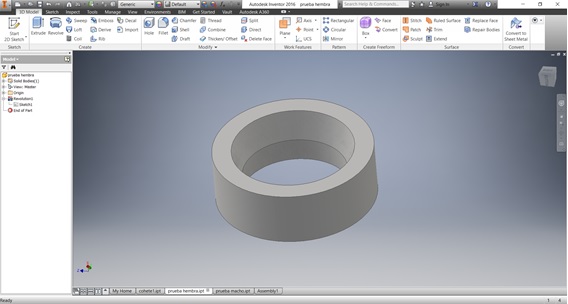
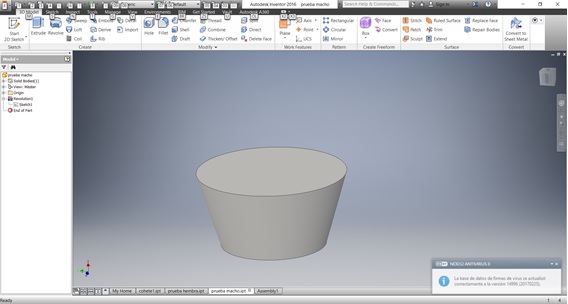
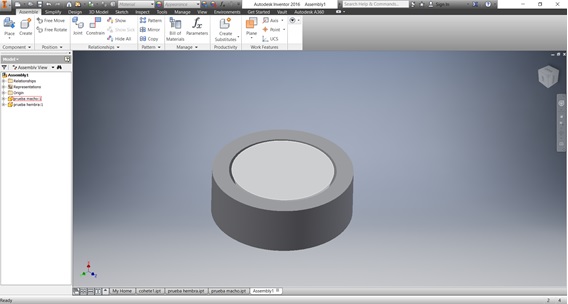
And the bearing was printed for tolerance test.
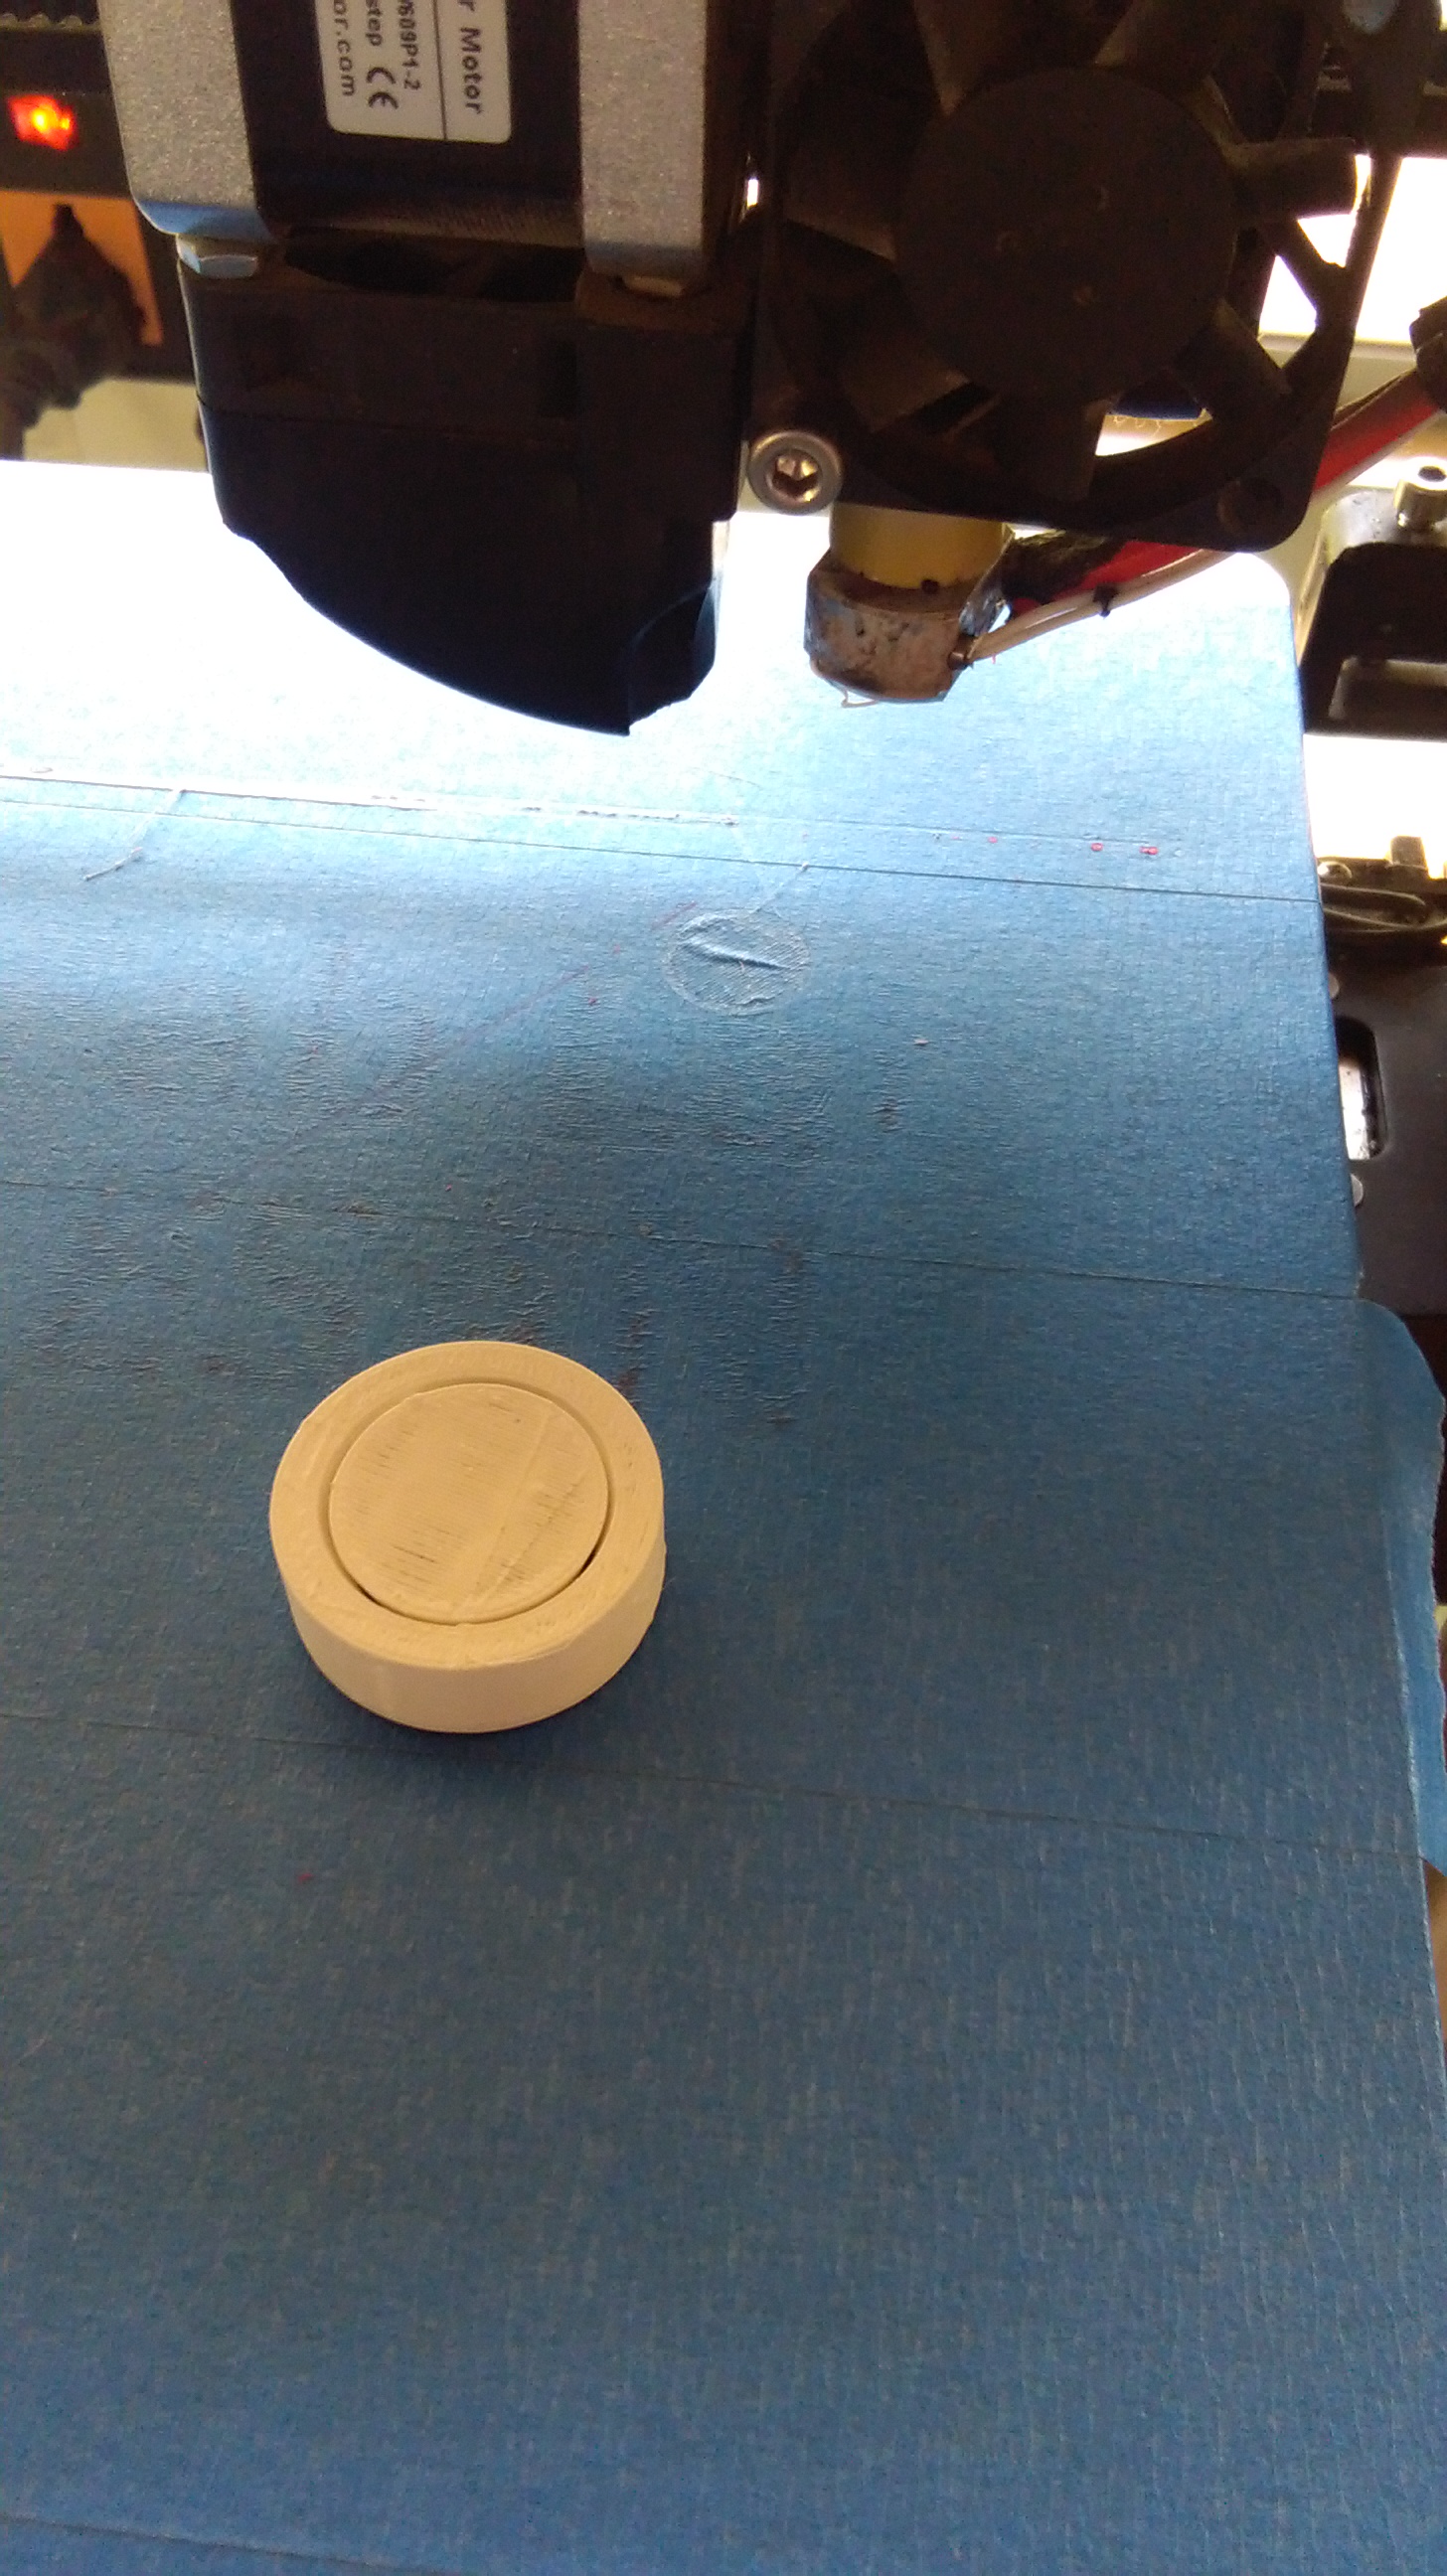
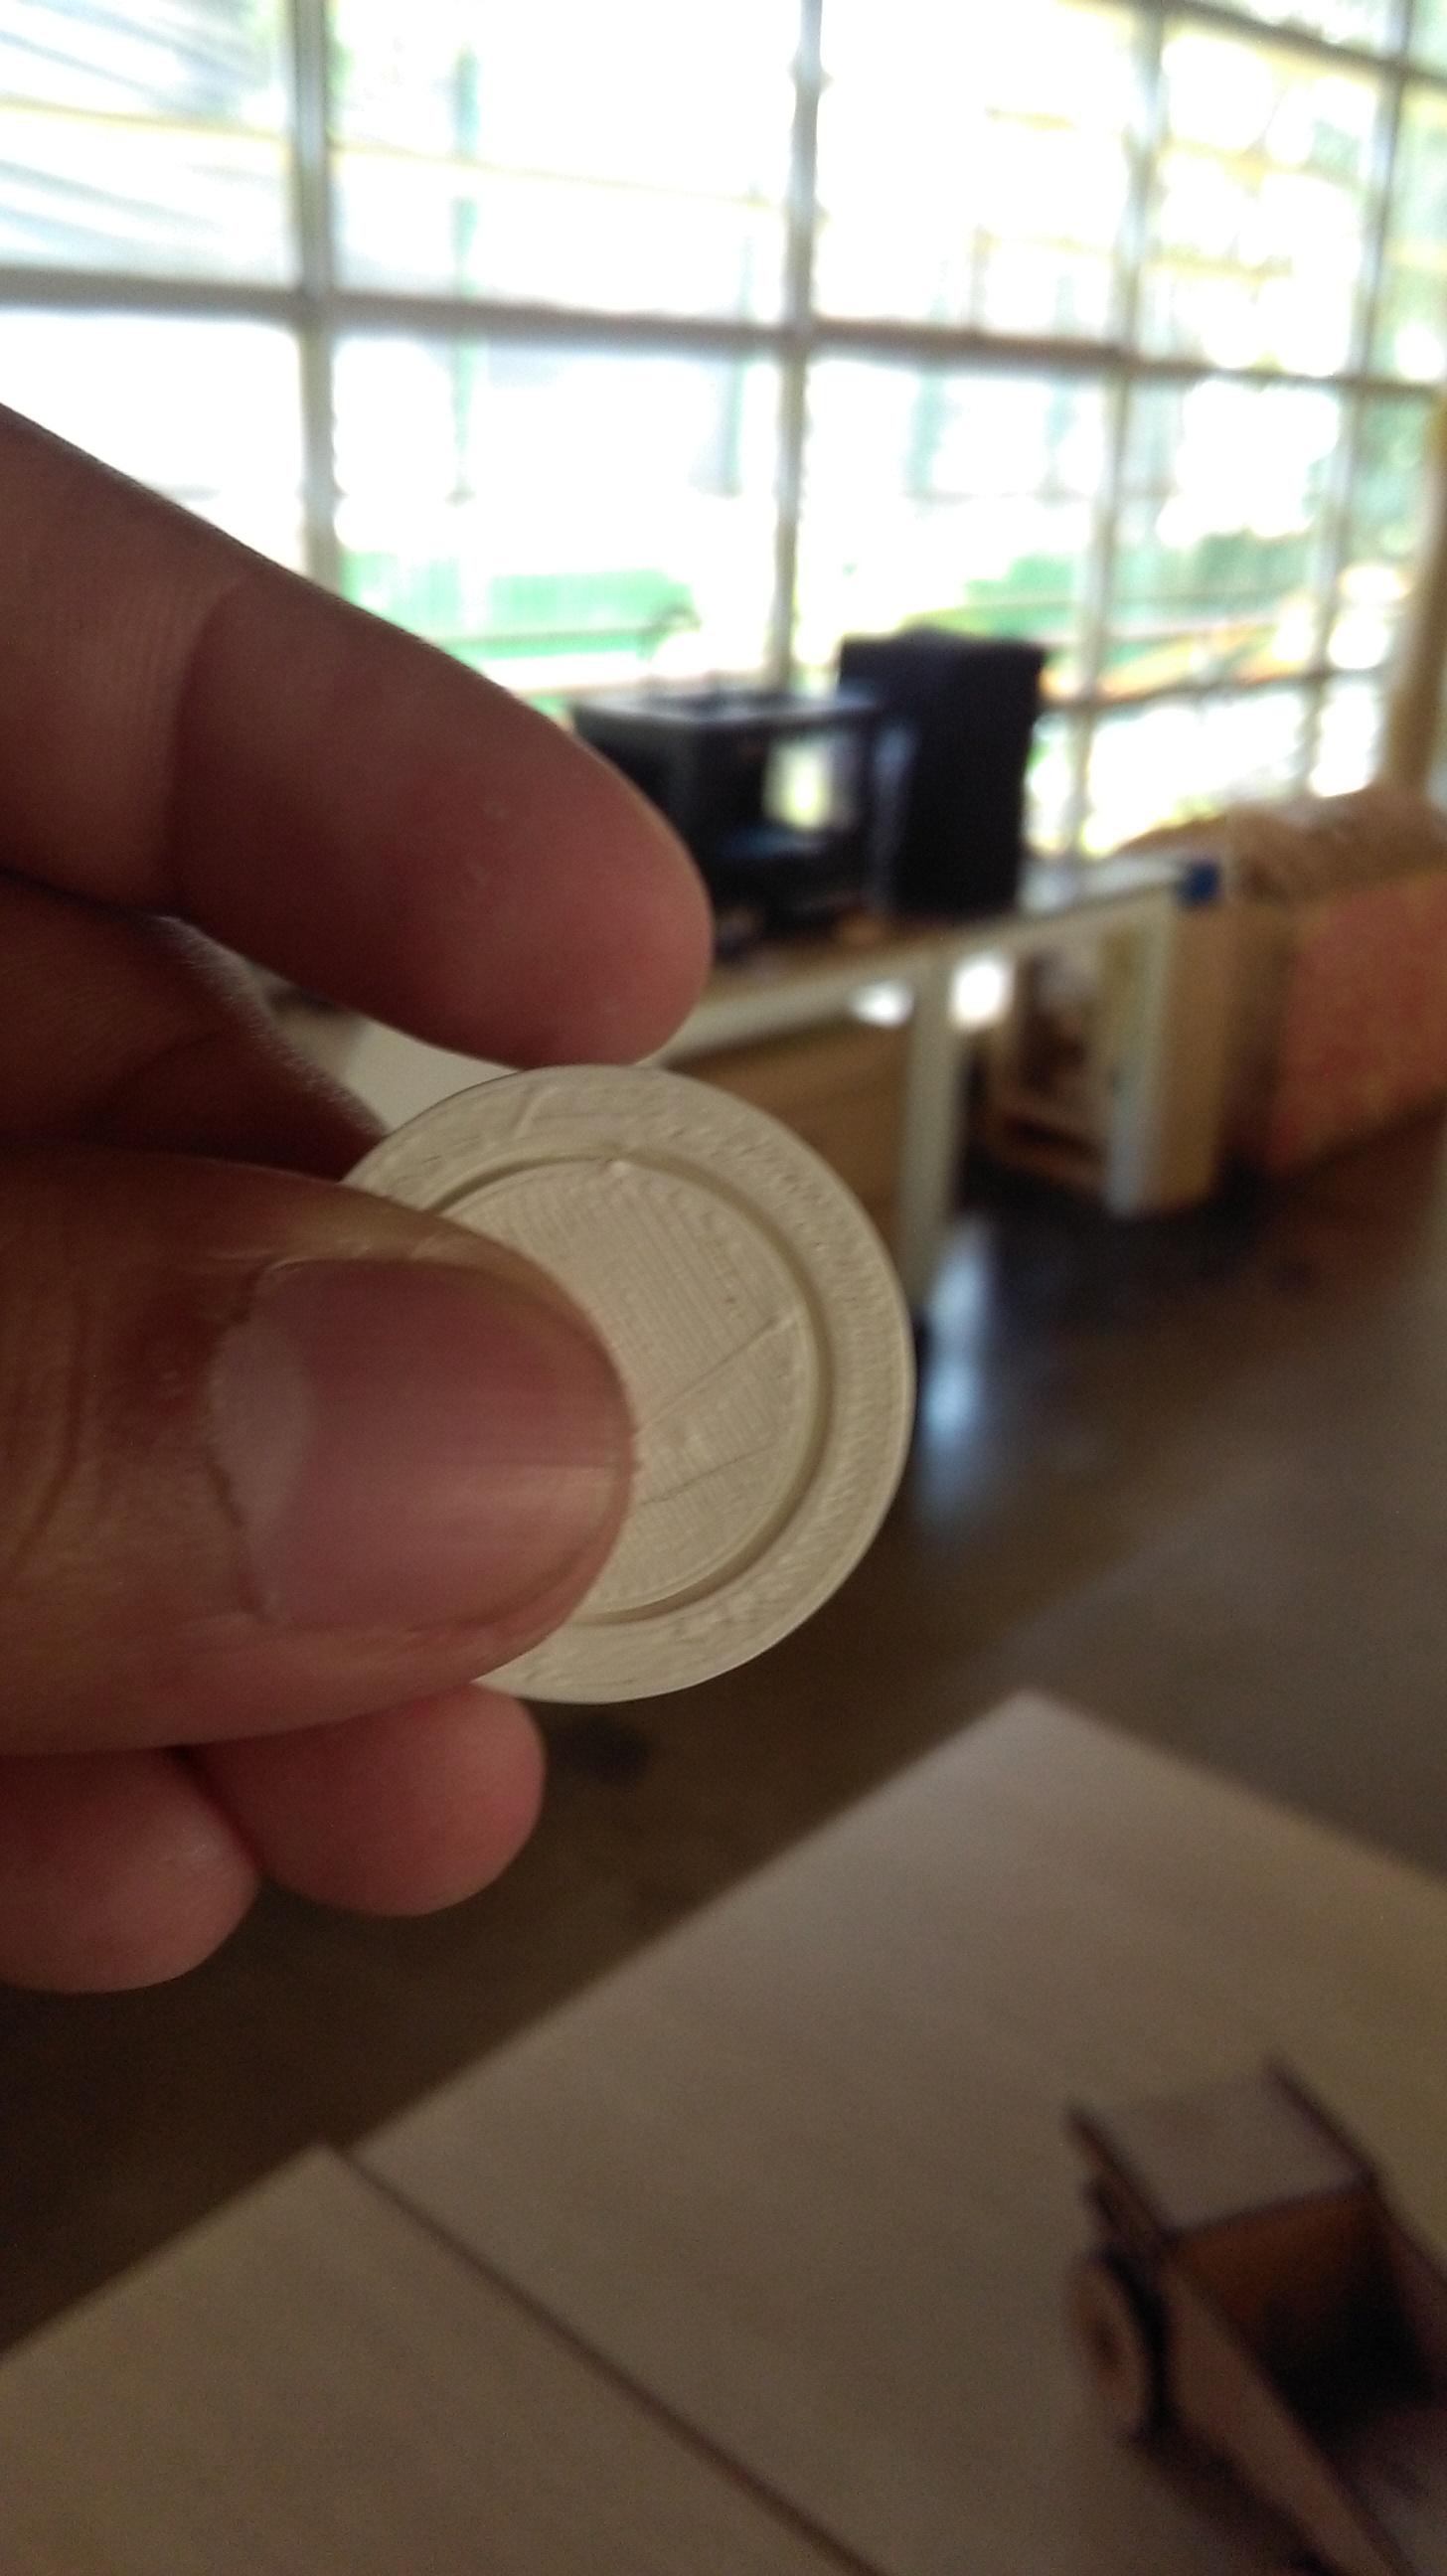
And as you can see in the photo, the test is good because it was possible to printed both pieces as an assembly but they were not gathered or pasted during the printing. That is, the designed bearing shape allows the supports not to join both pieces together.
And I was able to finish designing the pieces to print, considering the tolerance found in the test.
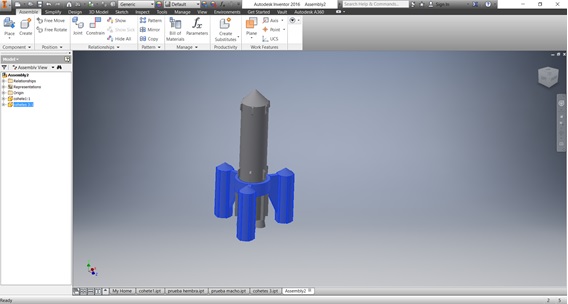
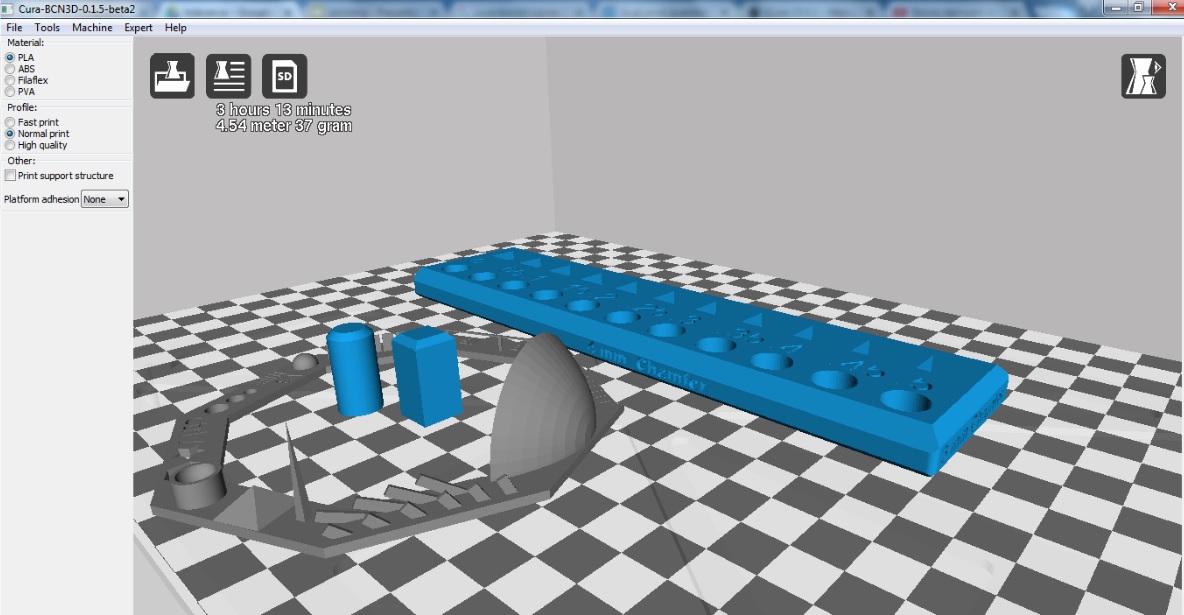
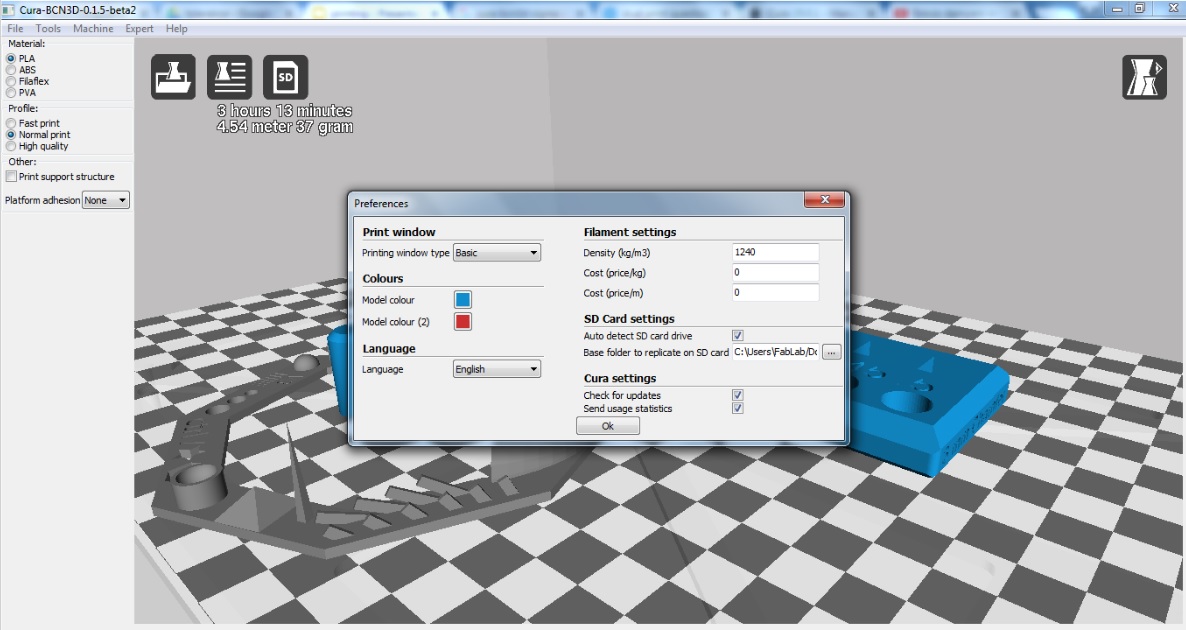
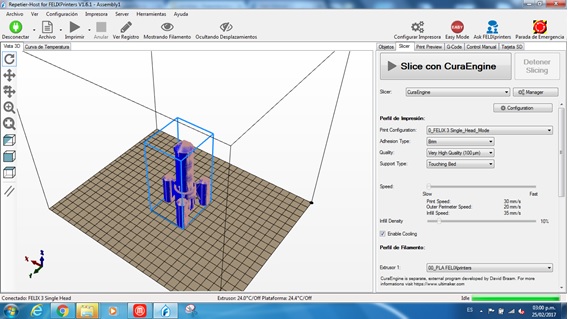
Then, load the assembly into the printer program and run the printout.
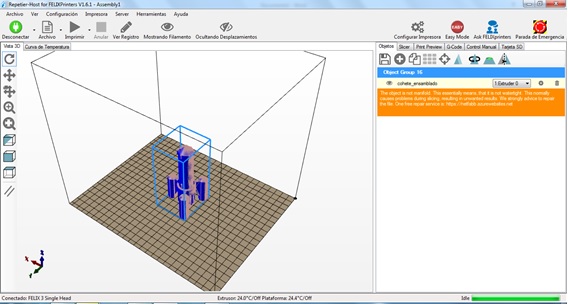
Characteristics of printing, adhesion type: brim, support: touching bed, quality: normal
Then, using tools, remove the supports.
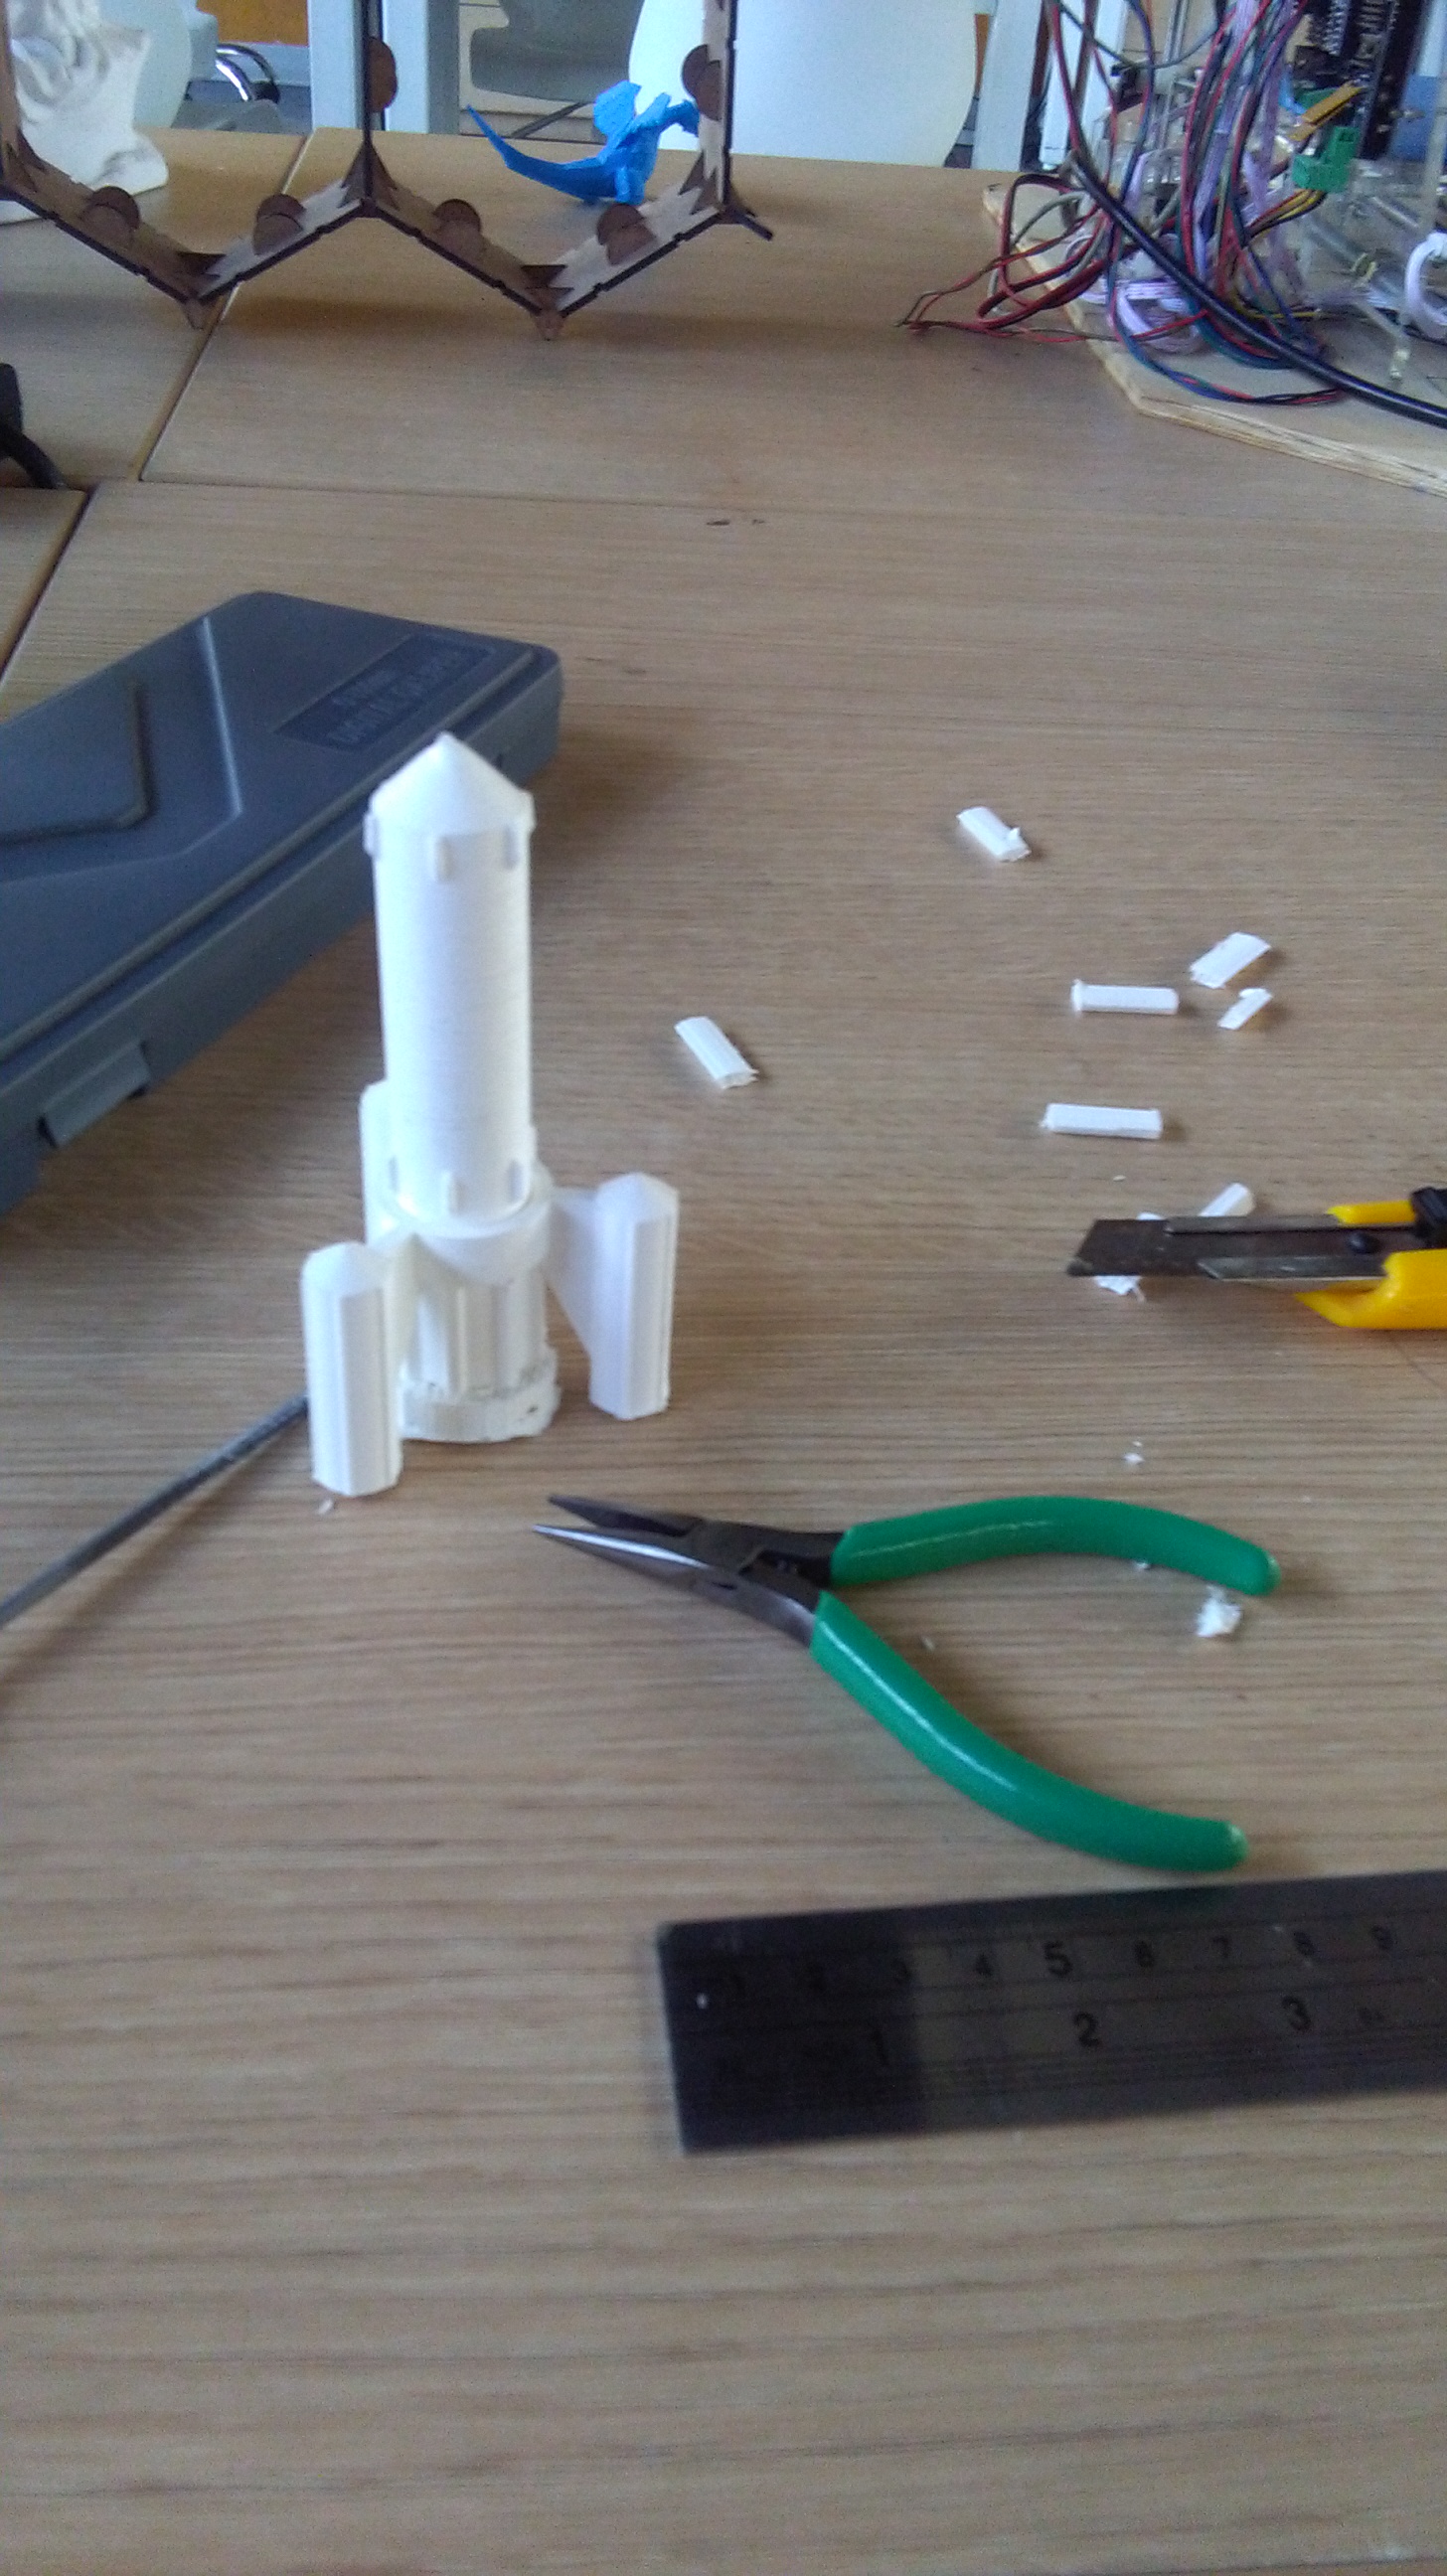
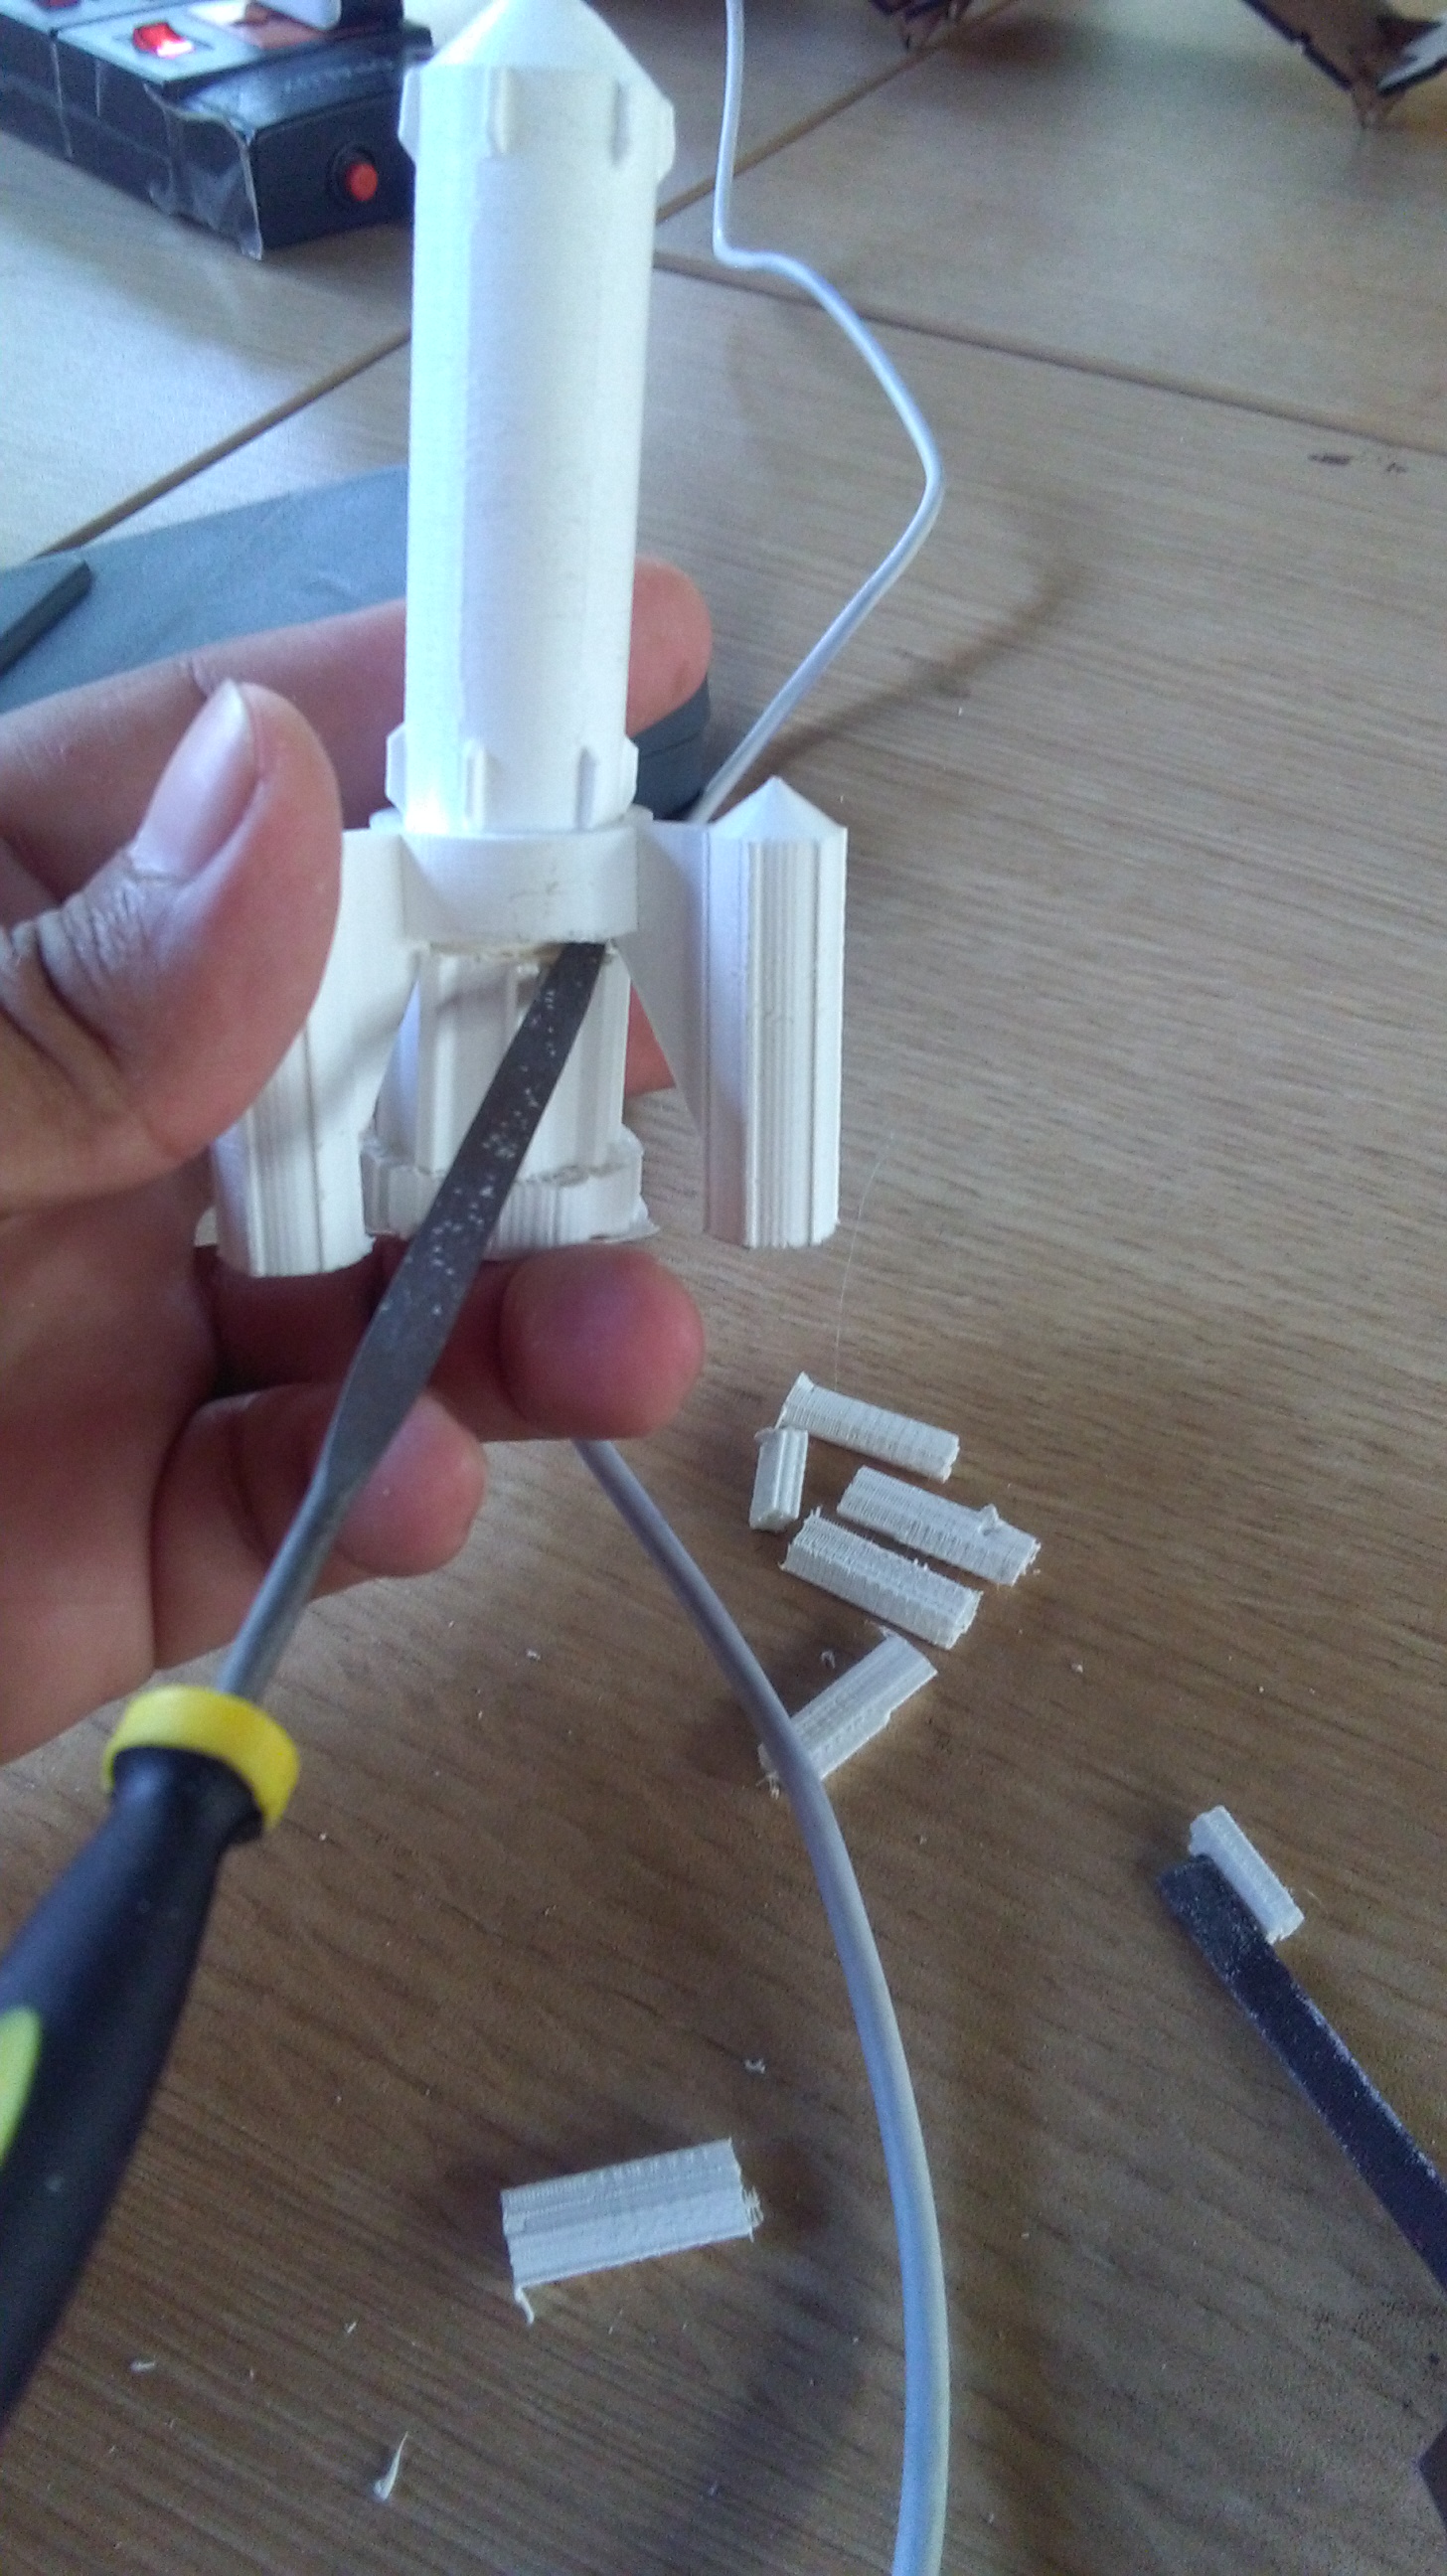
And finally this is my ROCKET.
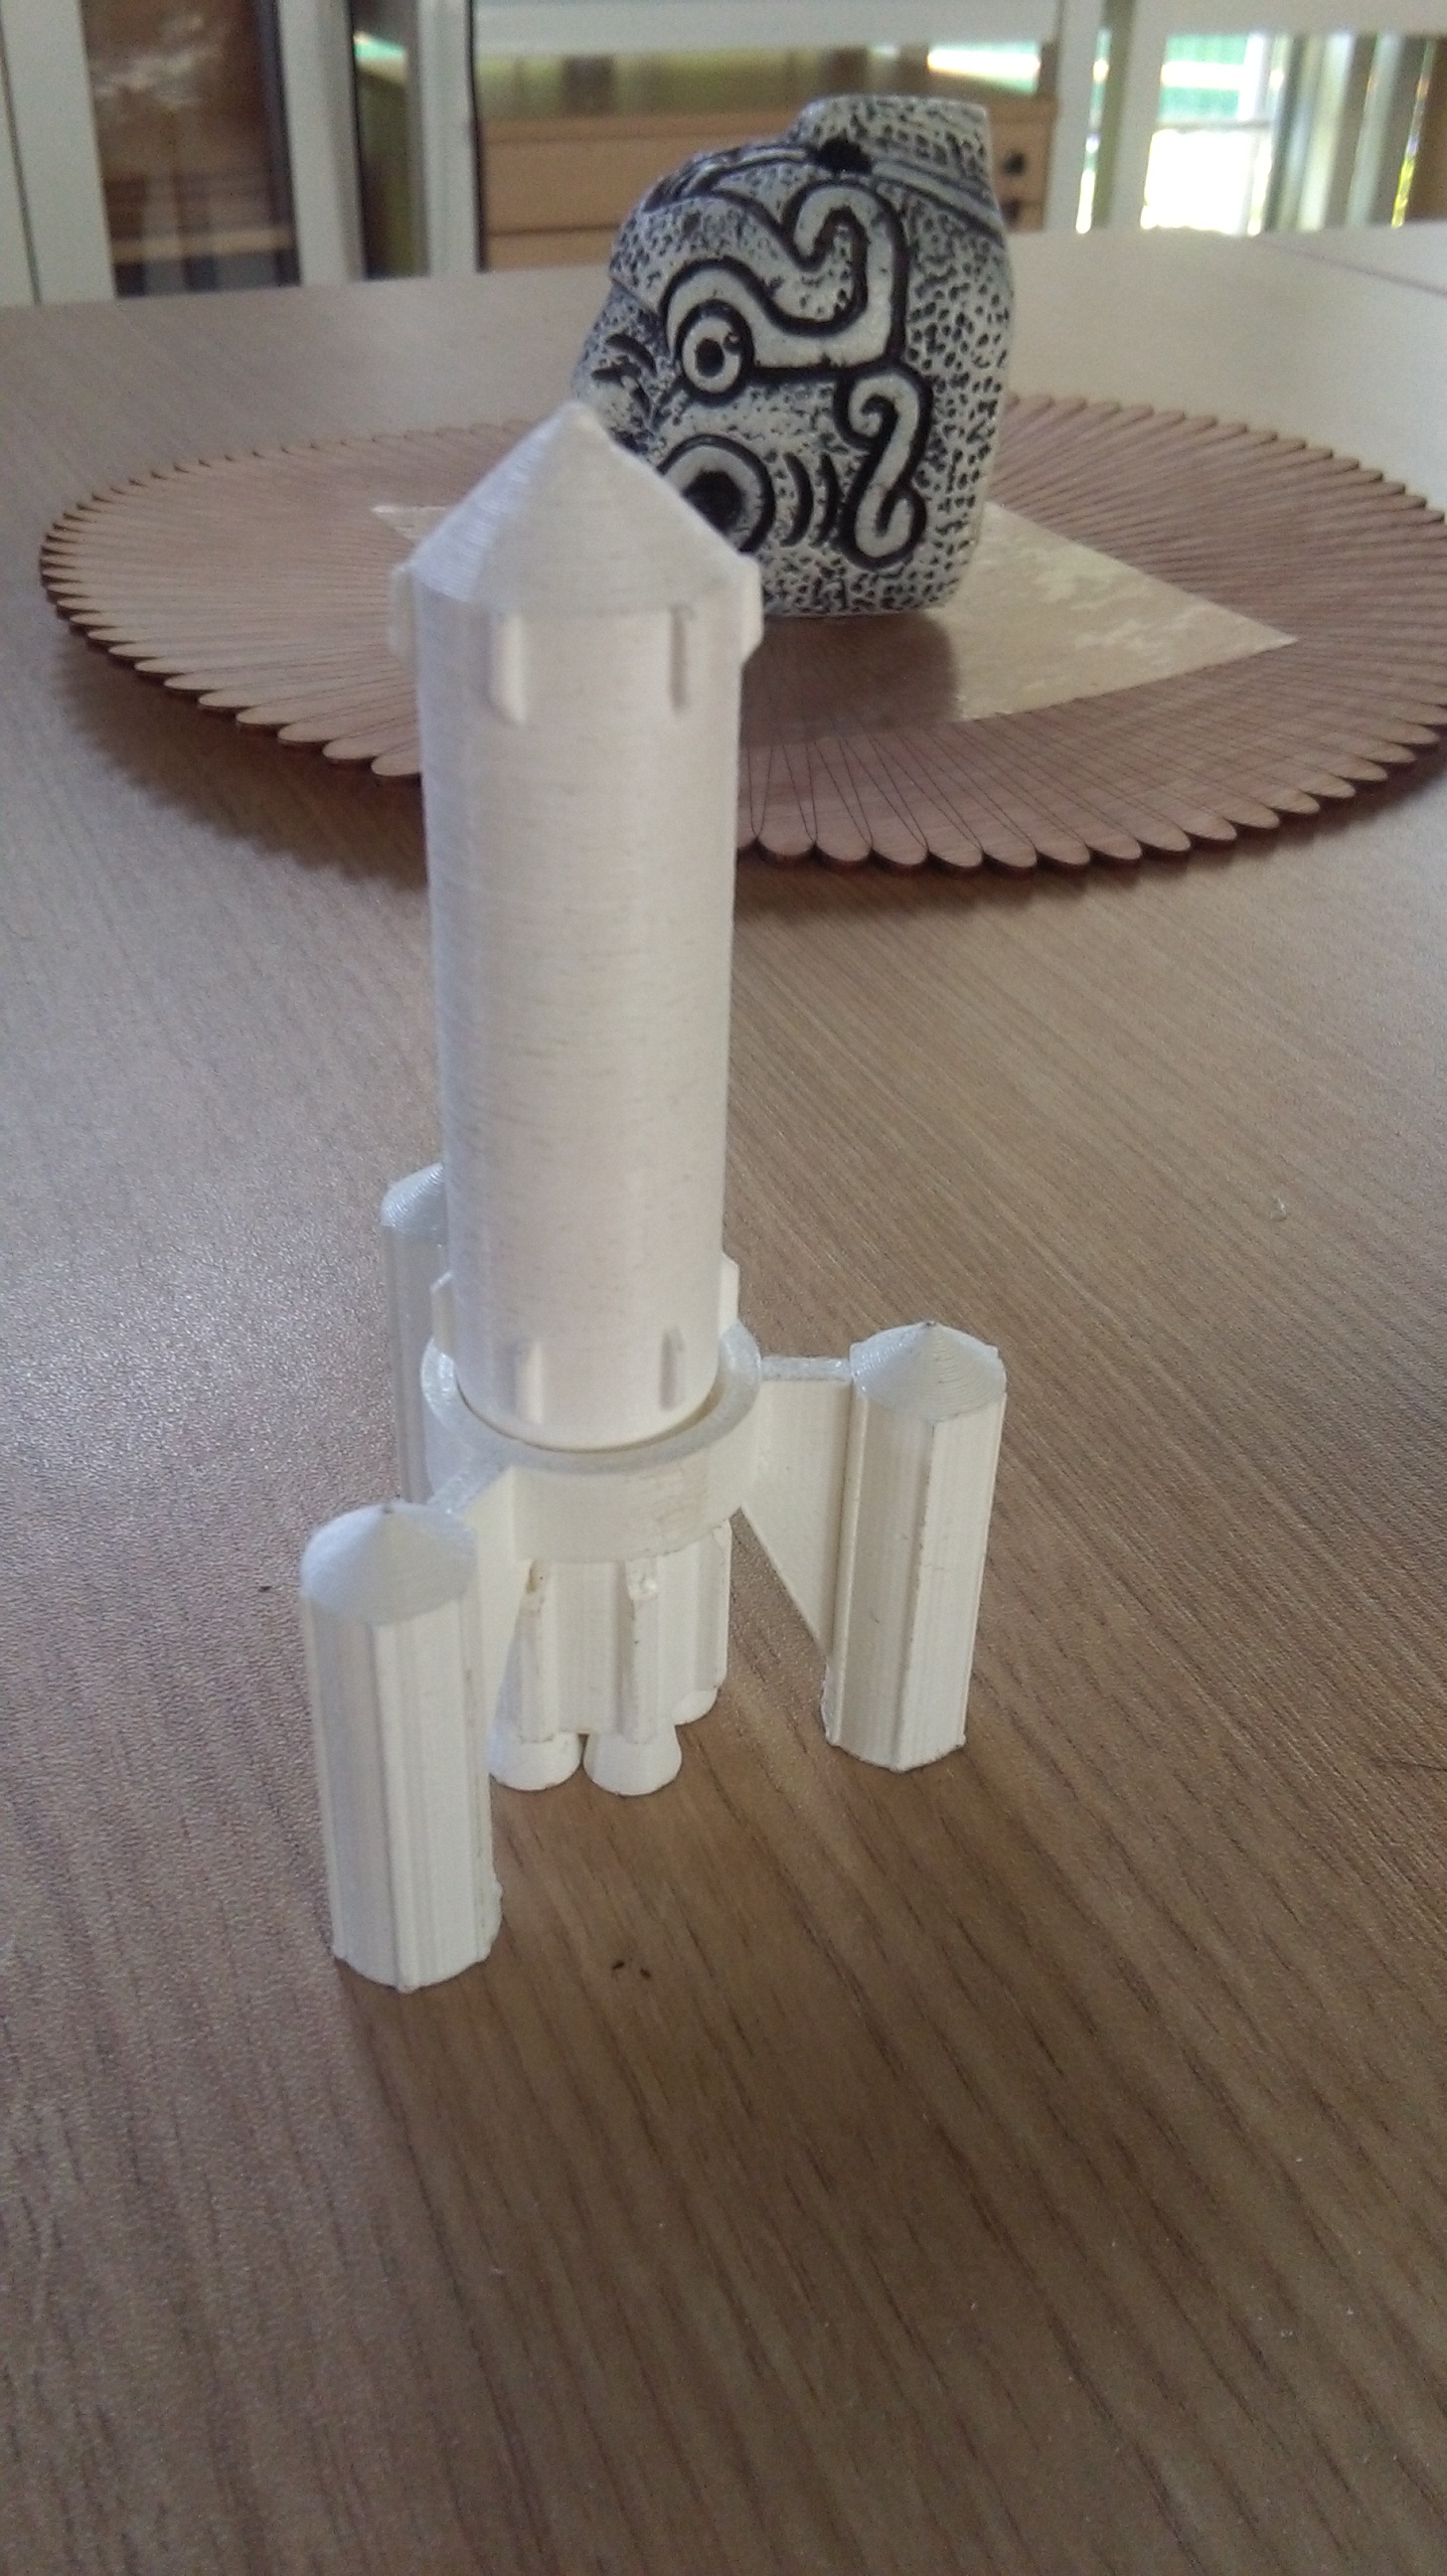

Click here for download the files
![]()
Scanned a object
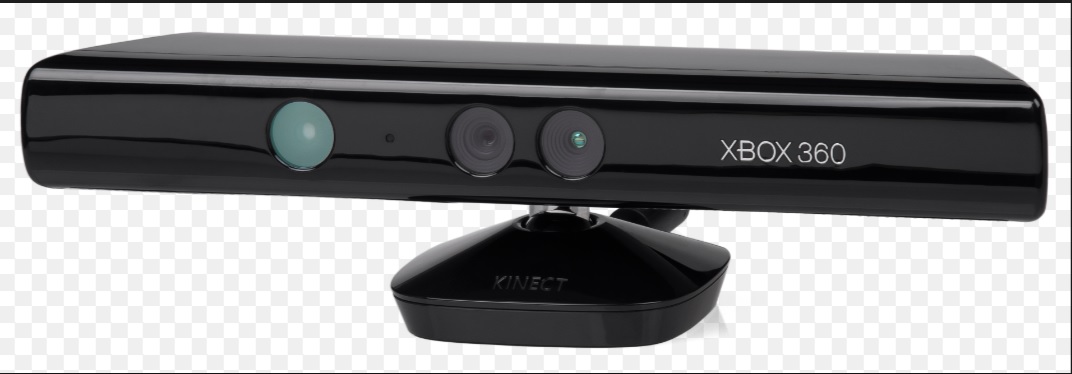
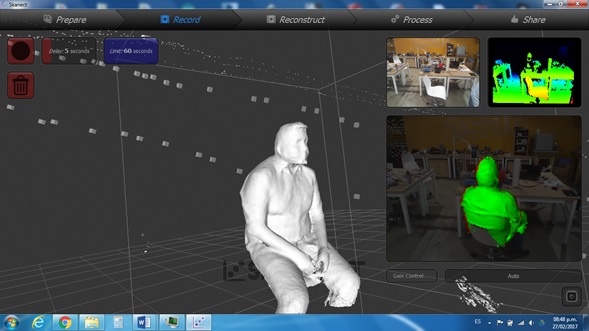
I used the skanect program that allows you to scan images using a kinect xbox 360.

In the program allows you to modify the characteristics of the object to be scanned, if object or body, the distance of the object to the KINECT, and what approximate dimensions it has.

I scanned my body for this use a swivel chair, so that I sit about 50 cm from the kinect, and rotate slowly 360 ° so that the KINECT can fully scan me.
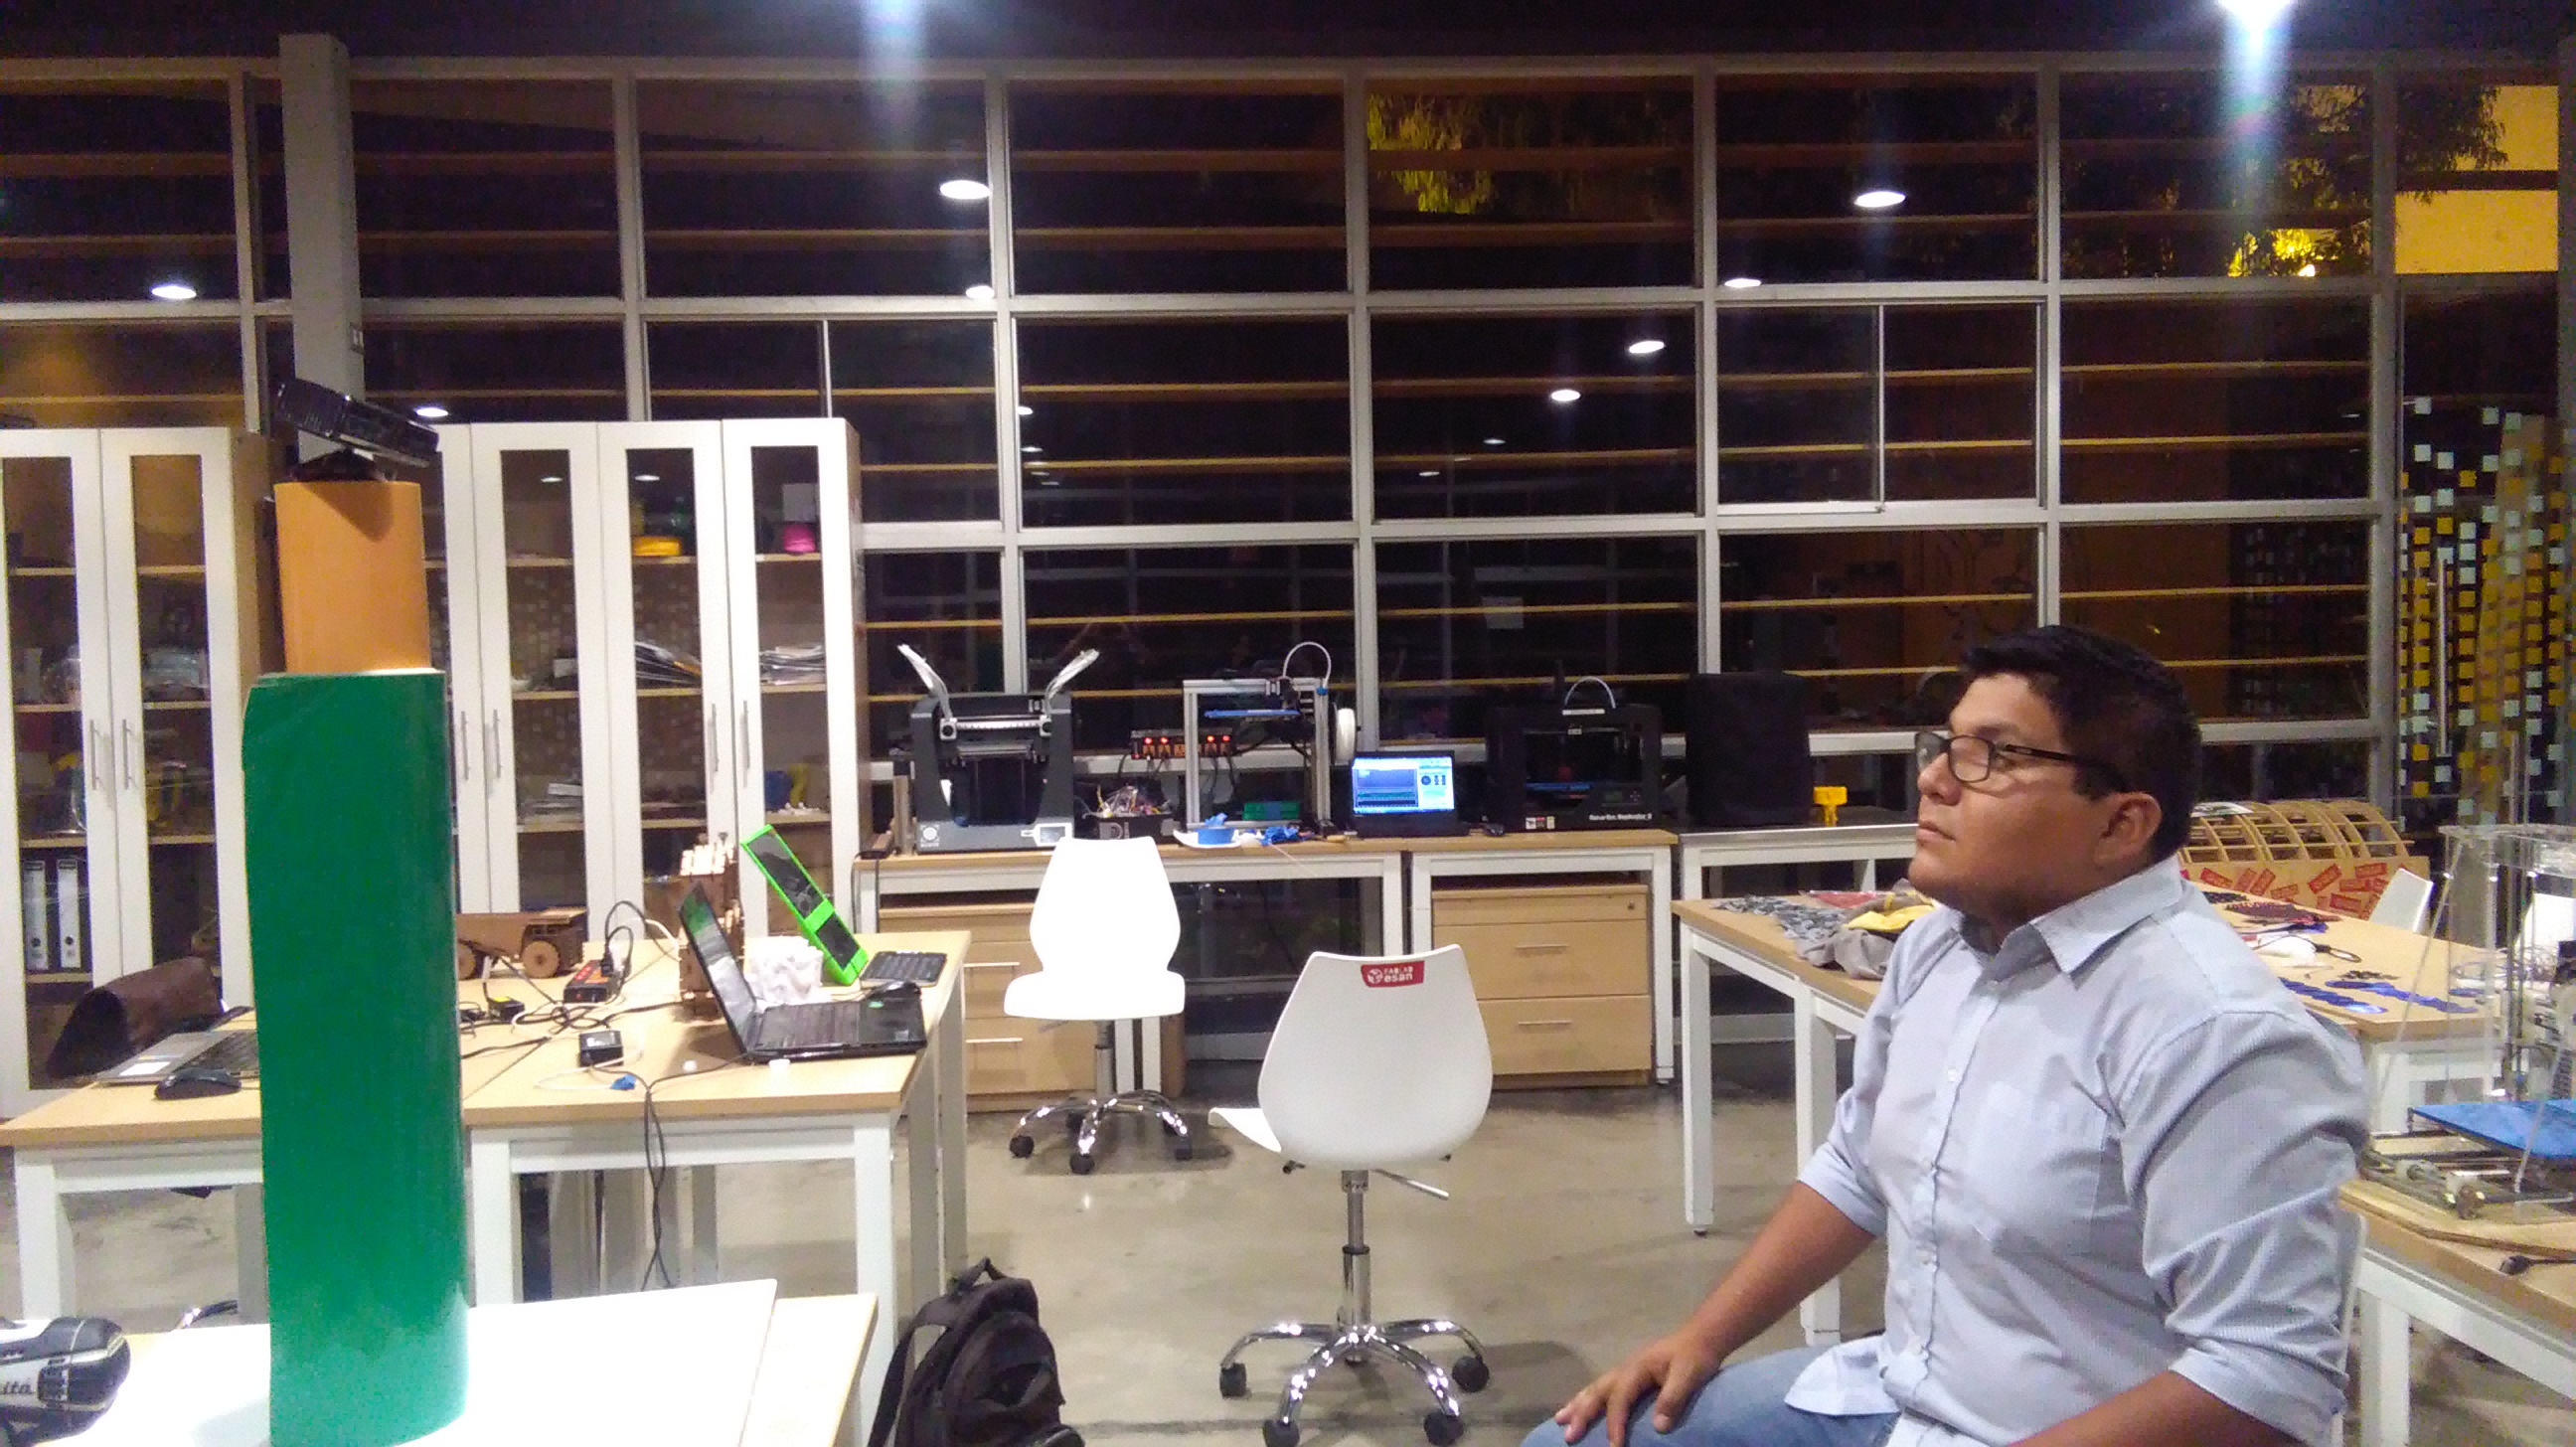
And after 60 seconds spinning slowly, the KINECT could recognize my body.
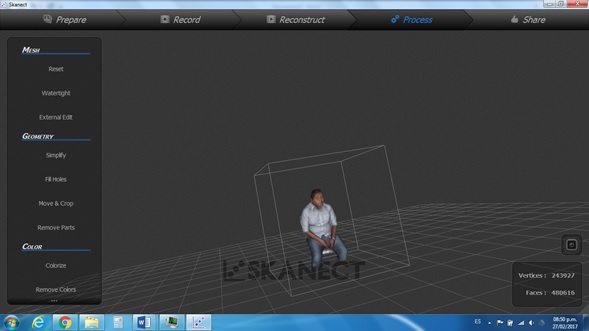
And with the options of the program KINECT, it allows you to improve the quality of the scan, to complete imperfections and to close the mesh turning it into a closed object, using the options WATERTIGHTS AND FILL HOLES
Click here for download the files scanning
![]()
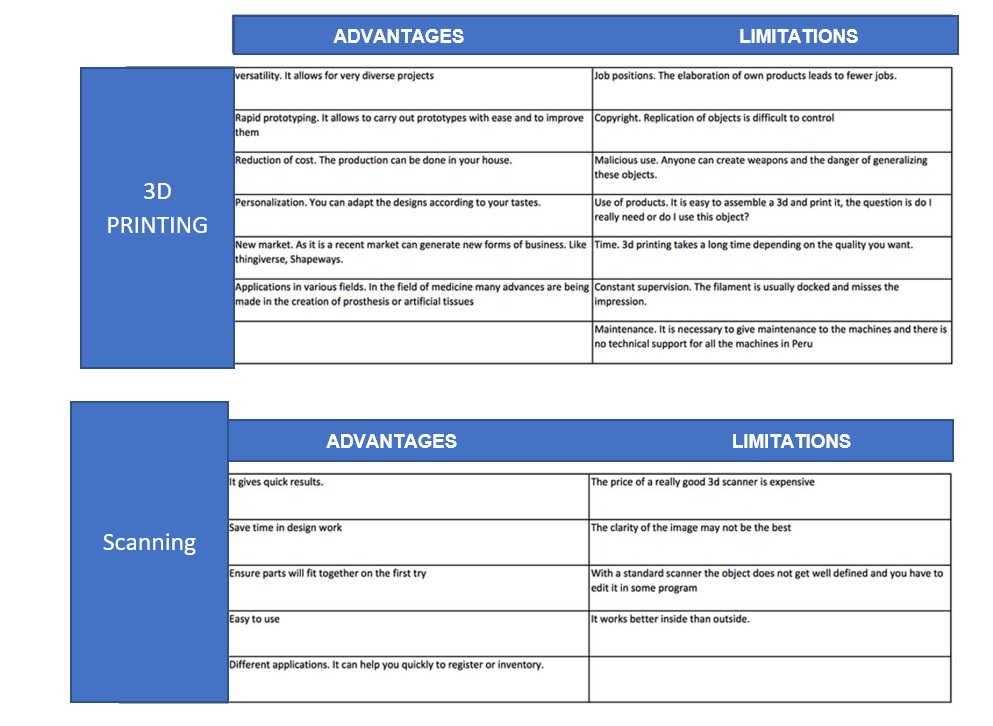
Comparations 3D PRINTING VS Scanning
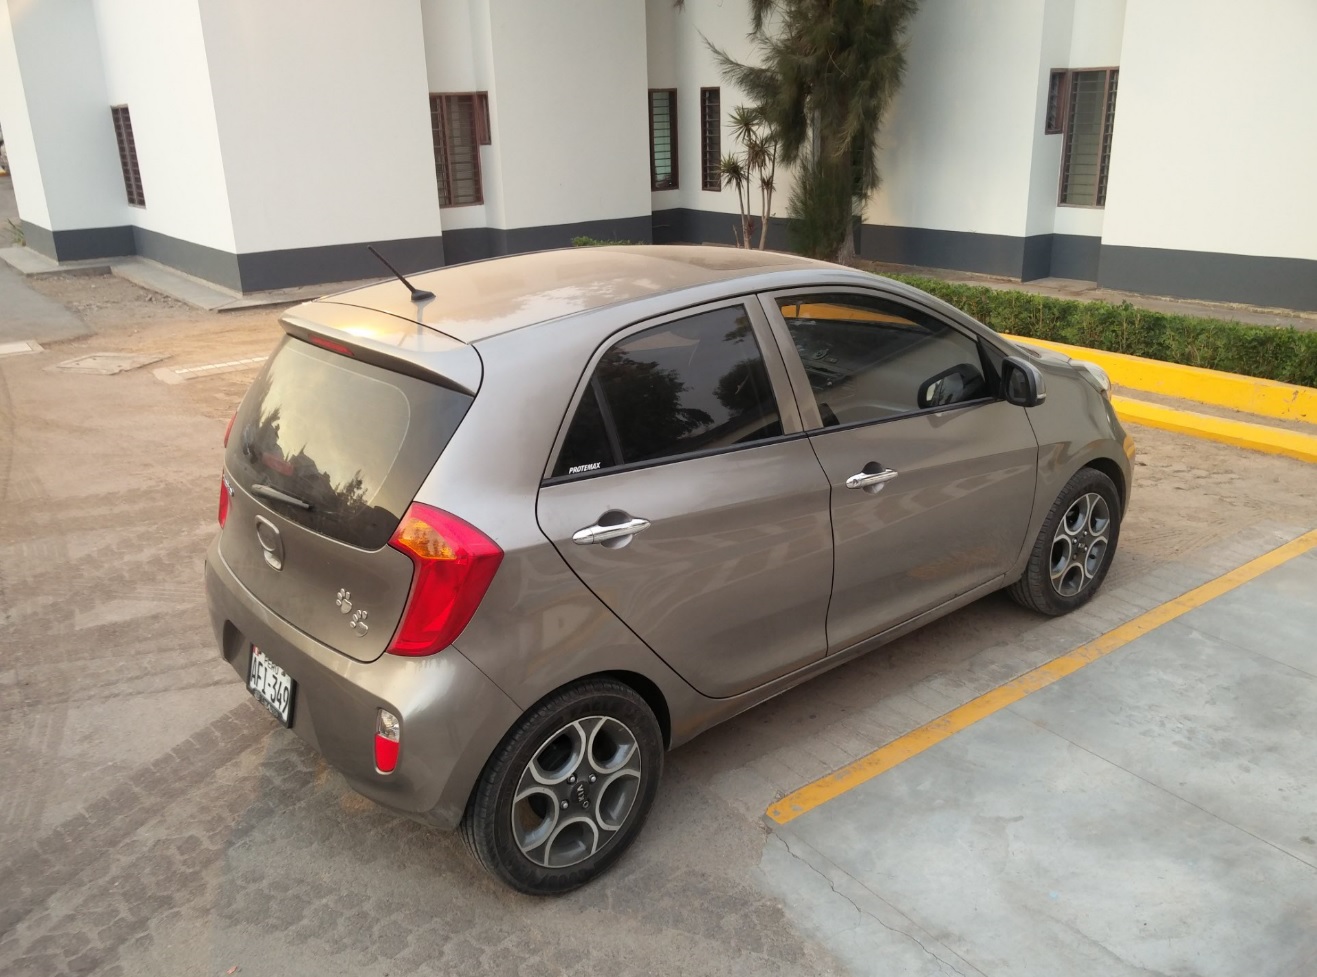
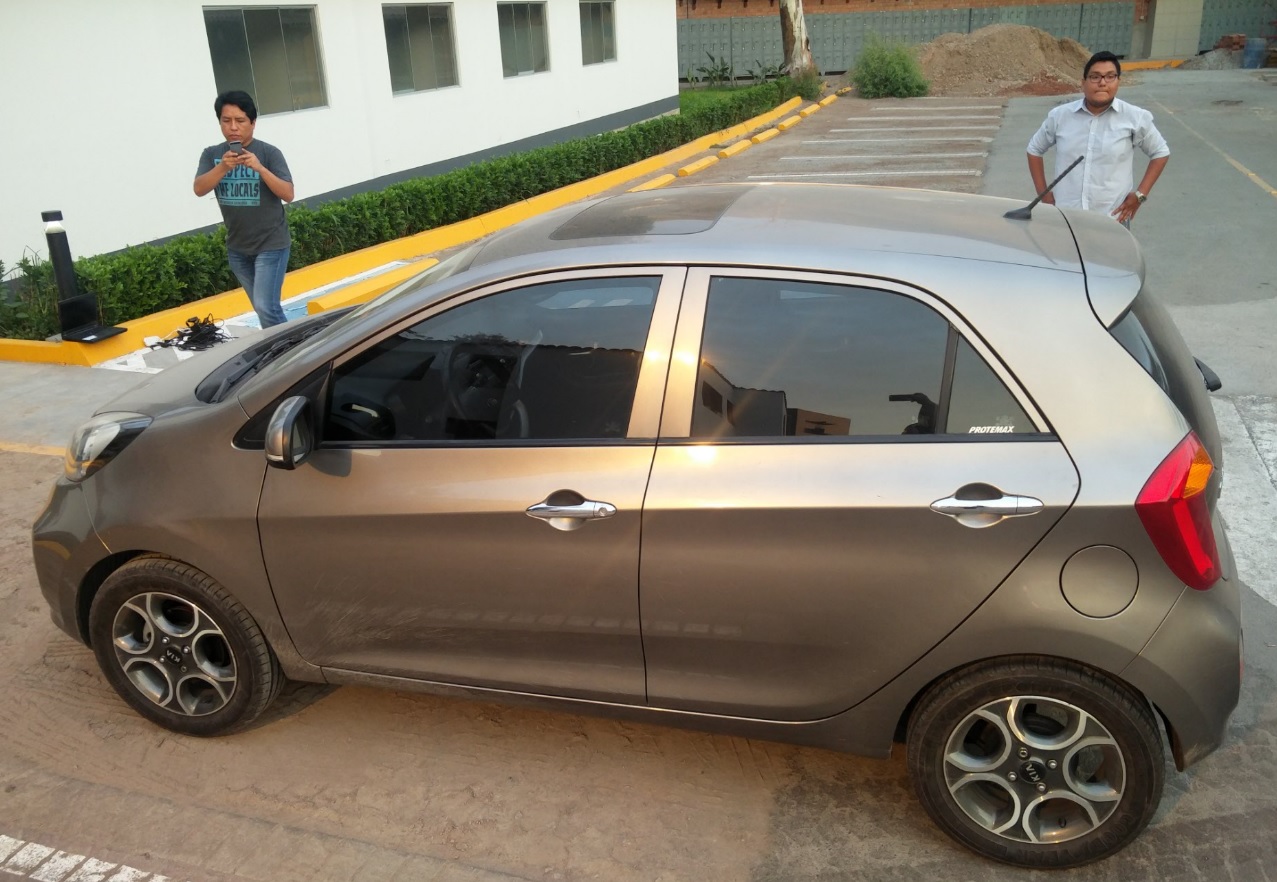
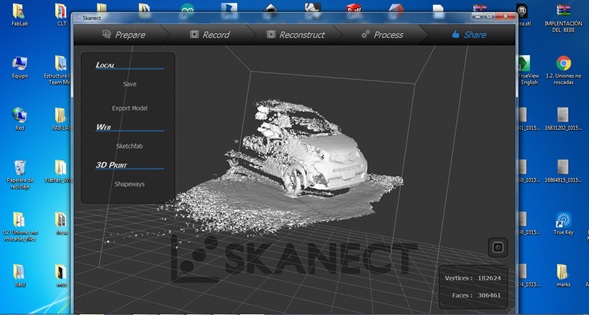
And as an extra proof of scanning, with the help of the advisor of this assignment, JORGE VALERIO, I tried to scan my car, but we had the time limitation, since the skanect program only allows you to scan 60 seconds and by the size of the vehicle alone We were able to scan a part of the car.
So we just scanned the front of the car, and we were able to run it in the program.