Assignments 14
Composites
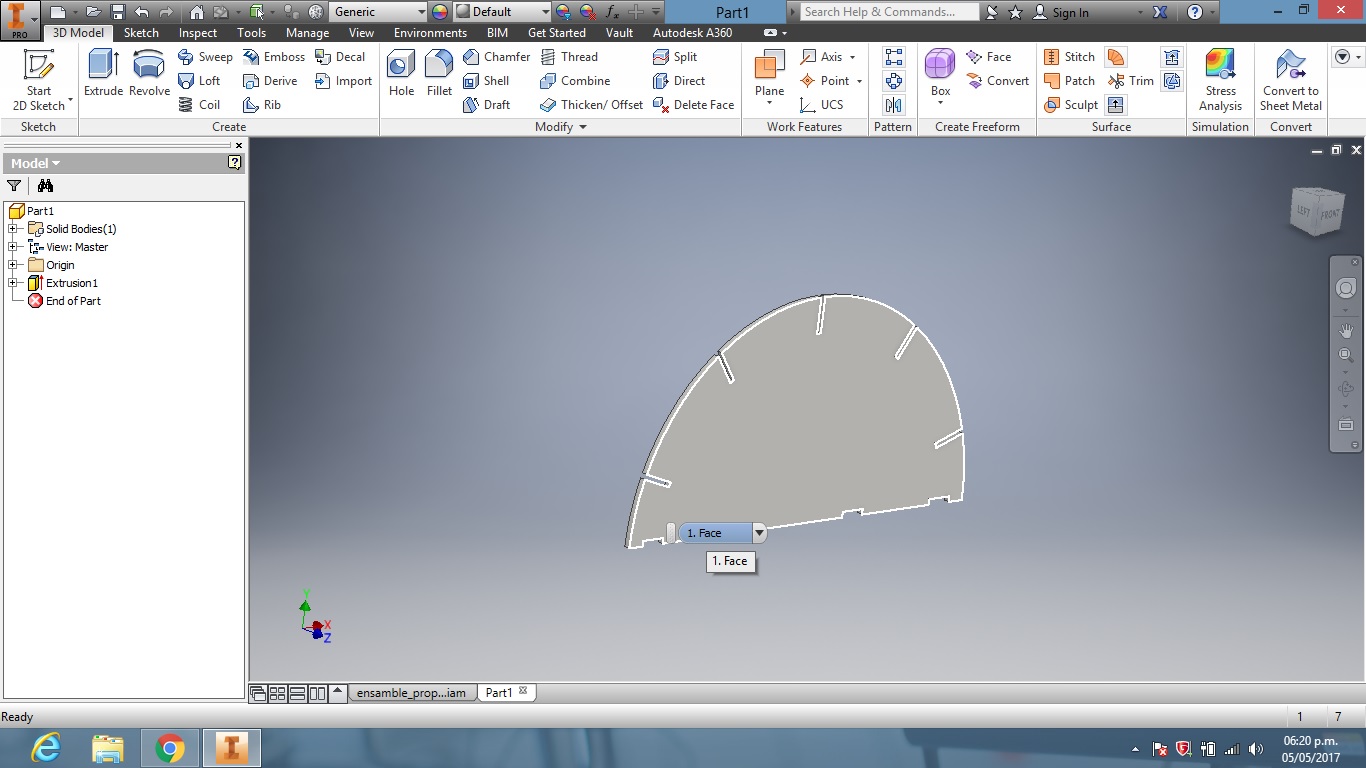
I decided to make a fender for cars, so I started designing the pieces in Inventor Autodesk, which would serve as a structure to mold the composite.
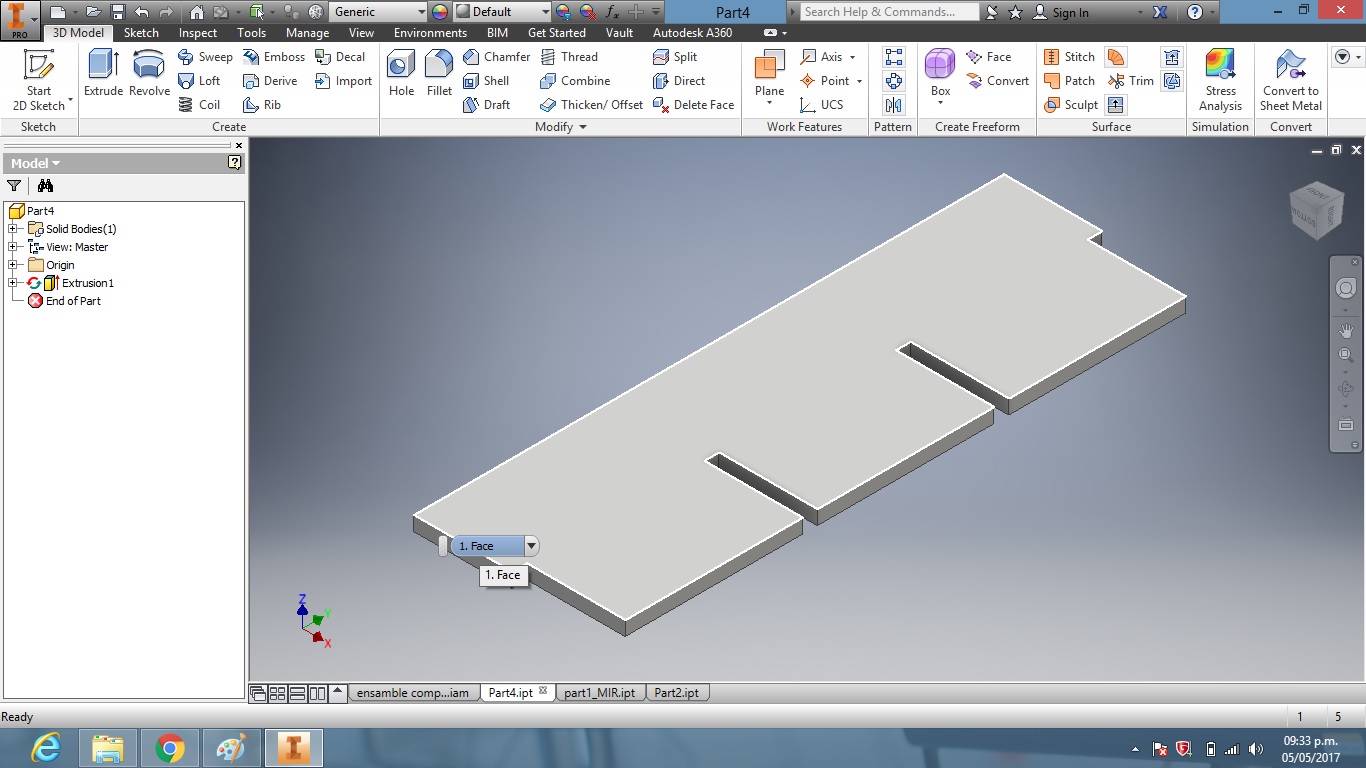
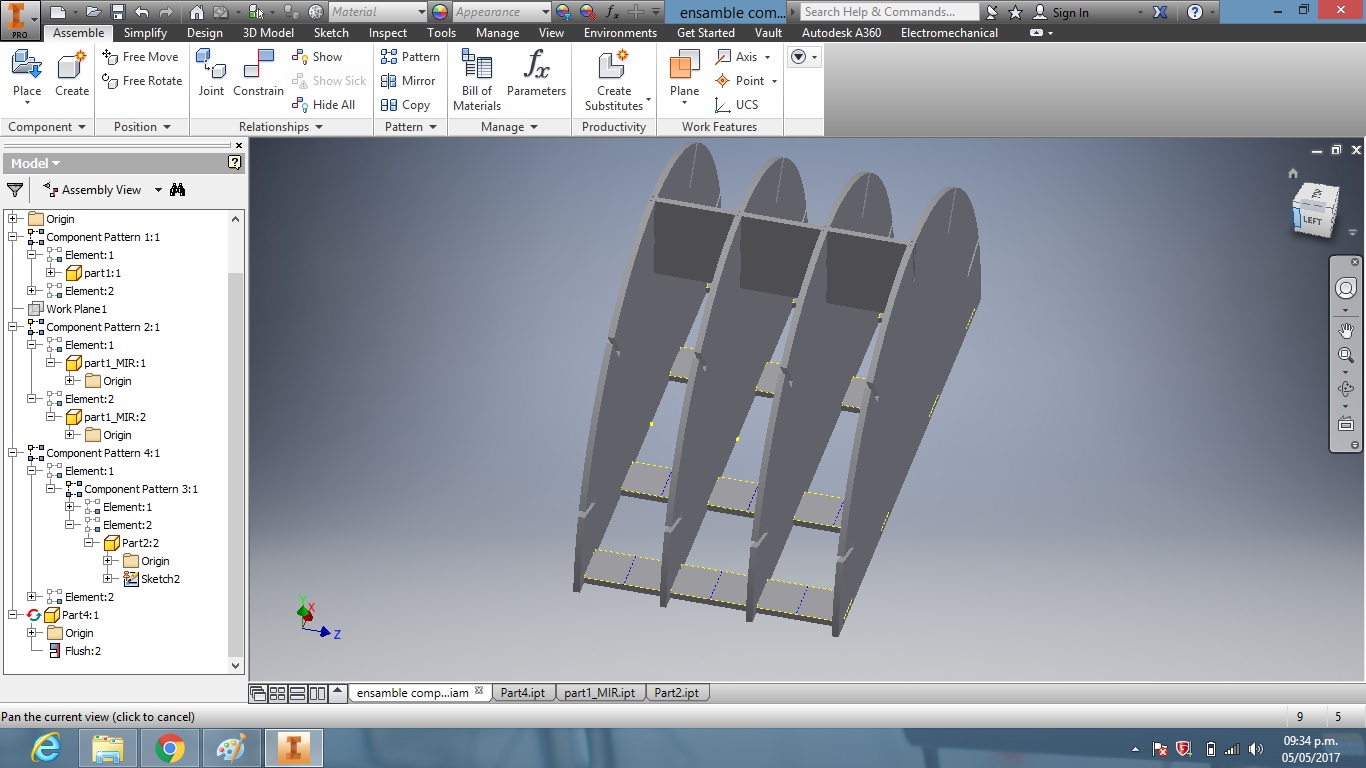
Then laser technology was cut into 3mm MDF material to start the assembly.
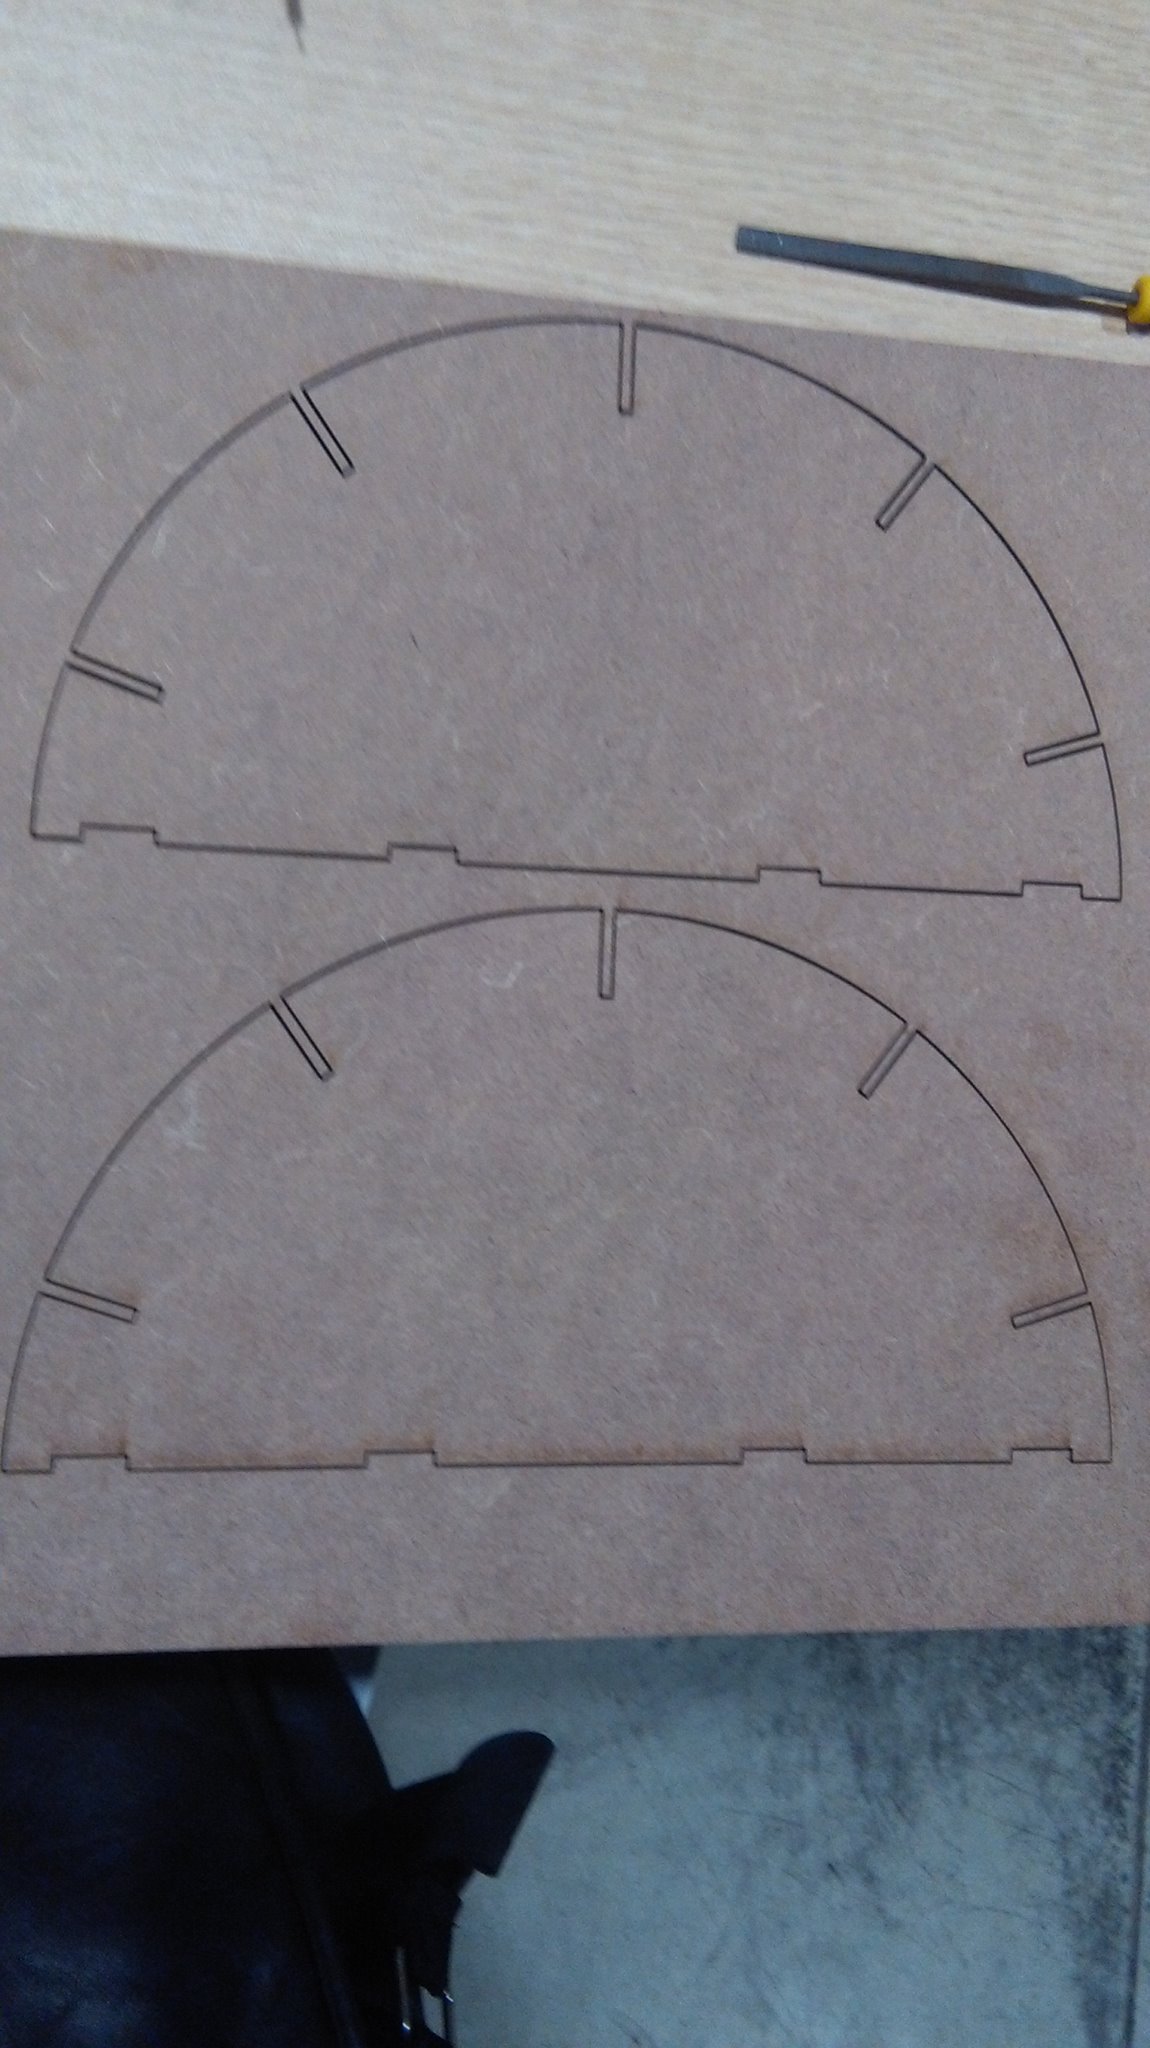
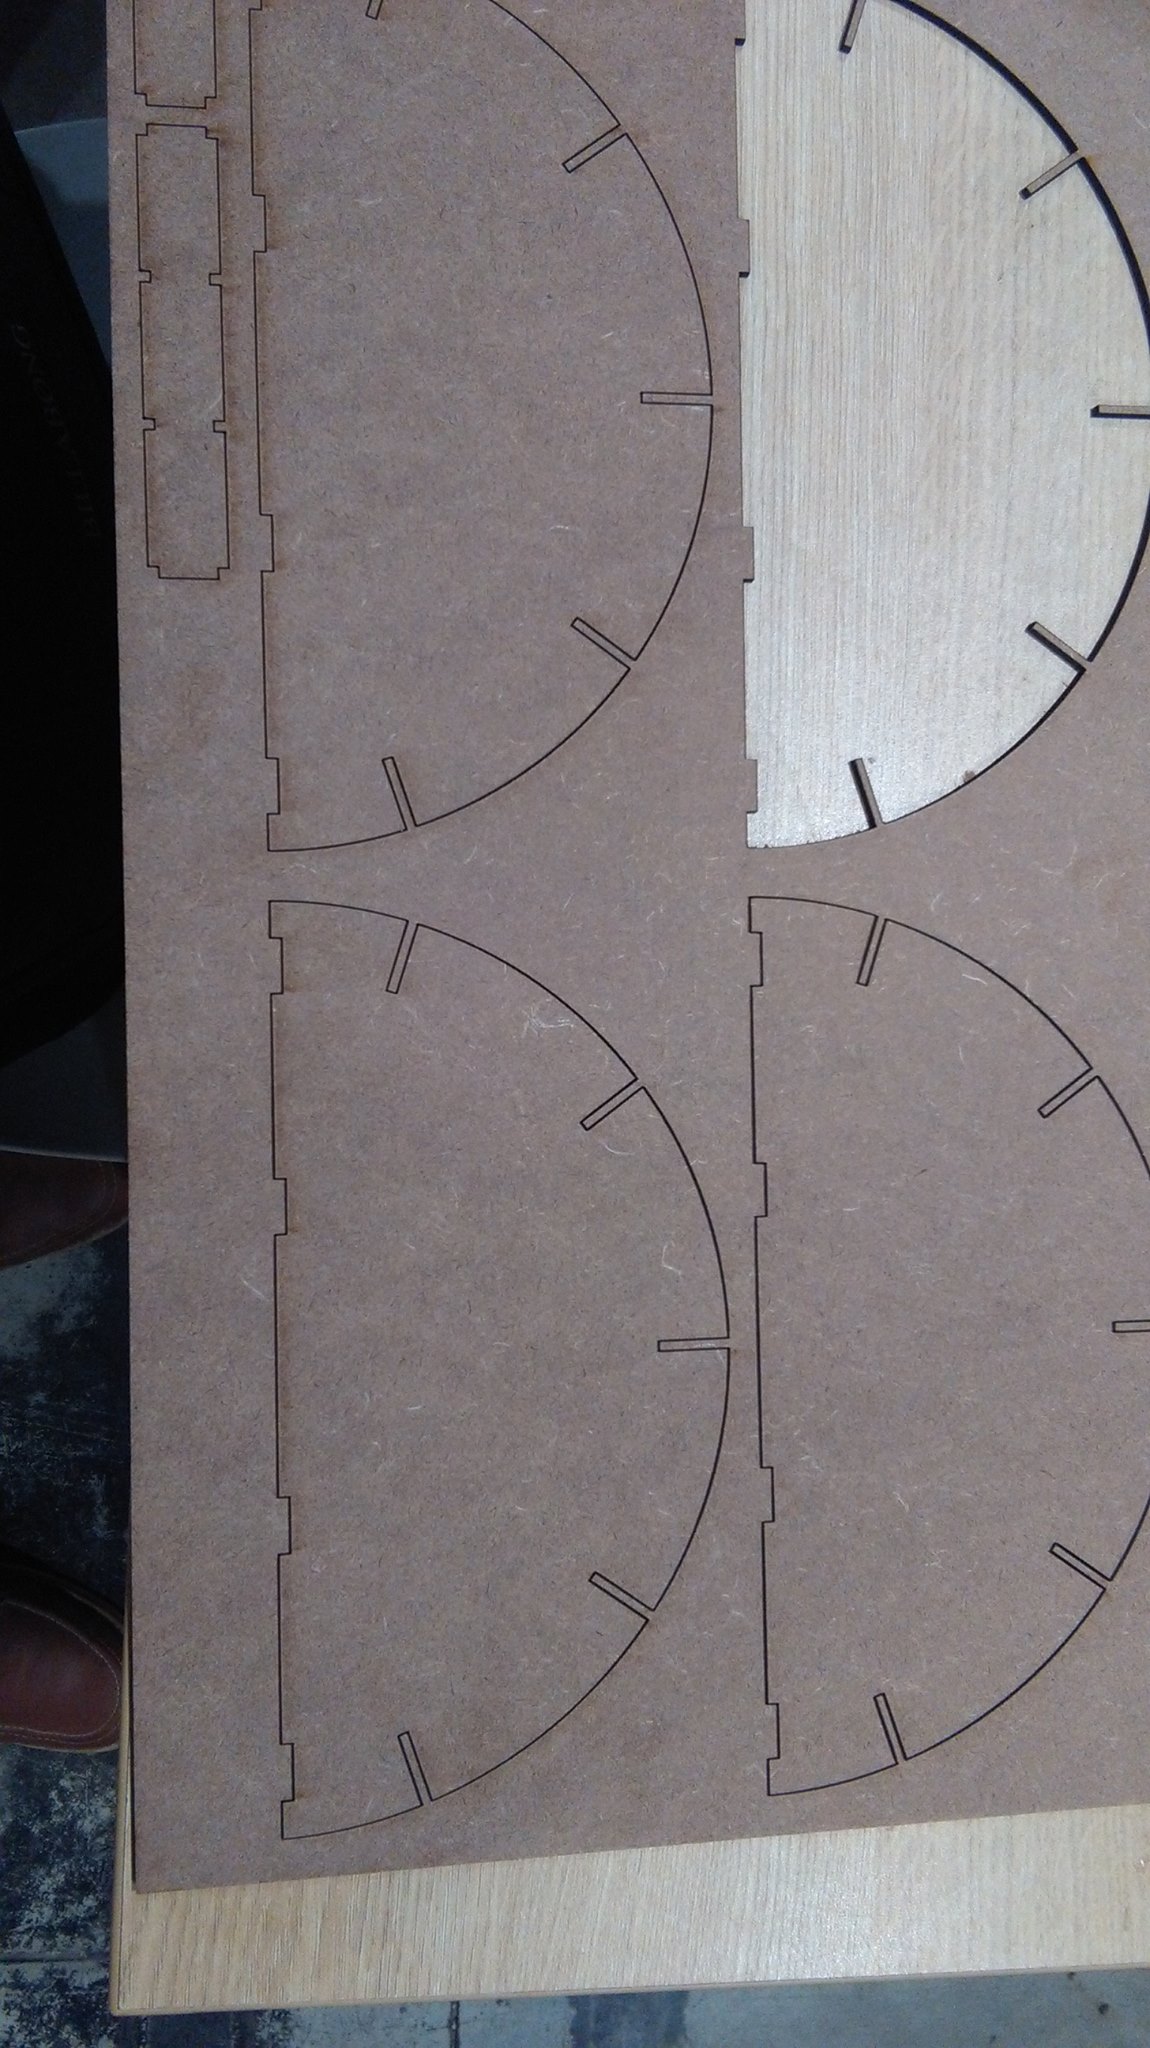

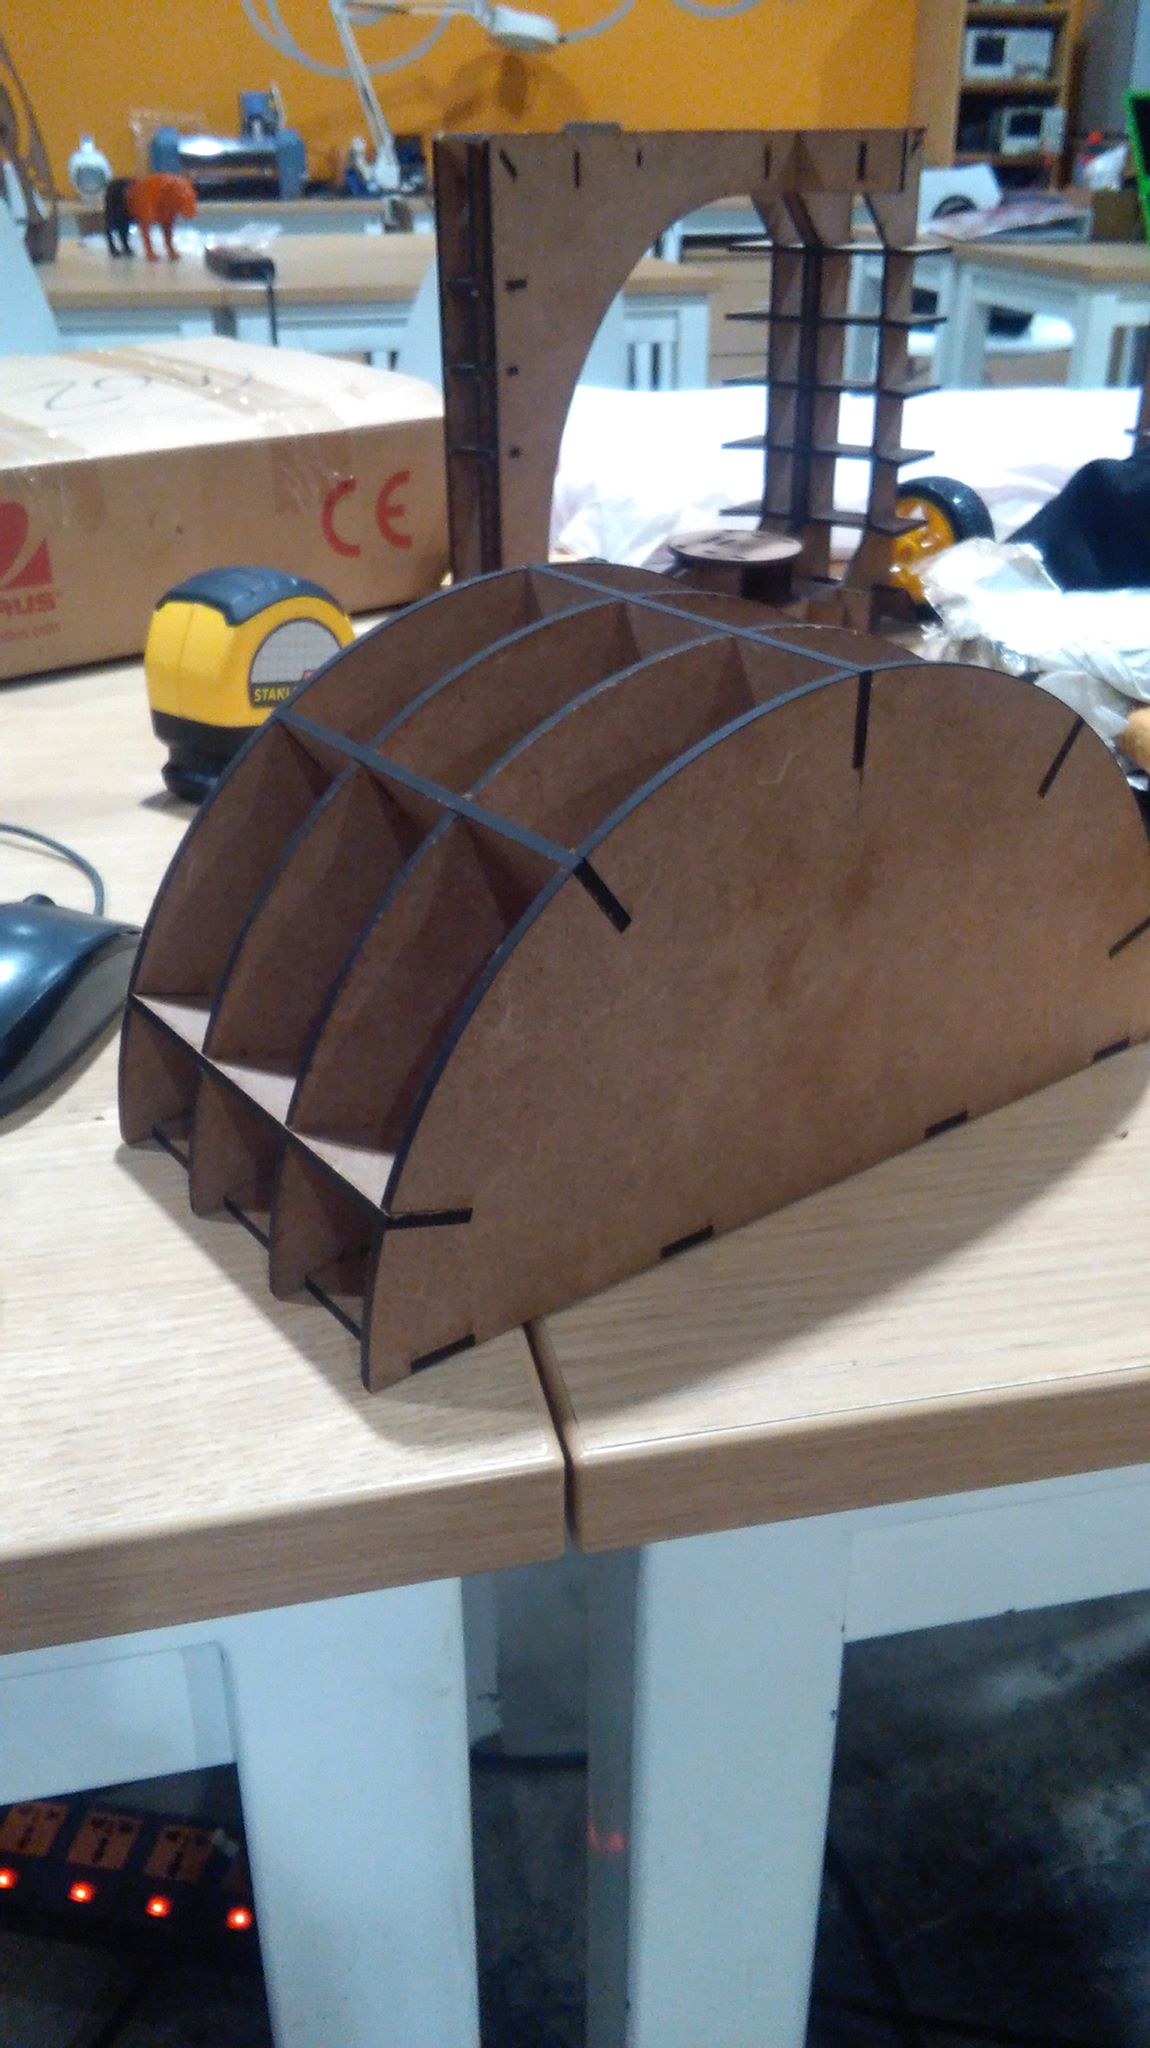
And this is my structure de MDF
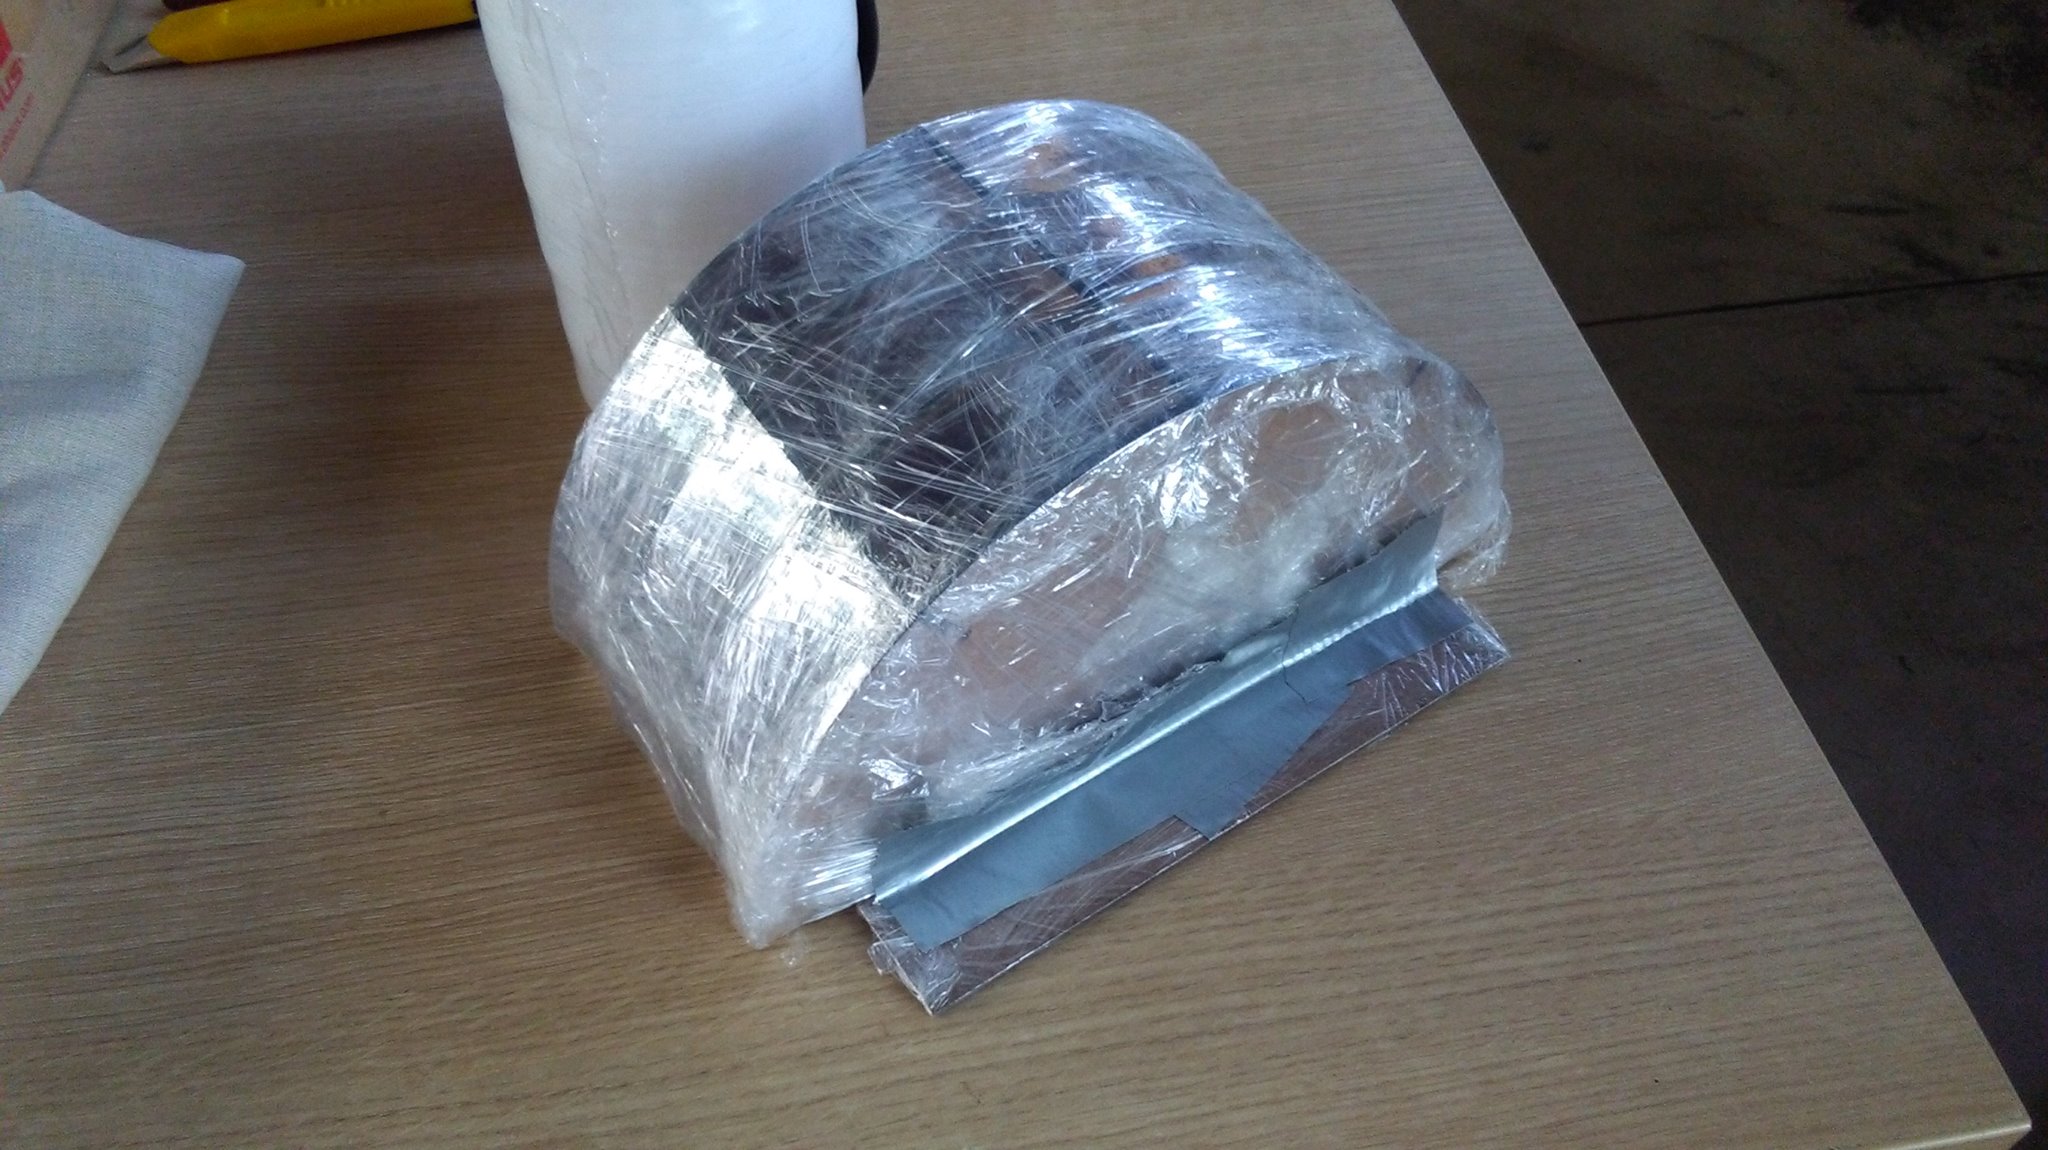
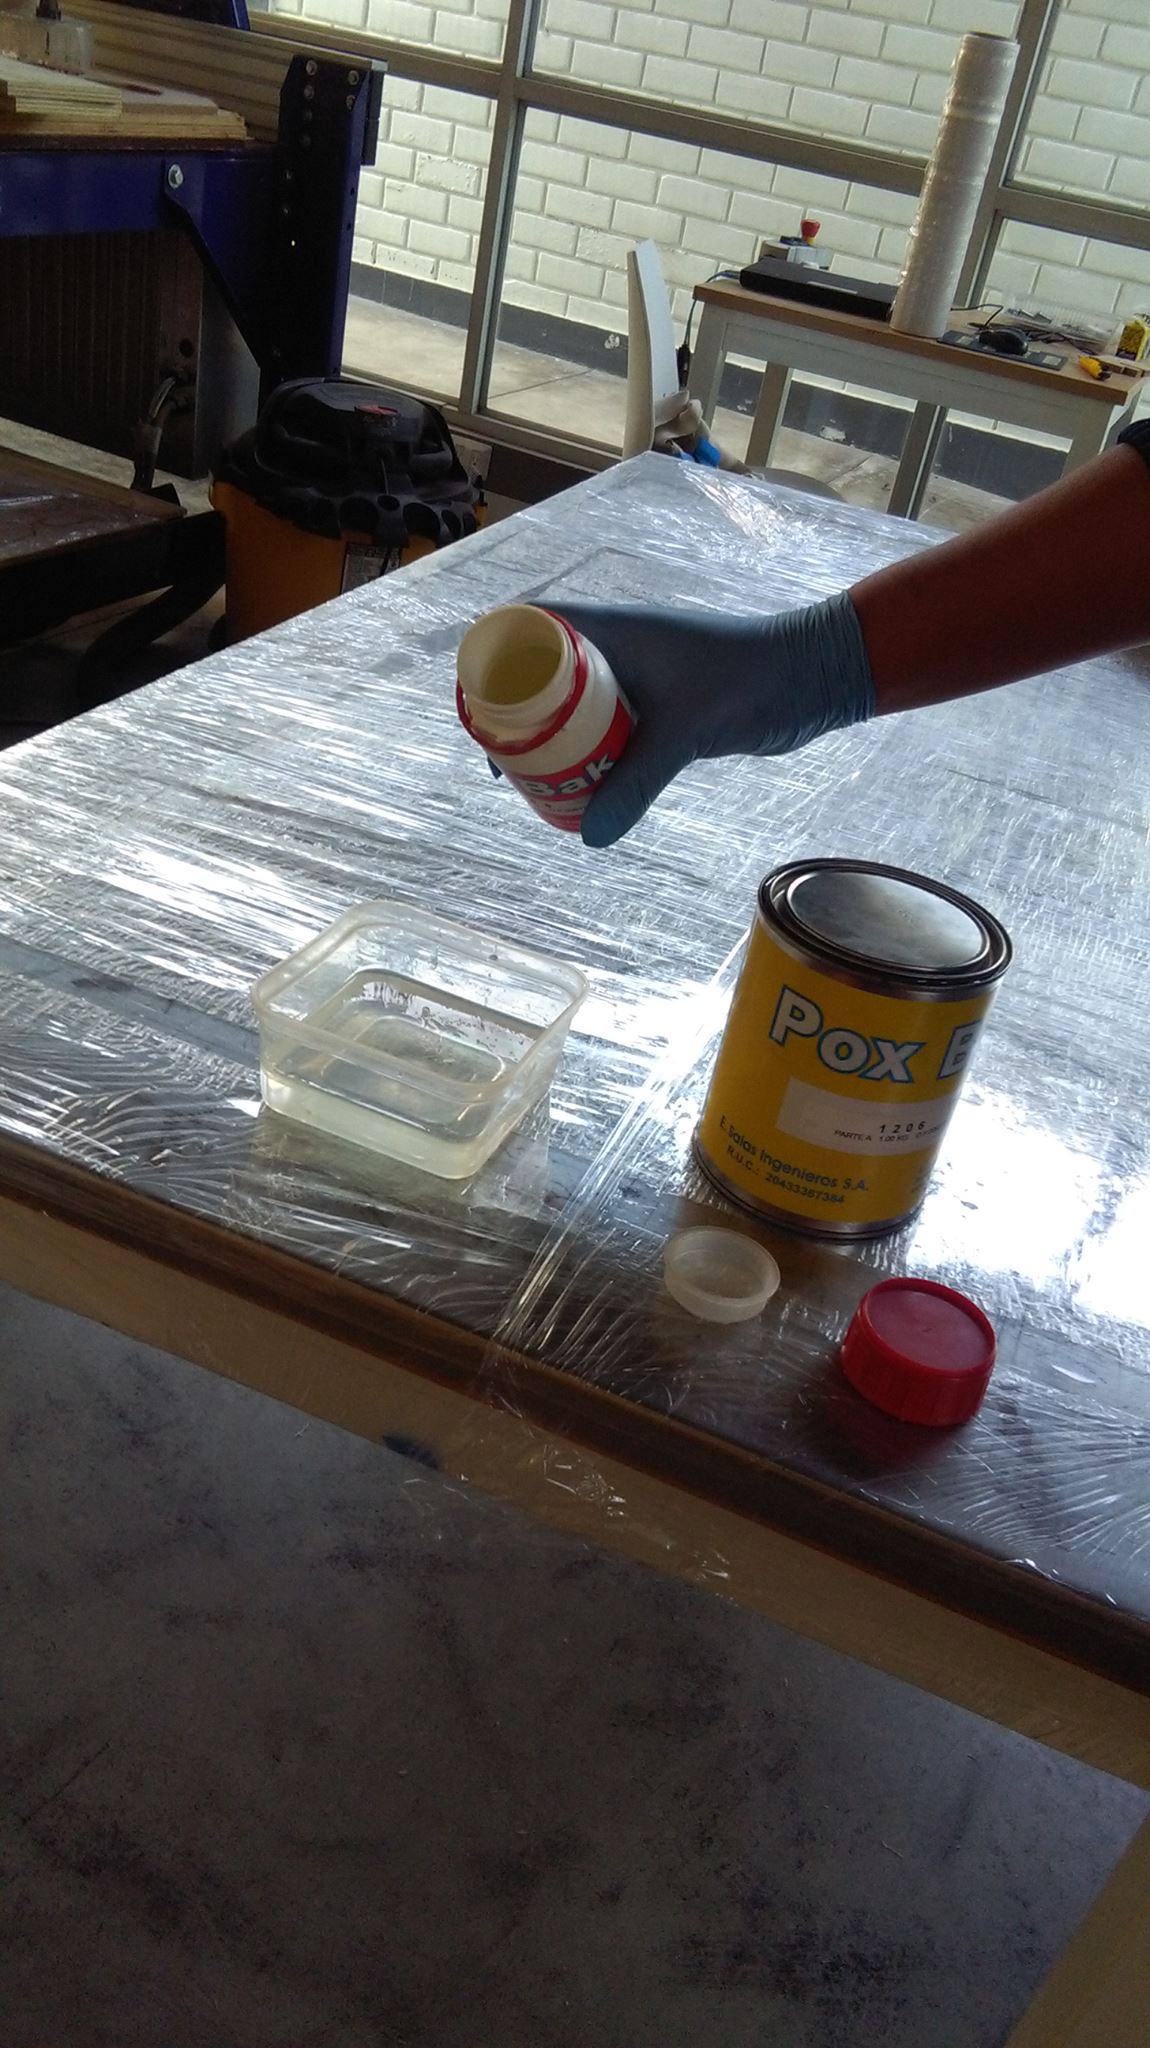
The film is then coated with Film tape.
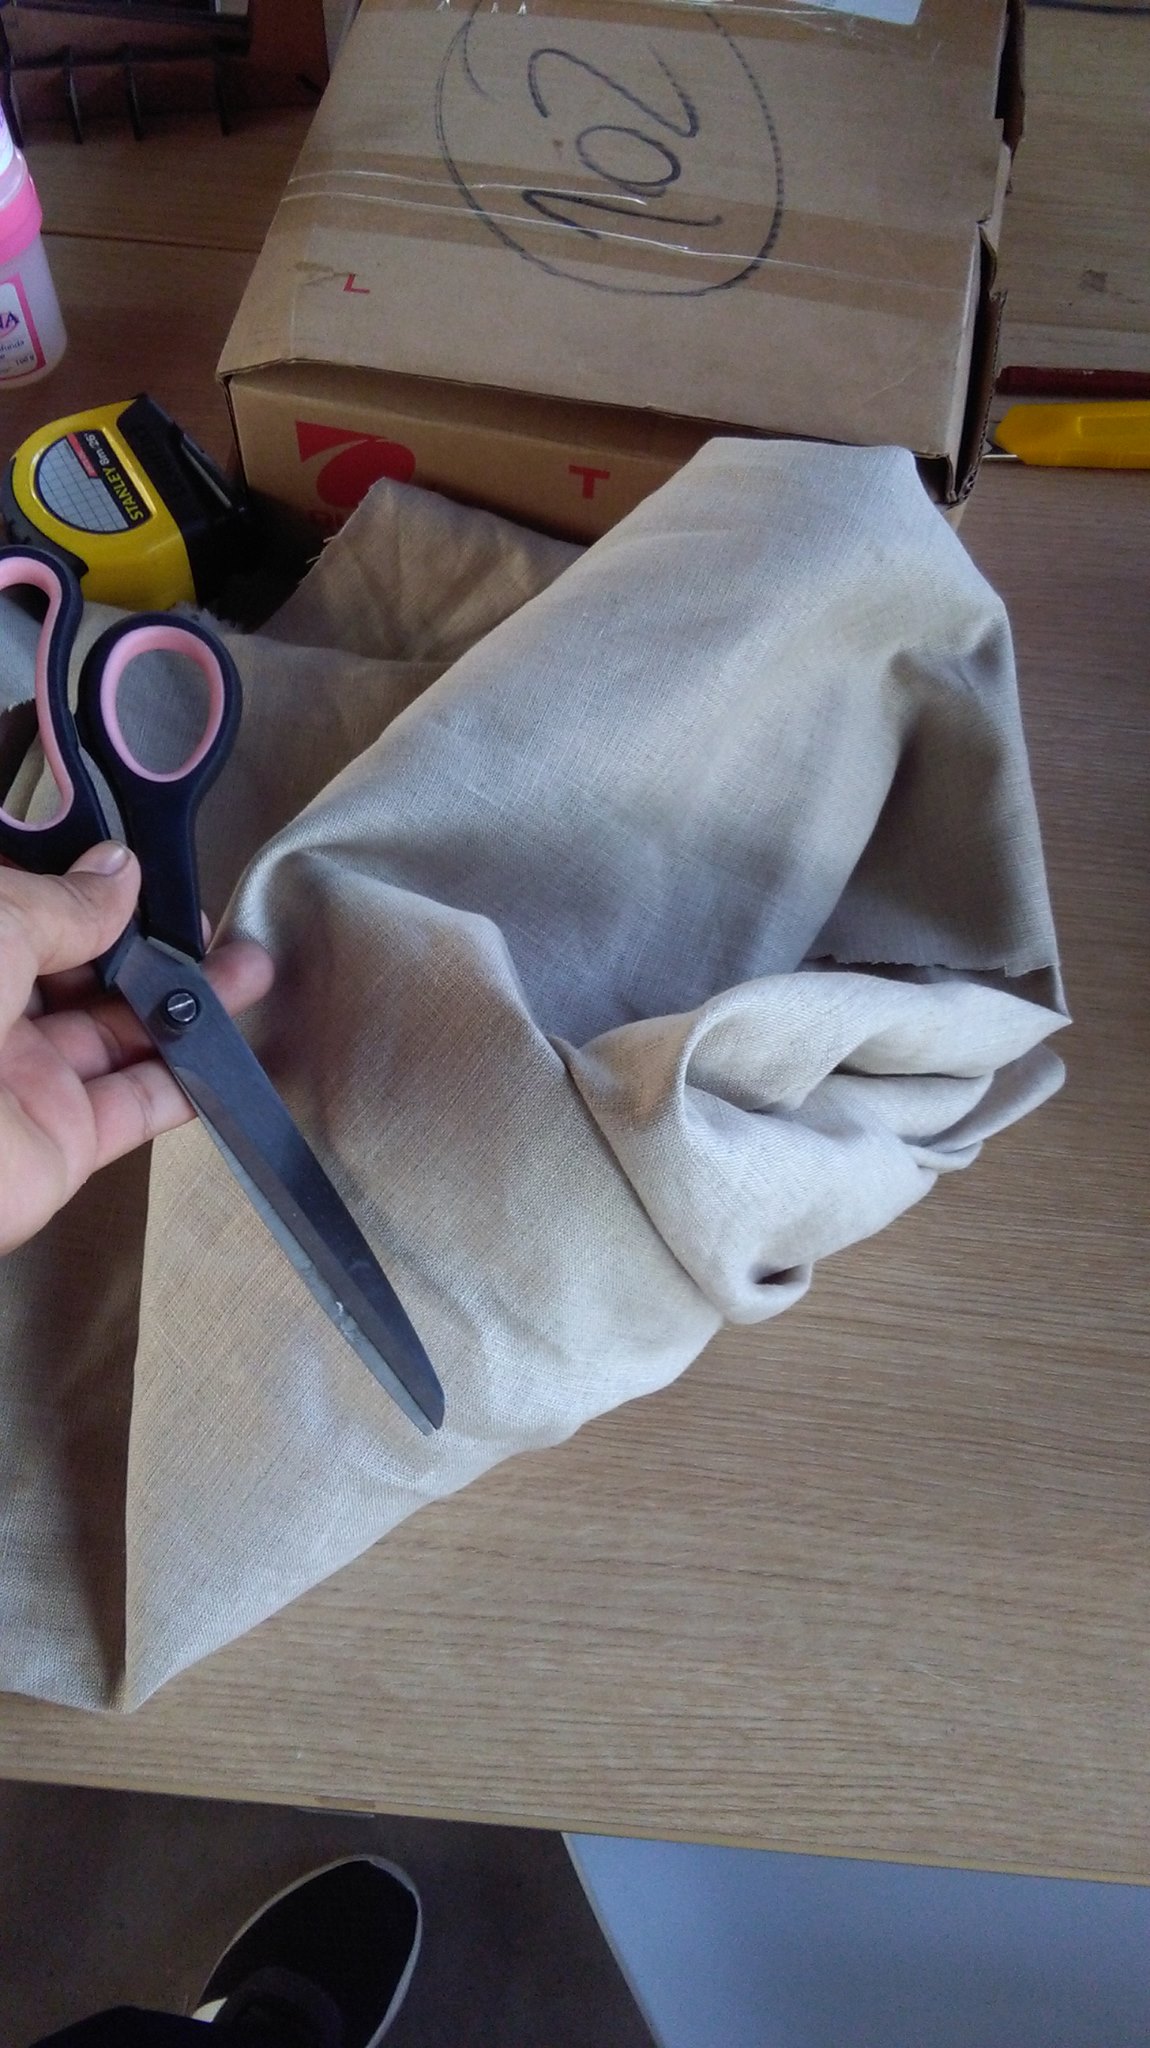
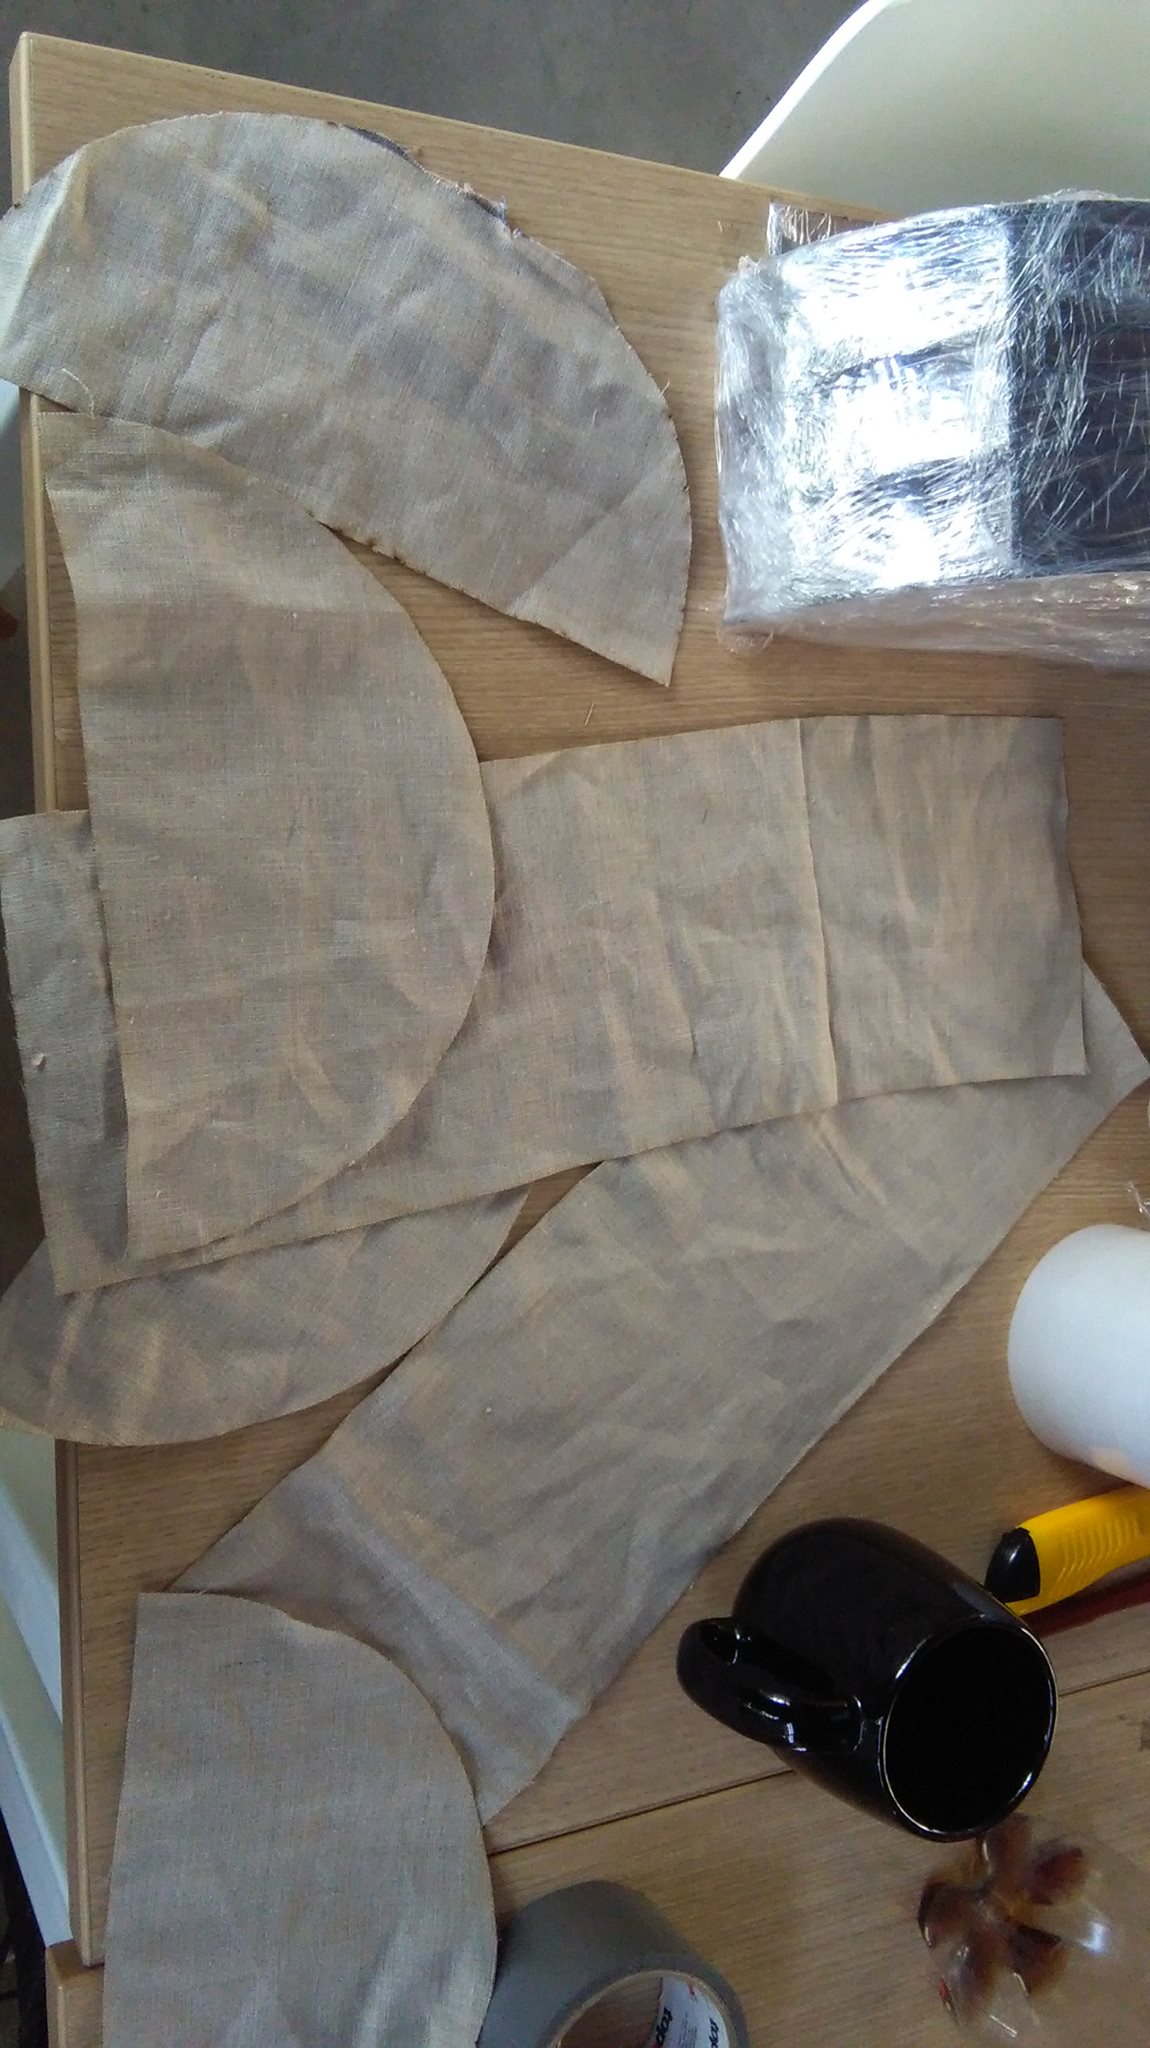
As a composite in the form of the MDF structure that it manufactures, fabric pieces (LINO, YUTE) of geometry similar to the sides of the structure are cut.
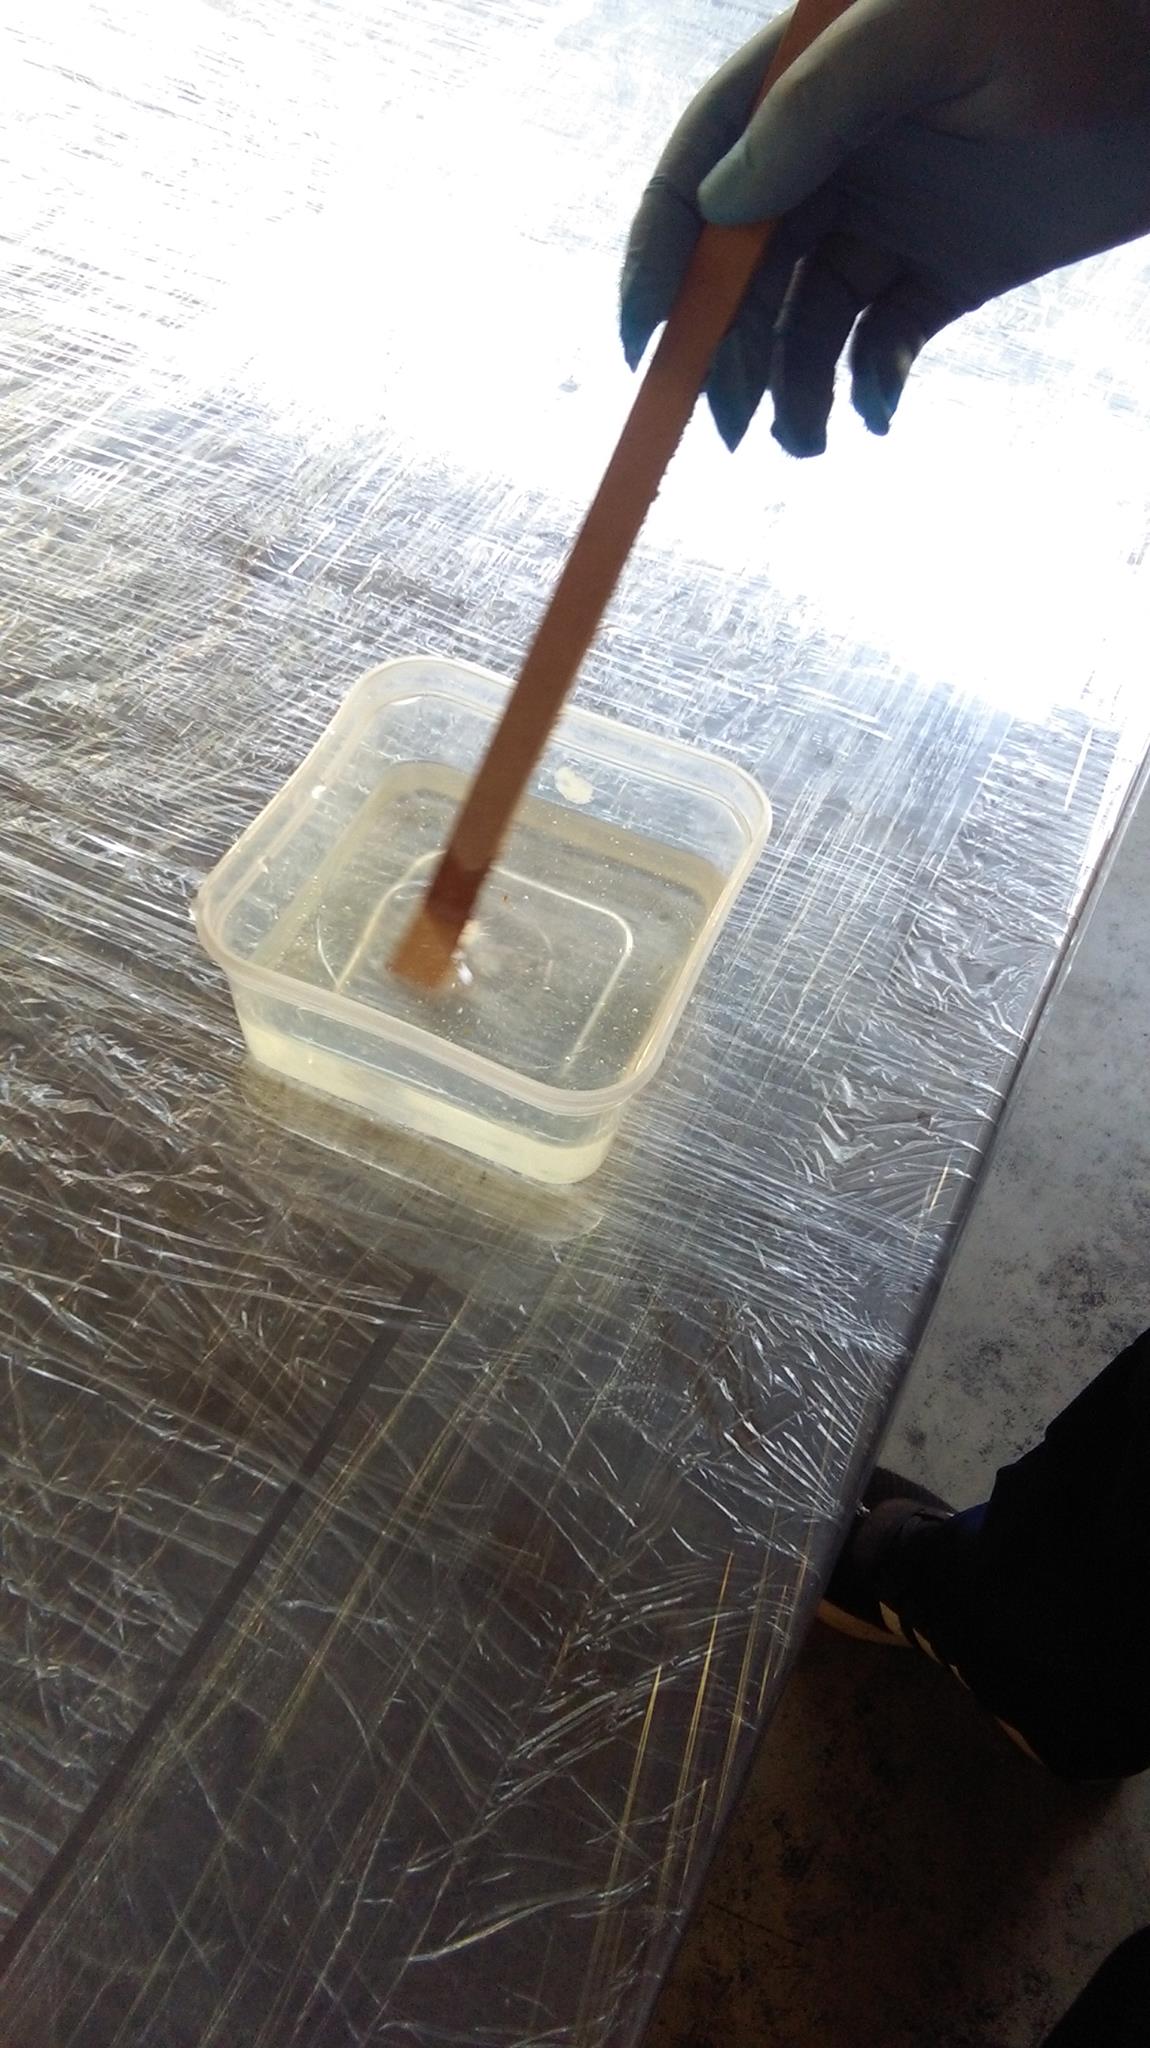
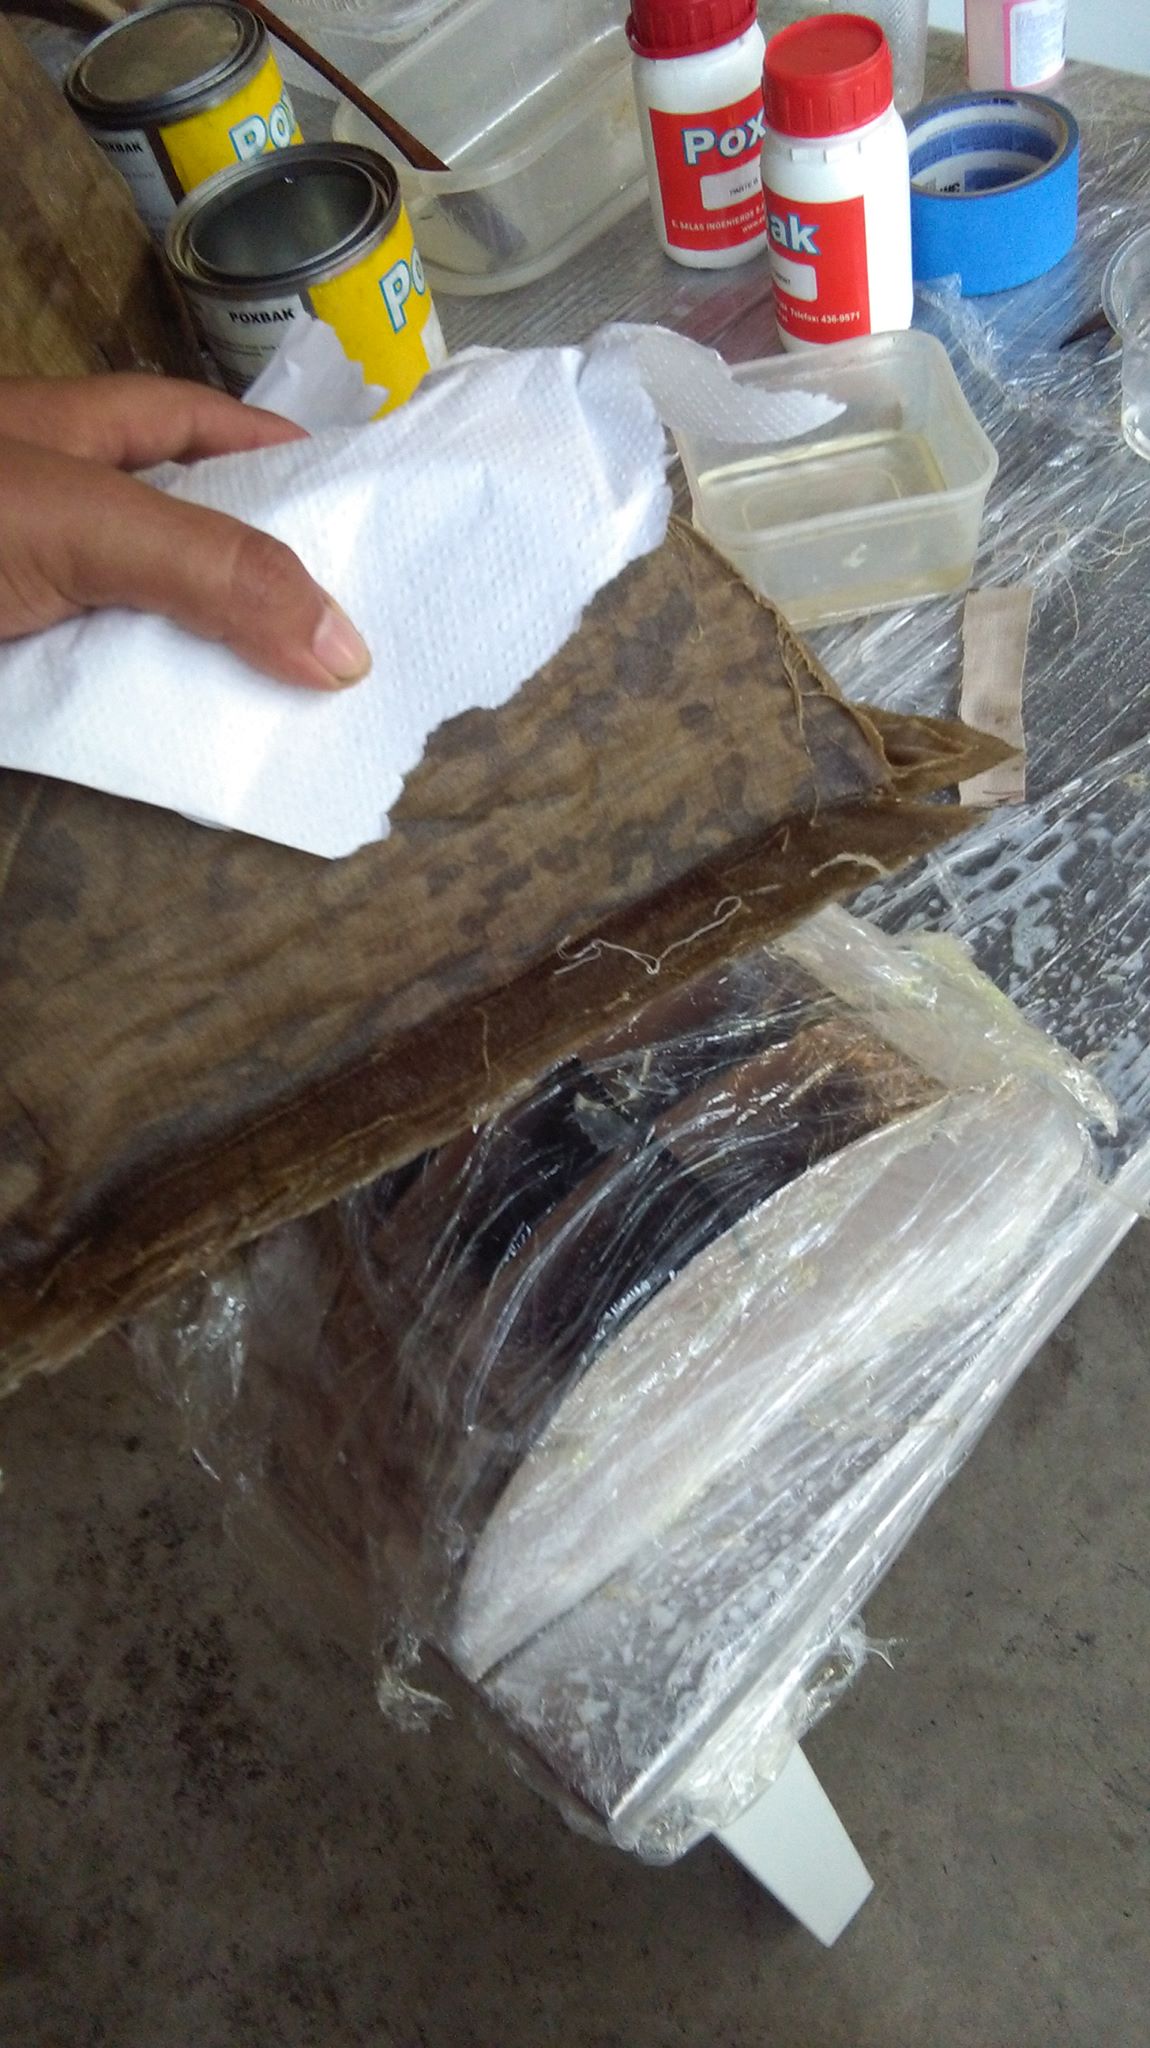
The inputs to be used will be POX BAX resin and its catalyst.
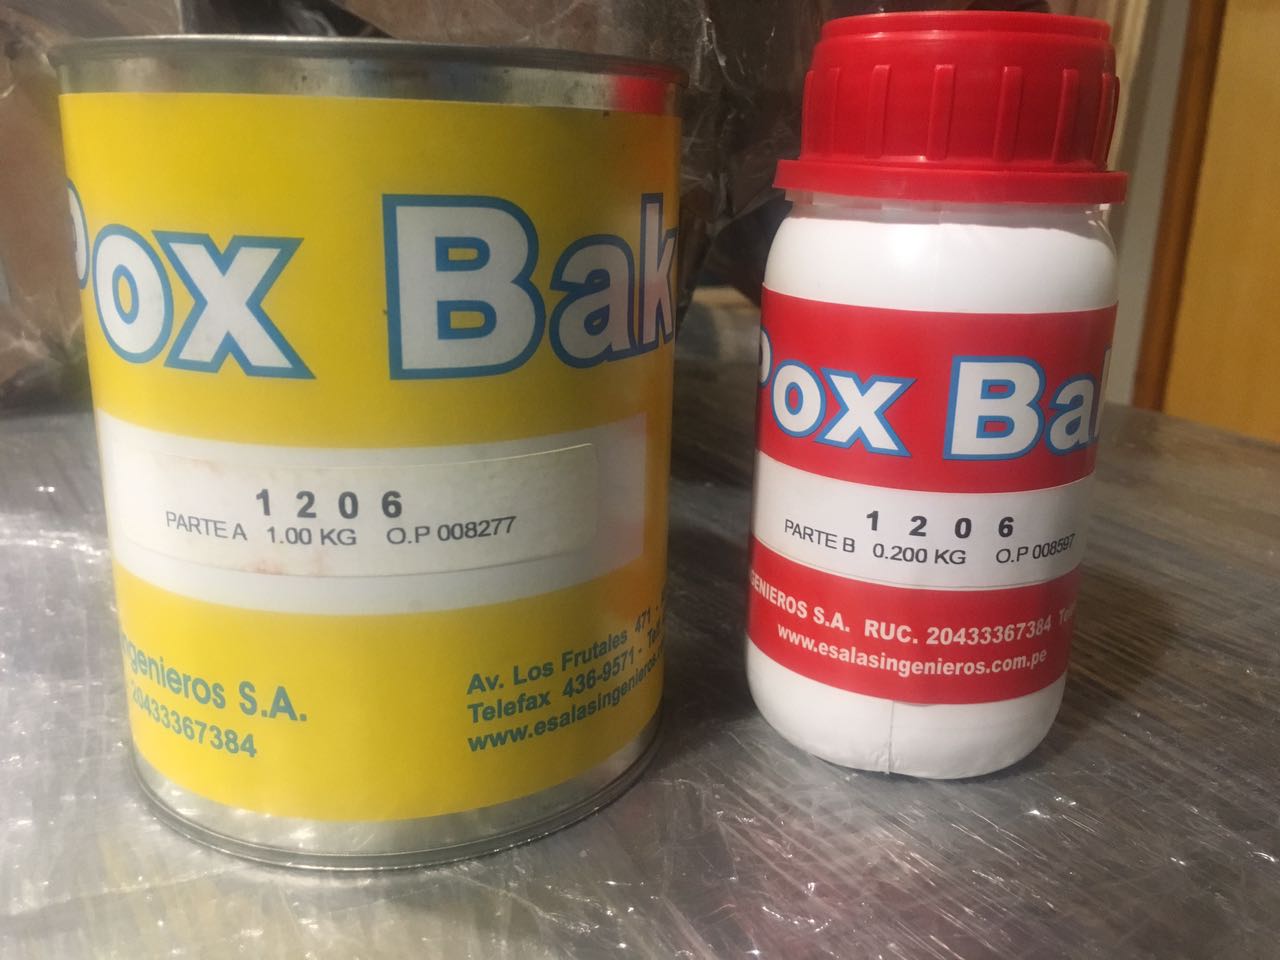
TECHNICAL SPECIFICATION
1.![]()
2.![]()
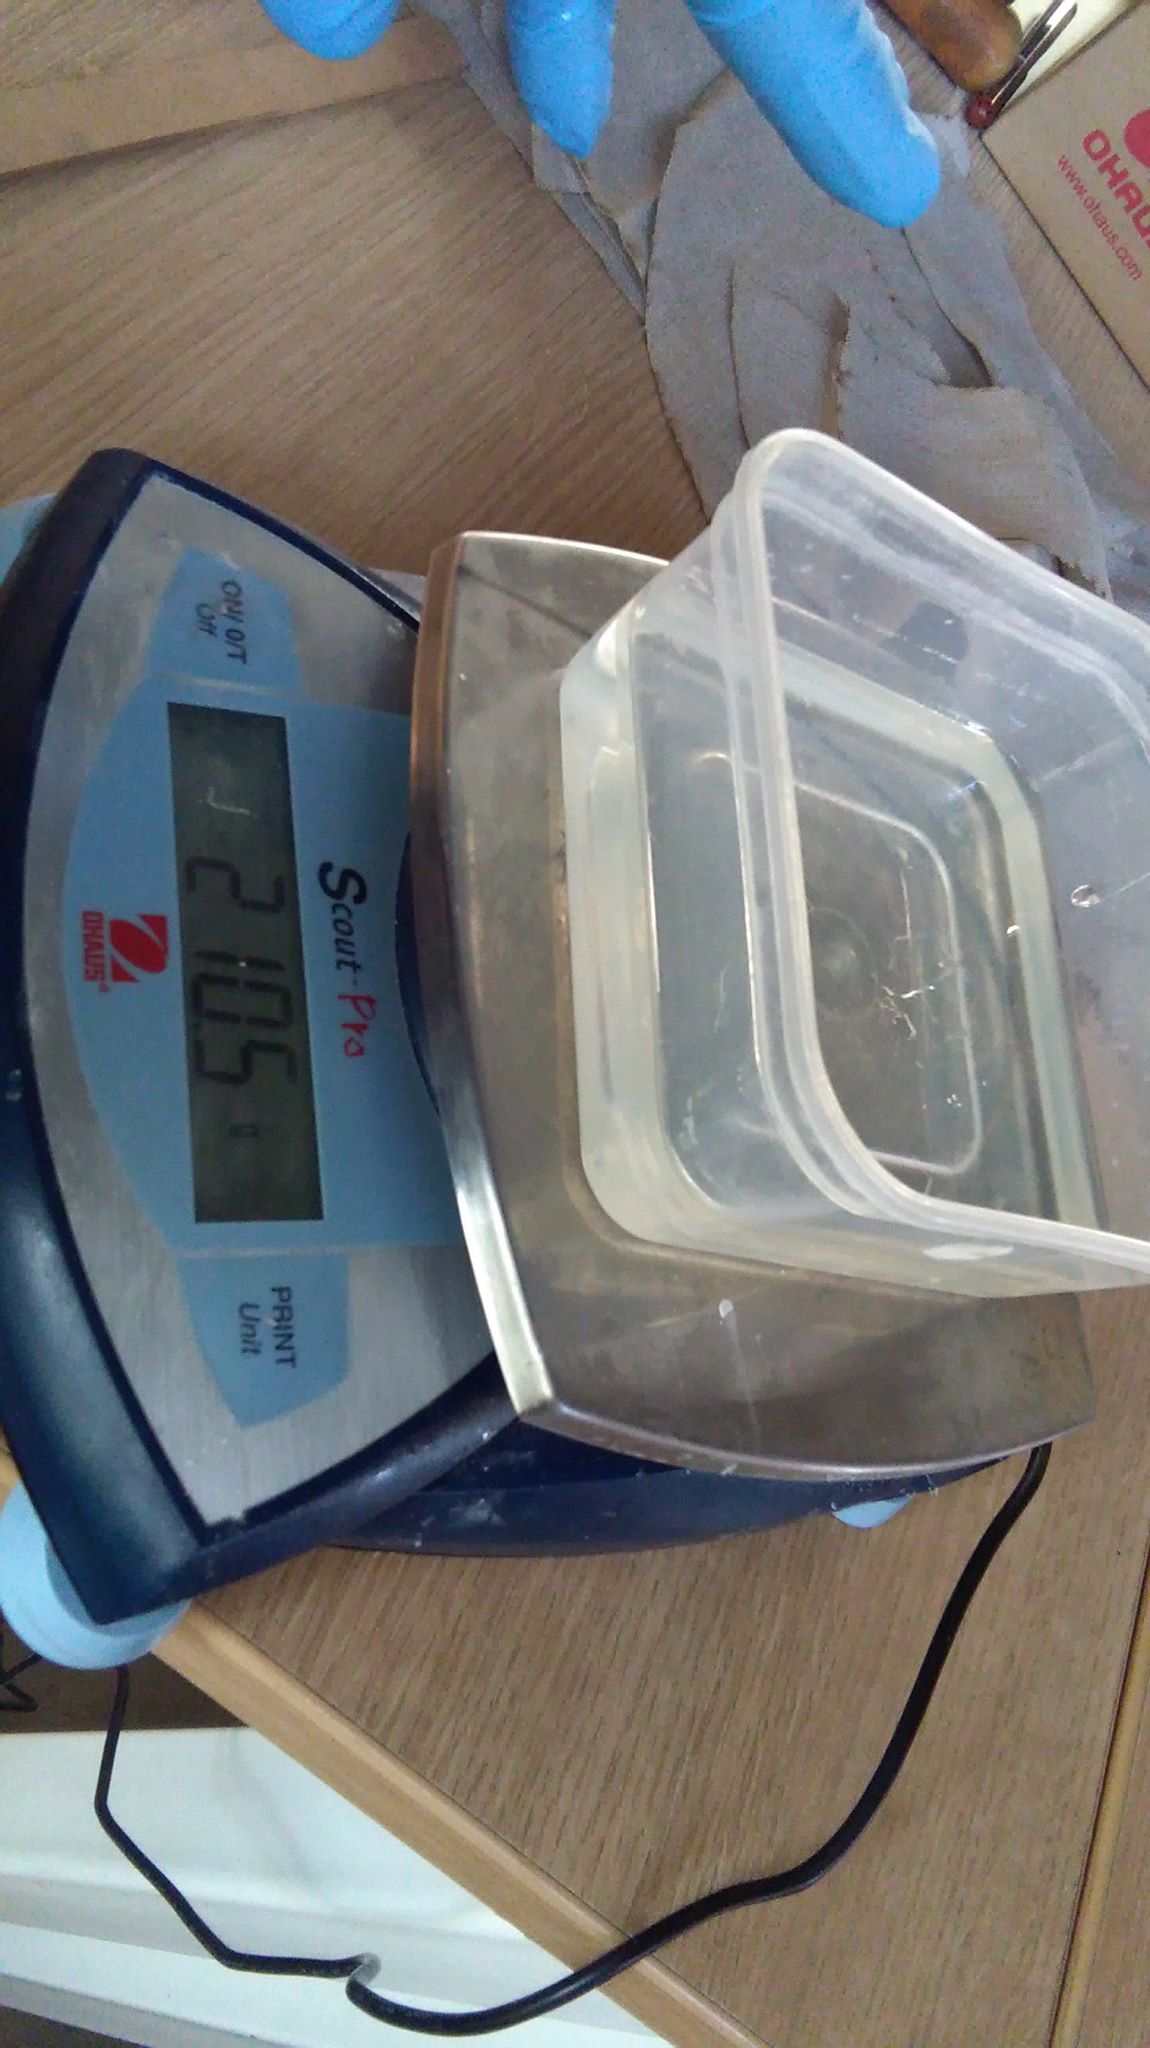
A scale is then used to estimate the ratio 1/10 according to weight.
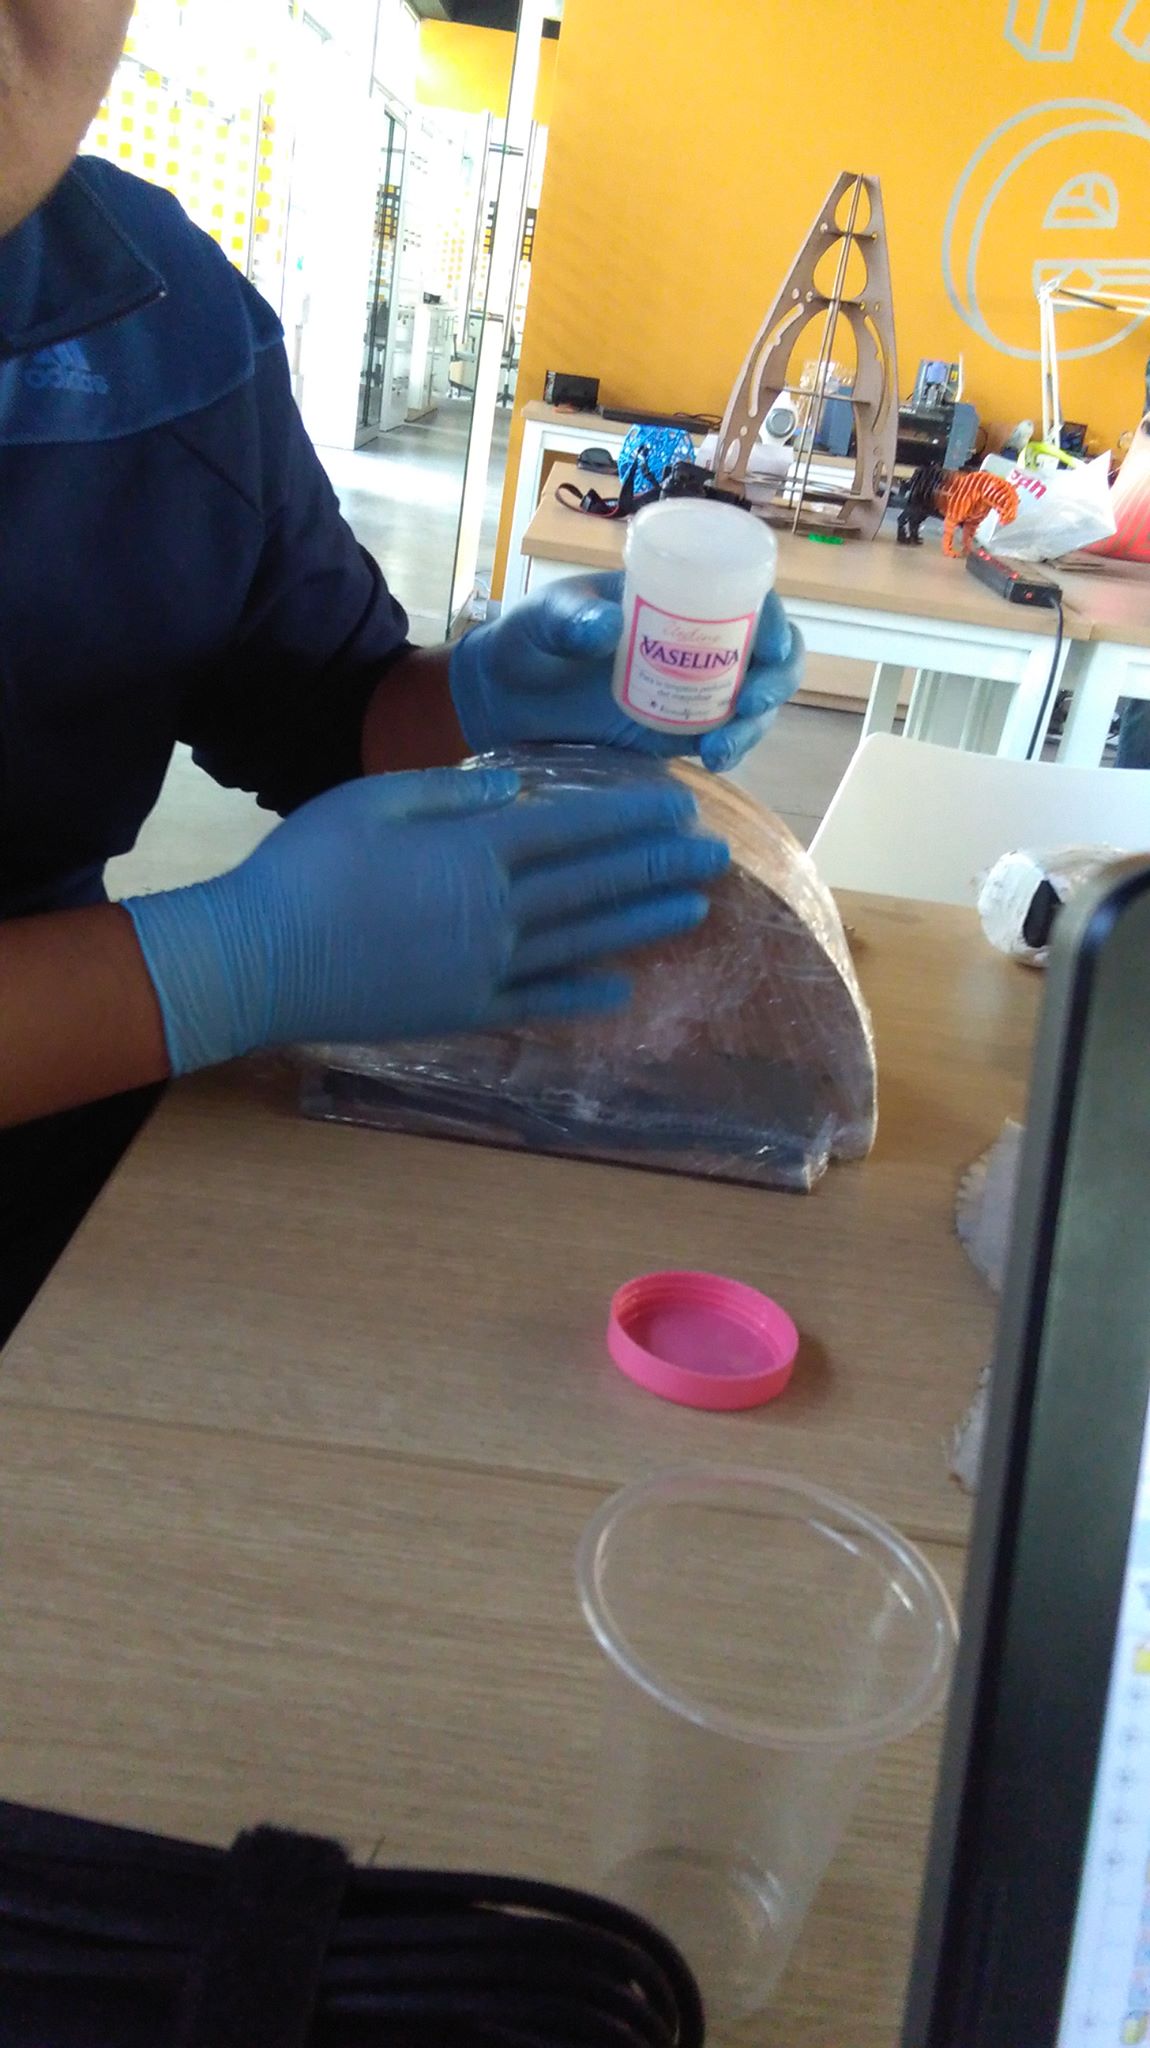
Then the whole structure is anointed with Vaseline to avoid adhering the fabric.
And each piece of cloth is soaked in resin, covering the whole structure.
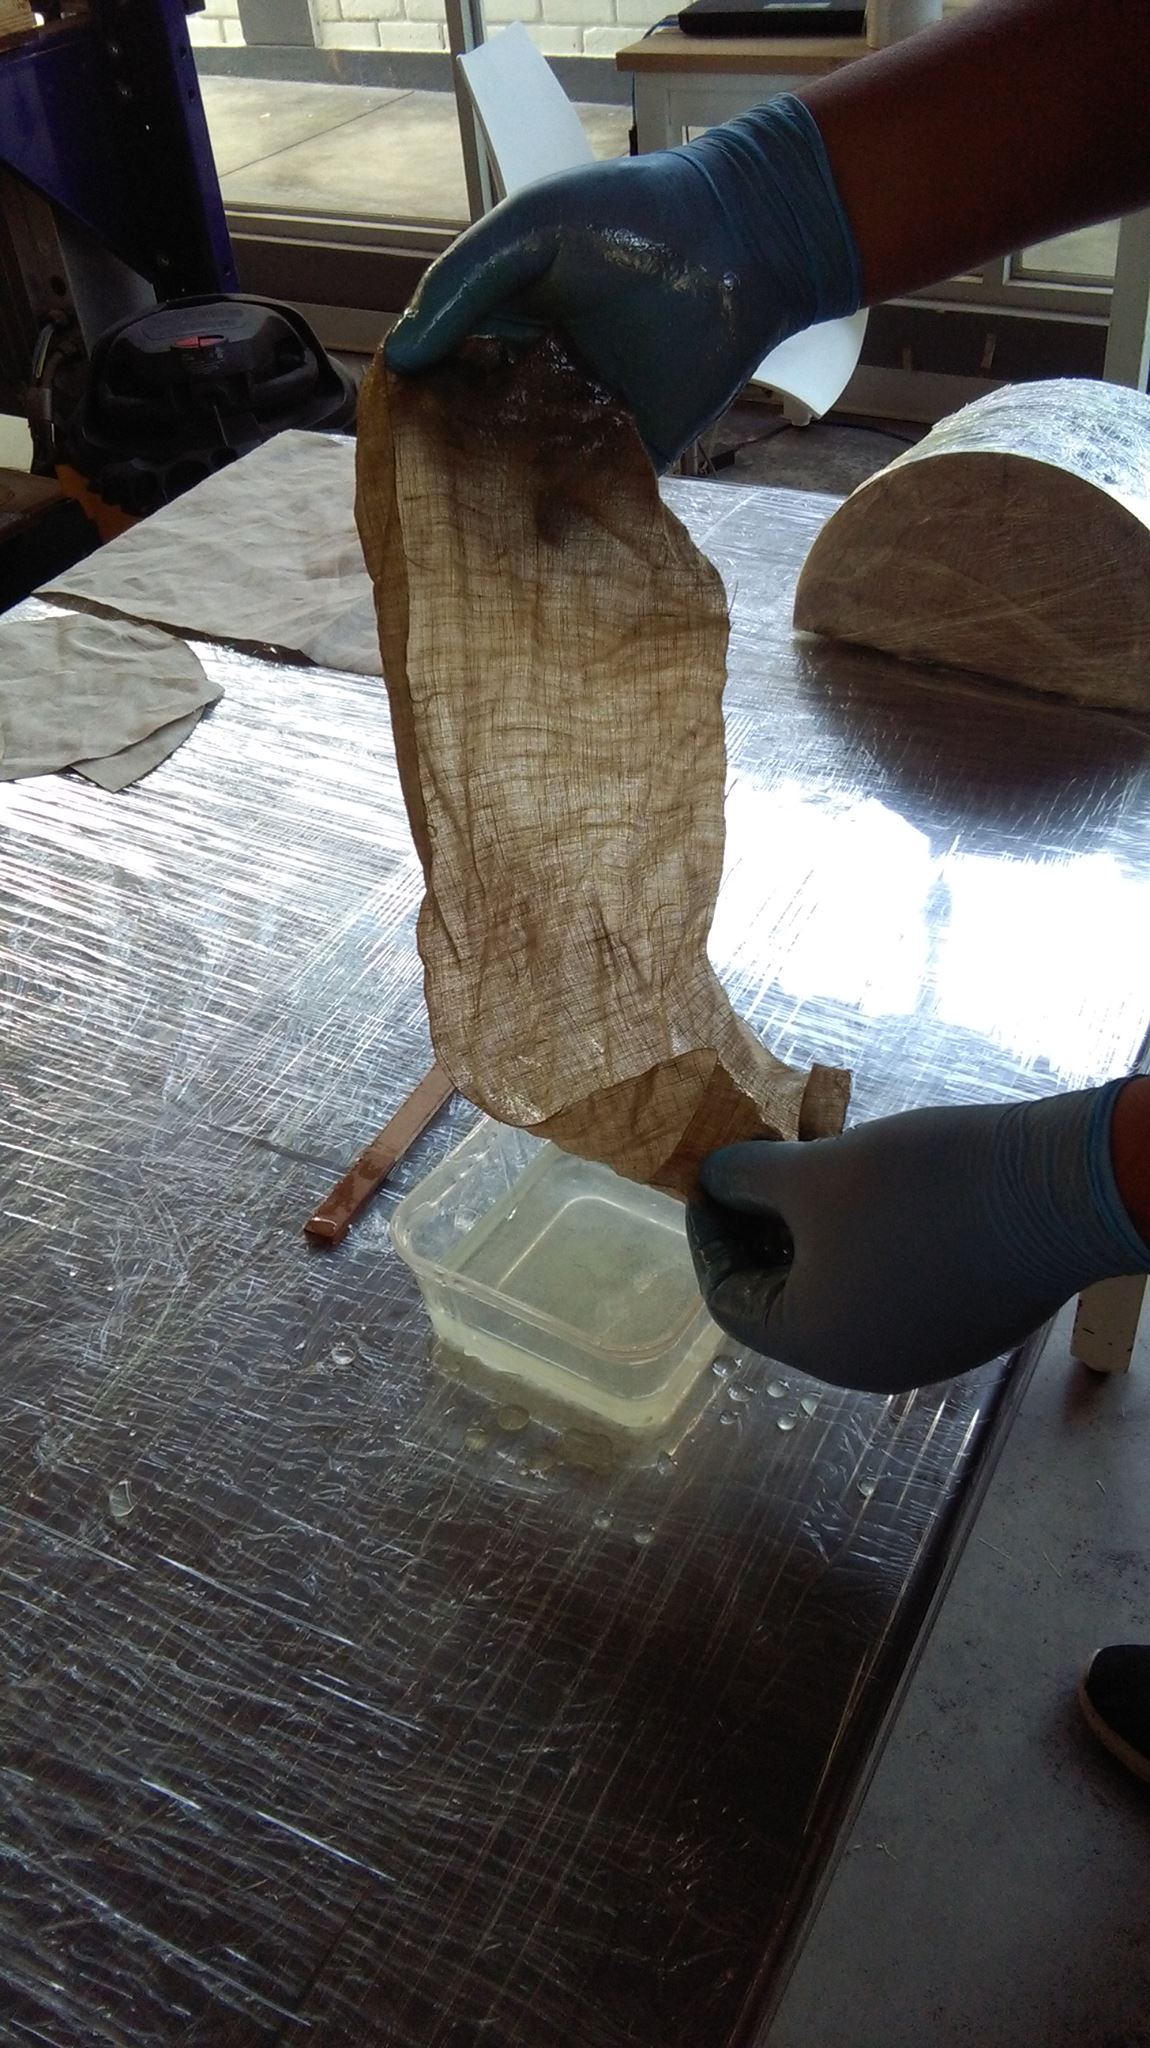
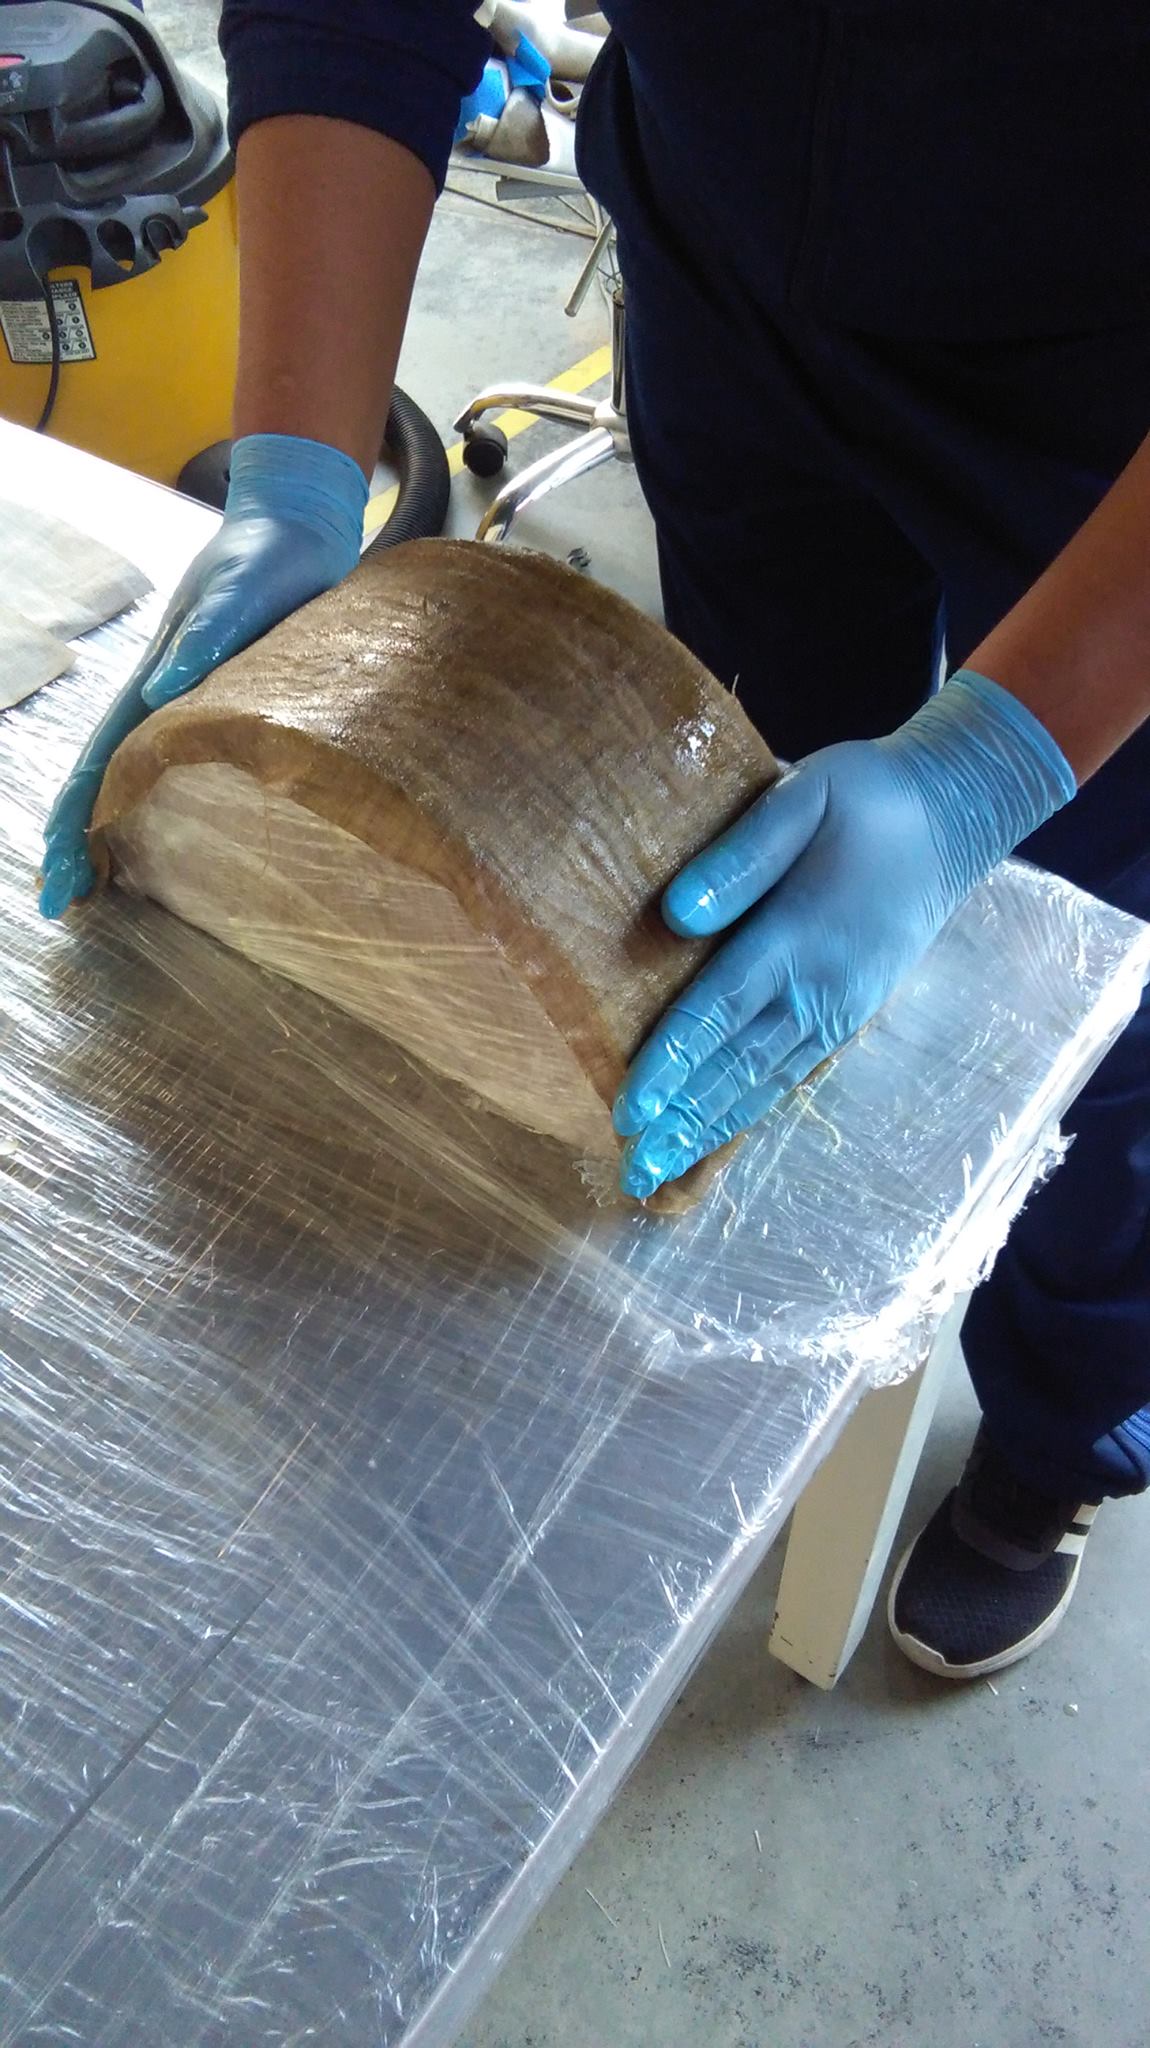
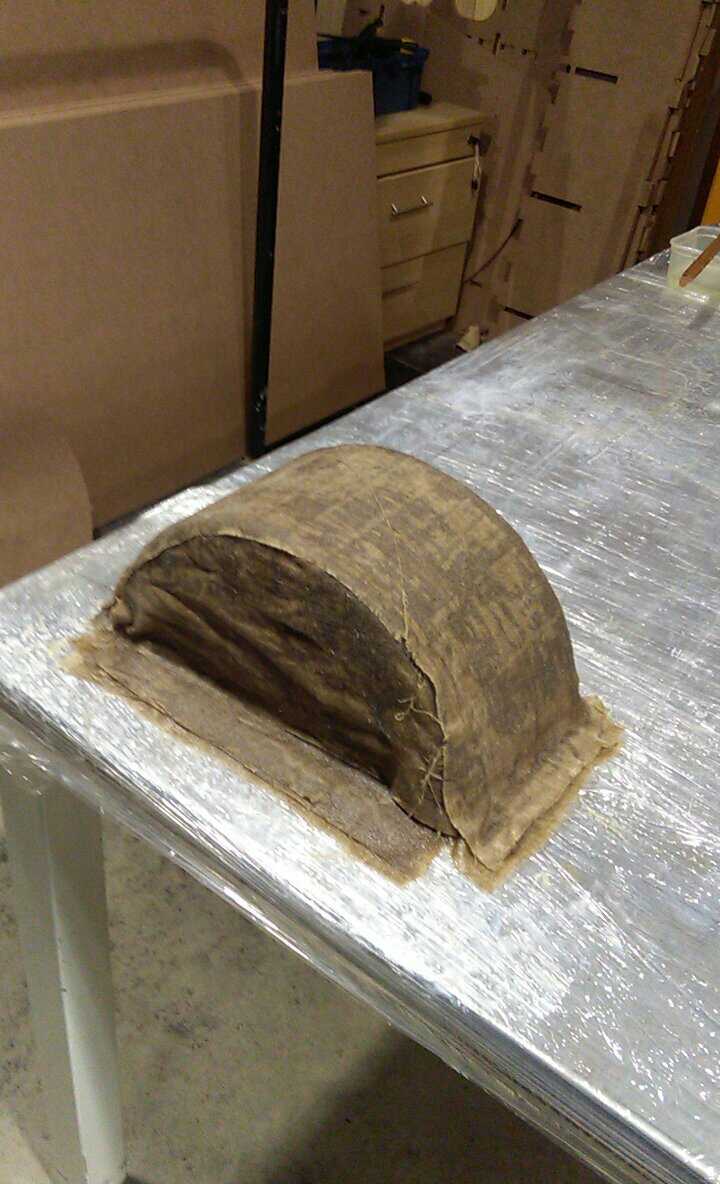
The resin is then allowed to dry for one to two days, and the composite is removed from the structure.
CLICK HERE FOR DOWNLOAD THE FILES

And finally, we evaluate the resistance and durability that the composite has in the form of "fender"
TESTING COMPRESSION AND OTHER METHODS IN COMPOSITES
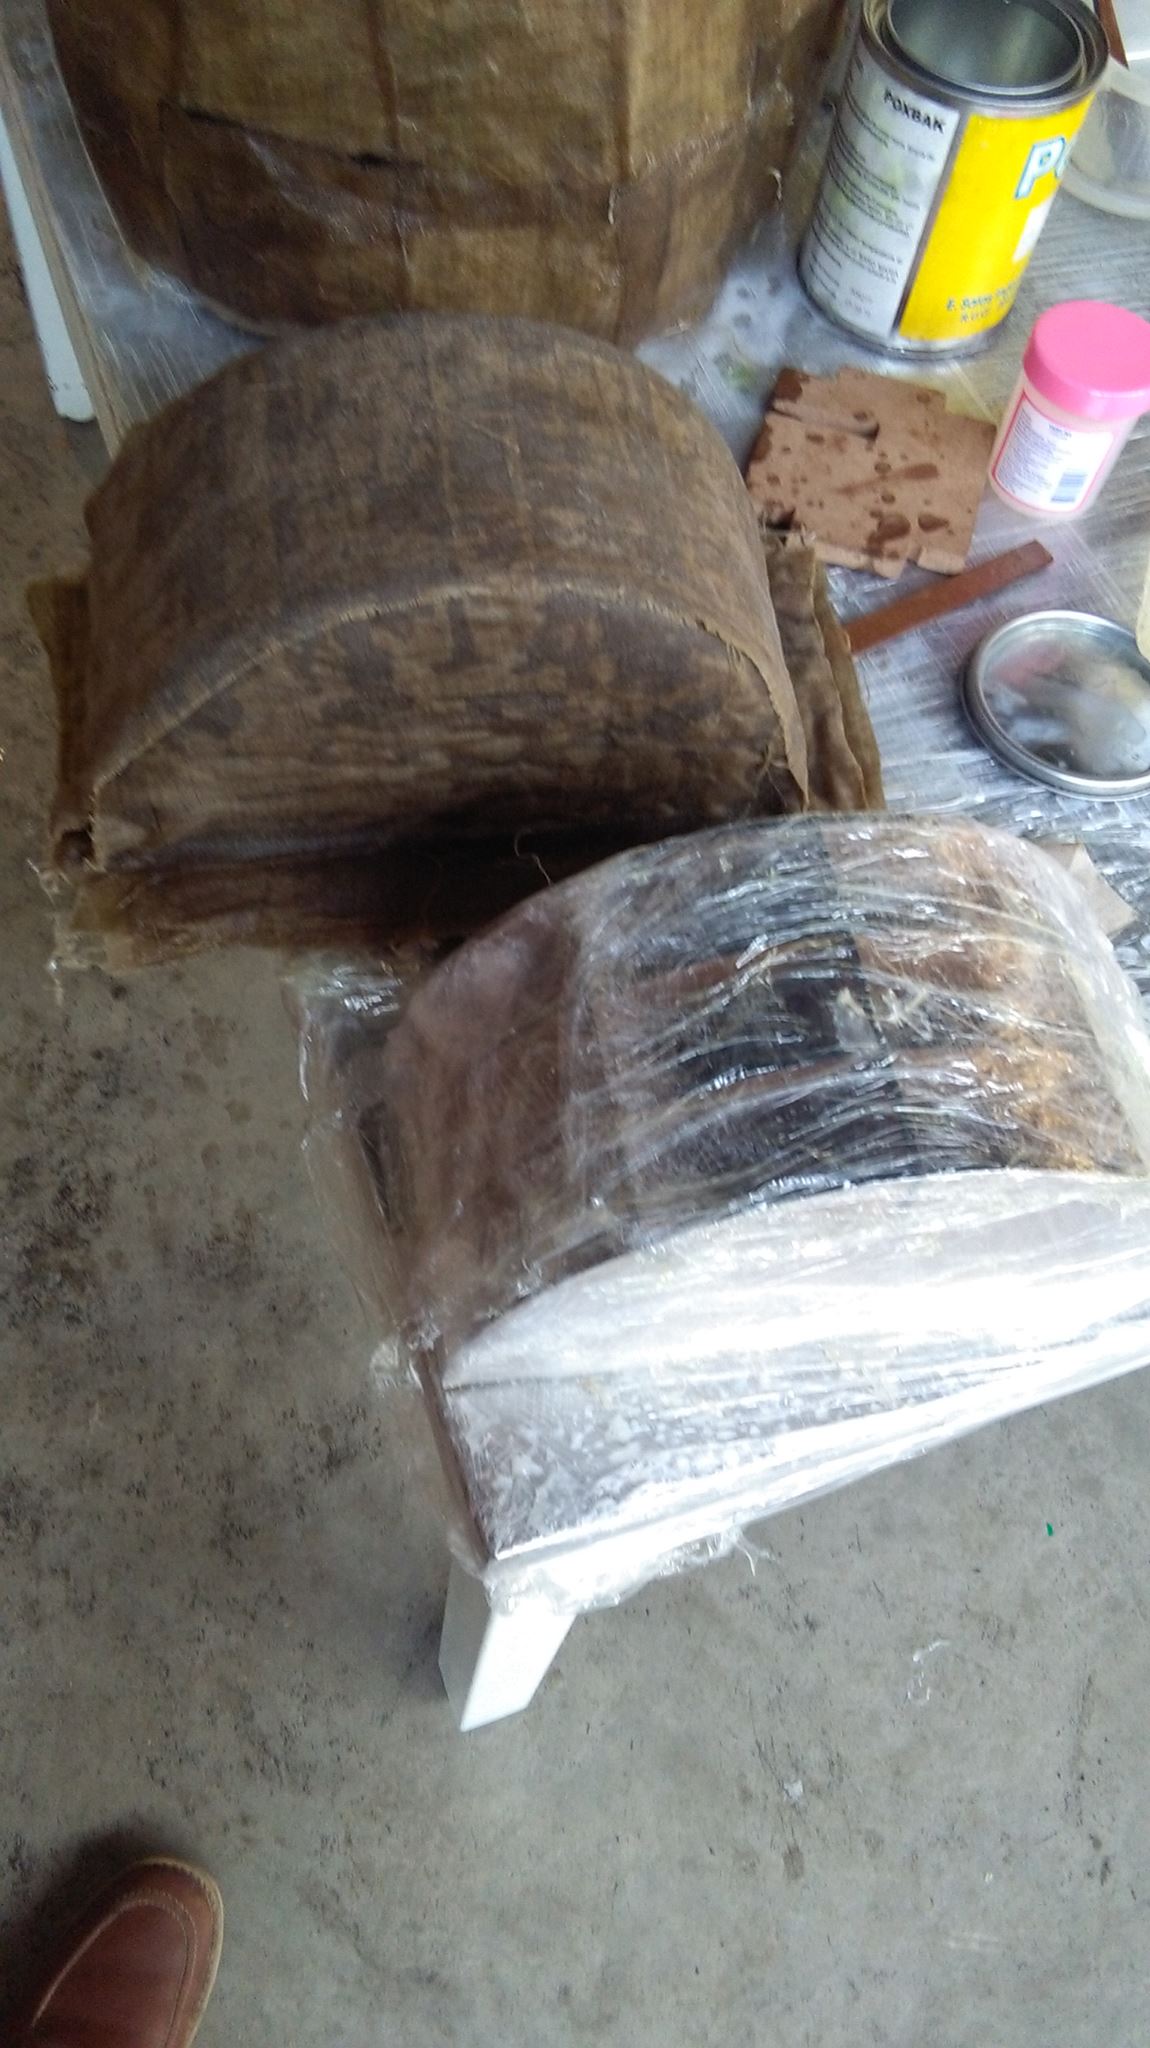
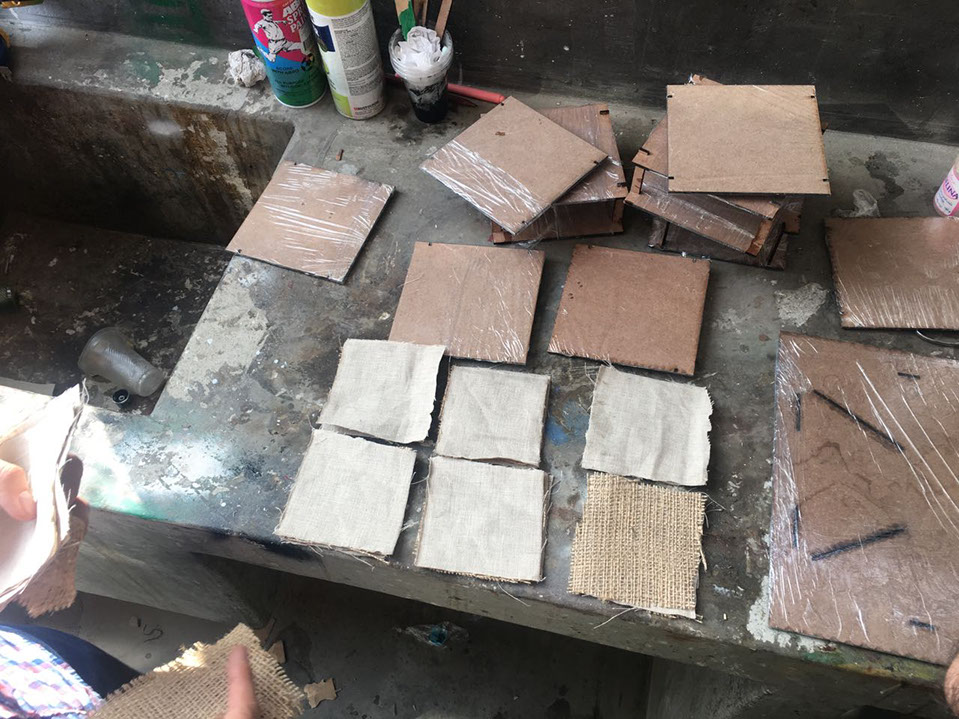
As an additional test, samples of 14 cm x 14 cm pieces were sampled, which were covered in resin, and exposed to different conditions: free air, compression, the air was extracted from the environment, and various types of fabric were mixed.
For each testing, I used three diferents samples:
Sample 1 : Linen +linen
Sample 2 : Linen + Jute + linen
Sample 3: Linen + jute + linen + jute + linen
The resin began to be placed in the natural fibers according to the proportions explained previously in the documentation.
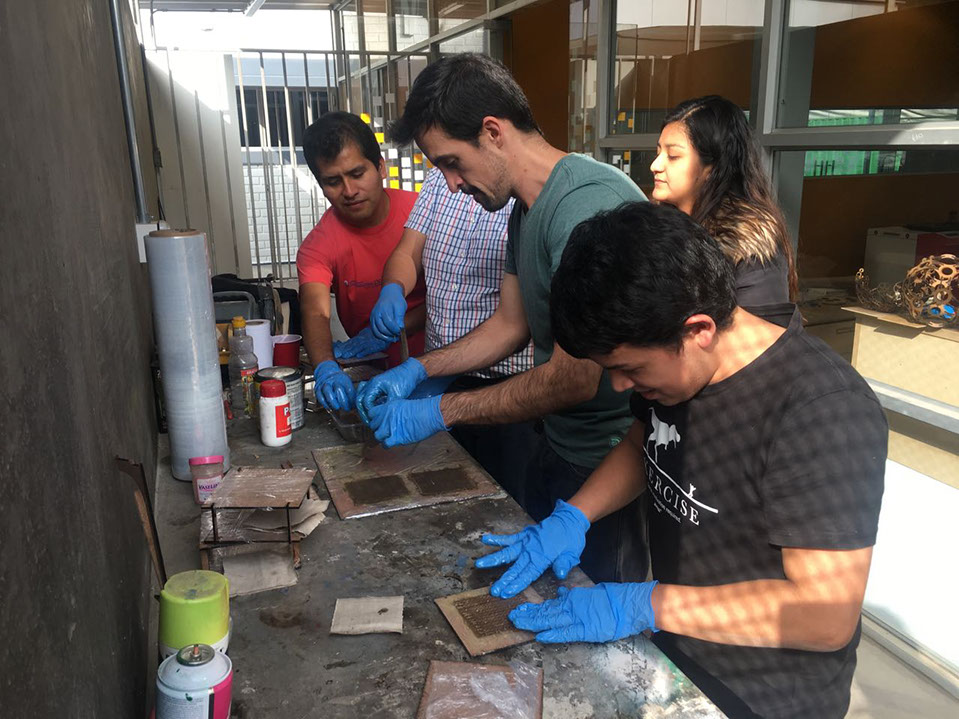
Technique 1: consists of compacting natural fibers by hand as much as possible.
Technique 2: conssits of placing the natural fibers between two layers of mdf and pressing them.
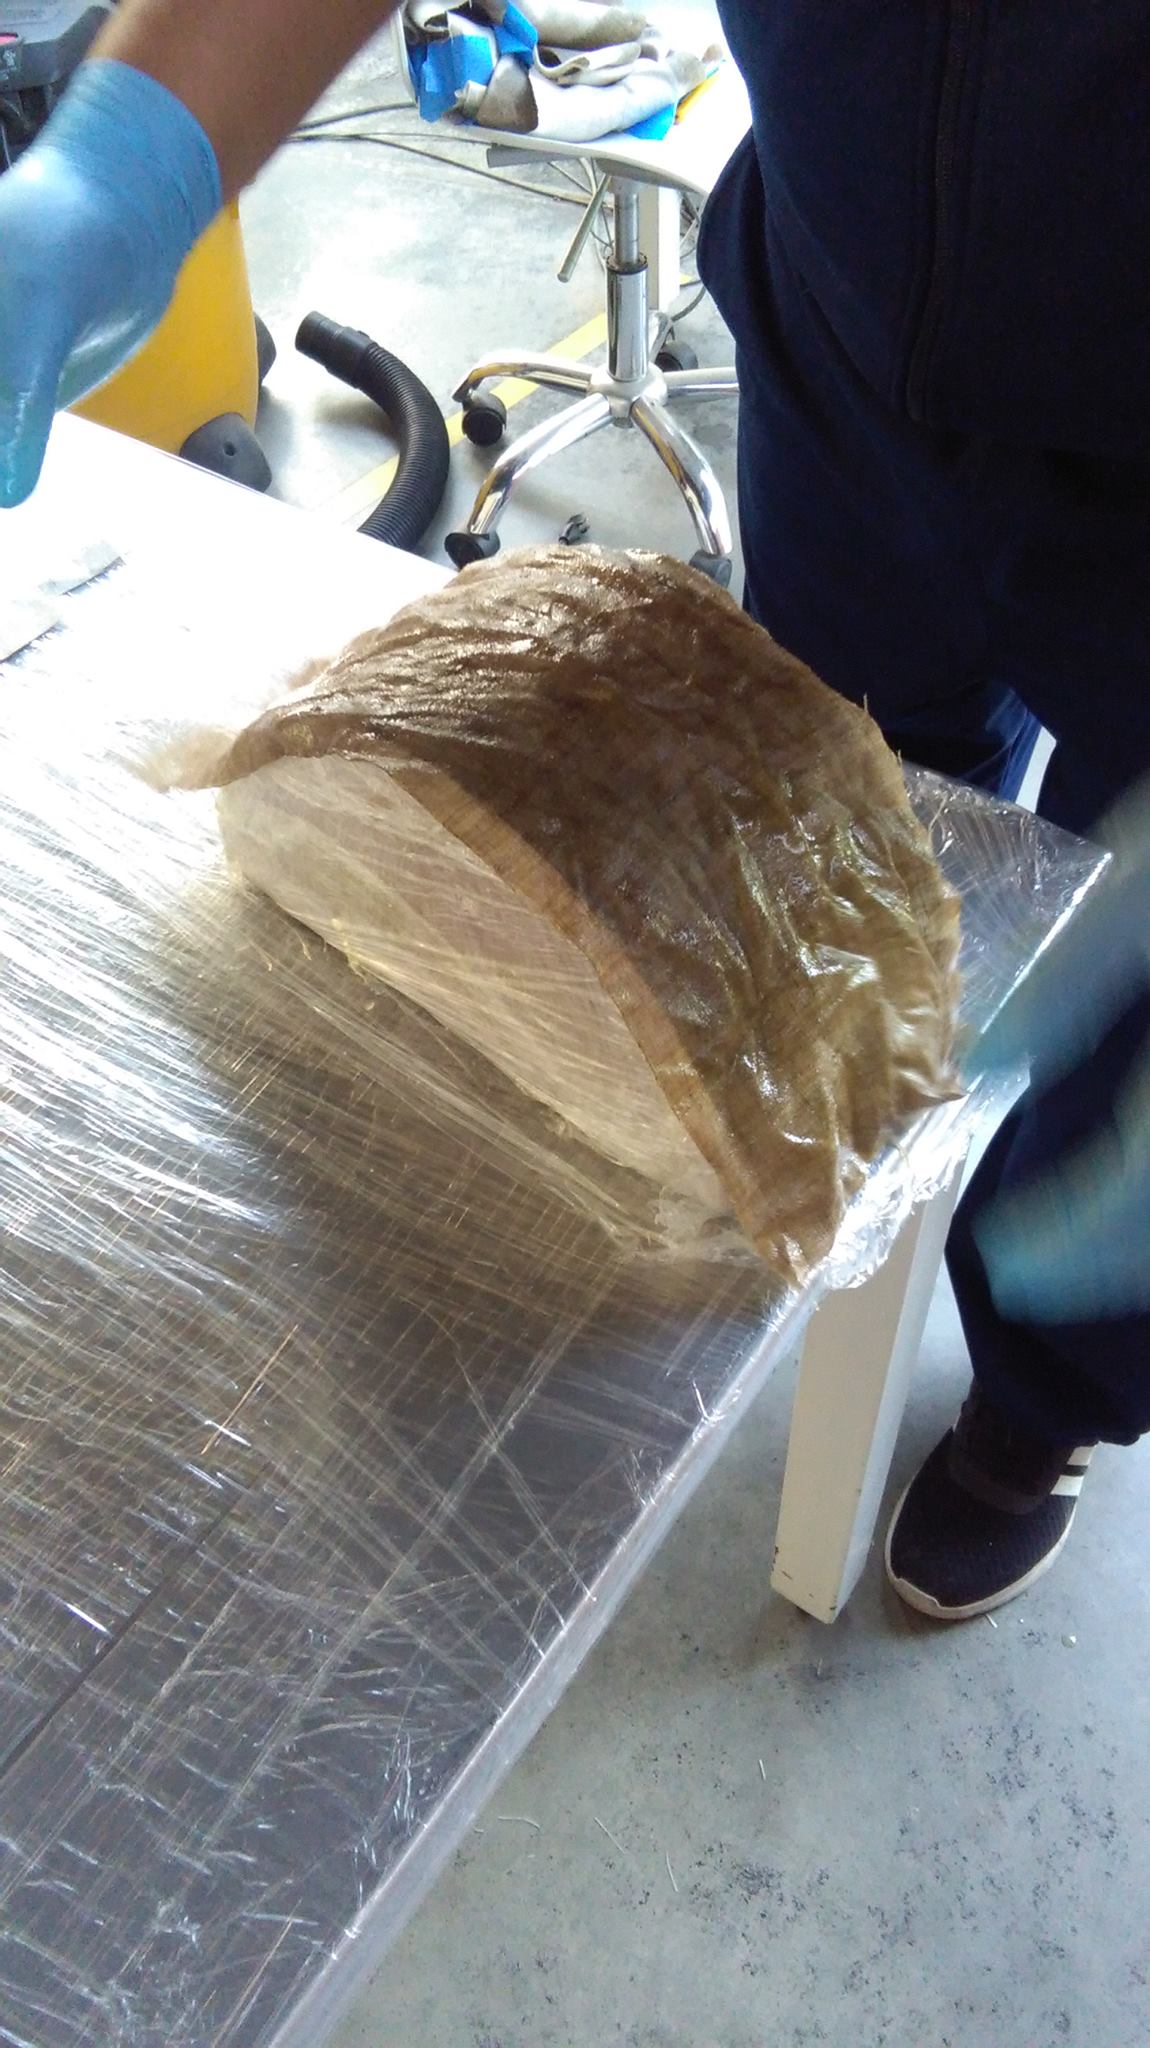
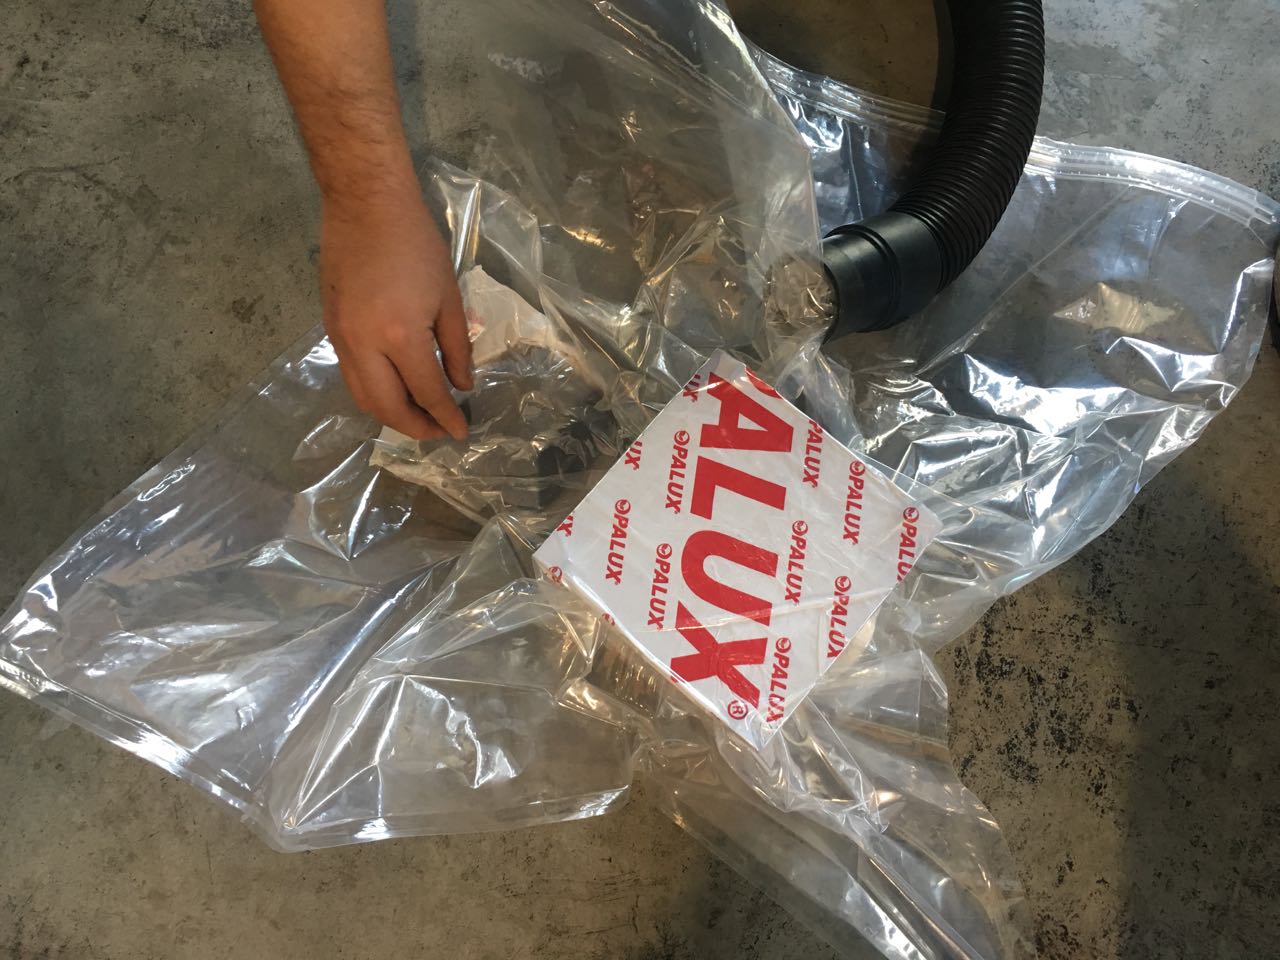
Technique 3 : cosisted in placing the natural fibers inside a mdf support made with press fit. These supports will fit inside a special plastic bag that is connected to a vacuum cleaner to remove all air and compress as much as possible the material.
This is the bag we used to remove the air with a vacuum cleaner.
We put the tests inside the bag and we removed the air.
Press with the hands. Left outside to dry.

Press with presses. Left outside to dry.
Press with the hands, remove air with vacuum cleaner.Left outside to dry.
RESULTS OF TESTING
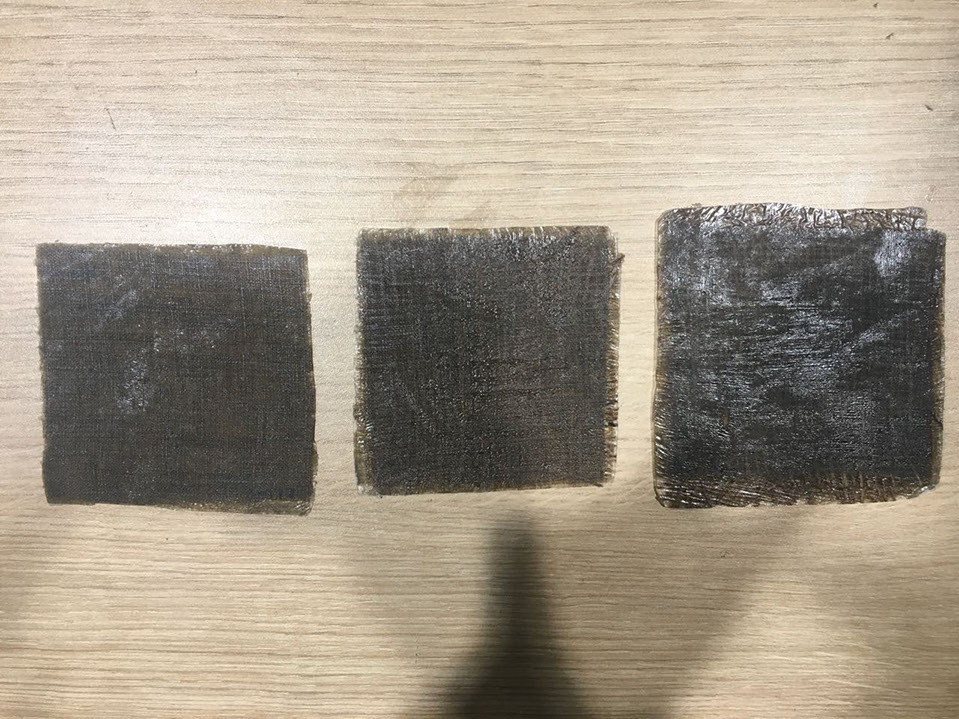
TESTING 1:
The first test we did was to remove the resin with the hands tightening as strong as possible. We let the tests dry outside.
It took two days to dry well and the result was: irregular texture, very compact and non-flexible material.
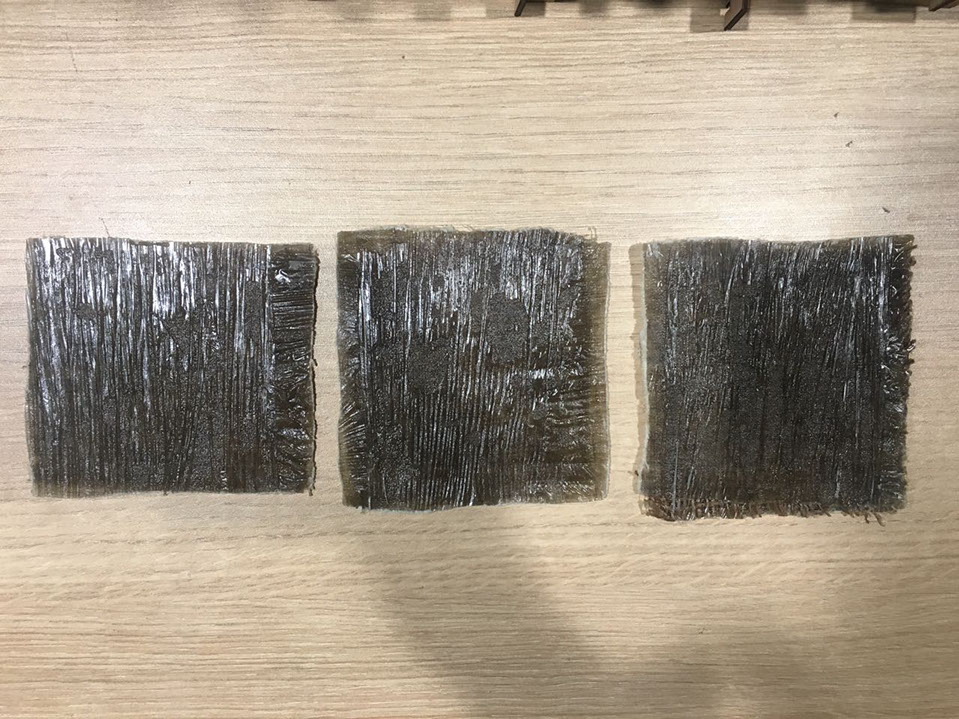
TESTING 2:
The second test was to compress the material between two mdf using presses. We let the samples dry outside and it took just under two days to dry well.
The results were: very even texture, you can see the natural fiber and the material is tough but flexible. This was undoubtedly the best result.
TESTING 3:
For the third test we remove the resin with the hands tightening as much as possible. We place the samples inside mdf supports and
place them inside a plastic bag that has a valve to extract the air with a vacuum cleaner. It took two days to dry well. The result as seen in video 2 was:
Texture not very even, material more or less flexible and more or less compact.