Assignments 12
Molding and Casting
First design 3D a "dog bone" in the form of a medal, I had the idea of making an object for my pet.
First, I design the sketch in Autodesk Inventor of a dog bone, the dimensions limit them according to the size of the block of wax in which to mill.
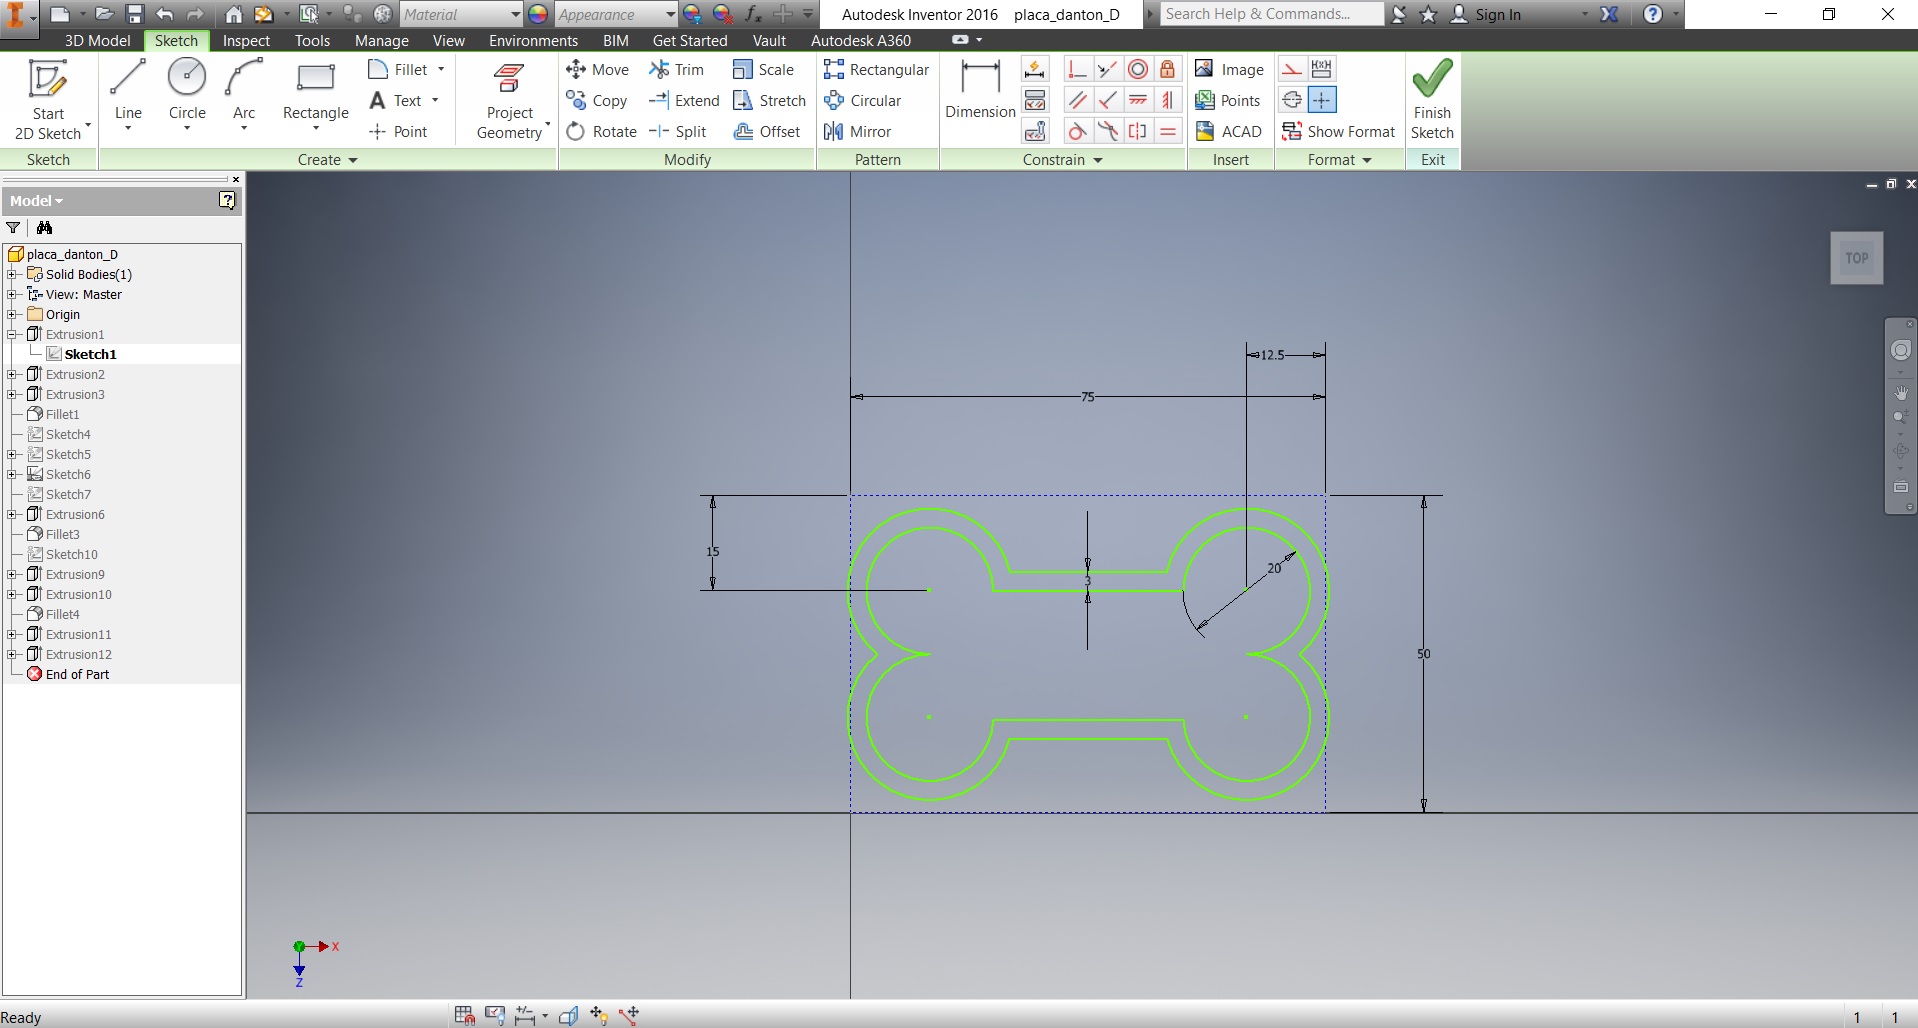
Then I extrude the design to convert it to 3D. In this part all the dimensions are designed in real scale, that is to say as it is the necessary measure of the final design.
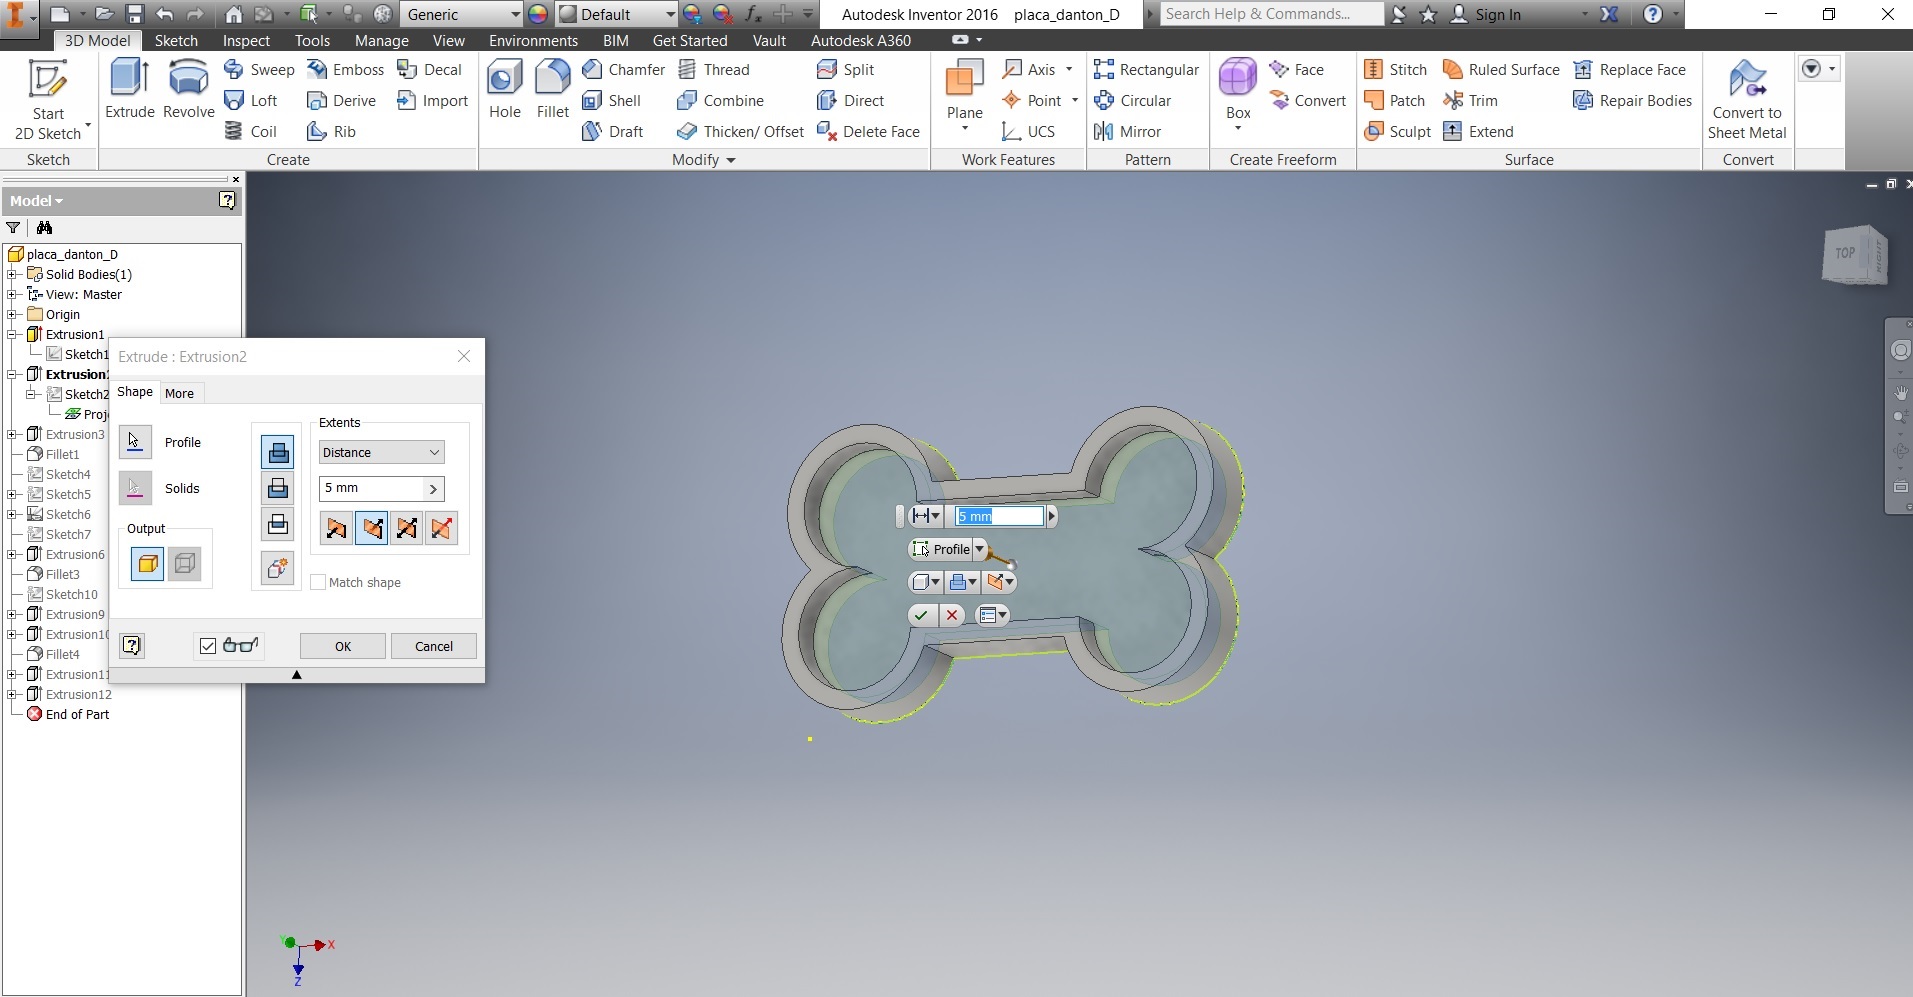
Also, I added to the design a 3D detail to test the limitations of strawberry, in this case I will use a 1/16 inch milling cutter, so the spaces through which the tool passes should be much smaller than this diameter.
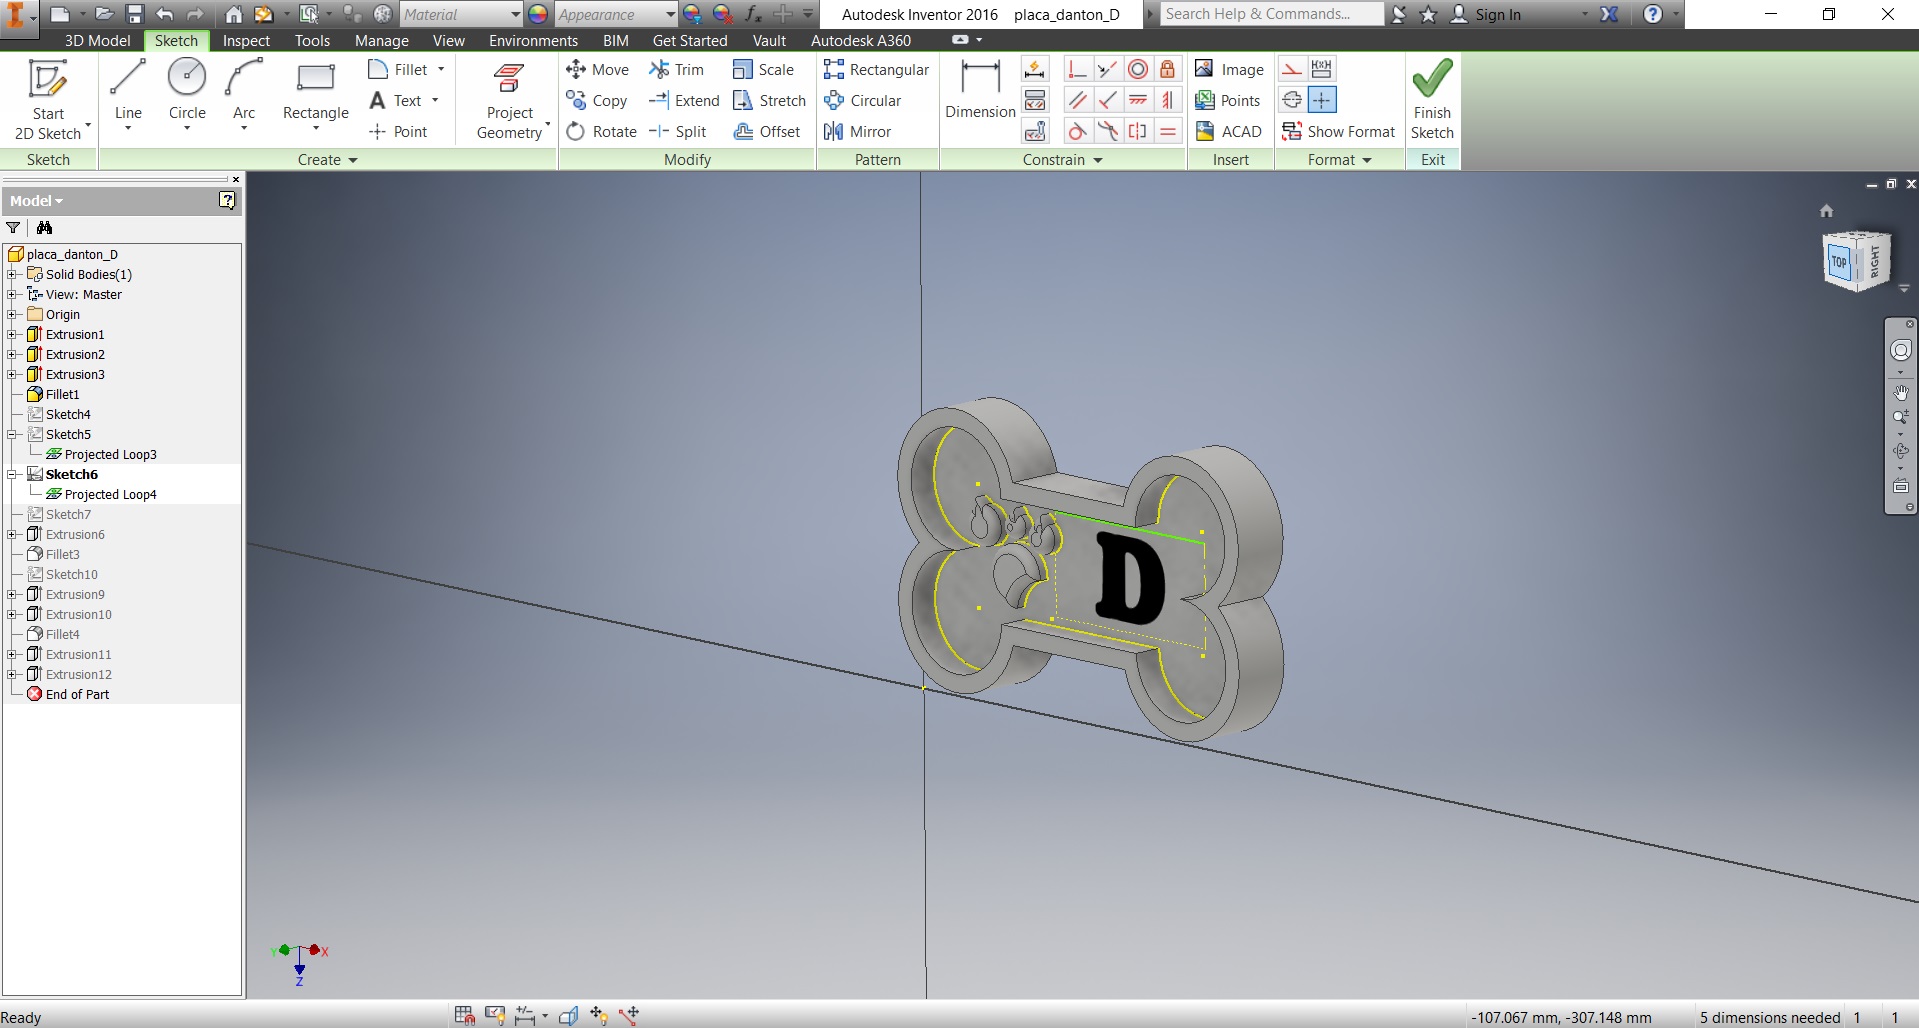
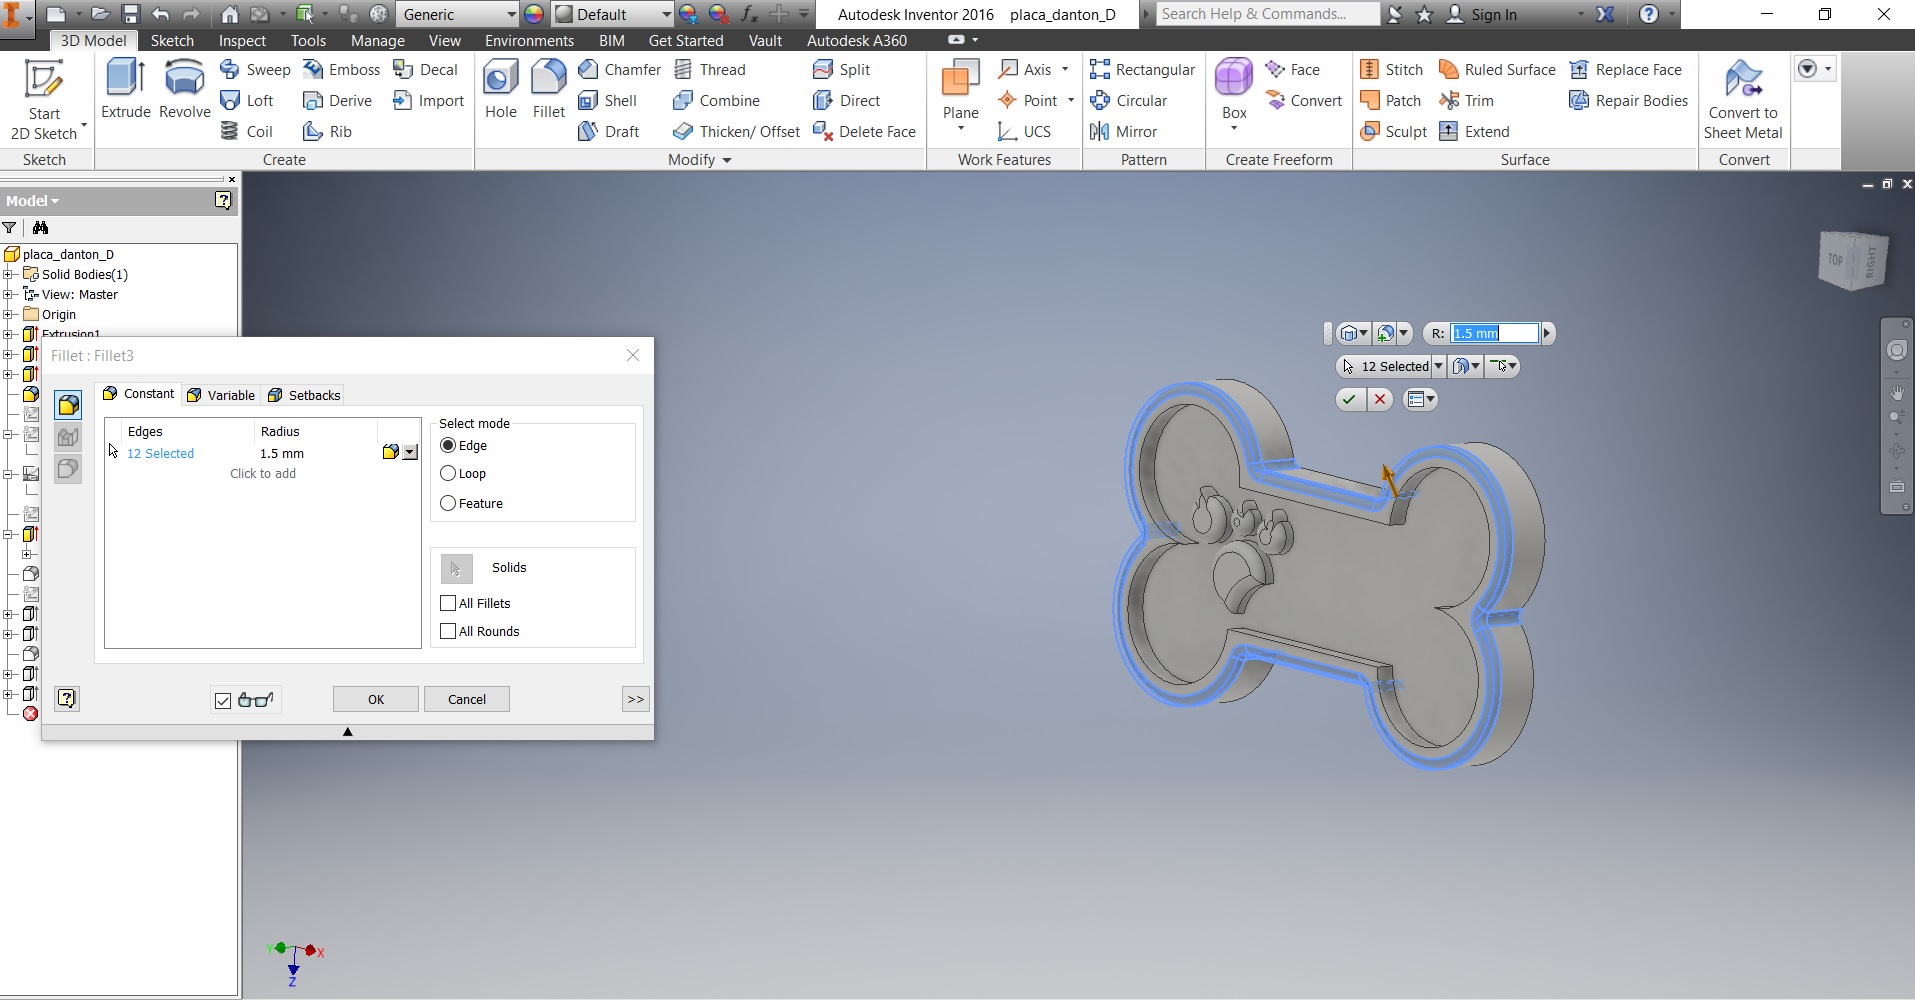
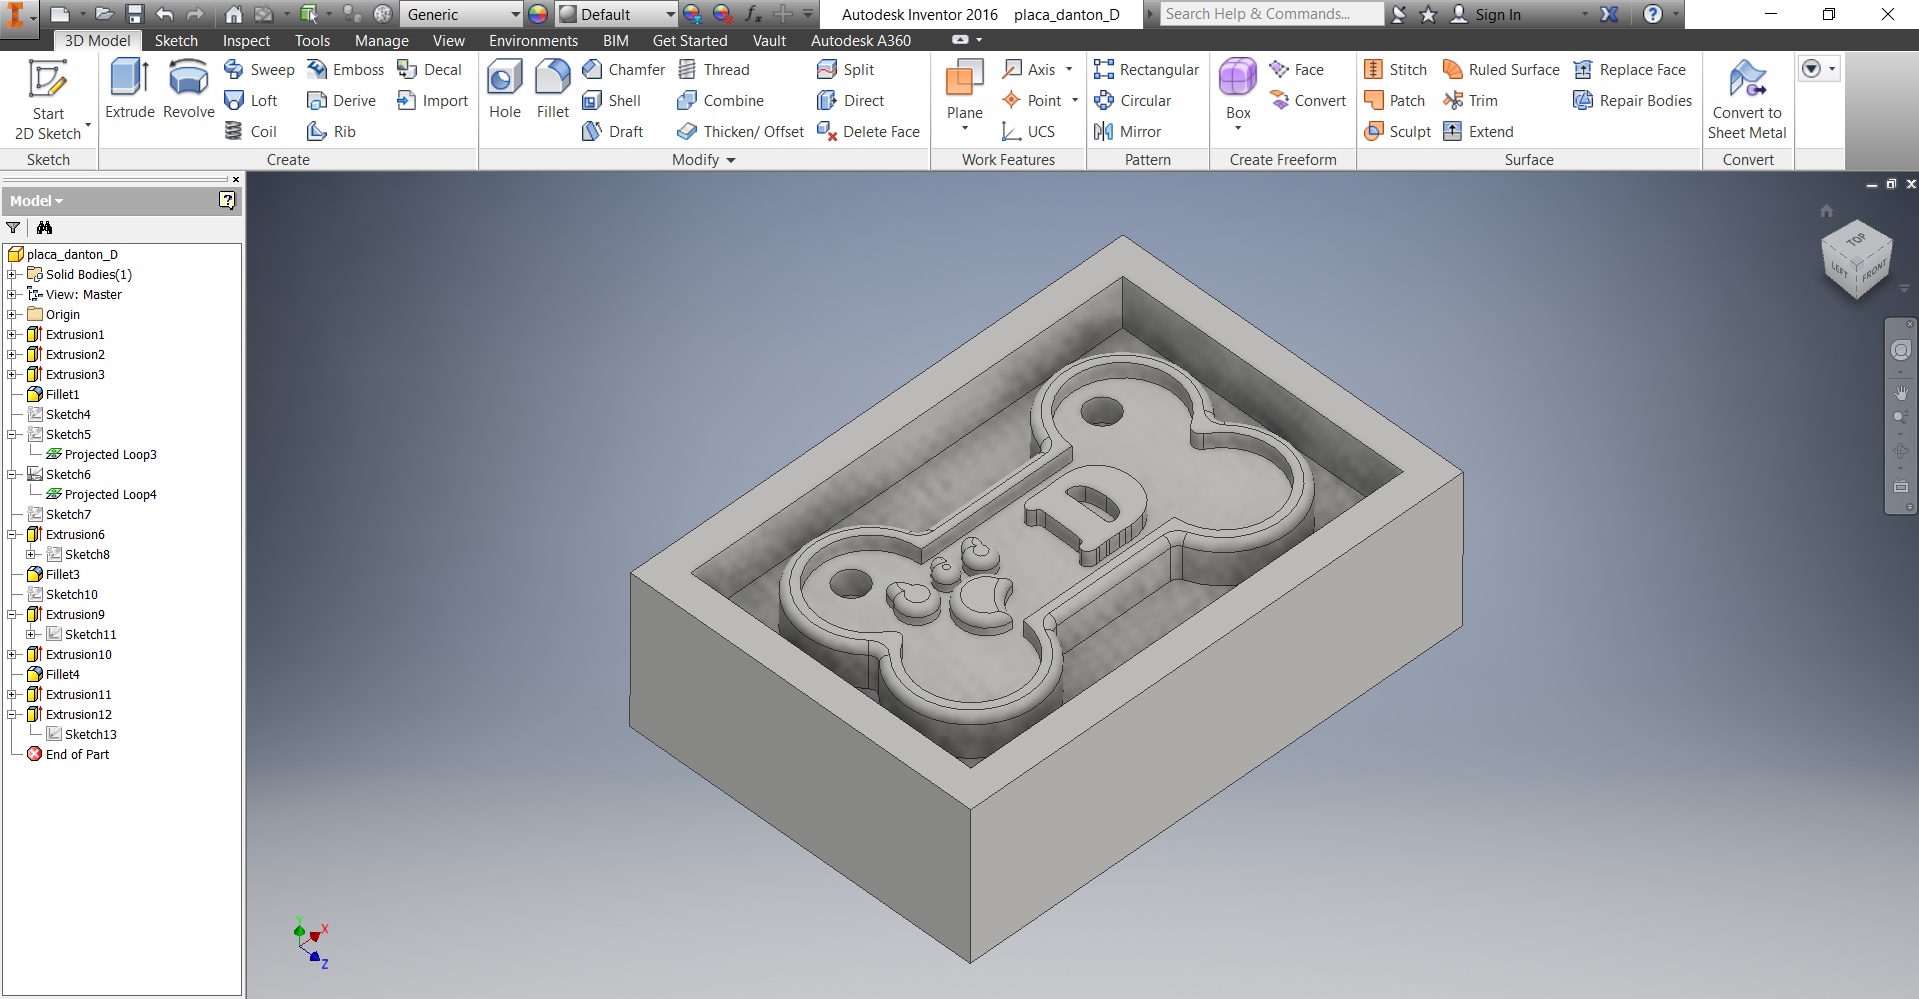
Then make some modifications to my design with the tool "Fillet" which allows me to bicelar the edges in a tangential way. These changes were made to be able to use the BN or finishing mill as an extra process.
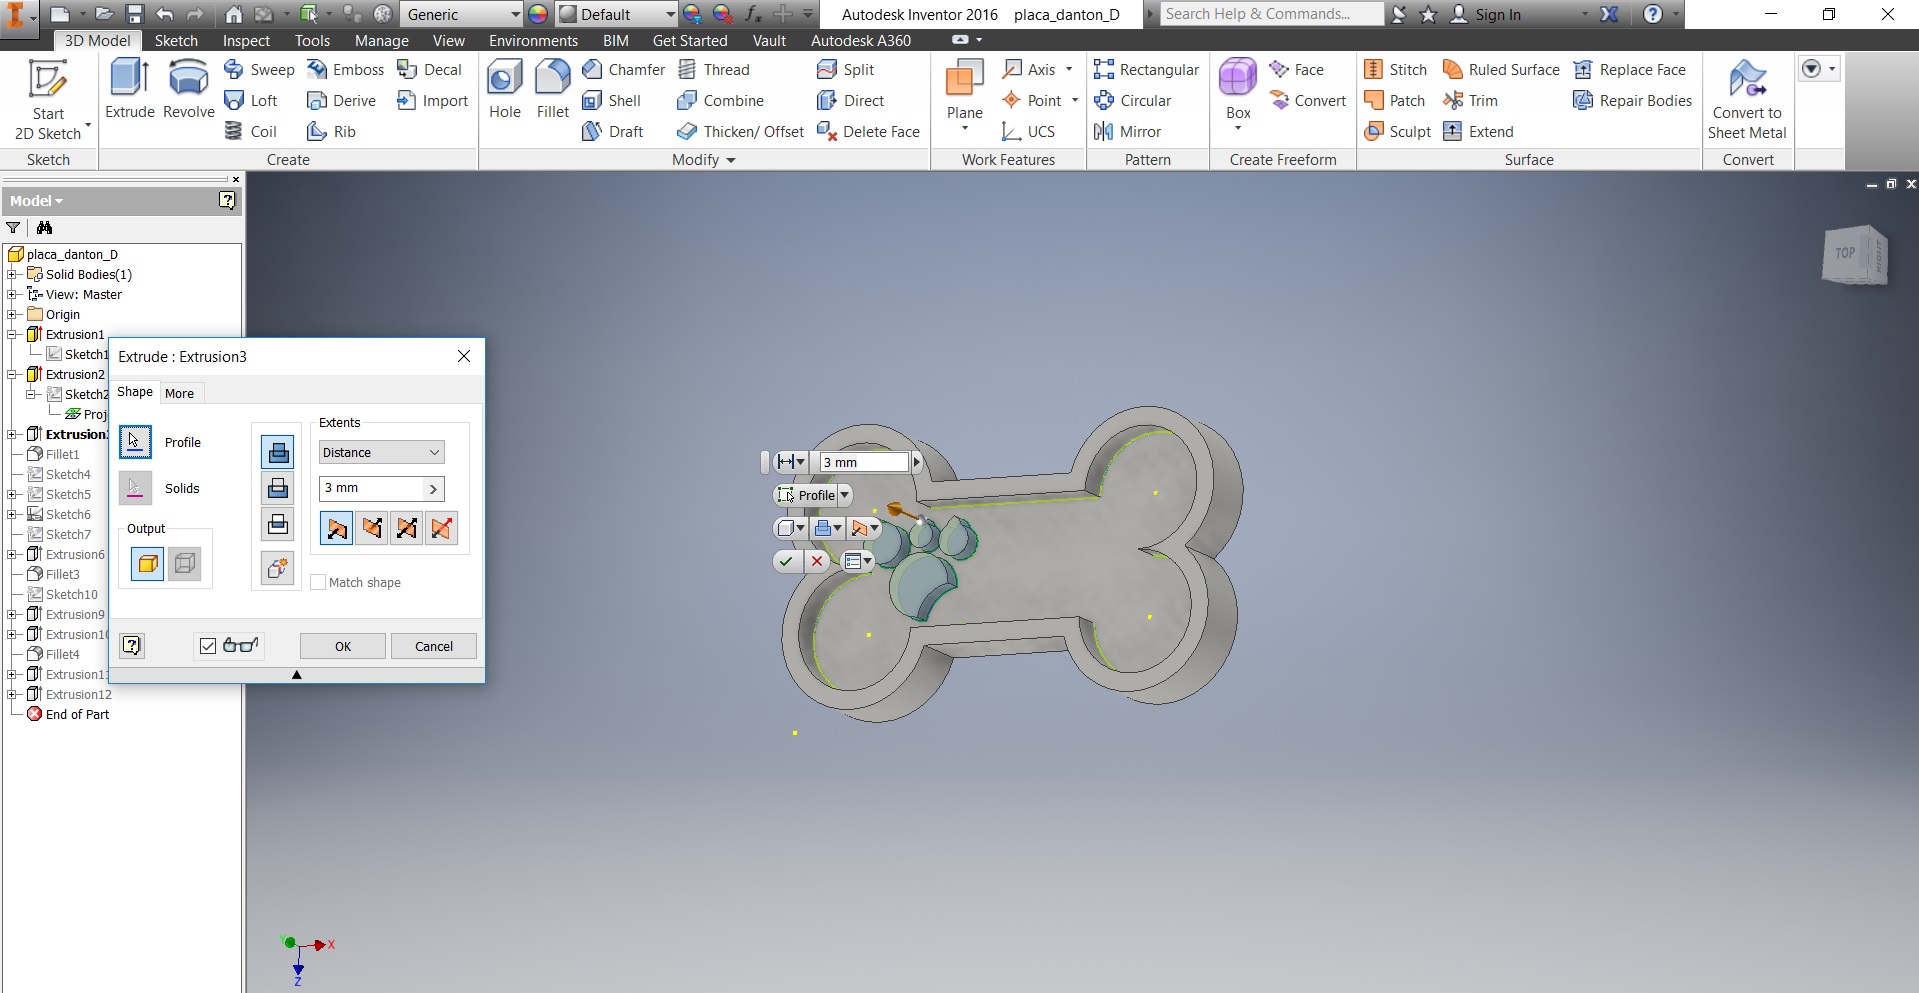
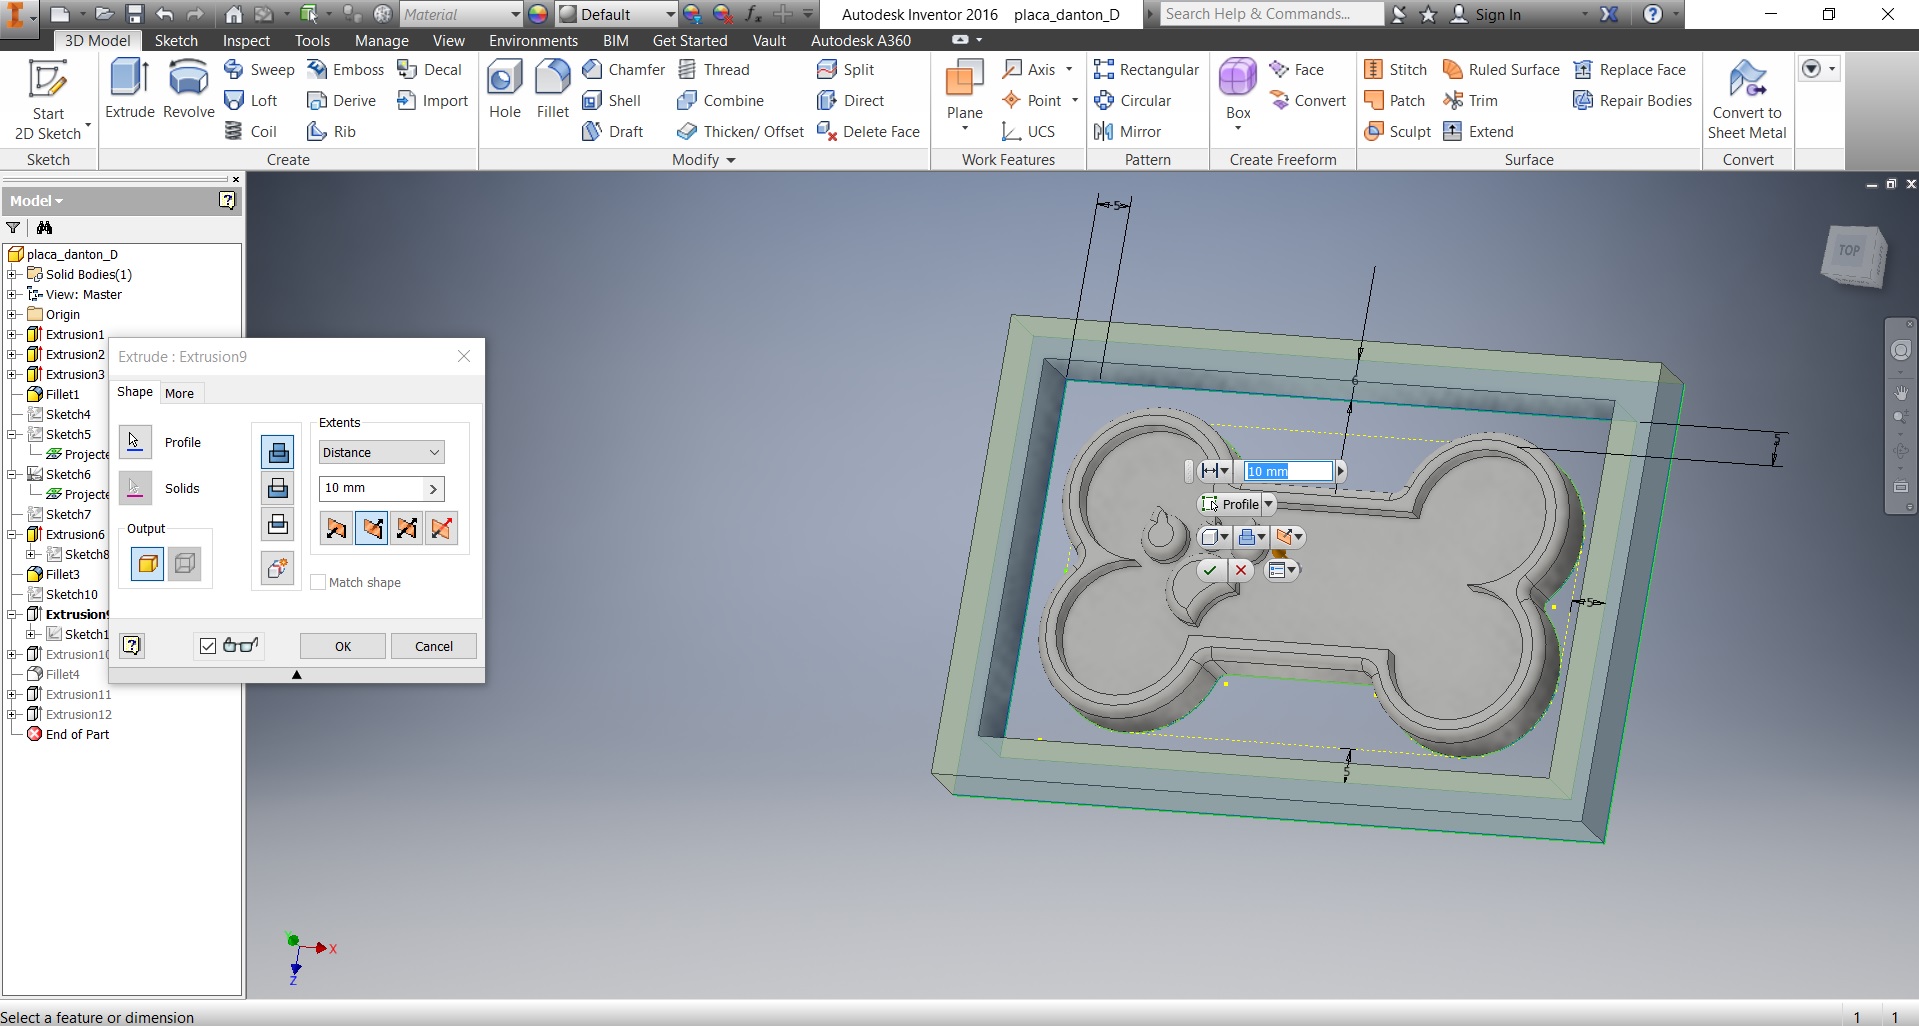
Then, once the part to be manufactured is finished, the sketch of the mold is carried out in the design, ie the part manufactured in the mold has to be designed, specifying in the design the spacing measurements to each Side as upper and lower side.
In this case a spacing of 3 mm below the surface is dimensioned, and a lateral spacing of at least 2 to 2.5 mm, since the tool to be used is a 1/16 inch milling cutter, bone diameter 1,875 mm.
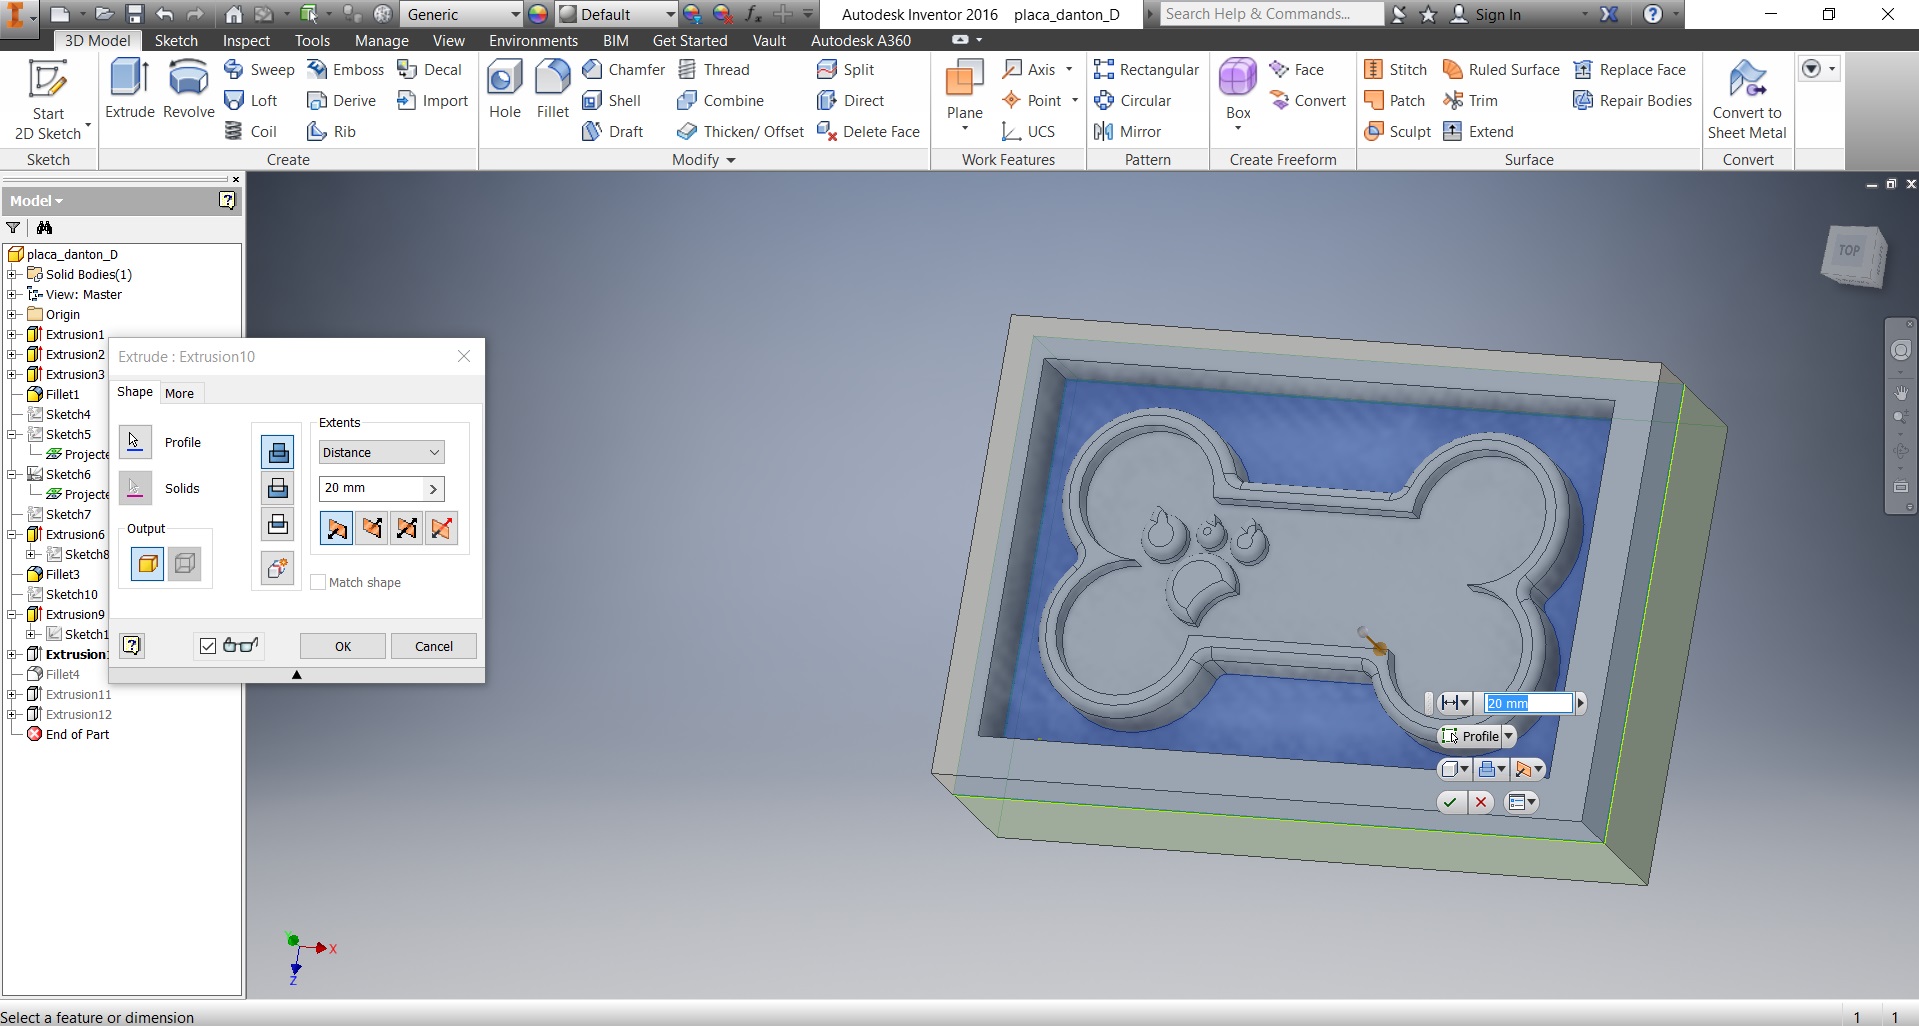
And finally, you must have the design of the piece designed in 3D in the mold, since the CNC machine reads this file in STL format, and is oriented of the design to be able to mill in height X, Y, Z.
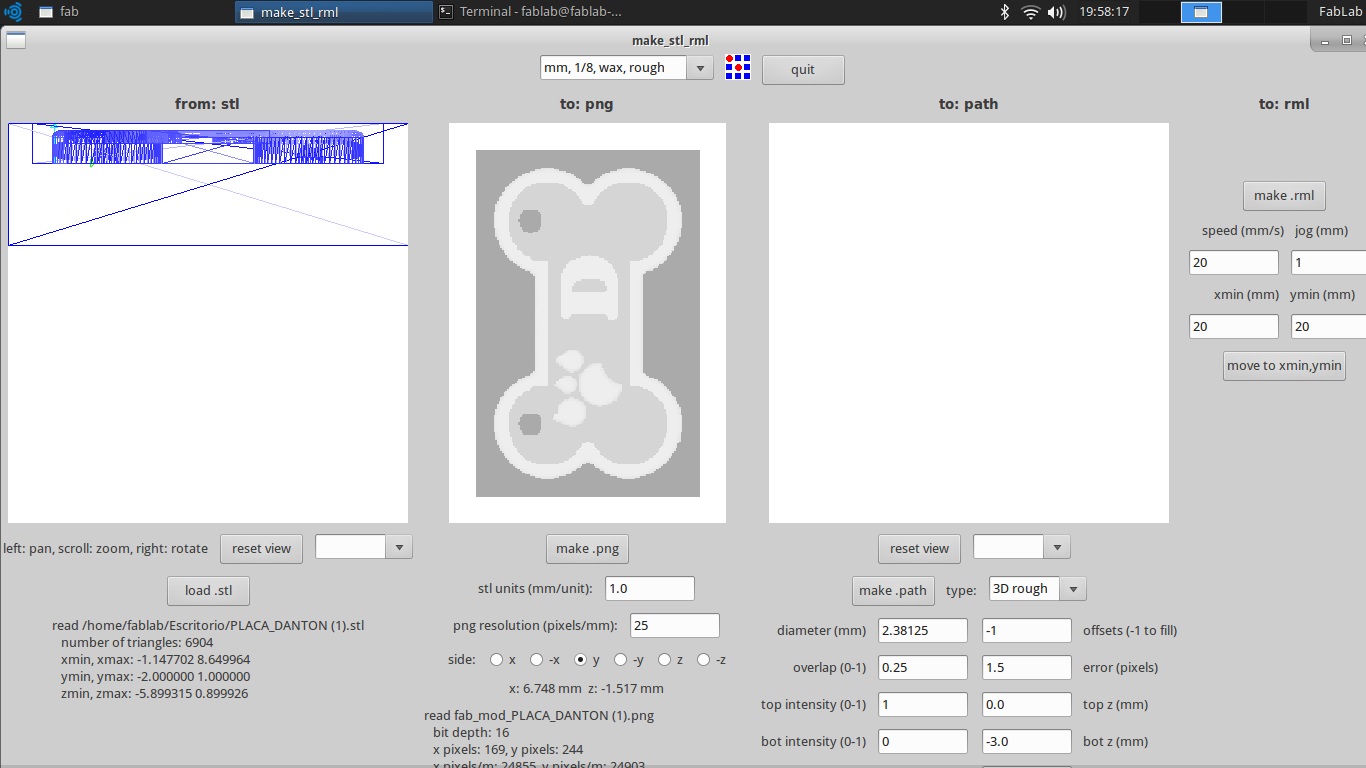
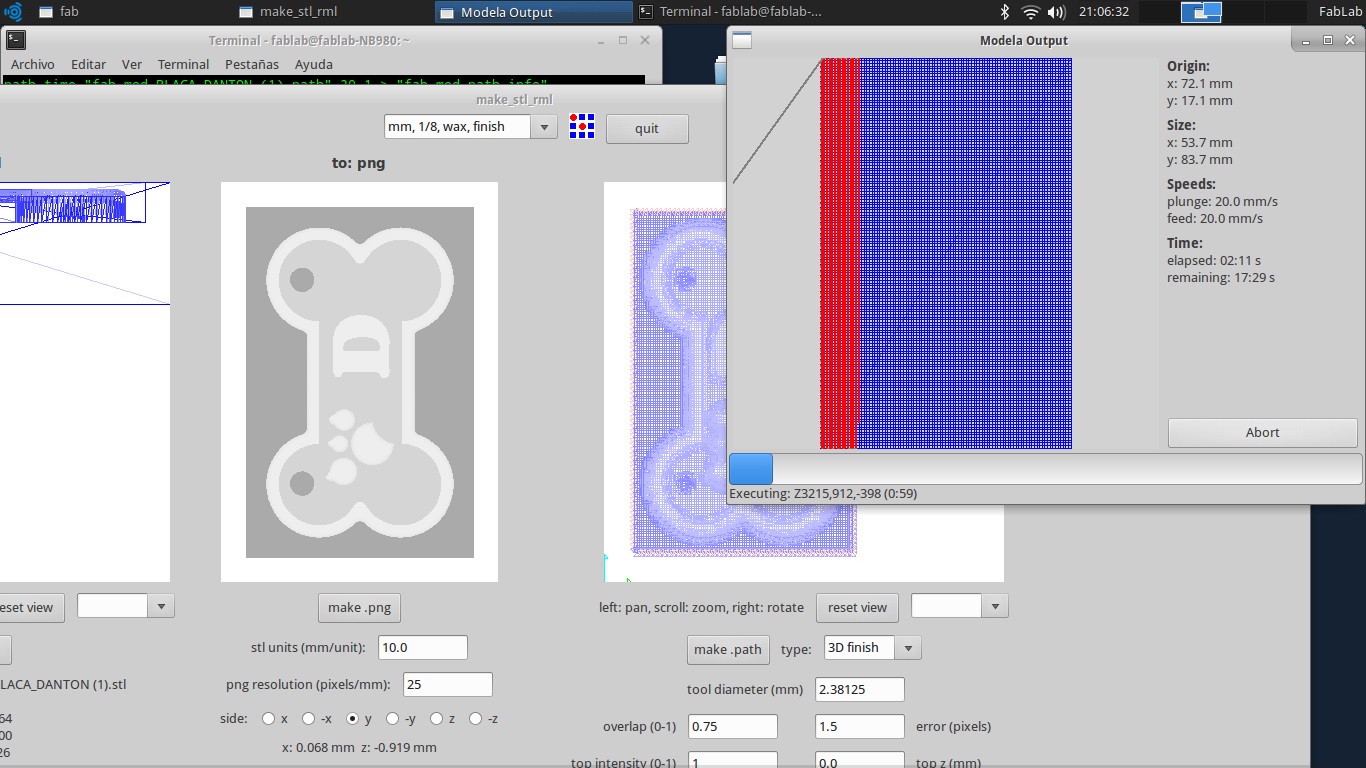
The model CNC machine Model MDX-20 reads the design file in STL format, and through the milling fabmodules.

CLICK HERE FOR DOWNLOAD THE DESIGN FILES AND 3D FILES (STL)
![]()
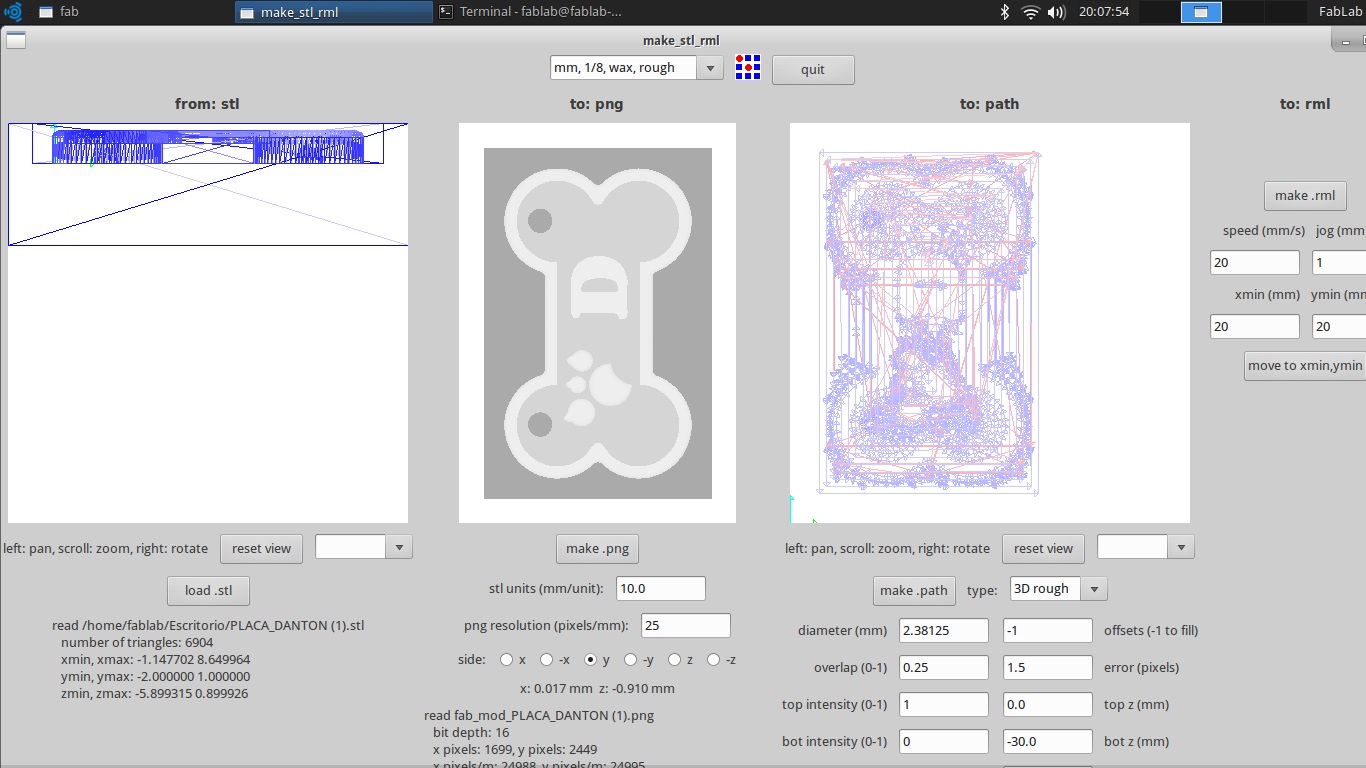
Then, I open the emulator of the terminal and charge the 3D design in the Model,
The following characteristics are configured: mill 1/8 rough and overlap of 1.25.
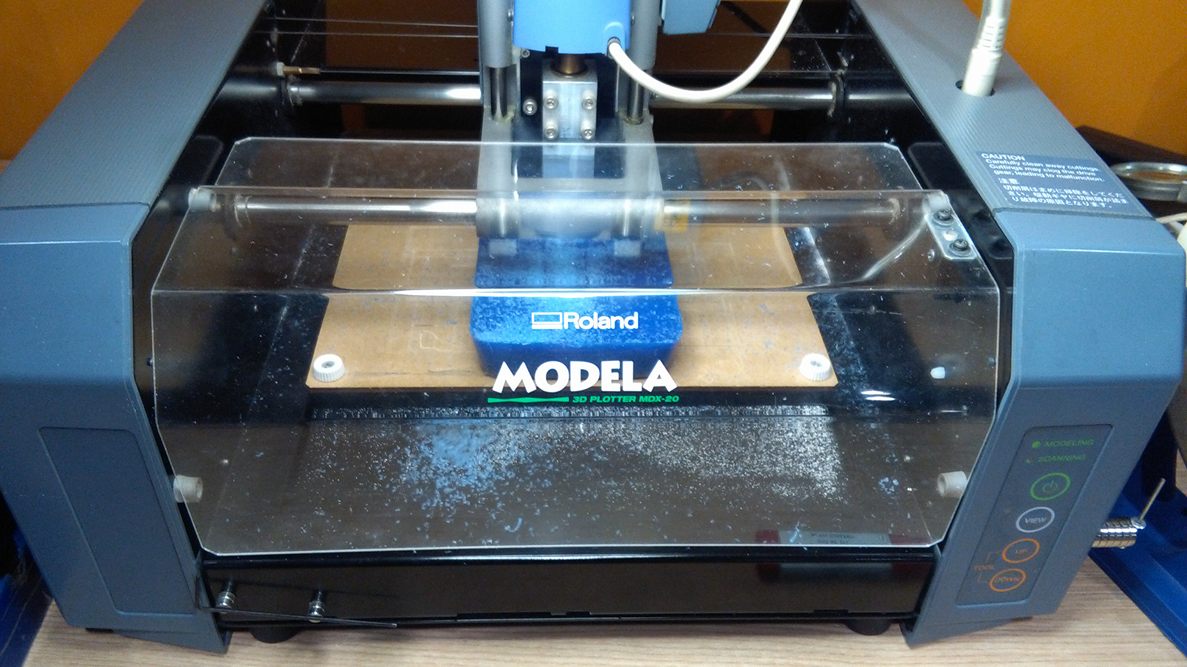
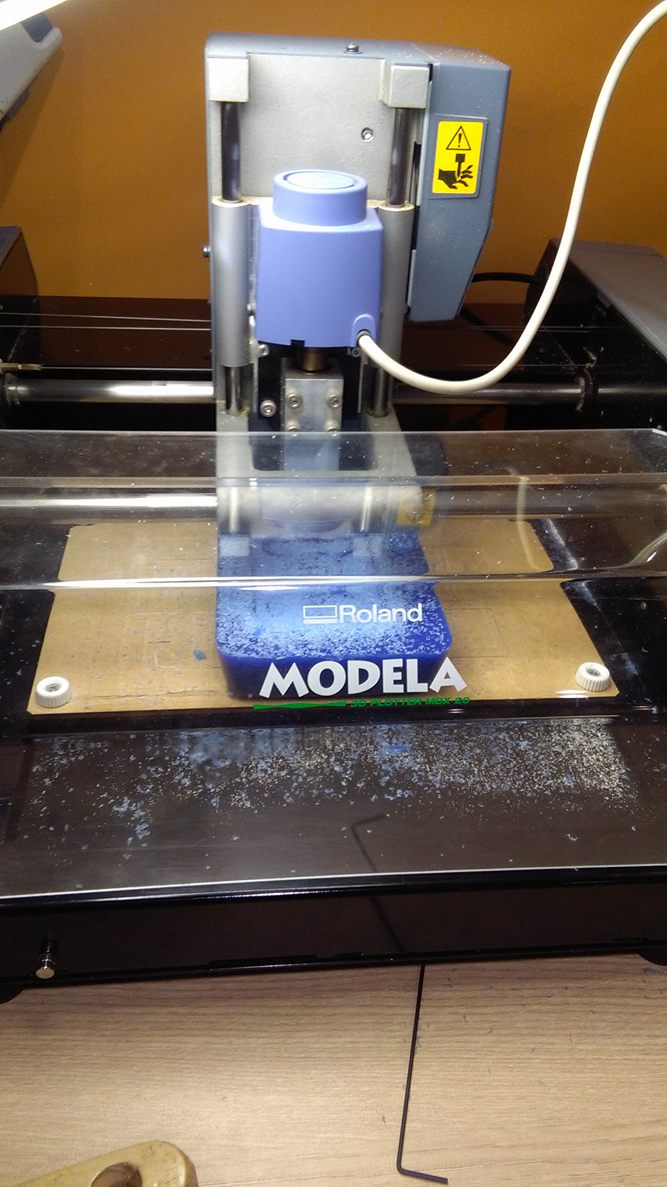
The wax mold is entered to mill, and is calibrated on x, y, and z axes.
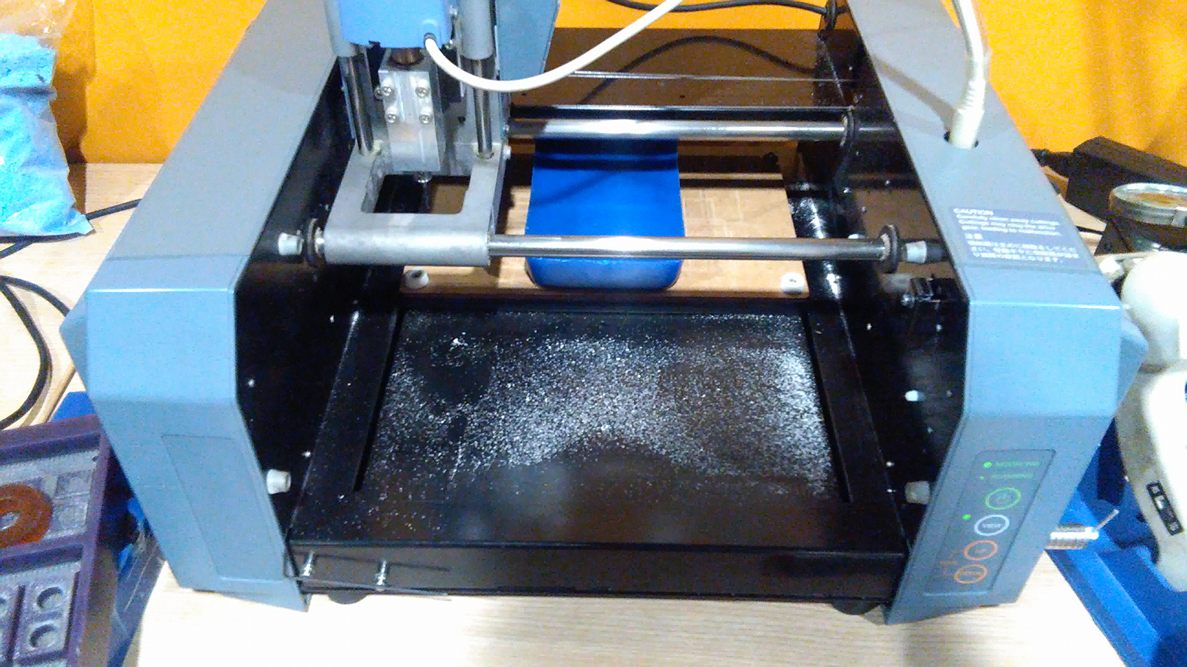
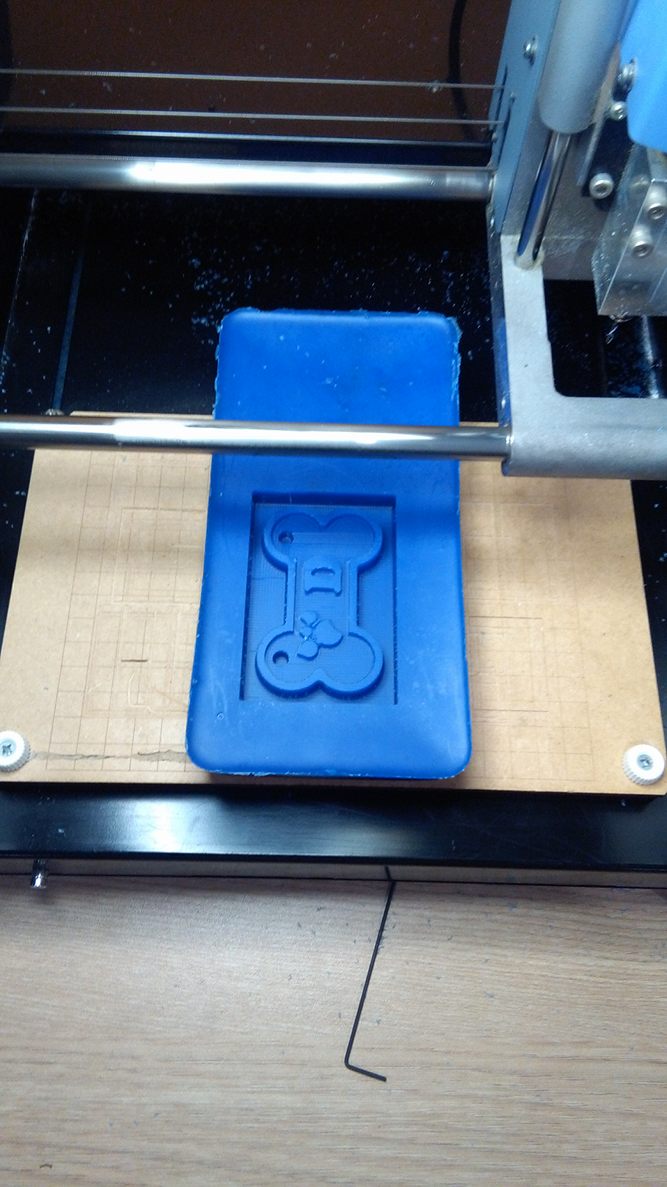
And start the milling process
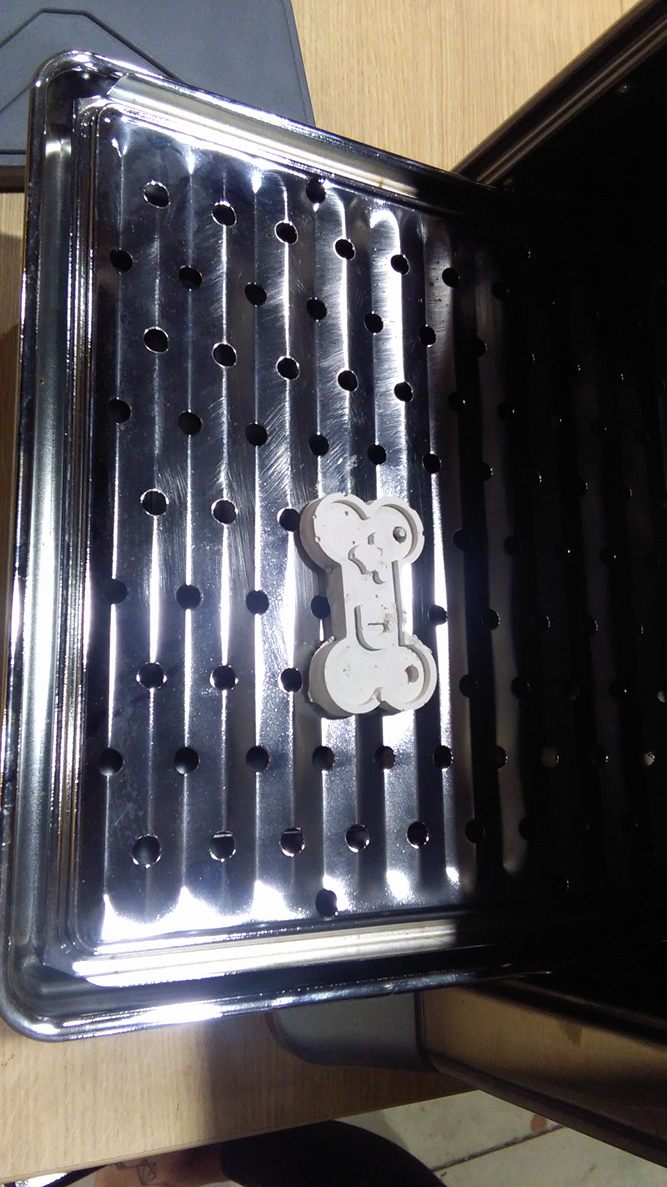
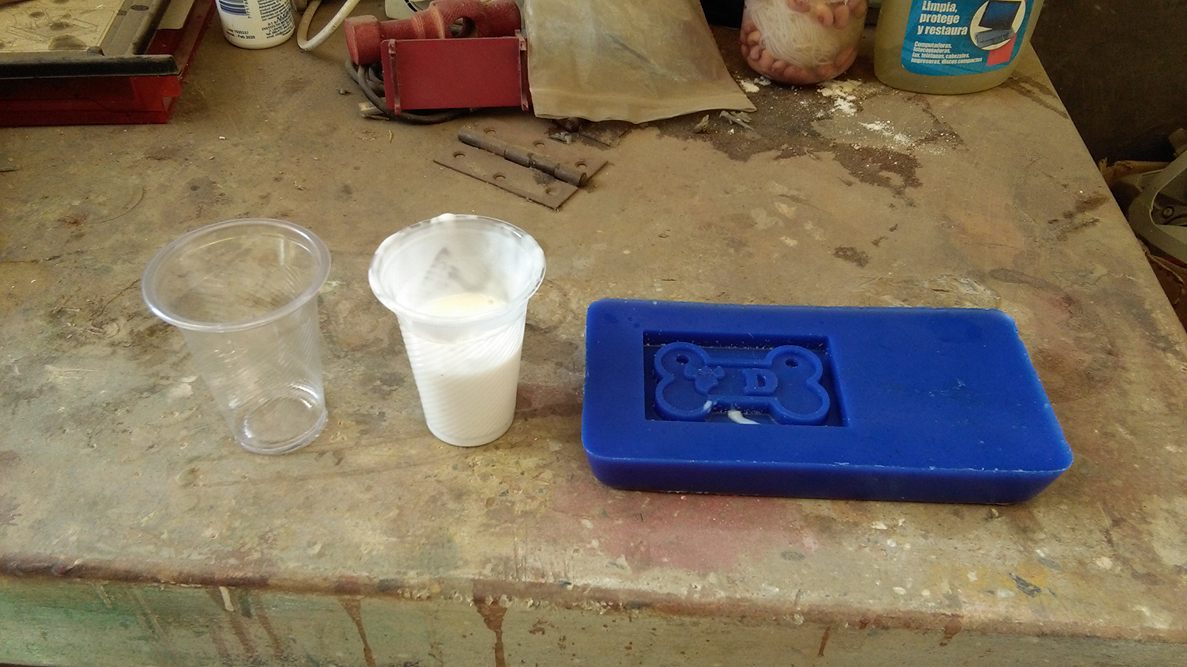
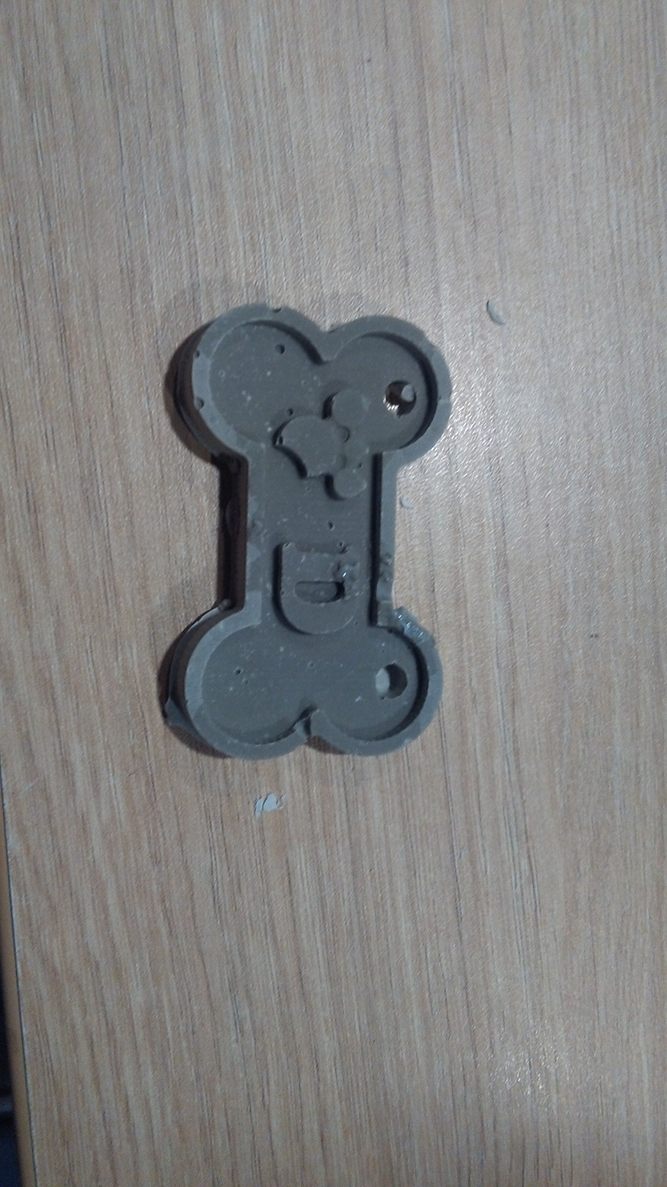
Then, using a vacuum cleaner removes the residue from the block and proceeds to remove the milled design.
With the milled mold, the volume of silicone to be filled is calculated and mixed with water in the ratio of 1/10.
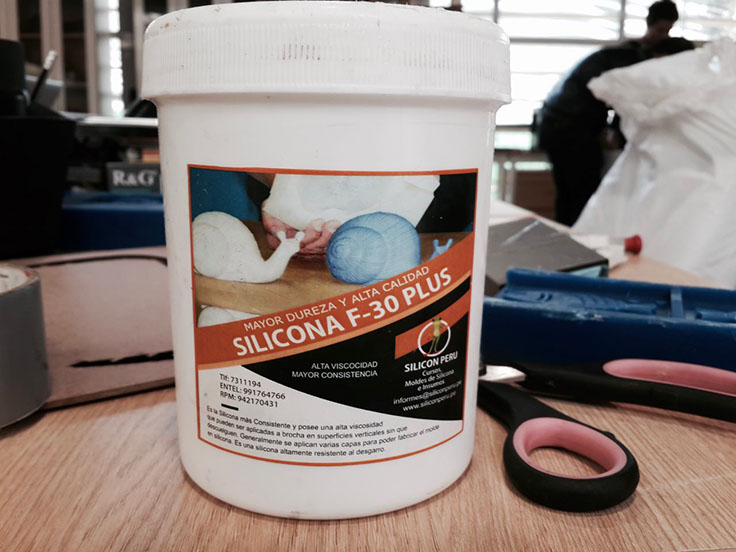
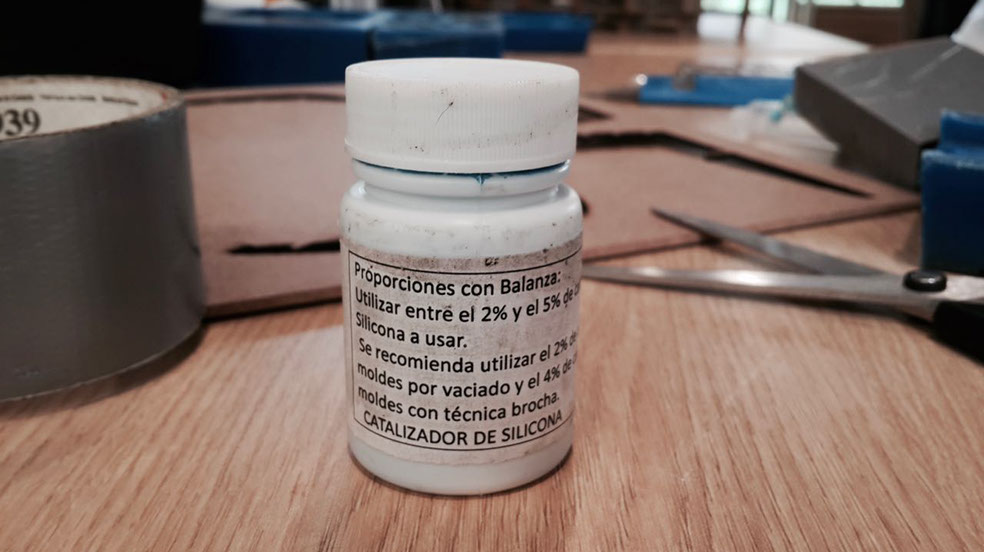
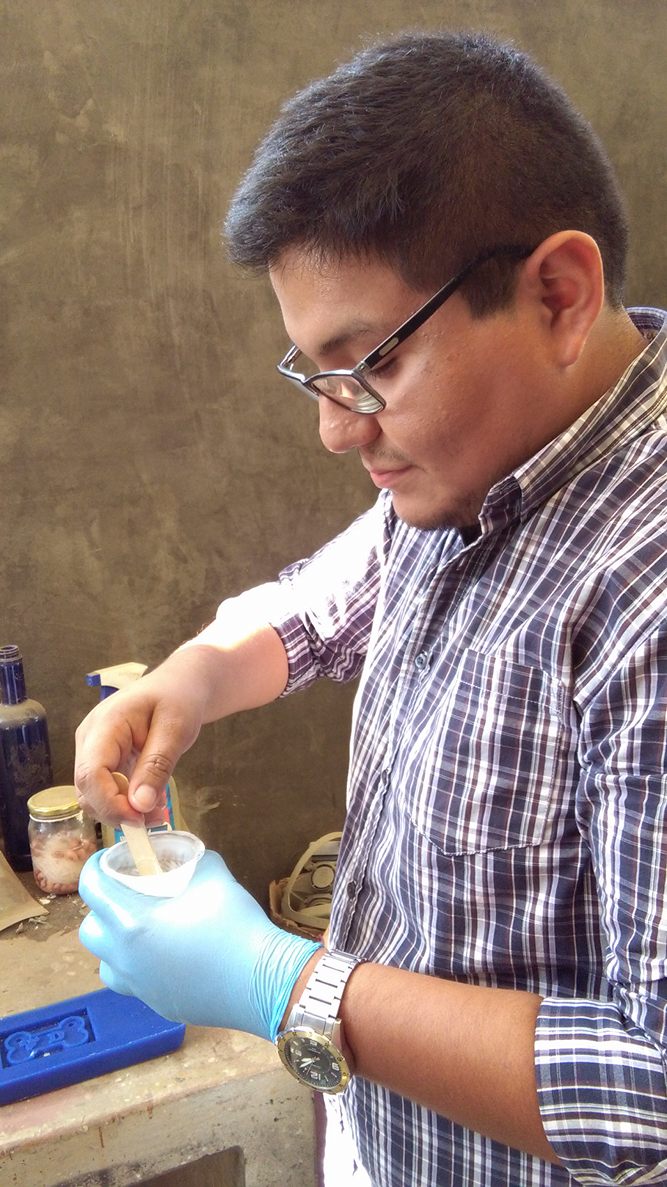
Now, I had to prepare the silicone for the negative mold. The silicone used was F-30 Plus and had to be mixed with a catalyst in a proportion of 2% of the total mixture. First I had to weigh the glass in which i would mix the silcone, then I weighed the amount of silicone to be table to add the 2 % of catalyst.
The correct mixing process is, empty the water into the silicone and beat.
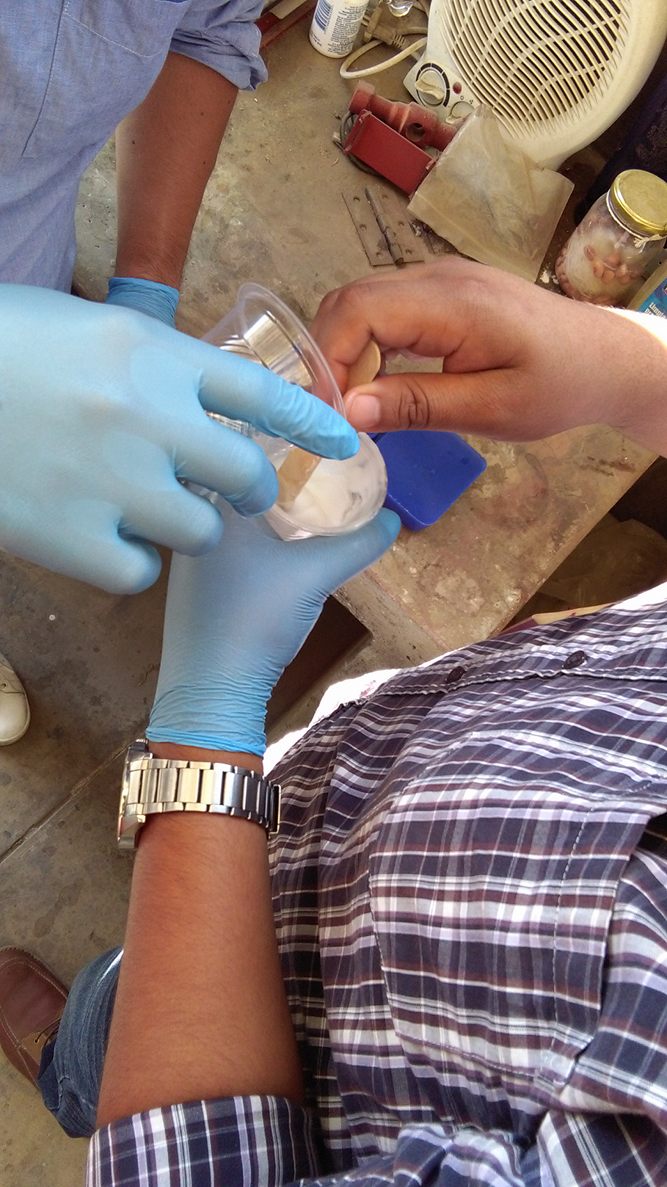
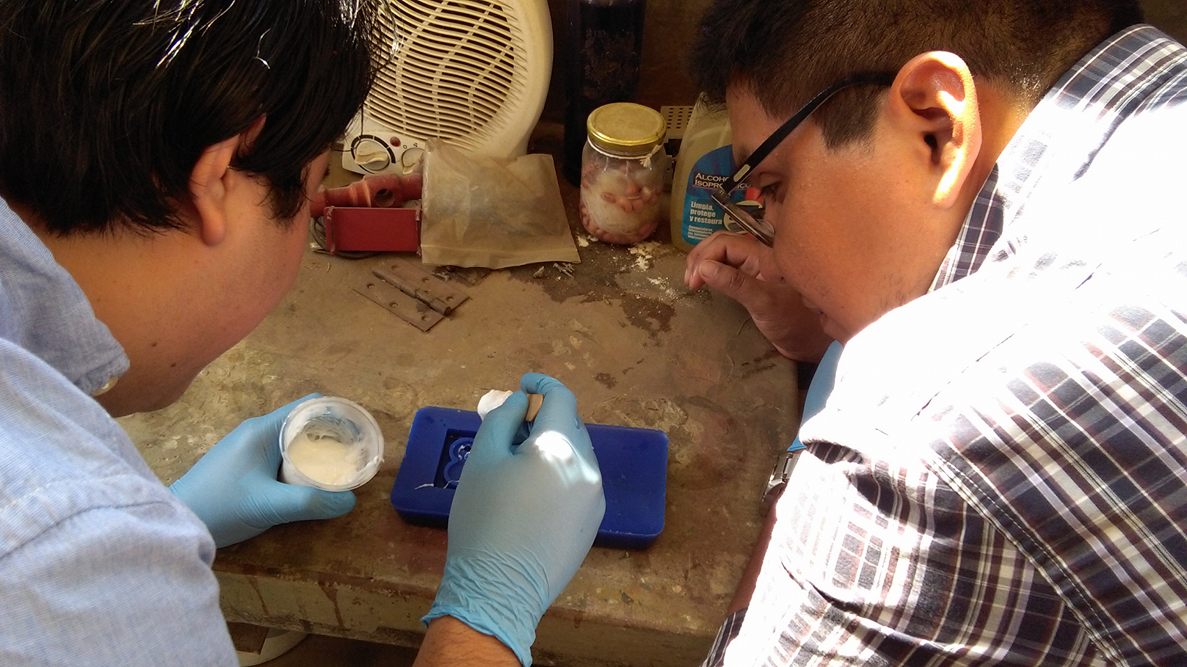
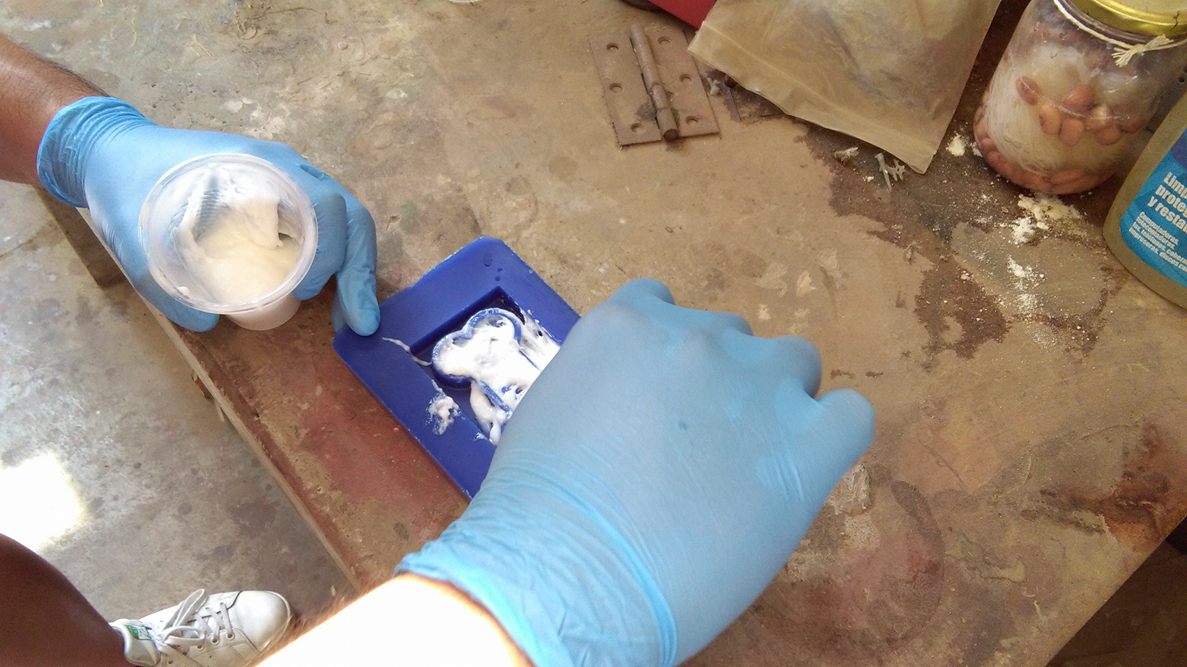
And then drain the mixture into the milled block.
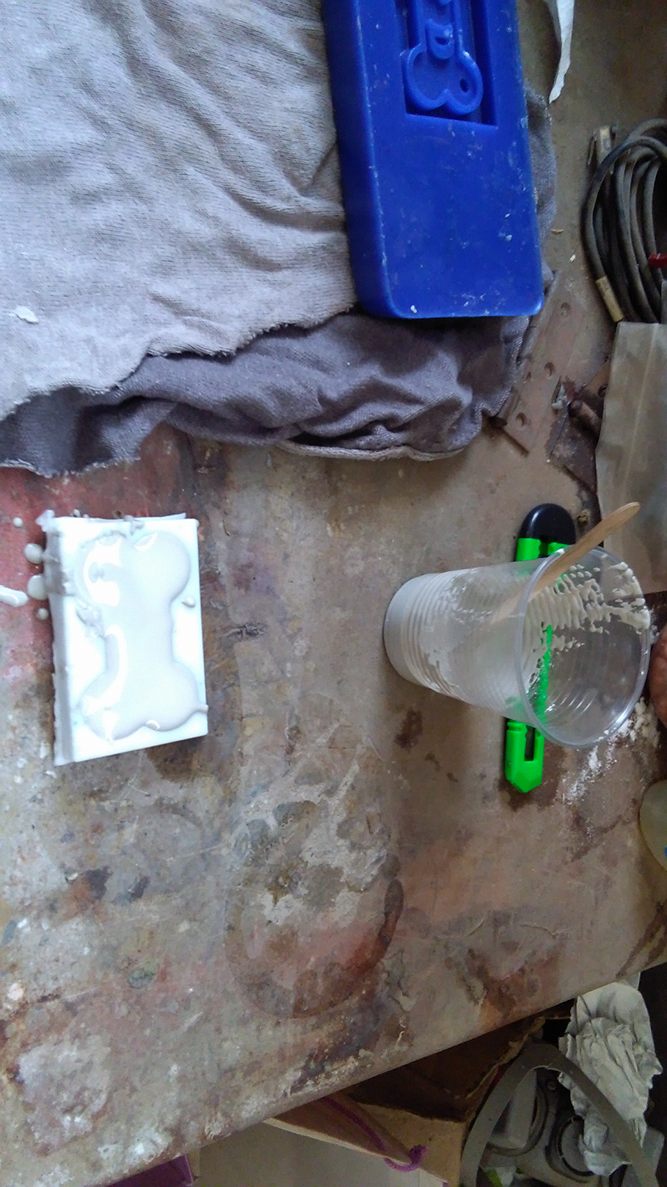
Then it takes about 12 hours to have a totally dry silicone.

And finally I subjected it to high temperatures to reach a better consistency.