Assignment three
Computer-Controlled Cutting
this week assignment is about understanding the computer controlled cutting which includes two main machines (laser cutting machine and vinyl cutting machine)
for the laser cutting machine i designed and fabricated a Parametric press-fit construction kit. and for the vinyl cutting machine i designed an iron man sticker
Parametric press-fit construction kit
i used the press-fit technique in many projects i have designed previously like these projects:

but it's my first time to design a parametric press-fit construction kit, as i understand i have to design a part that can be assembled with another similar part to form a large construction, so let's go to the designing part
Design Concept
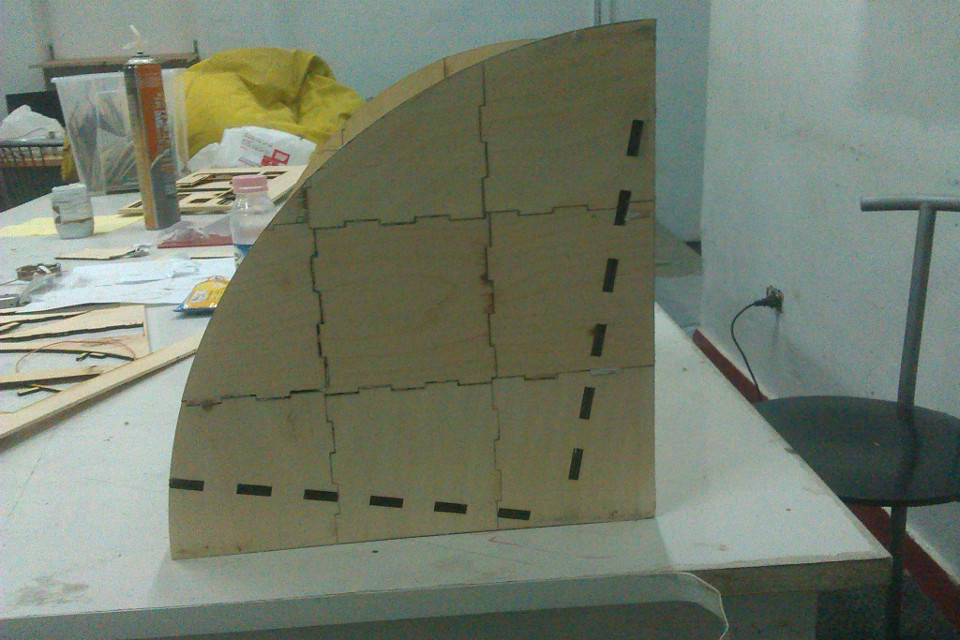
the required part needs to have notches and grooves where the width of the notches and grooves equals the material thickness.
in my design i'm going to use the plywood with 3 mm thickness

CAD..Cut..Assemble!!
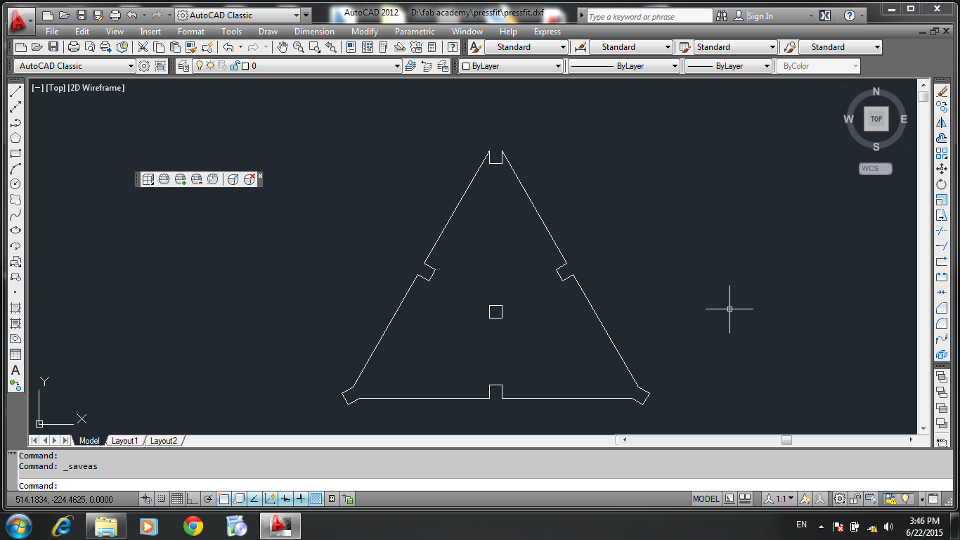
according to me, the hardest thing was the design concept, after that drawing the concept on a CAD software, cutting it and assembling were not a problem
as a civil engineer, the most common used program is autocad. so, i used it to draw the design within a few minutes.
all file available right here :
week3.rar
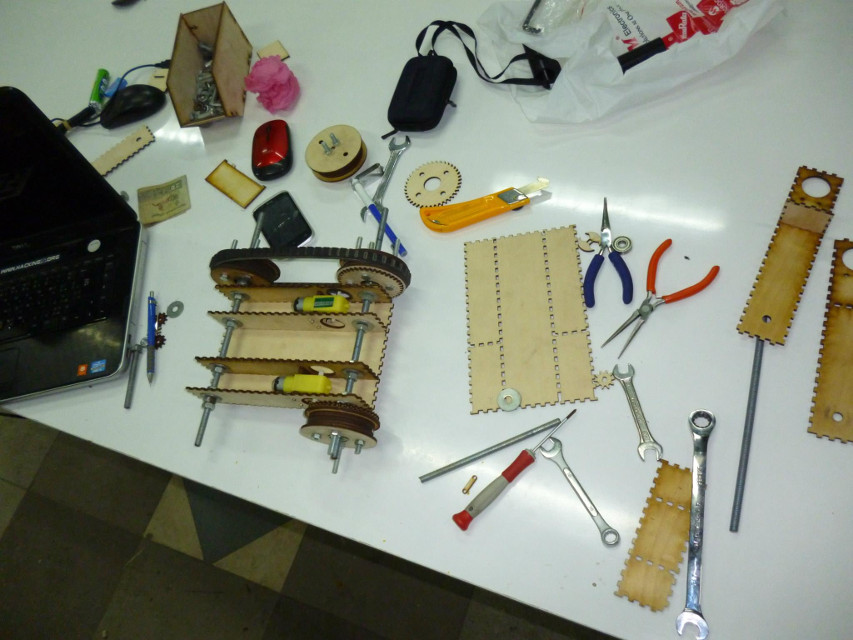
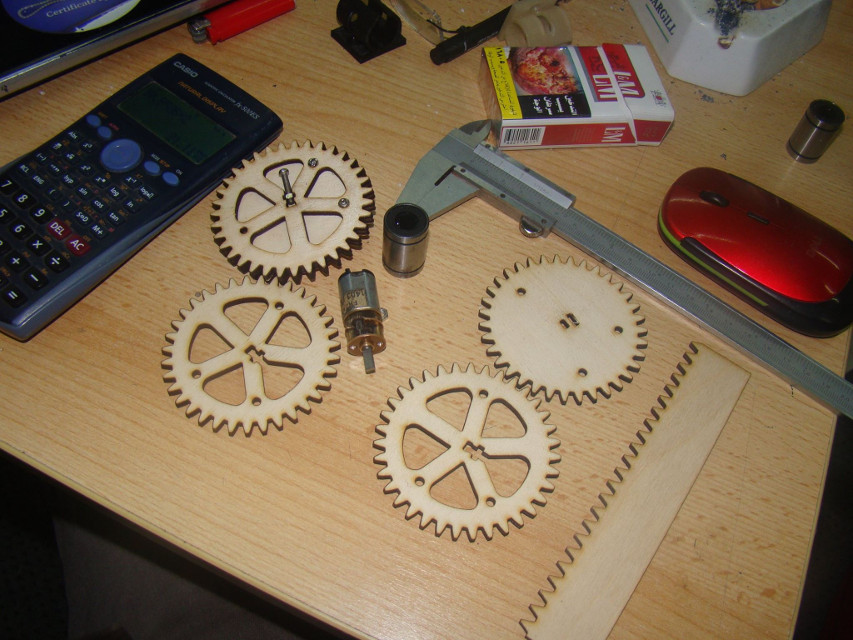
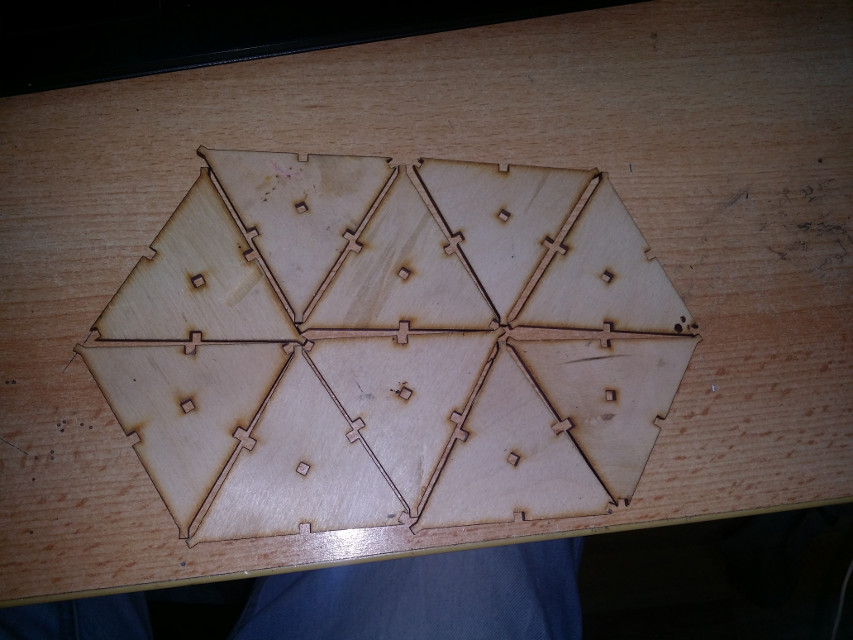
then cutting the design :
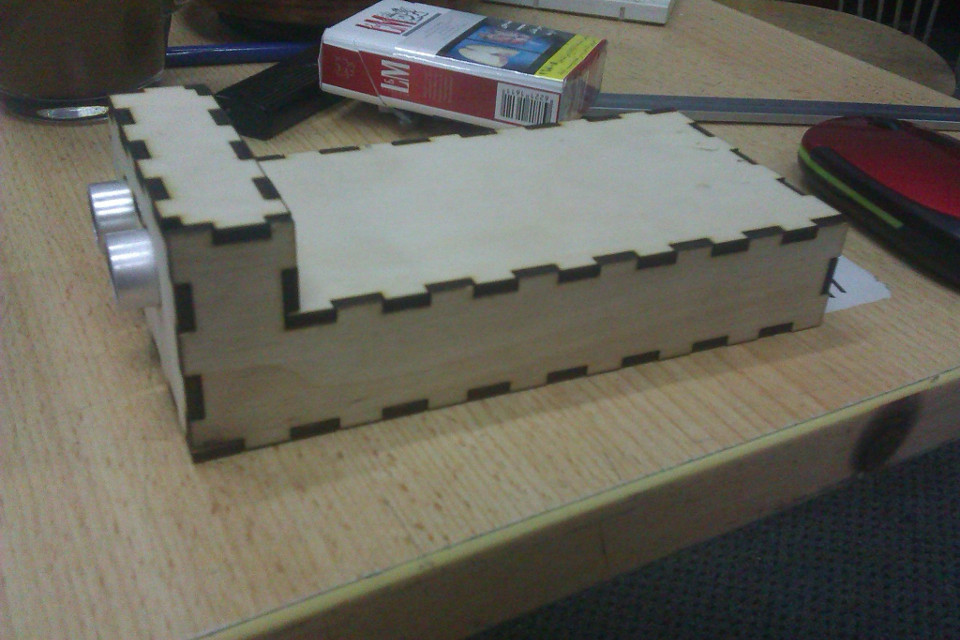
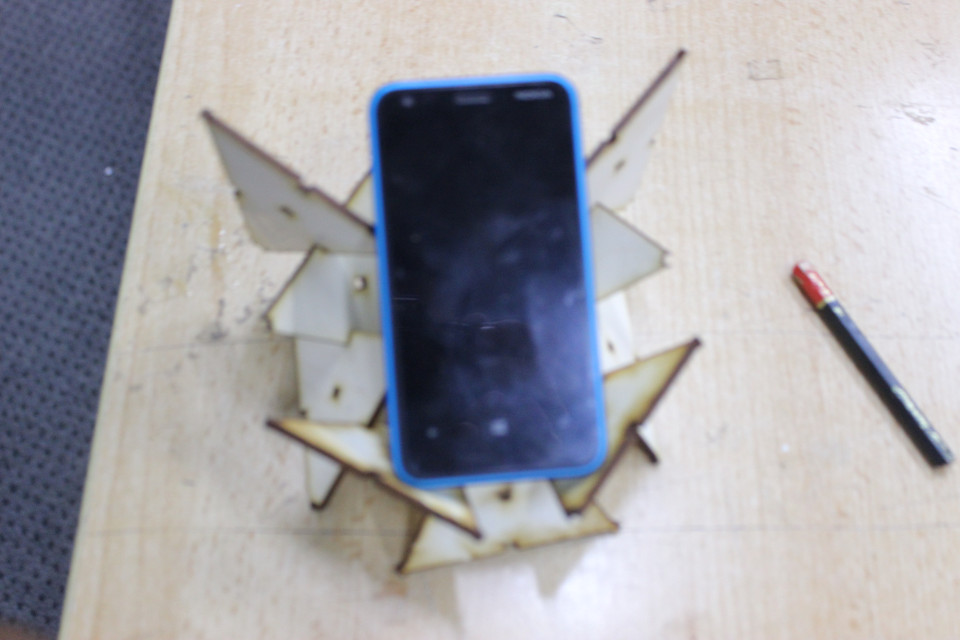
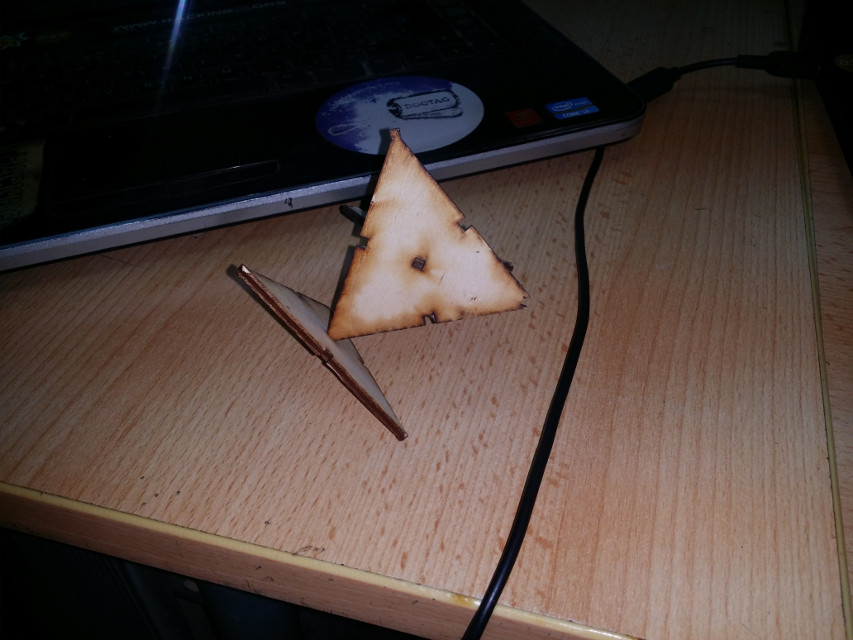
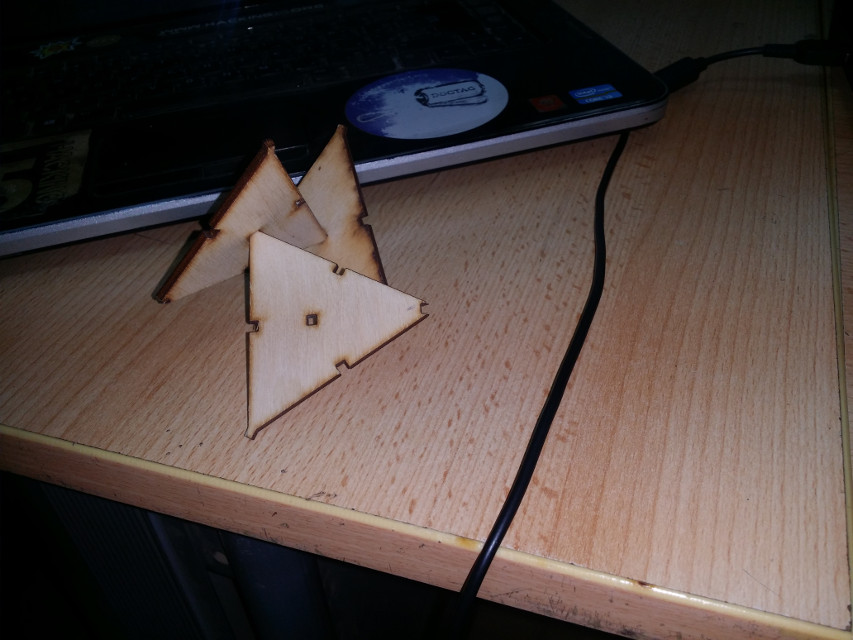
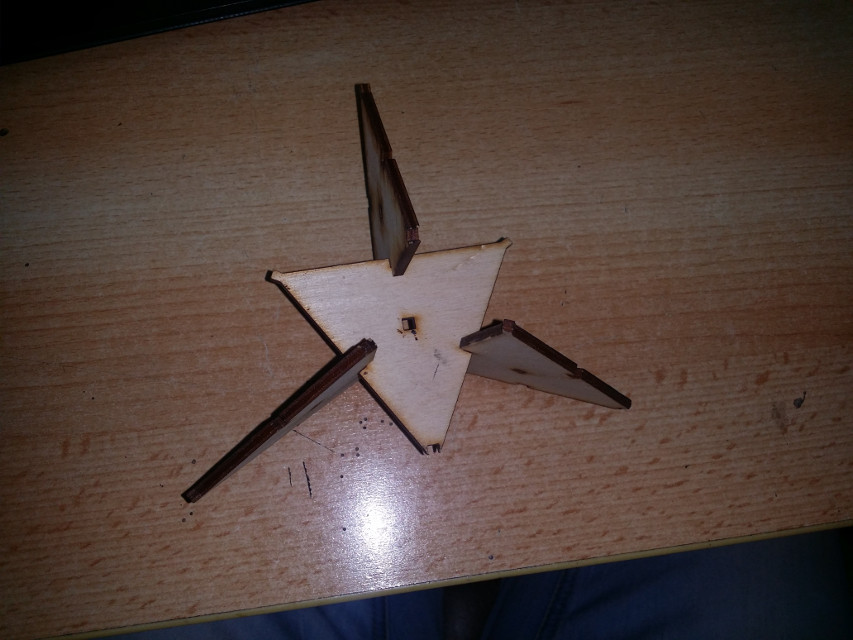
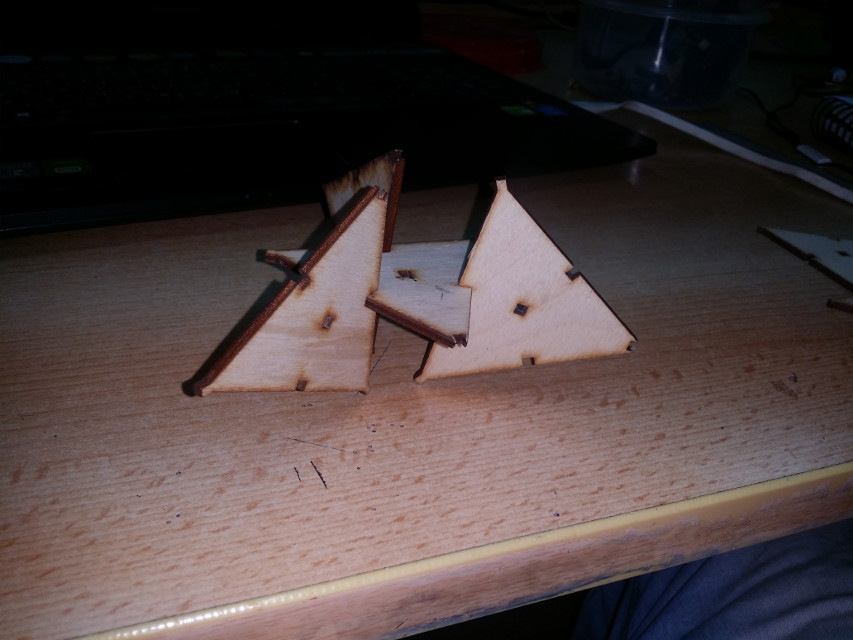
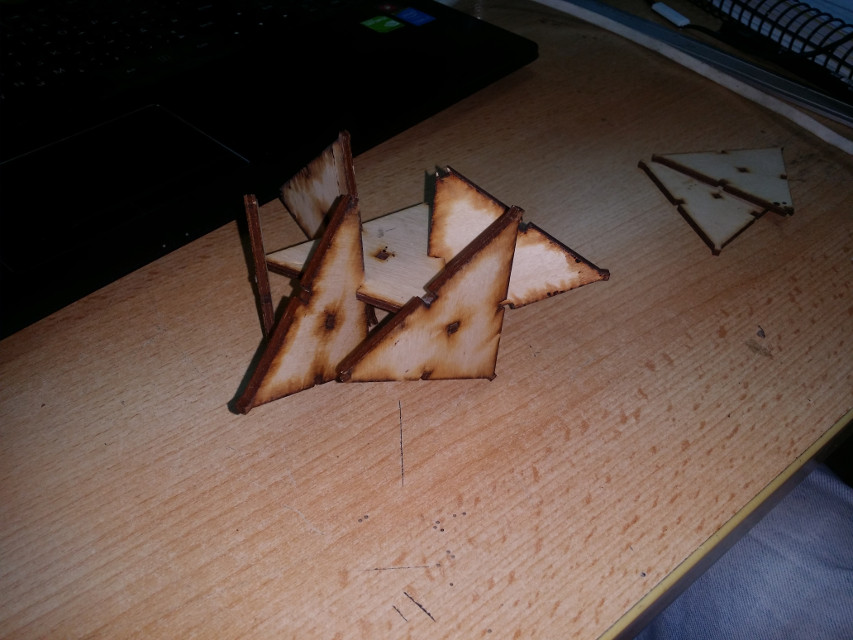
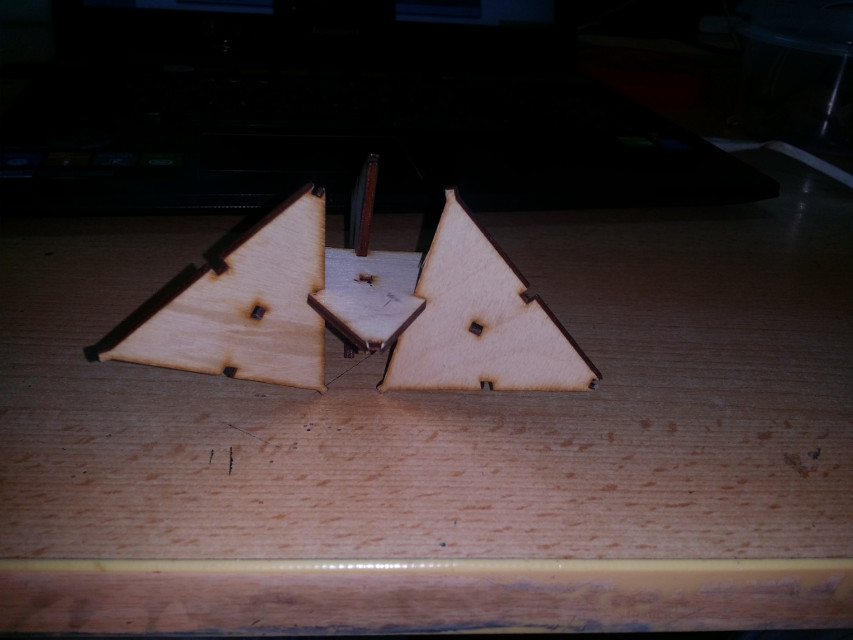
now it is time to assemble the parts :


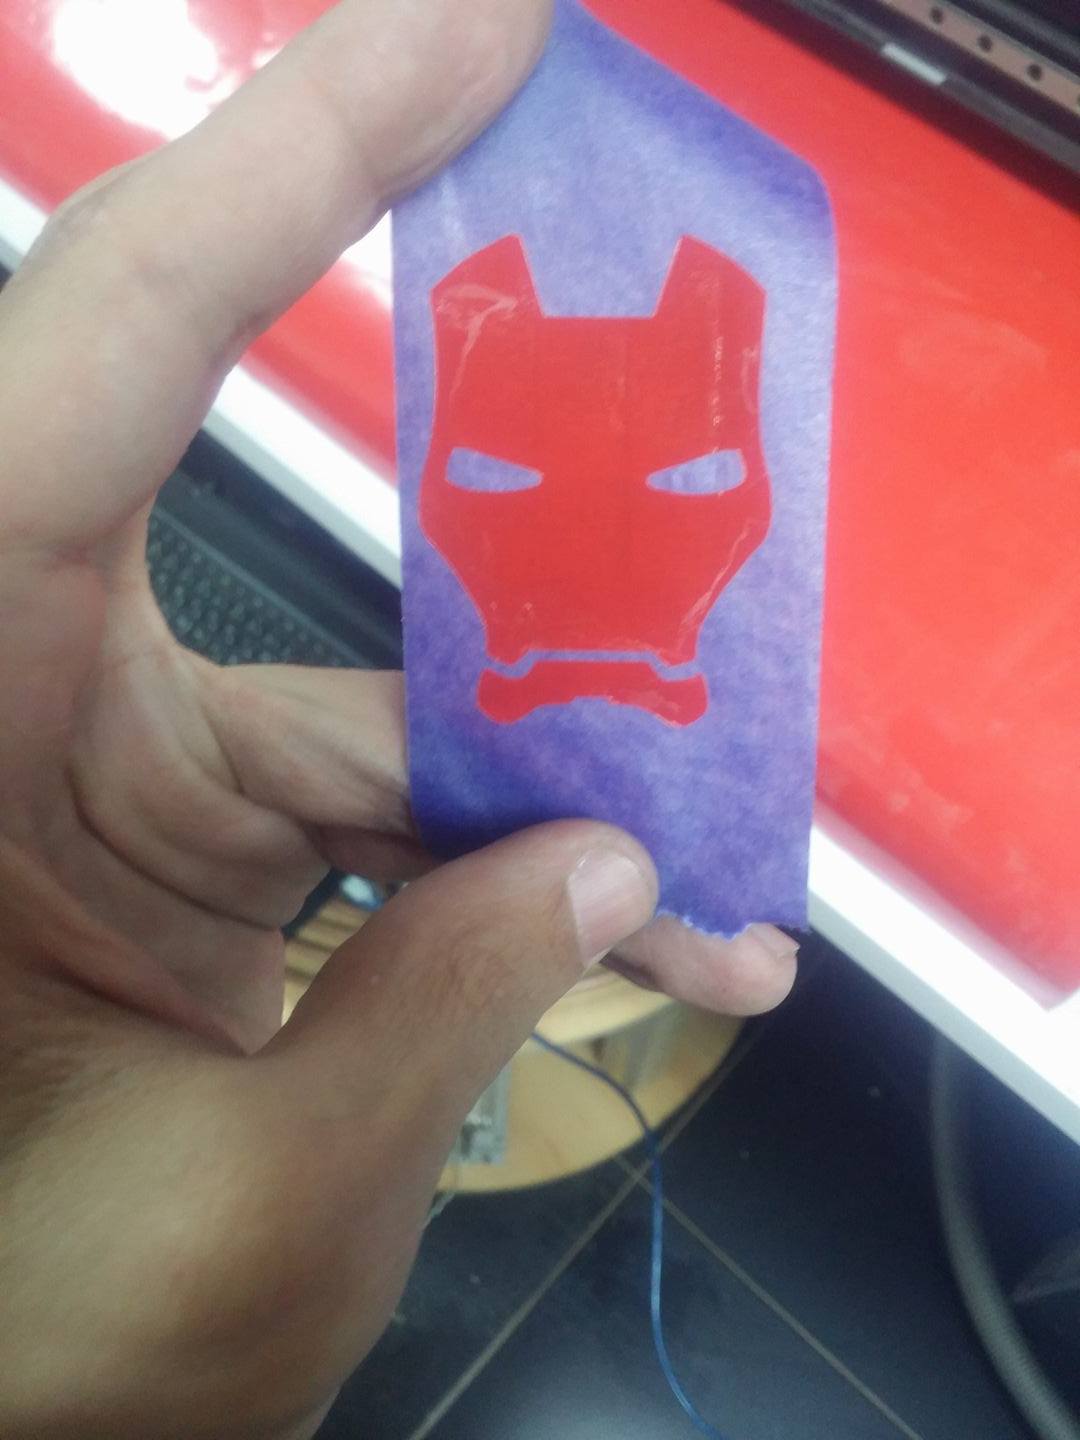
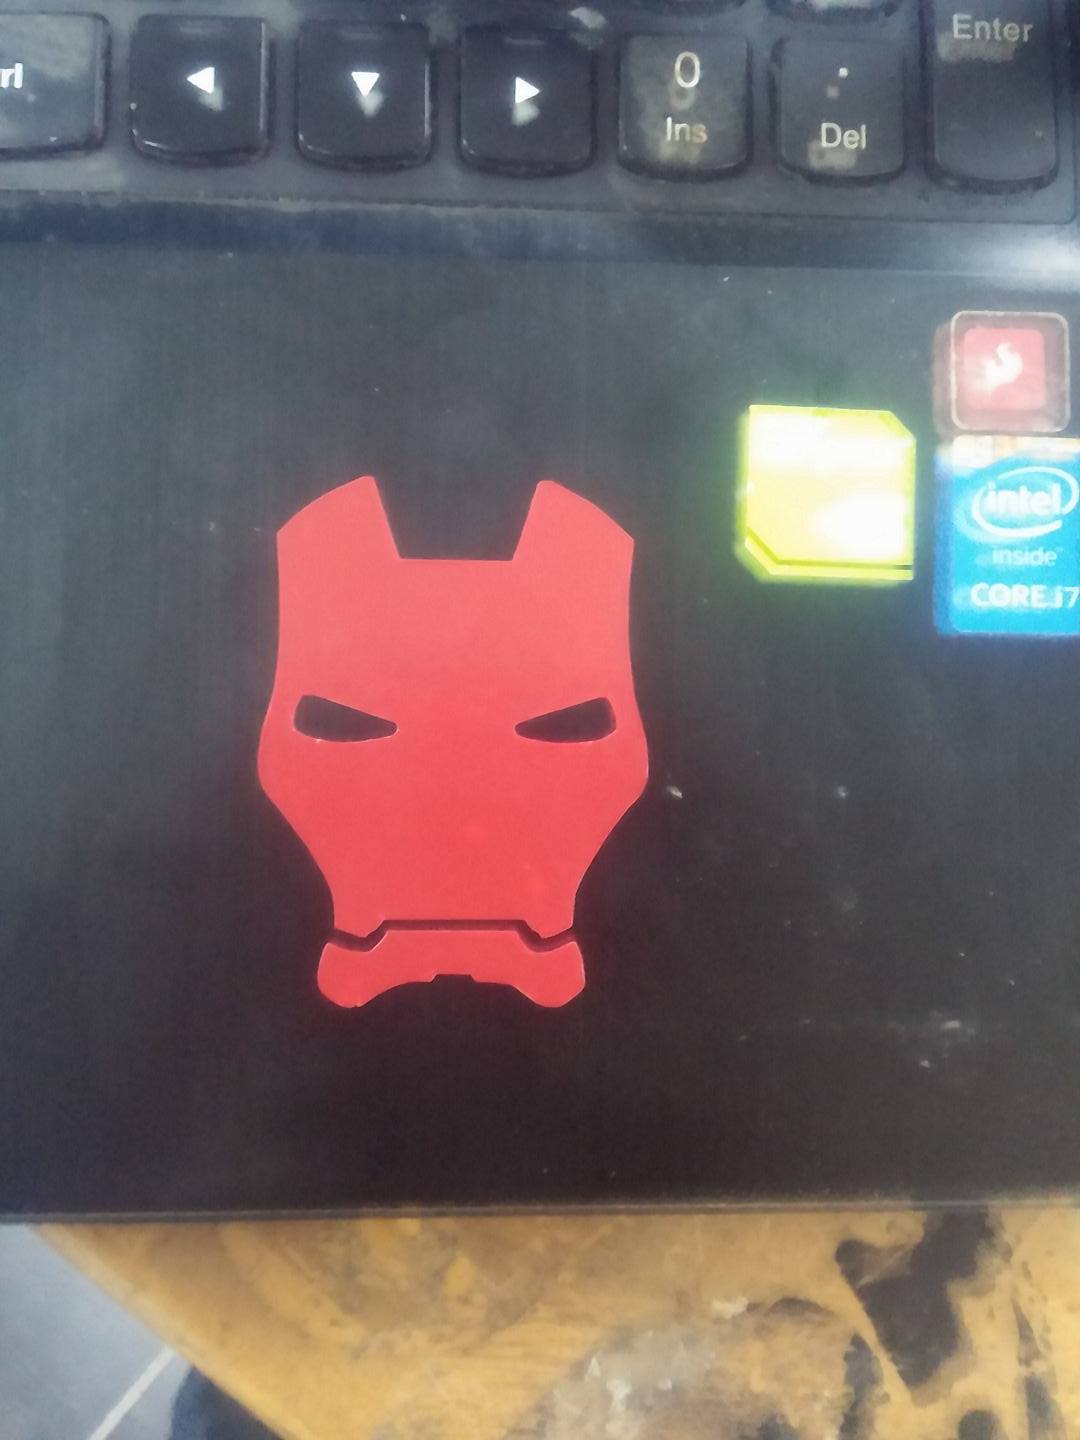
Iron man sticker
For the vinyle cutting machine, i made an iron man sticker as i mentioned before and here's the full documentation :
Designing steps
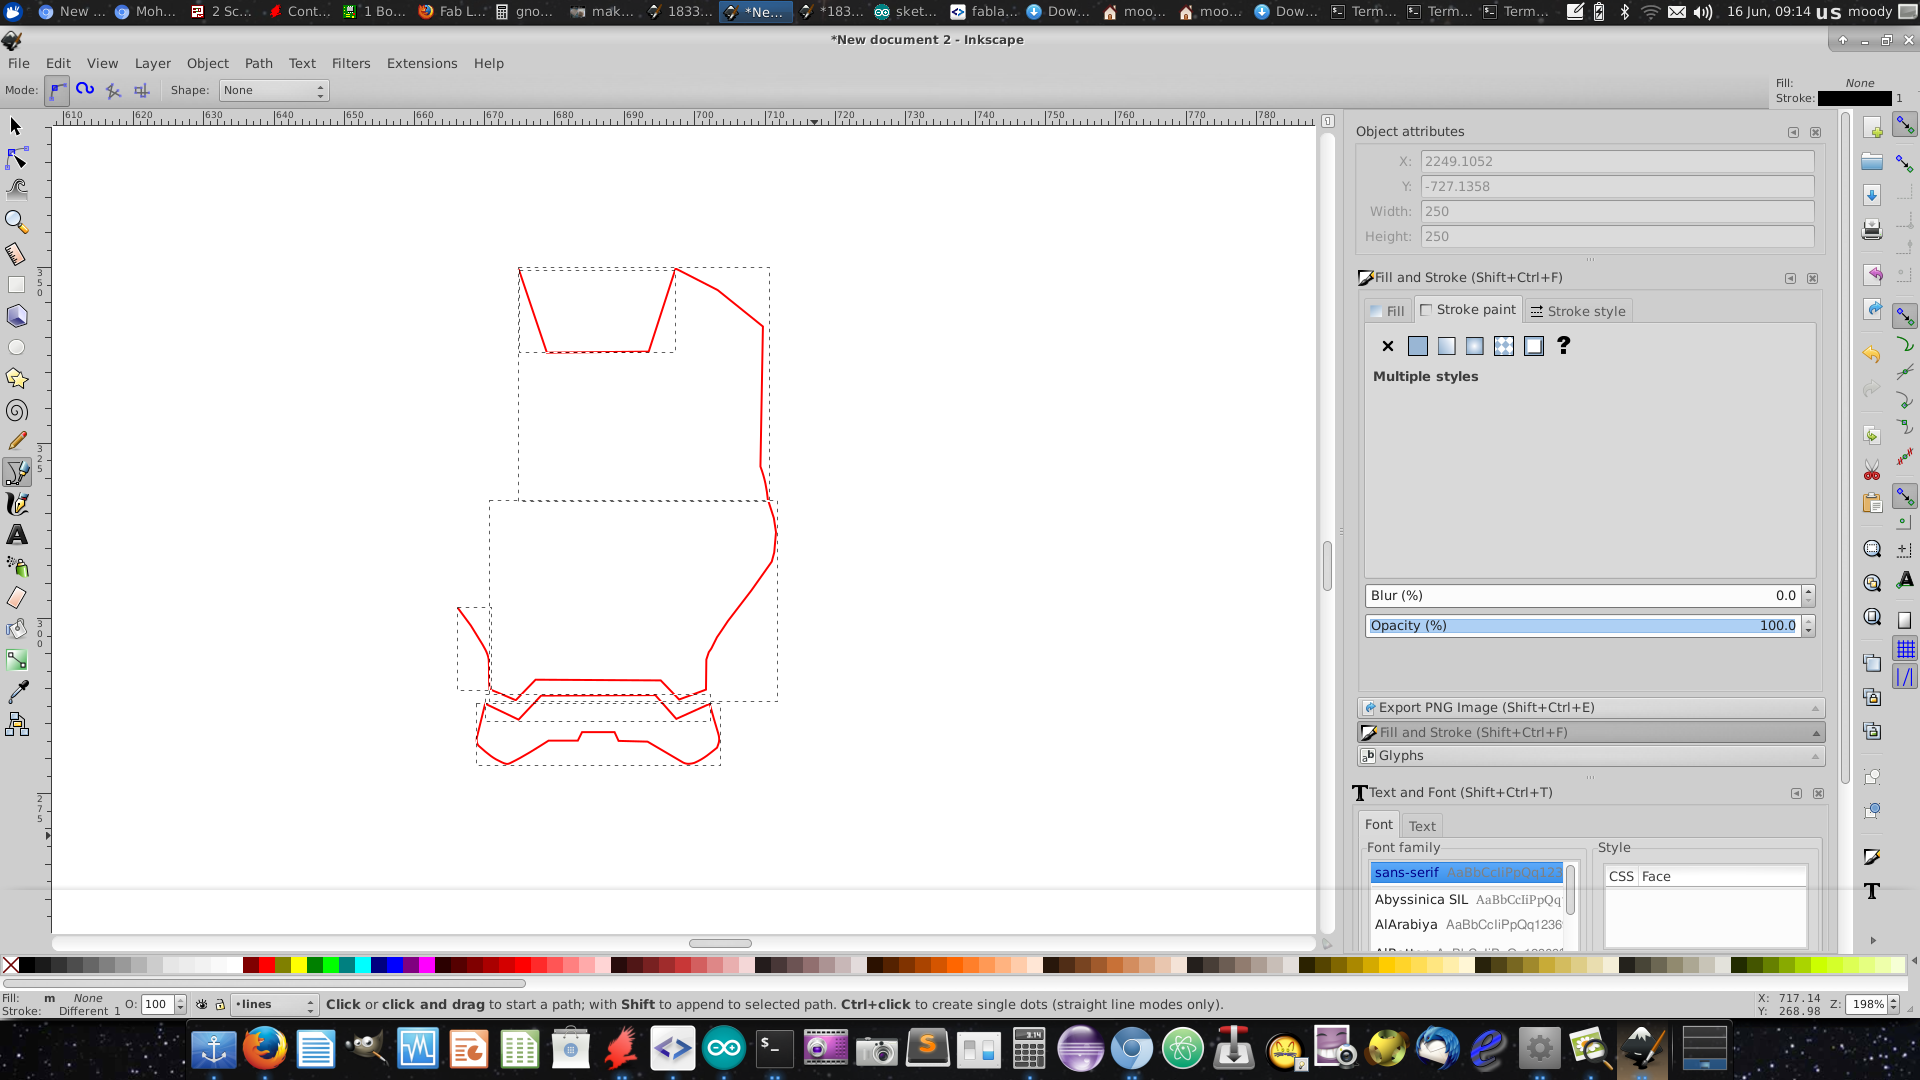
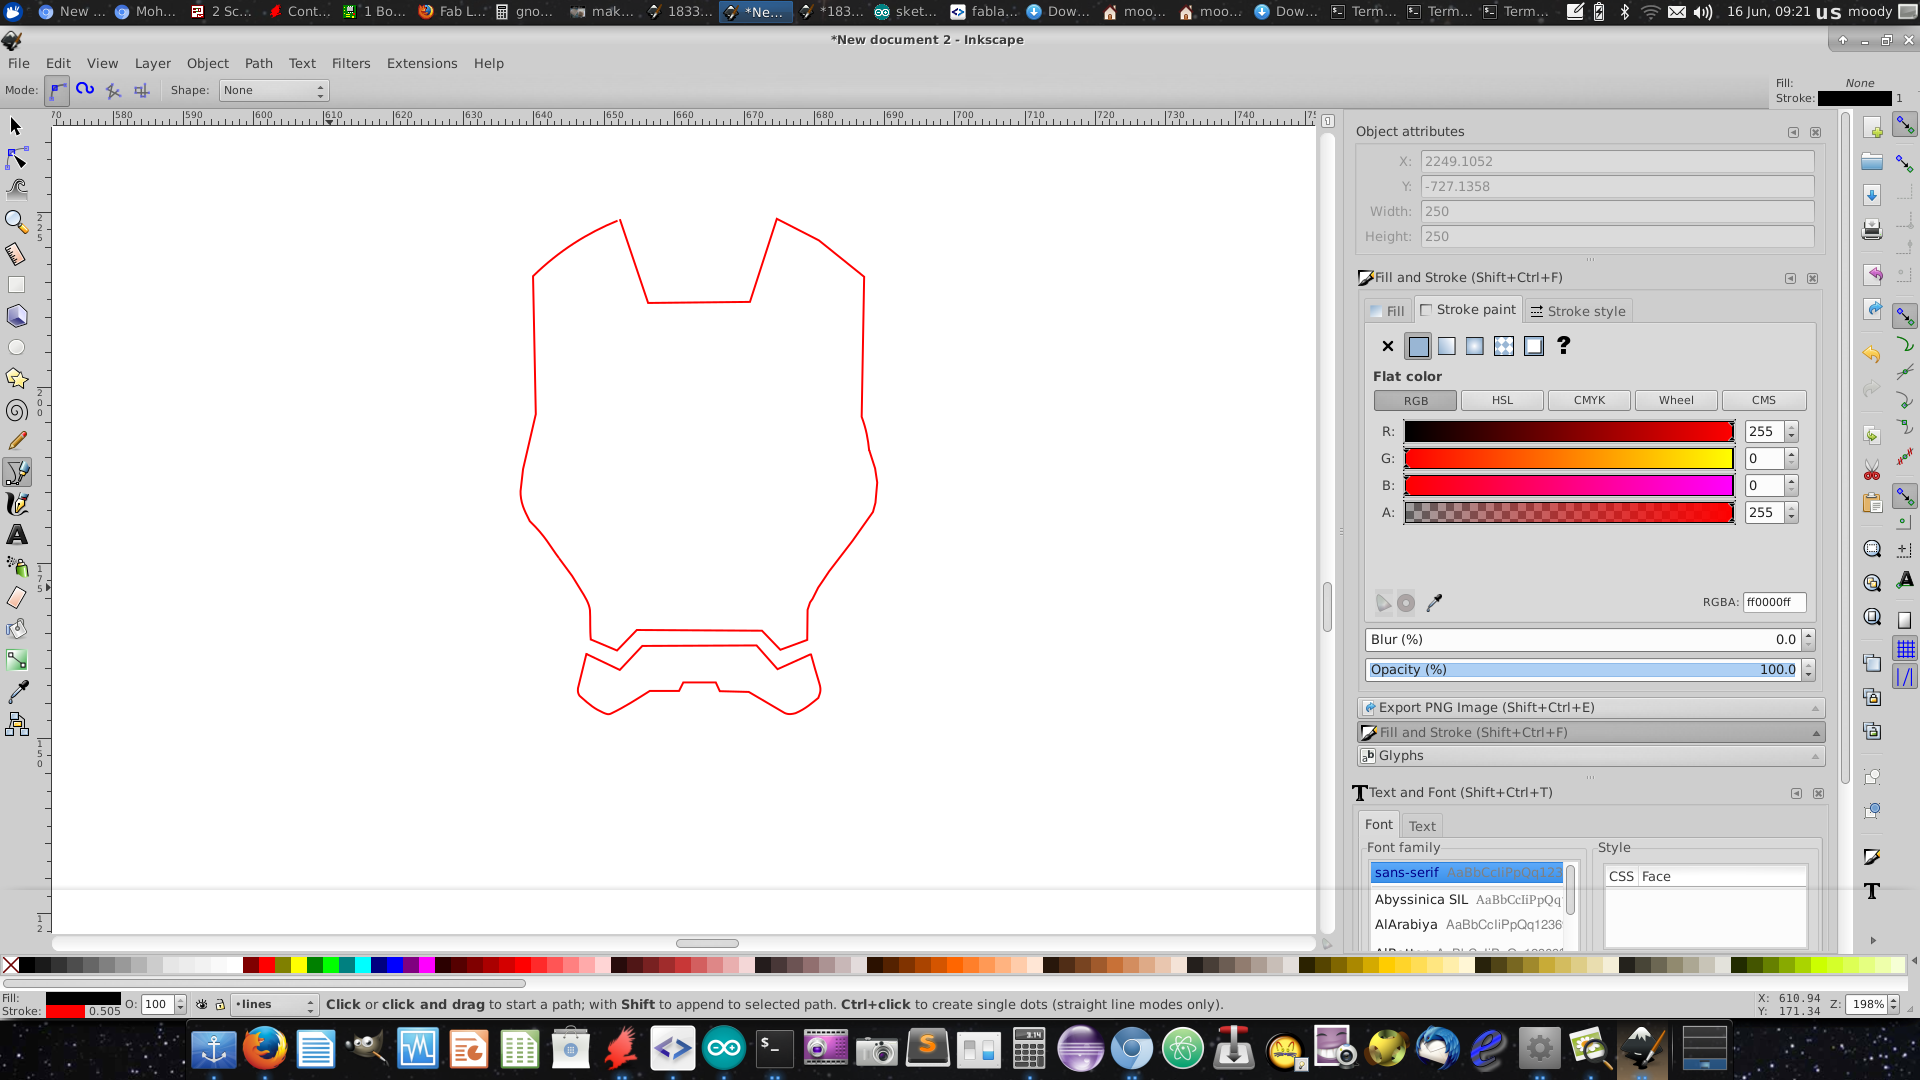
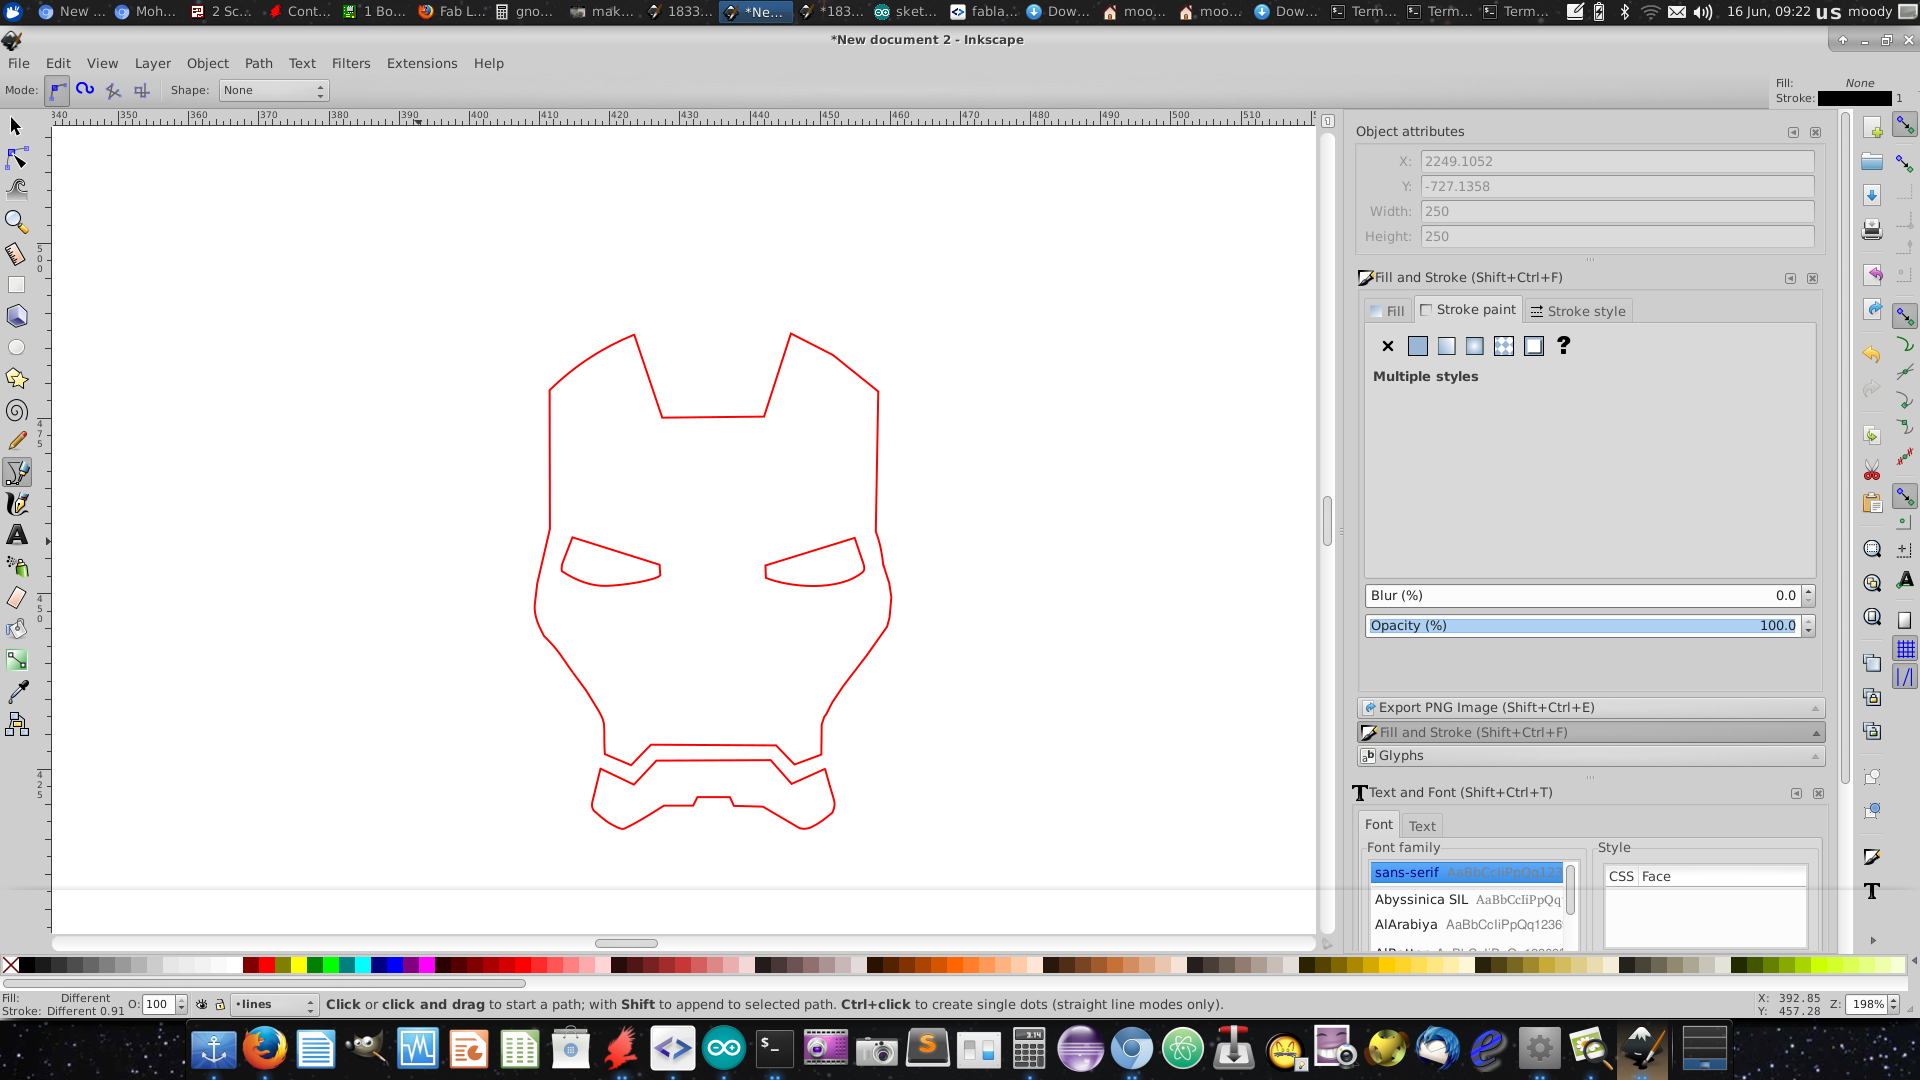
first of all, i started designing my sticker. i tried to use a new software in order to improve my designing skills. and that new software was inkscape
actually, i found that inkscape is so easy to use. also, all tutorials you might need is included in the program itself
all svg designing files available right here :
iron man.zip
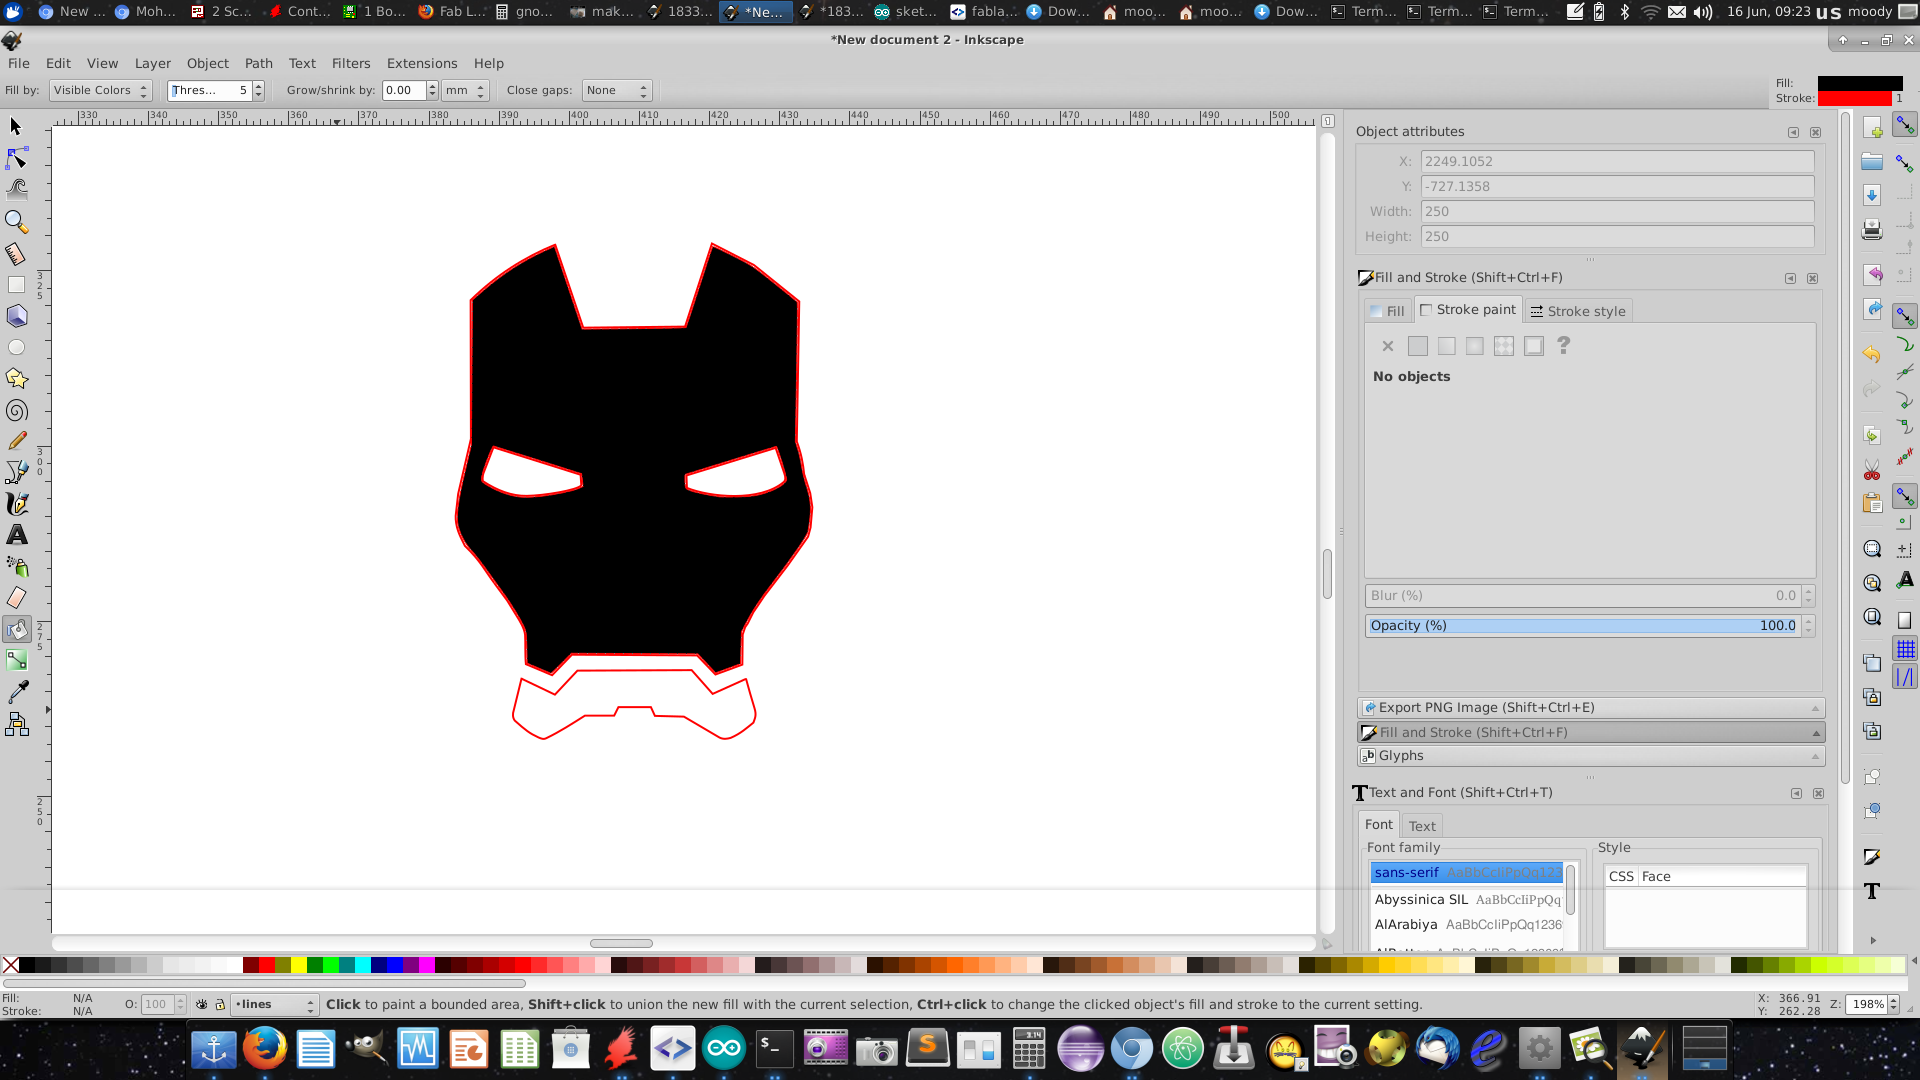
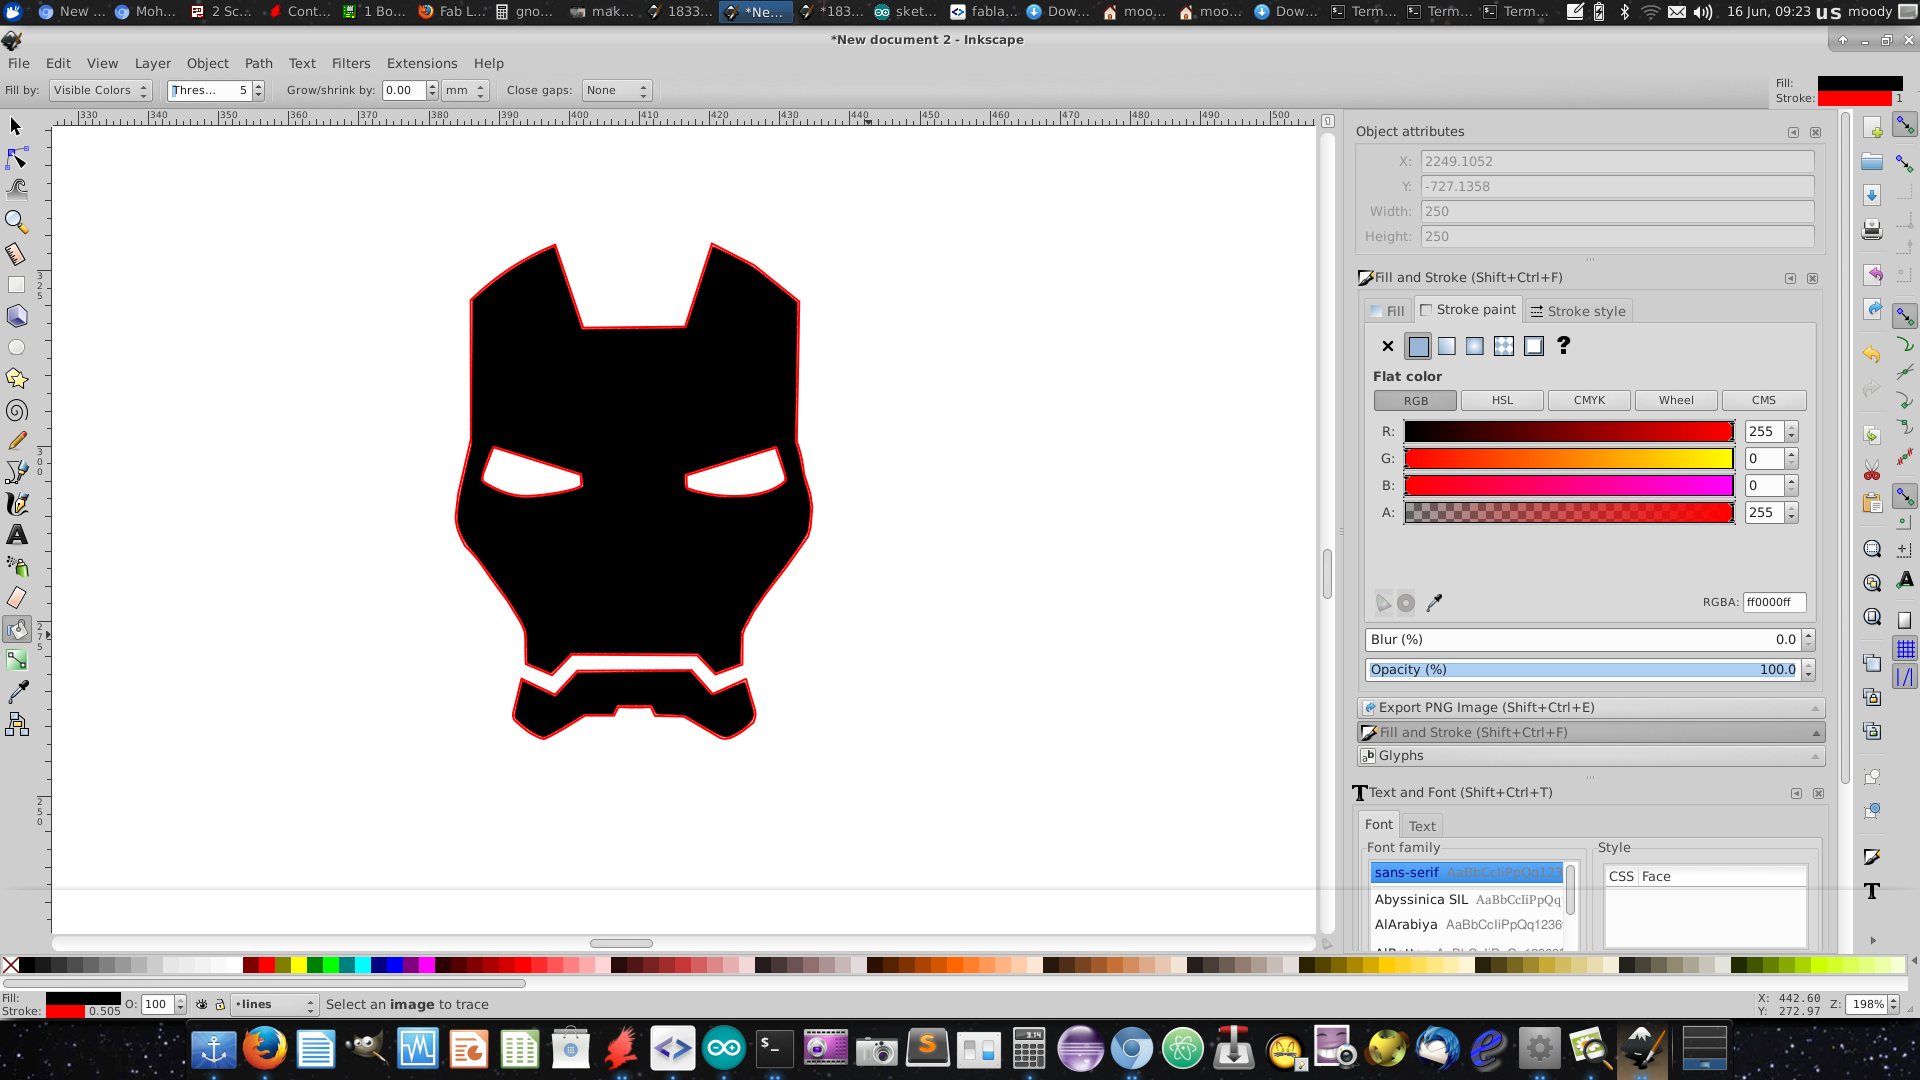
and here's some screenshots for the designing process :
final jpg :

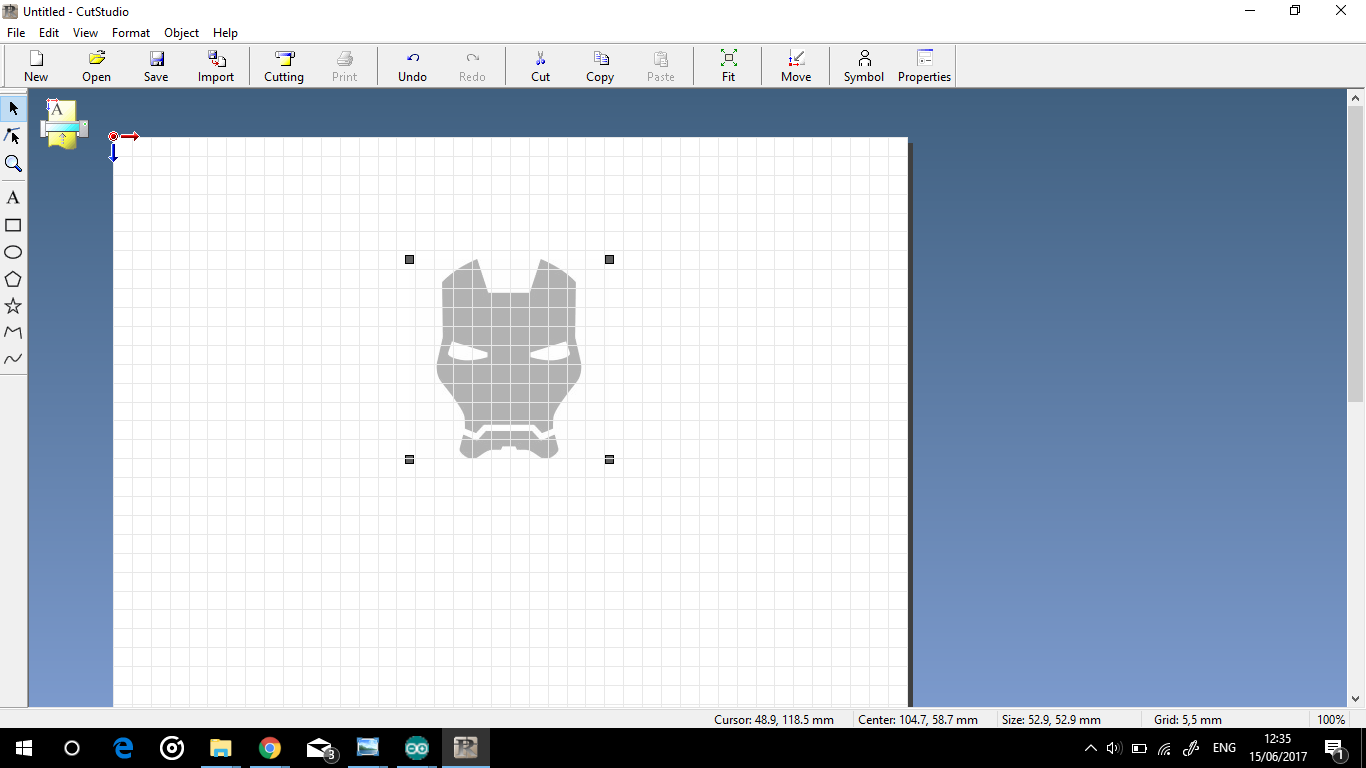
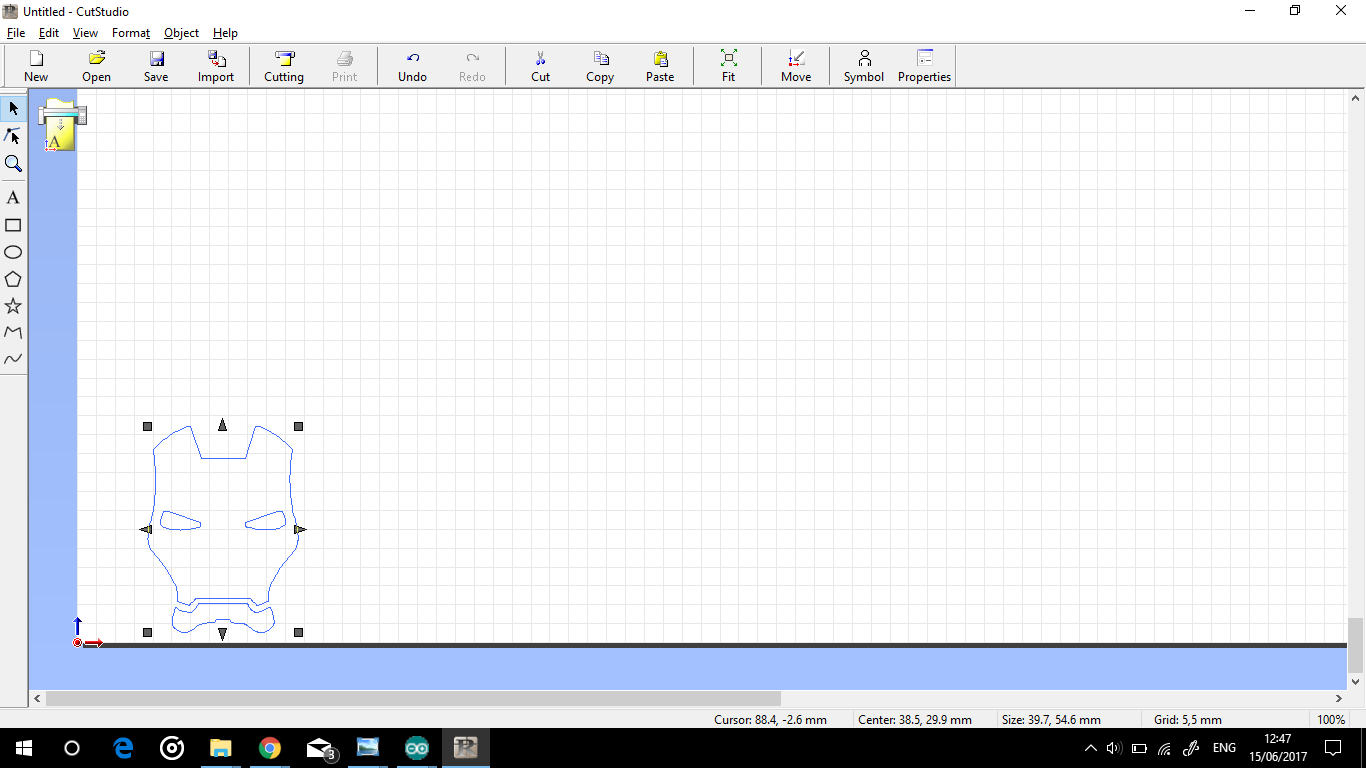
now, let's go to the roland cut studio
first we need to import the jpg file :
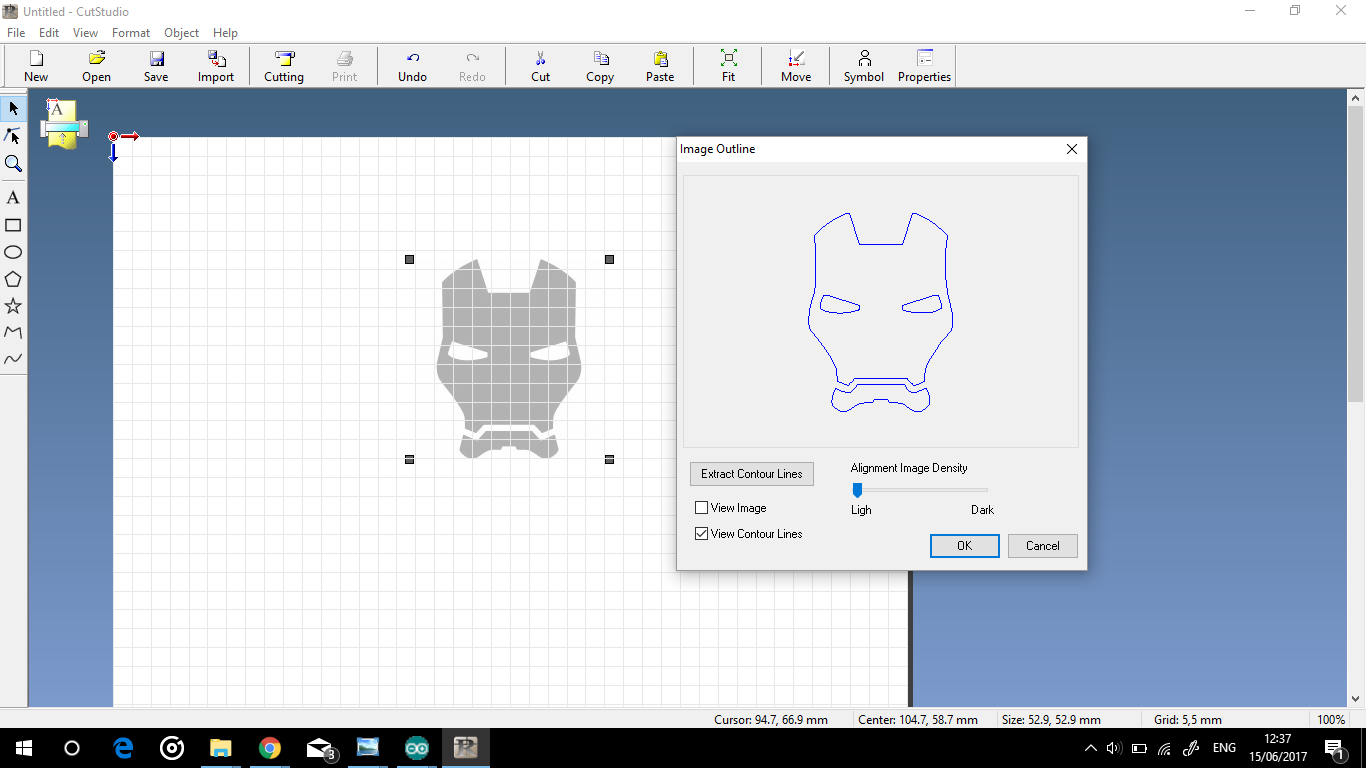
after that setting the image outline :
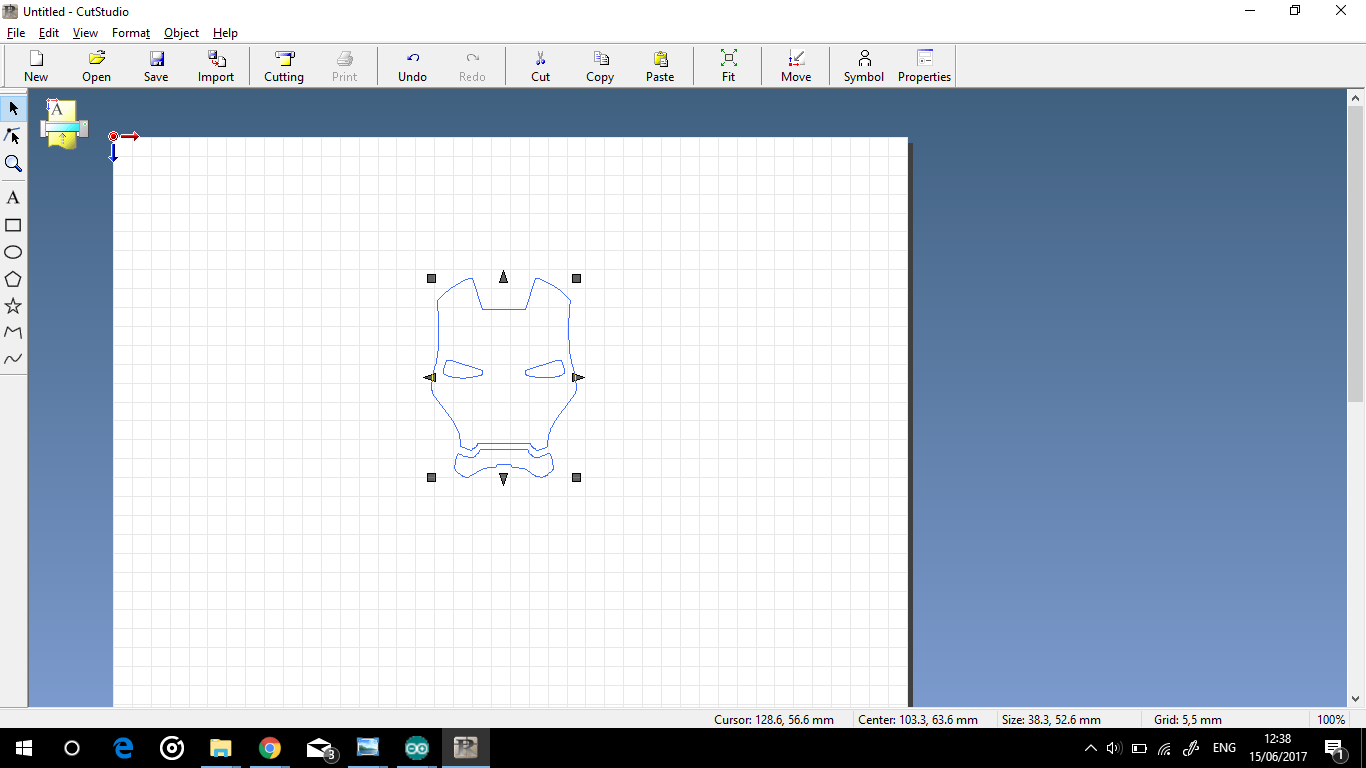
then deleting the image, keeping the outline only

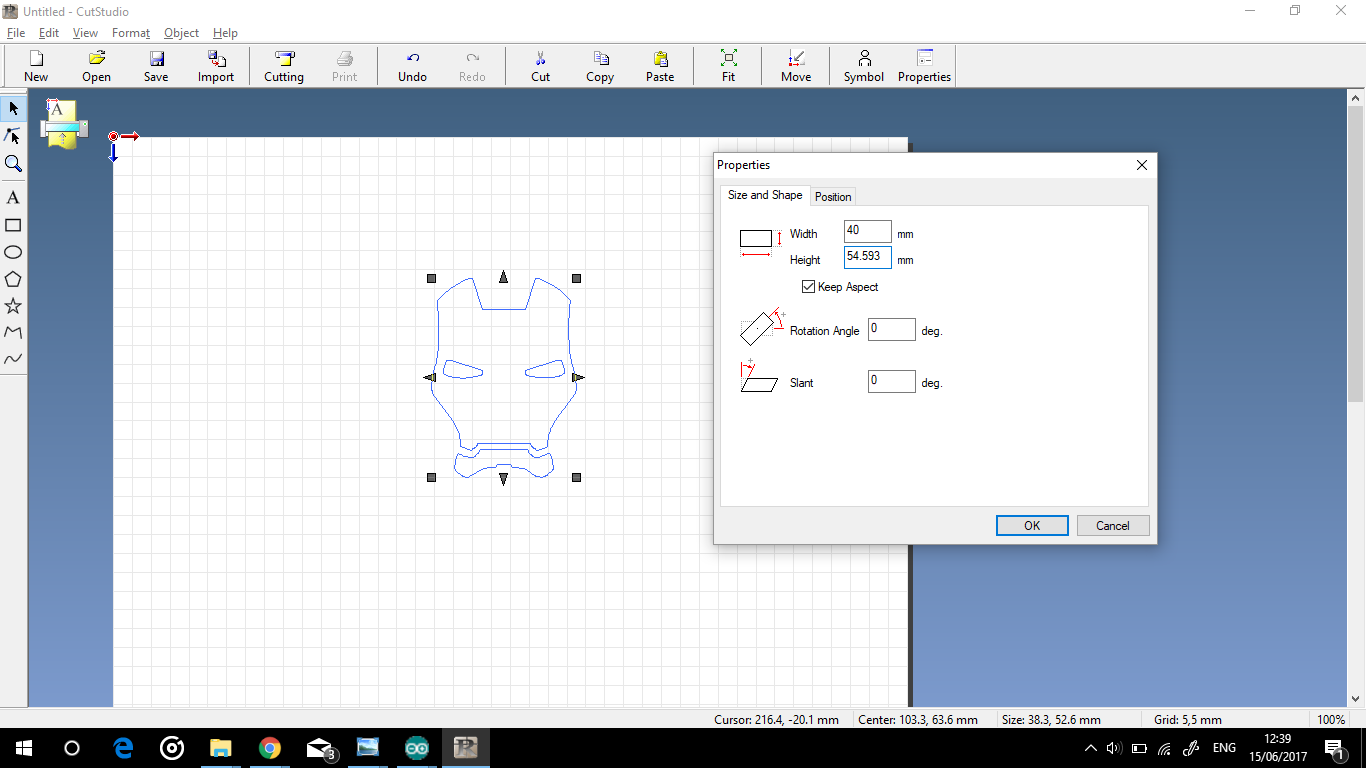
from properties edit the sticker size
finally, the cutting process "sending the file to the vinyl cutting machine
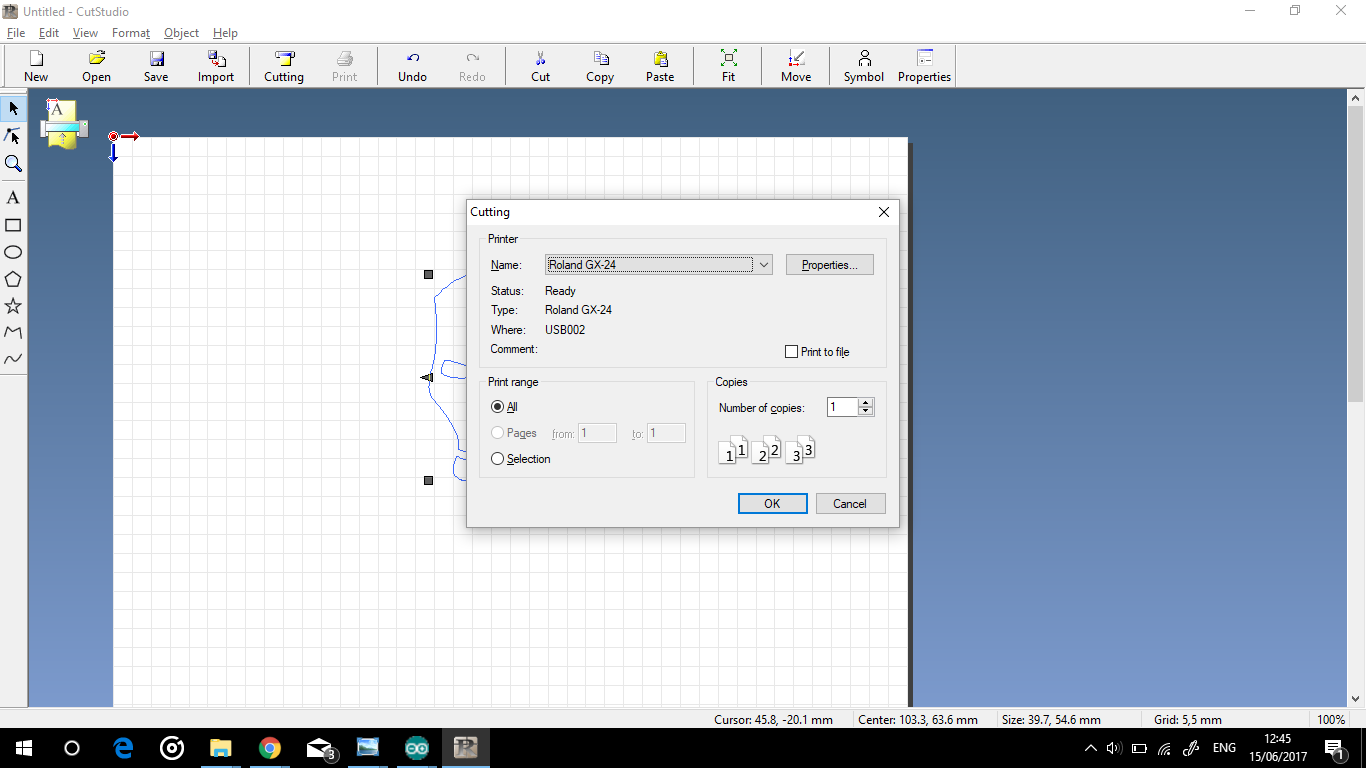
the software might ask to move the outline near to the origin point
Machining
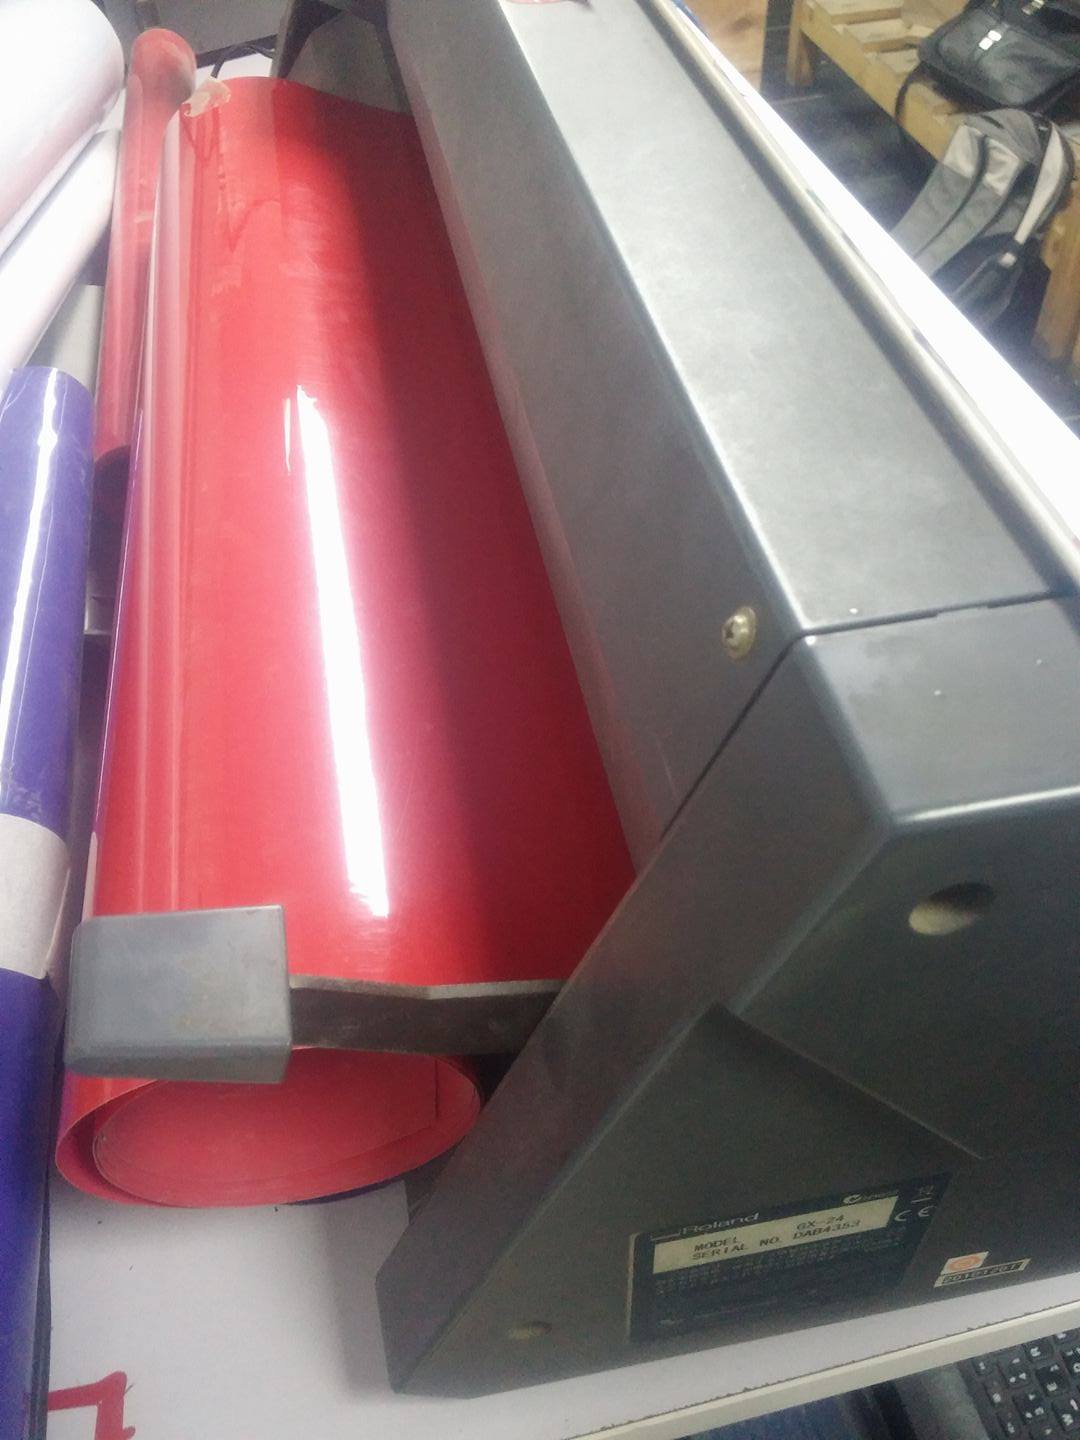
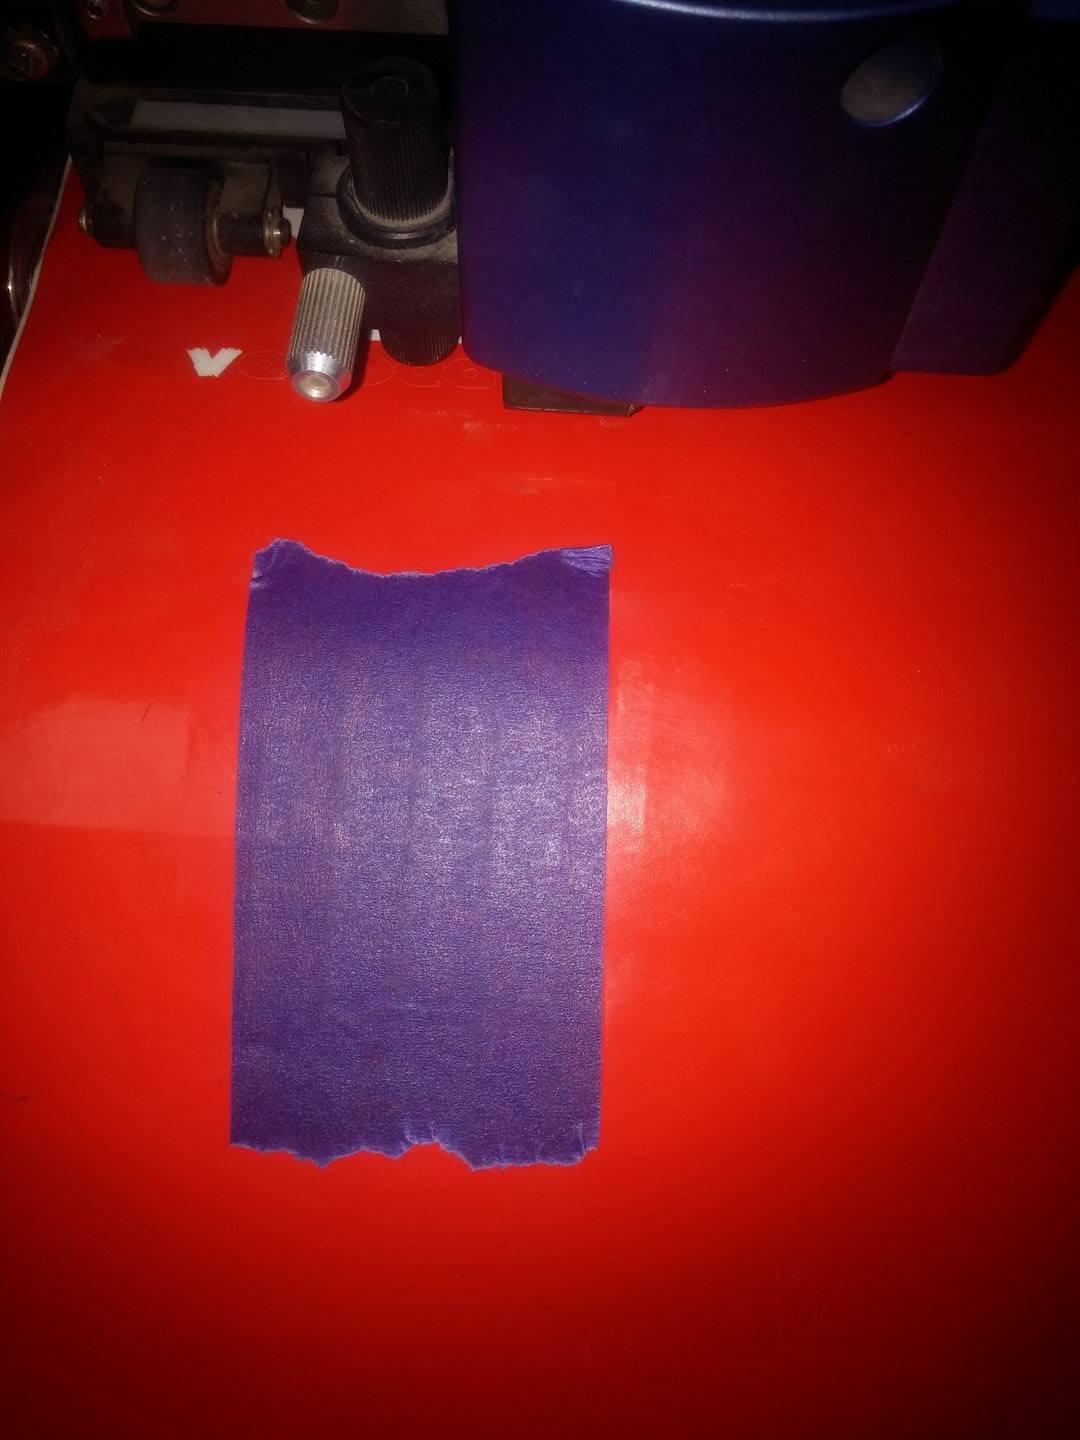
loading the vinyl roll by pulling up and down the grey lock

then select roll from the machine control panel
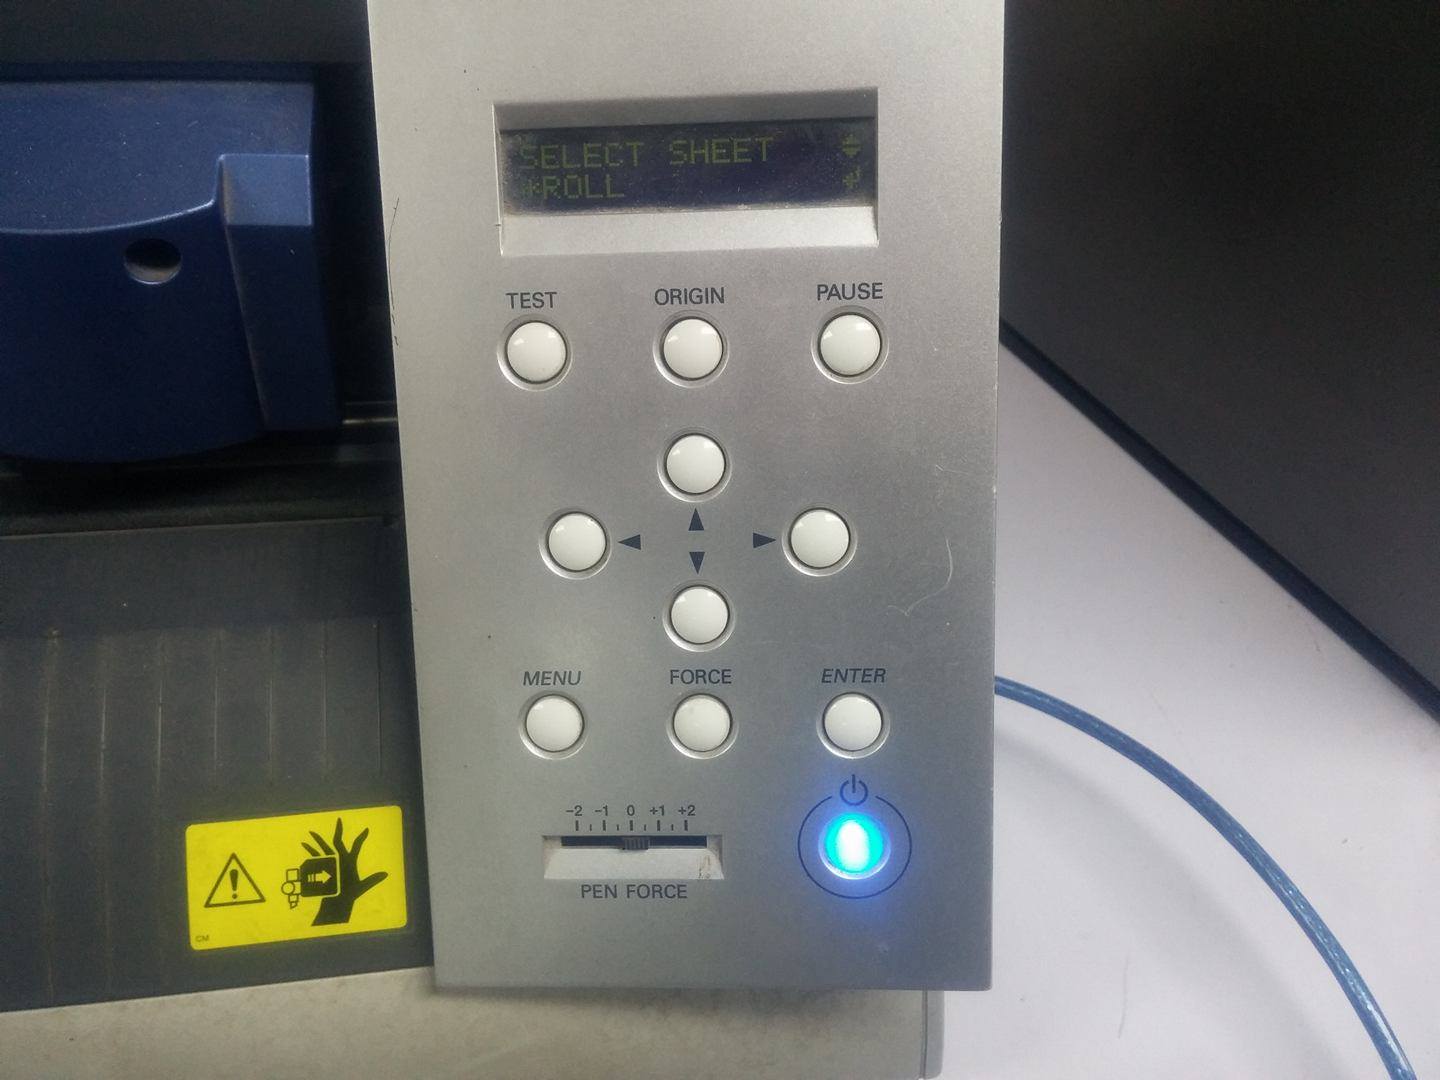
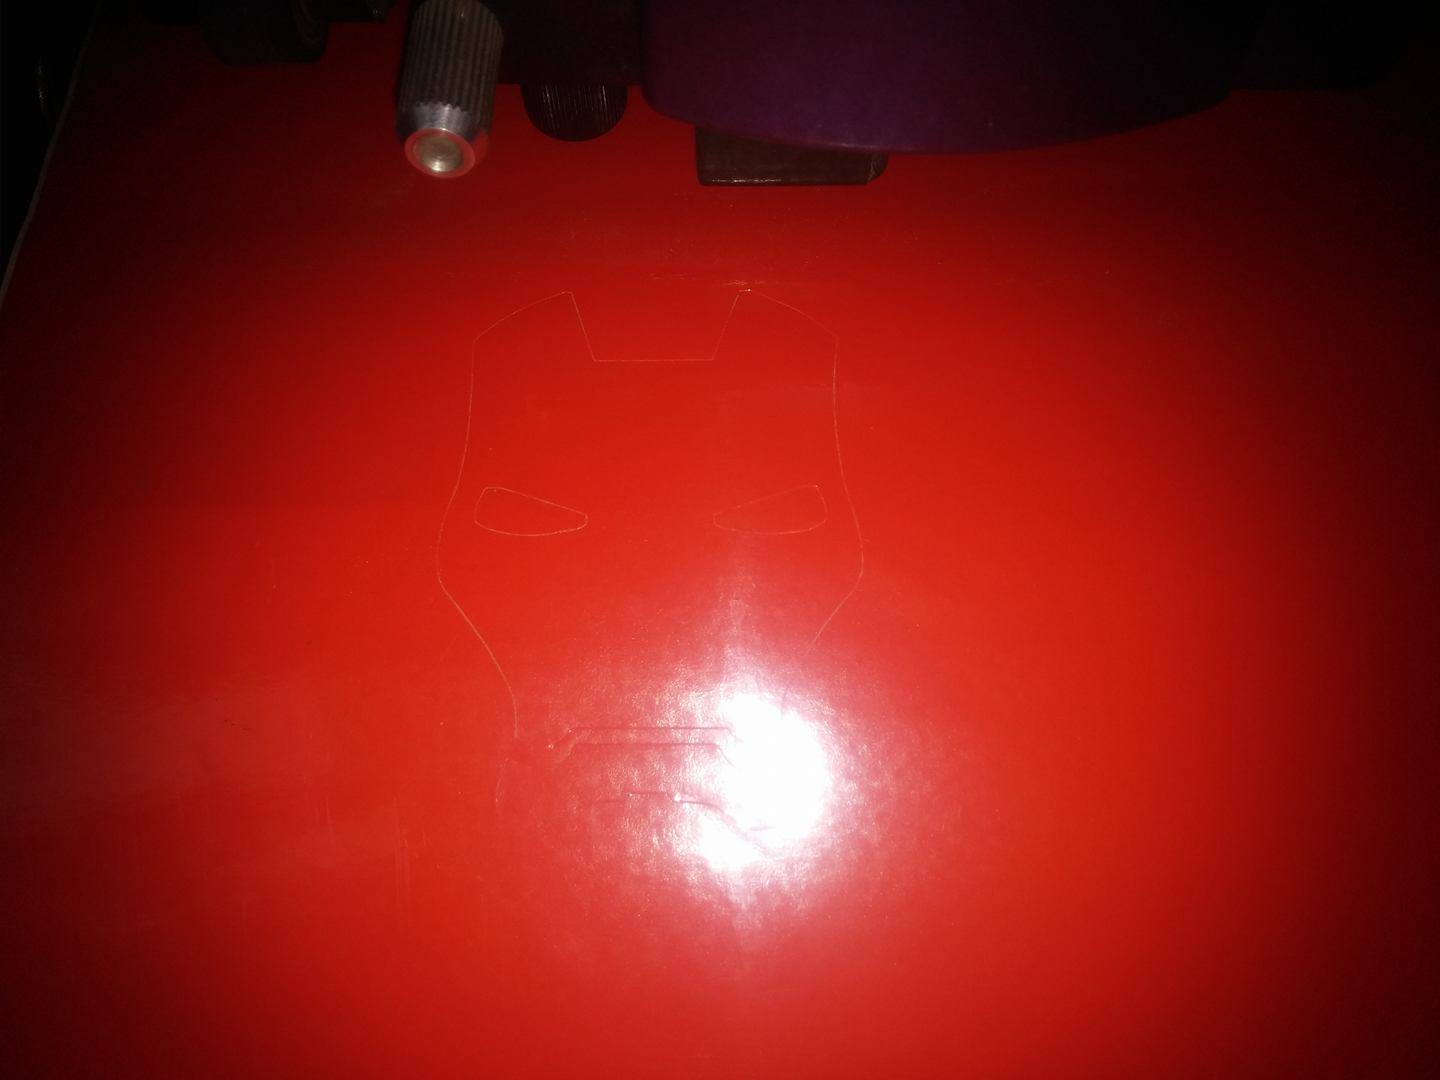
select the origin then press enter where the machine will cut the design
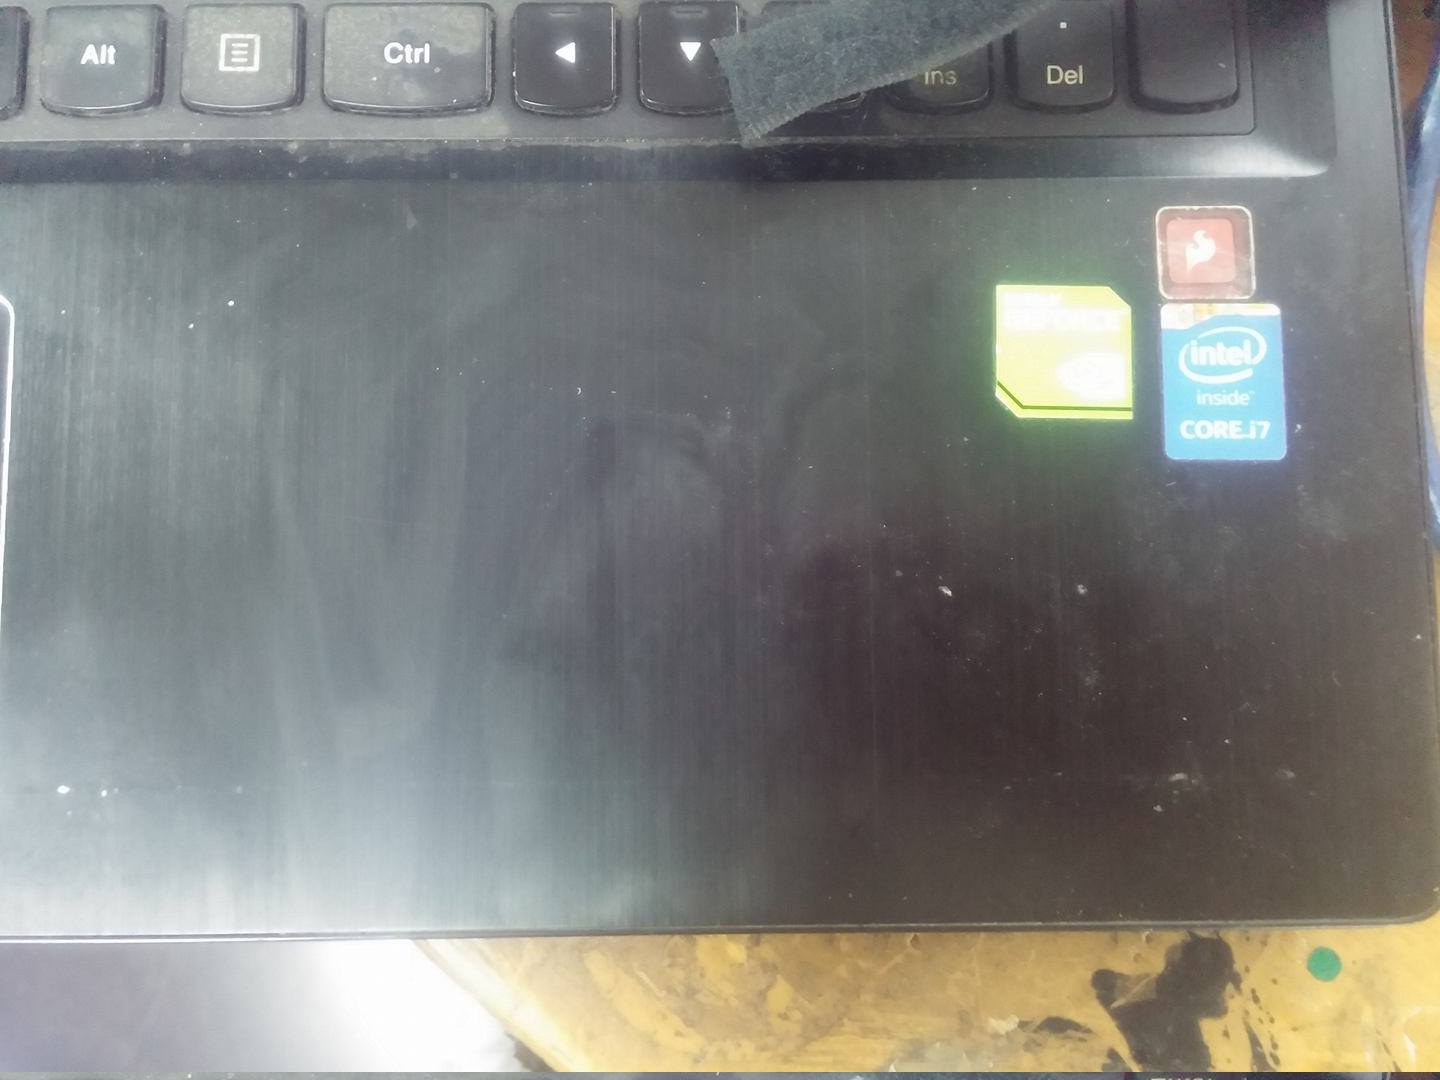
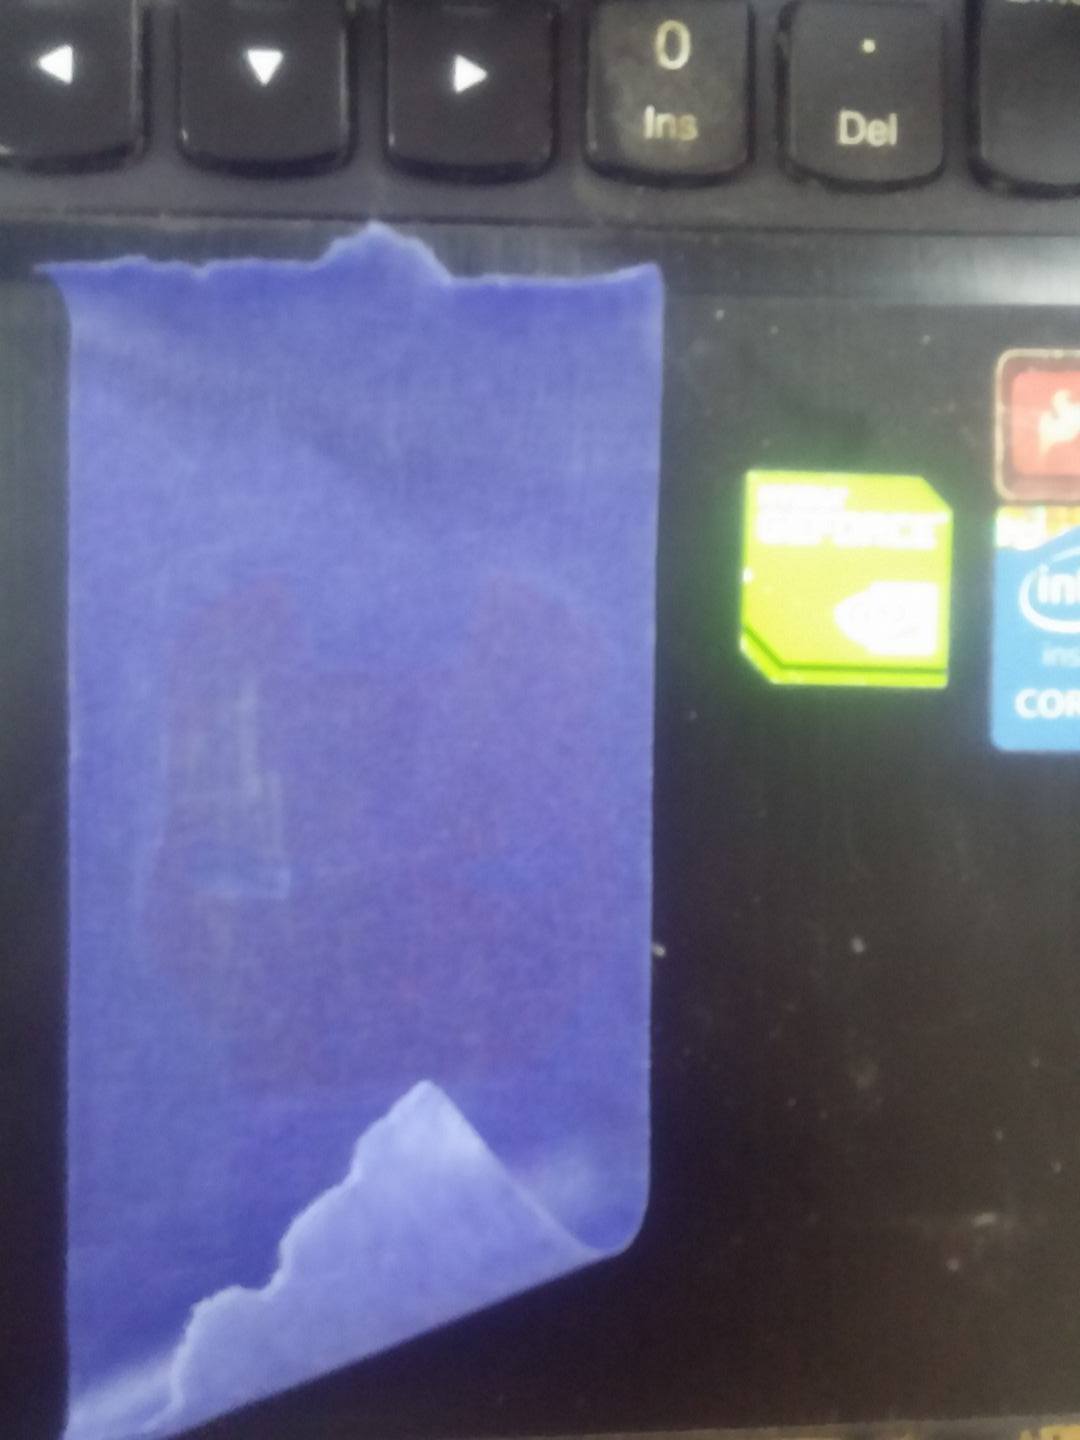
now let's move our sticker using tape
cleaning the surface
finally, placing the tape with the sticker
and here's the final result
that's all! , see you next week :)