PART ONE: PRINTING
Why 3D Printing?
Additive manufacturing is a bit new, but it’s really revolutionary. In substractive manufacturing we are ripping off the material from the work specimen,howerver, in 3D Printing we are adding tiny pieces of materials, till we complete the whole object. 3D printing expanded our prototyping abilities, as you can print objects that can not be manufactured substractively in one step. This week's assignment is to design and print something using the 3D Printer, and use a 3D scanner to generate a 3D model of a physical object.
Step 1: The Idea
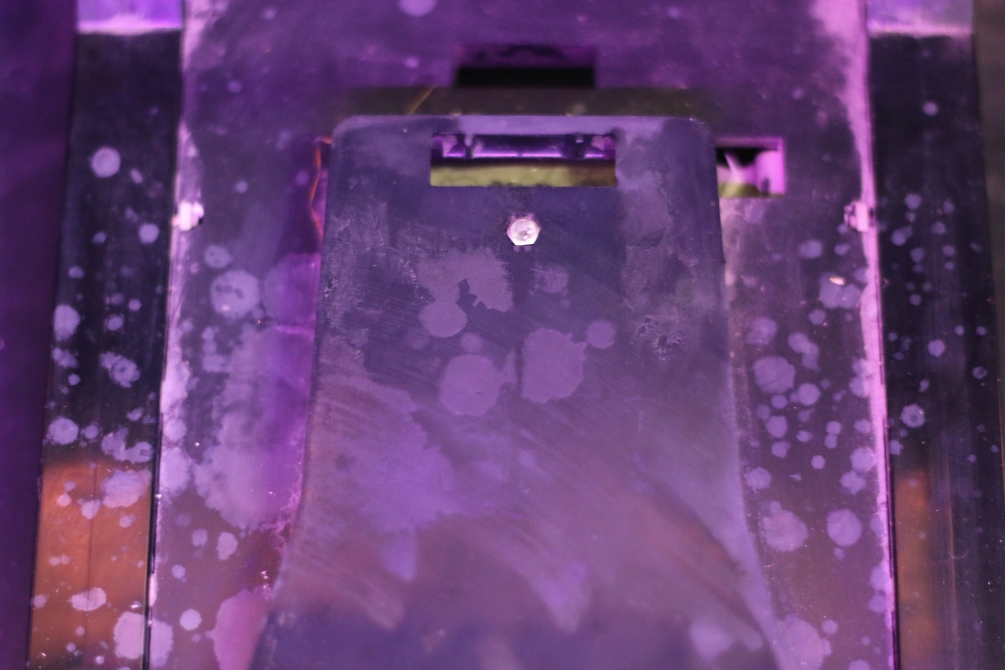
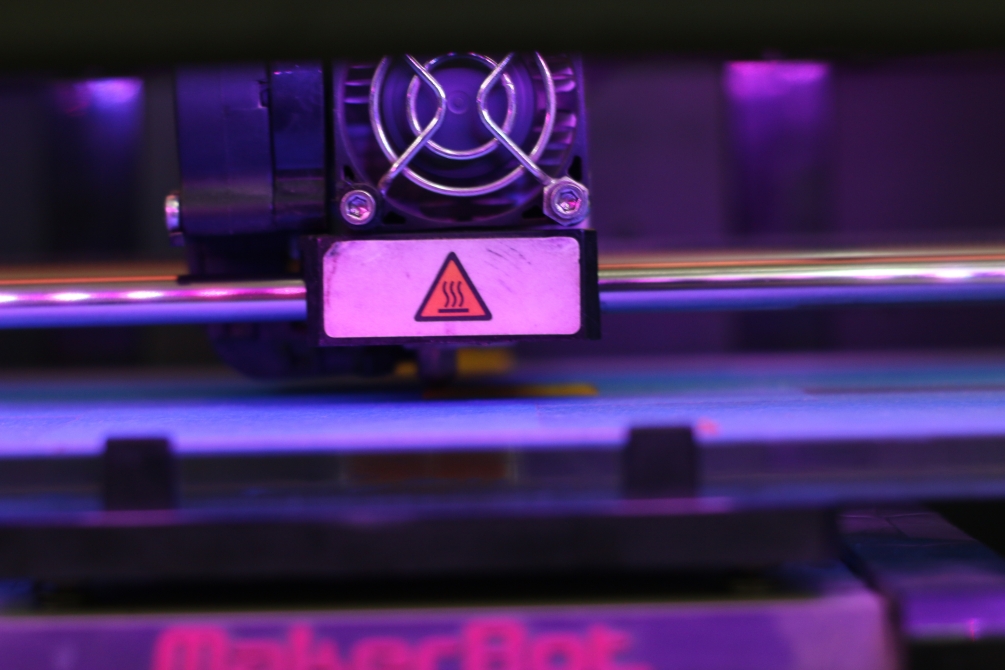
According to the assignment guidlines, I'm supposed to design something that can not be manufacured using any other substractive manufacuring process. It's not too hard, to design such a thing, but here at Fab Lab Egypt, we had a problem that needed a fix, a 3D printed one. The bed for the MakerBot has 3 kind-of-sockets to be fixed, the one in the back has been broken, making the printing bed unstable. I have decied to design another kind-of-socket to solve this problem.
Step 2: The Design
I have measured the dimensions of the front kind-of-sockets and the dimensions of the cavity at the back. At first I thought I could design a simple structure that can be glued to the platform, but it failed becuase to perfectly fix the printing bed with no vibrations, you'll need some pressure, and the glue will not be able to hold that pressure. So I have designed something that can go down the cavity at the back, then hold the bed against the boarder of the platform.
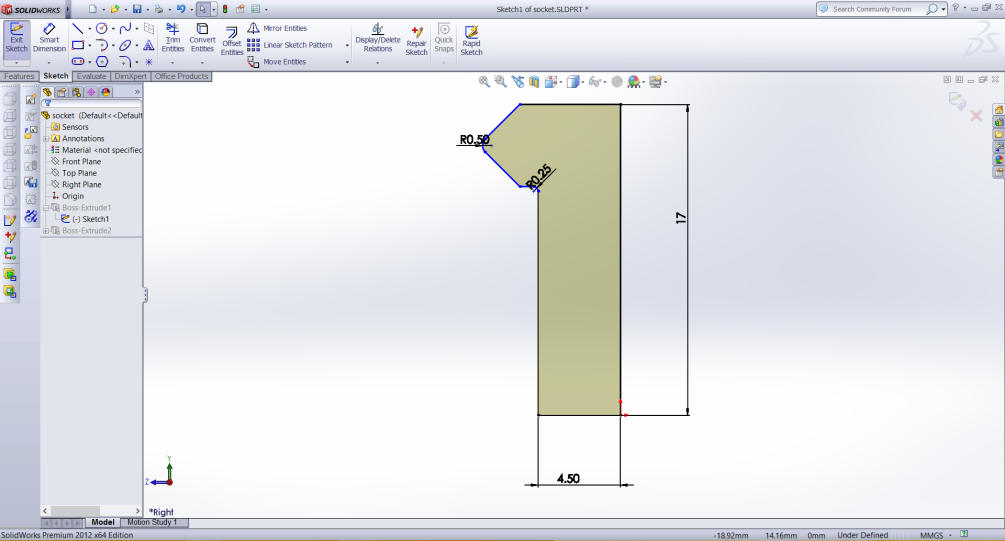
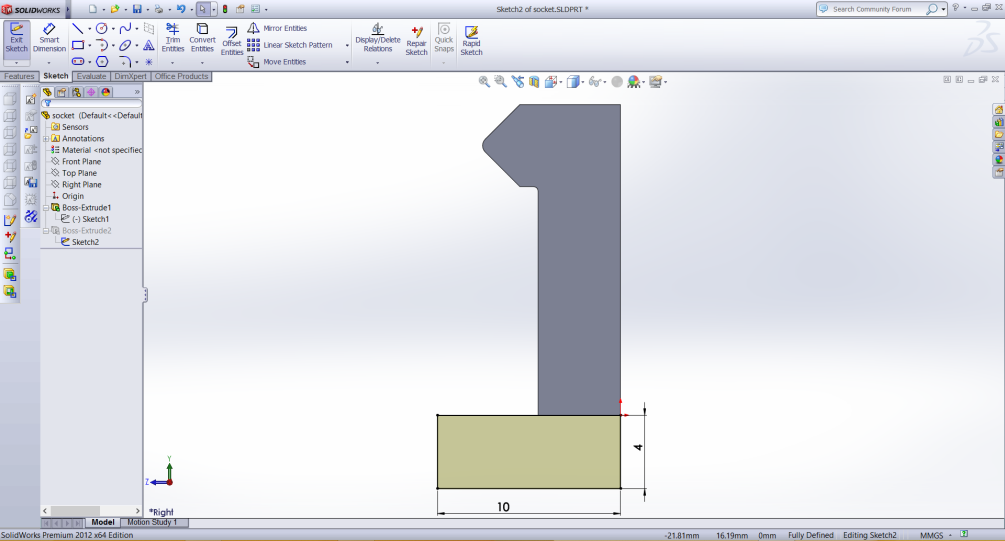
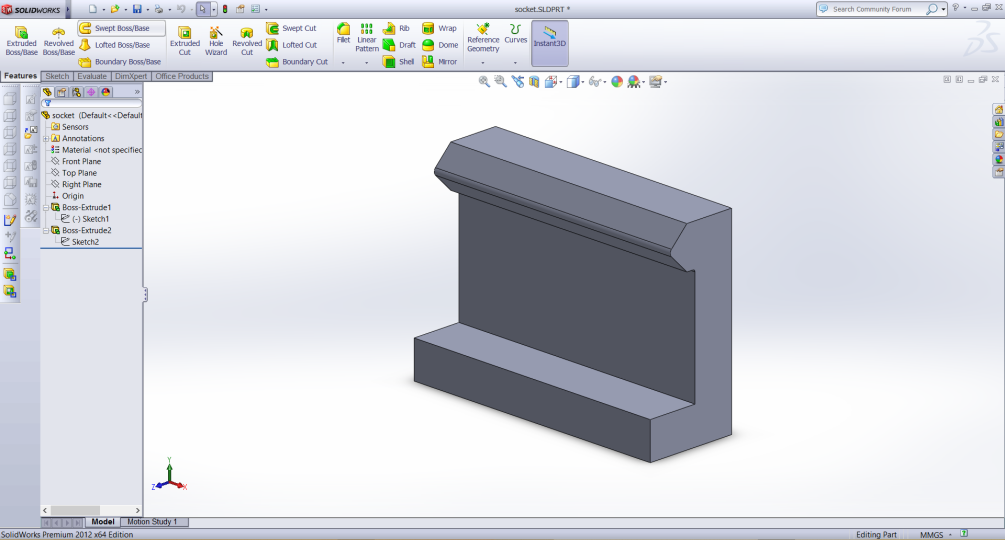
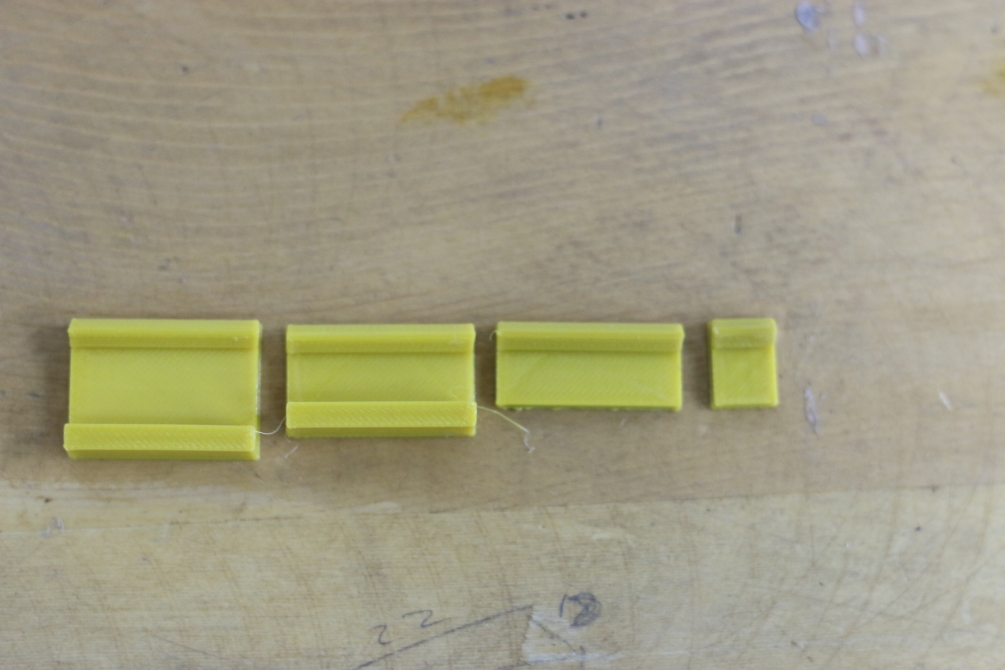
When I finished the design, I had to test with different thicknesses to get the perfect part.
Step 3: Slicing
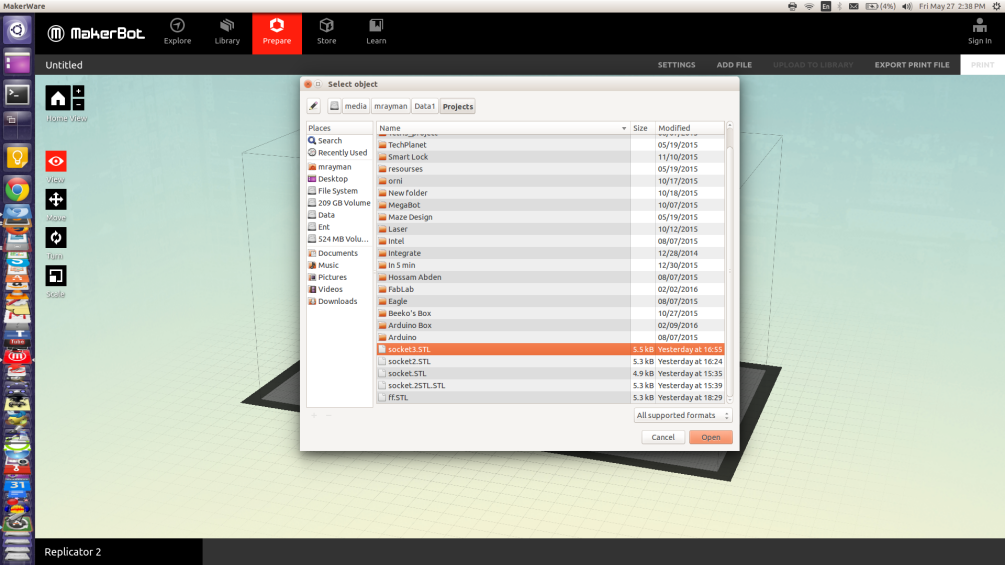
STL files exported from SolidWorks can not be printed directly, you have to slice your design into layers that the printer can read and print. You will need to install the MakerWare software for slicing your part. You can download it here.
First import your model.
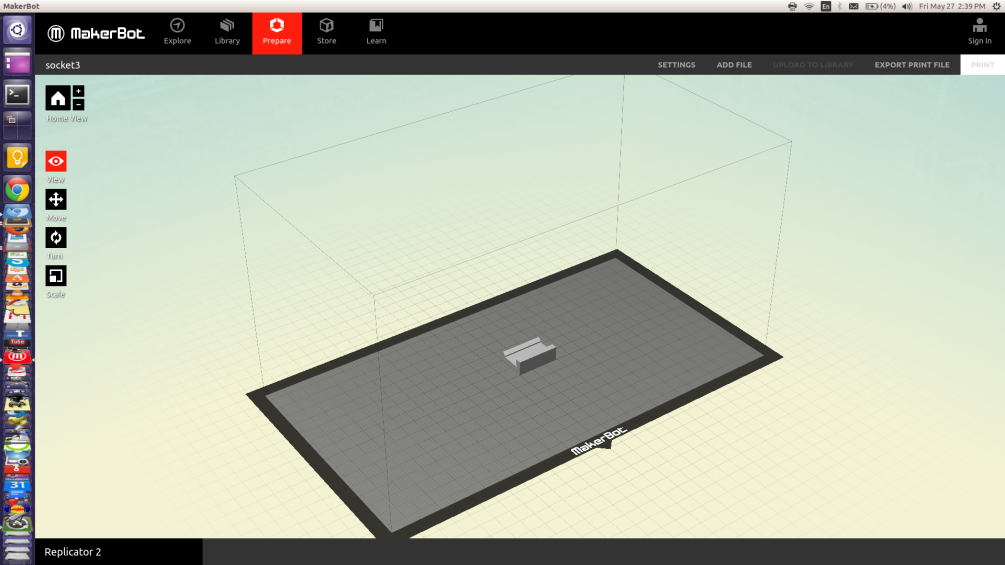
Then you can change the orientation, position, and scale from the options on the left.
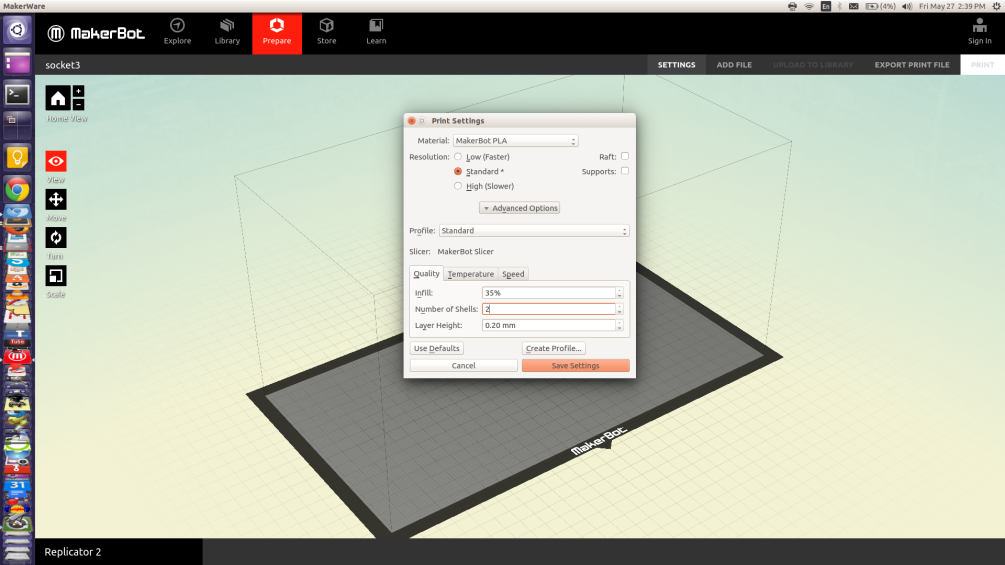
When you finish editing the file, click on settings to change the printing settings. The infill precentage is how much material the printer will lay inside your design, 0% will get you a hollow object, 100% will result into a thick solid object. Usually I use 20%~40% becuase we don't need high density this often, and to save the filamnet, you hve other options like resolution (how thin is the layers), raft (a bottom layer to protect your design), support (building extra thin pieces of material to prevent your design from collapsing).
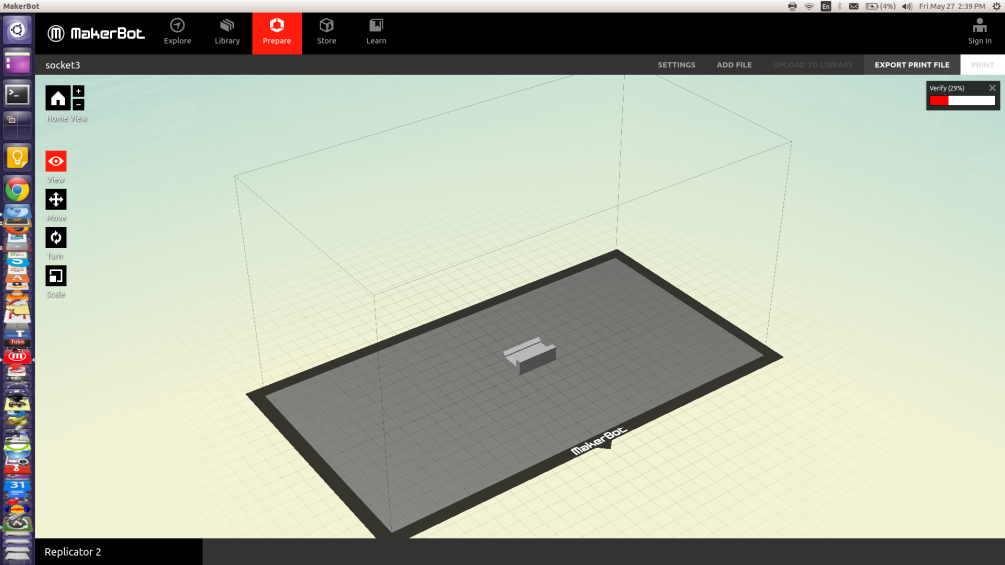
After that, click on print preview to check that your design is sliced correctly. And to know how much time and material the part is gonna take.
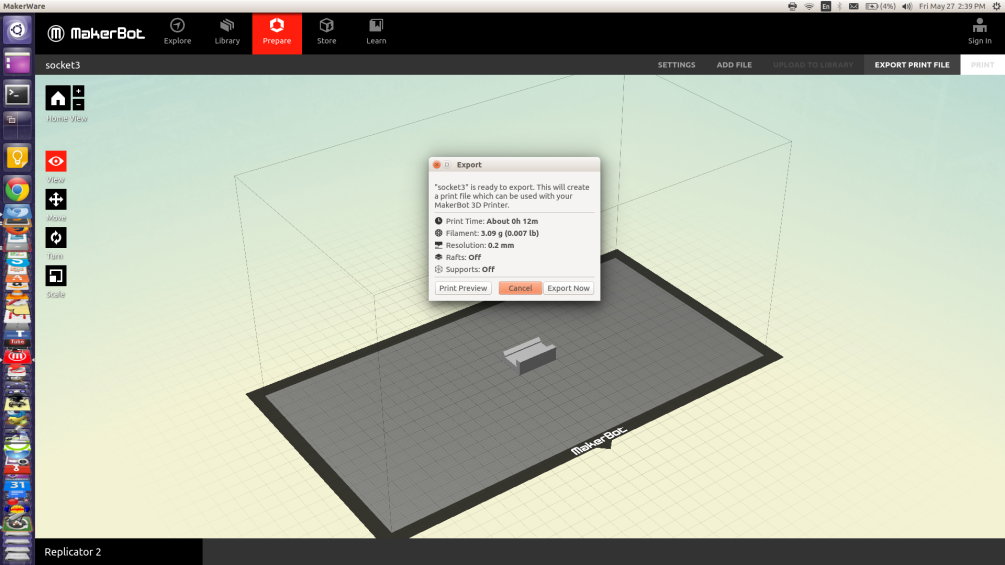
Finally export your .x3g file and send it to SD Card.
Step 4: Printing
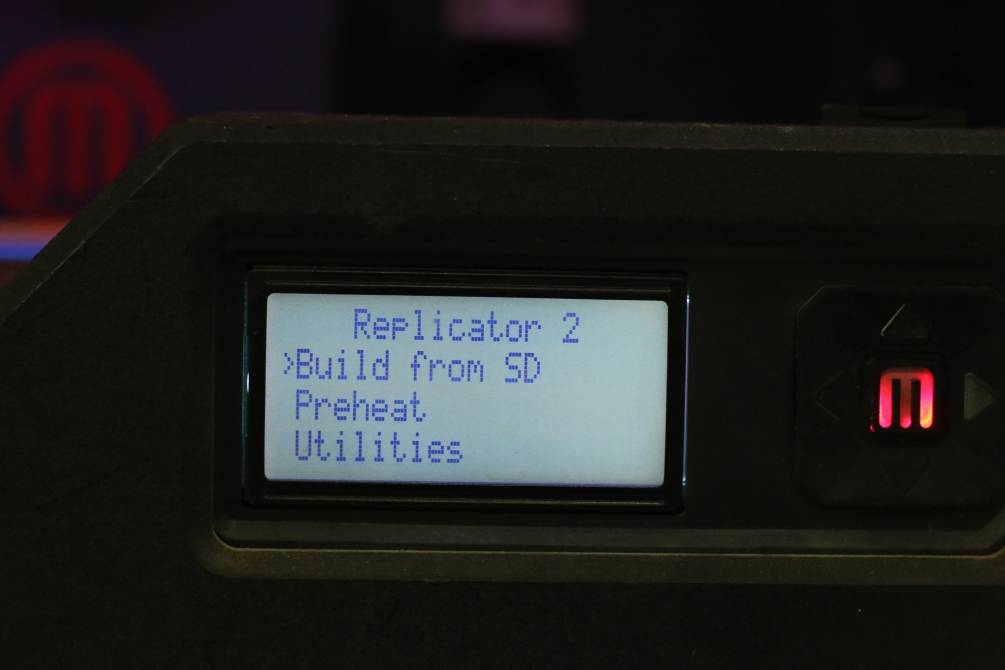
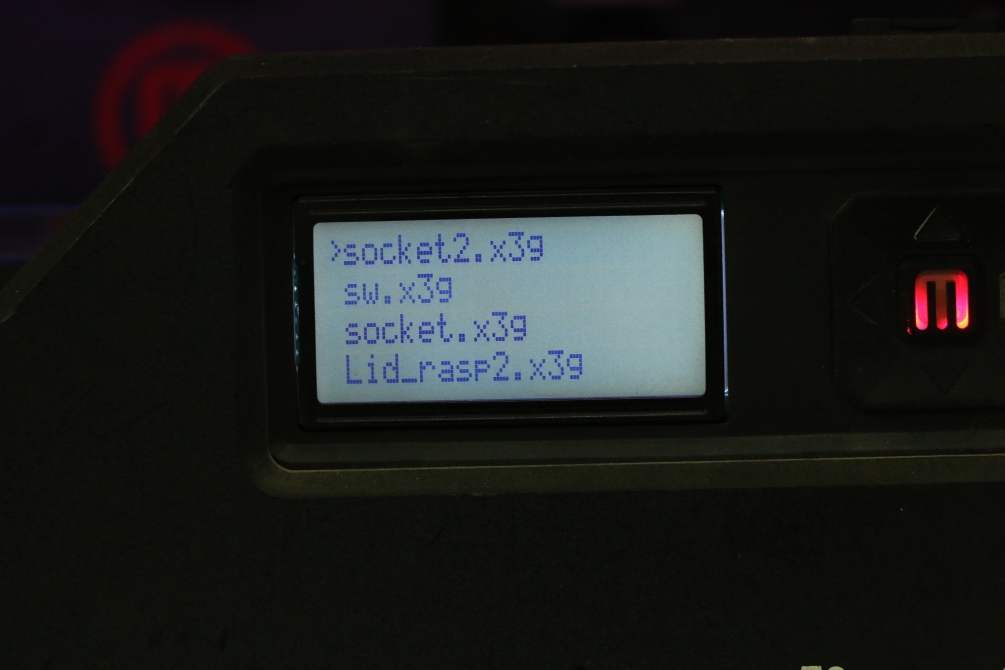
MakerBot Replicator 2, is an easy-to-machine, all what you have to do (if you have a properlly installed machine) is to chooce build from SD, then choose your file and start printing.
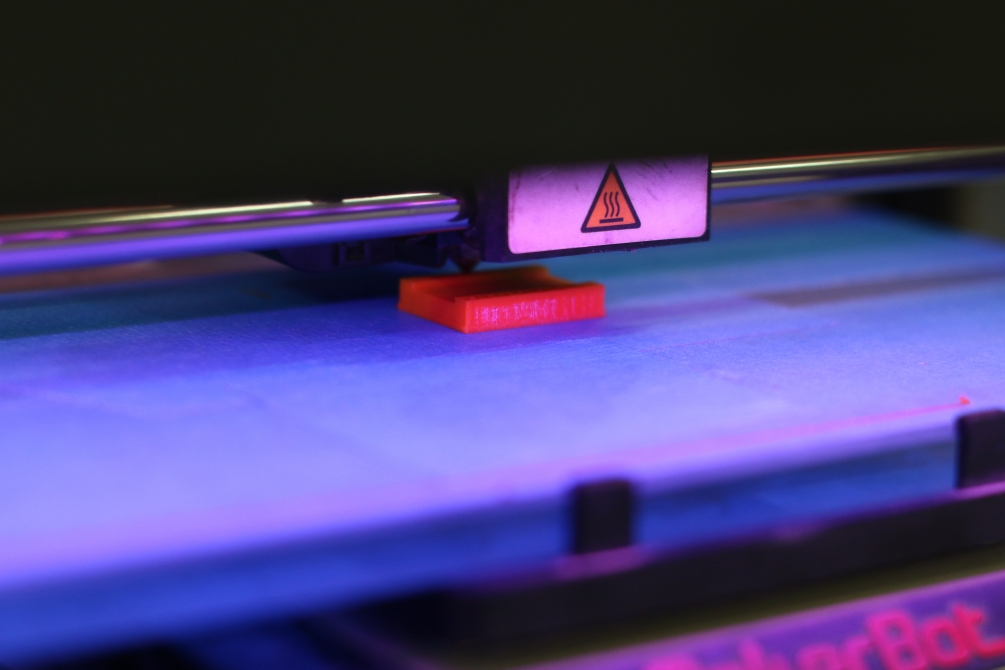
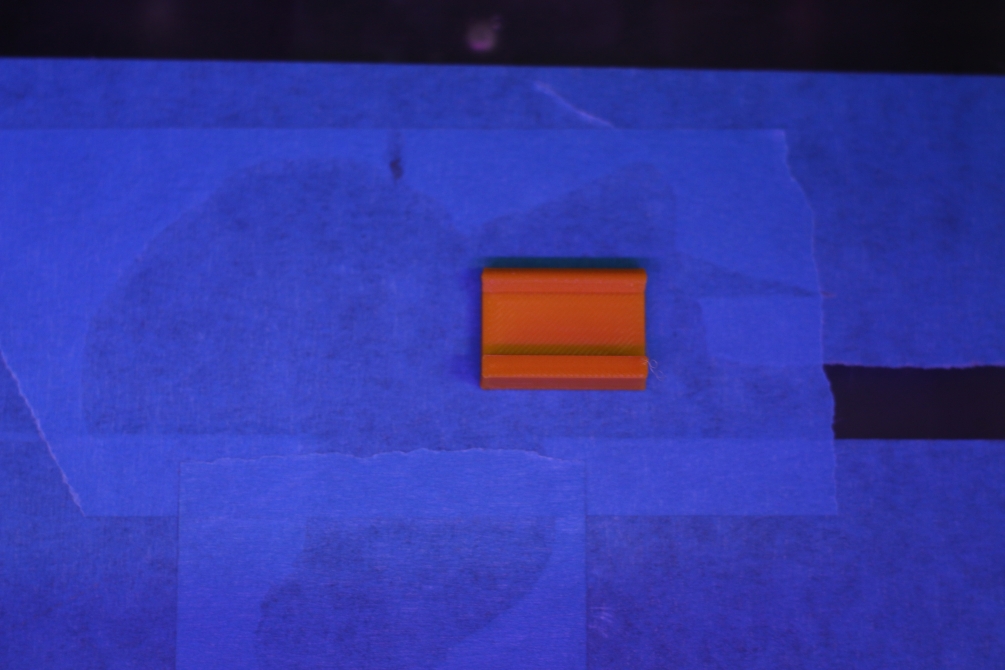
After testing 4 designs, I finally got the perfect one, and it worked fine.

PART TWO: SCANNING
Step 1: Setting up the environment
In this assignment, I'm using Microsoft xBox Kinect. It's not the perfect scanner but it works fine and easy to use. Before using the scanner you'll have to install the driver for the kinect. On linux you gonna need to use Open Kinect. which is good but require some experience using linux and a bit of programming. So I'm using Skanect on Windows, it much more easier.
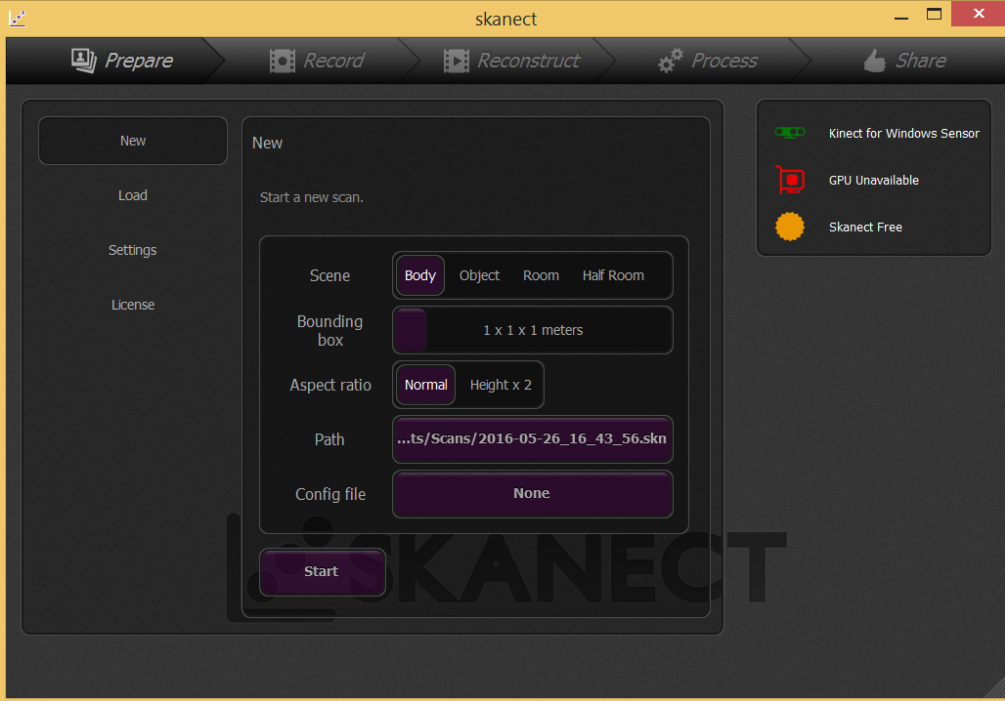
Step 2: Getting Ready
Once you have installed everything, open the skanect software and connect the kinect. You'll get the opening interface to set-up the the scanning job.
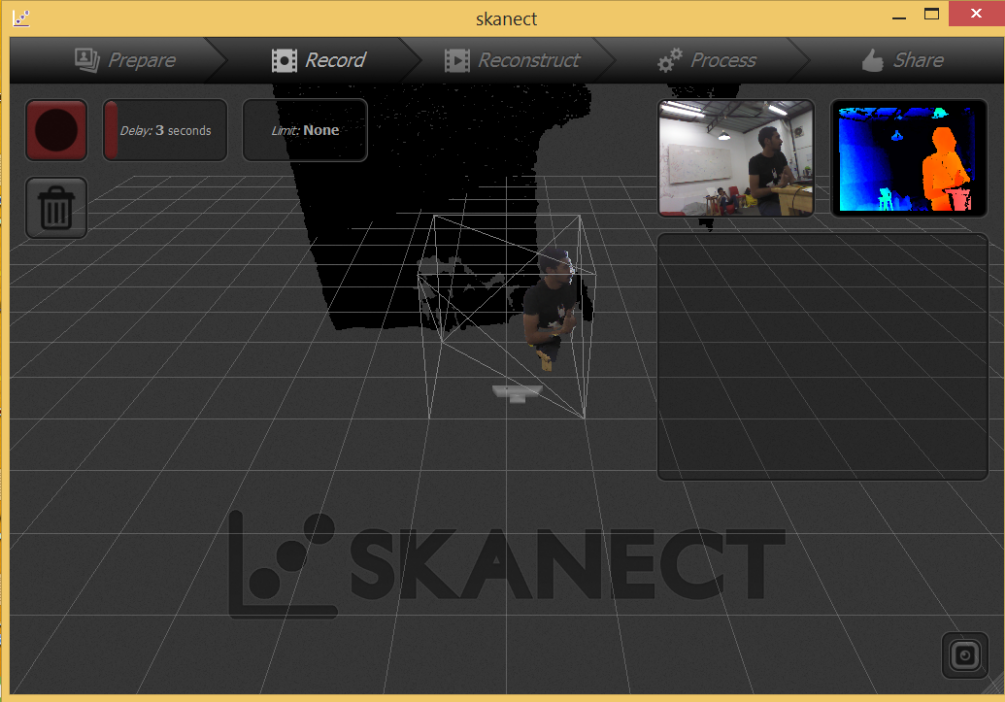
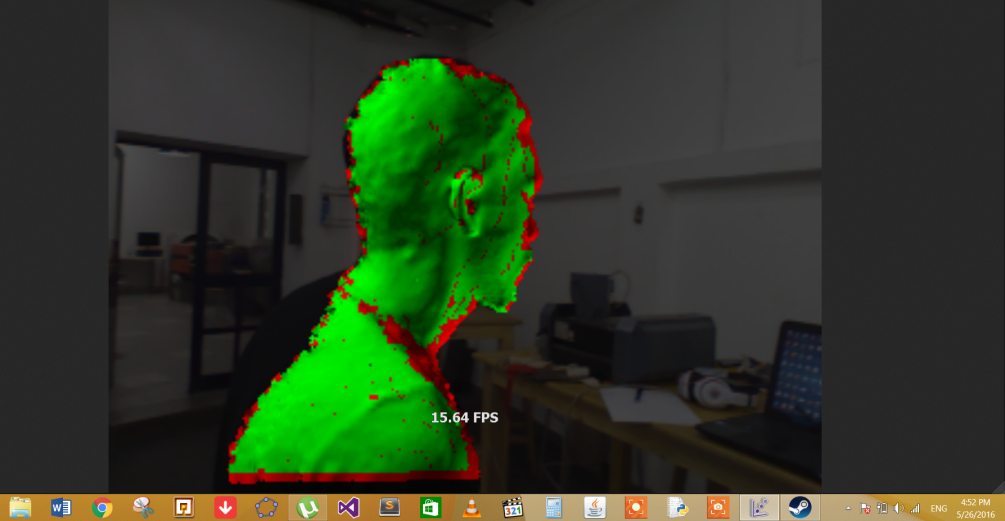
Then you'll get this scanning page, to check if the distance and orientation of the scanner is fine. Then start scanning.
Step 3: Start Scanning
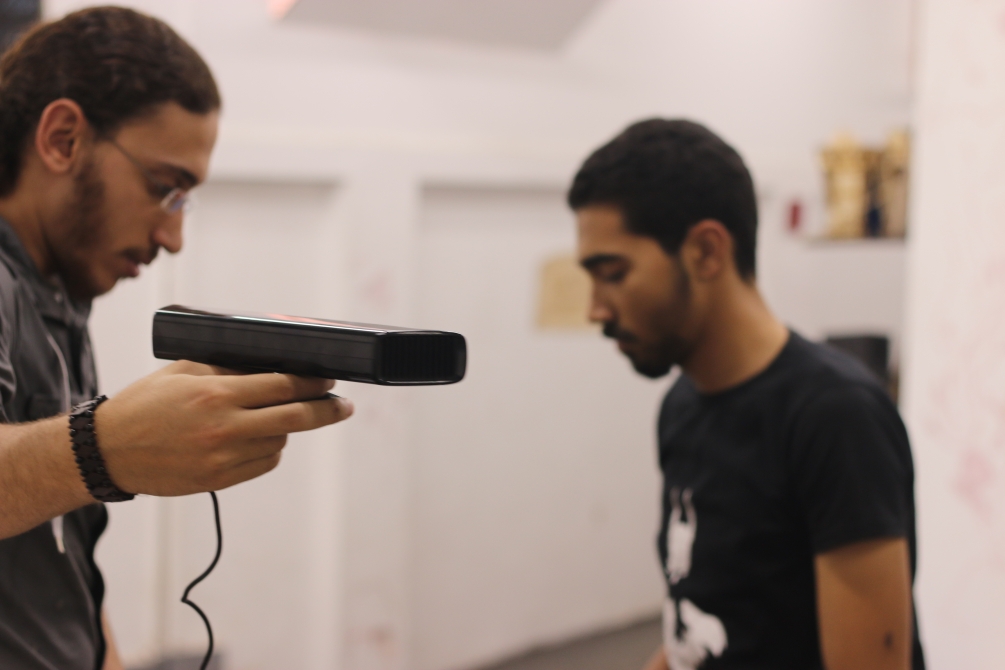
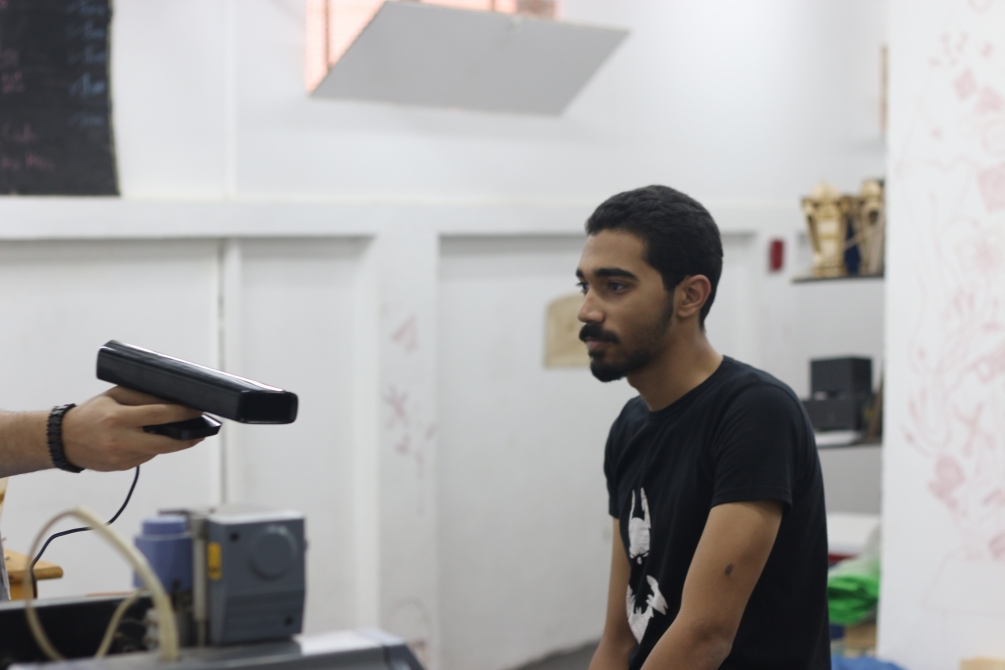
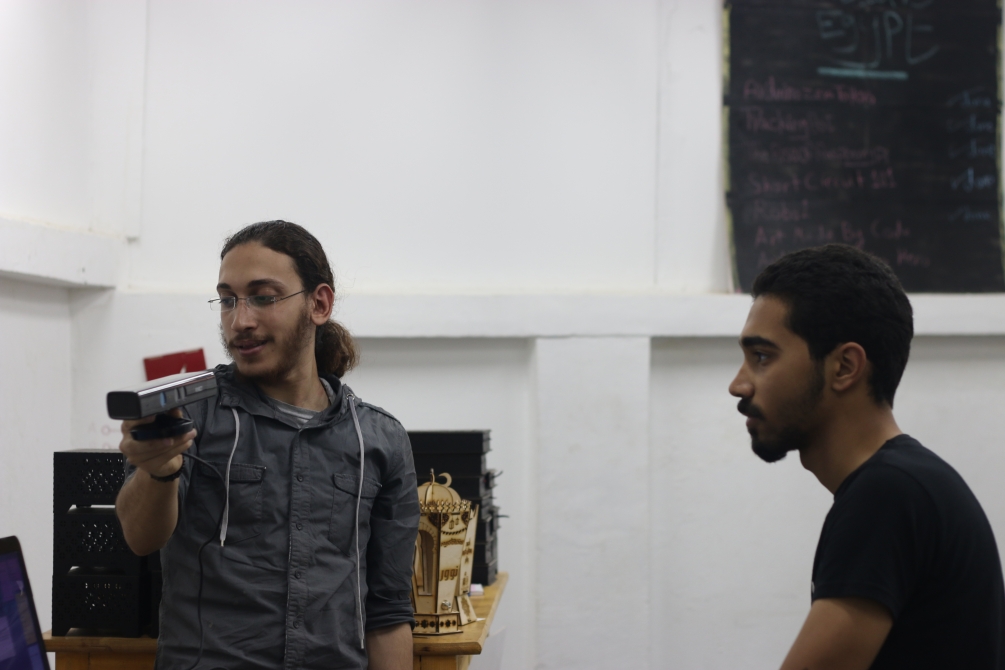
Luckily it was not a very busy day at the lab, and I had some volunters willing help me (I'm that handsome guy with a pony-tail). Make sure to take a full circle aroung the person/object that you are scanning, and keep checking the screen that your kinect is correctly capturing images.

When you finish just press stop, and you'll have some editting options, then click save to STL.
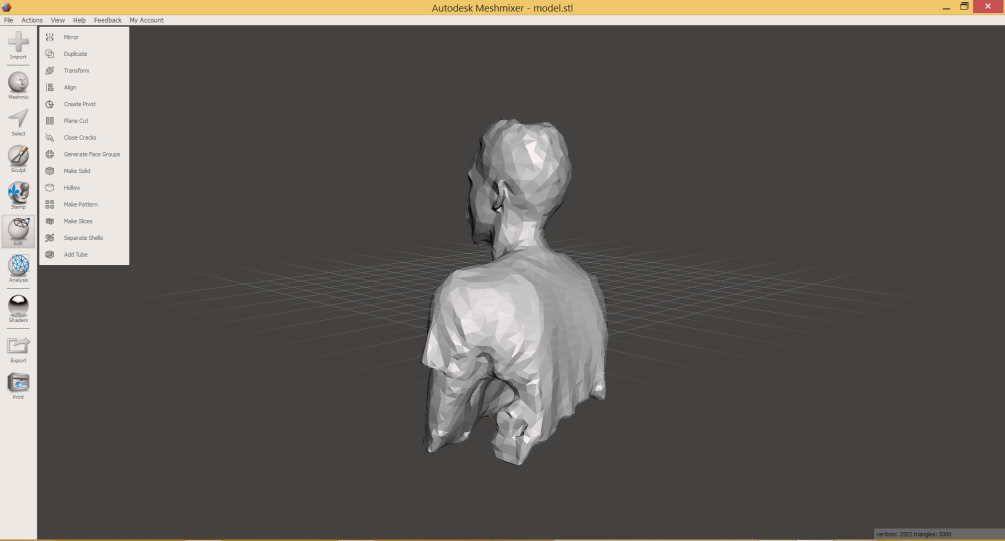
Step 4: Editting the Mesh
You'll not get a perfect model. So we will do a bit of editting using Mesh Mixer. On mesh mixer you have many tools on the left to edit, fill, or sclupt your model.