Week 12: Molding and Casting
Tasks for the week:
- Design a 3D mould, machine it, and cast parts from it.
Step:01
Design a 3D Mould
This week I designed a module that can be used a tile and can be cladded over a surface for tactile effects.I decided to make smaller prototype of it using a wax mould and by casting rubber into it.
I started with drawing a basic square and then shifting the intersection of its diagonals in 2D. Later I elevated the intersection point to make it a 3D module. I kept space between each module because I wanted the end result to be as individual tiles.
Below are the images that show the design process of the module.I used Rhinoceros 5 to design them.
-crop-u25659.jpg?crc=336244754)
-crop-u25666.jpg?crc=3965014667)
The image shows the 2D drawing of squares and shifted centres
Next I used the 2D drawing to make 3D modules
After making 3D, I exported the module into '.stl' format
Exporting in '.stl' format:
To export your object(s) to a steroelithography (.stl) file format, select your object(s) and go to File, Export Selected. You can also use the Export command. In the Save as type option drop down menu, select .stl as the file type.
The files can be accessed here.
Step:02
Milling the 3D Mould
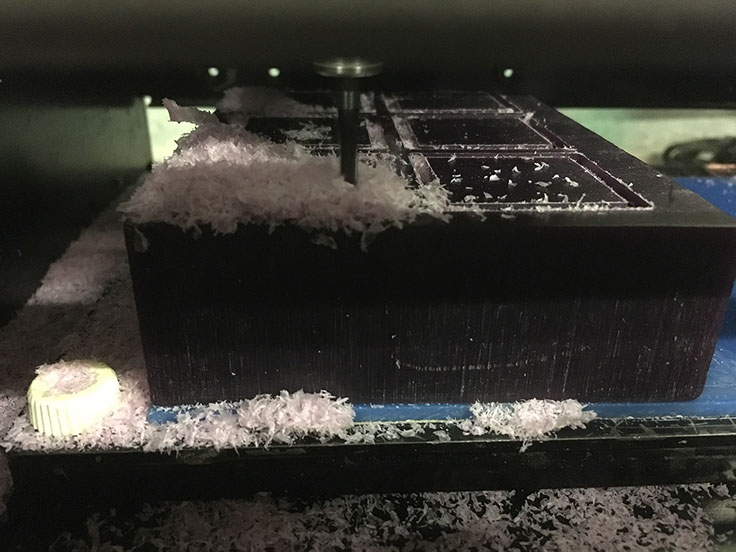
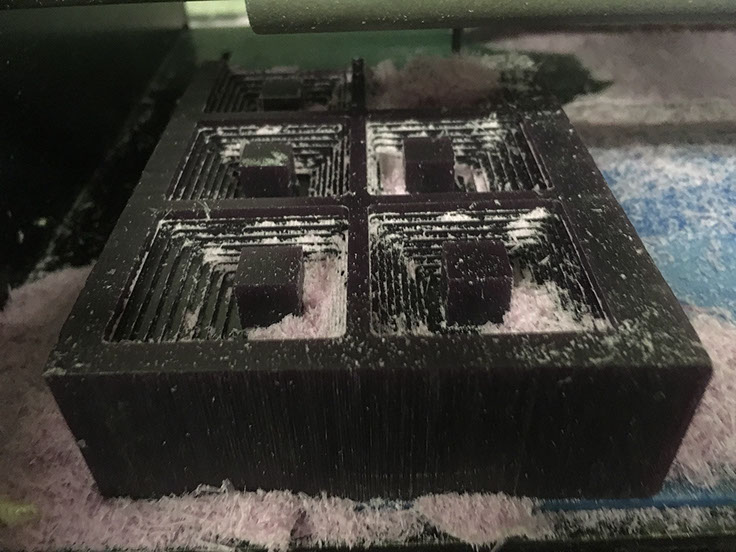
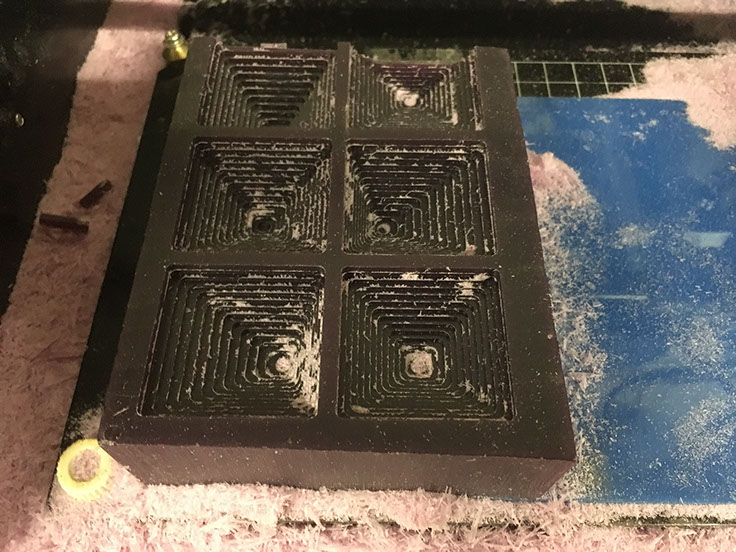
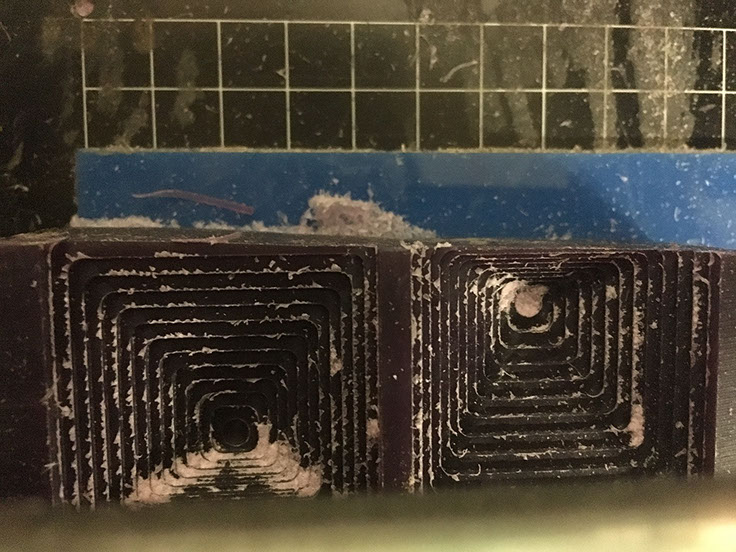
Next step is to mill the mould.Below are the images that explain the parameters and steps I used. I did milling in 2 parts: Roughing using 1/8th inch endmill drill bit and Finishing using 1/8th inch ballnose drill bit.

Step:01
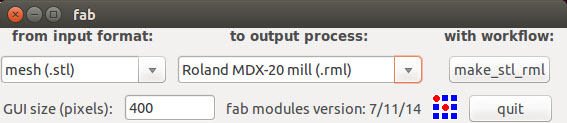
After opening the terminal in Linux, my next step was to type '.stl' as input format and Roland MDX-20 as output to generate 'rml' for my mould.
Step:02
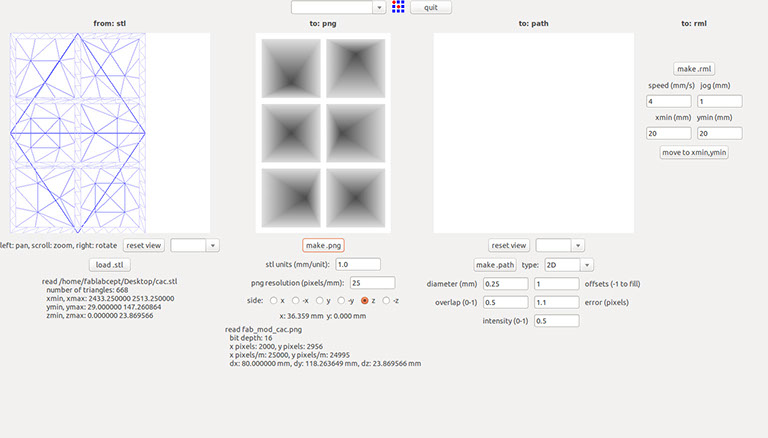
Next step is to load the stl file by clicking on the 'load stl' tab seen on the left side.
Step:03
After loading stl file, I clicked on make png. Now, the black explains the part that will be scooped out.
Step:04
Next, I chose 'inches 1/8th, rough for first toolpath, set offset value to '1' and error as '0' and generated rml to bing milling.
<
>
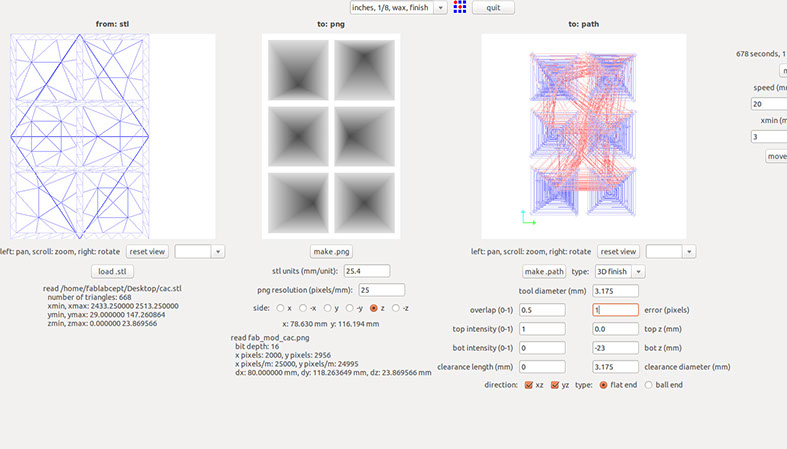
The above image shows the parameters that I used fto generate the finishing toolpath using a ballnose bit.

<
>
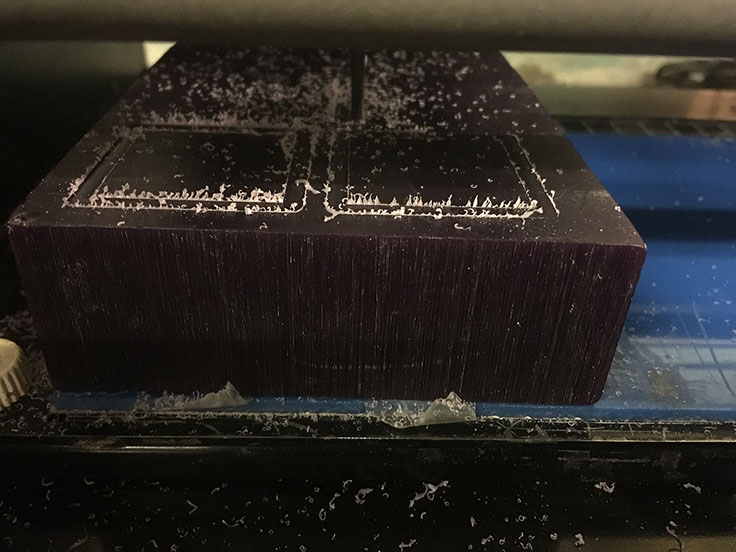
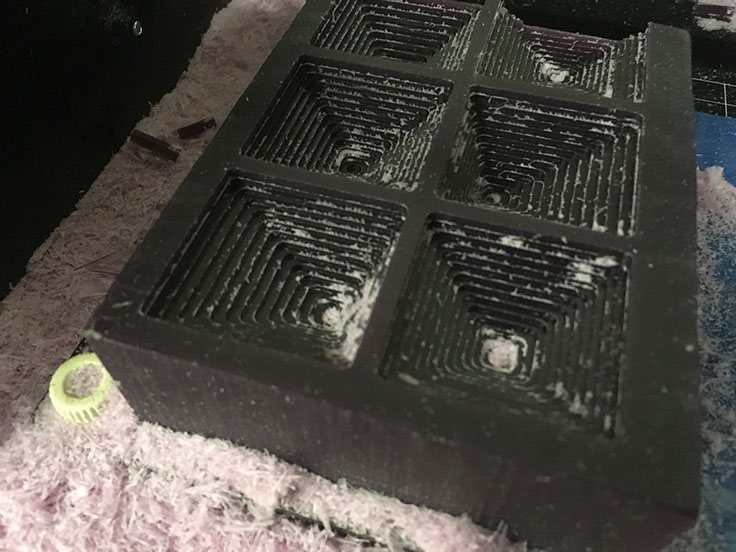
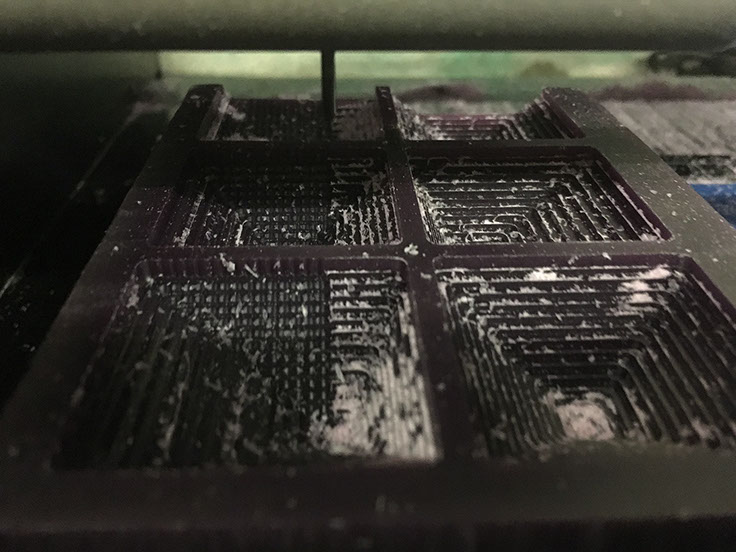
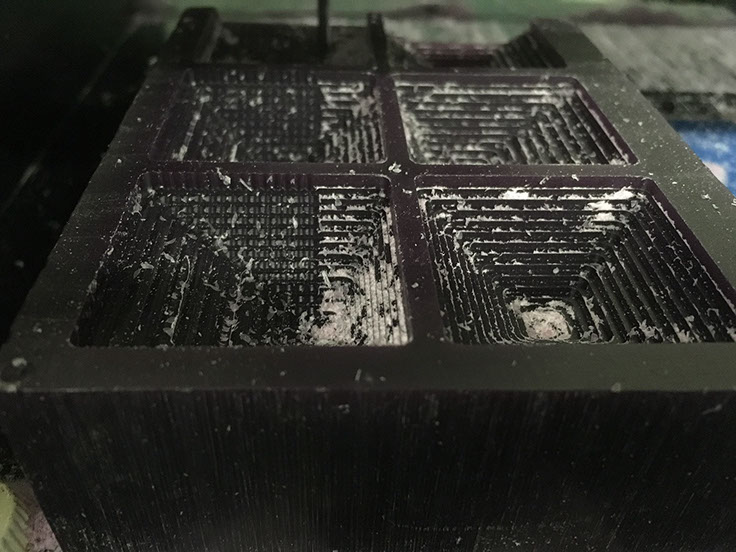
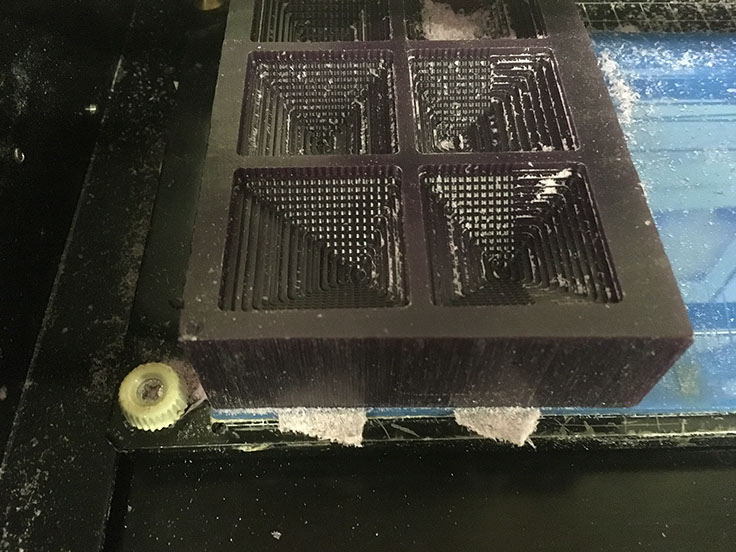
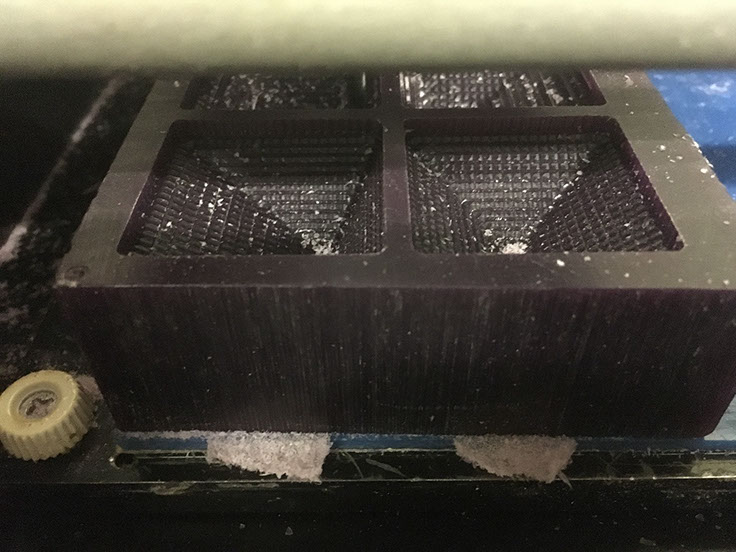
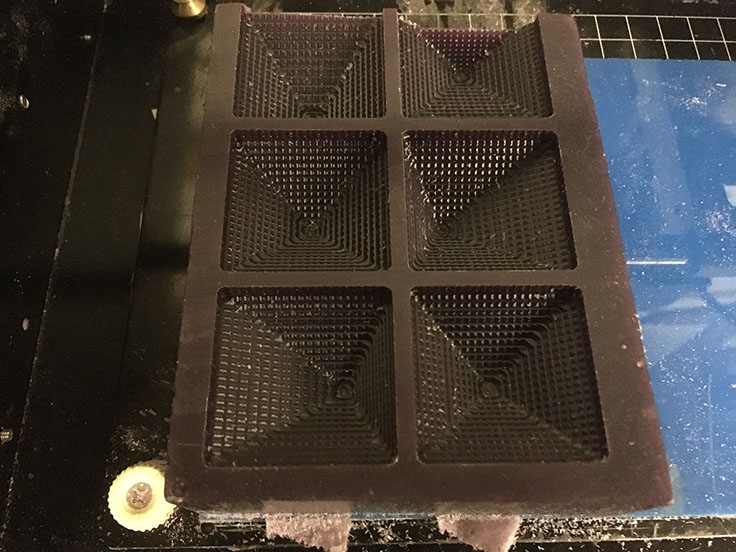
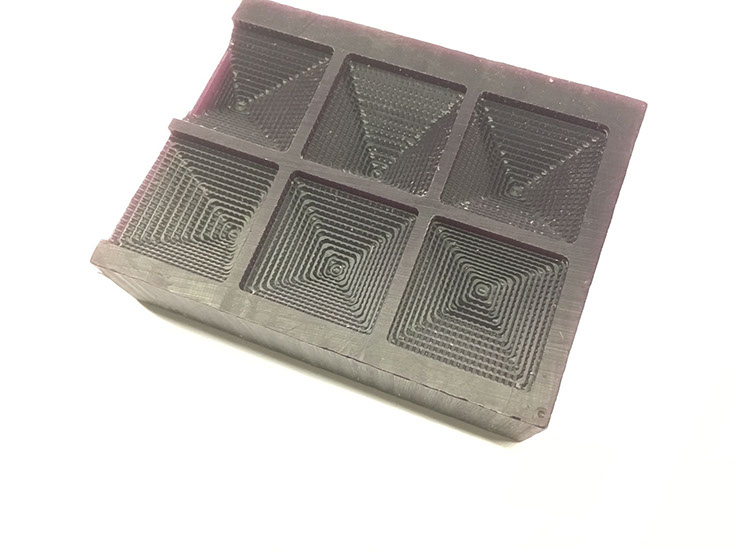
Below, images show the process of milling and the end result.:
Step:03
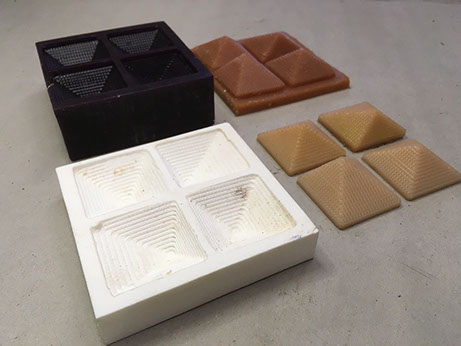
Preparing Rubber mold
Individual rubber tiles and rubber mold for 4 tiles:
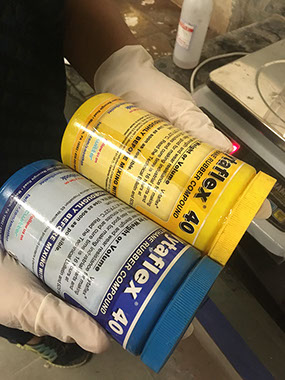
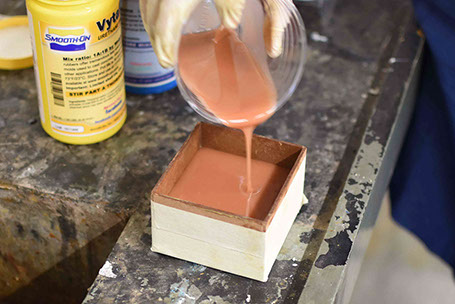
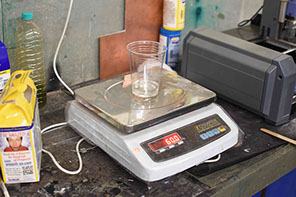
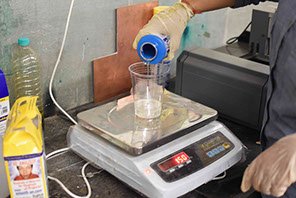
After zeroing the weight of the plastic cup, I used Vytaflex 40 Urethane Rubber compound to make the rubber negative mold.
As per the data sheet for the compound, I needed to mix Part A and Part B in 1:1 ratio.
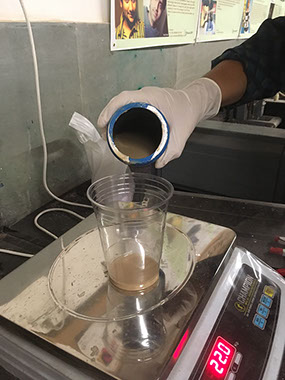
I started with adding Part A in the required quantity.
Next, I zeroed the weight of Part A and added Part B in the exact same quantity.
I stirred it well to form a uniform mixture.

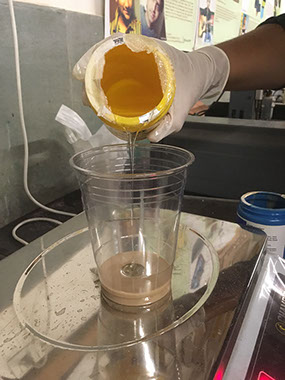
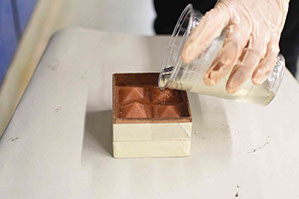
Next, I poured it such that each tile remains unconnected.
After leaving it for a setting time of 16 hours, the rubber tiles were ready.
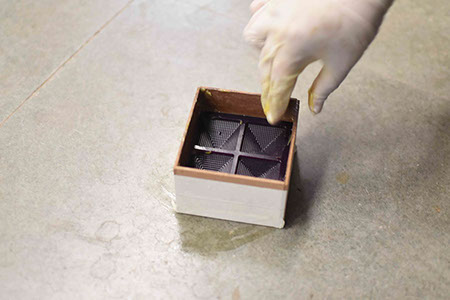
For, a 4 tile mold, I cut 4 planes of MDF and created walls around my wax mold. I greased it to prevent MDF from absorbing the compound.
Next, I prepared another batch of the rubber (different colour) compound and poured it such that it covered 4 tile area.
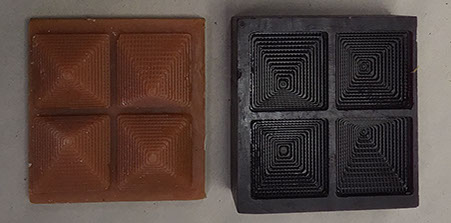
The rubber mold easily came out after curing.
Step:04
Preparing Plastic cast
Plastic Casting:
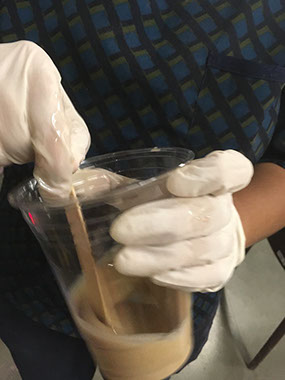
To cast plastic I used Smooth Cast 300 Liquid plastic. According to its data sheet, I mixed them in the ratio 100 Part A: 90 Part B.
It is very important to maintain this ratio, as if the harderner quantity is high, the curing process will start while stirring the mixture itself.
Also, it is necessary to wear gloves while executing this process because of the exothermic reaction caused while mixing both components.

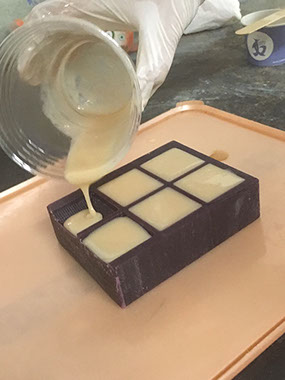
I greased the rubber mold with anti absorbent mixture to avid the plastic mixture getting absorbed in the mold.
The curing time for this mixture is about 15 mins. But solidification happens real fast. The below video shows real-time solidification process of the mixture.
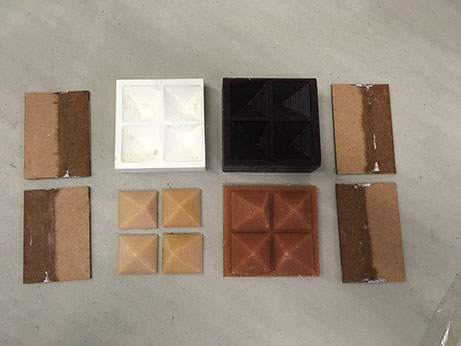
After curing, the plastic cast came out easily. The below images show all the molds and cast together.
Step:01
Milling the FabISP
To start milling the FabISP , I first understood the method of working using Ubuntu (basics).So I documented each step of opening a file and creating .rml file for milling.

EX-TERRA-DUR by Chandni Chhabra is licensed under a Creative Commons Attribution-ShareAlike 4.0 International License.