[COMPI]ANGLE
The objective of this assignment is to read the material safety data sheet (MSDS) and design and fabricate a 3D mould and produce a fiber composite part in it. Demonstrate workflows used in mould design and construction. Select and apply suitable materials and processes to create a composite part.
Requirments:
// Shown how you made your mould and created the composite.// Described problems and how you fixed them.
// Included your design files and ‘hero shot’ photos of the mould and the final part.
// Read and linked to the material safety data sheet (MSDS) and technical data sheet (TDS) for the resins that you’re using.
Experience
Composite means: materials made from two or more constituent materials with significantly different physical or chemical properties, that when combined, produce a material with characteristics different from the individual components.
The three ingredients necessary for cure are heat, pressure, and vacuum. All three are mandatory for prepreg layups; only heat is required for wet layups, but pressure and vacuum always result in a better laminate.
I probably worked on this assignment more than any other assinment in the whole fab academy program. It started with 2 days milling (on the weekend) my parametric wooden mold 1250 x 800 mm and decided to use carbon fibers and gute fiber for my final production. Our vacuum machine was down and managed to make my own vacuum with a great help from Santi. The whole process was really tiring and hectic with that scale, and to try to manage all the parameters, the drying time of the epoxy, applying it to the fibers, the right amount of applied material, and so on.
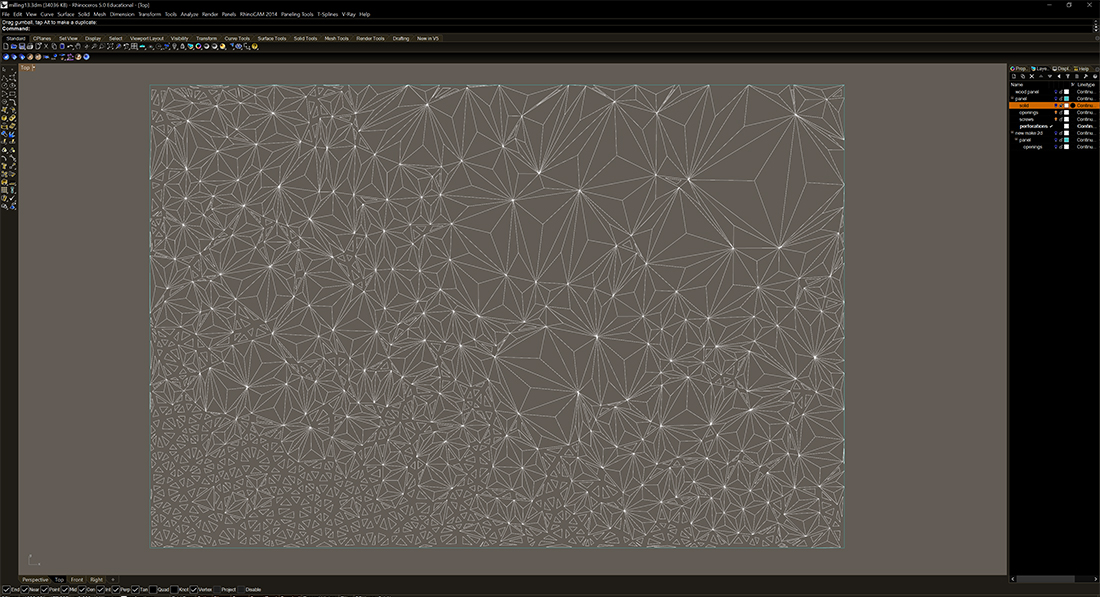
I have explained they steps of milling in week 7 but this week has a 3 axis mould milling which has a different way of setting up the strategies.
I have set up three different strategies a part from the screws strategy.
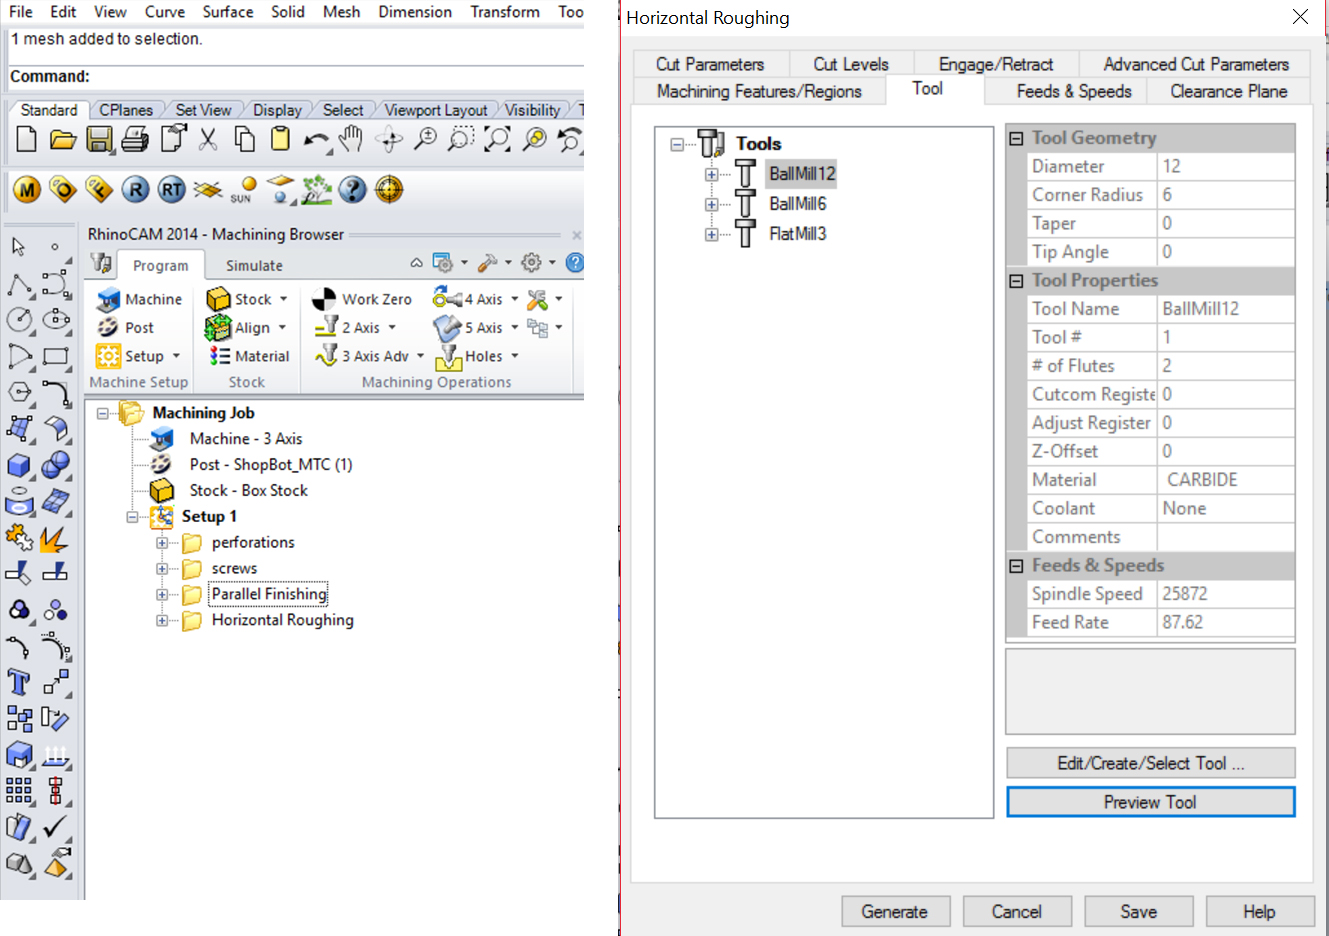
// Started with Horizontal Roughing to remove as much material as it could be using 12mm ball milling bit. *you can also start with horizontol finishing depends on your piece and how much details you want to have*
// Parallel finishing using 6mm ball milling bit.
// Profiling usinf 3mm flat milling bit for the peroforations/ openings.
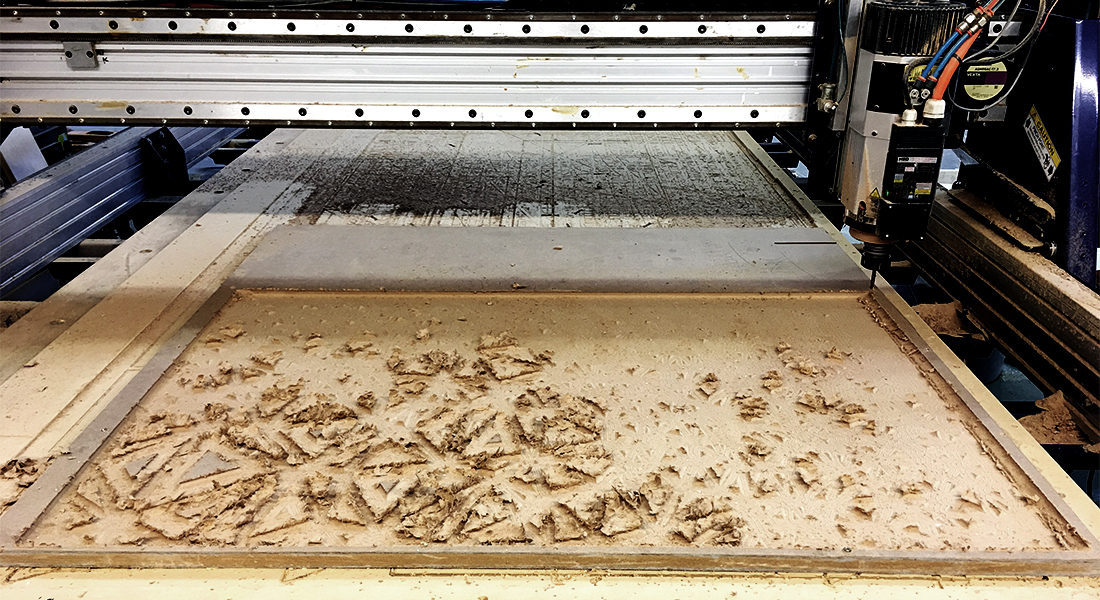 Roughing strategy using 12 mm milling bit
 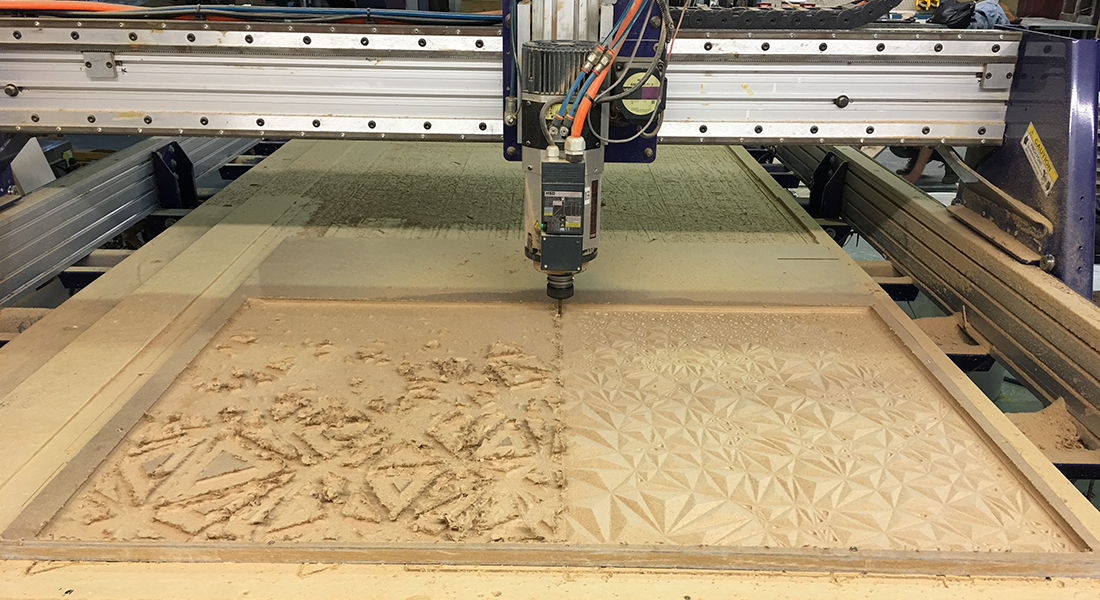 Finishing strategy using 6 mm milling bit
 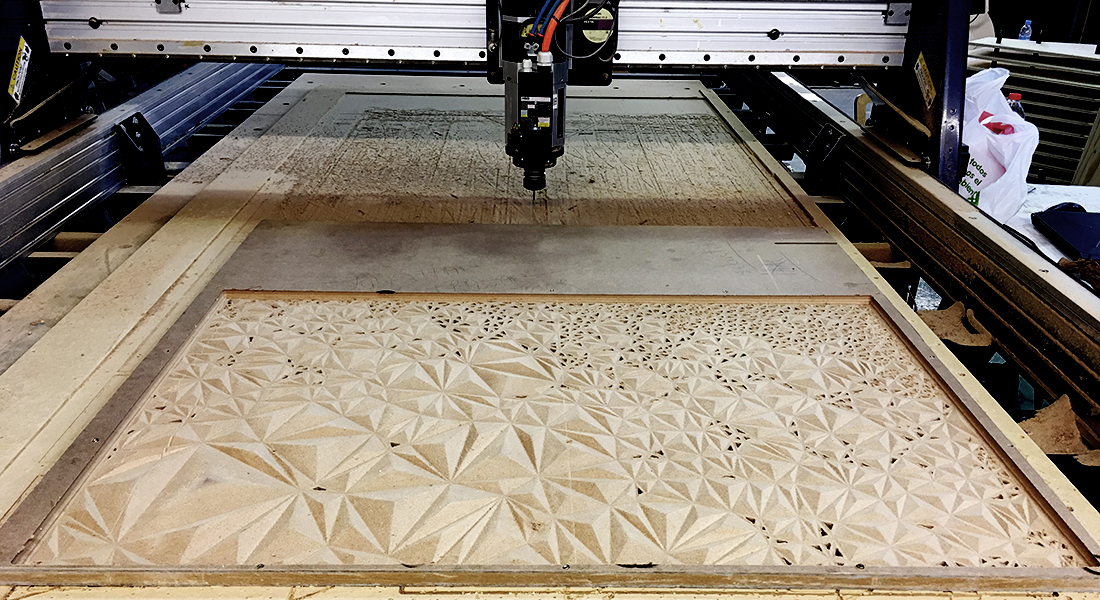 Detailing strategy (openings) using 3mm milling bit
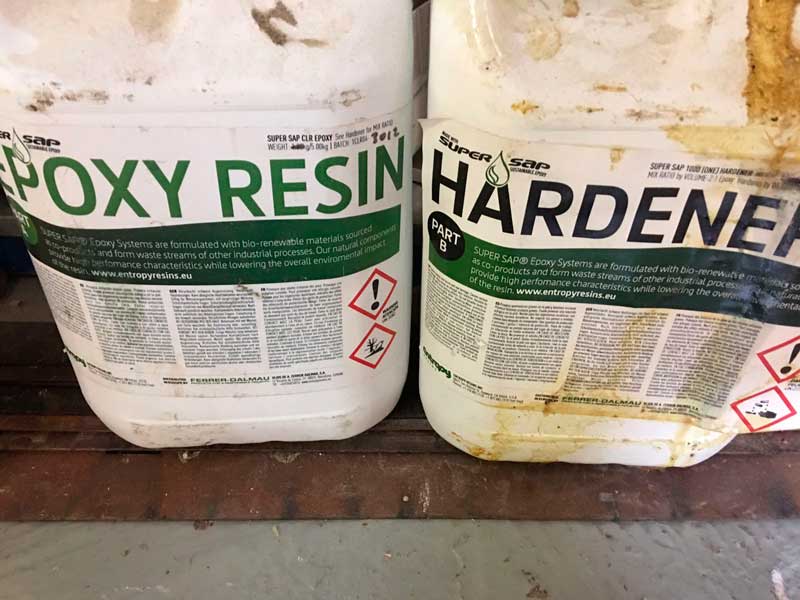
Mix ration (by volume) is 2:1 // When mixing epoxy mix, stir gently to prevent forming of bubbles-make sure to mix well.
// takes around 7 days for a full cure but you can leave it for a day or two, it also depends how much you are mixing. I left it for 24 hours. NOTE:
HERE is an MSDS and general rules you have to consider of epoxi and resin usage

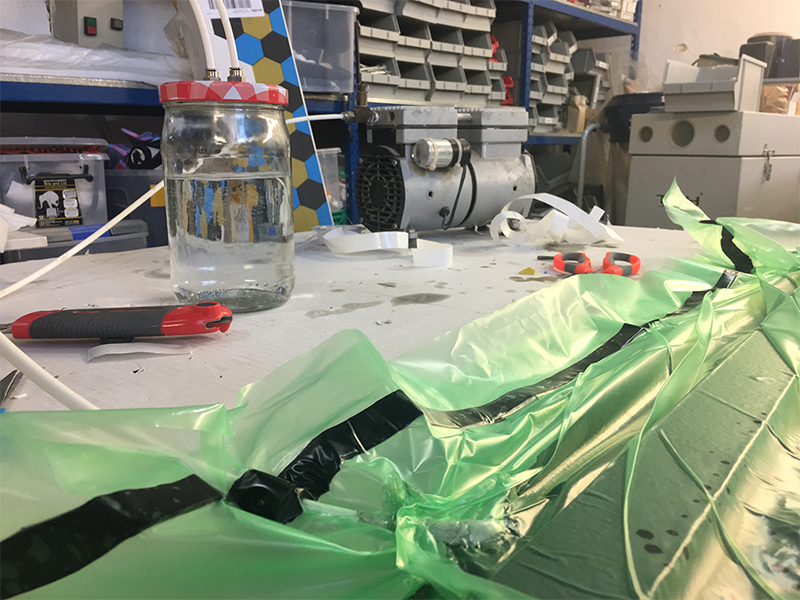
Setting up the vacuume with the composites
// We have bought a special bag for the vacuum *the blue one*
// Then start layering the compoistes with plastic sheet to protect the model
// Put the material you want to epoxi which is the threads and the fibers in my case.
// Then a porous layer of plastic
// A piece of fabric to absorb the resin
// Final plastic layer to protect the machine
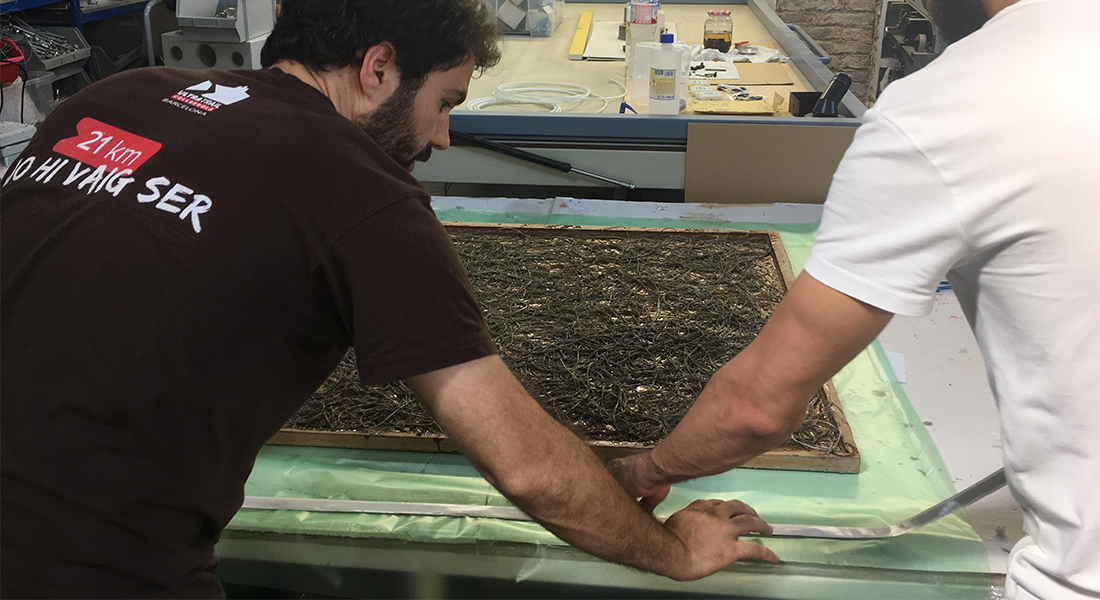
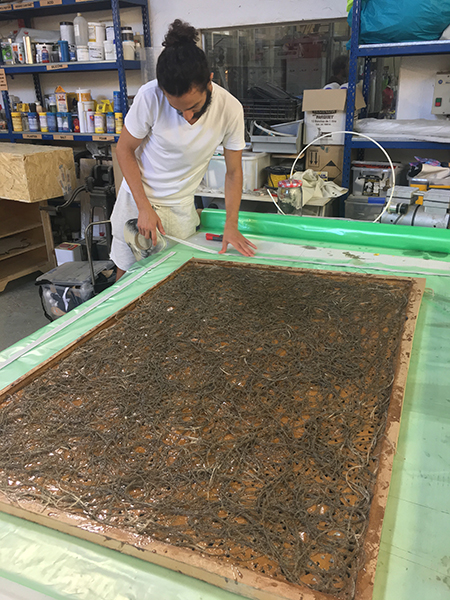
 apply the epoxy
 I wanted to use carbon fiber as a first layer to solidify and take the shape of the milled board. Could not find the needed material for the fist layer so i used strong hemp fibers and laied them in three stages 3 hours in between each stage. Each stage contents fibers and the resin mix.
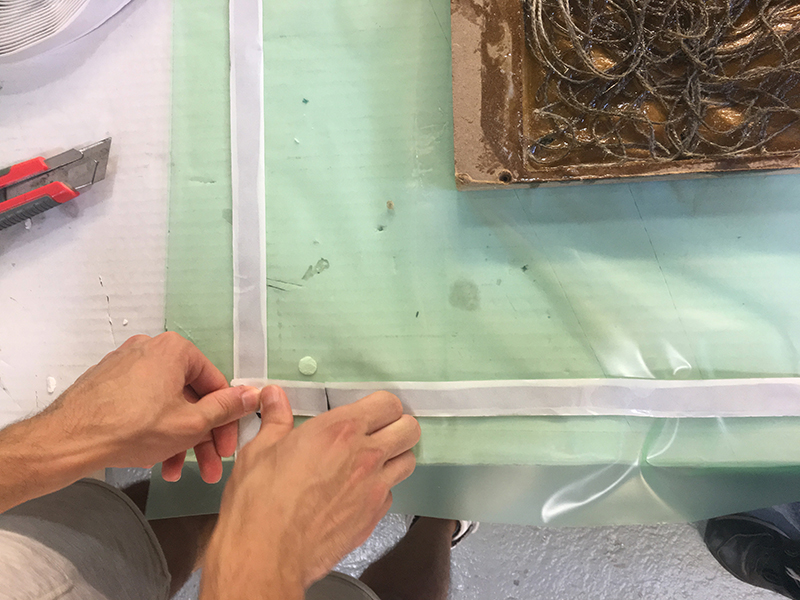 sealing tape
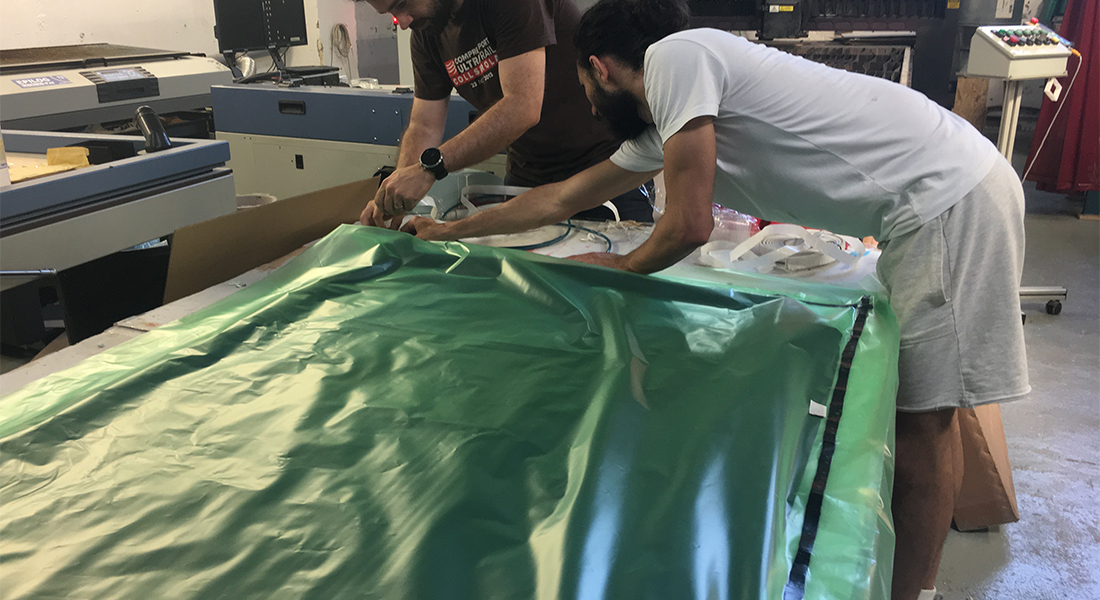
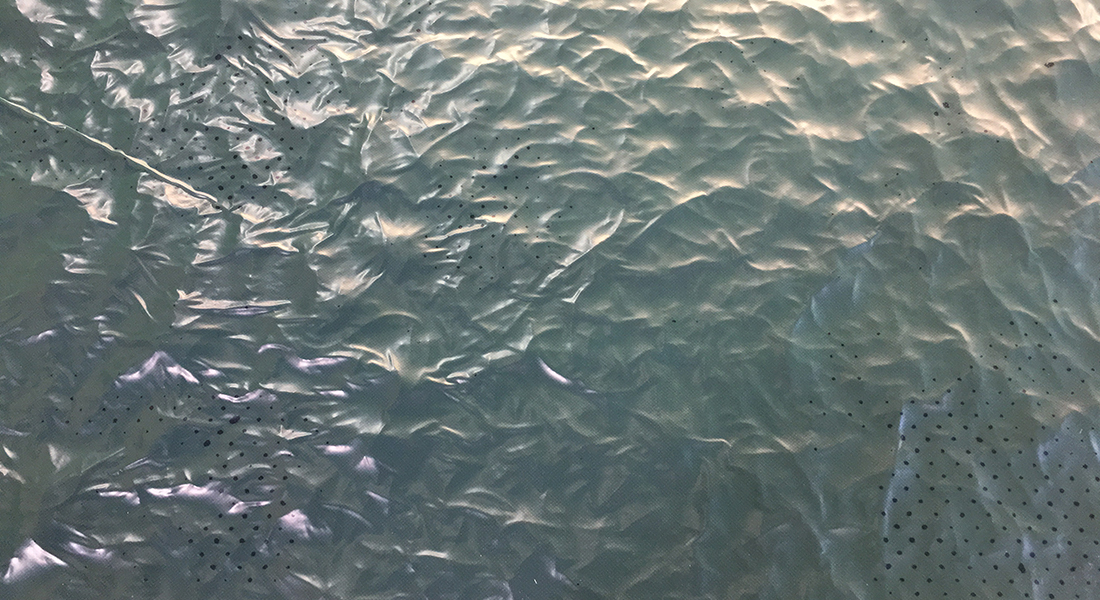
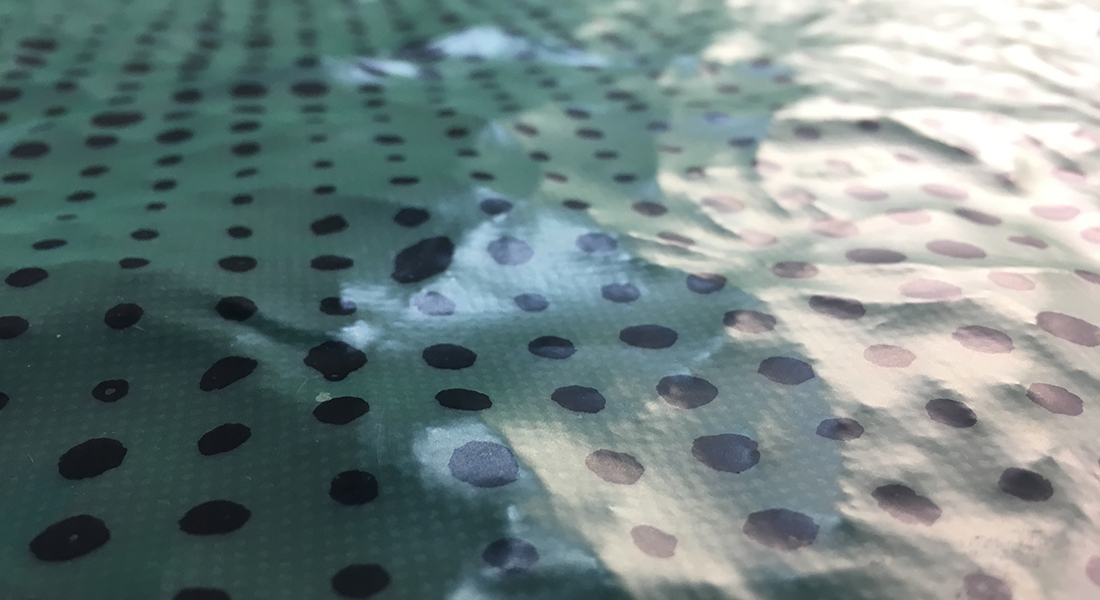
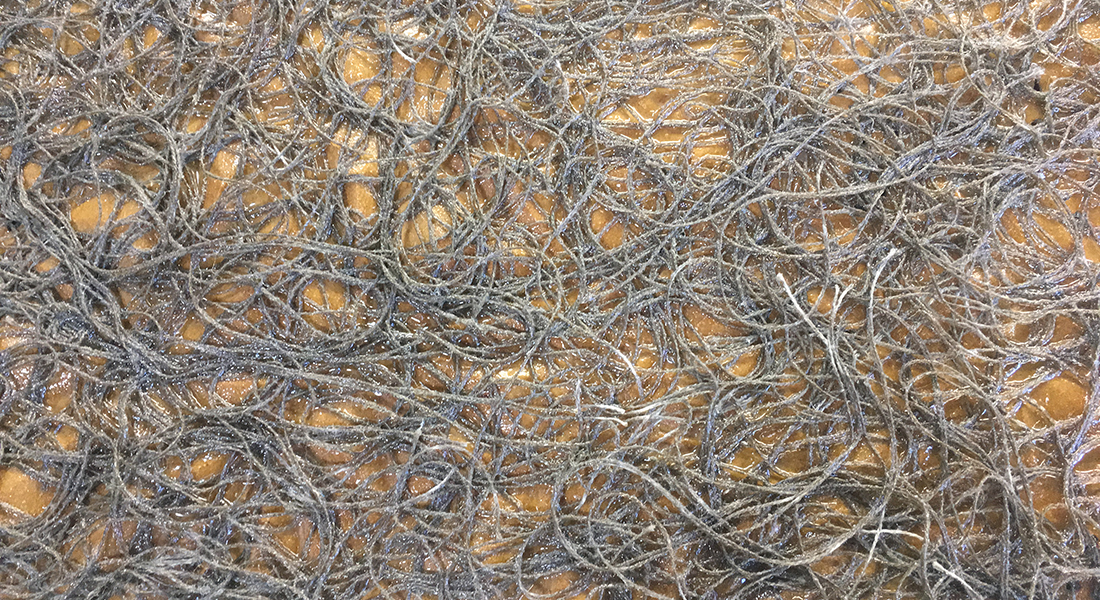
 after removing from the vacuum machine
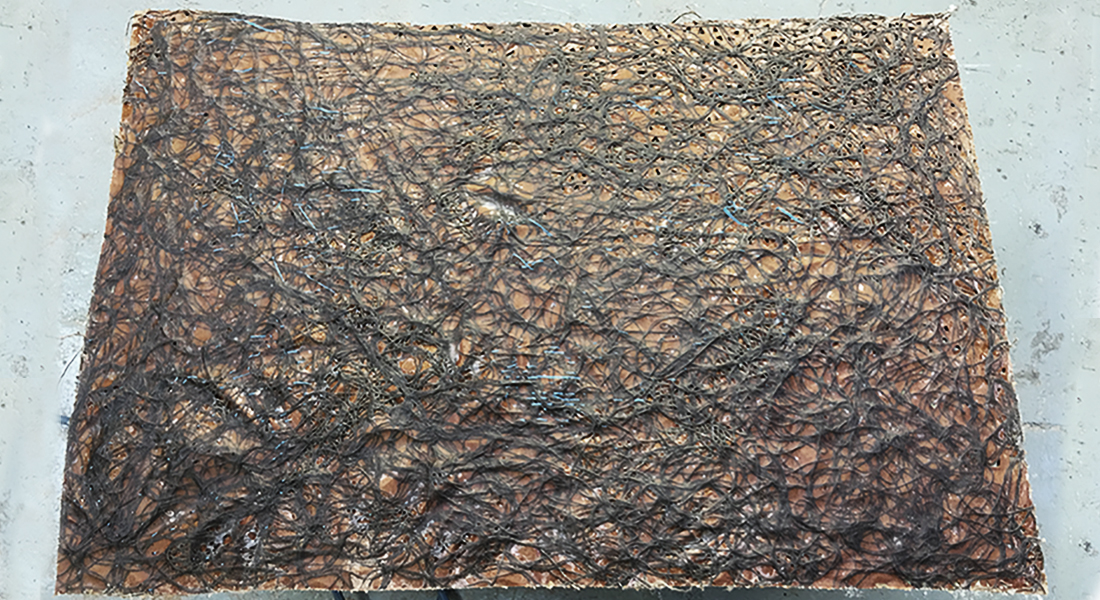
 removing the fibers from the wooden mold
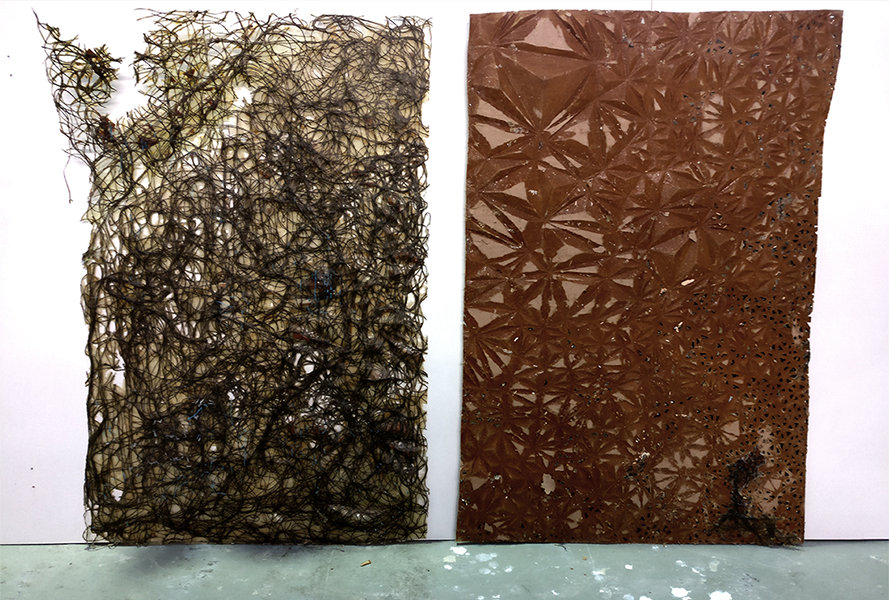
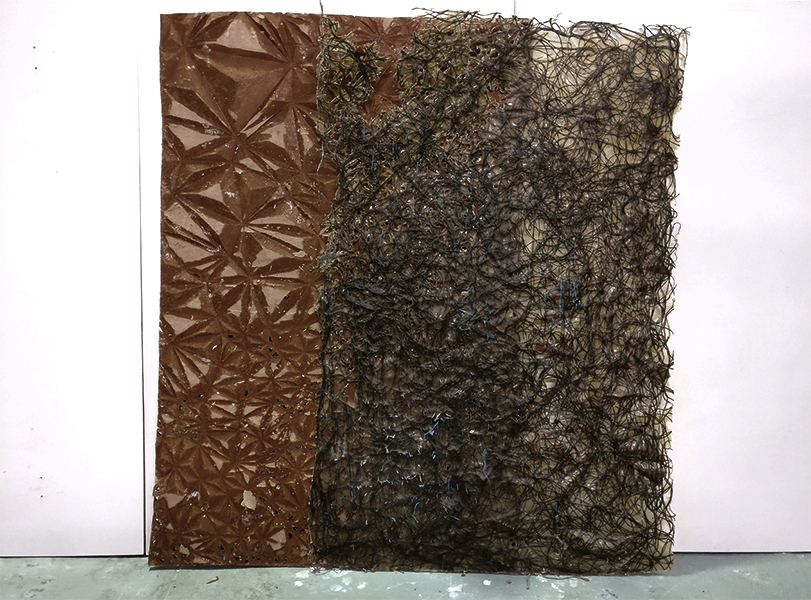
 Final result