Balancing-shelf
The objective of this assignment to build something BIG and document the process of design and production to demonstrate correct workflows and identify areas for improvement if needed.
Requirments:
// Explained how you made your files for machining (2D).
// Shown how you made something BIG (setting up the machine, using fixings, testing joints, adjusting feeds and speeds, depth of cut etc)
// Described problems and how you fixed them
// Included your design files and ‘hero shot’ photos of final object
Released: 08.03.2017
Week07: computer-controlled machining
References:
Experience
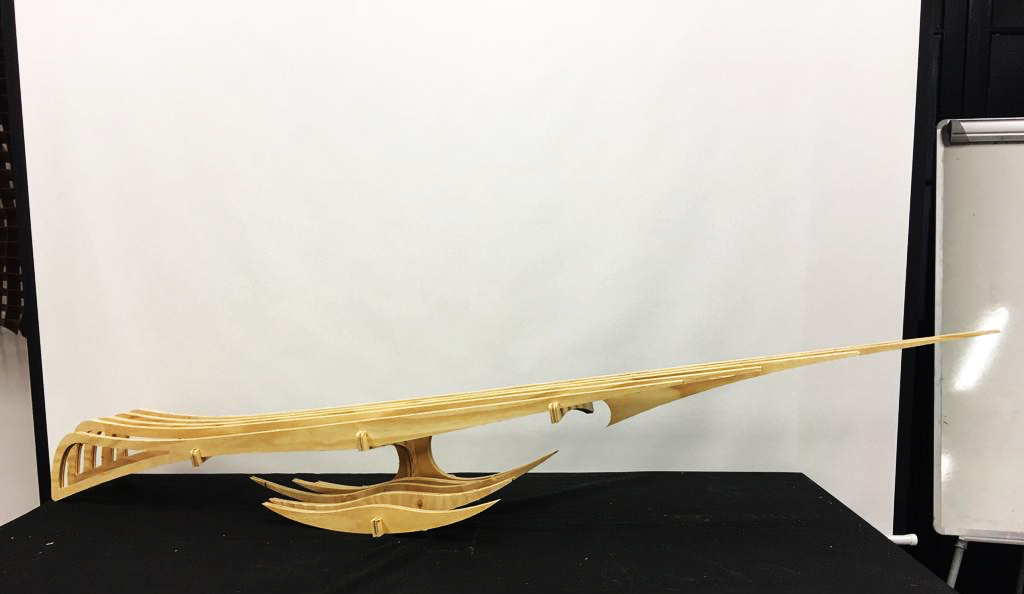
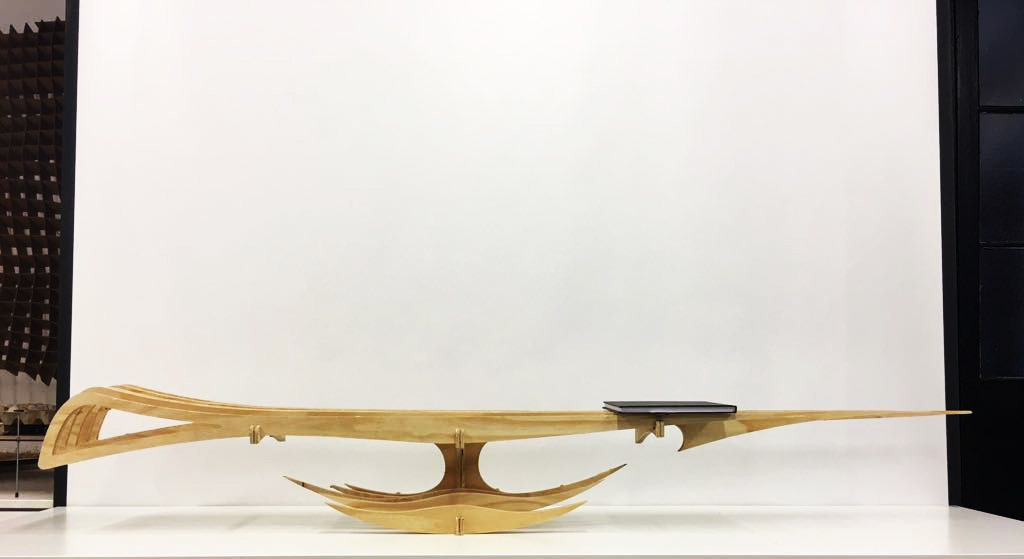
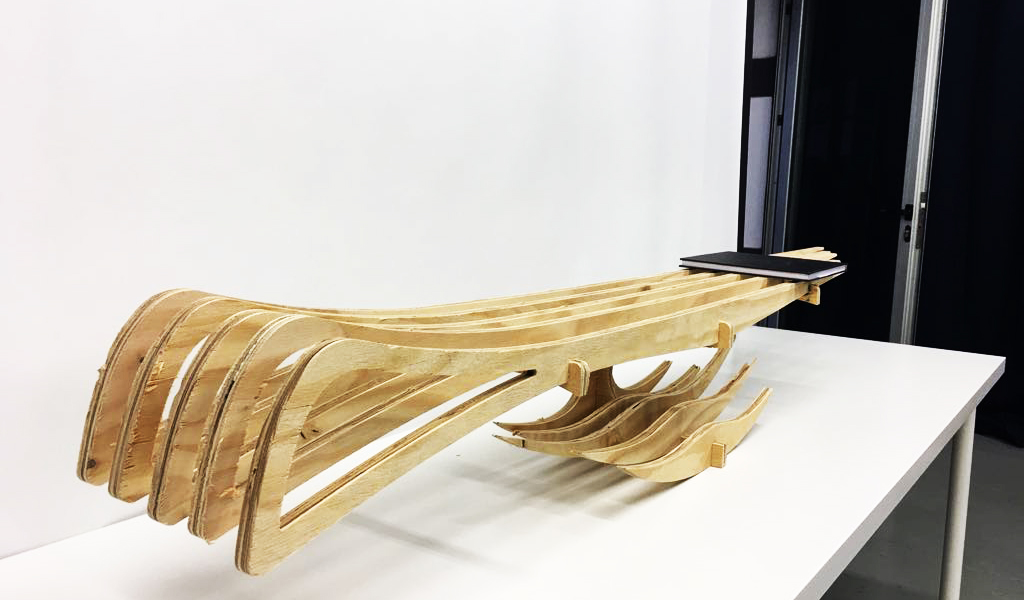
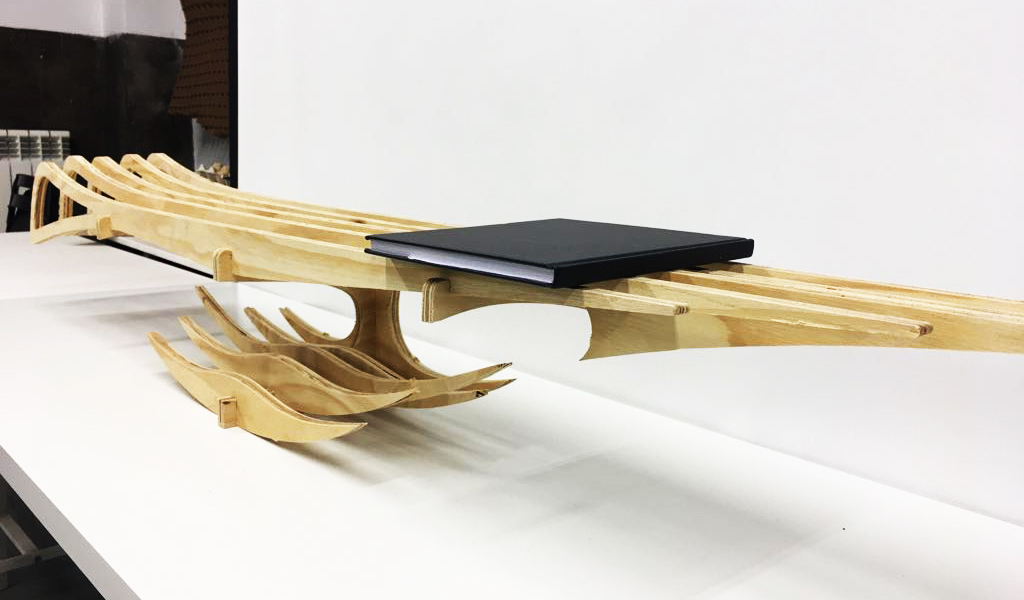
I Love streamLined furniture, And i decided to do a sexy shelf for the fabAcademy room.
I used Rhino3d as a design tool, and rhinoCam for generating the G-code to mill Shelfie. I have milled twice because of a cutting parameter mistake which is cutting outside/inside the curve. so i have cut inside the curve and that reduced the overall thickness of the piece by 6-7mm "Flat-head milling bit", where i intended to make another cut with more precise settings *THAT IS HOW YOU LEARN*.
I have used 2D-axis profiling as a strategy, often performed using high-speed machining techniques, is sometimes required, is included in semi-finishing and finishing operations. For best accuracy and productivity it is recommended to perform roughing and finishing in separate machines, and to use dedicated cutting tools for each operation.
Take it easy...
// Define BIG .. Design BIG!
// Make 2D for the pieces to MILL
// Open RhinoCam
// Define Your box stock, which is the material dimensions you are milling
// Setup a strategy
// Select Regions/ Objects
// Set the tool
// Set the speed
// Cut parameters | Cut depth, tolerance,etc..
// Advanced cut parameters | Bridges *recommended*
******************** MILL IT **********************
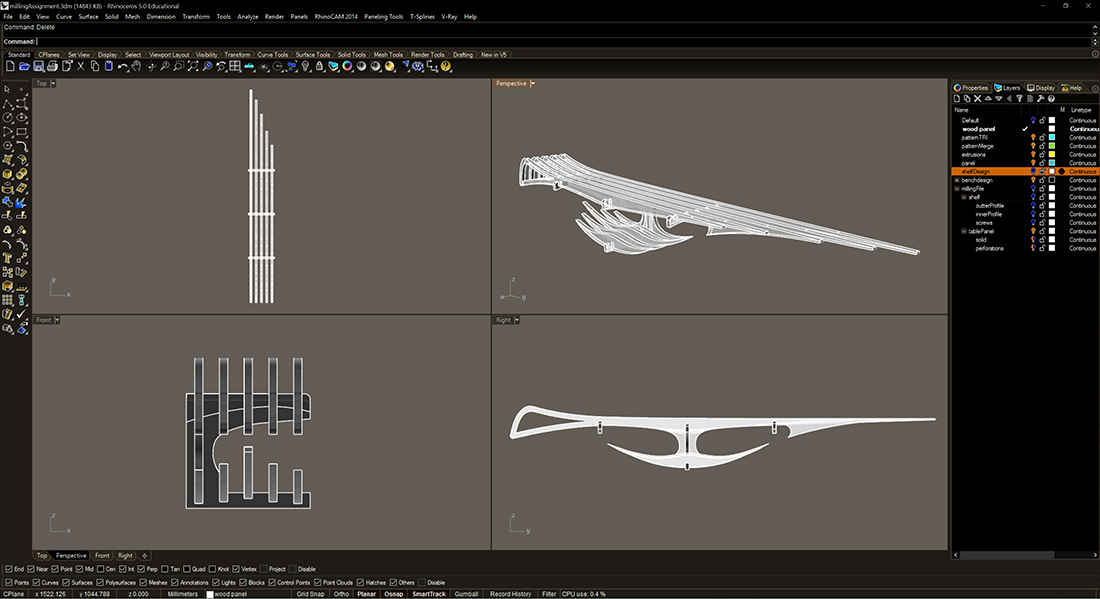 Shelf Design
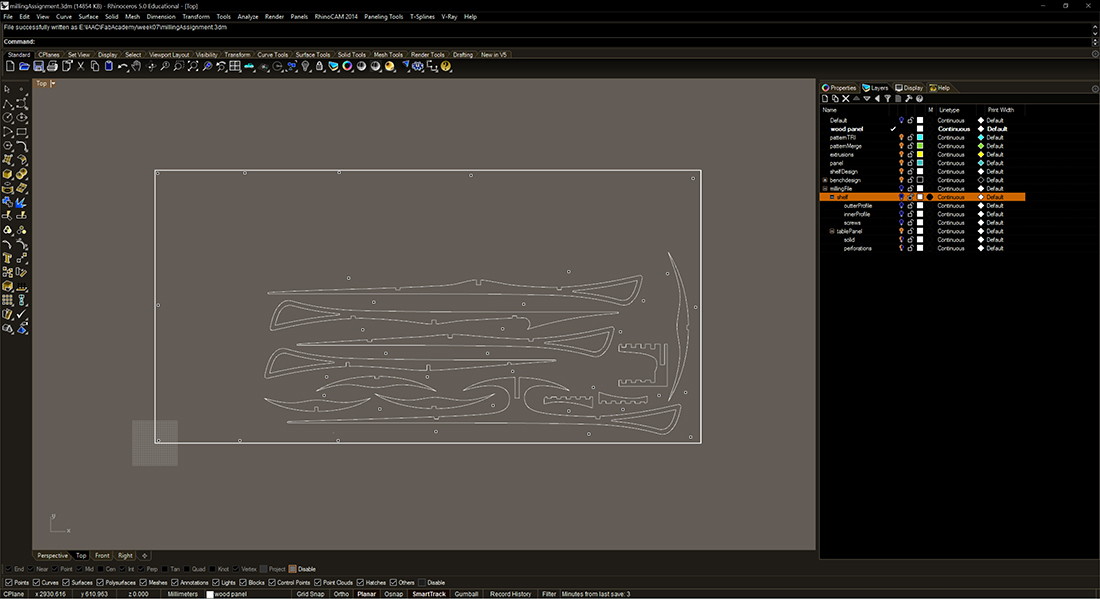
Make 2D and nested all the pieces in saperate layers in order to have a clean file for the RhinoCam path and the CNC machine.
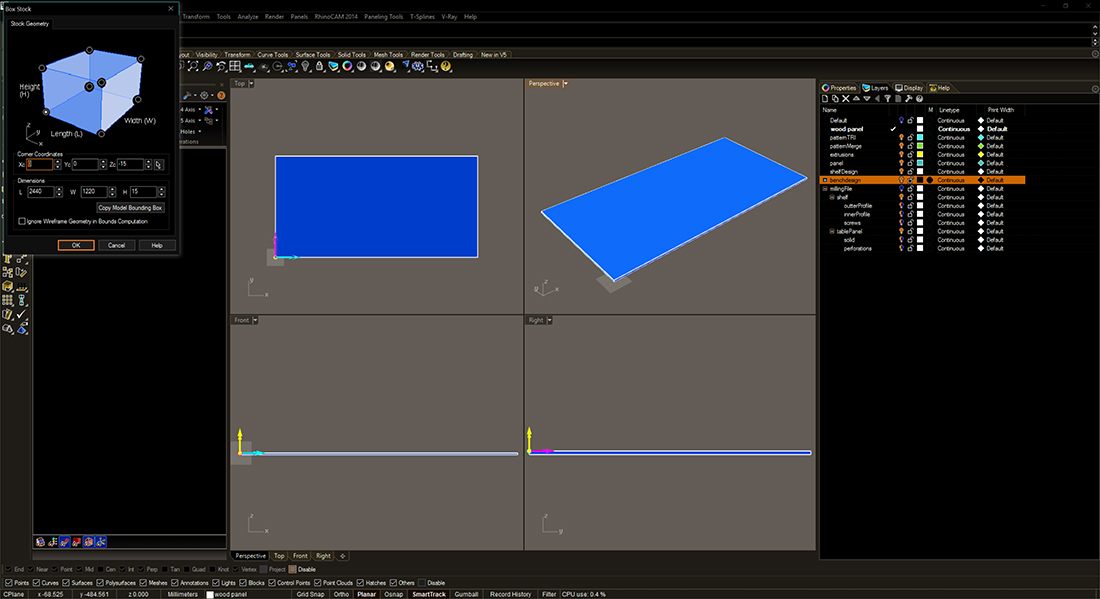 Define a box stock
 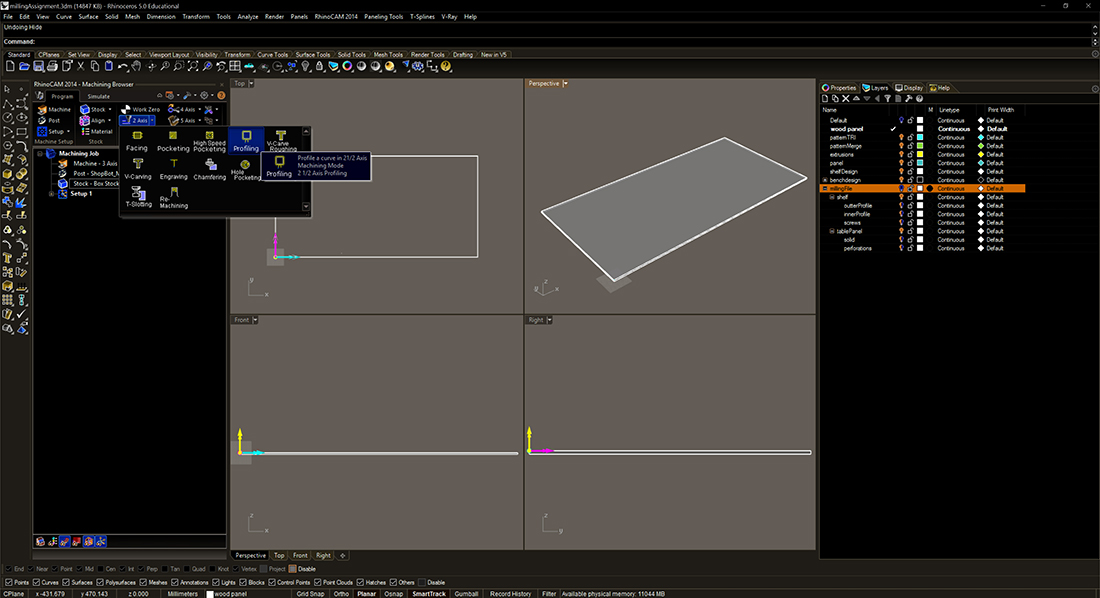 Setup a strategy 'Pocketing'
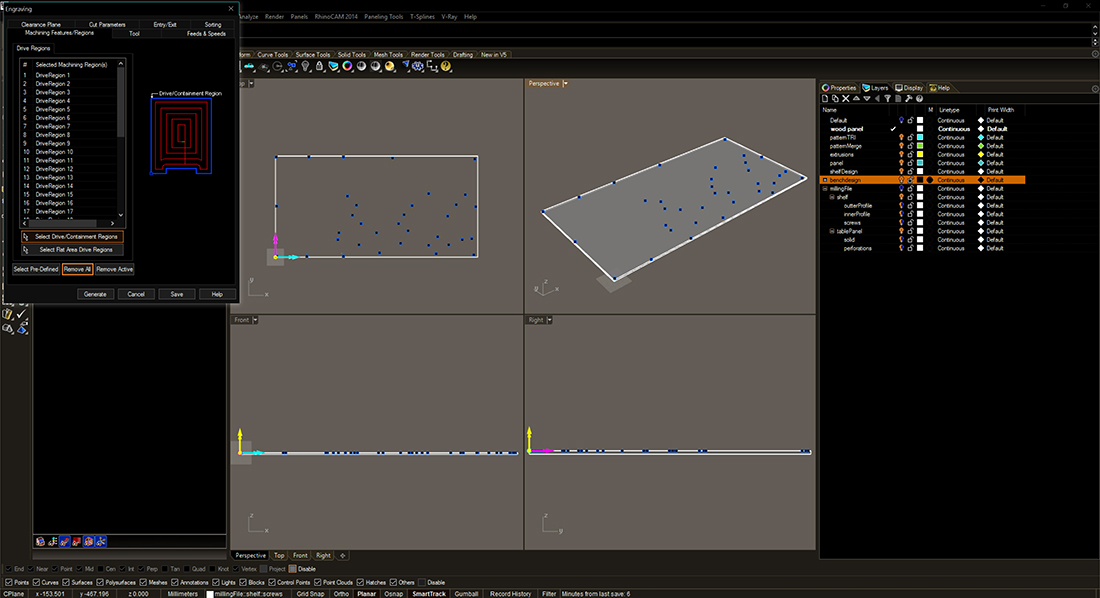 Define Objects
 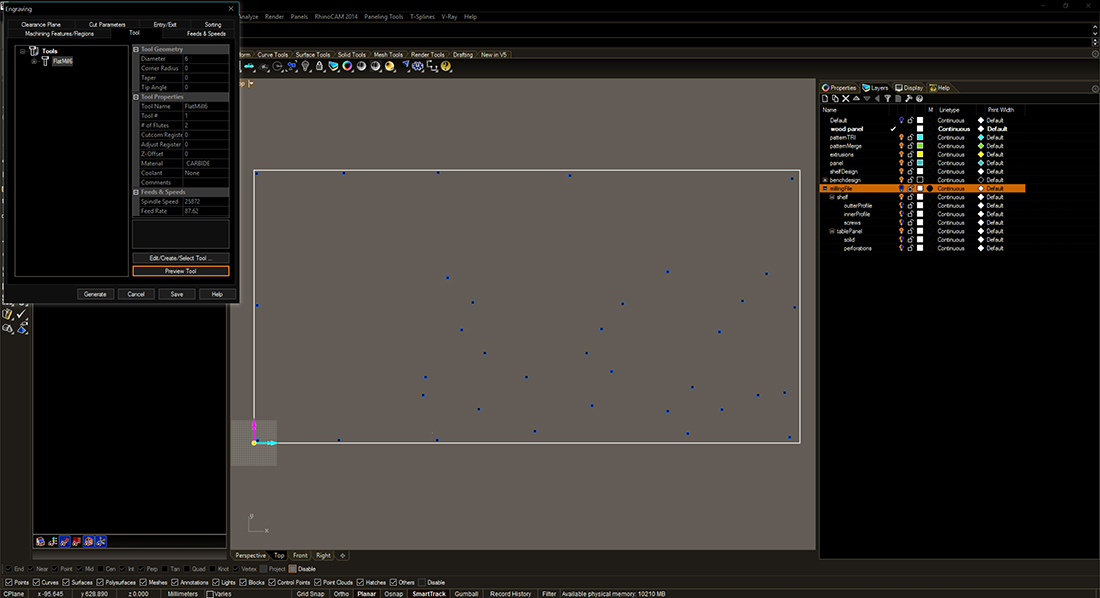 Set the milling tool and i have used flat 6mm milling bit
  Set the milling tool speed
 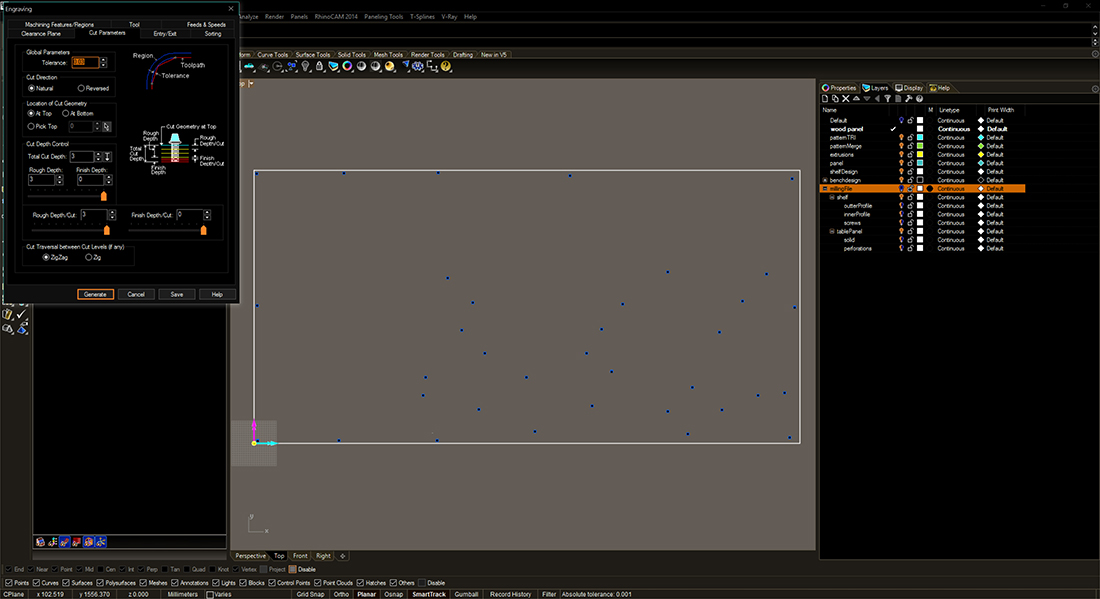 Set cut parameters and tolerance of 0.1
 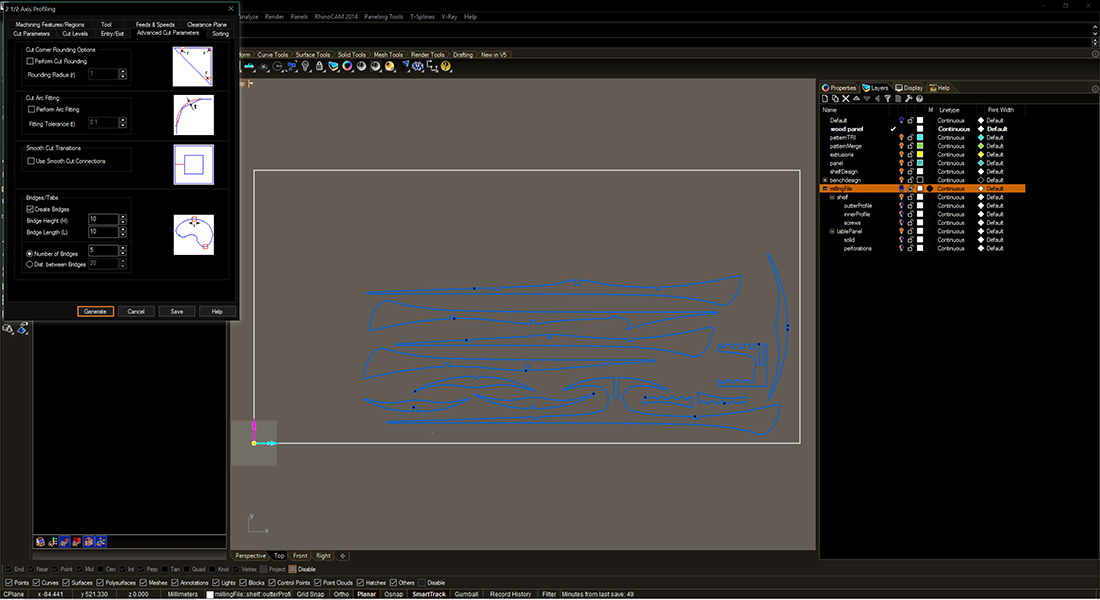 Add bridges
  Simulation and Ready to post
  POST.sbp
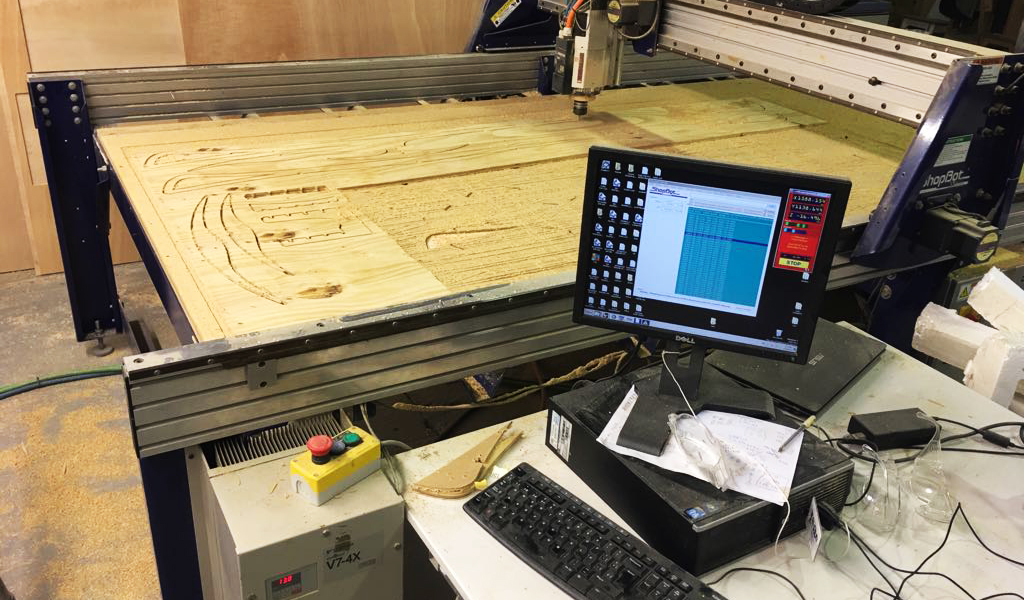
I have used shopbot and 15 mm OSB wood for my design
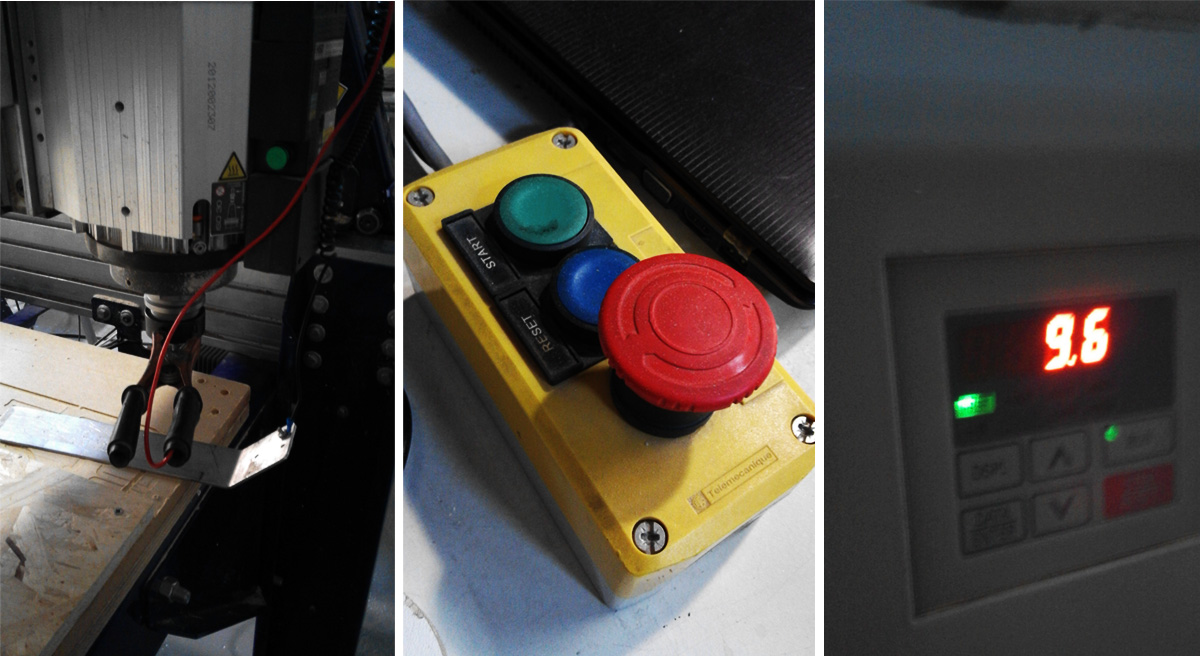
Machine set up
// Open shopbot interface
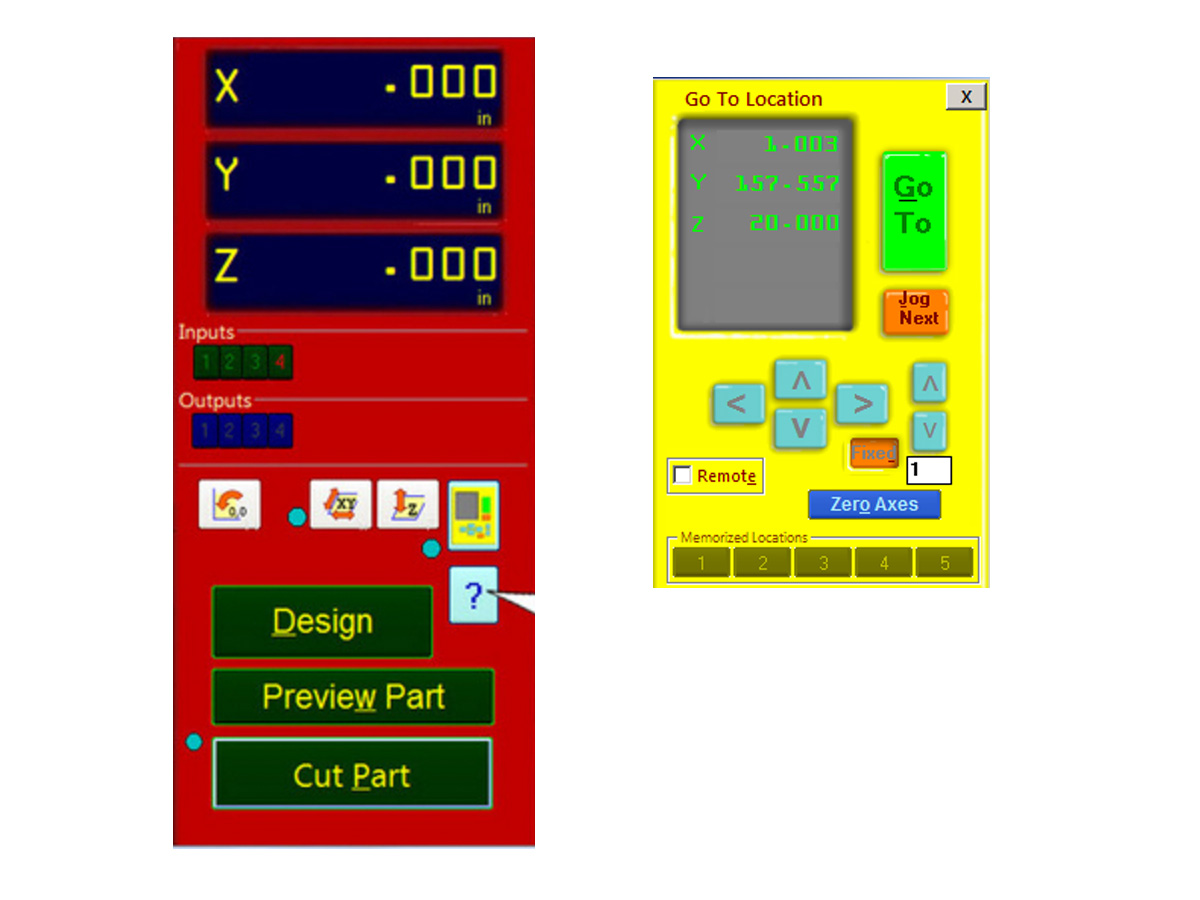
// Press "k" to open the keypad movement; moving keyboard key you can move x,y(x is the larger side); page up and page down for z movement. The '0,0 button' will send the machine to its generic home position
// Change the bit using router tools and button.
// Place the material leaving a bit of space on the side to 0 axis.
// Place the sensor to bottom of bed if using bed as stock zero point(make sure you understand x and y in rhino3d).
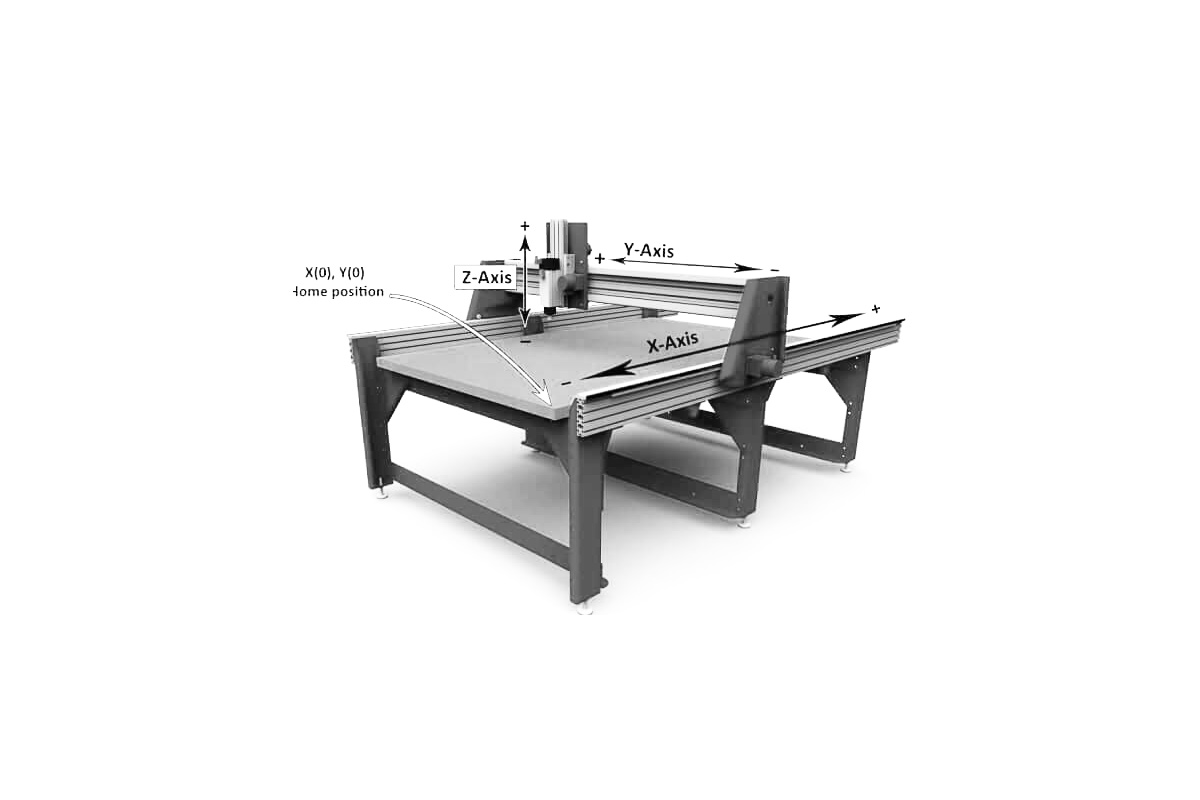
// Move to 0 point and enter zero for all axis as new home.
// load profile to make holes or in the case of say foam clamp down before step 6
// Press green start button (not use red button only incase of emergency otherwise pause from interface) You can chage the revs from the machine should you need to go faster or slower.