Laser cutting Hexa-bot
The objective of this assignment is to cut something on the vinylcutter, and to design, make, and document a parametric press-fit construction kit,accounting for the lasercutter kerf, which can be assembled in multiple ways
Requirments:
Laser cutting
// Demonstrate and describe parametric 2D modelling processes..
// Identify and explain processes involved in using the laser cutter.
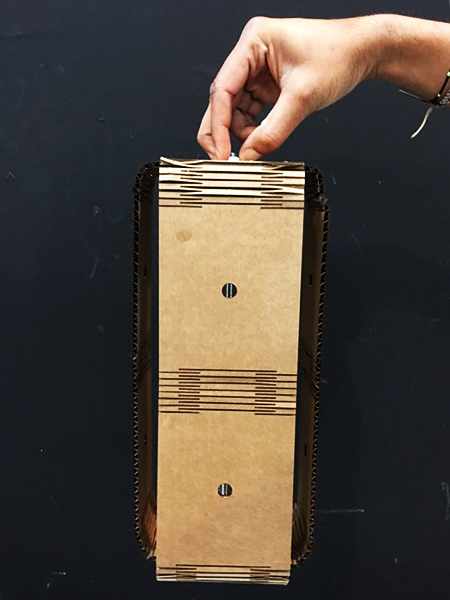
// Develop, evaluate and construct the final prototype.
Vinyl Cutting
// Identify and explain processes involved in using this machine.
// Design and create the final object.
Released: 08.02.2017
Week03: Computer-controlled cutting
References:
LASER-CUTTING
Laser cutting is a technology that uses a laser beam to cut materials, and is typically used for manufacturing applications. It can cut cardboard, wood, acrylic, some types of plastic, and metal. The focused laser beam is directed at the material, which then either melts, burns, vaporises , or is blown away, leaving an edge with a slightly burnt surface finish.
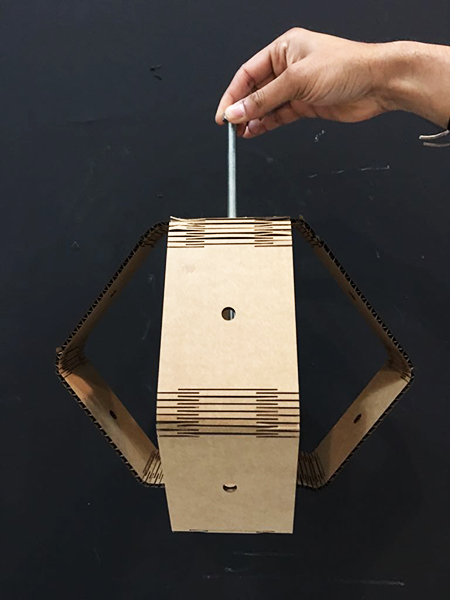
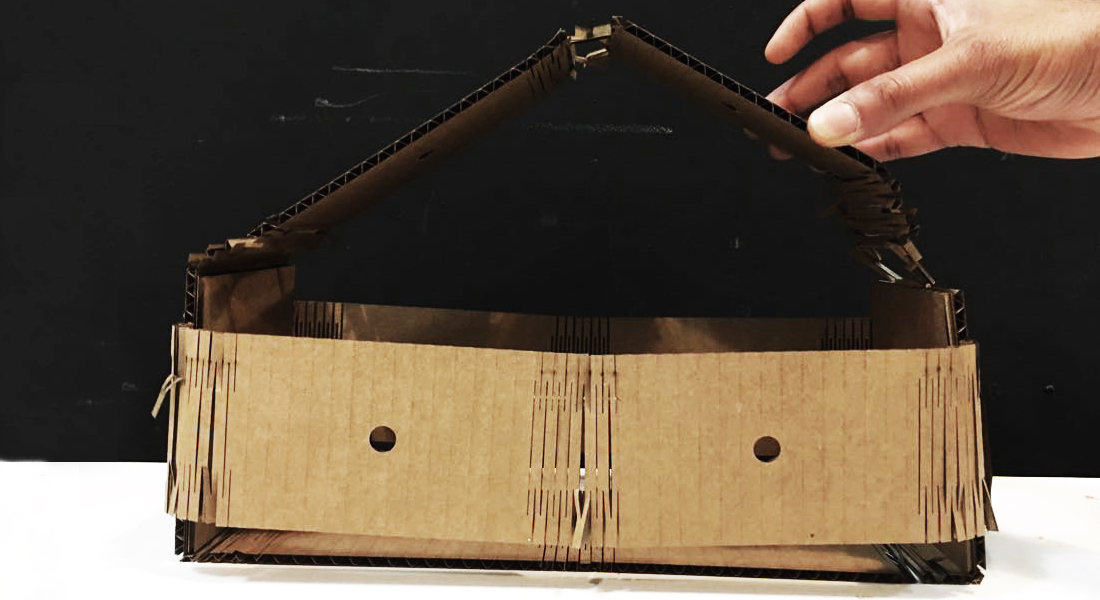
I have decided to make a try-cut of my potential final projects by cutting different techniques of cross fitting and folding by engraving and full cutting.
I have used 3mm card board for the prototype to cut and it was very efficient and convenient for a trial.

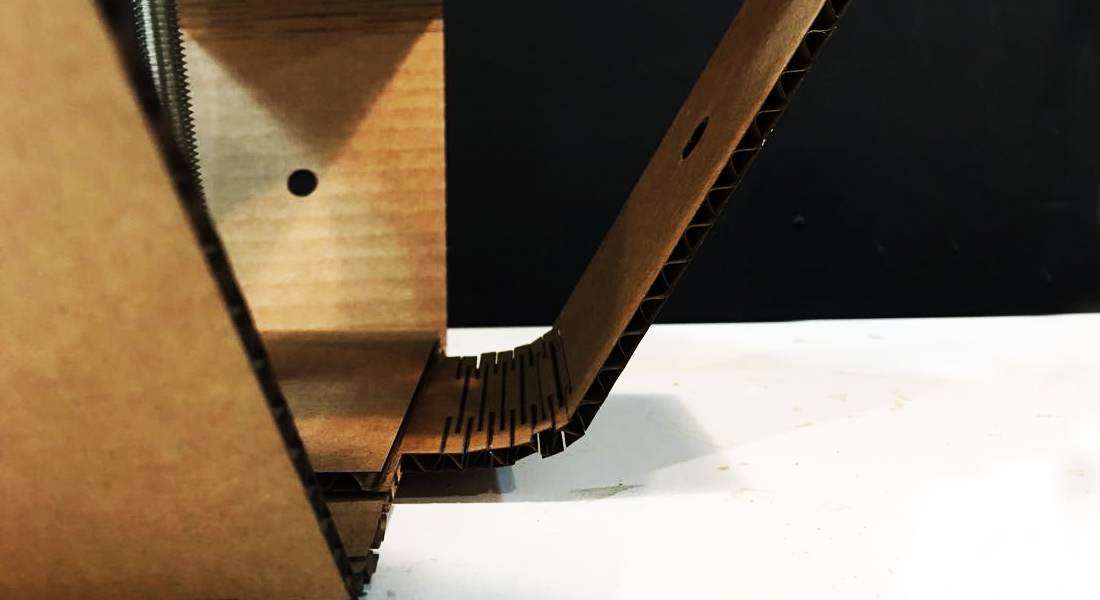
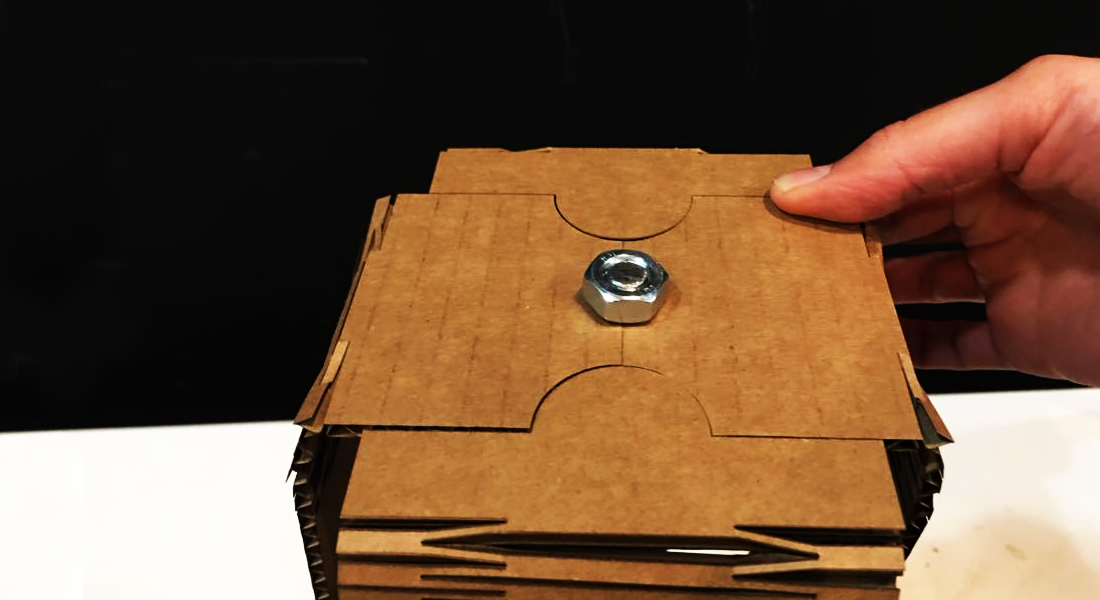
This was a group assignment test on 3mm cardboard because this is the material we are using for this assignment. We had to try different tolerances to experiment these slots joints.
In this test we have realised that 0.05 is not a big tolerance different therefor we changed it to 0.1 to get more interesting results. But we came up with a conclusion that with this material and the machine we have you do not need a cut tolerance for a tight fit joint.

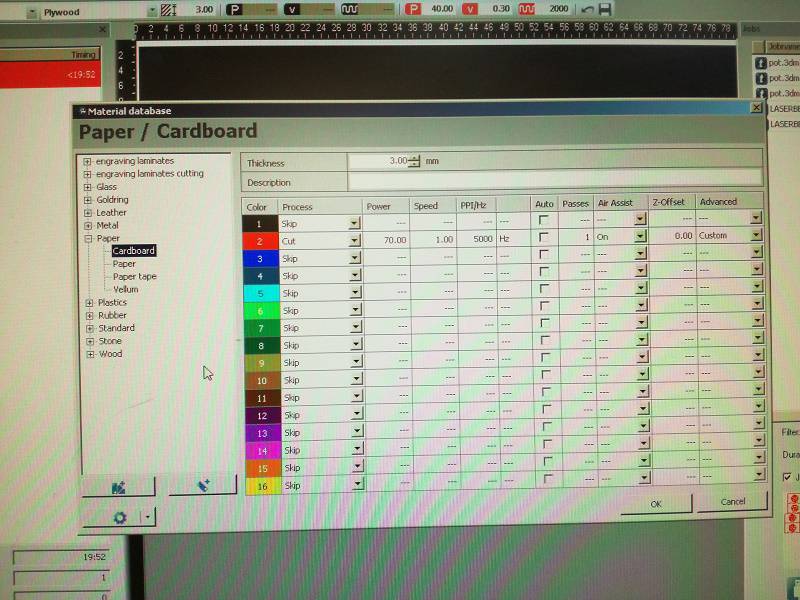
THIS is the machine i have used for this assignment and HERE is Brcelona FABLAB laser parameters doc.
To set u the machine:
Do all the safety and set up checks, have your material flat and appropriately fixed down or taped in position if needed, then proceed to set the home origin for the 'x','y' axis and then for 'z' alignmemt on the cutting bed.
Then make adjustments as required for the Power, Speed, Resolution, Frequency and Pressure settings. The initial guideline data for these settings can be found by referencing in HERE
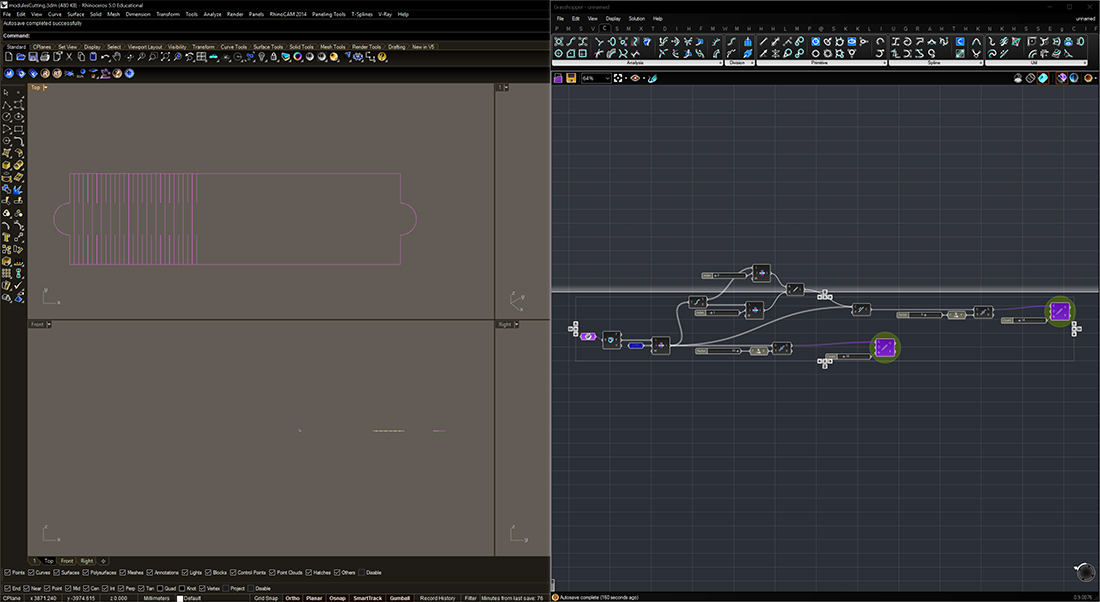 I have also used grasshopper to parametrise the slots distance and number.
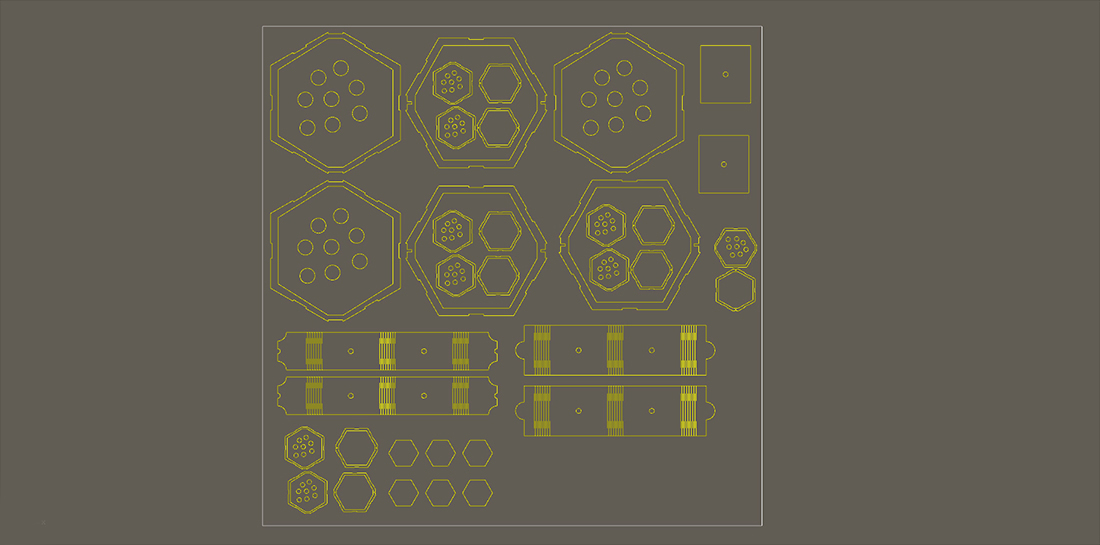
Even with having the feeds and speeds for the different machines, testing is necessary. This is due to many factors that may cause the laser to be working less than 100%. For instance if the bed isn't level the laser is not always optimally focused. The main reason I found was from a dirty mirror in the machine, this meant the laser was less powerful. This was often due to innapropriate materials or innapropriate settings for the .project which led to a lot of smoke being produced.
After doing a few test cuts I went with:
To cut:
speed - 15%
Power - 100%
To engrave:
speed - 90%
Power - 10%
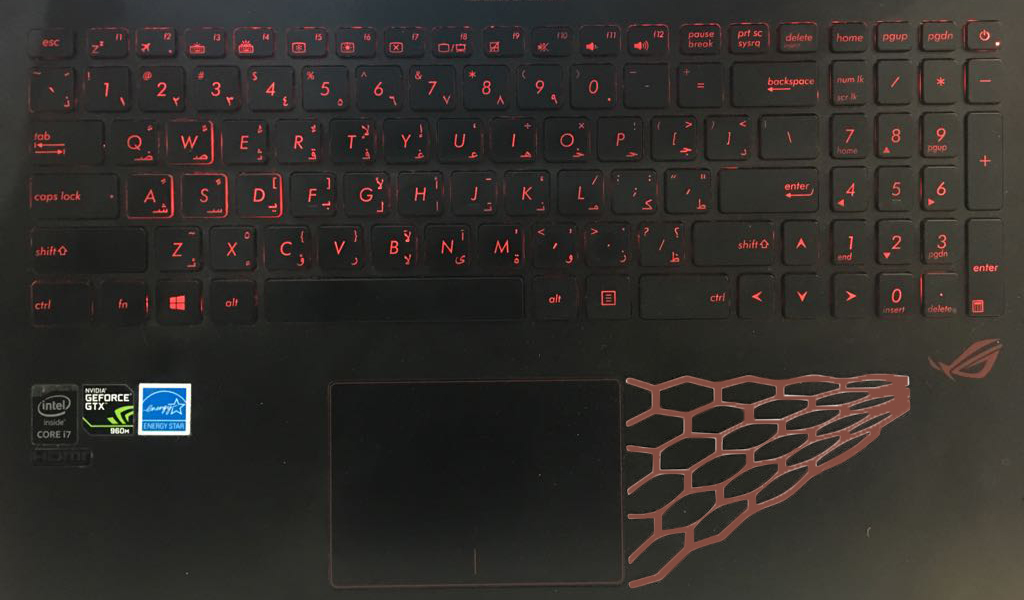
VINYL-CUTTING
We are using Roland Vinyl Cutter here in the lab, a desktop based machine, very convinient for production.
The software connected to the machine is Roland CutStudio I was facing a lot of issues exporting from rhino to a readable file for CutStudio, where it only reads: BMP, AI, JPG. I had to convert the image to vectors but i still had errors where it used to give me extra lines, and i solved it by breaking the geometry into individual polylines and delete the ones i dont know, i am sure there is a better and more efficient way to solve it, i will post a video explaining this trick.
// Import/open the picture in inkspace.
// Select the image and to the "Path" and then "trace bitmap"
// Now a window while be open, from there select the "Gray" at the bottom left of the window.
// Now ungroup the image and you while find many gray scale copies of your orignal image.
// Select the most appropriate open, or the one that you like.
// Now to make it complete black and white from gray shade just select the picture and change the colour to black, and your done.
// Now as we know we need line to cut in vinylcutter so we need to get the outline of the image, we can get it easily with trace bitmap and then stoke in inkspace. Now the file is ready to go for cutting.
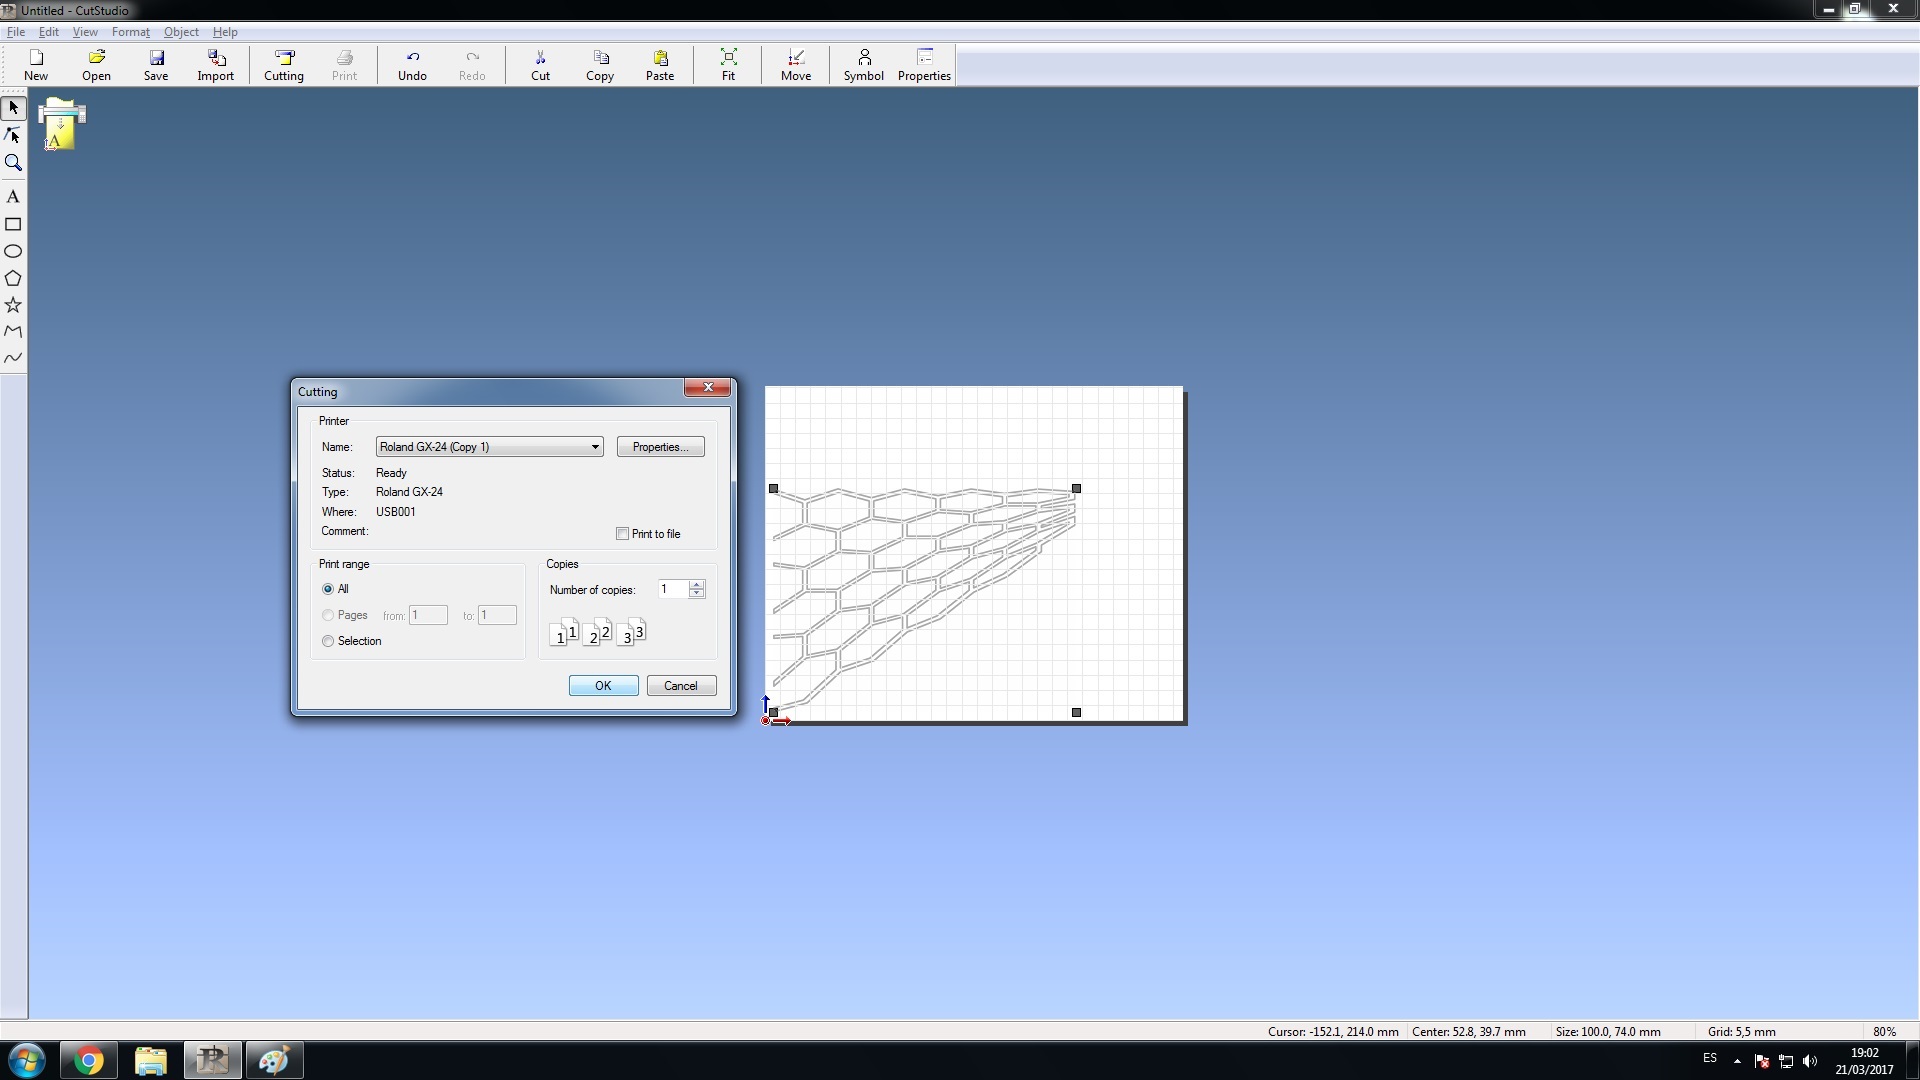
// Now open the cutstudio software of vinylcutter and import your file.
// Insert the material in the vinylcutter and you will see the dimensions of the material on the small screen of vinylcutter.
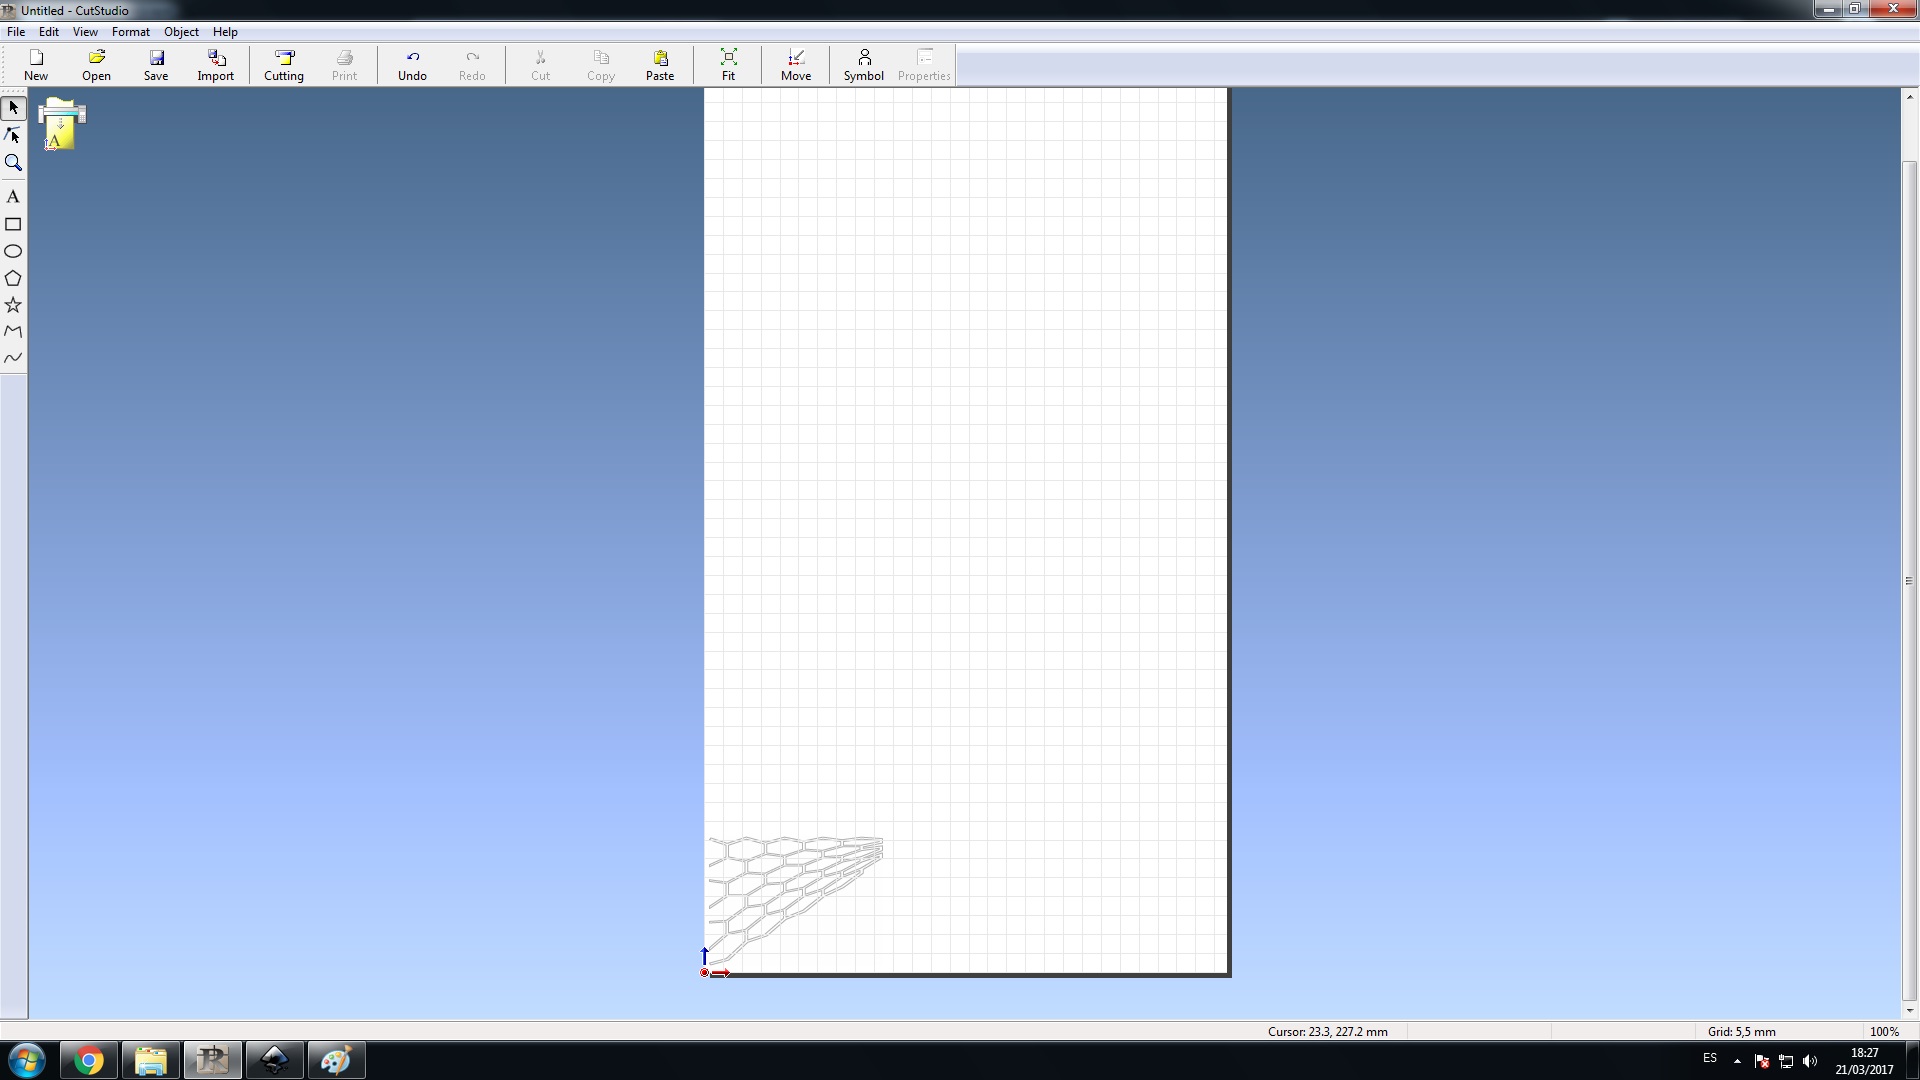
// Now from software (cutstudio) set the size of "material from File --> cutting setup --> properties --> size --> get from machine" these steps are shown in the gif image below.
// SEND!
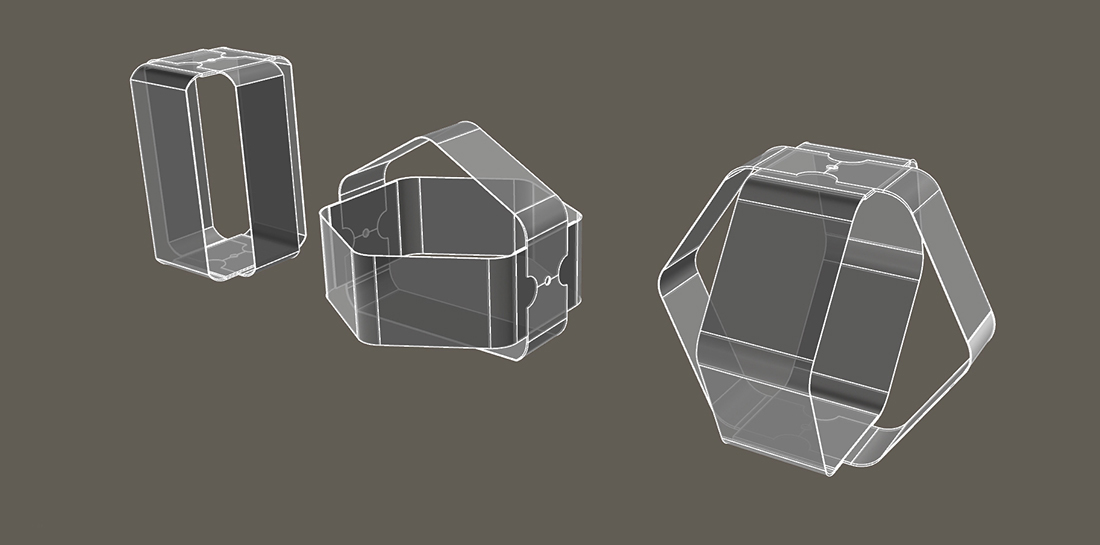
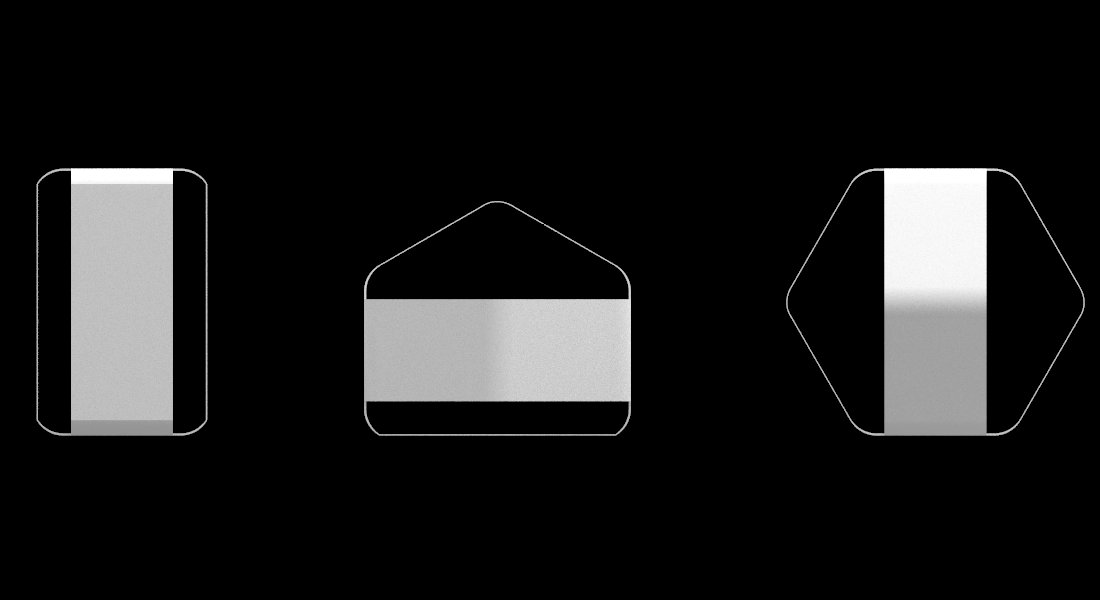
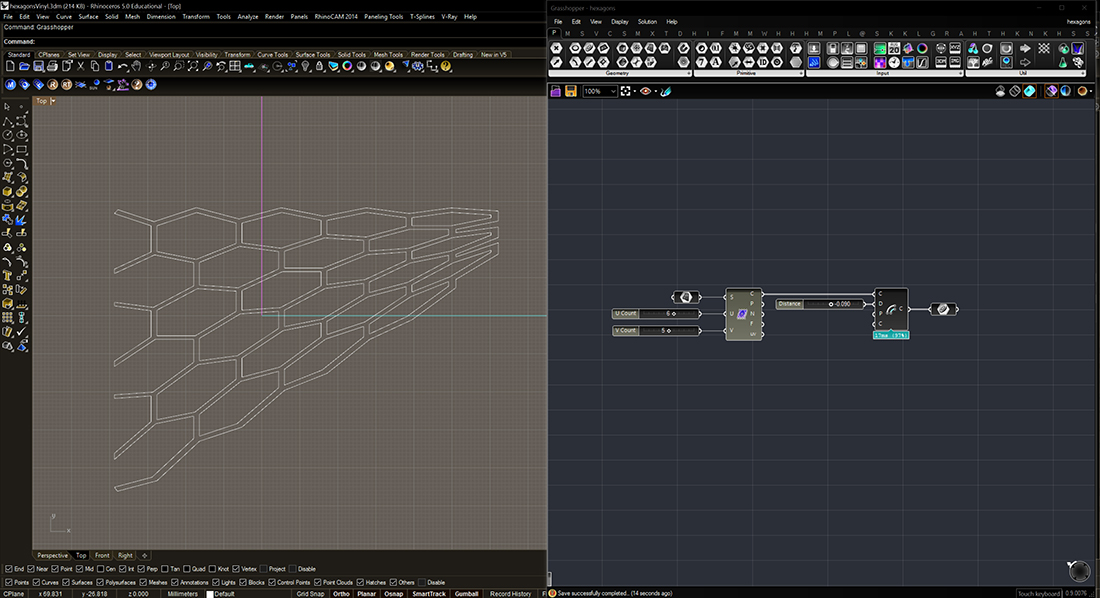 Rhino/ Grasshopper interface to design the hexagonal grid
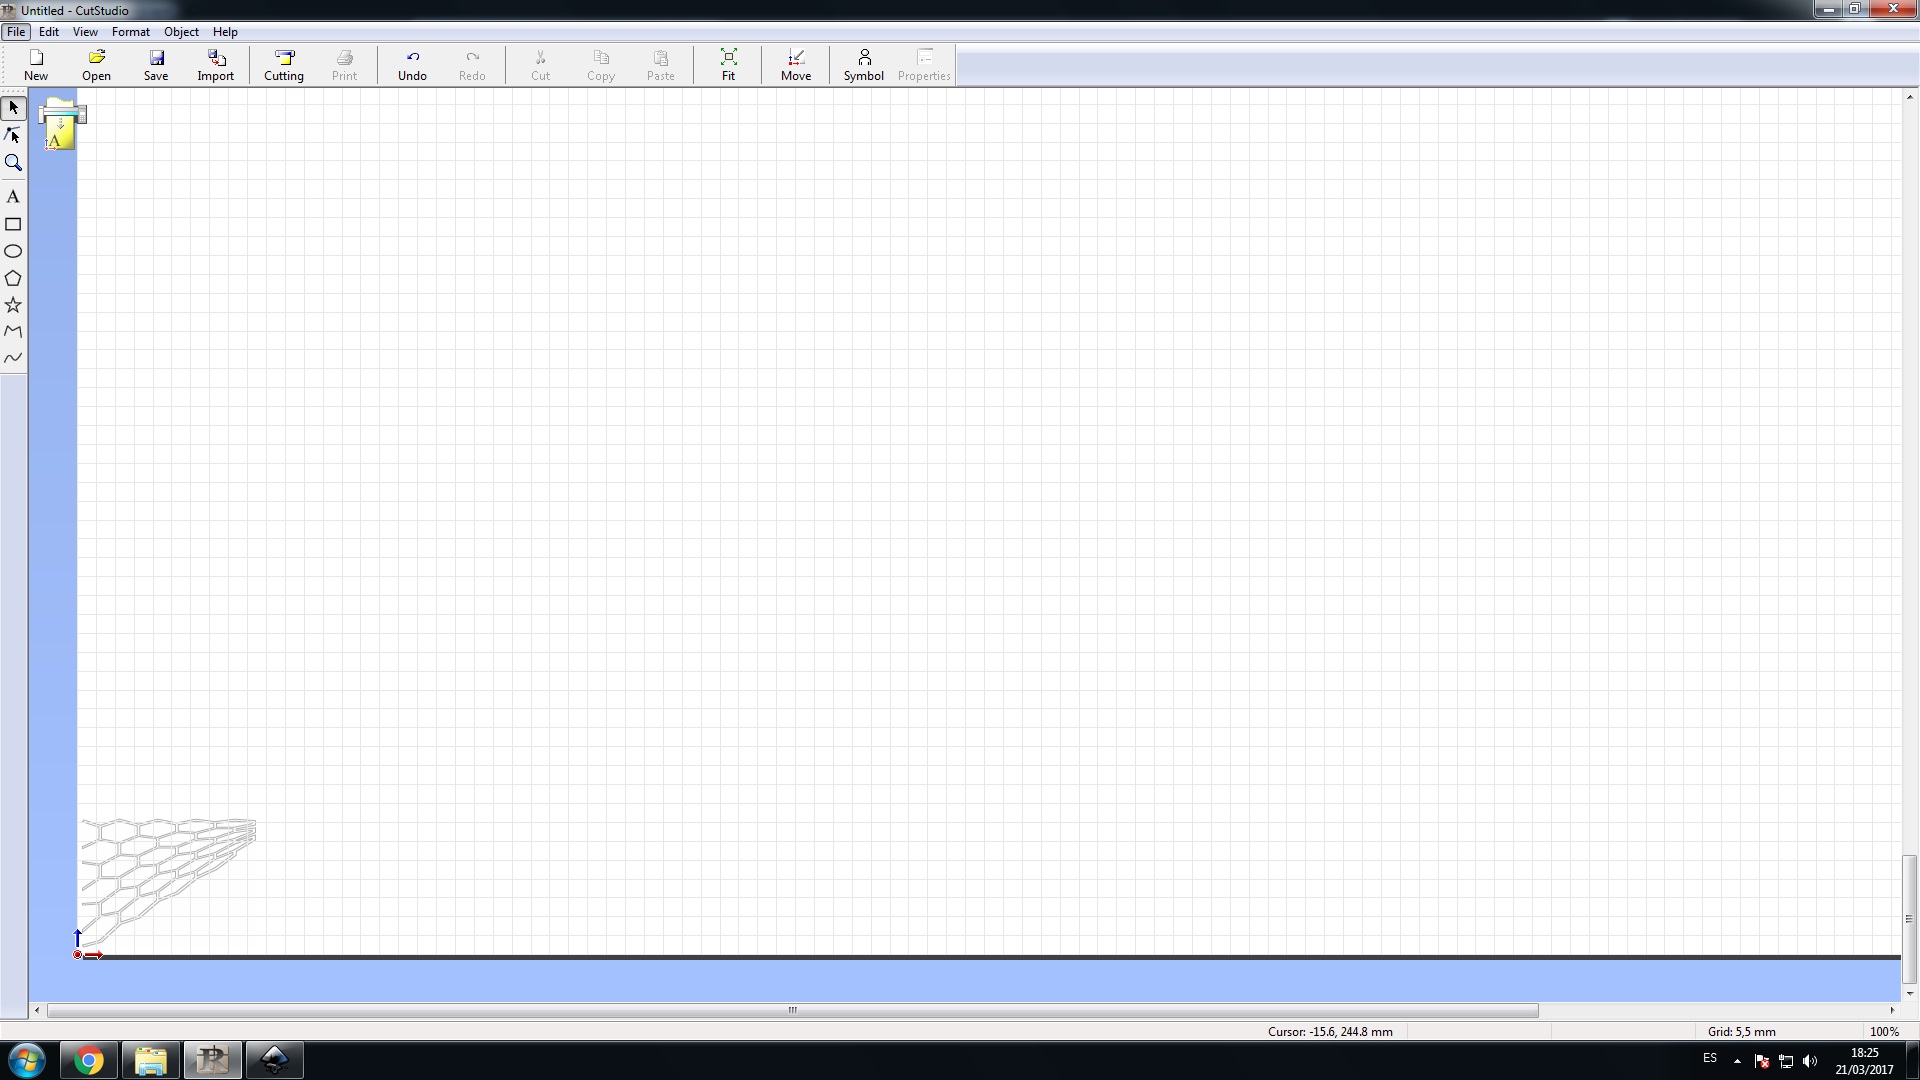
Open the file
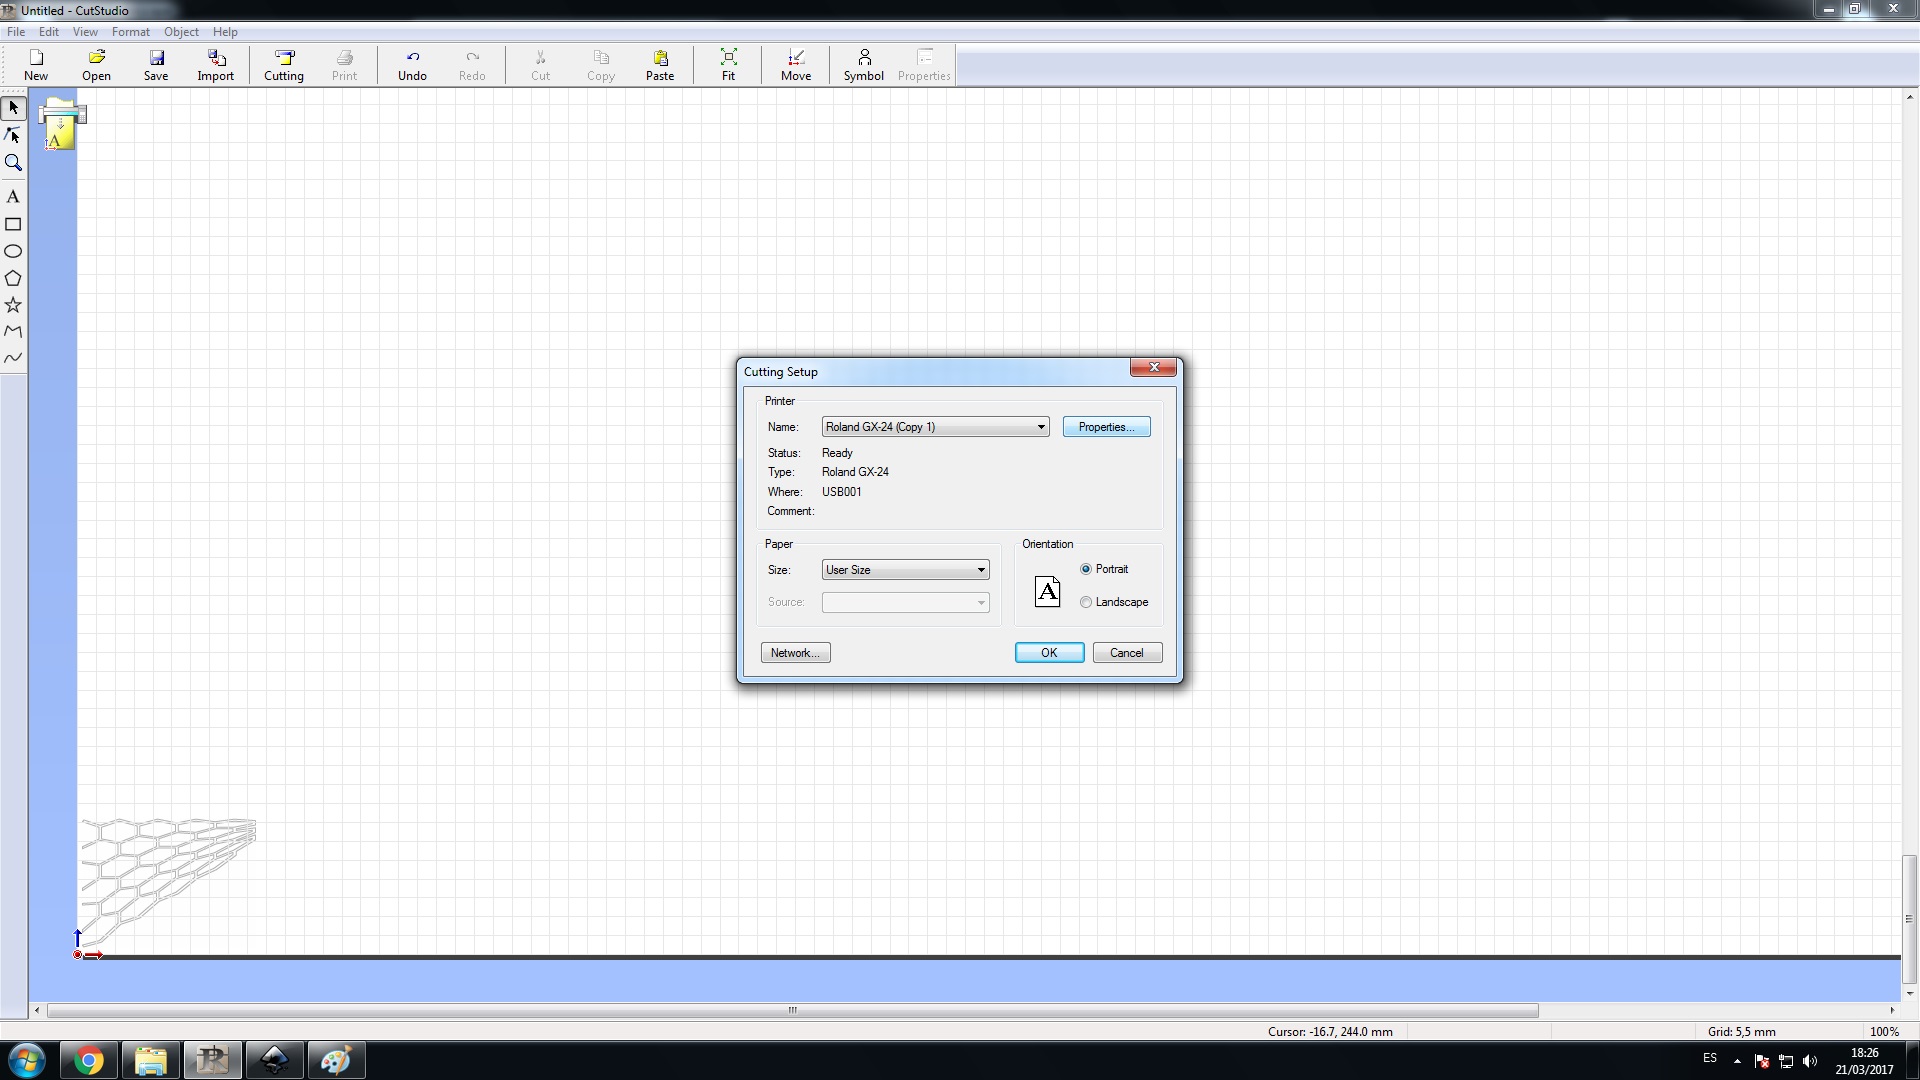
cutting setup to set the cutter name
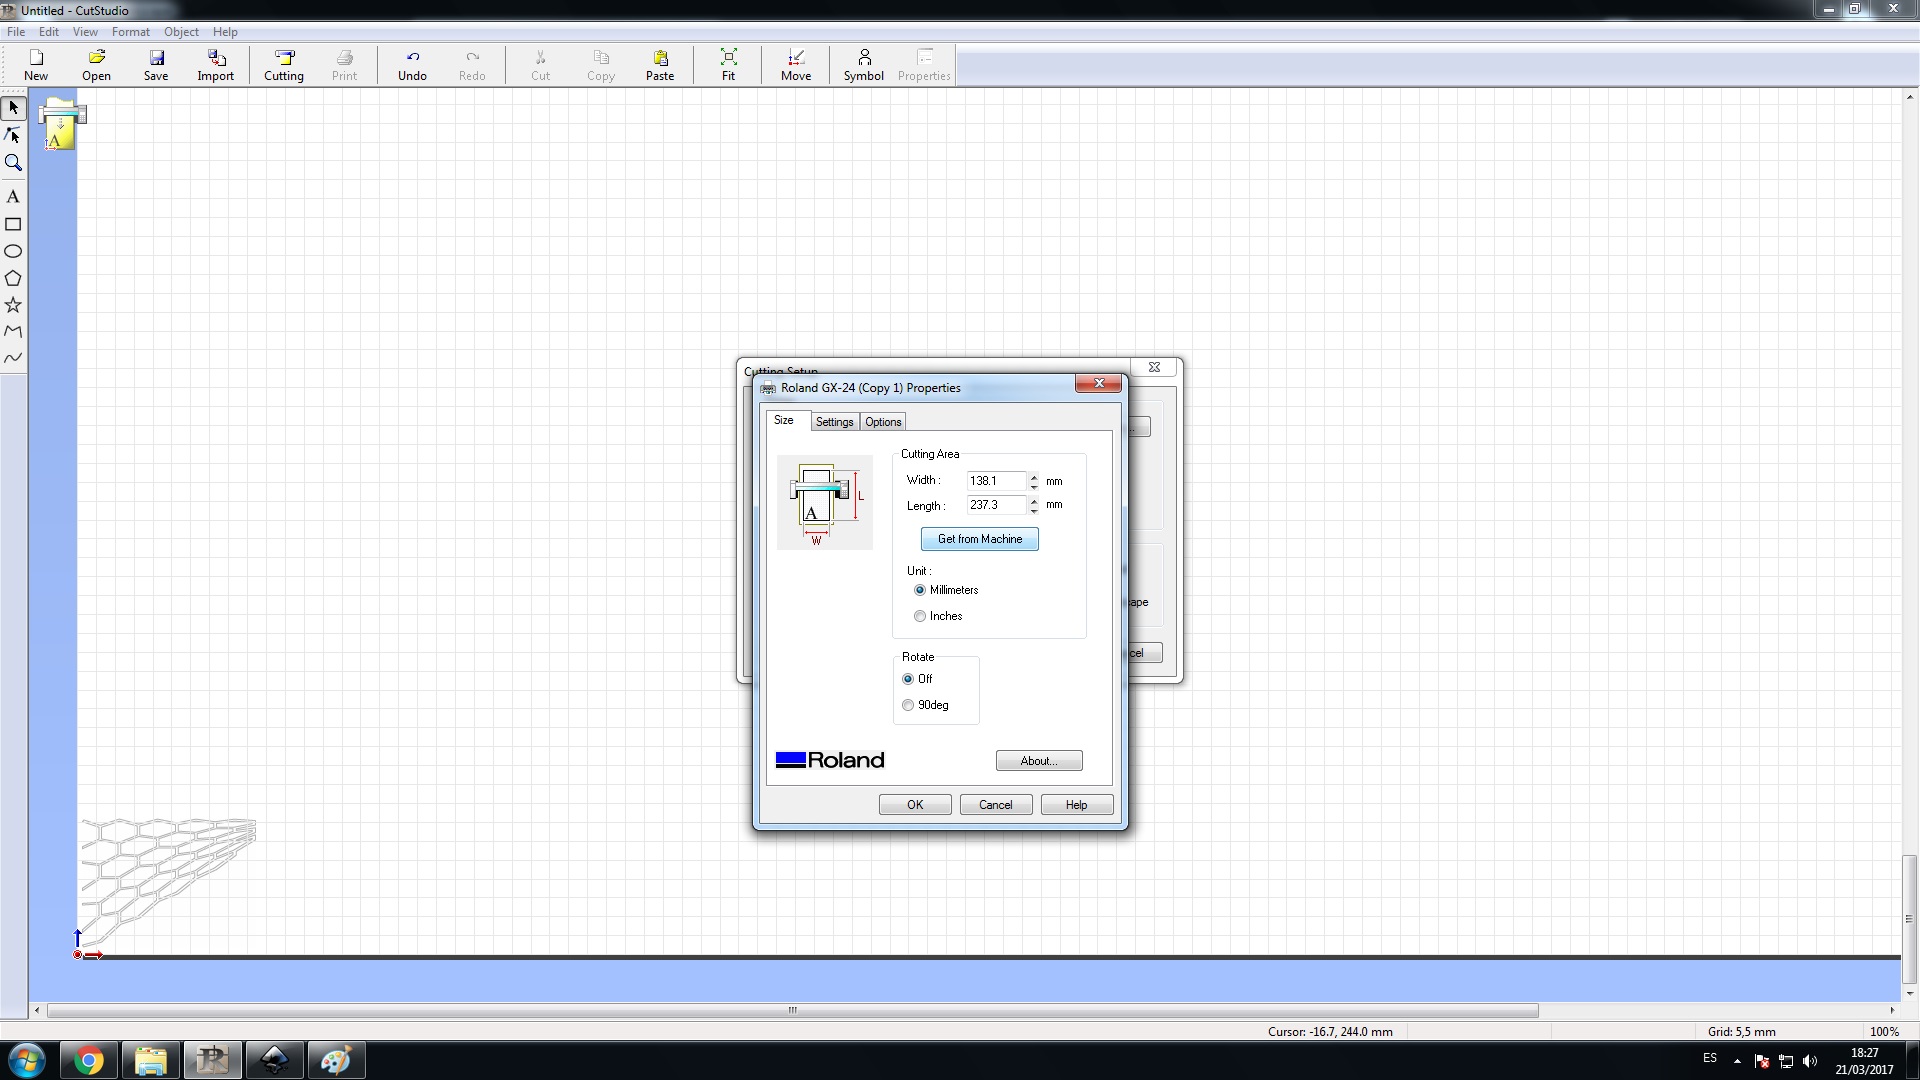
Go to properties to get the piece dimensions from the machine
Cutting...