Testing lasercut parameters
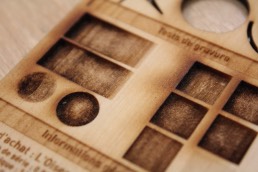
To test the Lasercutter me and Mathieu did a little test sheet that resume in a small design the possibilities of the laser, we then cut and engrave the design on different materials
.
We prepared the test sheet with Inkscape and here's what it looks like before being process. To have a easy to cut file, we chose to use a tree colors technique because we didn't want the graphic elements to be as deep as the greyscales elements. So, for the bleu elements, you have to put your color editor on RBG and set the blue at 255. It's going to be a 255 of intensity for the greyscales. To have a good contrast in the rendering, you have to set the laser at the deepest point you want and let the greyscales do their job.
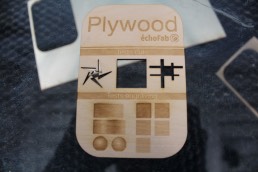
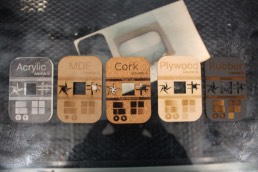
Plywood :
Engraving settings :
Power : 100
Speed : 40
Frequency : 500
Cutting settings :
Power : 100
Speed : 0,40
Frequency : 2000
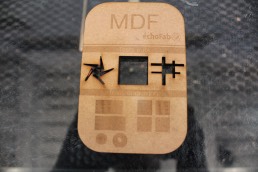
MDF :
Engraving settings :
Power : 90
Speed : 55
Frequency : 500
Cutting settings :
Power : 100
Speed : 0,15
Frequency : 1000
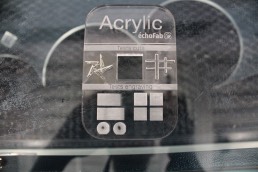
Acrilyc :
Engraving settings :
Power : 100
Speed : 65
Frequency : 2000
Cutting settings :
Power : 100
Speed : 0,35
Frequency : 5000
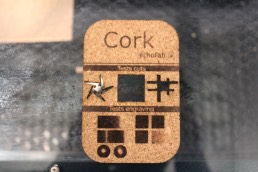
Cork :
Engraving settings :
Power : 80
Speed : 65
Frequency : 500
Cutting settings :
Power : 100
Speed : 1,5
Frequency : 2000
Rubber :
Engraving settings :
Power : 100
Speed : 16
Frequency : 1000
Cutting settings :
Power : 100
Speed : 2,60
Frequency : 2000
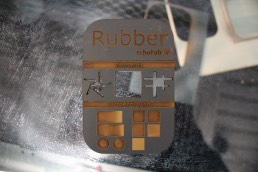
+ we now have cute little demos for the lab to showoff the capabilities of the machine!
« Go back to assigments page