Wood chipping

Here's our assignment:

x Make something big
x Stop whining and use the parametric functions of design software because you did not did so some weeks ago
So when I was supposed to design using parametric functions, I did not. To correct that I will do so with that project. I'm building a coffee table out of 1/2 baltic birch plywood.
Here's the step by step:

HTML tutorial HTML tutorial HTML tutorial
So my initial goal was to make a coffee table using Fusion360. I like the 123D Maker (now Fusion Slicer) stacked slices so I decided to go that way. The assembly was using dowels to keep everyting aligned perfectly. Once sliced in Fusion Slicer, I noticed that it would require at least 4 sheets of 1/2" plywood to complete the project. About half of that would not be used in the actual table. That's too much waste for my wallet and my planet.
HTML tutorial HTML tutorial HTML tutorial
I decided to start over and followed a nice tutorial about parametric desing on Fusion 360. I initially specified 25 parameters: table_height, leg_heigh, table_width... and the thickness of the plywood. Then I started to sketch from there. So whenever I have to enter a numerical value while sketching, I just enter the param. In this examble, I'm giving the table depth. Every param is automaticaly converted in numerical value on the sketch
HTML tutorial HTML tutorial HTML tutorial
Here again, I'm entering the value for the slots where the legs will fit. And you can do an operation with a param. So "param"+"value" will work You can use any operators. In that example, the height of the leg is 16" and I add 0.5 for the slot to be taken into account Now all the legs are a mirror of the first one on 2 planes. So whenever I change my leg A, they will all adapt.
HTML tutorial HTML tutorial HTML tutorial
I'm now combining the legs to the table. All the parts are converted to components.
Perparing the files
We have a Shopbot Buddy 24X32. It's a good machine but it's quite annoying to have such a small work surface. I have to prepare all my parts on sheets of 24x32.
-->
HTML tutorial HTML tutorial HTML tutorial
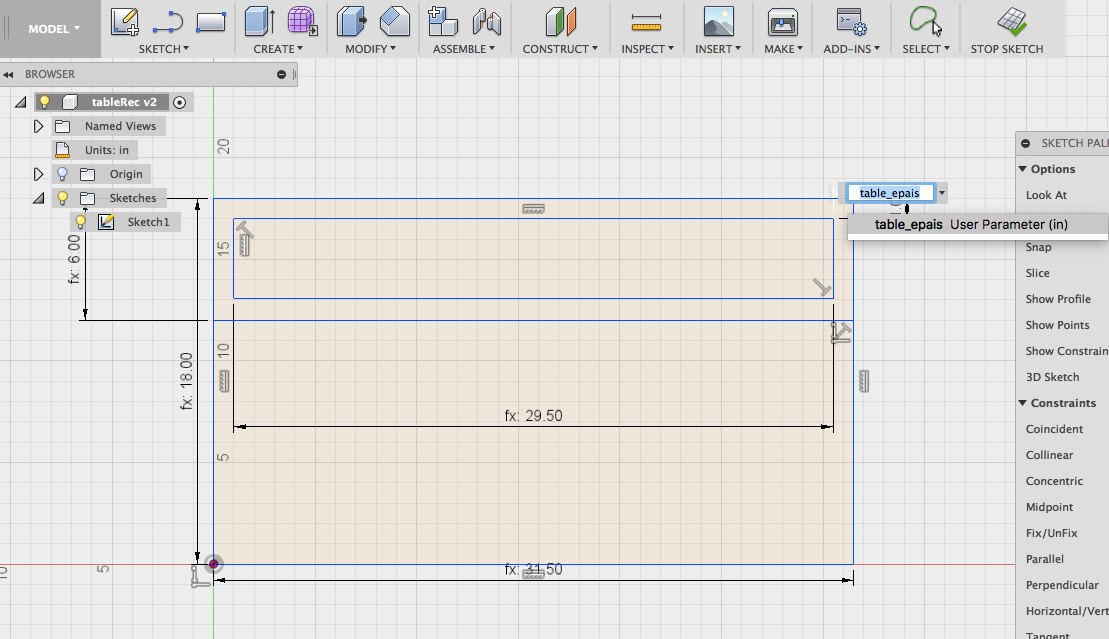
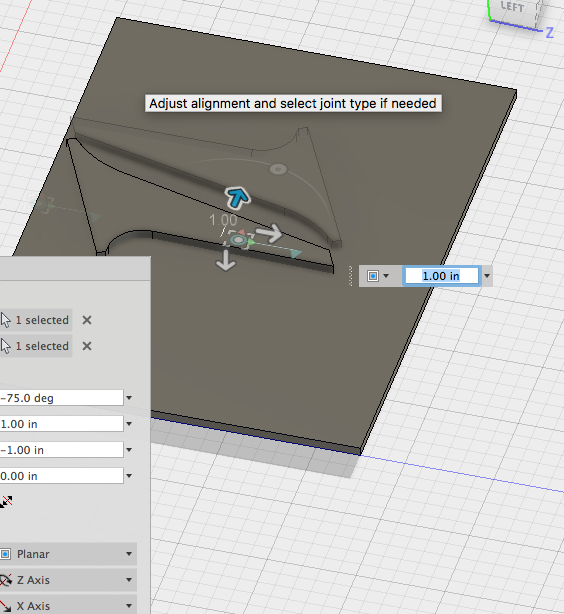
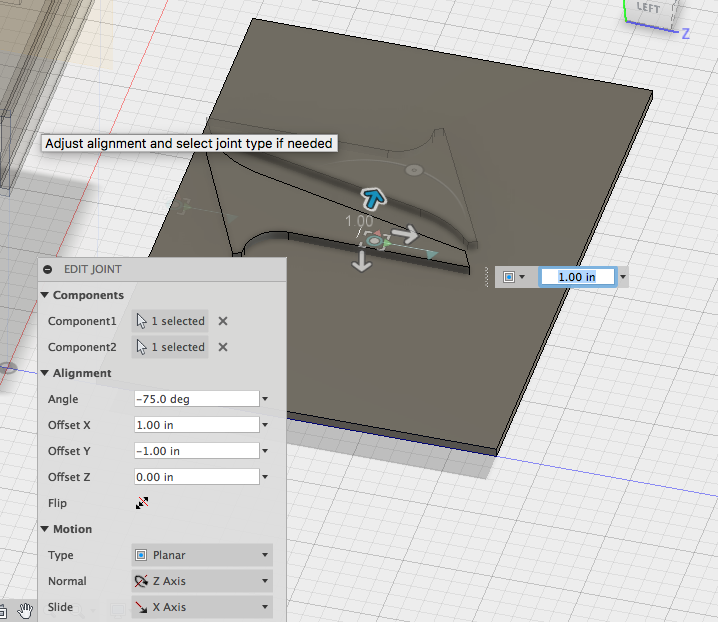
I prepped some 24X32X0.5 surfaces and joint the components on it. Now a view of two legs on a surface. 
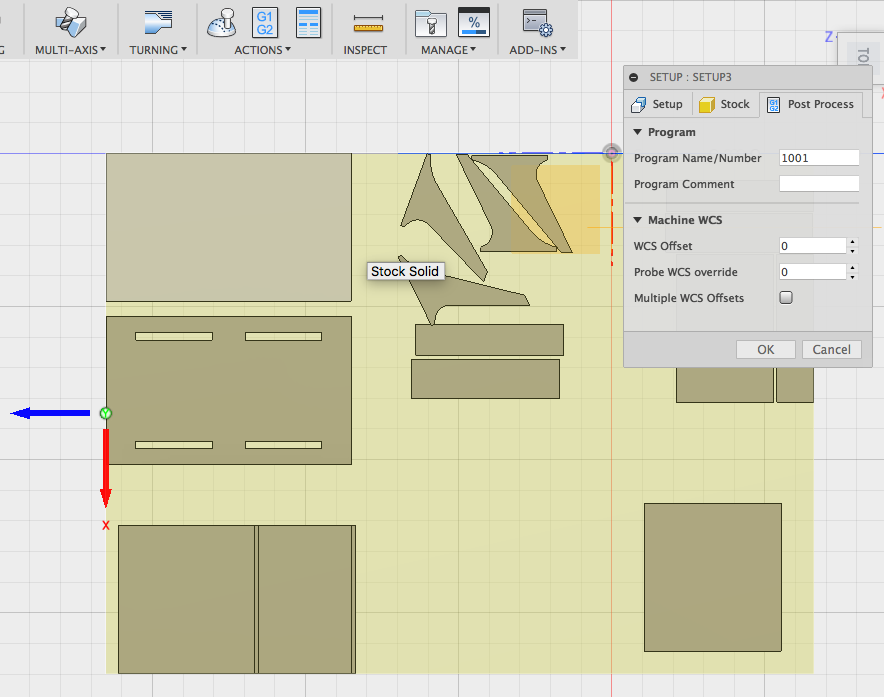
Trying to maximize all my pannels.
HTML tutorial HTML tutorial HTML tutorial
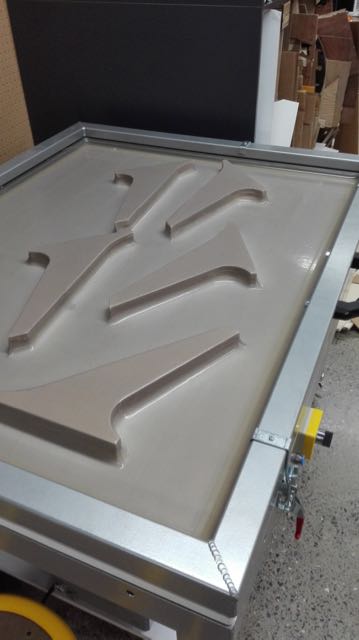
Here's the results. I can remove the pannels to view all the flat parts.. 
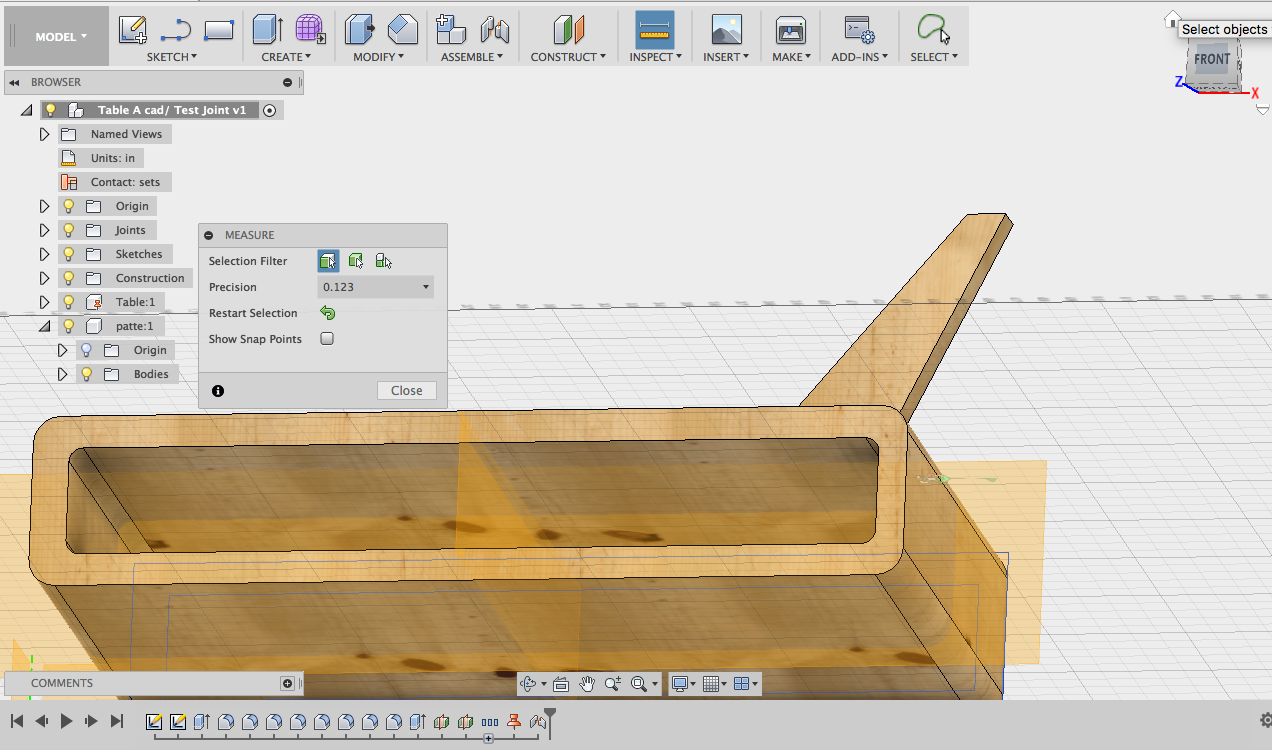
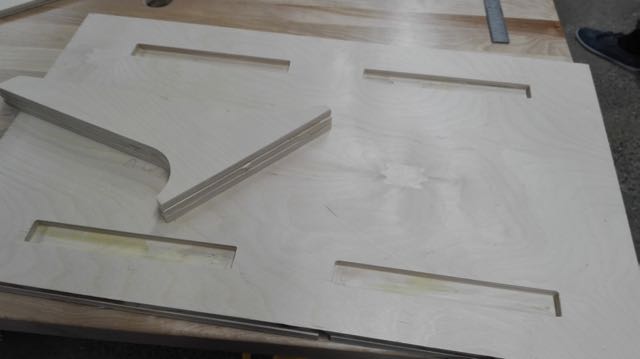
This through view let us appreciate the joints and where the parts connect to each other. 
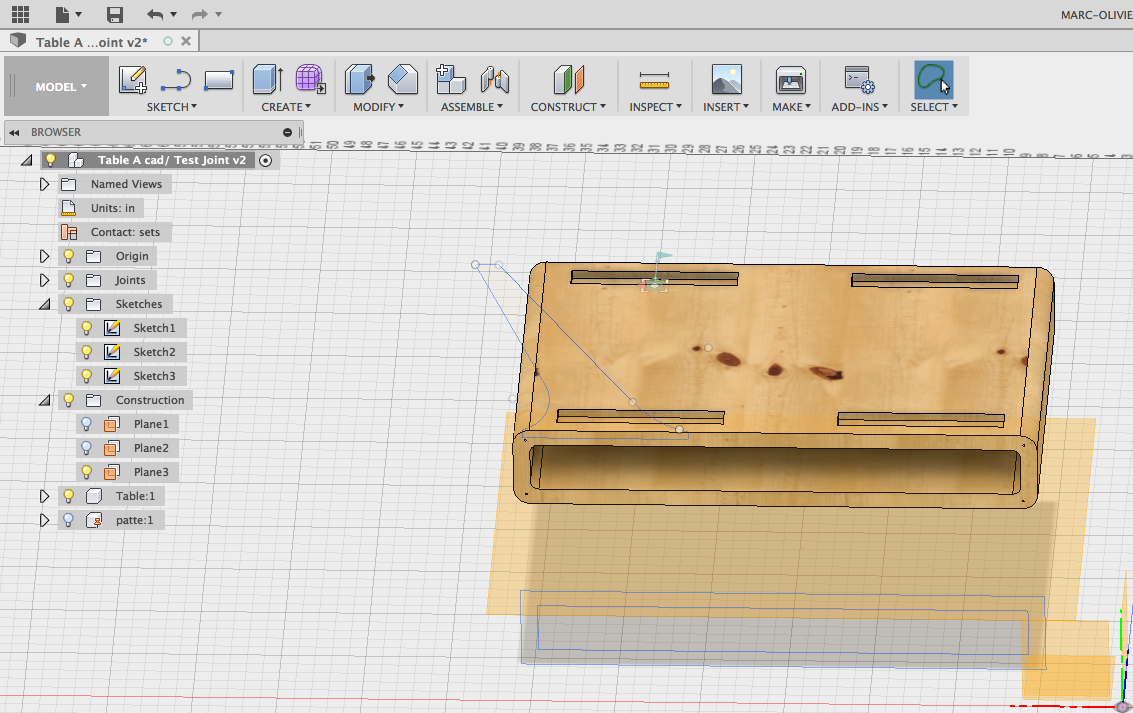
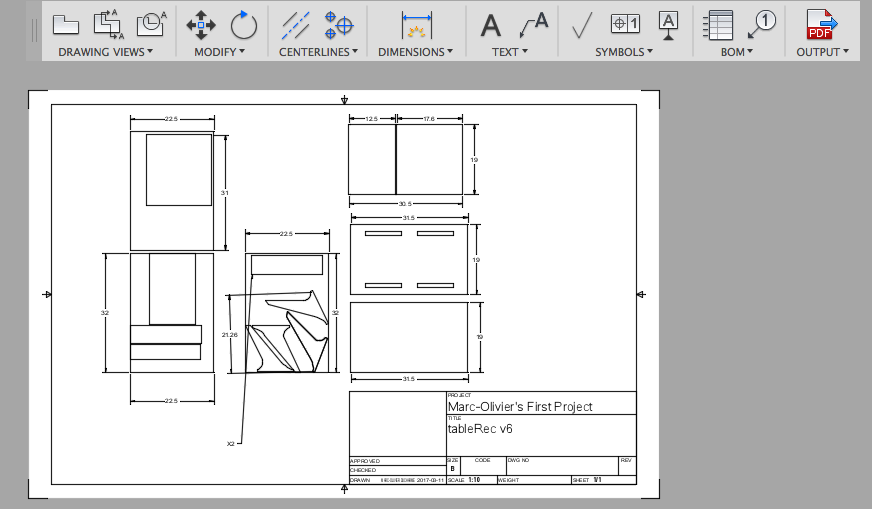
And I used the drawing function to create an assembly and part guide. I did not had much time to play around and it require quite a powerfull computer otherwise it lag. But I will try to work with that later on.
HTML tutorial HTML tutorial HTML tutorial
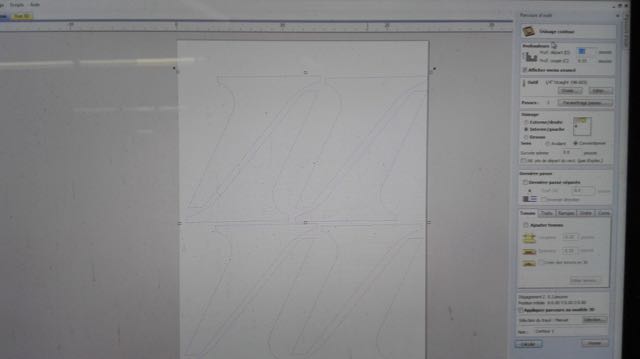
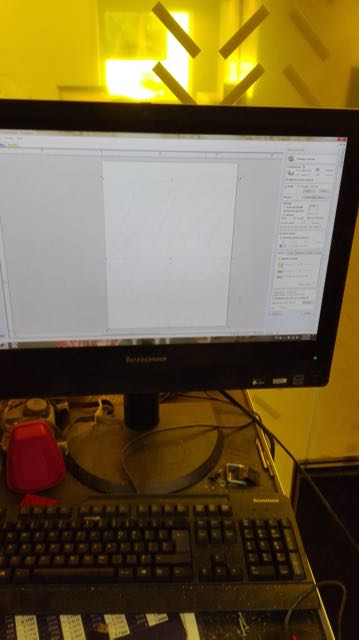
Importing the DWG in VCarve Pro. Some elements needs to be closed (vectors were opened during export). Specifiying cuts. In the case of the legs, I need a outside cutting path, 0.56" deep, using a 1/4 upcut plywood bit. 15000 rpm were calculated using a chart provided with the Shopbot and posted on the wall. 
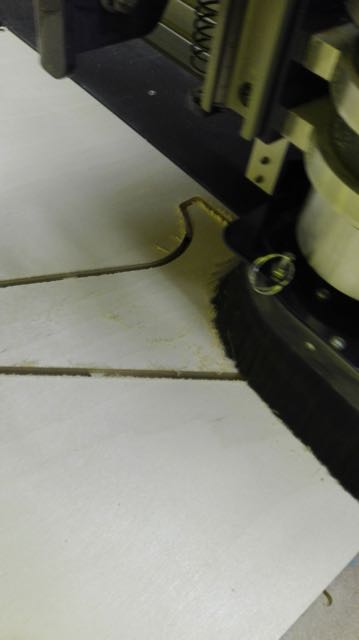
After Zeroing XY using sensors and Z using the plate and aligator clip, I'm ready to route that sh....
HTML tutorial HTML tutorial HTML tutorial
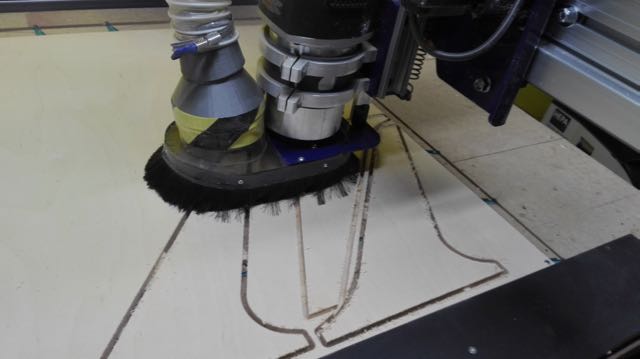
I'm truly there, hehe 
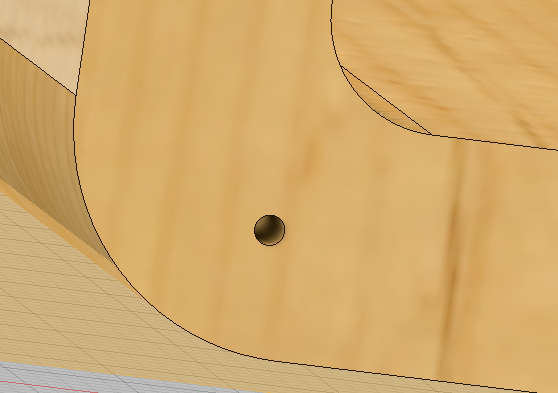
the legs are done. I need to remove them from the ply panel by cutting the tabs 
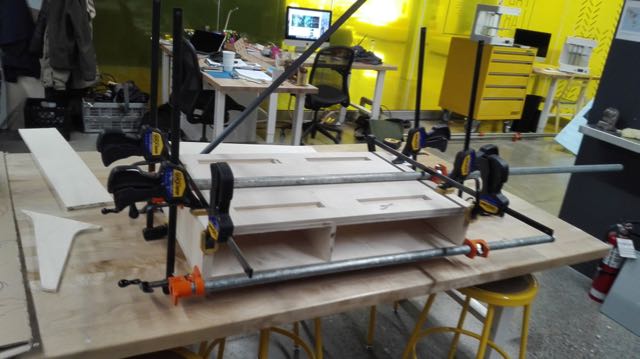
Legs are glued together and pressed in the vacuum table
HTML tutorial HTML tutorial HTML tutorial
The legs are done. I used Titebond woodworking glue. It set in about 15min and is good to go within an hour. The slots for the legs are done as well. Assembly time, using as many clamps as possible. 
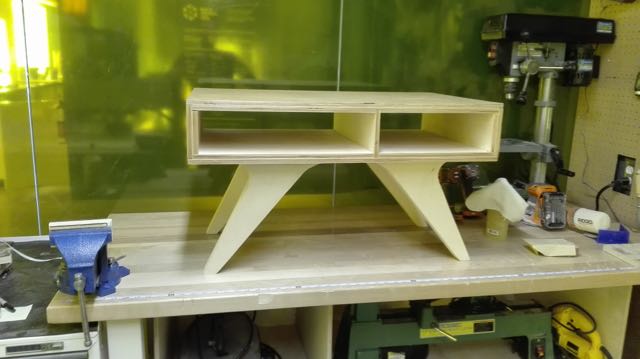
Final result, just before varnishing.
HTML tutorial HTML tutorial HTML tutorial
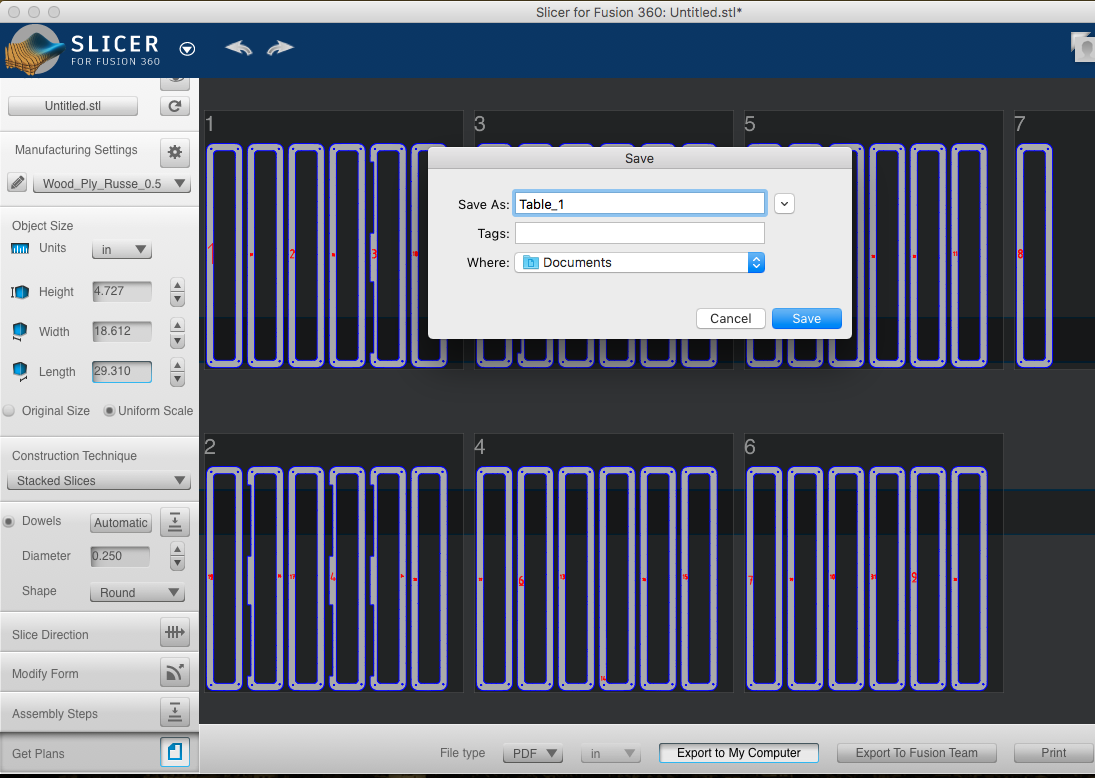
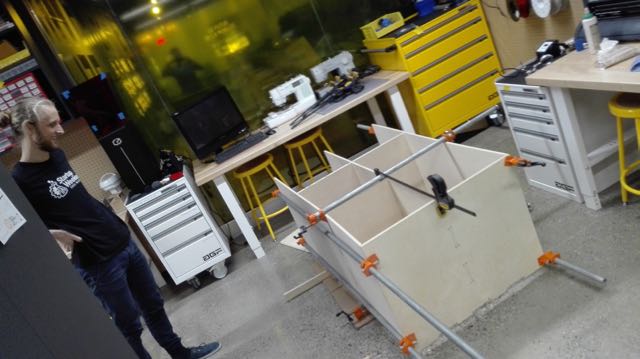
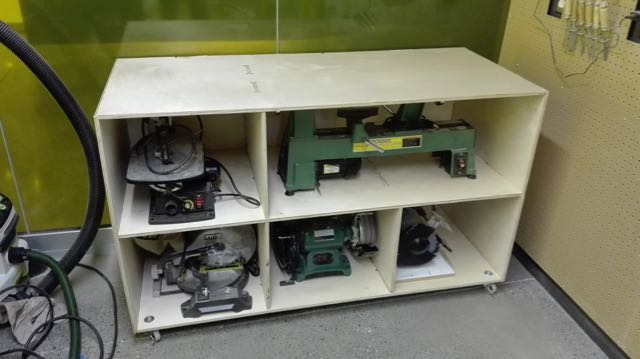
Felix and I went on for a second project. A large unit to organize powertools. Felix designed the unit in Fusion 360 and we tried to use the milling module to prepare the sheets to no avail. So we used the checkerboard option in VCarve pro in order to process sheets as long as 60" in our max 24" shopbot buddy 
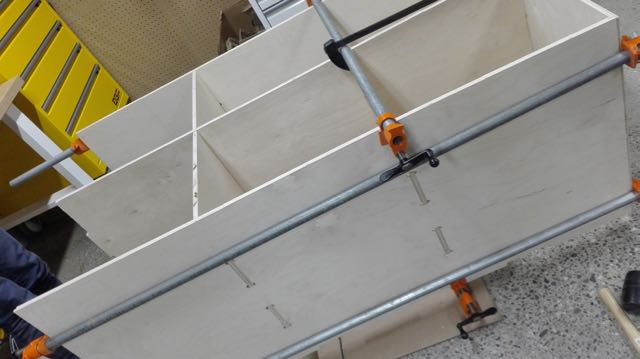
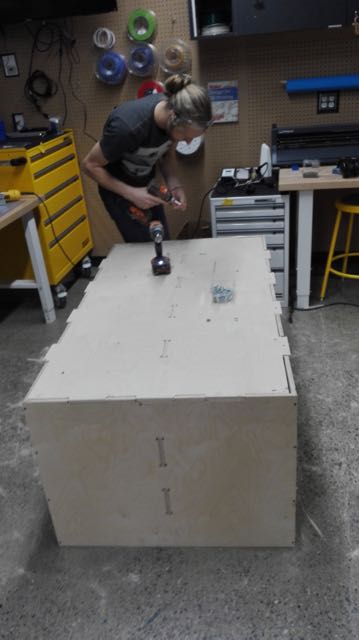
Once everything was done on the CNC, we're putting everything together using long pipe clamps 
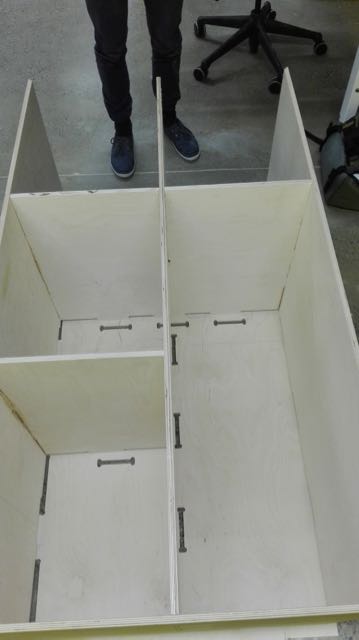
The most complicated thing is to keep the geometry while the sides and back panel are not yet assembled.
HTML tutorial HTML tutorial
Installing the back panel and swivel coasters Once varnished, the final result!


Here you'll find the
|Asset Files
Link to my 2015 archive for more cnc stuff
File
NOT THERE YET!
Contour 1.sbp
Dessour_Sheet1.pdf
Pattes_Sheet1.pdf
Pattes.crv
PATTES.eps
pattes.sbp
slots.sbp
table.stl
tableRecv1_Sheet1.pdf