Plastic Galore

Here's our assignment:

x test the design rules for your printer(s)
x design and 3D print an object
x 3D scan an object (and optionally print it) (extra credit: make your own scanner)
First off, this week will be divided in modules. I'll start with a small project using OpenSCAD and a FDM 3D Printer. Followed by scanning a plaster casted milkweed pod. I will then prin the result of that scan on a FDM and on a DLP printer. We use two Thinkerine Studio Ditto+ FDM Printers, one Kudo 3D DLP printer with Makerjuice resin and a Reprap to print ABS and Nylon.

So let's start... I want to print a case for a Nexus Tab 7. Obviously, the point is to customize the case by carving a desing in the actual case. To do so, I explored OpenScad, Inkscape and Tinkerine studio.
Here's the step by step:
Find a 3D model of the case on Thingiverse
HTML tutorial HTML tutorial HTML tutorial
I needed to convert a bitmap image of a logo to a vector graphic and then to a 3D shape. To do so, I used the Trace Bitmap function of inkscape:(Settings: Grayscale, 3 passes) and then followed this tutorial to use the correct plugin in Inkscape to convert my shape in a 3D .scad file.The plugin can be found here. On a Mac, you should install it there: ~/.config/inkscape/extensions to prevent it from been overwritten at the next update. That's the Path to OpenScad Plugin Dialog
HTML tutorial HTML tutorial HTML tutorial
Once you'r graphic is exported in STL, you can use OpenSCAD So I needed to combine thoses two models into one entity using OpenSCAD. I used a script that can be found here (Thanks DIRO) I modified the script in order to position the logo on the case and to specify the thickness of the embossing
HTML tutorial HTML tutorial HTML tutorial
Here's an attempt at positioning The logo is through the case, so I scaled it in Z so it was thinner. Now it's centered and ready to go!
HTML tutorial HTML tutorial HTML tutorial
Exporting the file to Thinkerine Studio, our FDM control software for the Ditto+ Centering the piece to print and chosing 0.2mm layer in resolution. By inspecting the layers, we can see that the logo will be correctly embossed.
HTML tutorial
2
Scanning and printing
Last fall, I molded a milkweed pod in silicon, then casted some Paris plaster in it. The result is a perfectly preserved milkweed shape. The contrast in color in the scanner was great so I pick that object to 3D scan. Two years ago I build a custom scanner using a turntable and a Kinect but this year I have a Matter & Form scanner at the lab. The process is very simple. Ikimacho! (let's go)

Interestingly, I used the Kudo 3D printer to print the milkweed pod. I then repeated the process for the Ditto+ and RepRap printer. I will show you a step by step.
Regarding the Kudo 3D, I must say that 't's a pain to used compare to the Form1+ I used before. It's an incomplete system, the software, which is a tune down version of Pronterface is wierd. So I spend some days trying to make to work on a R-Pi without success. If I had more time I would explore that avenue. The GUI is nice and functions are much needed. But hey, it's not an option yet. If you're interested in the topic, you should also have a look at MonkeyPrint an other open-source option. '
HTML tutorial HTML tutorial HTML tutorial
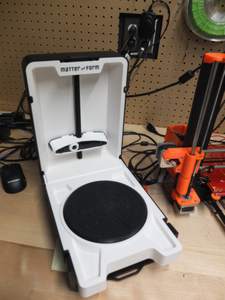
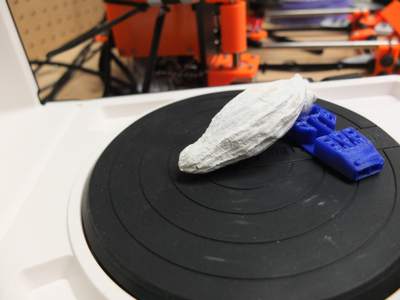
This is the M&F Scanner. Simple in desing. Much easier to use and that the silly Makerbot one I used at some point. I used a little plastic support to hold the pod in place. 
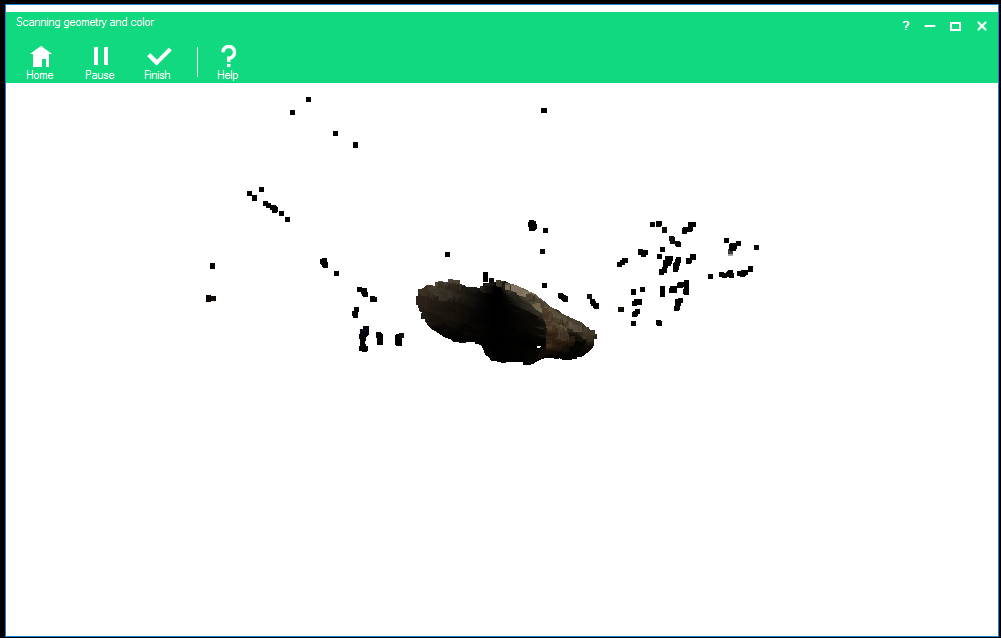
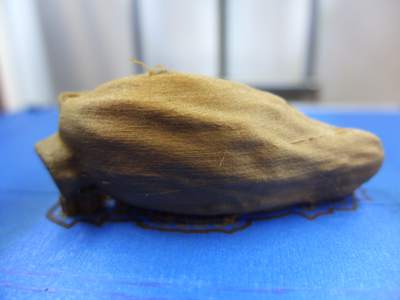
This is the result of the first acquiring round. The model evolve quite rapidly.
HTML tutorial HTML tutorial HTML tutorial
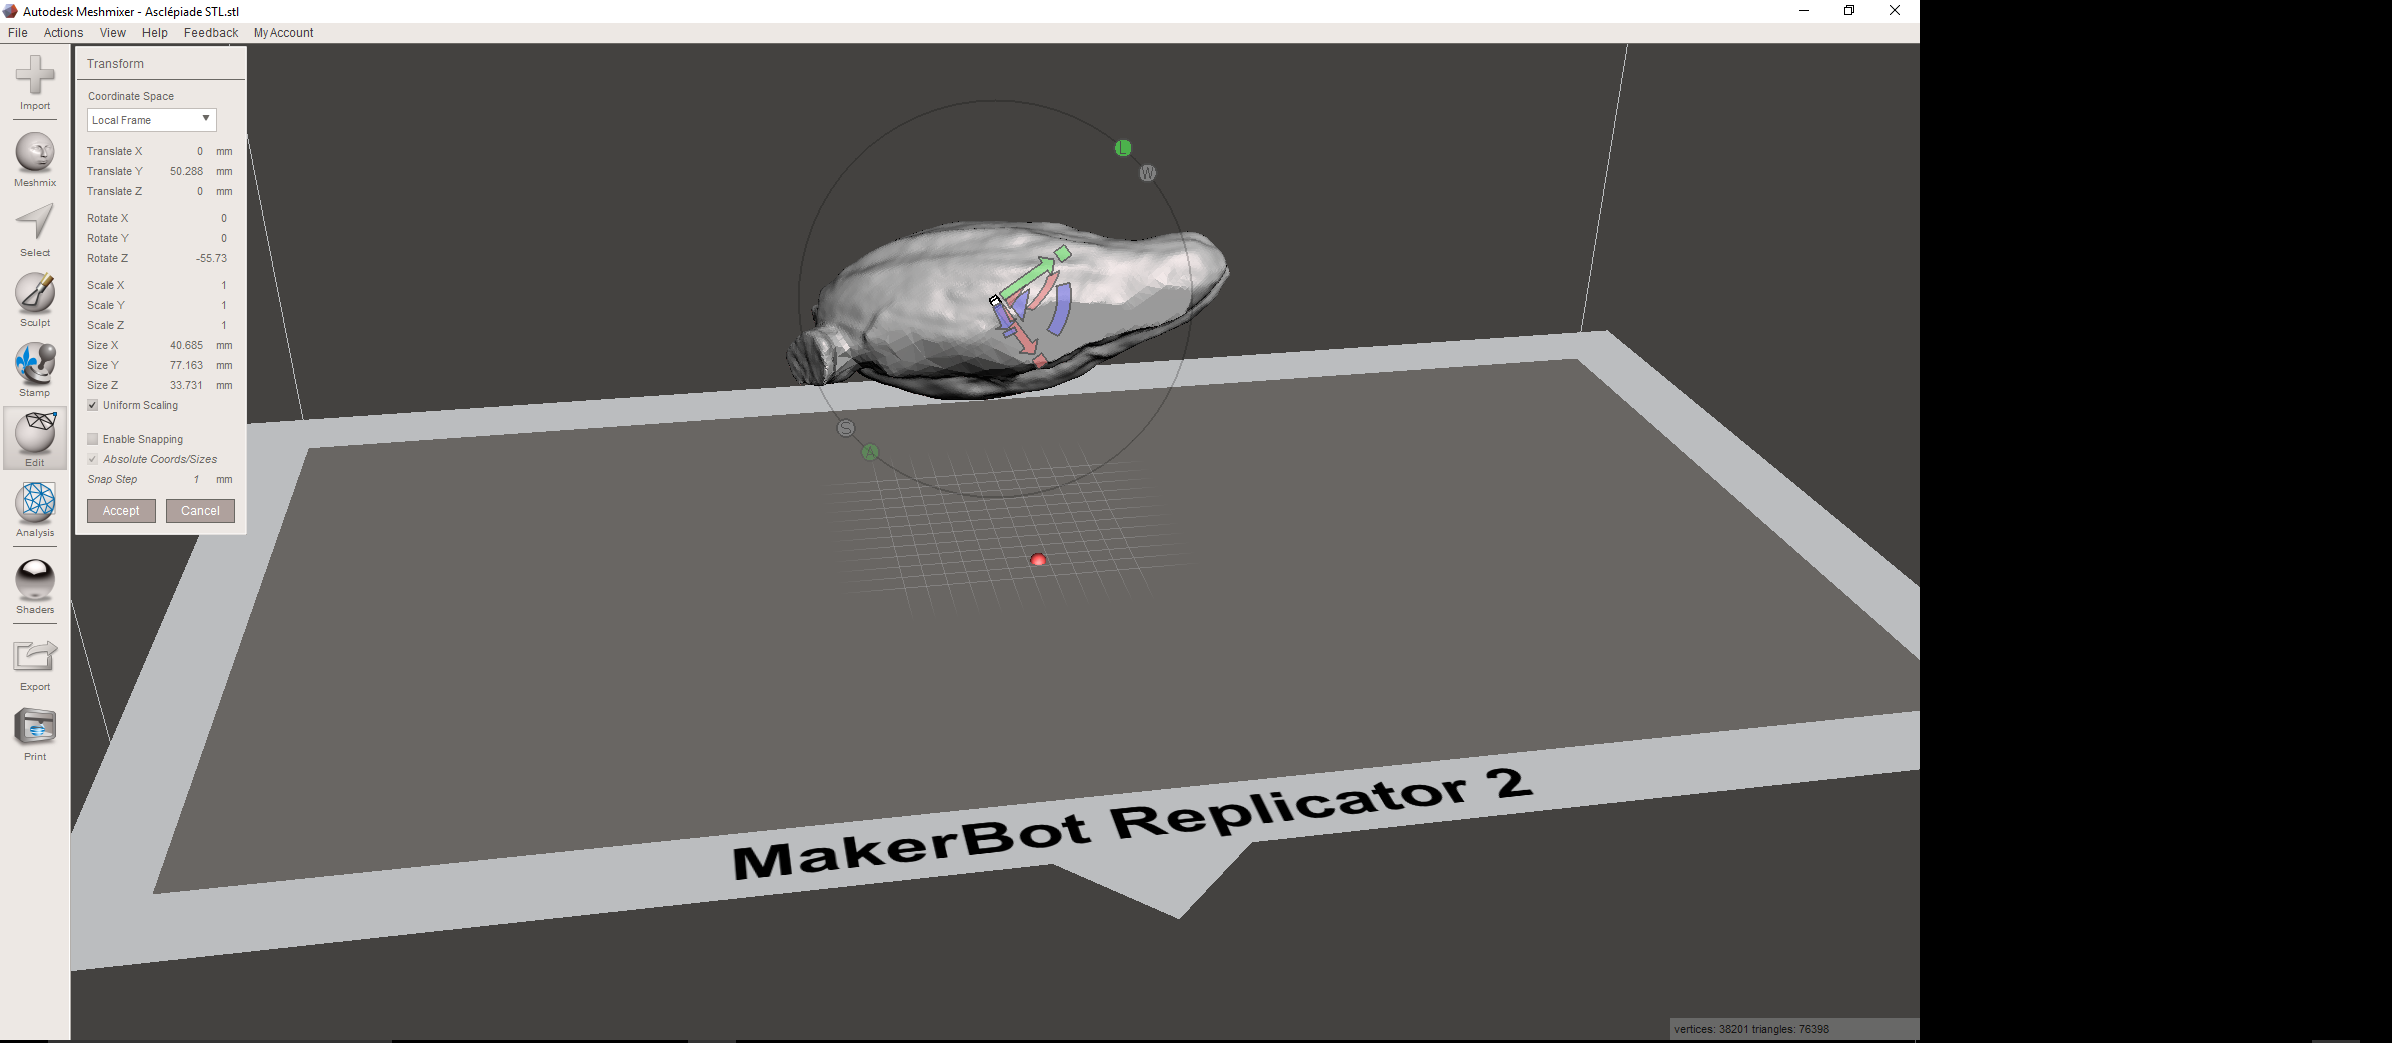
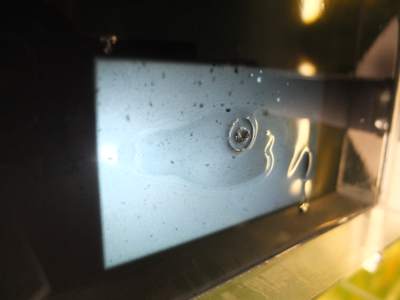
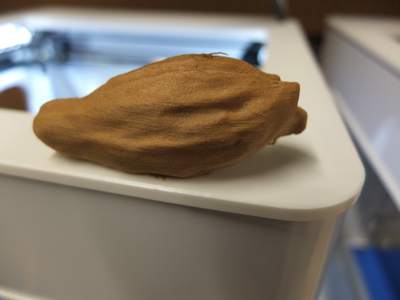
After two full scanning rounds, here's the result. So I changed the orientation of the pod on the turntable and did a second scan. Then, combined the two results. It's very intuitive. The software juste tell you what to do. Quite nice. I exported the part in Meshlab to make a flat surface and remove some wierd points left in the STL.
HTML tutorial HTML tutorial HTML tutorial
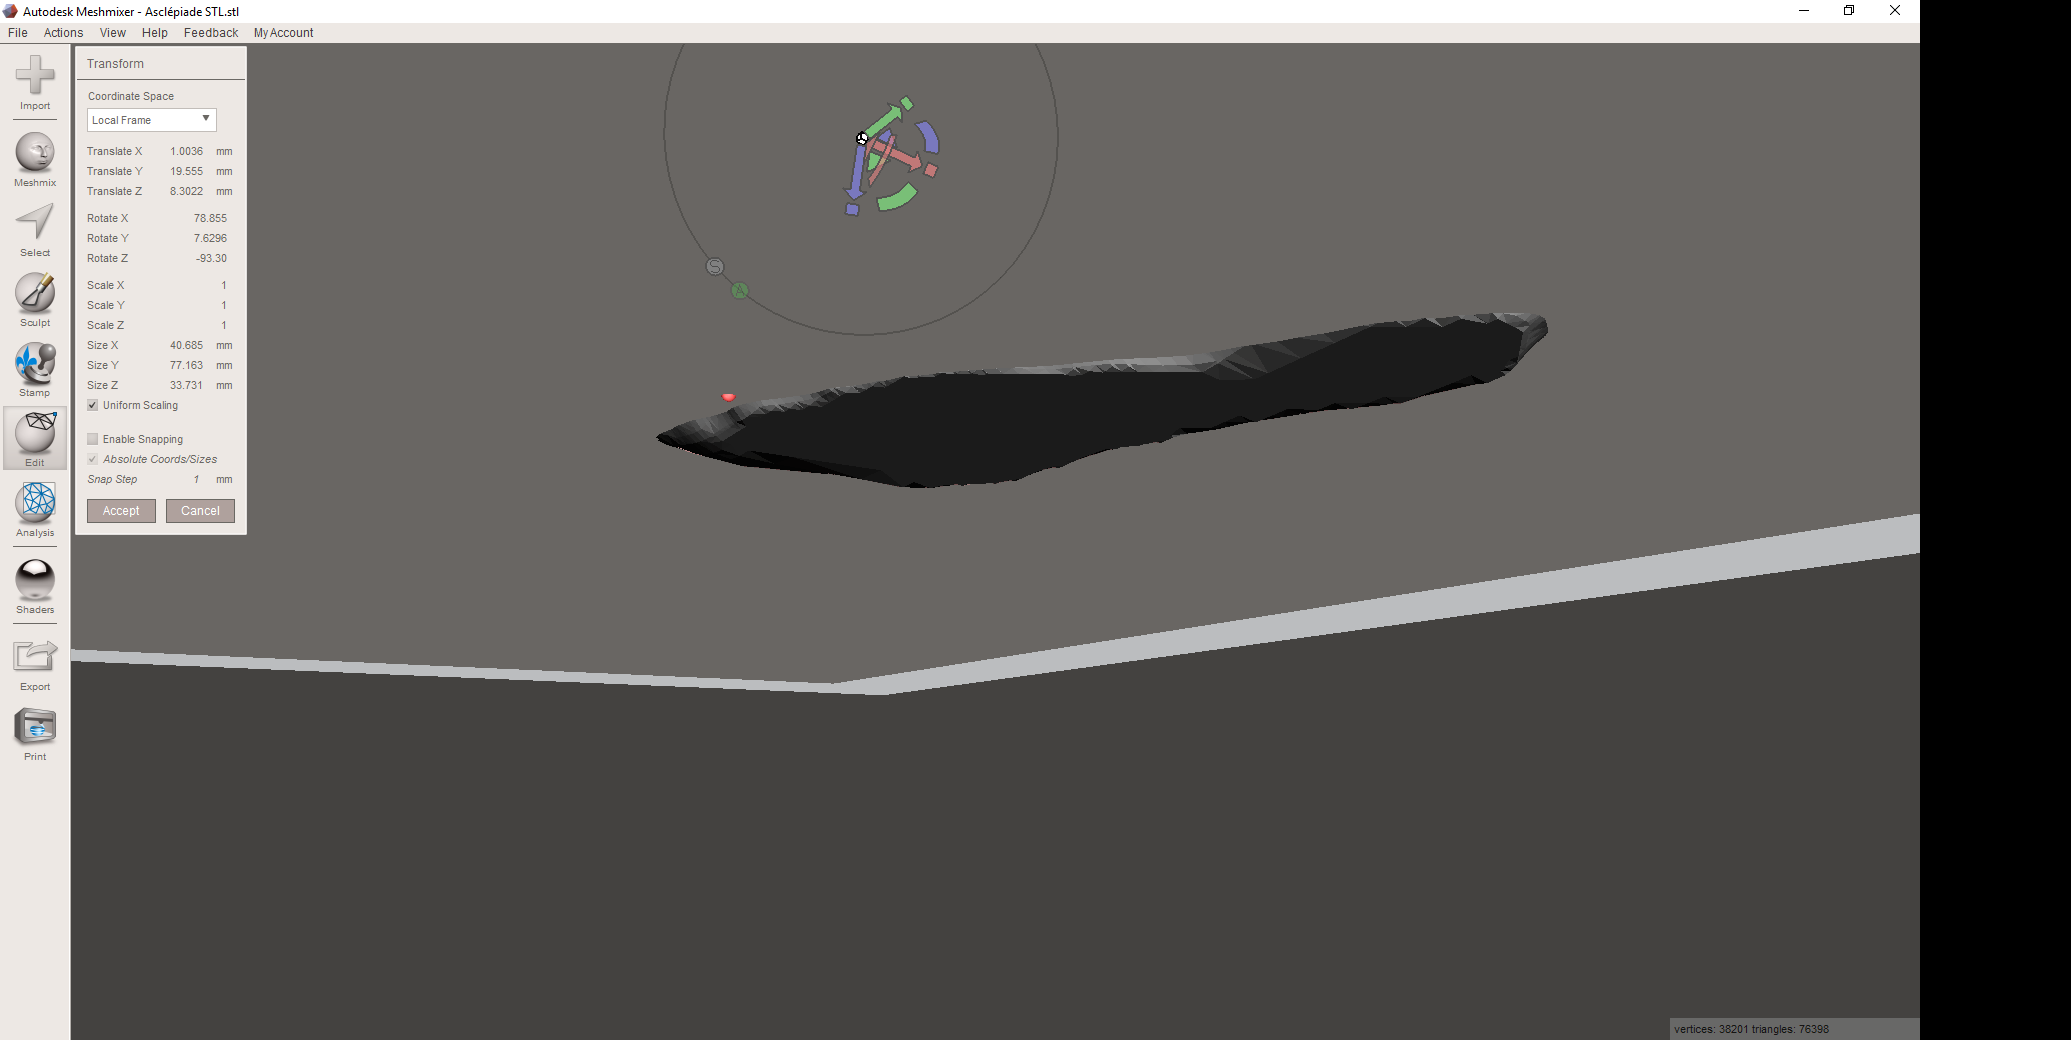
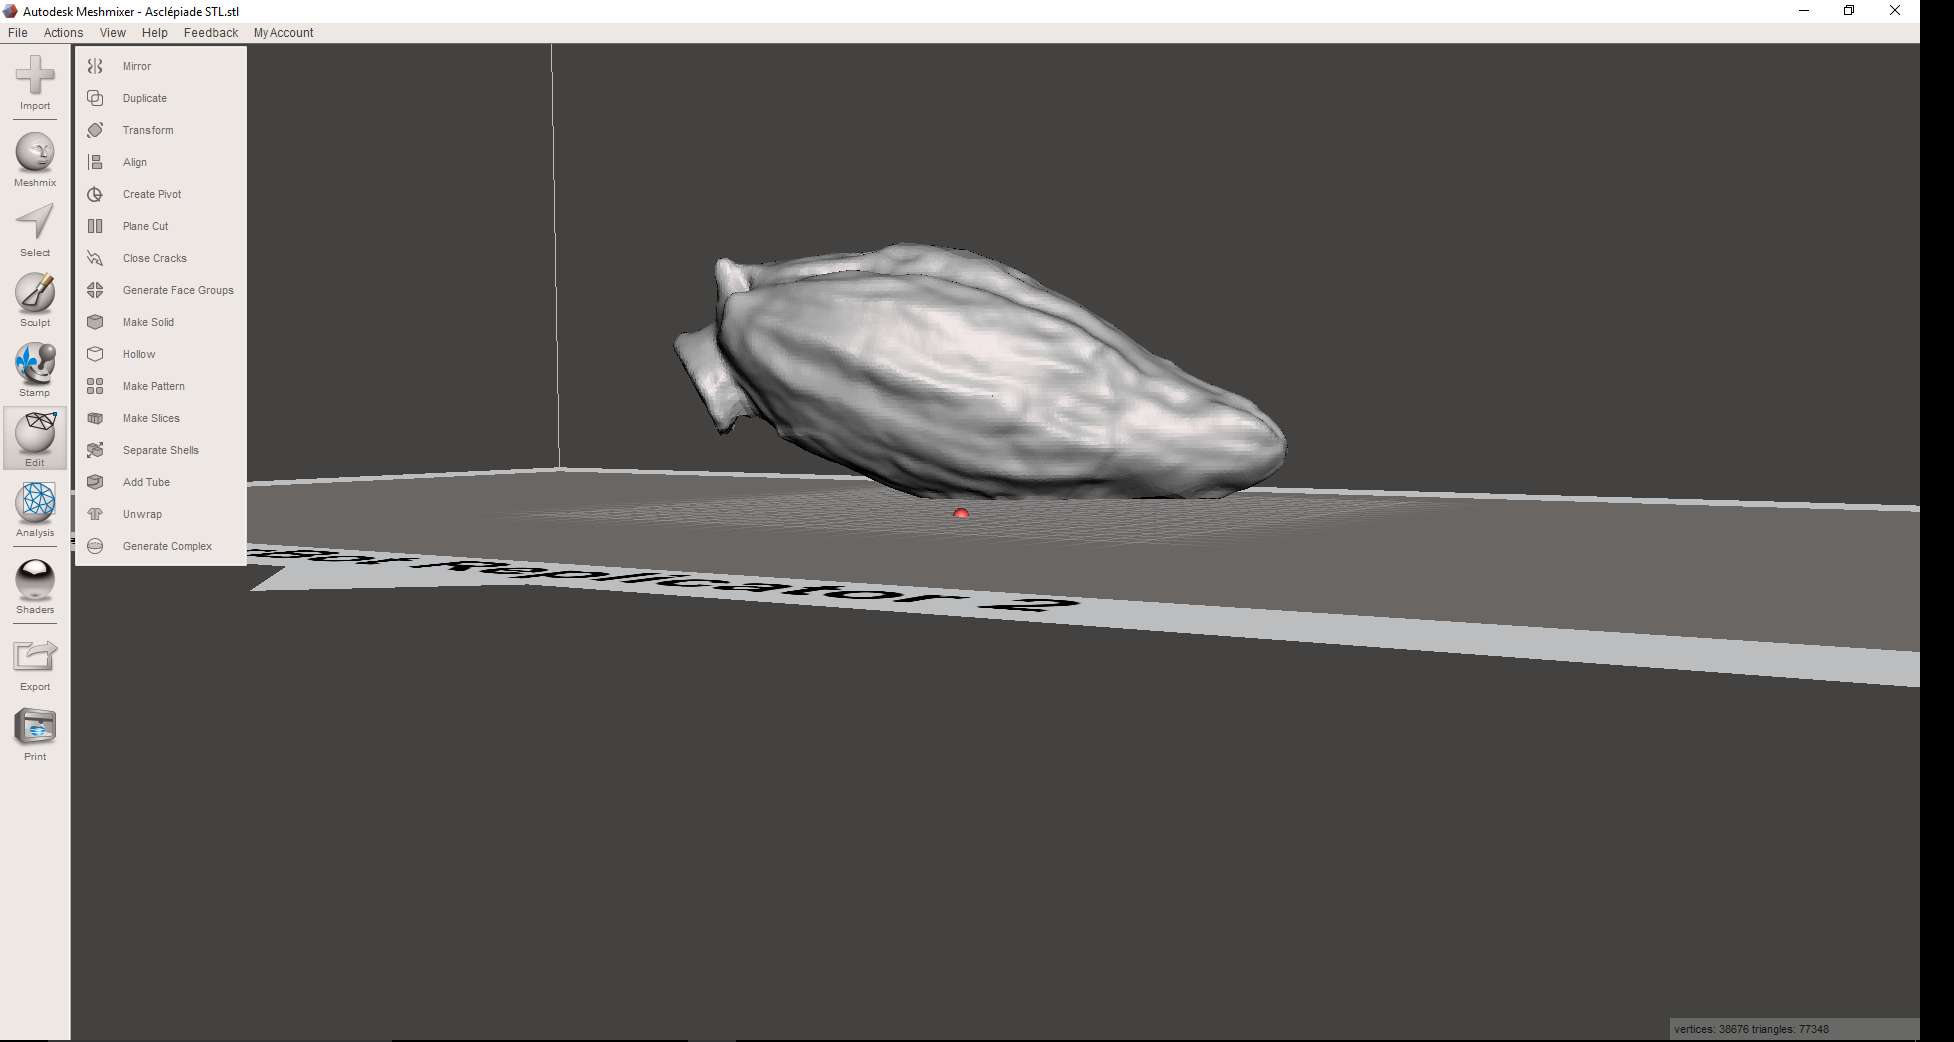
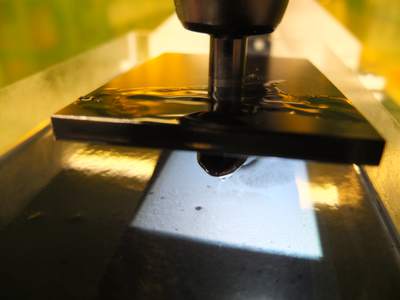
So here' I'm basicaly doing a Plane Cut in Meshmixer to cut a flat surface on my model Here you go! 
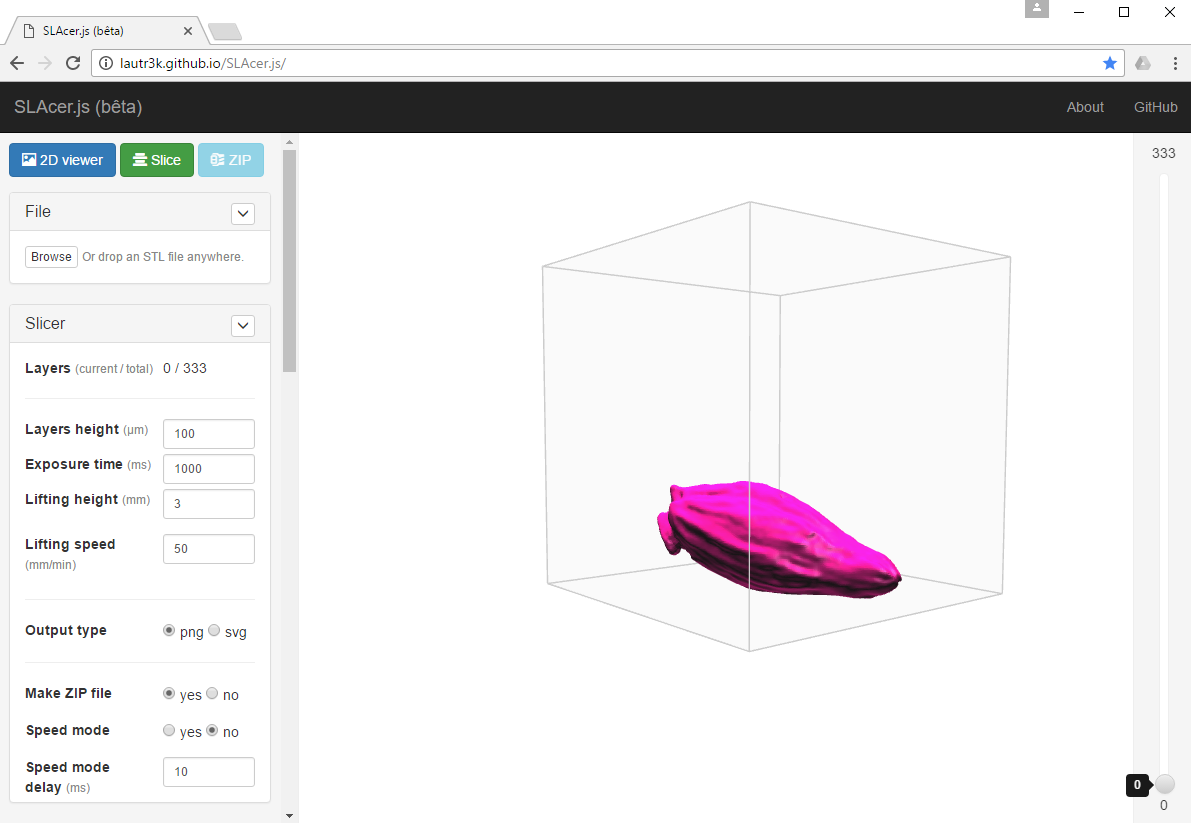
I importedthe STL in SLAcer Now because my control software for the Kudo3D is already taking care of exposure time and other parameters, I only used SLAcer to slice the actual model in 100um slices, generating PNG images in a compressed .zip file.
HTML tutorial HTML tutorial HTML tutorial
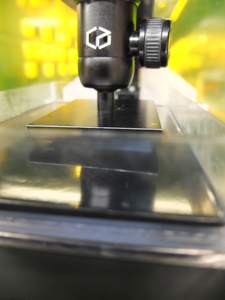
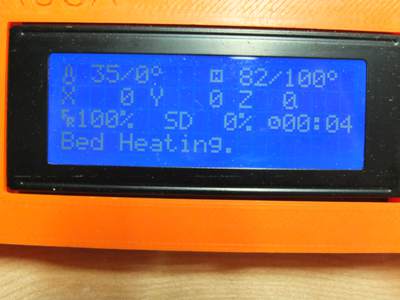
Adjusting the print platform is easy but can be quite hit-and-miss 
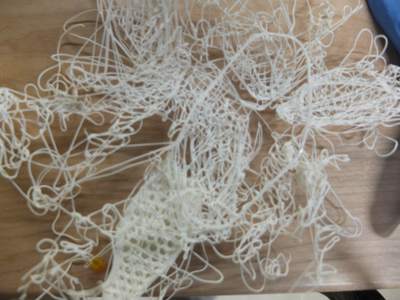
Oups, miss at the 3rd layer. And again, 12th layer. Too much succion force.
HTML tutorial HTML tutorial HTML tutorial
Print half way through. Done! 
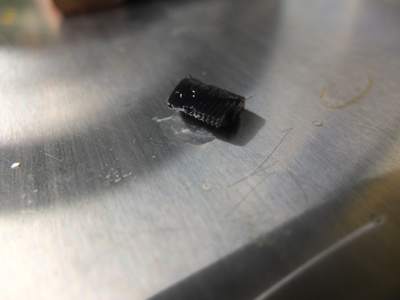
Trying to get that thing off the plate!
HTML tutorial HTML tutorial HTML tutorial
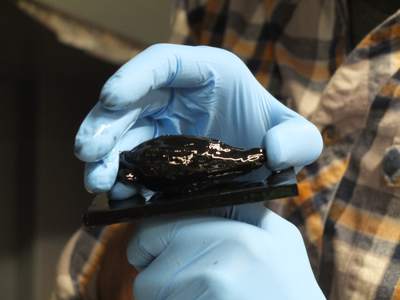
It does look quite nice. 
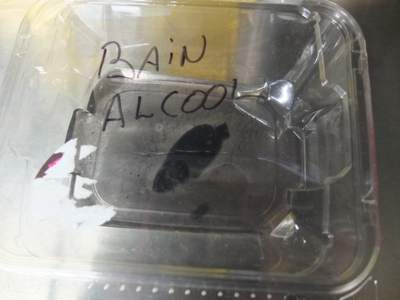
Cleaning in IPA bath 
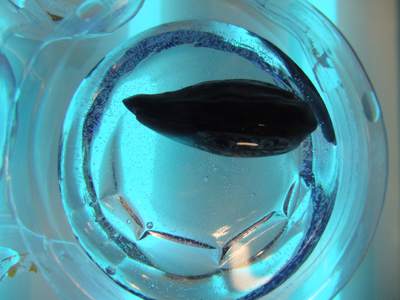
Curing in UV light, water bath to prevent oxydation of the resin. This project was done with black MakerJuice resin.
HTML tutorial HTML tutorial HTML tutorial
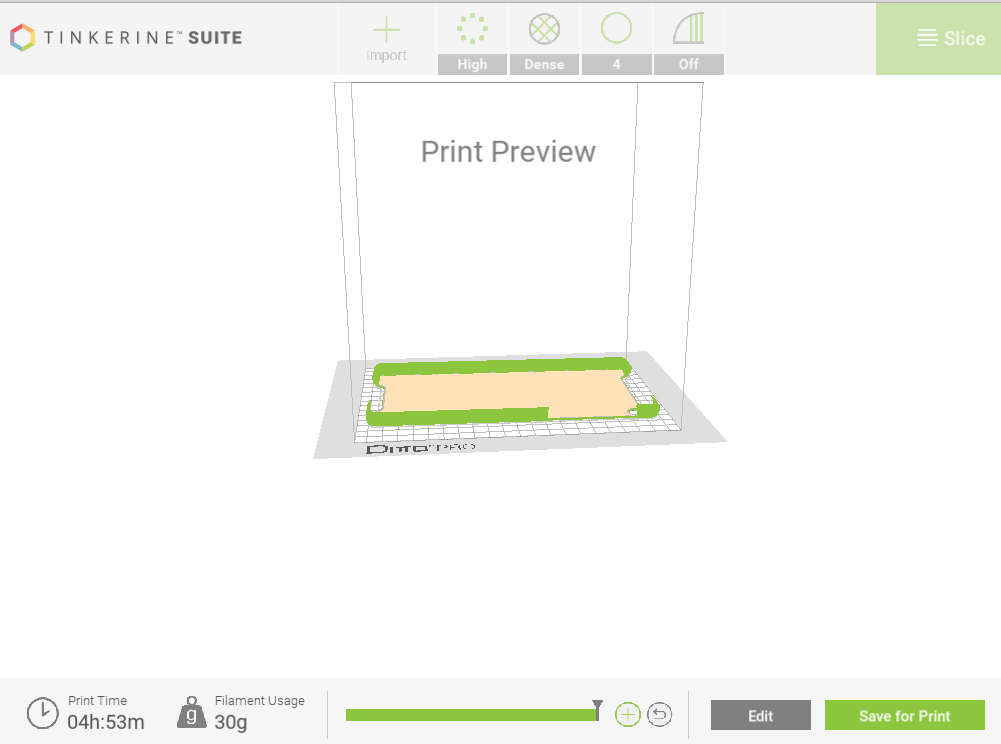
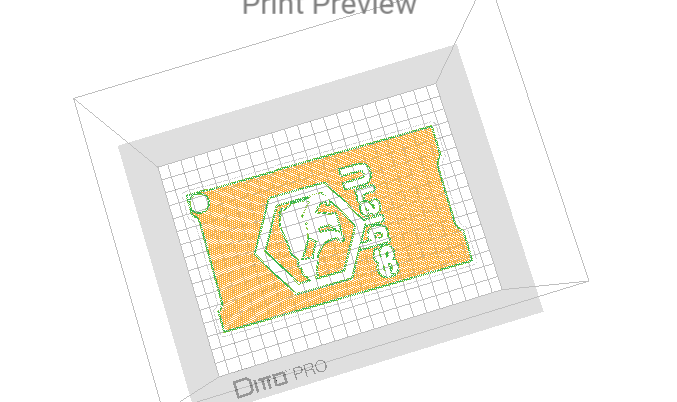
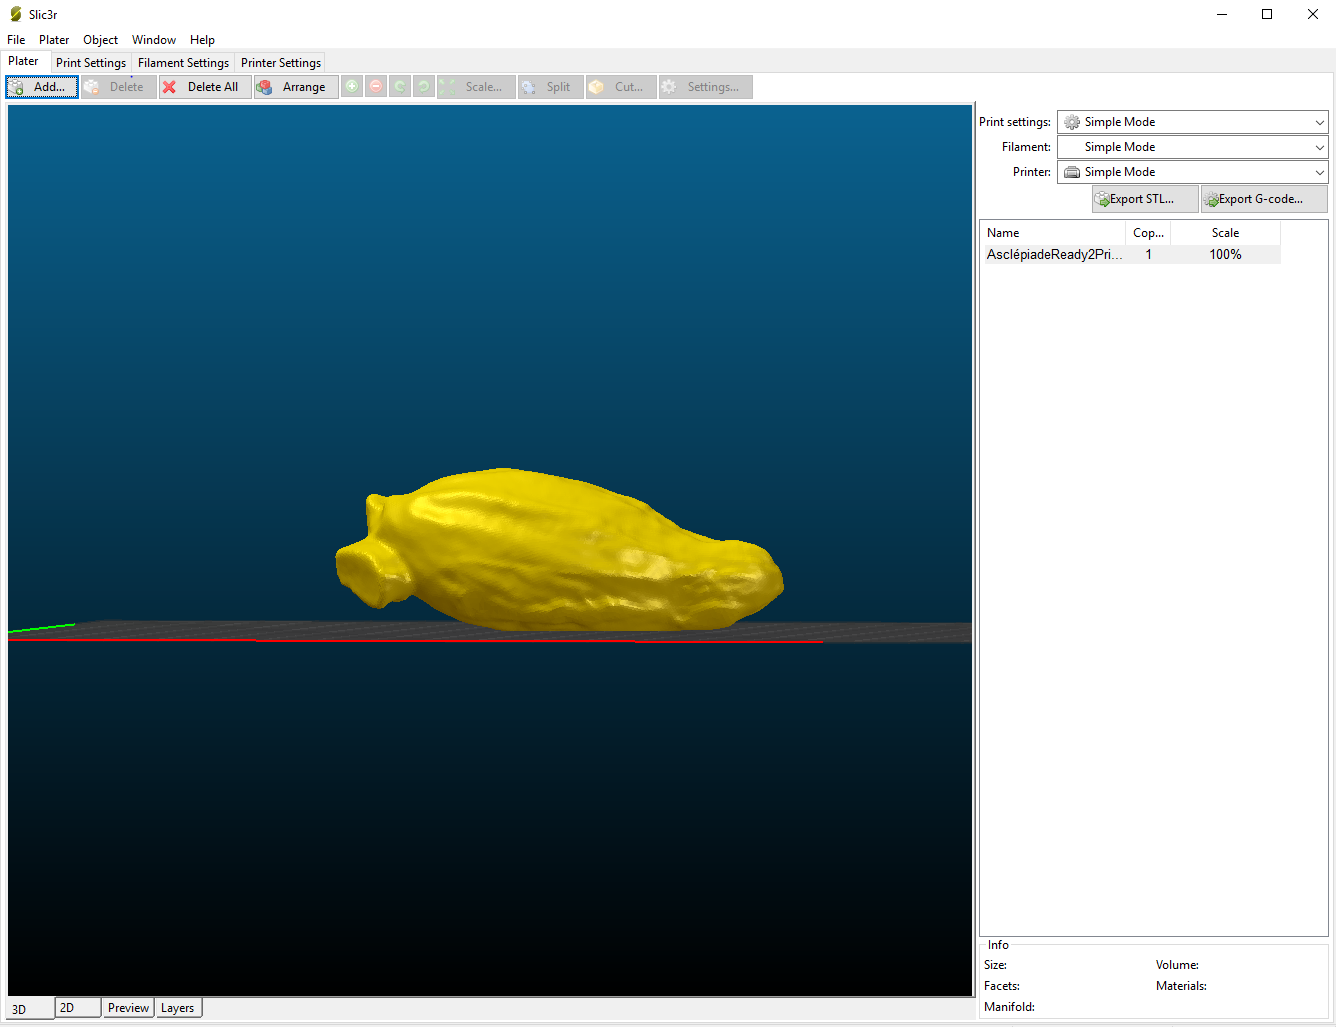
Importing the same model in Slic3r to prepare a PLA print platter for the Ditto+ and an ABS platter for the Reprap Prusa i3 
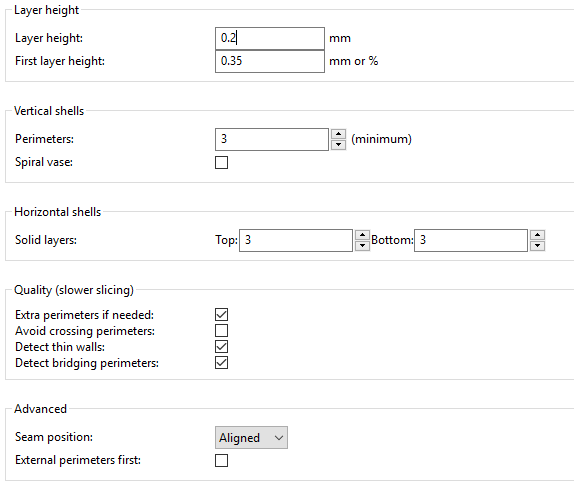
Here you can check my params for the actual slicing. 
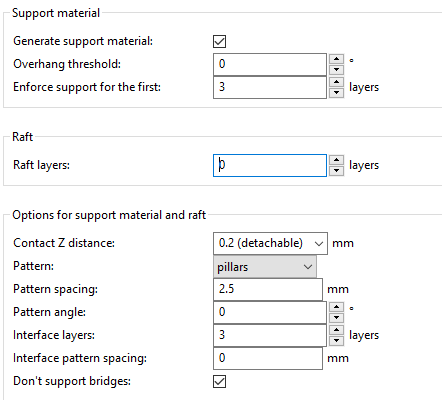
A support and raft will we needed. Here are the params.
HTML tutorial HTML tutorial HTML tutorial
At work.
HTML tutorial HTML tutorial HTML tutorial
A couple of pics of the Ditto+ at work using ColorFab BambooFill PLA. It's good looking and about 33% lighter that regular PLA. Much more brittle though. Prepping the prusa. 230 degrees for the nozle and 90 for the bed. I applied some abs juice so the print would adhere and to reduce warping
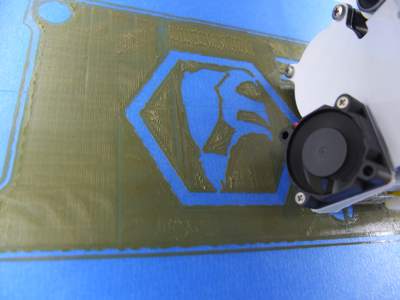
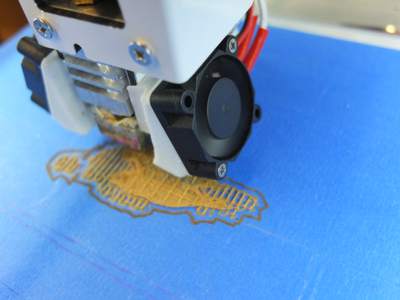
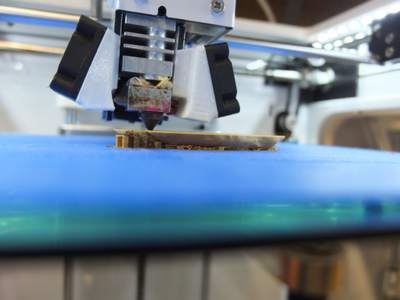
HTML tutorial HTML tutorial HTML tutorial
Printing in action a small bubble of abs formed on the nozzle and it detacthed the print This is my 3rd try. Did not work properly. Now I don't have time to continue to optimize the print so that's it for this week.
Here you'll find the
|Asset Files
Link to my 2015 archive for more printing stuff (and making a scanner)
File
Week5_Assets_compressed.zip