WEEK 7
COMPUTER-CONTROLLED MACHINING
Make something big (on a CNC machine).
Which Big Object? ... a birdhouse No, in fact a birdbuilding!! ;-)
After discussion with my family about which big object we can build something useful ... we finally decided to work on a birdhouse, for the birds of our garden. and my children started to work on the project, drawing the birdhouse of their dream :-)
|
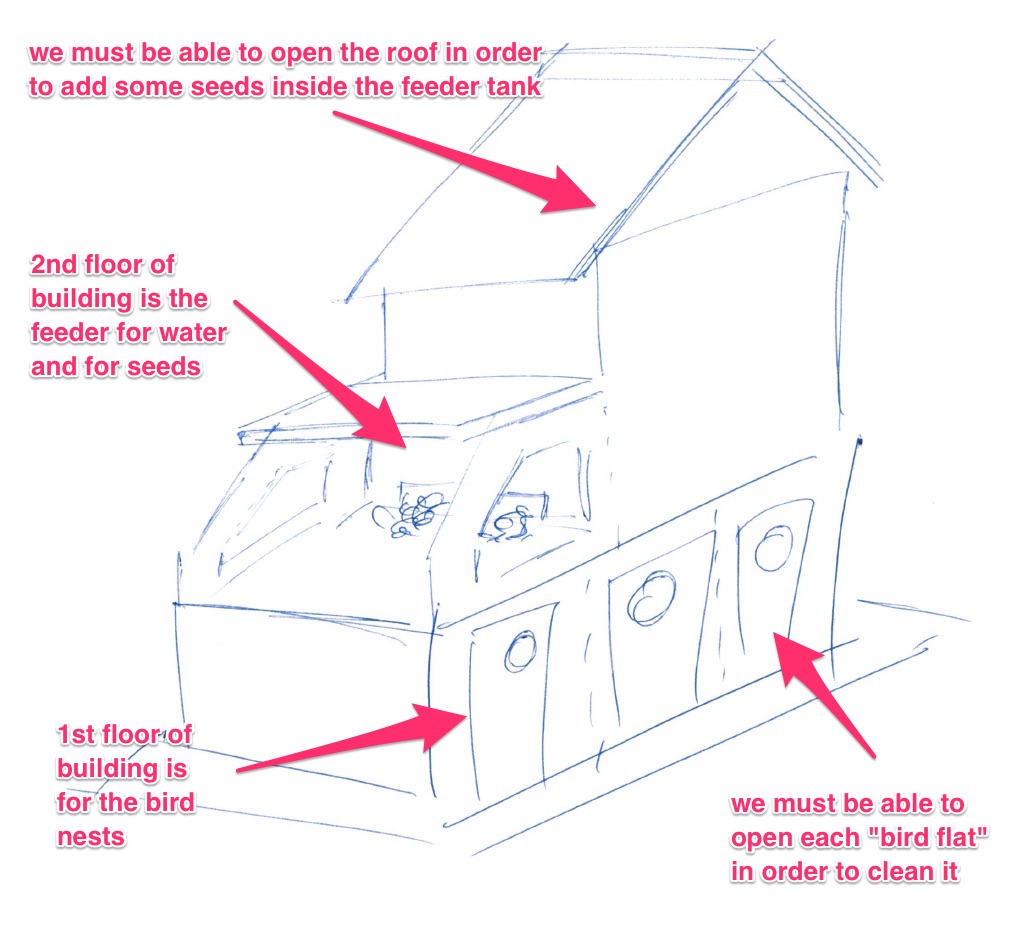
The aim is that this project is also the project of my chidrenbecasue I want them to fill in the feeder tank :-)
|
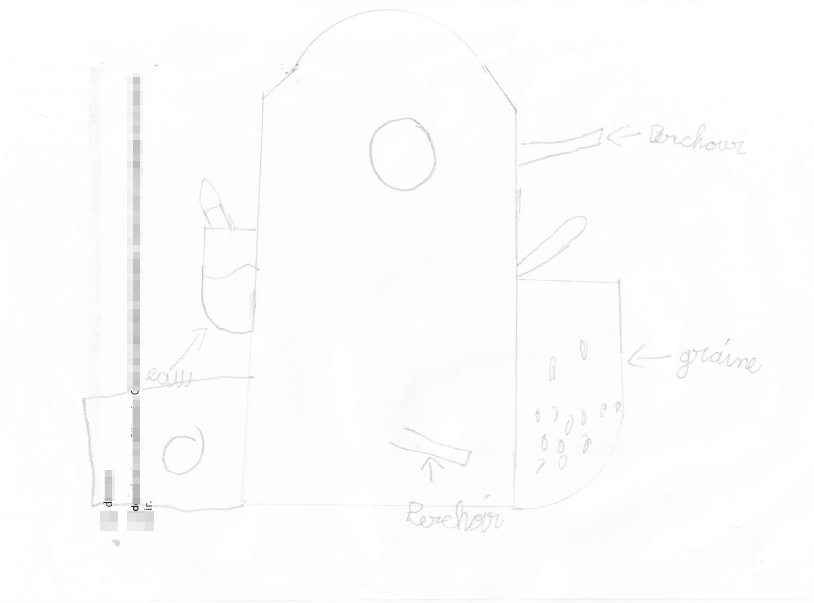
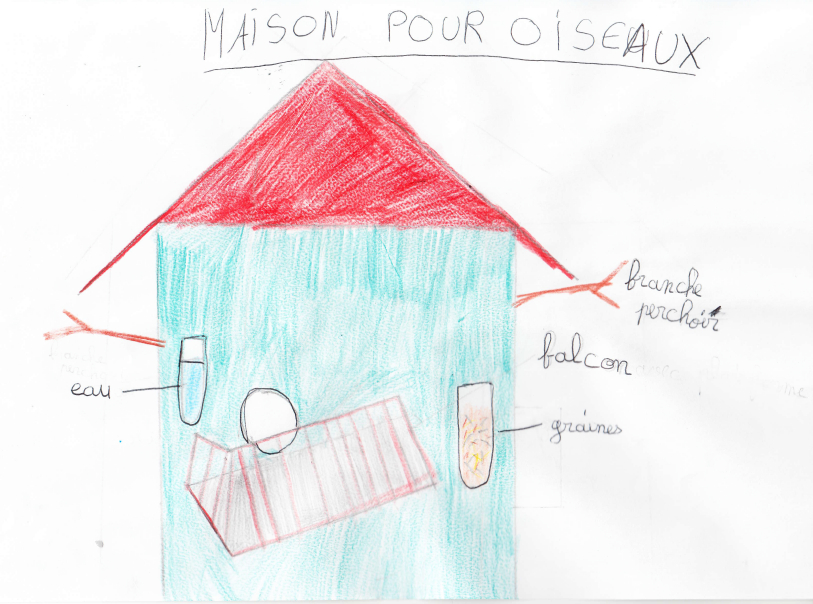
So they did the draws of the birdhouseand I took some ideas from their draws
|
|
Here it is a birdhouse for several birdsand with several floors
|
And here is my first compilation of their draws
|
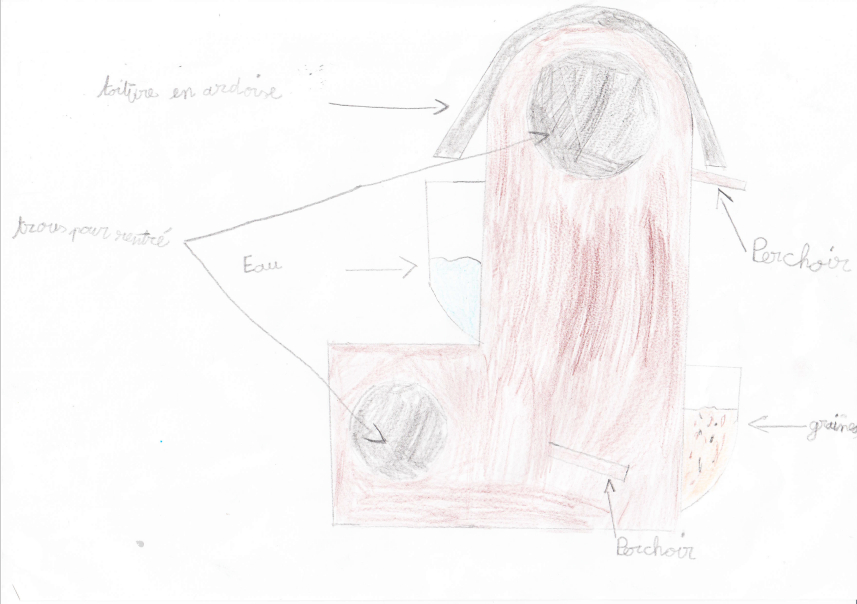
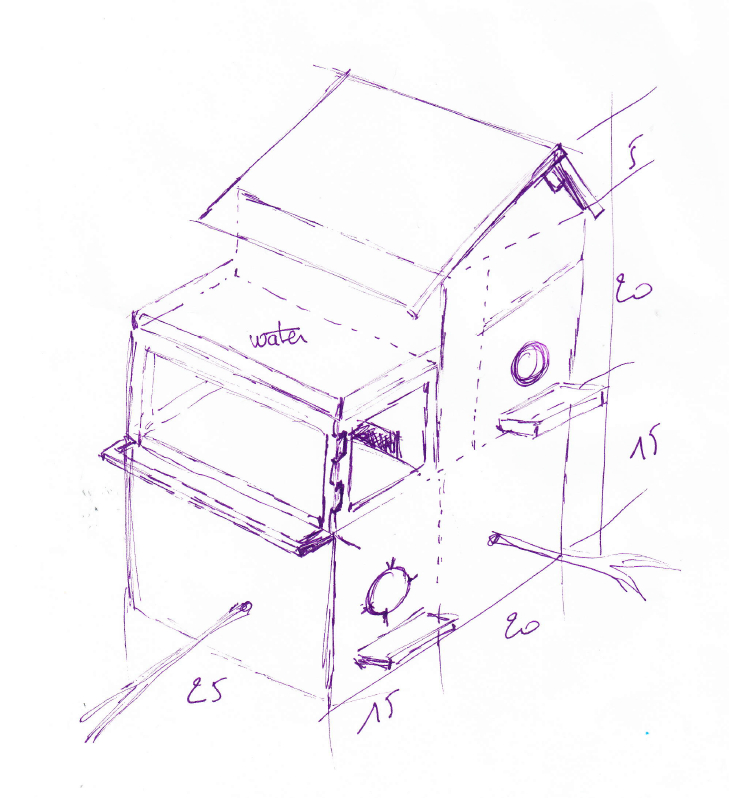
And finally here is the final ideawith some constraints in order to have it usable (access to the feeder tank and to the nests)
Opening Rhino and doing the 2D design
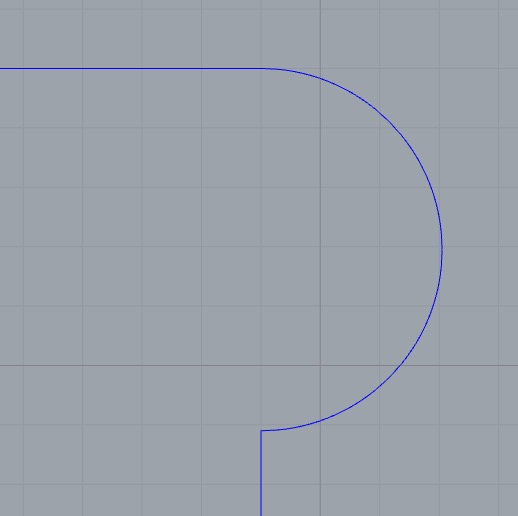
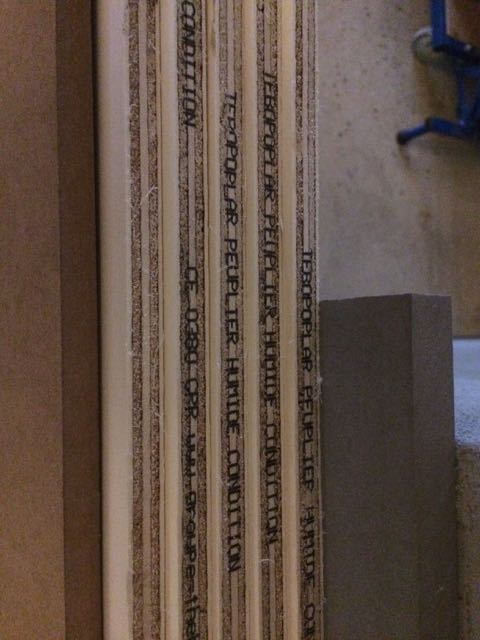
Here are the rules I followed when I did my Rhino file: - usage of layers: 1 layer in Rhino per Job with the CNC + 1 layer for the board + 1 layer for my joints models and the Mill Bit - the mill bit I decided to use is a 6mm diameter - the circular arcs of the mill bit on my schema are 6.05 mm (not 6.00)
|
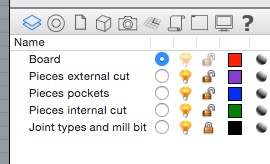
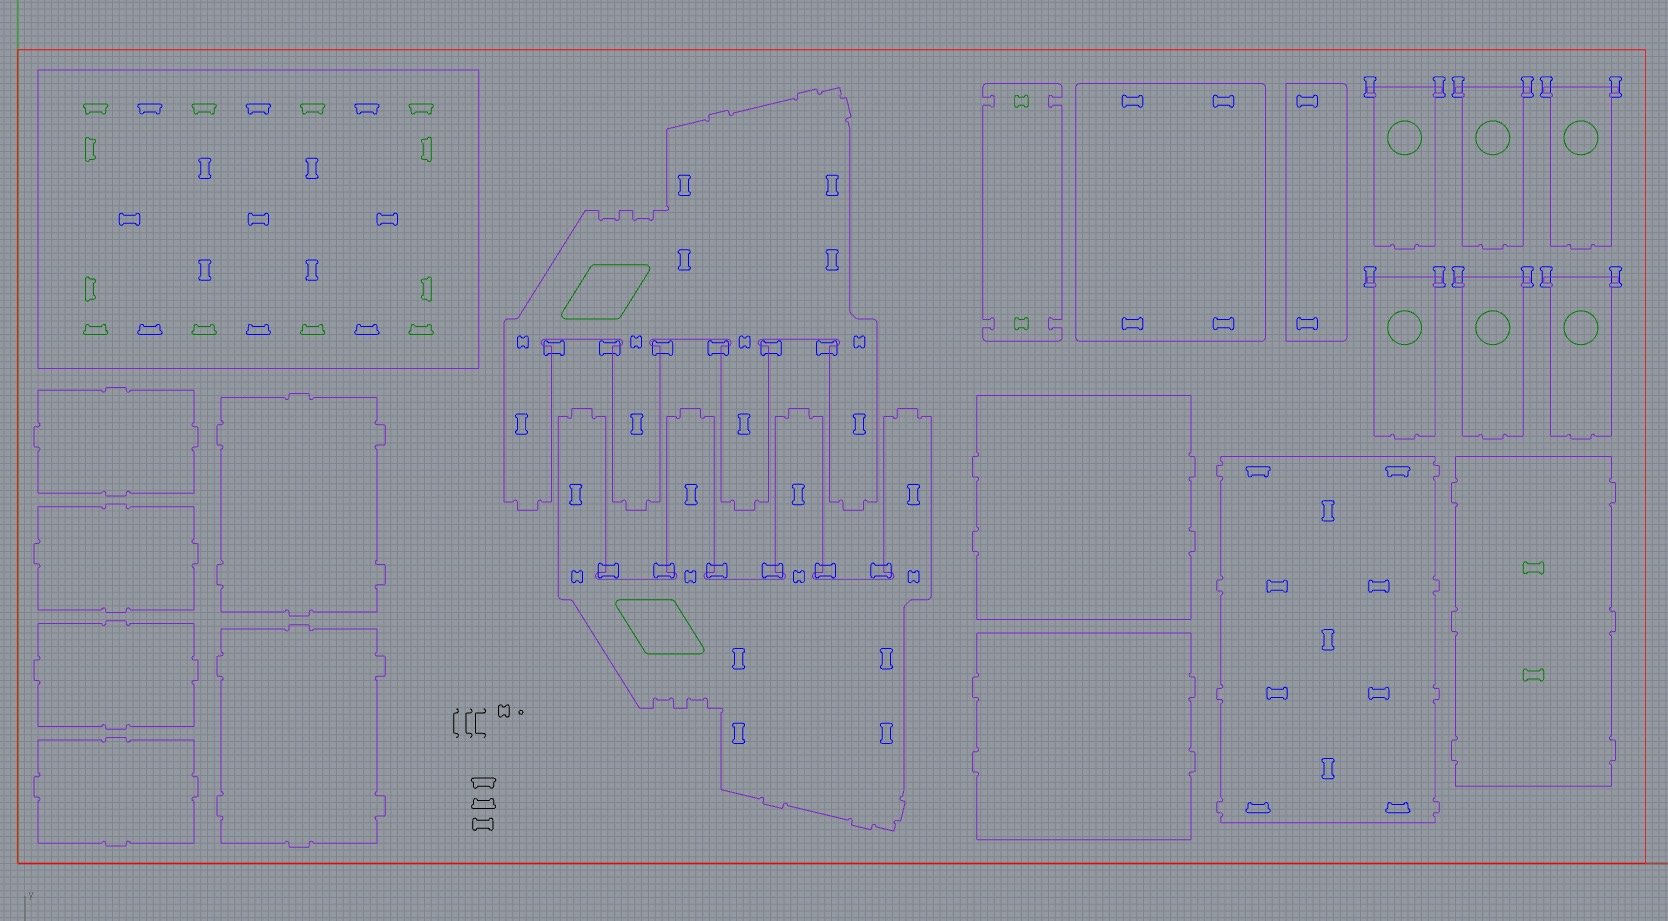
Here is my organization of layersregarding layers for CNC's jobs: 1 for pockets, 1 for inside cuts, 1 for outside cuts
|
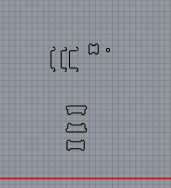
Here are my Joint models and the Mill bitvery useful to have it for copy/past
|
|
Here is the detail of my circular arcs6.05 mm (not 6.00) to be sure the mill bit can go inside, and to be sure Vcurve will manage it correctly
|
A lot of joints and a lot of pieces ...
|
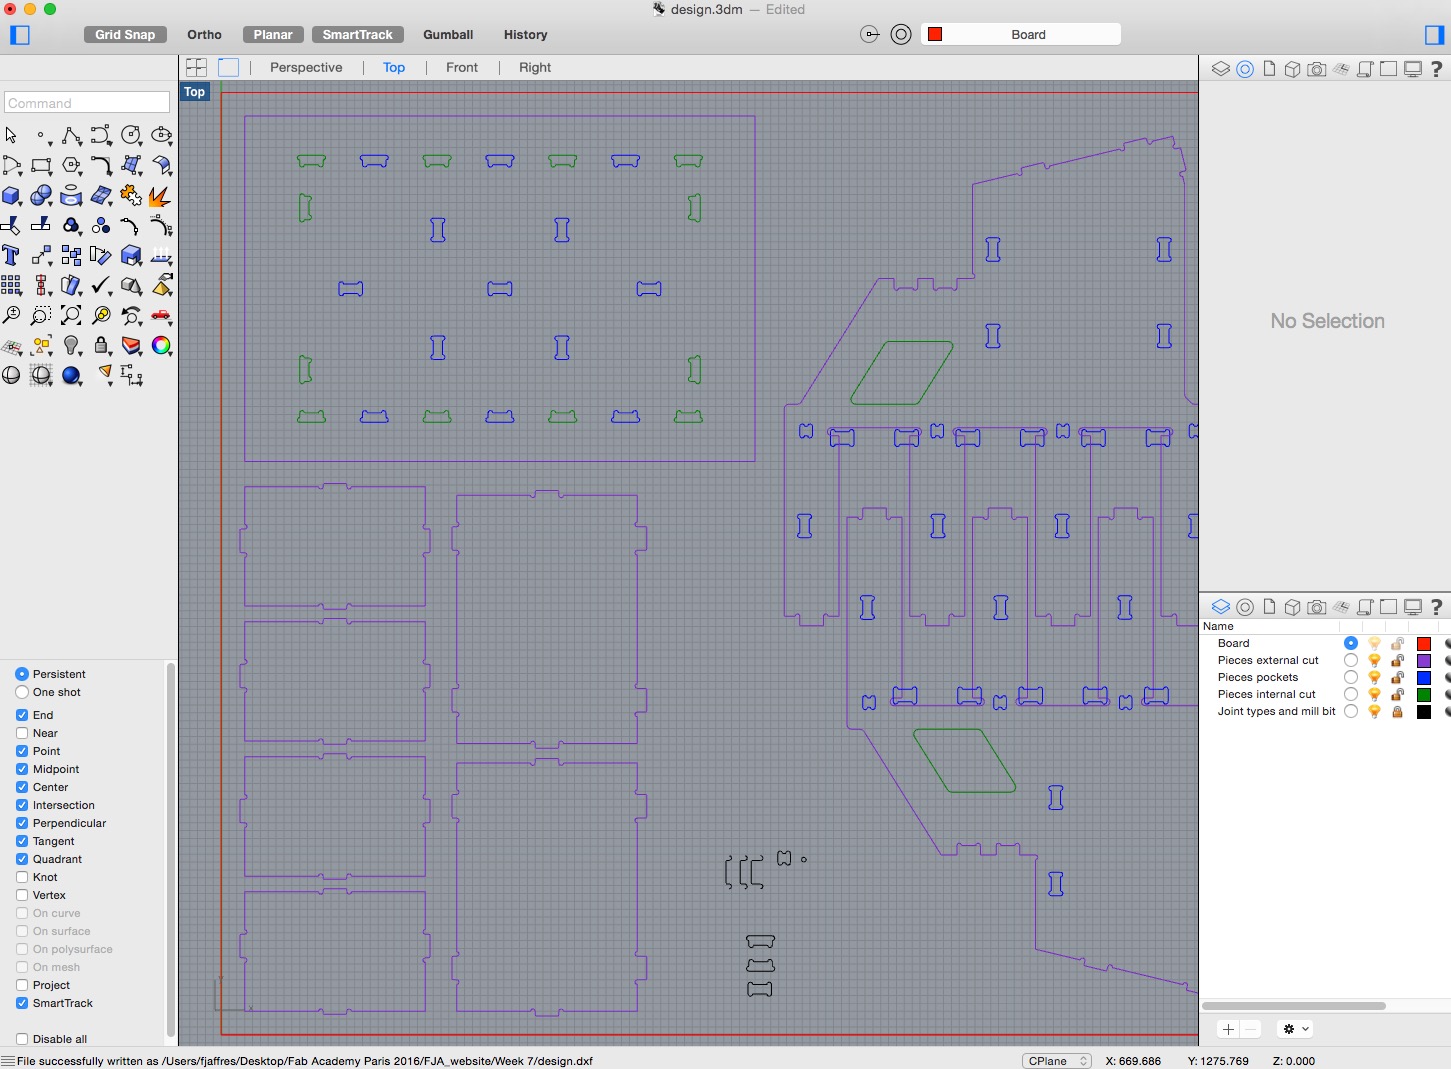
And finally here is the final designwith my board outside (in red) and all the pieces of my birdhouseThere is several joints, I hope they are correct!! :-)
Going to the CNC, cutting and assembling
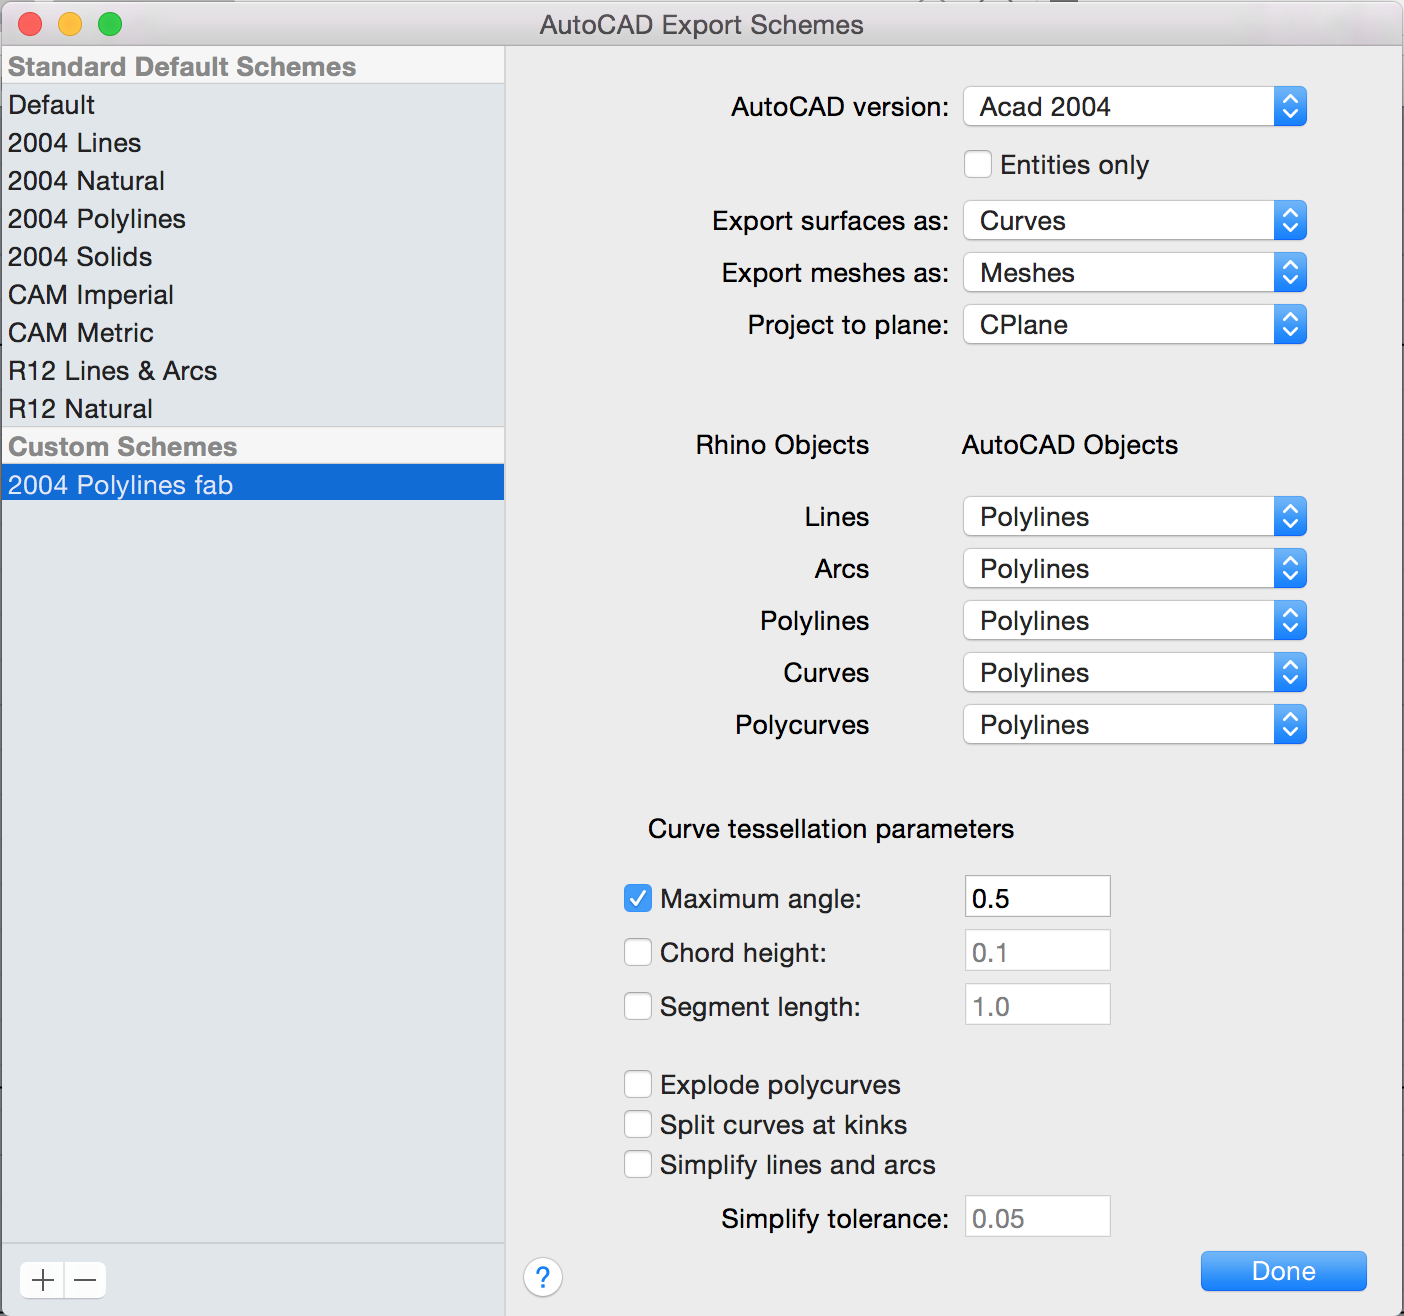
Once the Rhino file is achieved, here is the process to go to the CNC - export the Rhino file to .dxf (Autocad file), taking care of Autocad Export Scheme - import the .dxf file inside Vcarve Pro - layer per layer, define the job profiles, starting by pockets, then internal cuts, and finally external cuts - (save the Vcarve file for archive) generate the .tap file and put in on the CNC (using the USB key)
|
Here is the settings of the Autocad Export SchemeRhino objects should be exported as polylines, max angle set to 0.5 and "Explode polycurves" should be disabled
|
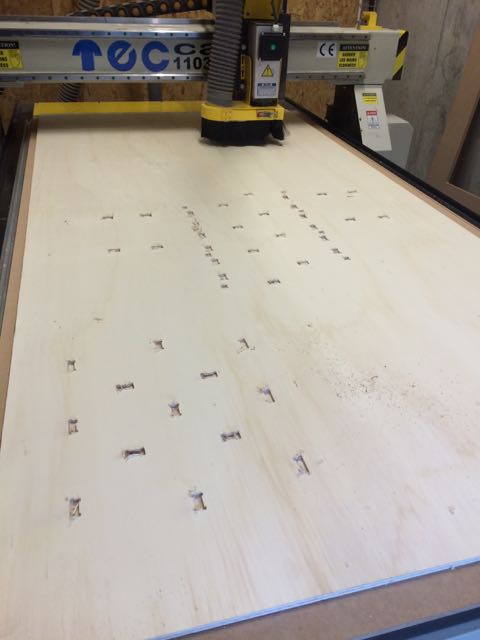
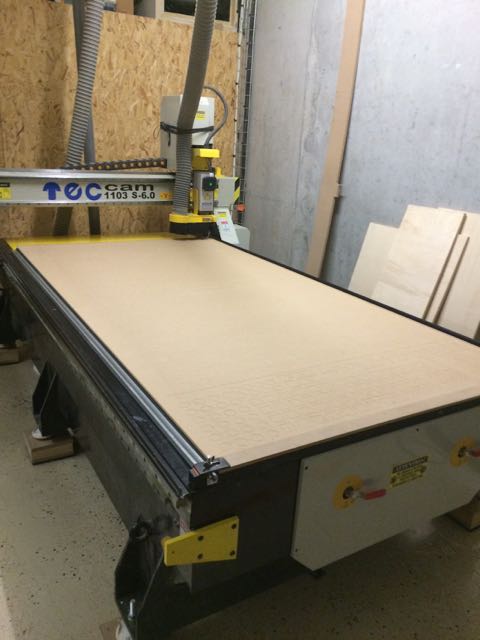
Here is the wood we are usingplywood, board is 1200x2500, 12mm thickness
|
|
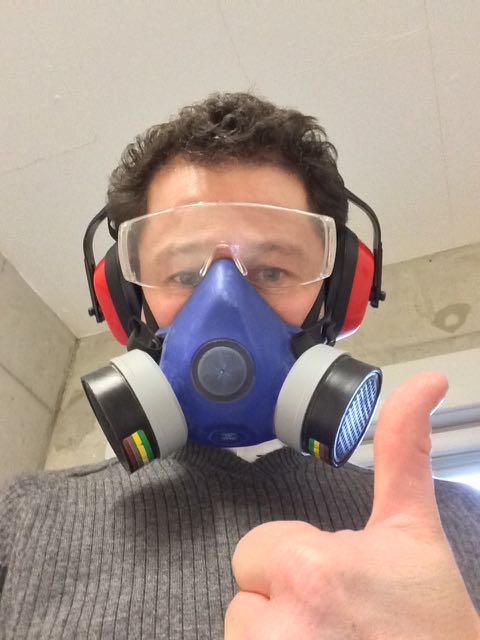
Equiped and ready to start ... ;-)
|
Starting with pockets
|
|
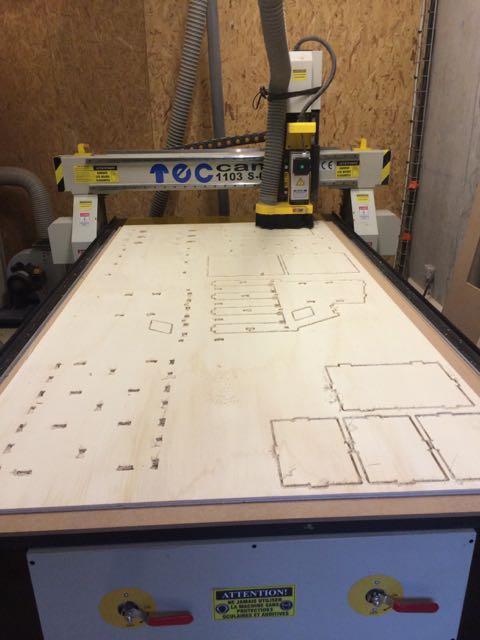
Then cutting
|
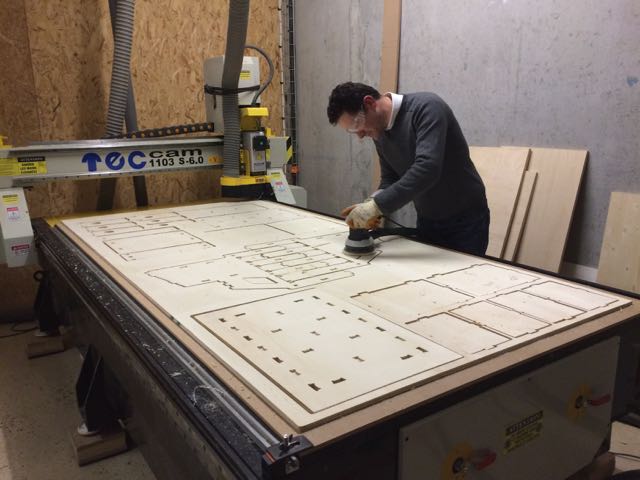
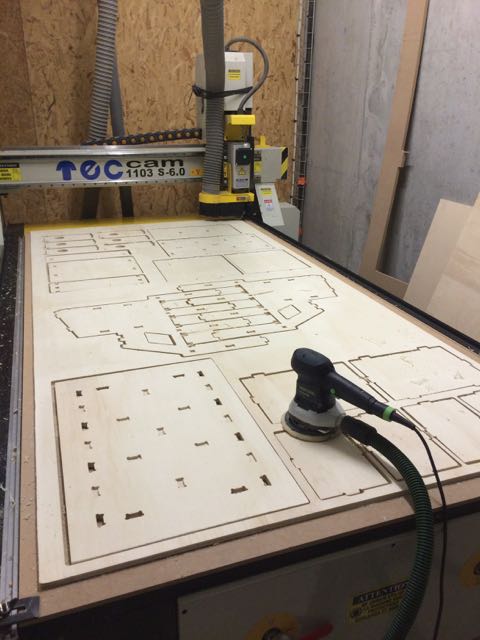
Now CNC job is finished, my job is starting: sanding
|
|
Sanding is finished, now we will know about the result, will the joints work or not ...
|
First test is ok :-)
|
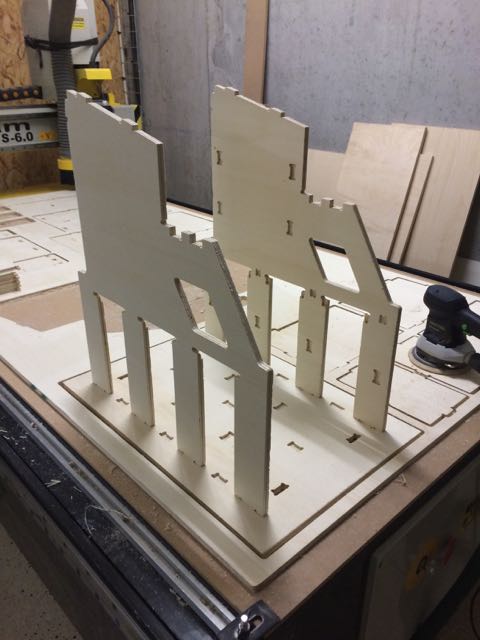
|
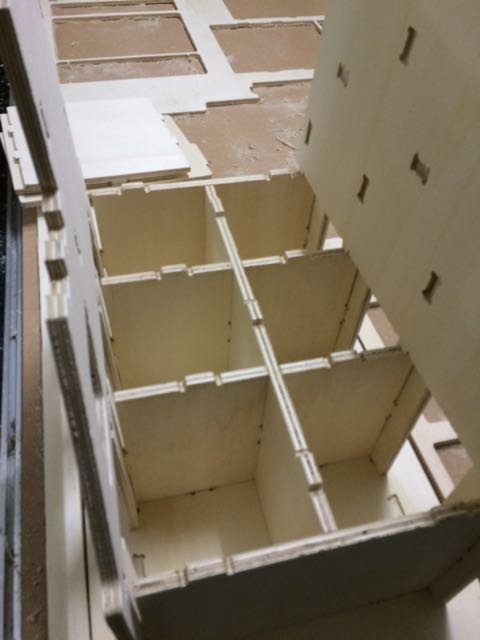
Main structure assembly is working
|
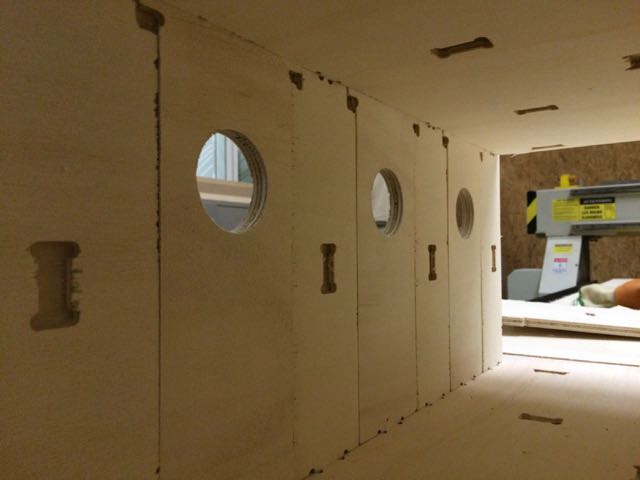
The doors of the nests are working fine, this is great, it was not so obvious to design
|
|
Now redoing it with internal pieces also, still going fine
|
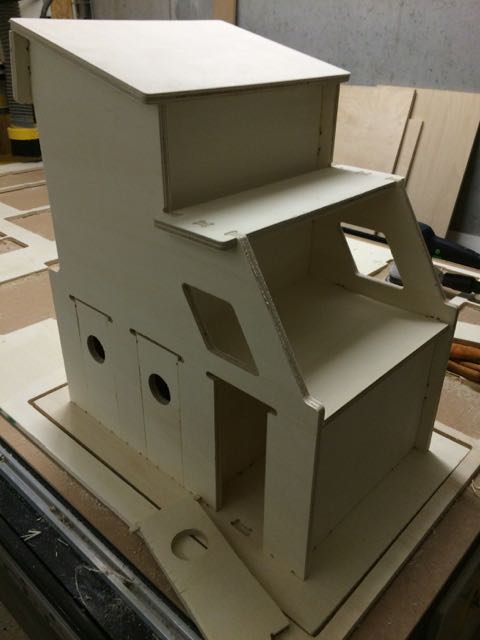
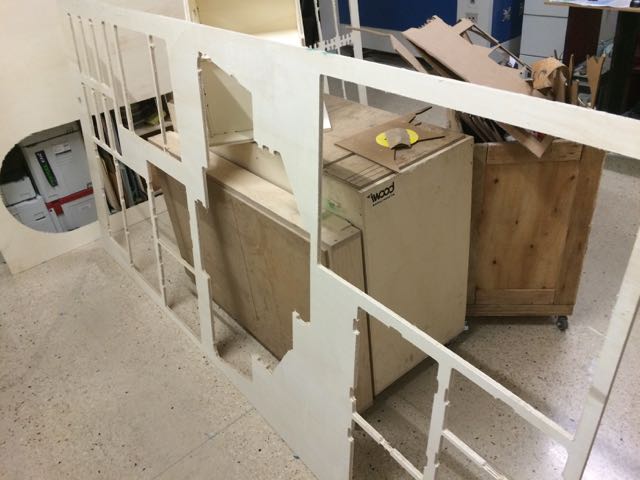
Here is my Big Object finished! all joints are Ok
|
|
I used nearly all the size of the board
|
And the place is cleaned for the next worker
|

Here is the final assemblysoon I will upload here the photo of the object installed in my garden